

21 EASY Travel Photography Tips (Make Better Pictures with Little Effort)
By Author Jurga
Posted on Last updated: December 8, 2022
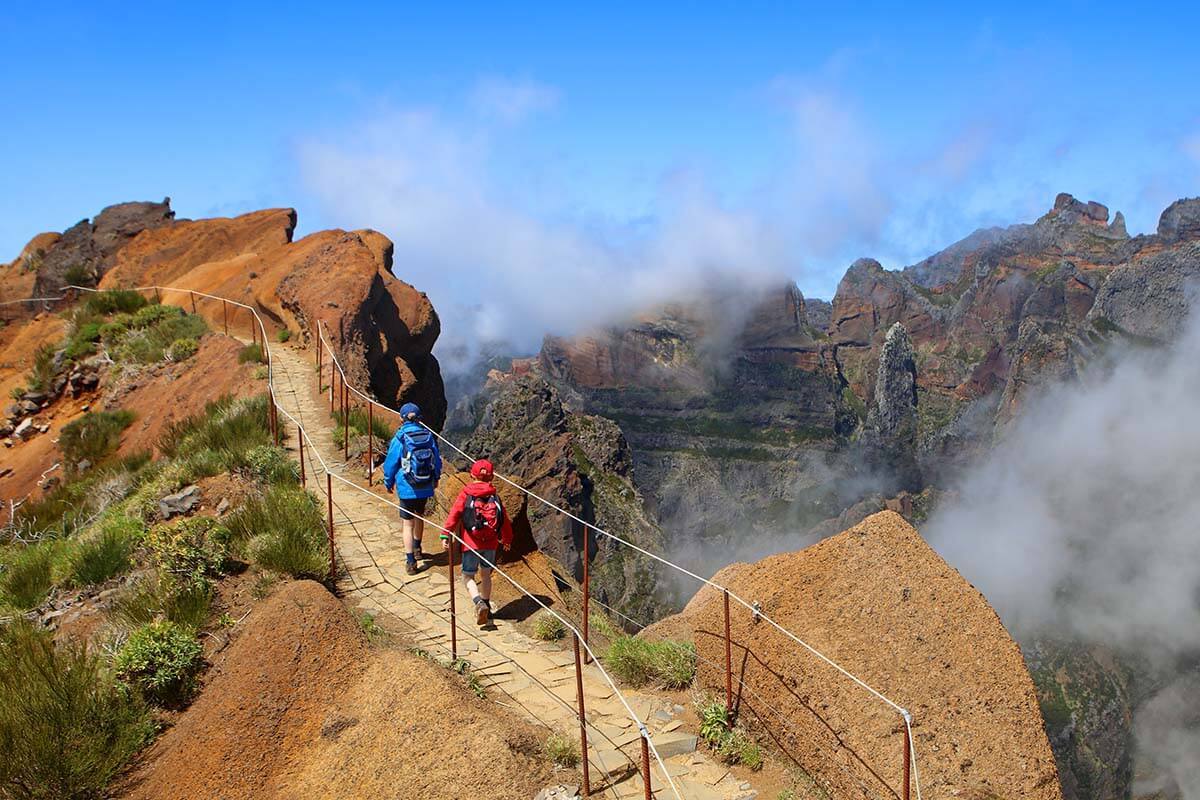
Are you looking for simple travel photography tips to help you take better pictures? You came to the right place! In this guide, we share some easy, actionable tips and tricks that will help to improve your travel photos with very little effort. No photography course or fancy equipment needed – find out!
Travel photography has become an essential part of any trip and any vacation. We all want to capture those special moments of our travels, keep them for later, and share them with our family and friends…
But how often do you find yourself in a situation where you feel that your travel pictures just don’t do justice to all the amazing things you saw and experienced?
With ever-improving technology, it’s now easier to take good travel photos without much effort than ever before. However, by preparing well and applying a few simple tricks, you can easily transform your travel photography from good to great! And no, you don’t need a professional camera or any special knowledge for that.
So if you looking for travel photography tips to improve your vacation pictures, this guide should help you do just that. In this article, we share some simple photography tips, but also some important travel tricks.
These tips will not only take your travel photography to the next level but will also help you have a more unique travel experience. Find out!
How this article is structured. First, you’ll find general tips for travel photography, followed by simple photography tips that will help you take better pictures without much effort. Further, you’ll find some useful practical tips and things to consider when preparing for your trip (with photography in mind).
Take a look!
These are our best travel photography tips:
1. Get to Know Your Camera
First, let me make one thing clear. You do not necessarily need expensive camera gear in order to take really nice pictures. Smartphones and entry-level point-and-shoot digital cameras like this one offer excellent quality. Quality that’s more than good enough for a family album, social media stories, or a print to hang on the wall.
However, no matter what kind of camera or smartphone you use for travel photography, it’s always useful to take some time and familiarize yourself with it. After all, you don’t want to miss some unique photo opportunities because of the time it takes you to set up your camera.
Each device has somewhat different settings and a big range of possibilities. Even if you use just a few of those settings once in a while, you’ll improve your photography skills and get better pictures.
Here you can find our hand-picked selection of some really good cameras for travel for all budgets sold on Amazon .
2. Do Some Research for Trip-Specific Photography Tips
Now that I told you that you don’t need any special gear, I also have to add that some types of travel photography might indeed require some special equipment or knowledge.
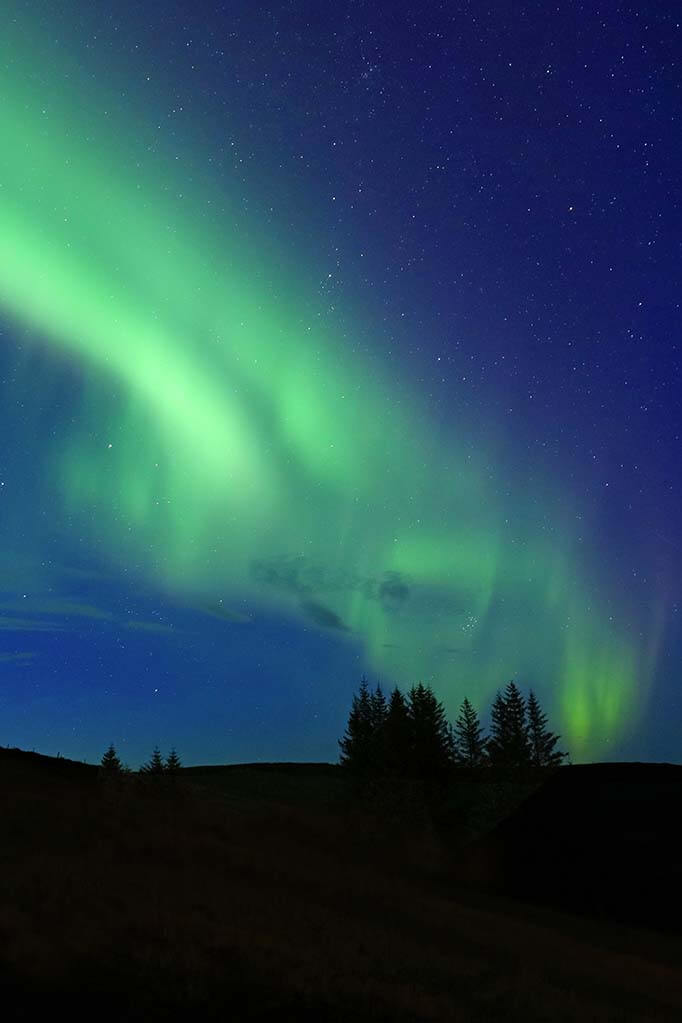
For example, if you are visiting Nordic countries in winter, you’ll probably want to learn the basics of the Northern Lights photography . You may want to research if there are any special aurora photography apps for your phone. However – if you want some decent pictures – you’ll definitely need a good tripod and a somewhat better camera with manual settings for this type of travel photography.
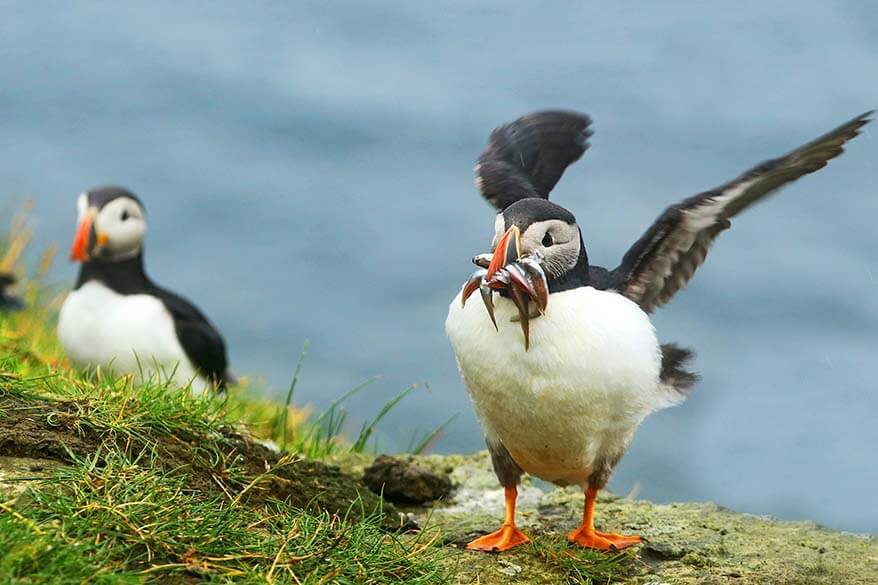
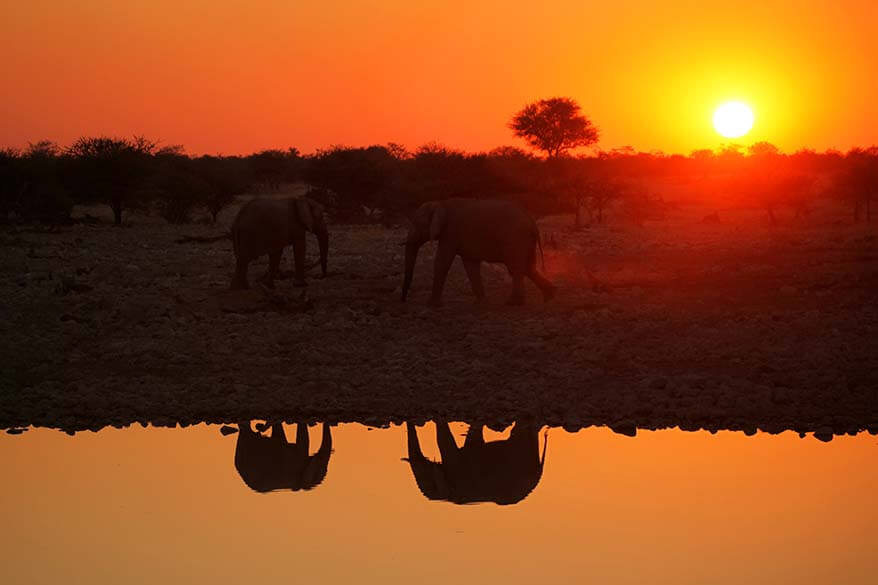
This is also the case for a trip where you are planning to take pictures of wildlife. Often, your smartphone and cheaper cameras will just not be sufficient for really good pictures. So if you are planning a safari in Africa, you may want to research what kind of cameras and lenses you need for wildlife photography .
3. Experiment with Camera Settings
Don’t be afraid to exit the ‘auto’ mode of your camera and experiment with the settings. Even something as simple as switching off or forcing the flash, can make a huge difference already.
If you are using a smartphone, you probably just use the standard photo and video settings. But if you look a bit deeper, you’ll see that there are other options as well.
Most smartphones also have panorama mode (great for wide panoramas in the mountains or cityscapes), selective focus mode (nice for portraits), or even one for food or night photography. Usually, there’s also a ‘pro’ mode where you can play with different white balance settings, etc.
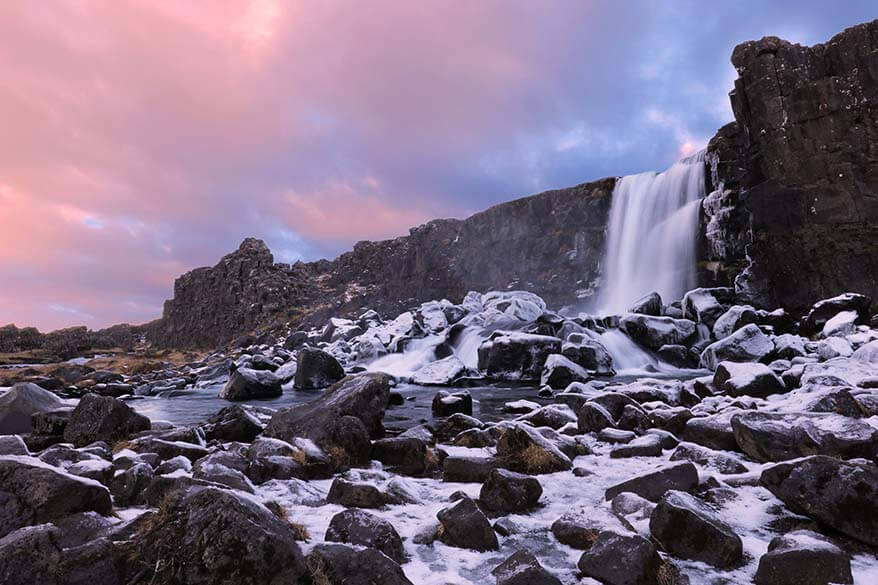
If you have a DSLR camera , you may want to learn just a little bit about white balance, ISO, aperture, and shutter speed. Change the white balance and your pictures taken on a grey rainy day will become warmer. Change the shutter speed and you have a silky waterfall. Change the ISO sensitivity and you’ll be able to take pictures in low light without the flash…
4. Look for Different Angles
Standing in front of a landmark you visit, you suddenly realize everyone around you is holding cameras and smartphones, taking the exact same pictures… Sounds familiar?
Do you want your travel pictures to be different? It’s easier than you think! All you have to do is simply use your legs.
Sit down, kneel down, even lie down if necessary. Or try to climb somewhat higher. Get closer to your subject or move further away. Go left, go right, go behind… You get the picture. Literally – you get a better, more unique picture just by changing the angle.

5. Try Different Compositions
One of the easiest ways to improve your photography skills is by learning how to make a good composition. Sometimes by simply recomposing your shot just a bit differently, you get a picture that tells a more powerful story.
Most people take pictures with the subject right in the middle. And while sometimes it can result in a beautiful shot, more often you get an ordinary image. Often, you can really bring your pictures to life by simply moving your subject away from the center.
You may have heard of the famous rule of thirds . Divide your picture frame into 3 imaginary lines and 3 columns and place the subject at the intersection of those lines. Take a look at the sleeping koala picture to see what I mean.

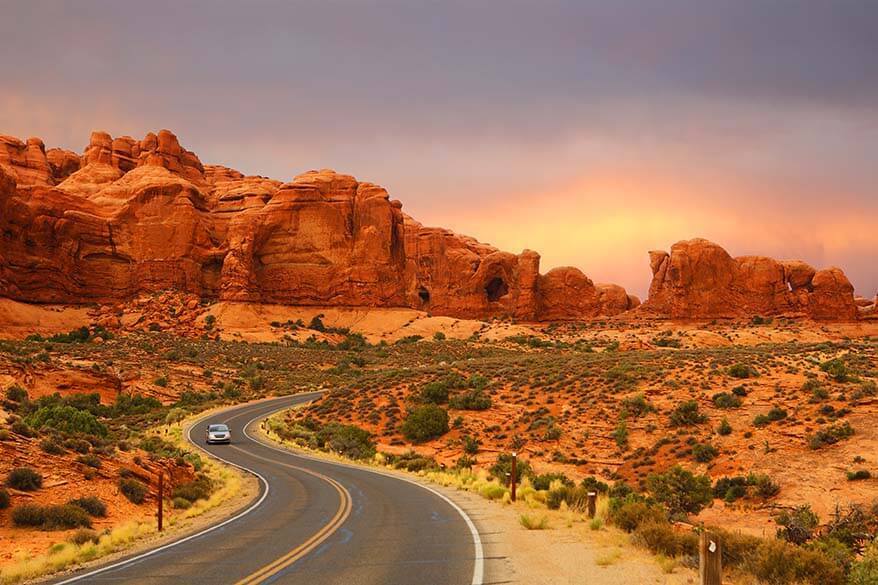
Shooting landscapes? Put your horizon at either top or bottom third of the photo. Also, use natural lines, such as a forest path or a twist in the road to help guide the viewer through your photograph.
Taking pictures of people or animals? Try to also place your subject in such a way that they are looking towards your picture and not away from it.
6. Explore Deeper
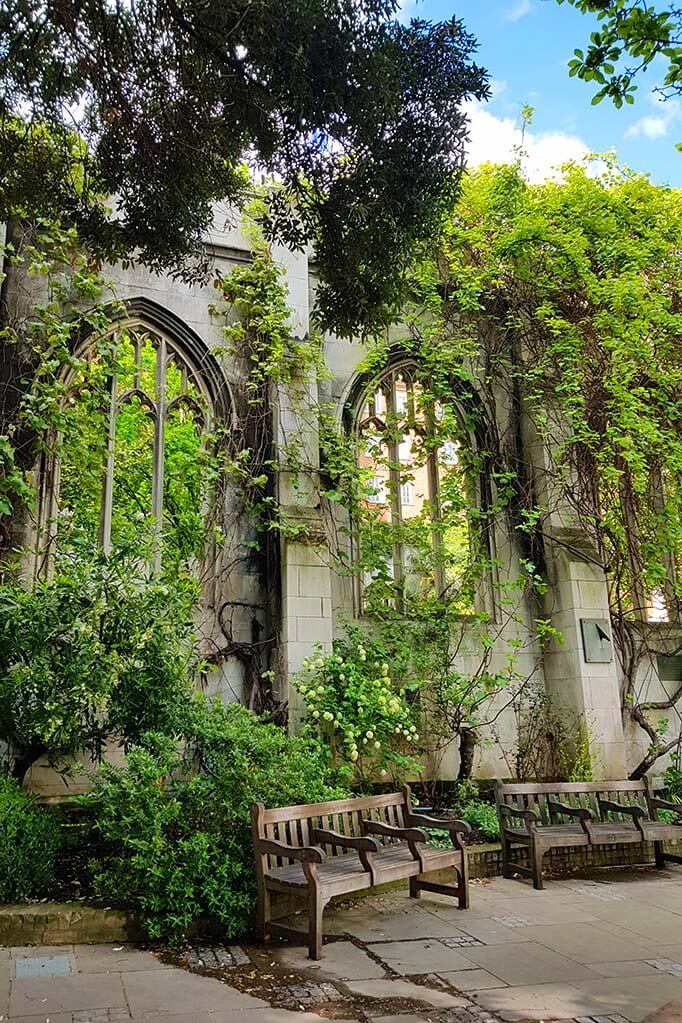
Some of the best travel pictures are not those that are taken right in front of famous landmarks. For more authentic travel photography, try to get just a bit off the beaten path.
If you are walking around the city, don’t stick to a plan or try to follow the map exactly. If you see an interesting side street or an alley, turn in and check it out. If you are road-tripping and stumble upon some interesting roadside attractions or local events, stop and check it out…
Also, ask locals or other tourists for some cool spots and hidden gems. You’ll be surprised at how many incredible locations are not mentioned in any travel guides. Don’t be afraid to talk to people and ask for some tips.
We have had some amazing travel experiences just because we talked to people. And even if it doesn’t always lead to the best photo spots, you might find delicious local food, quirky shops, or some interesting street art.
7. Include People or Objects
Another easy way to improve your travel photography is by including people or objects in your pictures. Not only do you get better and more unique photos, but they also tell a story.
Look around for something or someone you can include in your picture to give it a different feeling or perspective .
Think of people (locals, kids, really old people – don’t forget to ask for permission!), animals, flowers, tree branches, road signs… For a more personal perspective, try including your own arms or legs, etc.
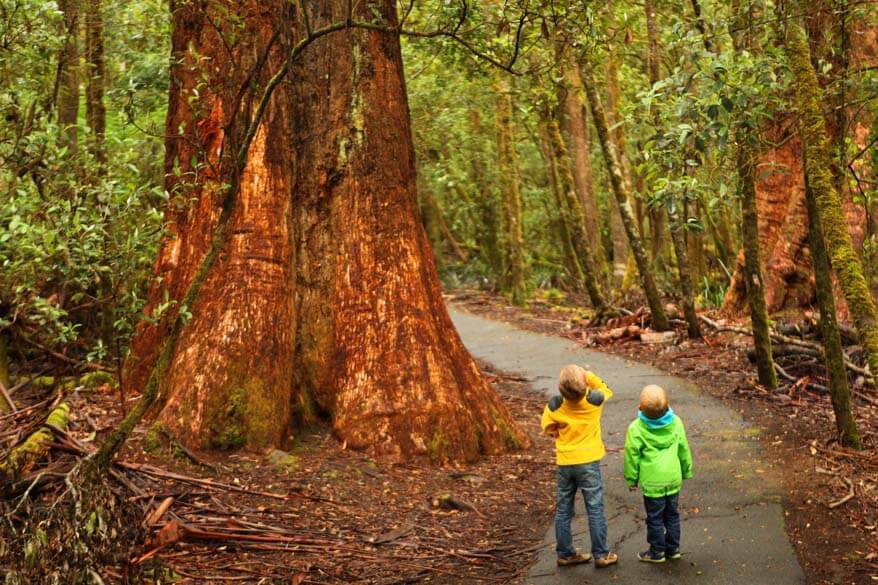
Even just including a few wildflowers in your composition can make your landscape pictures stand out. You can also frame your images using tree branches and leaves. You can show the size of a building or a tree by including people or cars in that same image.
There are so many ways to be creative; often you only have to look around with different eyes!
8. Look for Colors
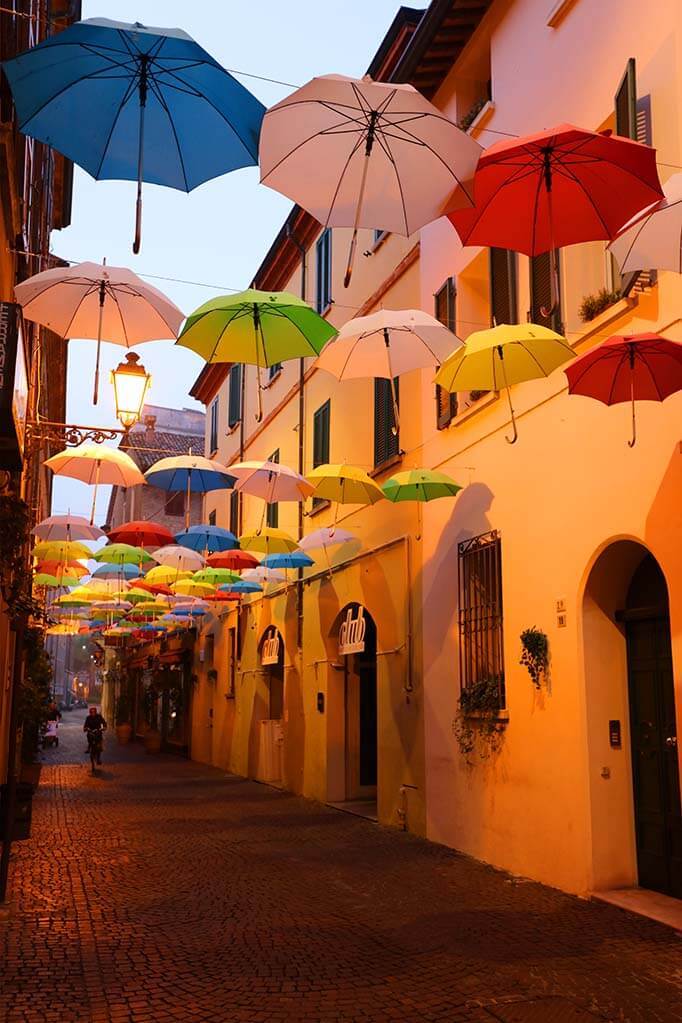
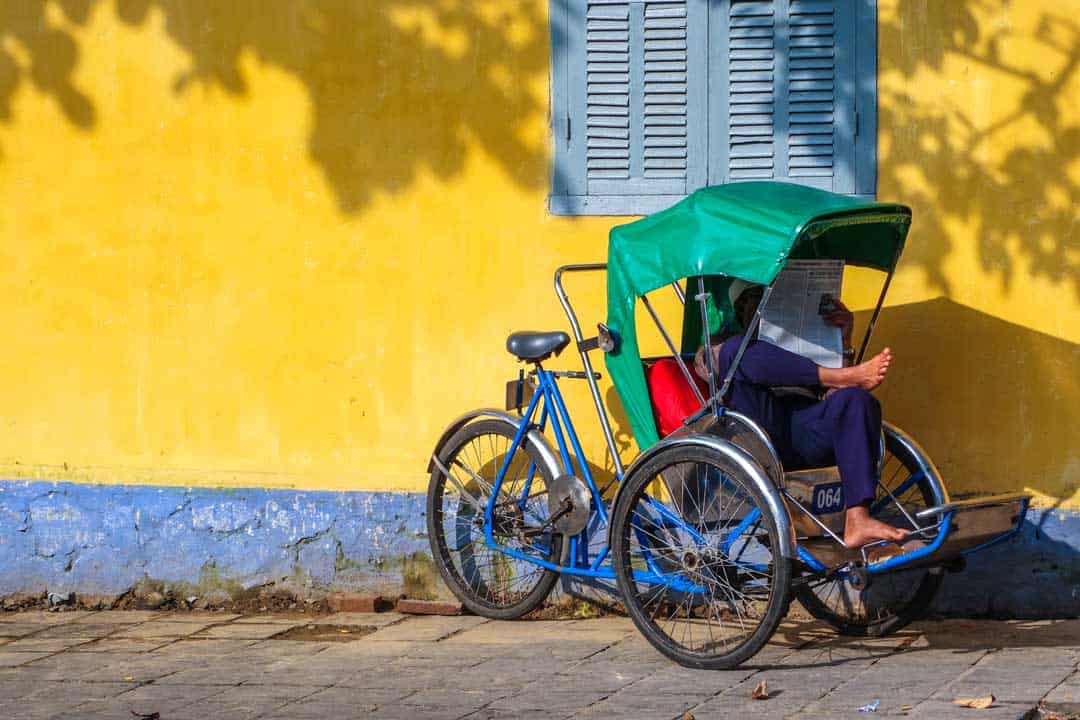
When traveling, always keep an eye out for bold, vivid colors . Pictures with strong colors are often more powerful and bring the place back to life in your photos.
It can be anything from colorful buildings (focus on details like walls, doors), to cars, buses, bikes, or scooters. But also local markets and traditional clothing often give you a chance to take some unique colorful travel pictures.
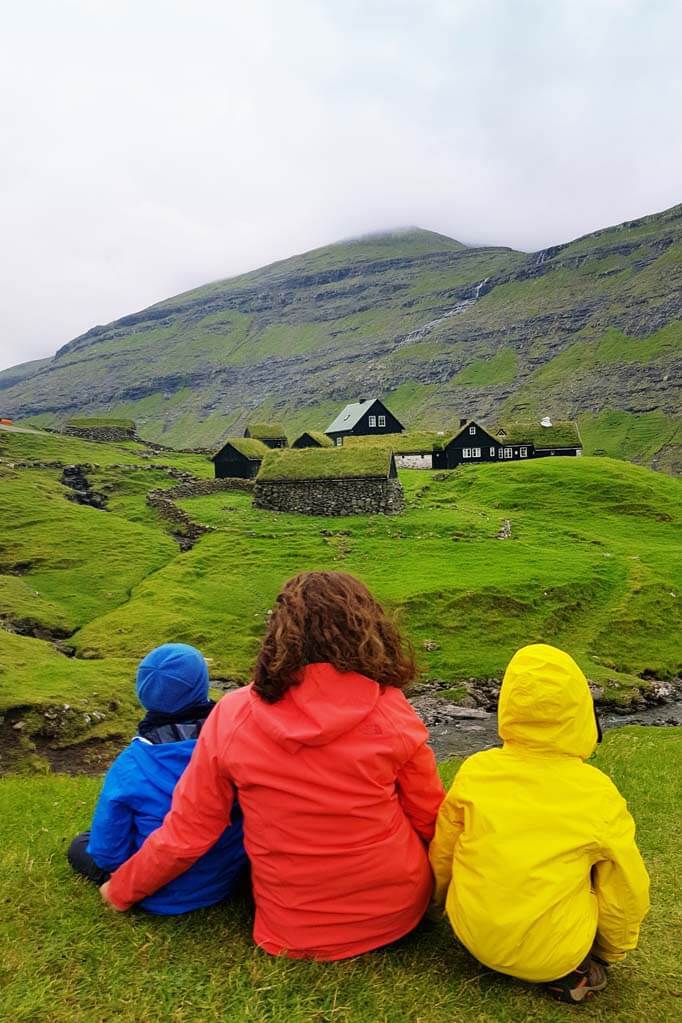
TIP: If you are traveling to a place that isn’t really known for being colorful, wear some bright clothing yourself. A bright jacket can make all your gloomy vacation pictures so much more special.
9. Look for Details
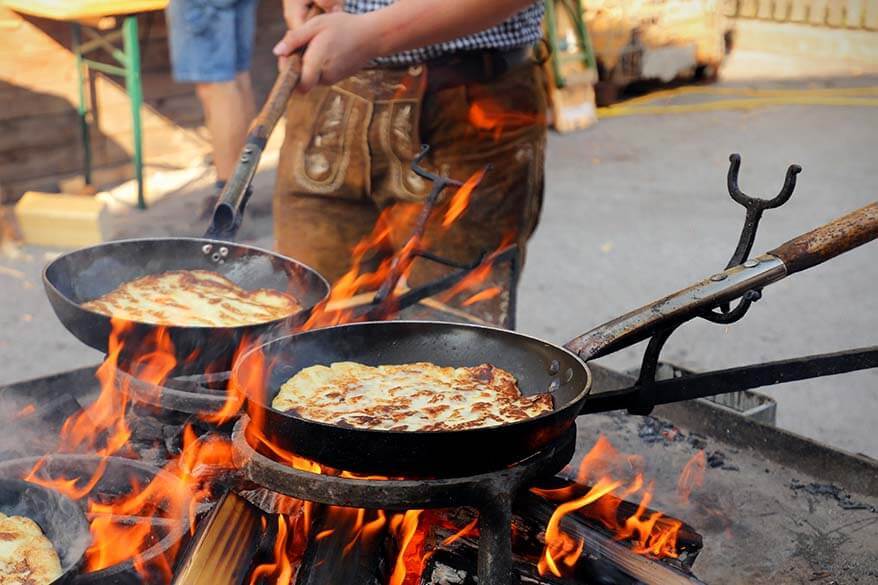
For more interesting travel pictures, try to look for some interesting details everywhere you travel. It can be something local, something unique to that place, or maybe a special detail in the architecture of a building.
Also, get close, really close to your subject. Very often, details tell a stronger story than the whole!
Sometimes you get frustrated because you can’t fit the whole building into a picture. Or you are at a colorful lively market, but your pictures don’t portray any of that special atmosphere… Remember that often less is more and concentrate on a few details rather than trying to capture everything.
10. Have Your Camera Ready
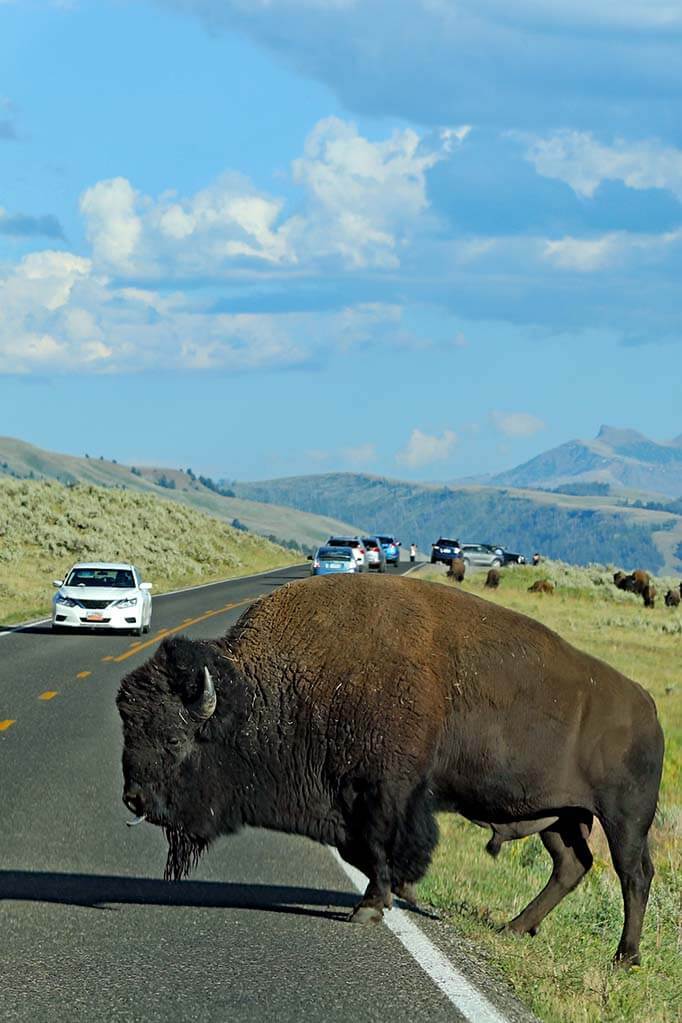
Some of our best travel pictures are often taken unexpectedly, without any planning. It’s especially so with trips that involve wildlife . You just never know when you’ll get to see animals or what they’ll do, so you should always have your camera at hand and ready to take a picture.
Of course, pictures that you take unexpectedly will often not be perfect in composition, or maybe even a bit blurry. You can often solve it with some post-editing afterwards. But at least you got the shot!
Another example of the importance of having your camera ready is when you’re taking a picture of something that you only do once and it moves fast (like in our picture on the fun zip-line experience in Switzerland – see below). You have to be ready to take a picture and it helps if you put your camera in continuous shooting mode. That way, you can take lots of pictures in just a few seconds, and afterwards keep the best ones.
11. Do Something Fun
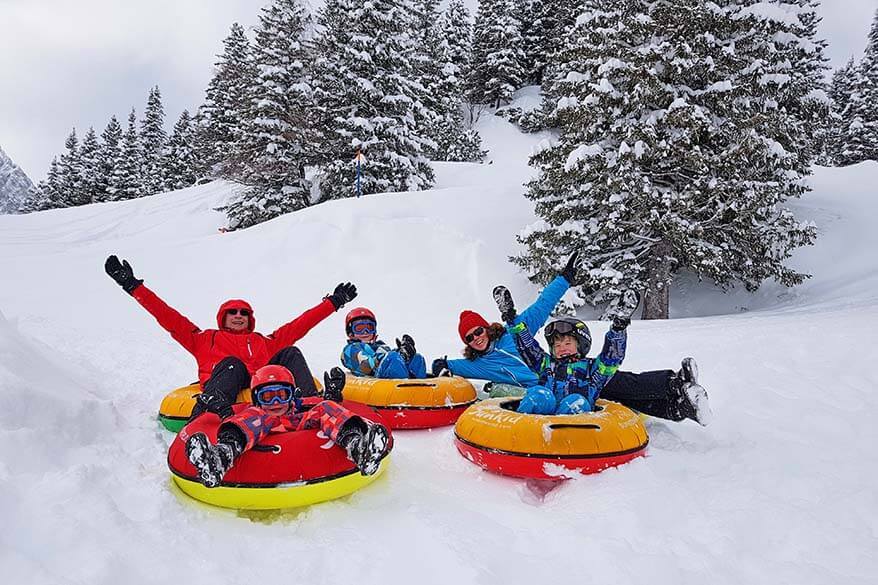
It’s impossible to get spontaneous pictures of the whole family if you don’t have a photographer following you around the whole day. So if you want to take some fun vacation pictures, the best way to go about it is to actually do something fun.
If you are taking pictures of your kids or your travel companions, simply ask them to do something and actually pose for a picture.
We all want candid shots, but they hardly ever happen, especially when you want to get several people in the same picture. But if you make an effort, you can easily take some really nice vacation pictures of you and your family.
12. Be Patient & Take Your Time
Travel photography is what you make of it. You can just take a picture and move on, but for the best pictures, you need to take your time and be patient.
Often, you don’t have much time when we travel, and you find yourself running from one place to the other. But even if you slow down just a little bit, even if you wait just a few moments, you might be able to take a much better picture.
It might mean waiting for the perfect light or for another person to move away from your composition, but it usually pays off.

13. Just Take That Picture!
Sometimes, you see a beautiful place, but you have no time to stop for a picture, or the light is not perfect, or the weather isn’t ideal, or there are too many clouds… So you swear to do it later or on your way back.
But then the weather changes for even worse, the mist comes up, or something else happens, and you never get a second chance.
This happened several times to us. So now we always take a picture when we see an interesting opportunity. Even if it’s not perfect, at least you got the shot. And if you do come back and the conditions are better indeed, you can always take another picture.
And sometimes, you get some really interesting pictures that way.
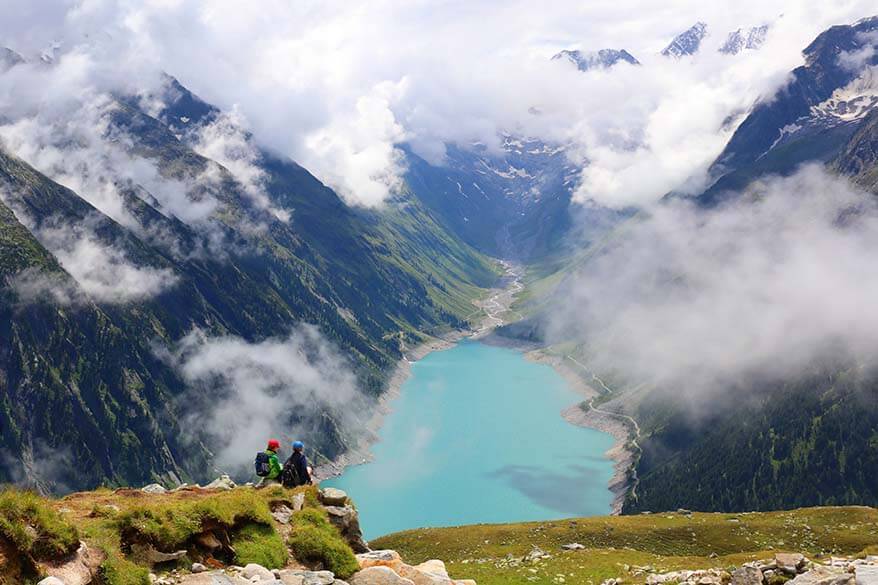
14. Travel Light
It’s always so tempting to pack the perfect camera or lens for all the possible situations you might encounter on your trip. But that also means that you’re always carrying so much unnecessary gear. Not only is it expensive to buy and heavy to carry around, but it also limits your flexibility. Not even to mention that expensive camera gear can put you at risk in certain places you visit.
Often, having more photography gear to deal with might actually lead to you missing the best photo opportunities. You may find that you are constantly switching lenses trying to get that perfect shot while your travel companions are simply enjoying the scenery.
So pack wisely, considering what kind of pictures you think you’ll be taking. My personal rule is to never pack more than two lenses for my DSLR camera. If we visit cities, I usually just go with one lens. For nature and wildlife, I pack a good telelens as well. Sometimes, it’s a tough choice which lenses to pack, but you also learn to be more creative that way.
TIP: If you are not a professional or a semi-professional photographer and don’t absolutely need a DSLR camera for your travel photography, simply get a really good point-and-shoot camera with a good optical zoom (something like this ). That way you always have the right ‘lens’ with you. There are so many versatile cameras nowadays that offer great quality. So don’t make your trip more stressful than necessary.
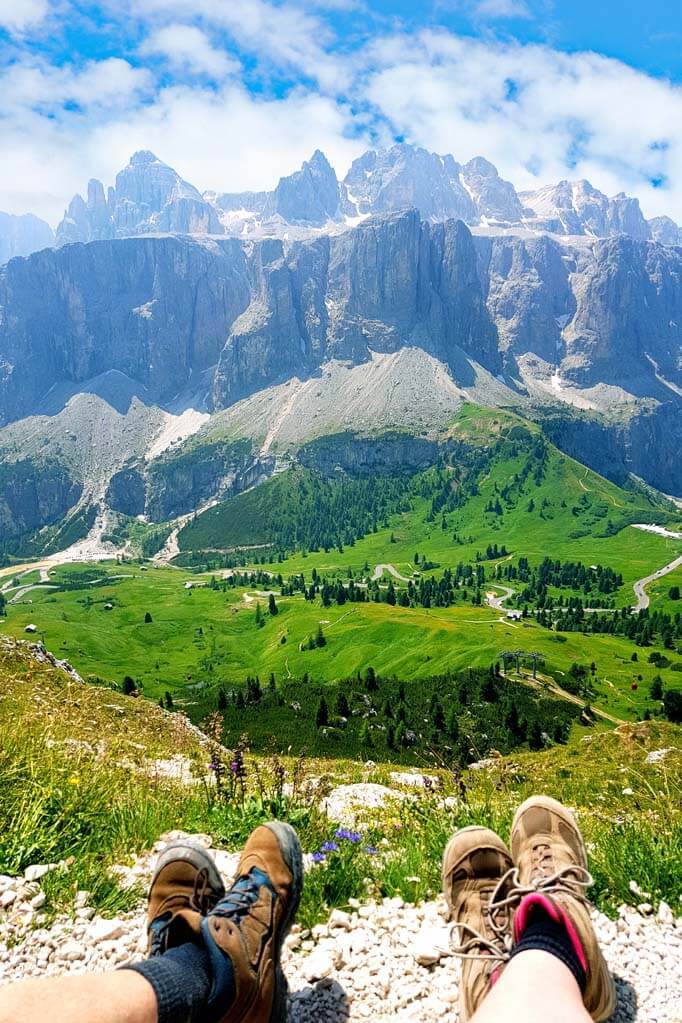
15. Pack a Tripod
Now that I told you to travel light, I also have to say that – for some trips – you really should consider packing a good tripod . It can be bulky and heavy to carry around, but it is also unmissable for certain types of photography.
If you are planning to take pictures early in the morning or late in the evening, if you are photographing waterfalls or Northern Lights, a tripod is a must. But even if you simply want to have the whole family in one picture, it’s often useful to have a tripod. And yes, you can also ask other people to take a picture, but we all know how those pictures usually turn out to be…
There are many different kinds of tripods and you should get one that can steadily hold your camera. For the smallest cameras or smartphones, you can use something like a GorillaPod . For heavier DSLR cameras, we recommend Manfrotto tripods – they are available in many different sizes and models.
My experience shows that for travel photography, the more compact and lighter the tripod is, the more you’ll use it. Just make sure that it can hold the camera and the lens that you have.
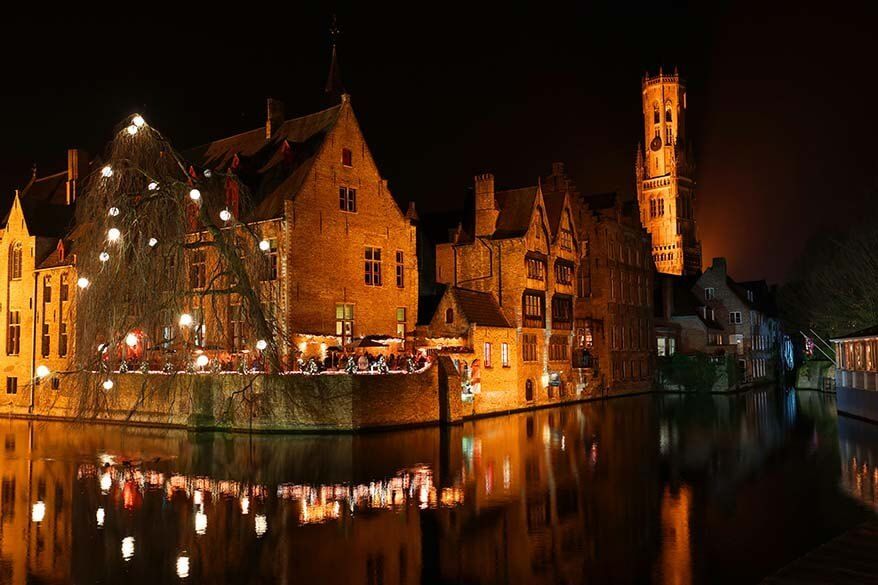
16. Pack Enough Memory Cards & Extra Batteries
Always, always pack more memory cards than you think you’d need. They are really not that expensive anymore and as the camera quality gets better and the picture size larger, you may run out of space on your memory card. So always have a few extra cards.
Also, get memory cards that are fast so that you don’t need to wait for the camera to save a picture before you can take a new one. If you are traveling to places with extremely hot or cold weather, make sure that you have quality memory cards that can work in any conditions.
We use and recommend Sandisk SD Extreme and Sandisk SD Extreme Pro cards. They offer an excellent price-quality ratio.
Always pack at least one backup battery set (and make sure that it’s charged) and carry it with you. There’s no use in having a set of extra batteries in your hotel room or in the car; they should always be at hand.
If you are using your smartphone for photography, take a power bank and a cable so that you can easily recharge your phone during the day. In any case, a good light and compact power bank is a must for any trip these days!
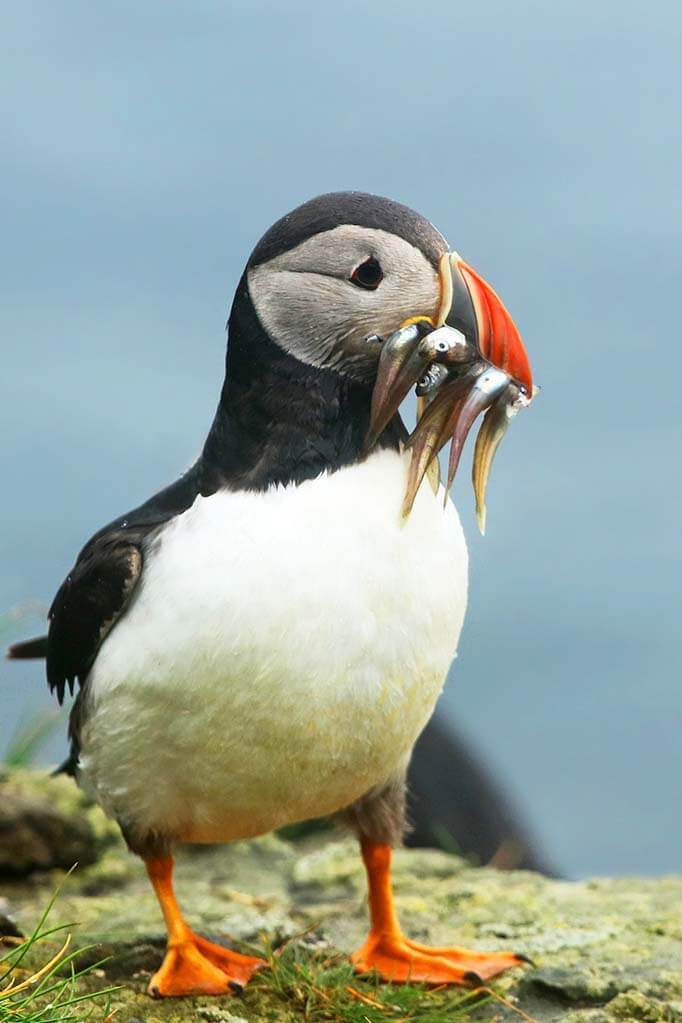
17. Be Respectful & Be Careful
One of the most important things any traveler should remember is to be respectful. Respect other people, nature, and local rules and regulations. Also, just use common sense and don’t do things that you wouldn’t want others to do to you.
Don’t go trampling wildflowers even if there are no signs asking not to do that. And definitely don’t go past the signs asking you not to – there’s always a reason for that, even if it might not look obvious to you. Don’t go on private property and try to always ask people before taking a picture of them. When in doubt, don’t take the shot.
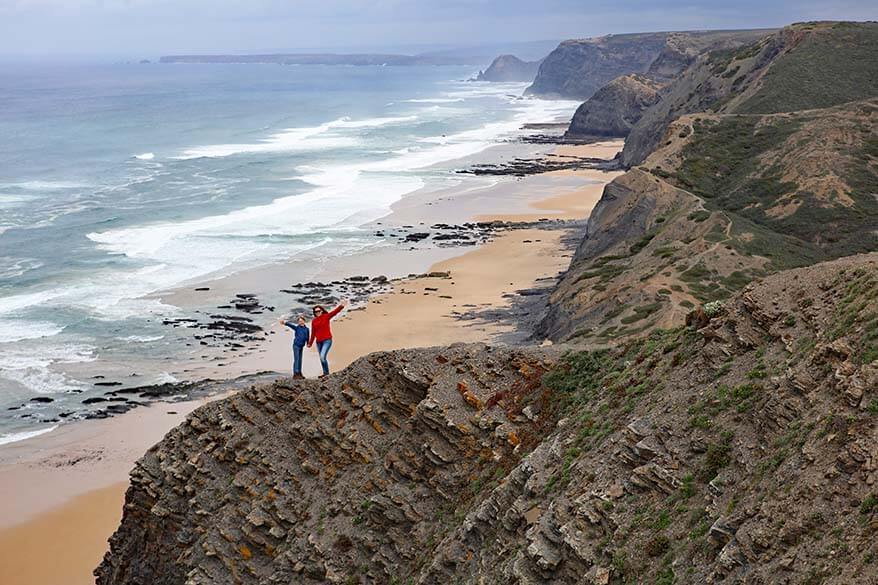
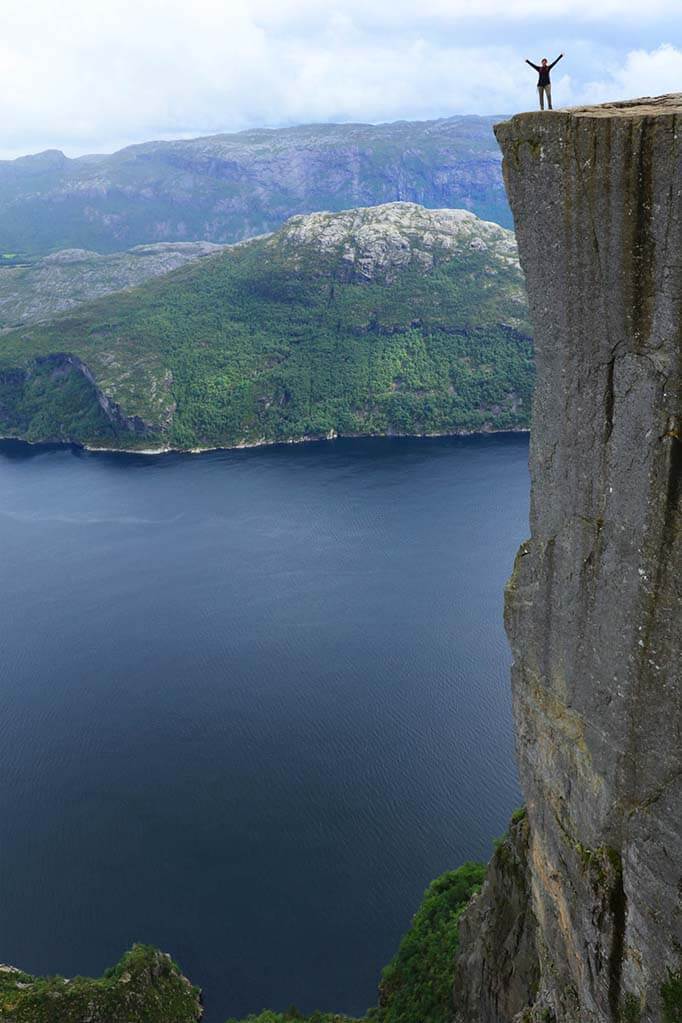
Also, don’t go jumping at the edge of a cliff just because it looks cool or you saw someone else post crazy pictures like that on Instagram. Too many accidents happen every year because people are trying to get some perfect angle for their picture and misstep too far… No picture is worth it!
Having said that, we also have quite some pictures taken at places that look quite dangerous. But in our case, it’s more about finding the right angle to make it look more special. We are always extremely careful and we do our best to always stay on paths and never cross the line or a sign asking not to do it.
18. Get up Early & Stay Late
Photography is all about the light, and it’s not a secret that the best times for pictures are at dawn and at dusk. Photographers call this the Golden Hour . So one of the best travel photography tips I can give you is to make an extra effort and get out of bed early in the morning and stay up late.
Not only will you get better pictures this way, but you will also experience some incredible sunsets and sunrises that will make your trip more special!
Another advantage of getting up early is that you can explore even the most popular travel destinations without the crowds. Most tourists never get to their destination before 9-10 AM, so those few hours in the morning will not only help you get better travel pictures but will also make your travel experience so much more unique.
Unfortunately, this is not really the case at sunset at most destinations, because many people love to stay up for sunset. However, you’ll still have more beautiful light and more special colors for your pictures. Also, some destinations that are popular with day-trippers, are very quiet in the evening. So if you can, book accommodation very close-by and stay longer! This brings me to the next two points.
19. Book Your Accommodation Wisely
This might look like a strange tip for travel photography, but the location of your accommodation can have a huge influence on your trip and on the pictures you’ll be able to take.
Spending a night at a popular day trip destination will allow you to explore the place without the crowds of day-trippers. Staying close to a specific landmark might give you unique opportunities to photograph it in a different light and at different times during the day.
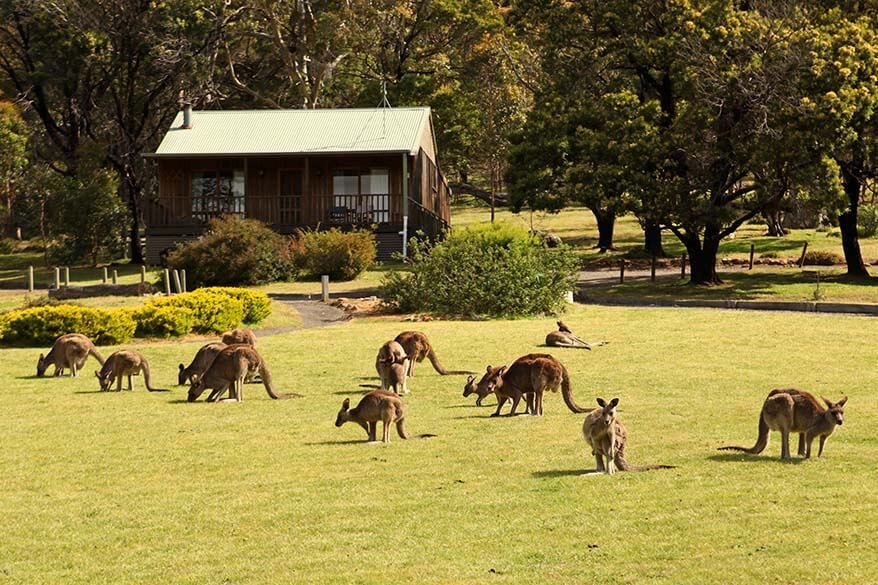
Staying inside a national park might mean that you’ll be able to explore it from dawn to dark and even at night. You might be able to photograph incredible skies at night or get to see wildlife just at your doorstep at dawn. Even just booking a room with a nice view can give you chances to take pictures you’d never be able to get otherwise.
So keep this in mind when choosing your accommodation. Some of the most special travel experiences we had during our trips wouldn’t have been possible if we had chosen another accommodation.
Some of those include watching whales from our hotel in Ilulissat, Greenland , or exploring the fairytale castles of San Marino at sunset with hardly anyone else around, or watching wildlife at dusk and in the dark in Etosha National Park in Namibia … And these are just a few examples.
20. Research the Best Photography Spots and Locations
If you want to take some really nice pictures while traveling, it’s helpful to do some research in advance. Once you are on a trip, you hardly ever have the time to scout the best photography locations. It’s very easy to overlook some nice places or special angles when you’re visiting somewhere for the first time.
One of the best ways to research the best locations is by checking images of your destination online. Just type in your destination name on Google Image search, and you’ll see what kind of images come up. You can then try to find their exact location and potentially even mark it in your Google Maps account.
Another good way to find some of the nicest photo spots is by looking on Instagram. However, this also often leads to ‘Instagram tourism’ and everyone taking the exact same pictures of the same ‘instagrammable’ places…
For some places, it might be important to research when the light is best for photography. This usually highly depends on the direction of the sun. Which brings us to the last tip…
21. Don’t Forget Why You Travel & Enjoy Your Trip
If you are on vacation, it will be impossible to always be in the right place at the best possible time. Also, the weather will play a role and some unforeseen circumstances. So no matter how much research you do or which camera gear you have, often, you simply won’t be able to get the best pictures.
Remember that those perfect images that you see in the travel brochures were usually taken by professional photographers. Usually, they stay at the same location for at least a few days, scout out the best times and angles, and go back to the same place a few times in order to capture that perfect light and composition.
So unless photography is the main goal of your trip, don’t stress about it. Remember why you travel in the first place and enjoy your vacation instead of trying to get that one perfect shot!
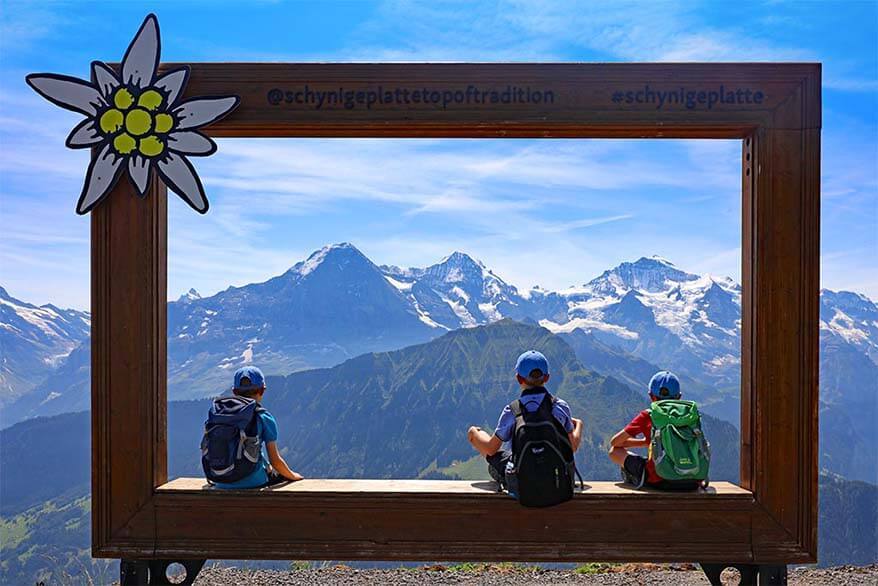
So, these are some of the basic travel photography tips that I wanted to share with you. As you can see, most of them have nothing to do with the camera you have or the settings you use. It’s more about being creative, looking for different angles, doing something fun, or catching the perfect light. It’s also a matter of practice. The more you do it, the better you’ll get at it.
I truly hope that our tips will help you get better travel pictures. But I also hope that these tips will help you have more special trips and create better memories.
Explore, take your time to look for little details, get off the beaten path, and once in a while splurge for some well-located accommodation. Trust me, it will be worth it!
READ ALSO: Our Favorite Destinations Worldwide
If you found this post helpful, don’t forget to bookmark it and share it with your friends. Are you on Pinterest? Pin these images!
This site uses Akismet to reduce spam. Learn how your comment data is processed .
Wednesday 13th of April 2022
Do you have any tips on how to present the photos and videos that you take on your travels? For instance do you create photobooks or videos that include video clips and photos?
Tuesday 19th of April 2022
@Jurga, Awesome, thank you very much. :)
Thursday 14th of April 2022
Hi Vanessa, yes, we sometimes make a photo book with our pictures and my husband also makes a nice video of each bigger trip too. It's all more meant as a nice memory for the kids and they loved watching older photos/videos of themselves :). We don't usually mix the two though - so pictures and videos are separate.
Michael Anthony Cicchi
Tuesday 6th of July 2021
You make gorgeous photos 🙂
Wednesday 21st of July 2021
Thank you, Michael!
Saturday 26th of December 2020
Great general tipps & some beautiful shots there! keep it up :)
Monday 28th of December 2020
Thank you, Lisa!
Michael Cicchi
Sunday 13th of December 2020
A very nice article, Jurga! Great tips.
Thank you, Michael! Always such a loyal reader!

21 TRAVEL PHOTOGRAPHY TIPS (Easy Ways to Improve Today)
- Last Updated: February 8, 2024
Here are our best travel photography tips for beginners and intermediates, based on our experience of going from complete beginners to professional travel photographers, and now working in the industry for 8 years.
Picture this.
You finally book a trip to your ultimate bucket list destination.
Antarctica, Iceland, Namibia, Bali, seeing the Aurora Borealis – wherever it is, you’ve waited your whole life to finally visit.
Naturally you are going to want to capture the best travel photos possible of this once-in-a-lifetime adventure to share with your portrfriends and family members, on social media, and maybe even print on the wall at home.
Moments in time or a travel experience that you always want to cherish.
So you’ve splashed out on a new camera based on expert recommendations , and you’re keen to hit the road.
But here’s the problem – you don’t have the faintest idea how to get the same kinds of images you see in postcards or on the internet.
The kinds of travel photos that just pop, stand out from the rest, inspire you to book a flight immediately.
Luckily that’s where we come in.
We’ve been fortunate enough to work as professional travel photographers for almost a decade now, being paid to fly around the world, running photography workshops, take pictures for the tourism industry and tell stories.
And now we want to share our knowledge, secrets and insights from our travel photography journey with you so you can take better travel photos.
In this post you’ll find many of our favourite travel photography tips you need to know to come home with shots you will be proud to show off.
Today is the time to learn. Let’s begin.
Table of Contents
1) Know Your Camera
2) focus on the golden and blue hours, 3) plan your shots, 4) learn about composition, 5) framing, framing and more framing, 6) move your feet, make them feel comfortable, 8) use a tripod, 9) find the right travel photography gear, 10) be unique, 11) find your voice as a photographer, 13) aperture, 15) shutter speed, 17) bonus – general ideas for camera equipment settings, 18) use manual mode, 19) shoot in raw (if available), 20) learn about post processing, save this pin for later, general travel photography tips for beginners.
To start with let me talk about the general travel photography tips that I feel are not only the most important, but also the most difficult to master.
Developing an eye for photography takes time. Years in fact. It’s a never-ending learning process, but I promise you with practice you will get much better.
And once you start to get the skills for framing and composing a shot, the rest is easy.
Whether you shoot on a dSLR, mirrorless, smartphone or an old film unit, the first travel photography tip is to get to know your camera equipment.
Whatever you have in your camera bag , take the time to read the instructions, play around with all the buttons and camera settings, and spend hours with it in your hand so that it becomes a part of you.
Study the menu so that if you need to change camera settings in the field you’re not spending minutes scrolling through it when timing is critical.
Also don’t forget to learn your camera’s limitations.
Does it perform well in low-light or does the image fall apart? Is it sharp wide open, or do you need to stop down to get the best clarity? Does it have inbuilt image stabilisation?
Ultimately when you pick up your camera you want to feel comfortable and know exactly how it works. Then getting better pictures will come faster and easier.
Light is everything when it comes to travel photography images, and there’s a good chance you’ve already heard about the golden and blue hours.
The Golden Hour is that time when the sun is low in the sky and it throws a magical, warm glow across the scene.
Think the first hour after the sun peaks in the morning, and the last hour or two before the sun drops over the horizon in the afternoon.
The Blue Hour is when the sun is below the horizon and the sky gives off a beautiful blue hue.
If you really want better travel photos, one of the best travel photography tips we can give is to get used to waking up early and stay out late to make the most of these two times of day.
If you’re not a morning person, get used to setting an alarm. Many of the great travel photos of the Taj Mahal and other tourist sites with no one in them for example were taken by people who got there early.
Taking photos in the middle of the day can still result in great shots, but in general you’ll find the blue sky too blown out unless there are some interesting clouds, and on a sunny day you’ll find the lighting conditions can be a bit harsh.
Instead use the middle of the day to get street photography, or scout out photo locations and a vantage point for your sunrise and sunset photos to come back later.
Bonus Tip – Even if it looks like the sunrise or sunset might not be so beautiful, wait around. You never know when the clouds might break or the sky randomly lights up in brilliant colours.
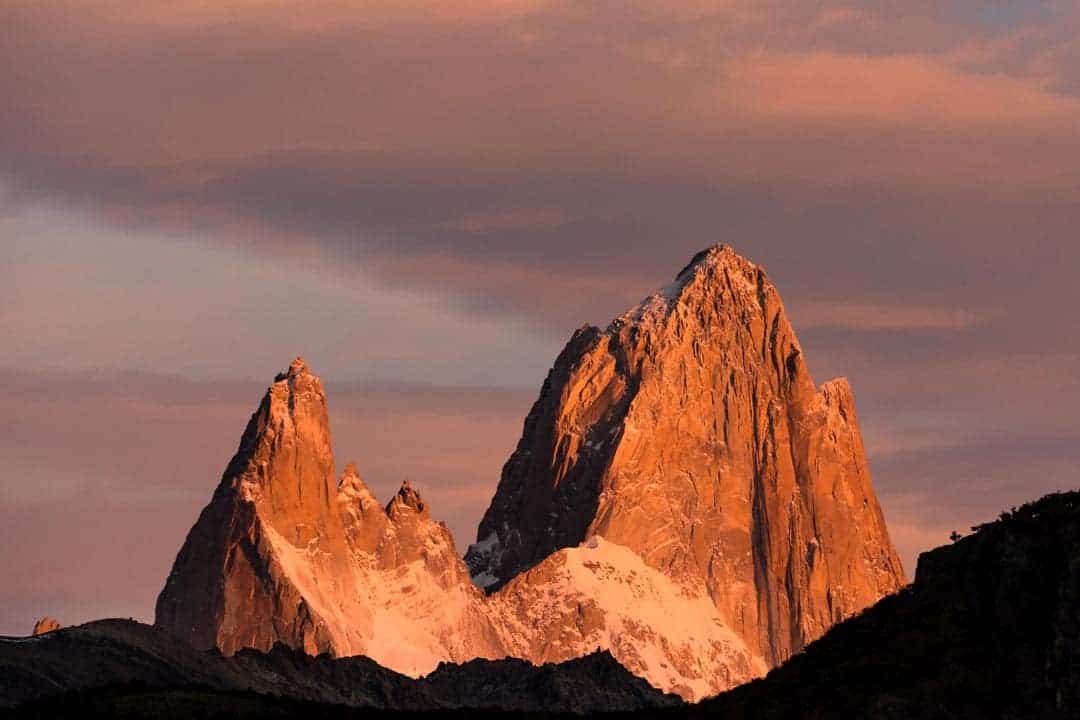
Before you arrive in your tourist destinations, spend a few hours planning out your shot list of images you want to photograph.
You can get inspiration from Instagram, Google Maps, travel guides, magazines and more.
Make a note of these pictures, and then plan your day around the optimum time to shoot (sunrise or sunset for example).
Doing this will help you nail the shots you want to go, and give you more purpose and direction.
You need to know that all of the best photographers use tools like Google Maps or social media to form a shot list, and you should get used to it too.
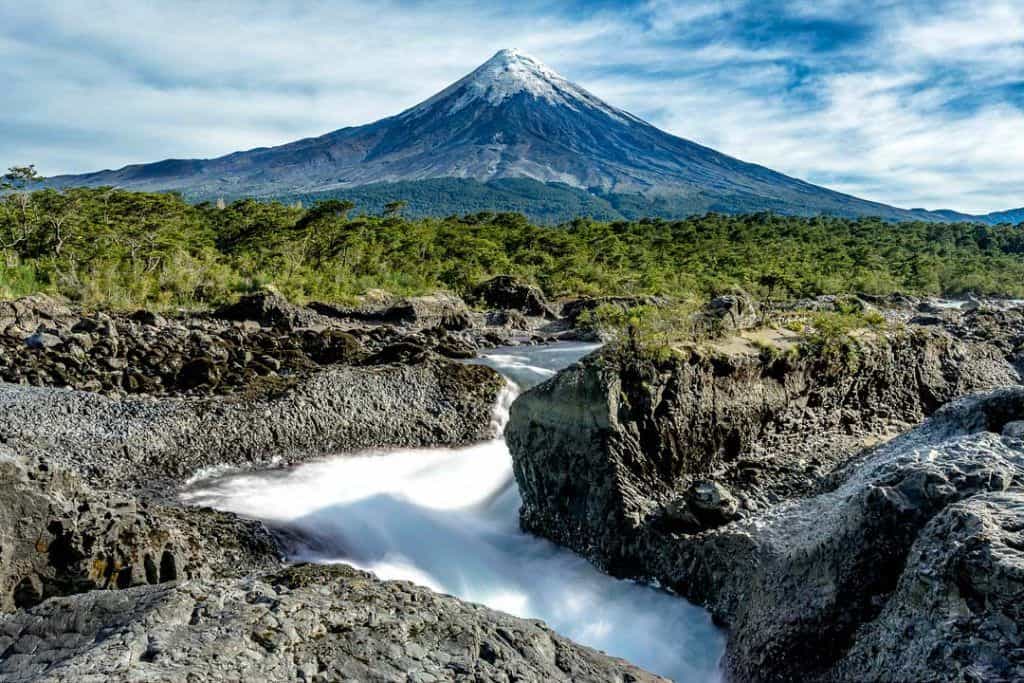
You’ve probably heard about how important it is to compose a shot properly, and I bet if you’ve ever read a photography manual you would have come across the ‘ rule of thirds ‘.
Good composition can be the difference between an average shot and award-winning travel photos.
There’s all kinds of ‘rules’ that theoretically make a photo look nicer, such as not putting your subject in the middle of the shot, don’t cut elements out of the frame, etc.
But right now let’s go a bit into the Rule of Thirds.
This concept is where you divide your image into 9 even squares (many cameras actually have this grid line feature built into their display options).
Then what you do is you place the subjects and points of interest such as a human element along those lines and squares.
Here’s an example of how this looks:
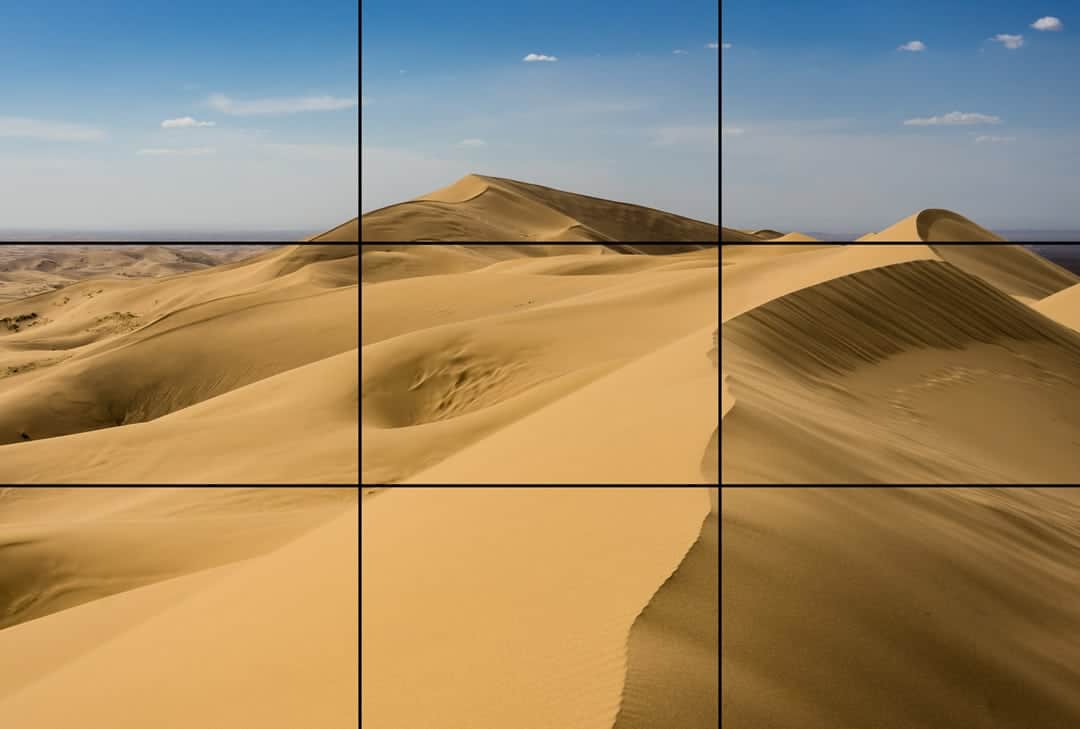
The idea of the rule of thirds is that this is a mathematical idea of what our eyes naturally find pleasing. So it’s good practice to incorporate this method into your shots.
Another thing to look for is leading lines that naturally draw your eye around the photo, as well as different angles and shapes.
Have a river flowing from the side of the shot up to a waterfall on the top left for example, or the foreground bending around, leading the eye towards a church at the top of the photo.
This is a skill that you’ll learn with more practice.
An important thing to remember is that rules are meant to be broken .
Get used to analysing your shots with the rule of thirds, but please don’t use it as gospel if you think a different composition would work.
Adding a human element also brings a lot of interest to a good shot, so place people in your frame.
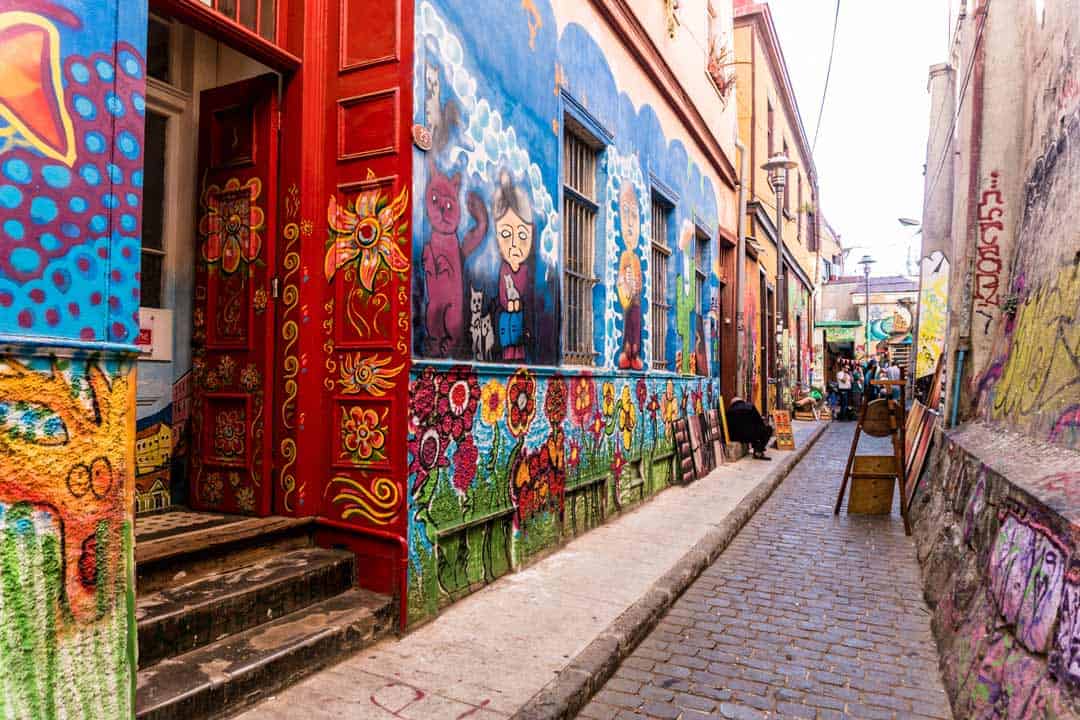
When you look through the viewfinder or LCD screen, don’t just focus on the subject.
Make sure you run your eyes around the entire frame to make sure you’re not accidentally cutting off something important.
Double-check that the top of a mountain is fully inside the frame, or that your friend’s whole body is in the shot as an example.
This isn’t gospel, because sometimes having something cut off from the frame can be good for composition, but you’ll have to be the judge of that.
Also check to see if you can use something natural in the scene to create a frame inside your picture.
Think of looking out a window at a building, or a bent-over tree surrounding a pretty lake.
These can all help make better travel photos.
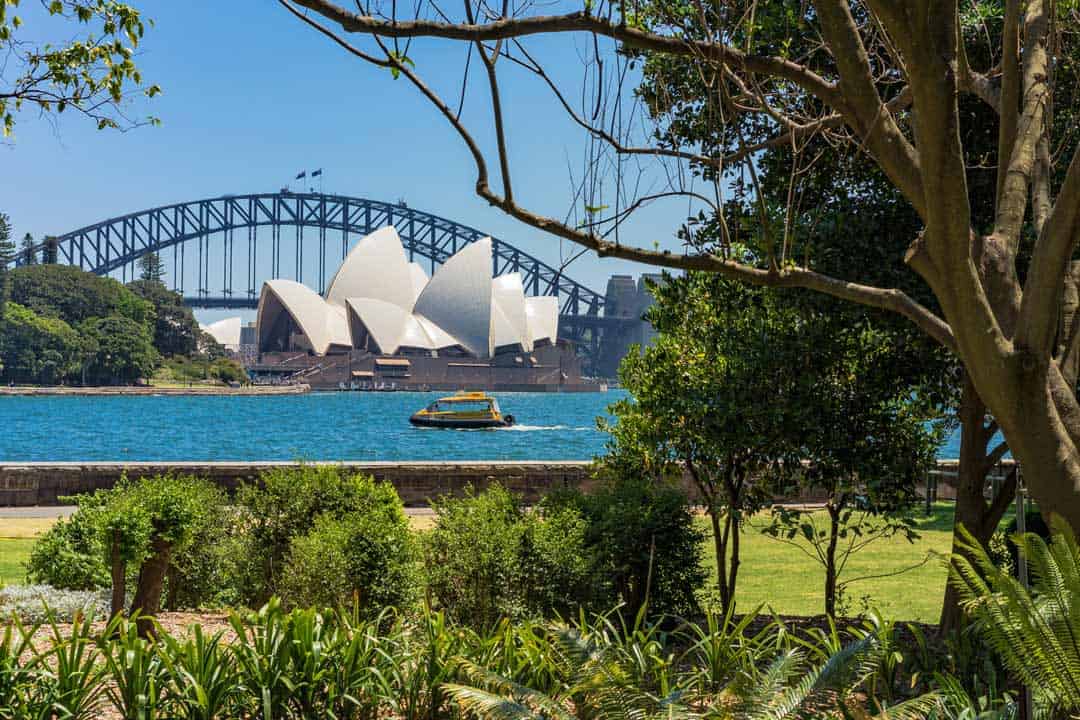
This is one of the most important travel photography tips I can give – Move your feet.
Don’t just arrive to a scene and take a shot from the place you’re standing.
Instead take a few minutes to walk around and see if there is a better frame or composition.
Go closer, move back, step to the side, consider your lens’ focal length, etc.
Imagine trying to take that iconic Taj Mahal photo, only to find out later that you were 2m to the left of centre, throwing off that perfect symmetry.
Or maybe if you walk to the river’s edge you’ll be able to incorporate some interesting rocks into the scene instead of just water.
Better yet, take multiple travel photos and fill up those memory cards from the same photo locations so you have lots of options when you get home to see which is your favourite.
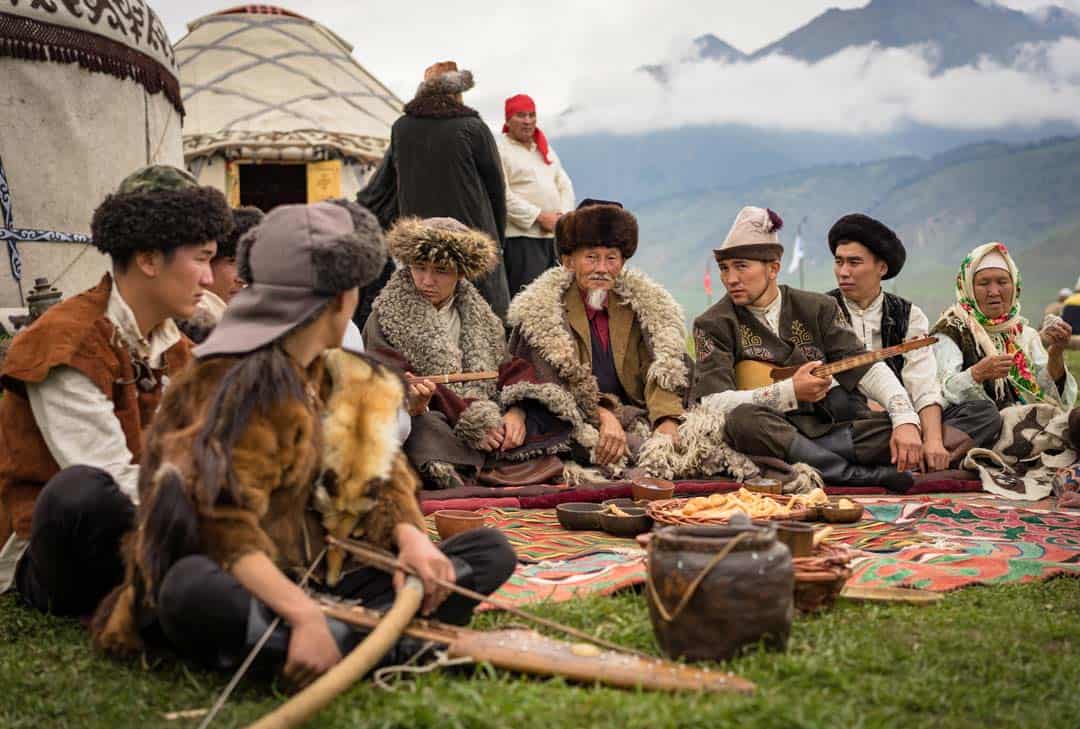
7) Ask People for Permission
Travel photography isn’t all about capturing the most beautiful sunsets and gorgeous architecture around the world.
Travel photography is also about the people you meet. But if you’re a bit shy like me, how do you get those amazing portrait photos without feeling rude?
Simple – just ask for permission.
Asking someone for permission to take their photo is polite and respectful.
If you have had a great encounter with someone, or you just see a great opportunity and want to capture a wonderful portrait, give them a big smile and ask if it’s ok to take their photo.
You’ll find many people are more than happy to pose for a photo if you just ask (just make sure you respect them if they say no).
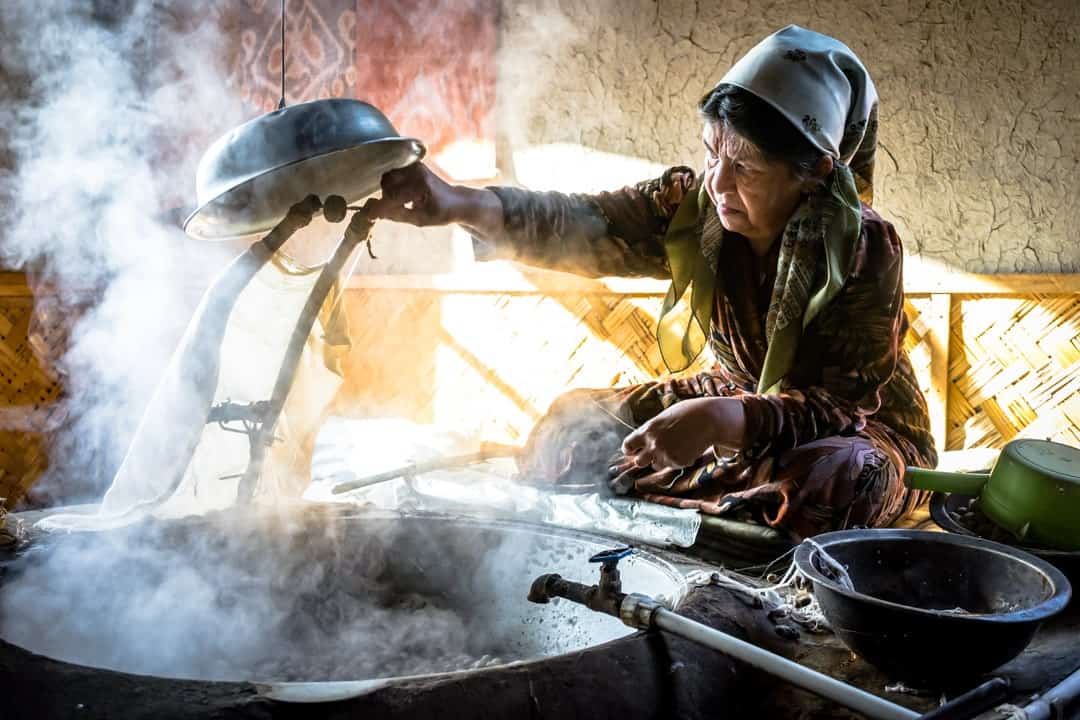
But what if you want to get a candid shot, with the subject looking natural?
There’s always another way to get these without annoying the person.
Don’t make it obvious that you are taking their photo. Act natural and take lots of photos of the environment around them.
You can also keep your camera down by your side and point the lens in their direction.
If you have a zoom lens, use it. This was you can be on the other side of the street or market and still photograph the person.
Interested in learning more? Join one of our exclusive photography workshops in Antarctica, Kyrgyzstan, Tajikistan or Mongolia !
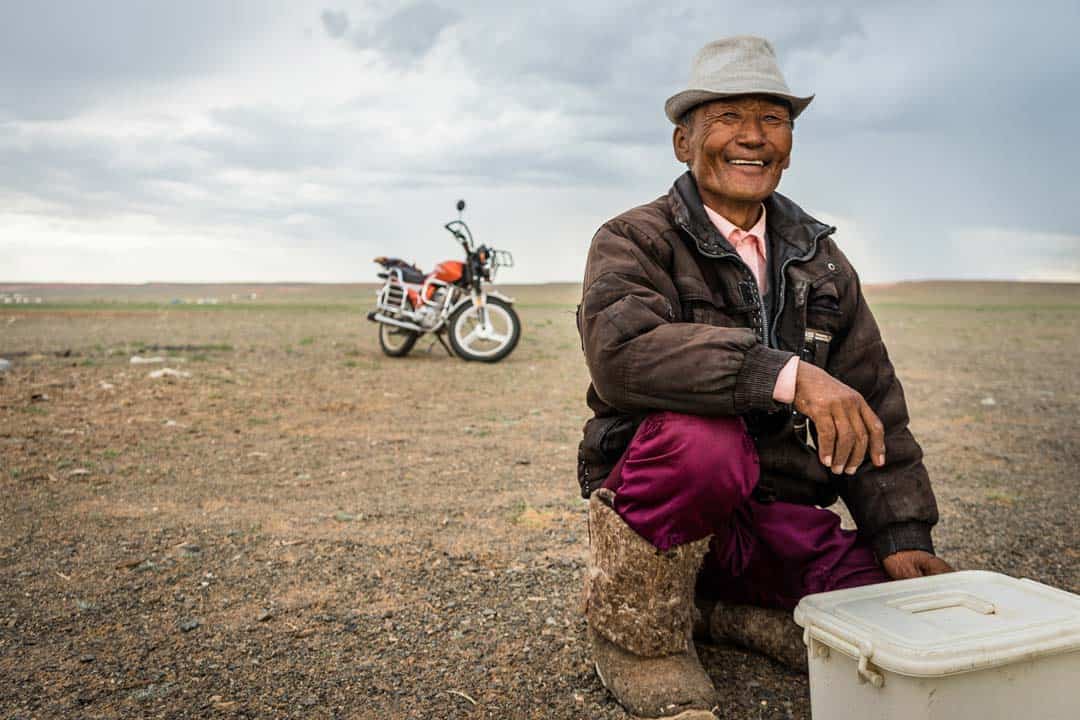
Another one of my favourite travel photography tips for portraits is to bring in another element to the shot.
Some people will feel uncomfortable posing for a stranger, but if you can make it about something else they will feel much more at ease.
As an example, maybe ask if they can pose with something in their store like a rug, or ask them to show you their wedding ring.
This way they’ll realise there is more to your photo than just them. This will also add a lot more interesting elements to the shot!
A tripod is one of the best camera accessories you can have in your camera bag, and really essential for travel photography.
This will allow you to get excellent shots in low light, as well as get creative with your images (like taking long exposures).
These days you don’t always need a massive tripod to travel around with, especially if you want to travel light and are a hobbyist photographer. Look at some of the Joby Gorillapods .
Another good thing about using a tripod is that it will force you to slow down with your photography and put more thought into each shot.
Rather than just pointing and shooting, you will think carefully about where you want to set up your tripod and how you want to compose your shot.
Honestly if you want to become a better travel photographer, you’ll need to invest in at least a small tripod.
You don’t need to go out and spend tens of thousands of dollars on new travel photography gear to get the best shots.
In fact chances are you already have a perfectly adequate camera right next to you (your phone).
Instead just get what you an afford, and as you grow with your photography style, post production, etc, you’ll learn what camera gear you need as well.
Things like filters, tripods, flashes, prime lenses, zoom lenses, etc will come in time.
For now, all you really need is a camera, memory card and enthusiasm!
Check out our recommendations for the best travel tripods .
There’s nothing wrong with getting those iconic shots of the Eiffel Tower or Machu Picchu to share on social media.
They’re beautiful and are often amazing camera angles of famous places that everyone wants to visit.
But don’t forget to be unique as well! Find a different perspective that hasn’t been photographed a million times.
In fact make it your goal to get a few unique shots that you can be proud of.
Over-expose, under-expose, incorporate motion blue – the only limitation is your imagination!
Just like a writer or musician finds a particular style they like, as a photographer you need to discover your ‘voice’.
Travel photography is such a broad term that can cover just about anything.
Really just taking any travel photos will fit the description, whether it is landscape photography, wildlife photography, architecture, portraits, food or whatever.
Just find a style you love most, and focus on getting better at it.
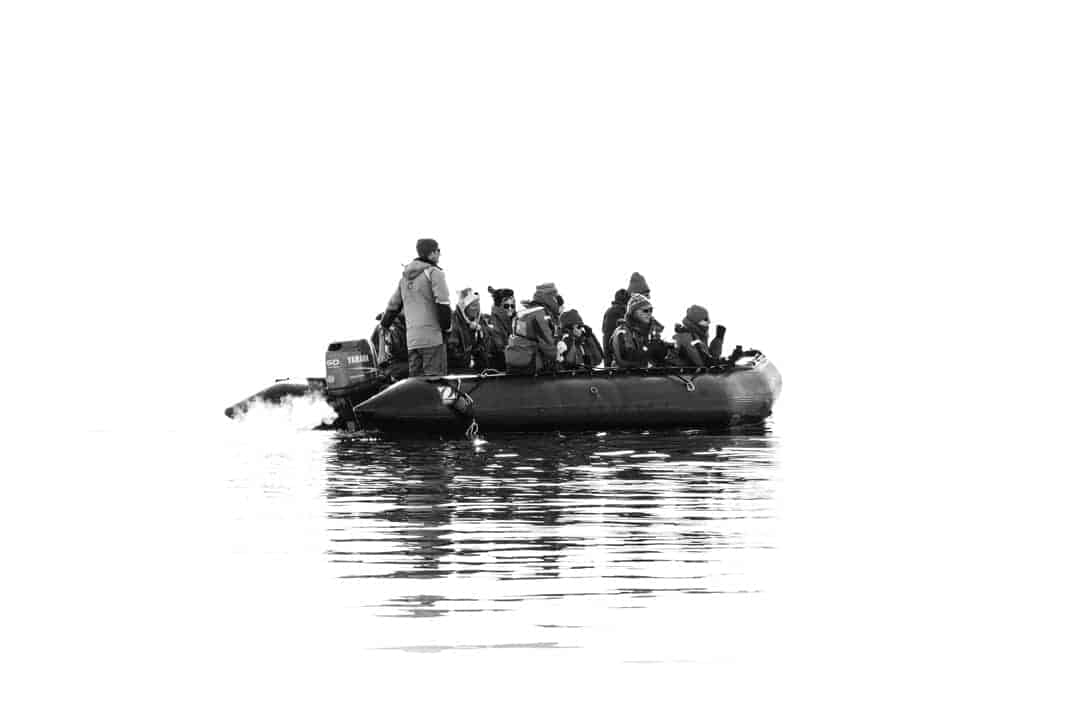
If you really like black and white photography, then start shooting in black and white! Love taking images of crazy street markets? Then get out there and find them!
Experiment, learn, discover and nurture!
Technical Travel Photography Tips
While the technical side of using a camera is usually the most overwhelming thing for a new photographer to think about, it’s actually one of the easiest things to master. All it takes is a bit of study and practice.
If you’ve never looked into getting out of ‘Auto mode’ on your camera, then terms like ISO, aperture, white balance and shutter speed will seem completely foreign.
READ MORE: Check out our great article and blog posts featuring our best landscape photography tips !
12) Exposure Triangle of Photography
The Exposure Triangle is a metaphor to explain the 3 elements that allow light onto a sensor.
A camera captures light, and the right amount is needed so that your image isn’t too bright or too dark.
The 3 parts of the Exposure Triangle are aperture, ISO and shutter.
Each one affects how light reaches the sensor in different ways, and getting this combination right is essential to capturing a beautiful image.
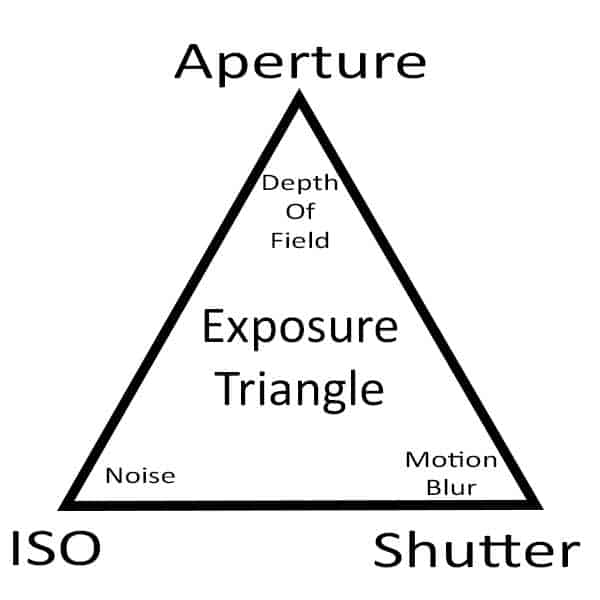
If you want more information, I’ve put together this comprehensive guide to understanding the exposure triangle which you should really check out.
For now though I’ll explain these three things briefly, and how they relate to taking better travel photographs.
Aperture is how wide, or small, the blades in your lens are and how much light goes through the lens.
The aperture size is measured in ‘F Stops’, and displayed as numbers. f5.6, f8, f11, f16, etc
A wide aperture (small number – f1.8) lets in more light than a low aperture (big number – f22).
A wide aperture also has a shallowed depth of field than a low aperture. I know it can be a little confusing, but you’ll pick it up the more you play around with it.
If you want the background blurry in your photo, you’ll want a wide aperture. If you want everything in focus, you’ll want a low aperture.
ISO is how sensitive your camera sensor is to light. A small number, such as 100, means it’s not very sensitive and therefore needs more light to leave an impression.
A high number, like 6400, means it’s very sensitive and needs only a little bit of light to show up on the sensor.
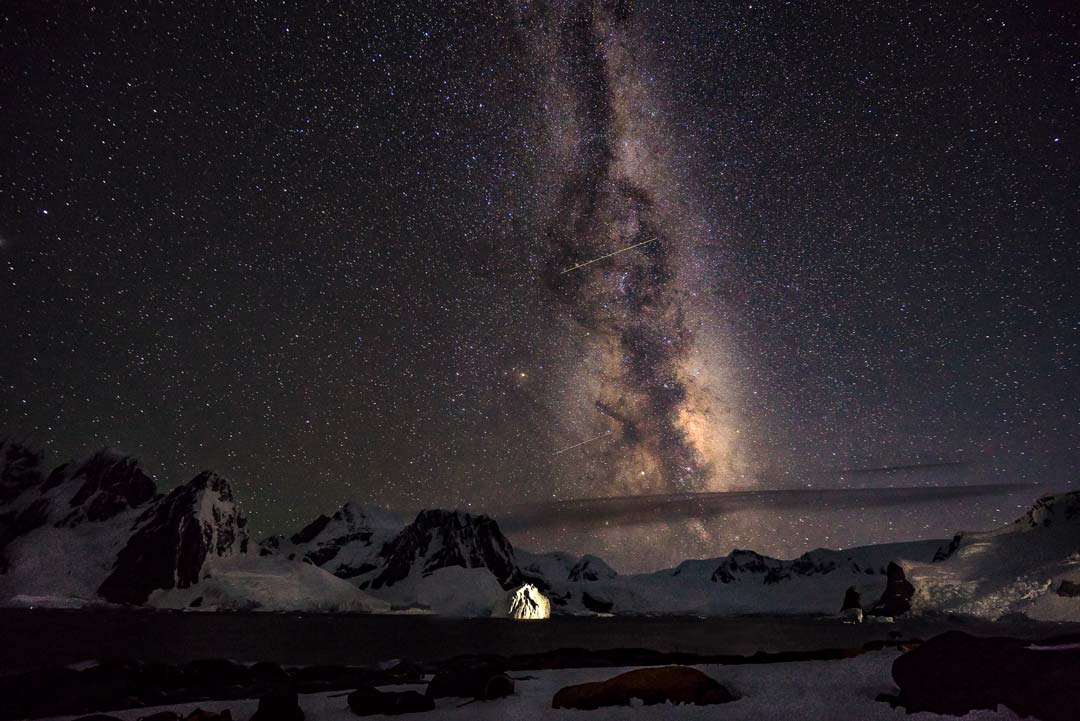
The higher the ISO, the more noise shows up in a photo. Noise lowers the quality of your image, so in a perfect world you’ll want to keep this as low as possible (unless you’re going to stay out late doing astro and night photography ).
It’s also necessary to raise your ISO if you’re shooting moving subjects (or handheld) indoors.
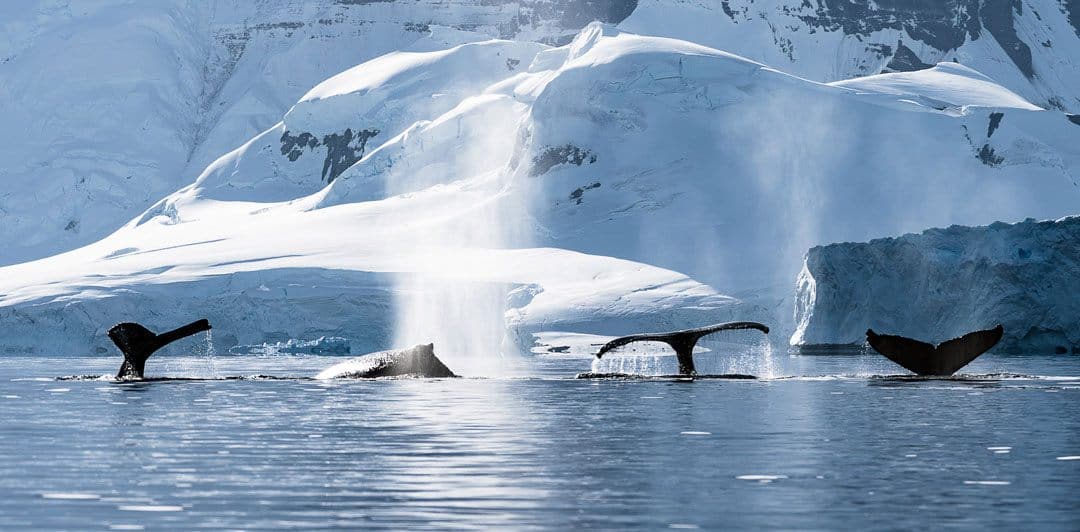
Shutter speed is pretty straight forward – how long it takes for your shutter to open and close. This allows you to freeze a frame, or introduce motion blur.
Want to capture a bird in flight? You’ll want to have a fast shutter (1/4000th of a second for example).
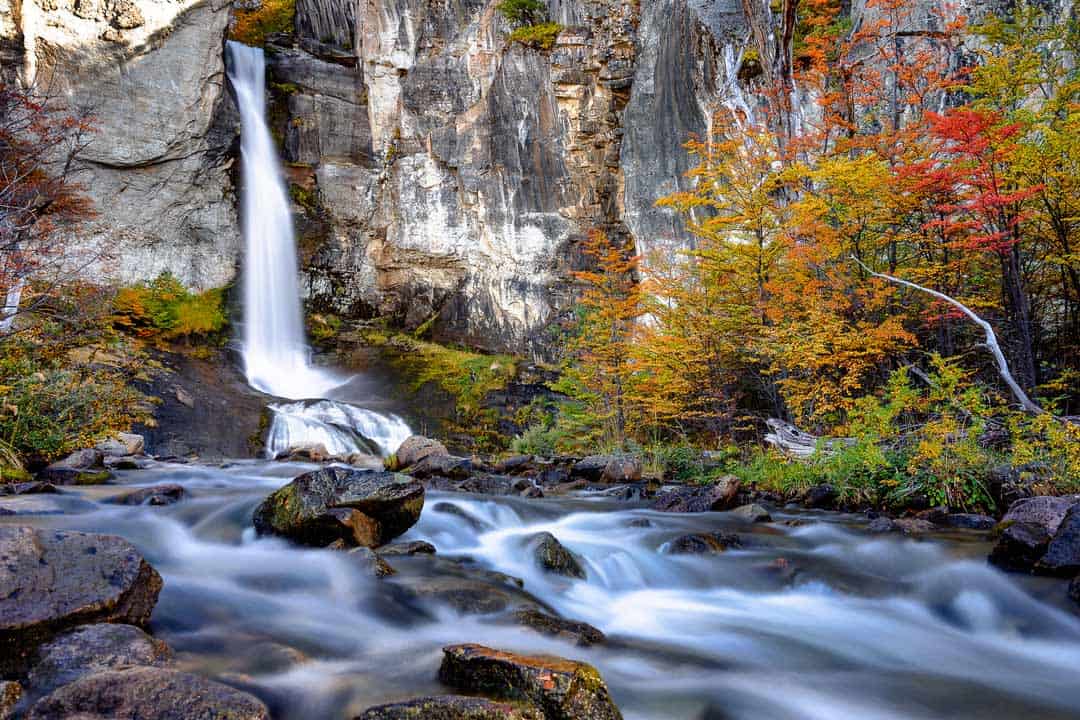
Want to make a waterfall look silky smooth, like you see in so much Iceland photography? Go for slow shutter speeds (3 seconds for example), and check out our guide to waterfall photography tips while you’re at it!
Keep in mind that if you are holding your camera equipment rather than using a tripod, you’ll need to have a fast enough shutter to eliminate your own hand movement.
As a general rule 1/60 of a second is the slowest you should go so your picture doesn’t pick up hand movement. Any slower than that and you’ll probably need a tripod.
16) Combining All Three for Perfect Exposure
There is no ‘perfect setting’ for aperture, ISO and shutter. It all depends on what you are trying to photograph and the style you’re going for.
Luckily most decent digital cameras have two little tools that will let you play around figure out how all three work together – manual mode and histograms.
Manual gives you complete control over your camera’s ISO, aperture and shutter.
If you change one, nothing else will change, unlike in ‘aperture priority’ mode or ‘shutter priority’ mode.
The histogram is a visual display of light. When the bars are all the way to the left, the image is darker. When they are all the way to the right, the image is lighter.
When most of the bars are in the centre, this is perfectly exposed.
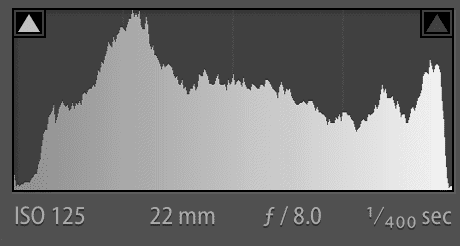
The best way to figure out what combinations work best when you’re a complete amateur is to put your camera on “manual” mode, activate the histogram, and play around with the settings.
Pick an aperture (f/8 for example) and point it at the scene. Now look at the histogram.
If the image is too dark, then you’ll need to let more light in. Let’s make the speed slower. See a change?
Now put the shutter back to where it was and instead change the ISO. Make the ISO higher. Is the image getting lighter?
Spend an hour or two playing around with different apertures, ISO and shutter so you get an idea of how each one affects the light hitting the display.
Take note at how drastically things can change if a cloud goes in front of the sun, or you take the camera inside.
This just comes with practice of course, and knowing what settings you want for a particular scene will become second nature
Keep in mind that not all travel photos needs to be perfectly exposed. Sometimes having a darker image looks much better than having one that is nice and bright. You can use your judgement for this.
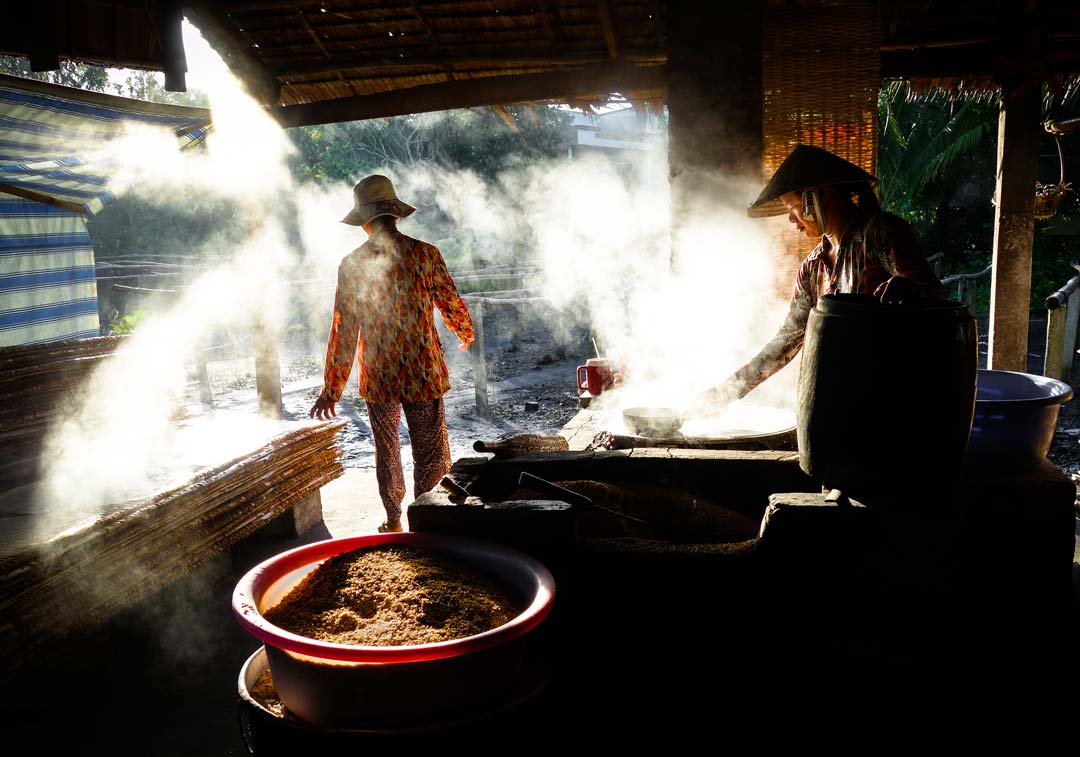
This is very, very basic and by no means should be read as gospel. There are a million different things that can affect why you would want a faster shutter, or wider aperture. But if you are confused about what to pick for what here’s a quick idea.
- Landscapes – You’ll want your aperture around f8-f11. You’ll also want your ISO as low as possible. Slow down the shutter accordingly.
- Portraits – You’ll probably want to photograph your subject to be sharp, but the background blurry to bring focus on the person. Have a wider aperture (say f2.8 for example), and a faster shutter (around 1/160 at the absolute slowest) to freeze the subject. Adjust ISO accordingly.
- Indoors – Because it is darker inside than outside, you’ll need to let a lot more light into the sensor. Unless you’re using a tripod, keep the speed at around 1/60 as the slowest, and the aperture around f5.6 to start with. Adjust ISO and aperture accordingly.
Of course there’s a bunch of other styles of travel photography that would use different settings, such as astrophotography, architecture, street scenes photography, wildlife photography, etc.
In time you’ll learn what settings work best for each scene.
The best way to get to know your camera and how light works is to have complete control over what settings you choose.
The only way to do this is to shoot in manual mode (shown by the letter M on most cameras).
It will take months of practice, but I promise you that in time you’ll be able to look at a scene and instantly know what aperture, ISO and shutter to use to get the exact style of image you’re looking for.
You can also use aperture priority mode (the letter A on your camera) if you don’t want to make the big leap to manual just yet.
This way you can lock in the aperture you want (f8 for landscape photography, f2.8 for portraits, etc) and the camera will automatically adjust the ISO (although you can control this part too) and shutter to get perfect exposure.
I highly recommend focusing on learning manual settings though until you have it perfected.
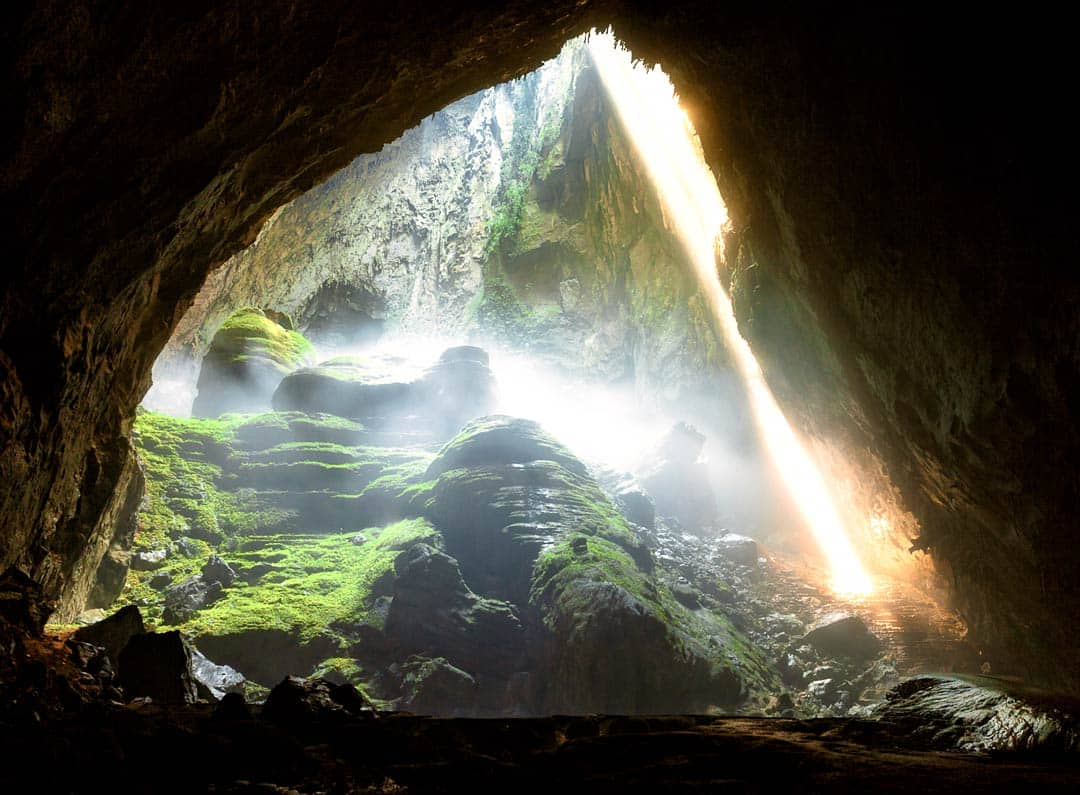
When you take a photo on your digital camera, the computer chip inside it takes what you captured on the sensor and converts it into a format that can be easily read. For most cameras, these two formats are RAW and JPEG.
JPEG is a compressed format that the camera creates to save on space. In doing so it ‘locks in’ all the data that it picked up such as the colour and white balance.
RAW files actually saves all the data of what you took and doesn’t compress it.
Most decent digital cameras will give you the menu option of shooting in RAW, and I recommend you use it if you ever plan on editing your photos.
Keep in mind that the file sizes will be a lot bigger (for example on one of our cameras a RAW is 42, while a JPEG is just 20), so you’ll need to have extra memory cards and external hard drive storage.
If you have no plans on editing your photos then shoot in JPEG.
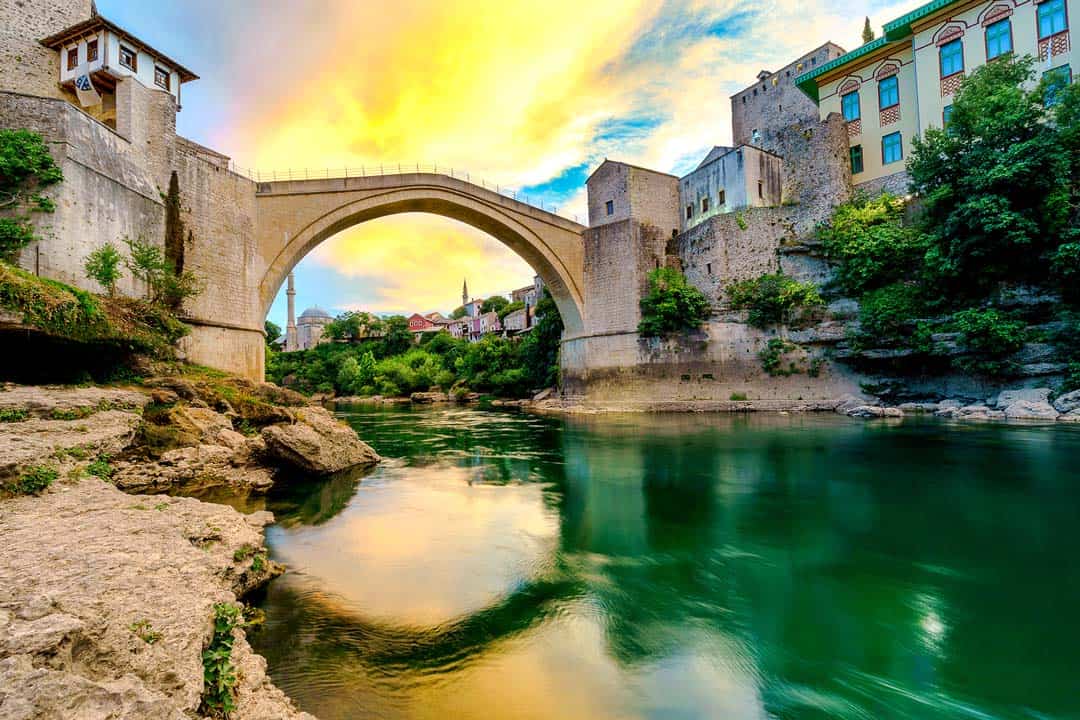
Some people think that editing your photo is ‘cheating’. But the truth is photographers have been editing their photos ever since photography was invented.
Yes, even your favourite photos in National Geographic have been manipulated in some way.
99% of photos you see in your favourite travel magazines have been edited. Every professional photographer edits their photos to some degree.
The reason is that not all cameras are great at capturing exactly what the eye saw in terms of colour and light.
If you really want to get the most out of your professional travel photography business, you should start playing around with post processing.
Many people have heard of Adobe Photoshop , but it’s a pretty advanced tool that most people wouldn’t ever need to use (until you get more experience).
To start with look at the free apps that you can get on your phone, such as Snapseed, or free editing programs on your computer, like iPhoto or GIMP.
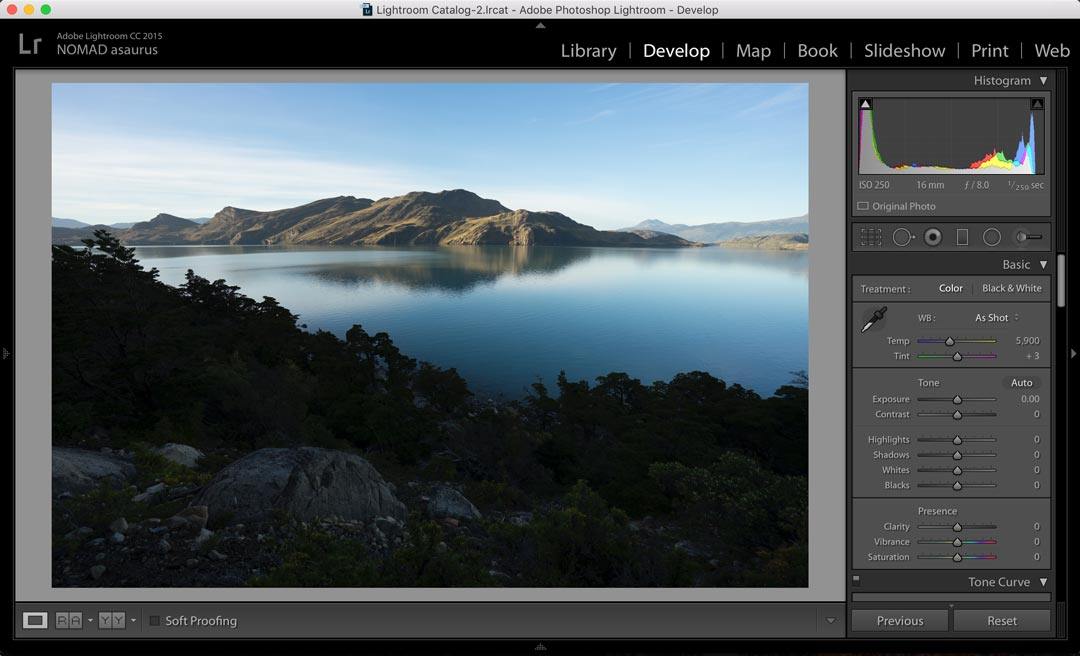
Once you get serious about travel photography and you want to start editing all of your photos that are filling up your memory cards and external hard drive, we recommend purchasing Adobe Lightroom.
If you’re ready to make the jump to using Lightroom and Photoshop, Adobe have a great ‘Creative Cloud’ package, which is what we use for only $10 a month. You can buy it here with a 7-day free trial
21) Practice, Practice, Practice
Just like anything, becoming a great travel photographer takes time, and a lot of practice. The only way you can get better is by getting out there taking travel photos!
You don’t even have to travel the world to tourist destinations or have the most travel camera available to be a great photographer.
Borrow some family members to take their portraits, get a friend who is also interested in photography and push each other, or grab your smartphone and go shoot sunset.
Buy whatever you can afford, go for a walk around your city and snap away.
We hope that this general guide on travel photography tips for beginners has been helpful.
Please feel free to reach out to us if you have any other questions. We have a lot of experience working with tourism boards, and would be happy to help you too.
Good luck on your photographic journey, and maybe we’ll see you in National Geographic one day!
DISCLAIMER: Some of the links in this article are affiliate links, which means if you book accommodation, tours or buy a product, we will receive a small commission at no extra cost to you. These commissions help us keep creating more free travel content to help people plan their holidays and adventures. We only recommend the best accommodations, tours and products that ourselves or our fantastic editorial team have personally experienced, and regularly review these. Thanks for your support, kind friend!
Alesha and Jarryd
Hi, We’re Alesha and Jarryd!
We’ve been traveling the world together since 2008, searching for the planet’s best destinations and adventures.
Love Travel?
Sign up for our free weekly newsletter for the best travel tips, ideas and deals!
We respect your privacy. Unsubscribe at any time.
READ MORE...
The Best Camera Accessories to Level Up Your Photography
GoPro HERO 12 Review – Is it Worth Buying in 2024?
Peak Design Everyday Messenger Review – My Honest Experience
Related Posts
40 incredible photos of uzbekistan that will blow your mind, 15 epic landscape photography tips from a pro (plus settings to use), 10 best camera backpacks for travel [2024 guide], 73 thoughts on “21 travel photography tips (easy ways to improve today)”.
I indeed agree in Know your camera and Plan your shots. These tips would make a good start in achieving your socmed worthy travel shots. And ofcourse, the other tips will surely be useful too. Great post!
Good article but I need to say something about using Manual – it’s not that great. Manual is just a different mode of settings for exposure, little different from either shutter or aperture priority, except these two give you a leg up, to where you’re going anyway. At the end of the day whatever exposure setting you choose will be just a combination of the 3 on the ‘exposure triangle’. Instead of using manual try these other two in conjunction with exposure compensation, which overrides the exposure meter reading. You still need the meter for any exposure anyway, just not necessarily using the value it recommends. It amounts to the same thing, only easier, quicker, and still constraining one of the triangle sides that you want. I use manual for specific unusual objects, such as sun, moon, stars, but during general daytime subjects it’ll be very unusual to hamper yourself by not using the aid provided when there is no advantage.
Your blog has become my go-to source for insightful content.
Thank you so much. So glad to hear. 🙂
Before you go, research your destination and its culture. This will help you better understand the people, customs, and landscapes you’ll be photographing.
I benefited a lot from your post. Thank you
So glad you did. Thank you for stopping by. 🙂
Thanks for sharing all this amazing tips & information. Fabulous post !
You are welcome. We are happy to help. Happy photographing
nice summary of basic photo tips that will improve my shots, thanx!
You are rocking..keep it up your work
Thank you so much. We really appreciate it.
Great article with great tips and i also like the pictures
Thank you so much Alesha and Jarryd for these amazing photography tips! I look forward to putting into practice some of your wonderful ideas and tips! I do so appreciate any tips that I can get to improve my photography. :)) Cheers, Marilyn
I absolutely loved this article! Like you I received my first ‘proper’ camera at 14 and since then have been hooked. I recently purchased a Nikon D750 and am absolutely loving it. Although at the moment I only have two lenses for it I am hoping to be able to afford more soon. What are your favourite lenses?
In my photography I love capturing candid portraits of people I encounter during my travels. I always struggle with the dilemma of getting the perfect candid shot and feeling compelled to ask permission before taking the shot. As a very shy person directing people in images is daunting, but it is something I am striving to work on. It’s nice to read that you are also shy yet manage to capture such incredible images of people.
As I am mostly self-taught, I always love to read technical tips to improve my images. I found the technical side of your post incredibly helpful and wanted to say thank you for taking the time to write such a detailed post. I believe it really helps and inspires amateur photographers like myself.
Glad you liked the article. Thank you for your comment. Keep photographying Caitlyn 🙂
Great tips and awesome photos! I always tell people if they aren’t comfortable with their settings, the #1 way to make sure their images aren’t blurry is to shoot in TV/S (shutter) priority. That way you can prioritize having no hand shake.
Thank you so much. Great advice. Thanks for your comment. 🙂
Awesome tips for everyone and specially to me who loves capturing photos everytime i travel.This one also help me and give me more knowledge on how to make awesome photos and its good because you don’t need to buy expensive camera to have a good quality photos, just your iPhone or smartphone you can make a great photos.
Hi, you are so right. You can take great photos with your phone. Glad the article could help you.
Great article! Do you even bother carrying your camera with you during the day in broad sunlight? I find it’s not worth the hassle for such poor shooting conditions.
Hi Scott, It all depends what we are doing. If we are on a job, we always carry our cameras with us. The midday sun is harsh but you get used to working with it. Especially indoors with the sun coming through the cracks, it can work out really lovely sometimes. When we are travelling on our own time, we don’t usually carry the camera. Happy travels
I really enjoyed reading this post, as I am a beginner in photography as well and it’s always interesting to see what gear other people are using!
I have the Canon Rebel as well, and also love the 50mm lens. It’s just great and is so versatile!
Thanks for sharing.
Glad we could help. Thank you for your comment. Happy photographing,
Great tips guys! Photography is an art so it must be learned properly. A good guide can teach art in a great way. This article is similar to a guide because it is an eye-opener for blooming photographers and travel lovers.
Thank you so much!
Thank you for your comment Glorias. Glad the article could help.
Hello Alesha and Jarryd, not sure to whom I adresse the message to, but I’m guessing Jarryd took the pictures and Alesha wrote about it :p
Anyway, do you guys use any customized Firmware on your DSLR? like the CHDK or Magic Lantern. That’s one question, the other one will be: can’t find any Mobile Phone photography on your blog? can you please refer me to any article that provide valuable info around Mobile phone photography?
Hi Ayoub, The photos and words in the article are a combination of both of us. Usually Alesha is the photographer and Jarryd is the writer.
We use use no customise firmware at all. We haven’t ventured this way as it voids our warranty.
As for phone photography, maybe this is an article we should write. With our phone photos, we do use Snapseed to edit them. But do not take any photos through any apps. All the best
Thank you for the tip regarding phone photography, I mostly use the customized firmware to do timelaps and edit directly on the camera, keep me posted after publishing the new article. (Already subscribed to the weekly newsletter)
Definitely will do. Thank you so much. Happy photographing. 🙂
you are doing a great job
Thank you so much. 🙂
This was really an amazing list of tips, I am a hobbyist photographer and this would really helps me a lot
Glad we could help. Keep up the photographing. 🙂
Great tips Alesha and Jarred. I really liked your golden and blue hours tip. Will try it soon and hope get amazing pics 🙂
Glad we could help. Practise will get you on the right track and before you know it you will be taking amazing shots. We are still learning about photography everyday. We love that you can never stop learning. Thanks Linda.
Some of the best tips I have read so far. Amazing post and captures so much detail. Worth the read for every travel photographer. 🙂 Keep it up.
Thank you so much,. We really appreciate it. 🙂
Priceless tips for amateurs like me. Thanks for sharing. For a long while, I’ve tried to follow the rule of thirds, but the best shots came out when I finally dared to break it. You’re absolutely right about the rules are meant to be broken. Regarding the camera, I agree it doesn’t have to be the most expensive. But sometimes I have a feeling my shots would have been better had I owned a proper camera. What device is the best balance between price and quality?
HI Robin, you’re welcome. We are so happy we could help. Sometimes breaking the rules works out to be better. 🙂 We definitely know what you mean. You do not need to buy the most experience camera. A camera that you can use manual settings, is great as you can start using and playing with aperture, shutter speed and ISO. We started off with a Sony RX100ii and it was great. Compact and a great camera to learn. Here is some articles that may help. https://www.nomadasaurus.com/best-camera-for-travel-ultimate-photography-series/ https://www.nomadasaurus.com/best-camera-accessories-ultimate-photography-series/
Thanks a lot for the great advise! I especially like your explanations about the exposure triangle. I was a bit aware of it before, but never played around with it unless I wanted to change the depth of field (and even then, I did this very rarely). But thanks to focusing more on it, I am starting to get the hang of it. I have taken some very good hummingbird pictures, for example, which never would have been possible if I hadn’t raised the ISO so I can keep the shutter speed fast. Those birds zip around like crazy!
Also, I think one of the most important pieces of advise, and the one I’m struggling with most, is to always look at the whole frame. I am guilty of looking at the main subject and later finding out that I cut off important things on the side or that something weird is in the photo that shouldn’t have been there.
Hi Ilona, so happy the article could help you. That’s amazing you experiment with your hummingbird shots. They are fast birds. By practising photography, you will get better and better. No matter how experienced you are, there are always things to learn. When you come to a scene you want to photograph, stop for a minute look around, walk around and think about what shots you want to take. Obviously this is hard when the subject is moving but great for landscape and street photography. All the best and keep up the awesome work. 🙂
Hi, I took around 500 shots on a trip to Kyrgyzstan recently, some I think are pretty good, but now after reading your tips, I think I will make another trip to that part of the world again soon!
what a great tips especially the lighting part – i also agree that getting up earlier and shooting in the natural sunlight is so great for your photos. talking to the locals and knowing your camera, You guys covered it all
Thank you so much for reading Shama. Glad you liked our article. Natural lighting is the best. Even though sometimes that early morning is hard it is worth it. 🙂
u are absolutely right u don’t need an expensive camera or go to Bali ( although it’s a good idea) to get great photos. it’s just simple common sense and a good eye and you can master photography
Well said. Thank you for your comment and reading Shama. Have a great week.
Thanks a lot for the helpful tips on holiday photos. My partner and I are in Easter Island, irresistible place for photo opportunity. My Nikon D7000 will keep on taking photos on auto mode for the time being until I have had enough practice following your guidelines and the who knows what photos I might produce! Thanks.
Glad we could help Balu. Definitely when you have time, go out and take some photos on manual. Play with the different settings. Before you know it, you’ll only be on manual. At the beginning when I was still learning, I would take a shot on the manual settings I thought and then a shot of the same view on auto in case I messed up. Better safe than sorry. Have a great time in Easter Island. There is so much to do there and learning about the history is amazing. Take care. Alesha
Guys your advice are completely helped me. I was stressed before, i want to travelling at the moment but i hope i can take a good picture cause you know how annoying it will be when we take a picture and then when we are home they are completely bad. So then you have to comeback at the same place again just to take a picture. But this one is helpfull
Hi Fabio, Don’t stress. You are going to bring back amazing photos from your travels. It is all overwhelming at the beginning but it gets easy. When you are shooting, put some time aside and concentrate on what you have learned. It doesn’t matter if it takes you 20 minutes to an hour to get your shot. If their are other photographers around, most of the time that are happy to give you some advice. Let them know you are new. Maybe they will let you know their settings for ISO, aperture and shutter. When it comes to editing, take your time as well. There are many You Tube videos that can help you for free. Have a great time on your trip. Happy travels
Hey Guys, very useful tips especially the Bonus tips.
Keep Sharing!!!
Glad we could help. Thanks for reading.
P(Program) you set either the aperture or shutter and the camera adjusts the other one accordingly to maintain the right exposure. Thanks
Thanks Rezan
I love traveling around the world. I wish to capture some of the beautiful places that I enjoyed. The above tips helped me to improve my travel photography skills. It also helped me to click some of the memorable moments of my travel with my friends and relatives.
Hi Vivek, Glad we could help. It is all about practise. We love having a day to ourselves and just getting out and shooting anything – landscape, cityscape, people or animals. We try to give ourselves a challenge sometimes. It makes it interesting and we are enjoying ourselves. 🙂
Great tips to help out beginners like me. I need to work on to ask people for permission as I get shy sometimes. I love the quote “rules are meant to be broken”!
Thank you Mao. Don’t worry, “asking” will come. Alesha was so shy and I used to take all the people shots. Now she is more confident and really enjoys shooting people. All the best.
THANK YOU . Your very easy to read starter guide to photography was AMAZEBALLS I learnt so much .cheers LIZY
Thank you. Glad we could help. Happy shooting and get creative. 🙂
Hey guys, this is an amazing guide, thanks for writing this up in such detail. As an amateur, I always look for good travel photography tips from other travellers. I left my tripod behind in Thailand and I think this was a huge mistake, I need to get a new one, urgently 🙂
By the way, really enjoy your photos on your blog and Instagram, they are amazing! 🙂
Glad we could help guys. We never used to use a tripod in our early years until we discovered how amazing the shots can be with one in low light and now we have 3. You can rest your camera on something to get a shot but you are limited to positions. Thanks for reading guys. 🙂
thanks for the tips. i’d make one edit: instead of ‘move your feet’ i’d say “don’t be lazy”…move left or right. move forward or back. climb up on something or get down on your knees.
Love it Aaron. You are so right. A little to the left might be the perfect shot or a little to the right and crouching might be the perfect shot. thanks for the input. Have a good one.
I love this post. It is incredibly helpful to all beginner travel photographers like myself! I have only been shooting in manual mode for the past 5 months and have already seen a huge increase in the quality of my photos! But I am always looking to improve. Will definitely be sharing your post
It is crazy how you improve when you start shooting manual. I know Alesha did also. You learn so much about the camera and what it can do, it is incredible. Thank you for reading and all the best with your photography Hayley. 🙂
this guide is amazing, thank you so much for explaining everything in a way an amateur can understand 🙂
Bookmarking the post for future reference!
Cheers, Naddya
Thank you guys. We are glad it is useful for you. 🙂
Wow! Amazing Tips. These tips will help a lot to click great pictures with your camera. Love the point of Shutter Speed. and about RAW.
Thanks for Sharing Helpful Post.
Thank you so much Nitin. Glad we can help. Thank you for reading.
Yeah I agree with you buddy.
Thank you 🙂
Leave a comment Cancel reply
Save my name, email, and website in this browser for the next time I comment.
- Work With Us
- Blogging Bootcamp

- Van Conversion Academy
- Campervan Shop
- Campervan Rentals
- Plan a Trip
- Itineraries
- Destinations
- Responsible Travel
- Family Travel
- Budget Travel
- Scuba Diving
- Travel Credit Cards
- Digital Nomad
- Teach English Abroad
- Blogging Resources
- Income Reports
- Travel Shop
- Meet Katie & Ben
- About Two Wandering Soles
- Personal Stuff
- Portfolio & Press
32 Creative Travel Photography Tips for Beginners
Home » Blog » Travel » 32 Creative Travel Photography Tips for Beginners
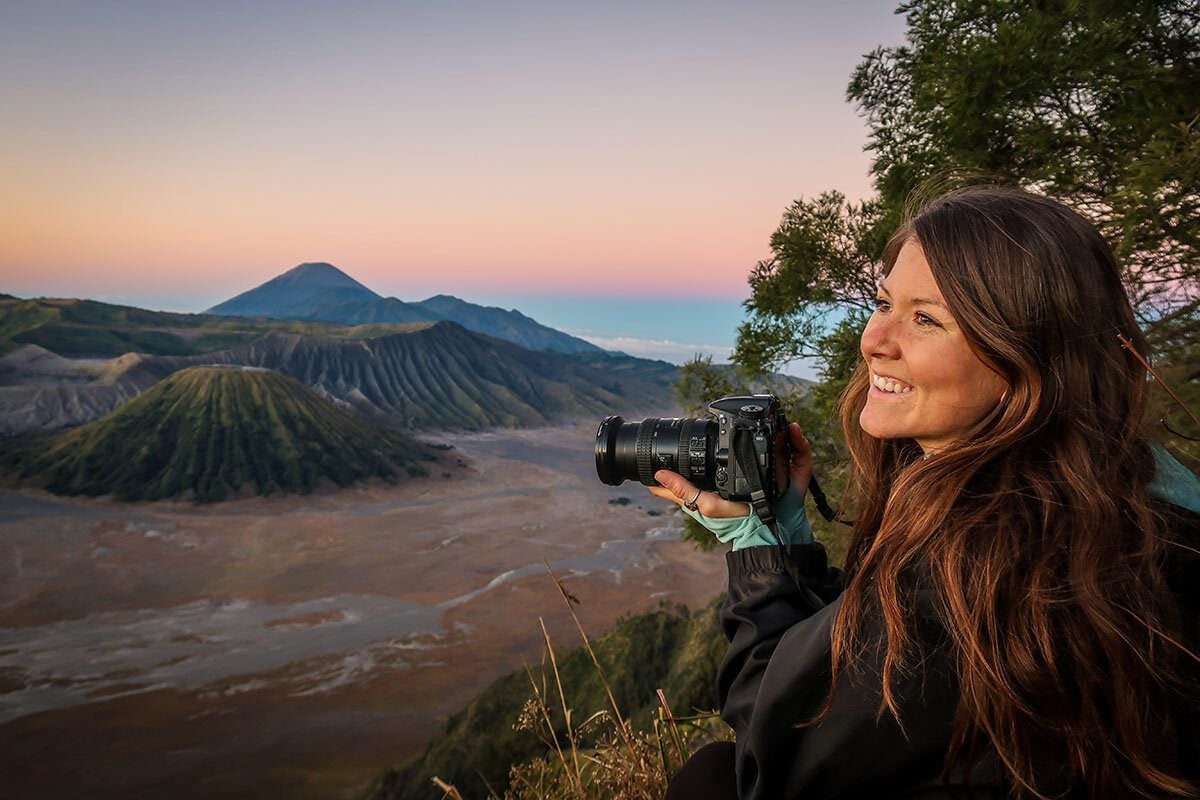
Photographs are often the best souvenir of your travels. But the worst thing is when they come out blurry, blown out, or just not all that exciting to look at.
If you want to learn how to take better pictures on your travels around the world, this article is packed with everything you need to improve your photography skills.
From powdery white sand beaches in the Philippines to high in the Himalayas to the thick forests of America’s Pacific Northwest, I have been privileged to take pictures in some of the most beautiful places around the world. Each place has taught me something different and has truly made me a better photographer.
I’m far from perfect and I’m certainly still growing, but I want to share what I’ve learned along the way with you.
Whether you’re a total beginner or you know your way around a camera, the practical tips and easy photography hacks in this article will show you how to take your travel pictures from average to amazing.
1. Set your camera to shoot in burst mode
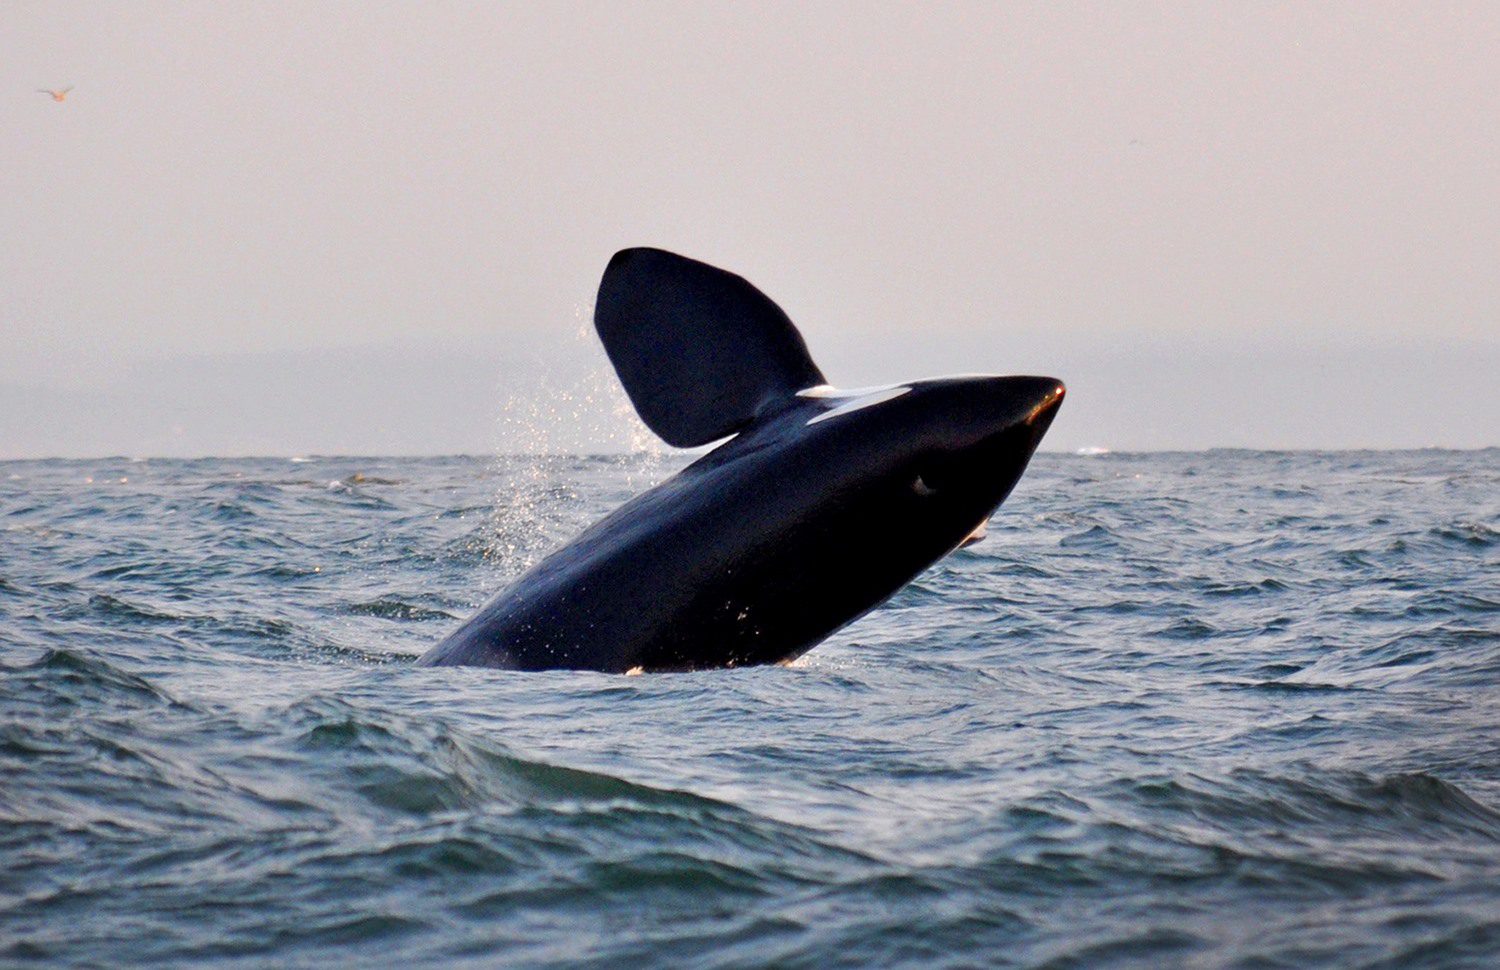
Setting your camera to “burst” mode means that several shots will be taken with a single click of the shutter. This is especially helpful when you’re trying to take an action shot, like a whale breaching the water’s surface.
Also, burst mode is a good idea when handing your camera to a stranger to take your photo. You will get several to choose from, instead of just one where you’re blinking and someone is photo-bombing in the background. I always have my camera set in burst mode so we can choose our favorite photo from a series.
Tip: Each camera is a little different, so consult your manual to learn how to set it to burst mode.
2. Carry a small tripod
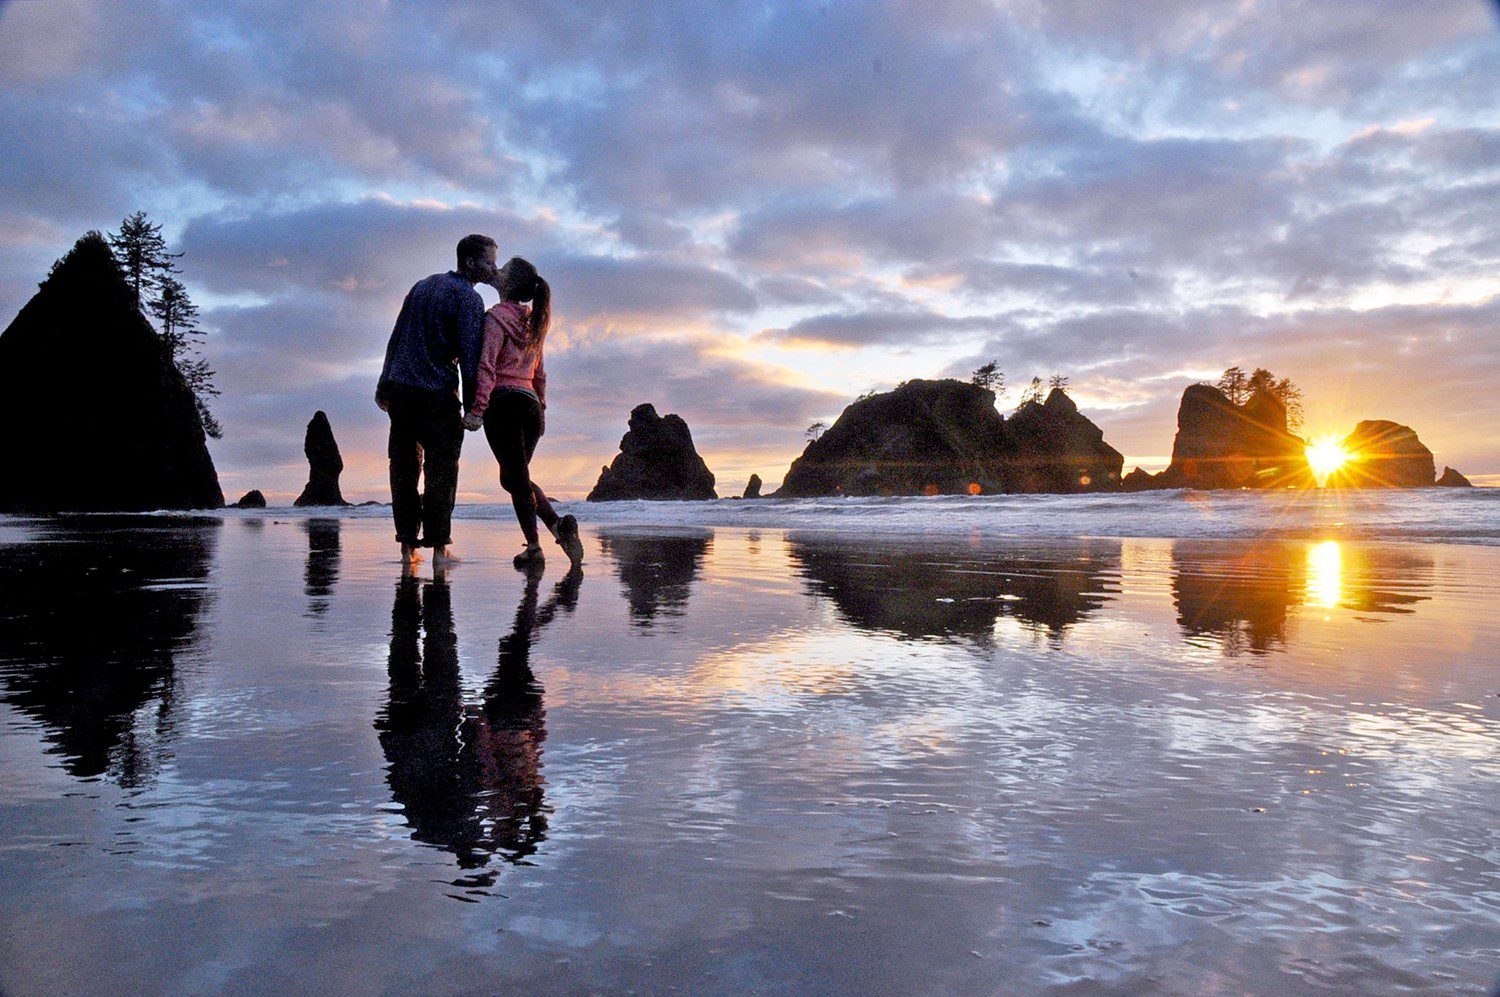
A tripod will seriously up your photo-taking game. There are several reasons for this but one of the main reasons we carry a tripod is so we can get shots of epic landscapes with ourselves in the picture.
If you’re in a remote location , there might not be anyone around to take your photo. And even when there are tons of people around, they might not take shots you’re happy with.
Ben and I always joke that when we hand our camera to a stranger, there’s a 50/50 chance that it’ll turn out good. A few of our favorite shots from our travels have been taken by strangers. But most of the time I’m disappointed. (I’ll admit: I’m super picky about photos and I always have a composition in mind. It’s crazy to expect the stranger to read my mind, and not everyone feels comfortable using my big a$$ camera.)
When you travel with a tripod, you can always get a great photo of your self because you are in control.
What is the best tripod for travel?
I love my Joby tripod because it is small and super portable. Plus, it’s flexible legs allow me to wrap it around tree branches or fences (carefully, of course!) for unique angles. There are tons of nicer, more expensive tripods out there, but unless you’re a pro, the sheer bulk probably isn’t practical for travel.
3. Have patience, especially in crowded places
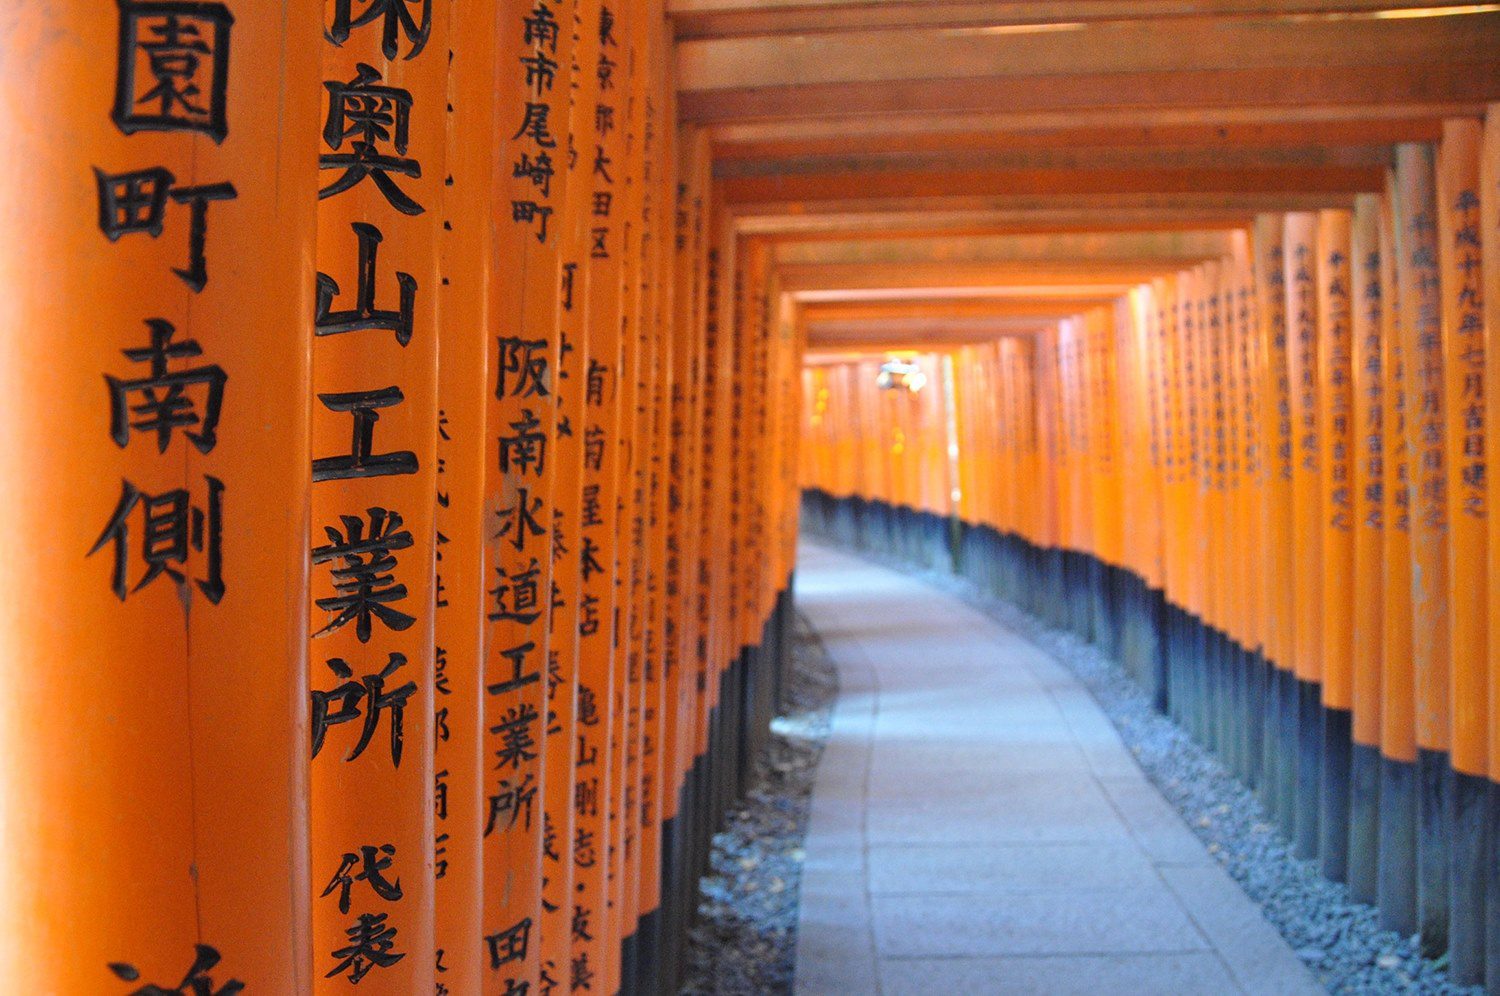
Have patience, young grasshopper. Getting epic shots in famous places takes time. You can’t expect to show up at iconic spots like the Eifel Tower or Cinque Terre and get a perfect shot on your first try. You will need to be patient with the crowds and wait for people to pass by. And you’ll likely have to take several shots to get it just right.
I’ll admit that crowds test my patience. I get easily flustered and sometimes leave before I get a picture I’m really happy with. My advice would be to take a deep breath and wait it out if a certain shot is really important to you. You never know if you’ll be back again, after all, so you might as well wait for that perfect moment.
Consider this: In order to get the shot above of the Fushimi Inari gates in Kyoto , I had to stand in one place and wait for the exact moment when nobody was in my shot. One second before and one second after this shot, there was someone in the frame, so it took patience. And time. About 15 minutes just to get this picture.
4. Try a polarizer
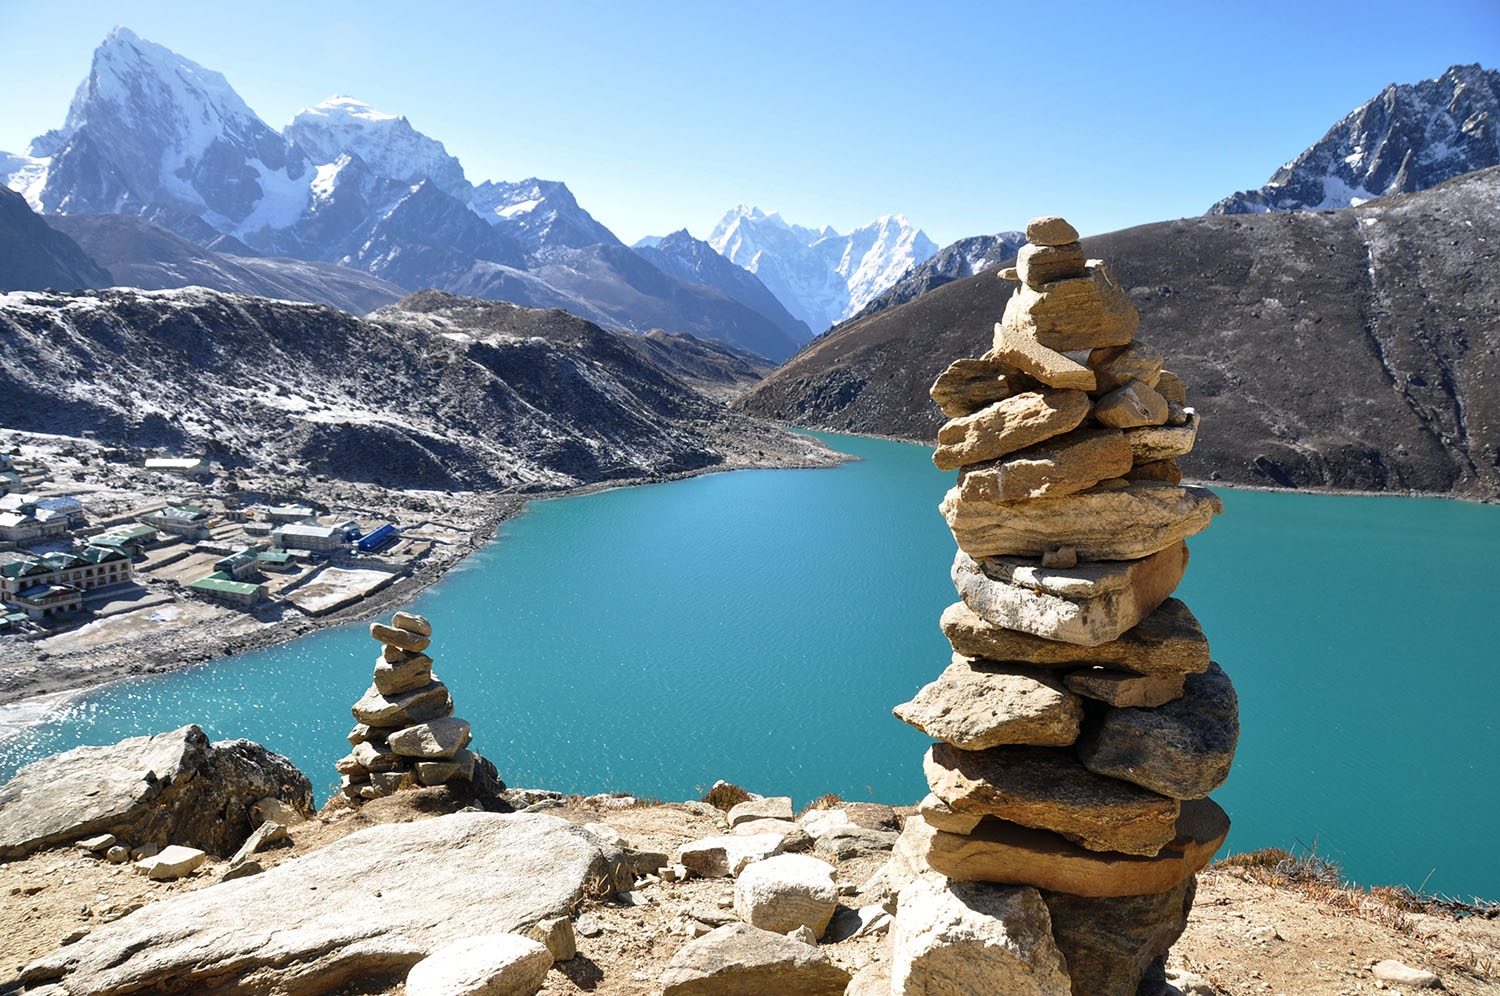
This relatively inexpensive and small item can really take your landscape shots to the next level. Polarizers work best on sunny days when the sky is blue, and will make the colors pop, like the blues in this glacial lake in the Himalayas .
For polarizers, the name brands can be quite expensive, so these would be our suggestions:
- This is a good polarizer (just make sure you get the correct size for your camera lens).
- Or if you just want to try it out and see how you like it, the Amazon version is under $1. (We’ve used the Amazon version of the UV filter and it works great.)
5. Shoot early and late
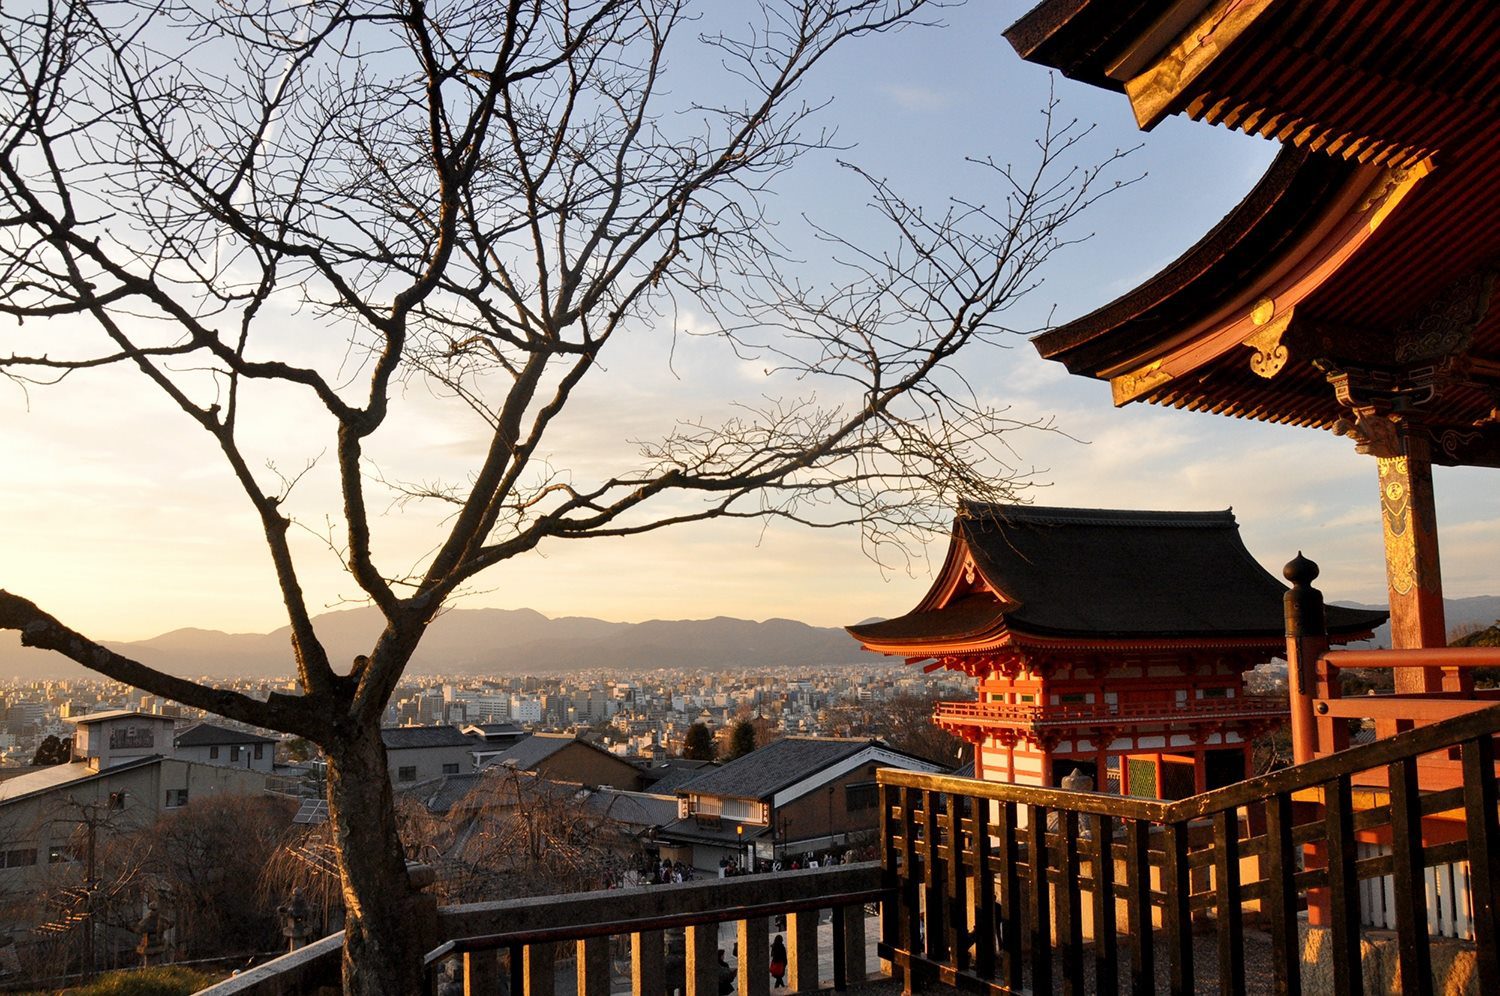
No matter how talented of a photographer you may be, there are certain times of the day where your shot just won’t look as good. For instance, during the middle of the day when the sun is at its peak in the sky, the light is harsh and your photos will tend to have strong shadows. Instead, aim to take photos when the sun is low in the sky and it’ll cast a warm glow instead of harsh white light.
The most ideal times of the day to take photos are in the morning just after sunrise, and during that magical “golden hour” just before sunset. Try to arrive to locations you want to shoot during these times. Of course there are many times when you can’t arrive at the ideal time, but it’s a good rule to follow whenever possible.
6. Plan your shots around the sun
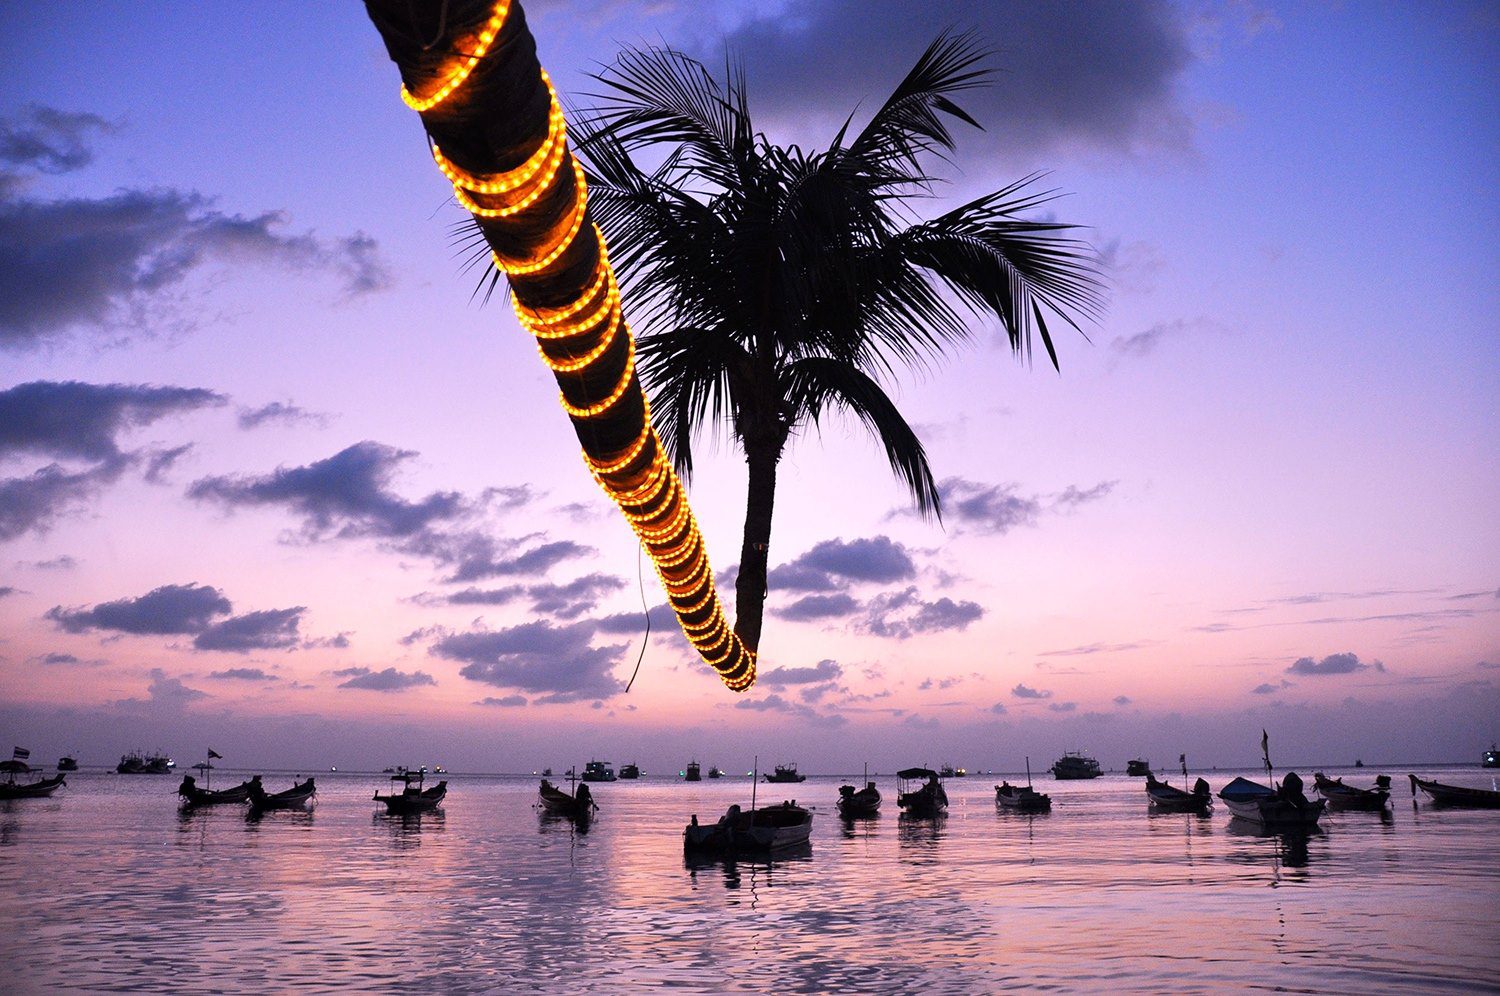
This tip requires a little research, but you’ll be happy you did. When you’re traveling, try typing into Google “sunrise in [location]” and “sunset in [location]”.
For example, if you are visiting Yosemite, you’d find that the best view at sunrise is of El Capitan. It is facing east, so it’s illuminated in a pink glow as the sun rises. At sunset, it’s pretty, but just not as magical as in those early hours of the morning.
And likewise, on the island of Koh Tao , you’ll want to be on the east side of the island to witness the most beautiful sunrises and on the west side for sunset. (See picture above)
Knowing the best time of day to be at a specific viewpoint can help you plan your travels and will ensure you get the best lighting for your photographs.
7. Night photography takes patience and planning
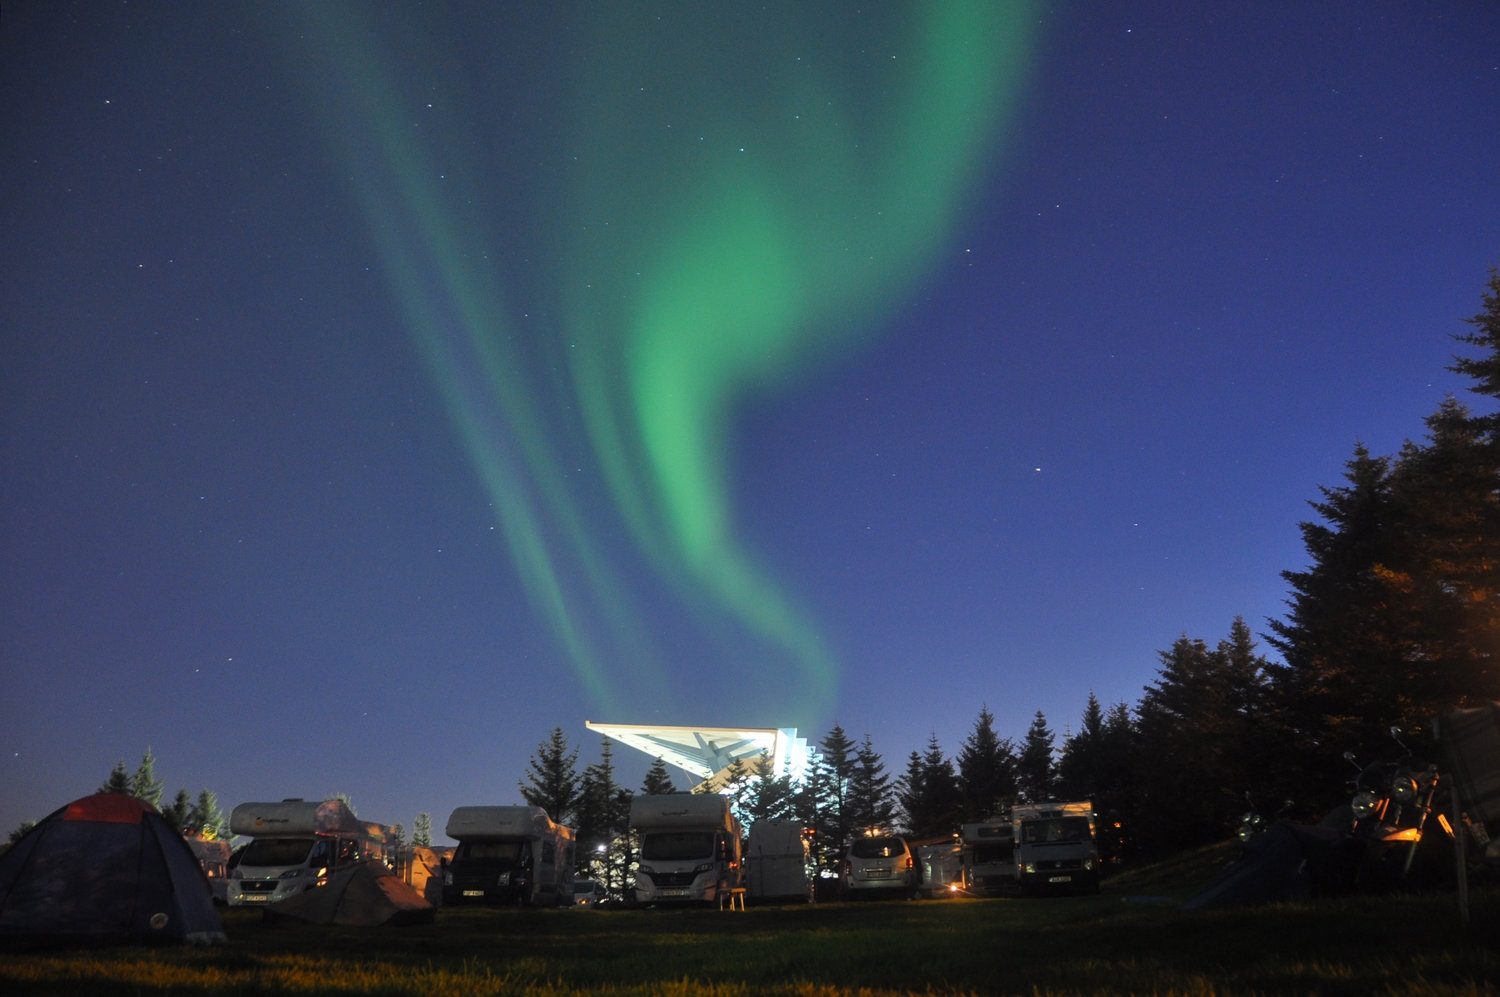
Night photography can be super fun, but it takes a while to get the techniques down. (I’m still working on it.) Have patience, and you will improve.
Also, it takes some thought and research. You can’t just expect to step outside on any night and get great night shots. You need to plan around the moon and the constellation paths and weather.
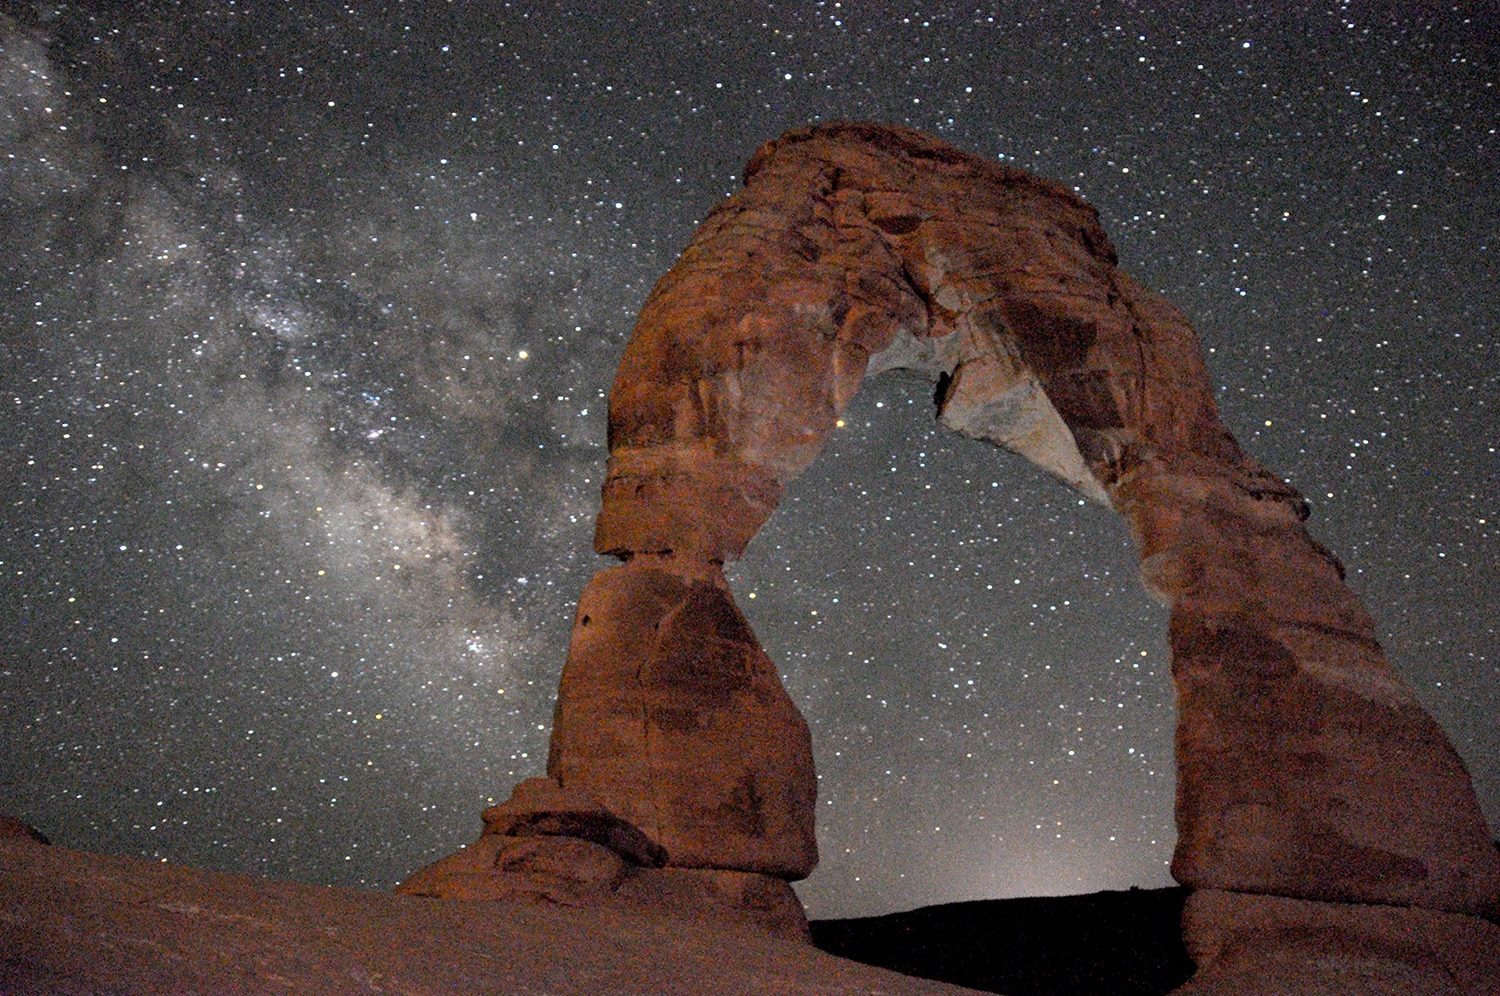
For example, when we were in Arches National Park , it just happened to be the one day of the month where the Milky Way would pass through Delicate Arch, creating a view that is famously photographed. We were there just out of luck, but many other photographers had planned their trip around this photograph.
Tip: One way to track this is by downloading SkyView app , which will tell you the exact time and course of the constellations, and will show you the chances of clouds obscuring your path.
8. Don’t be afraid of a little rain (or clouds!)
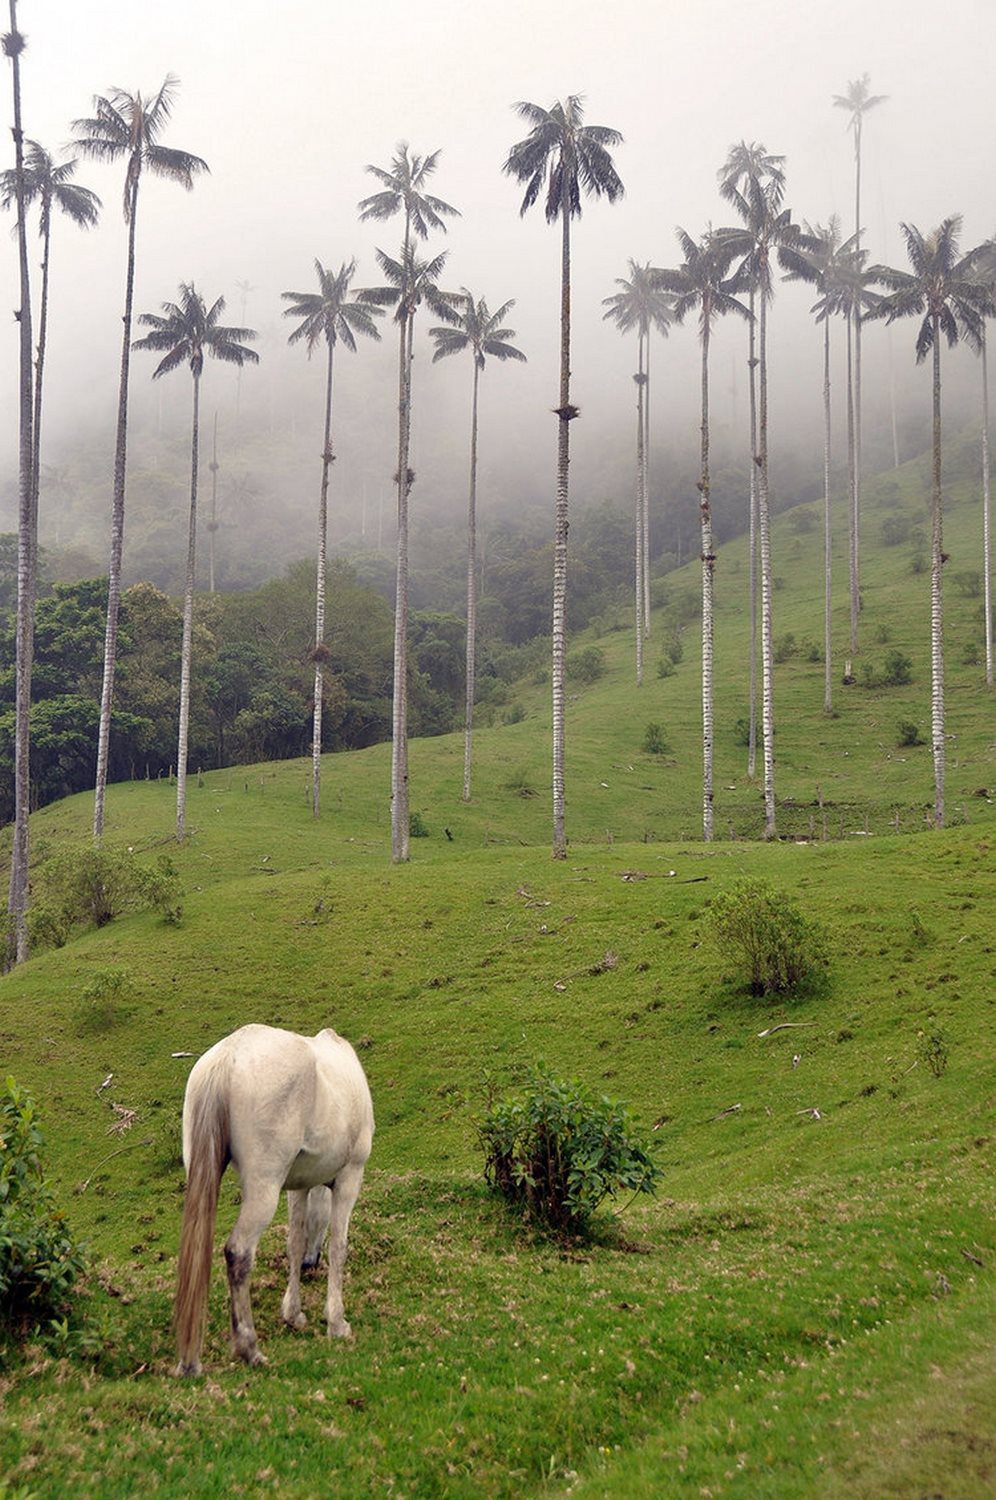
Cloudy days can sometimes be disappointing when you’re on vacation, but they often make for the most interesting photos. Clouds soften the sun’s light, acting like a natural light box, and make it possible for you to get great shots even in the peak of the afternoon. They can also create a cool, moody effect and can make your pictures more interesting than if you have a clear blue sky.
Much the same, many people get nervous to take their camera out in the rain. But rainy shots can be super interesting.
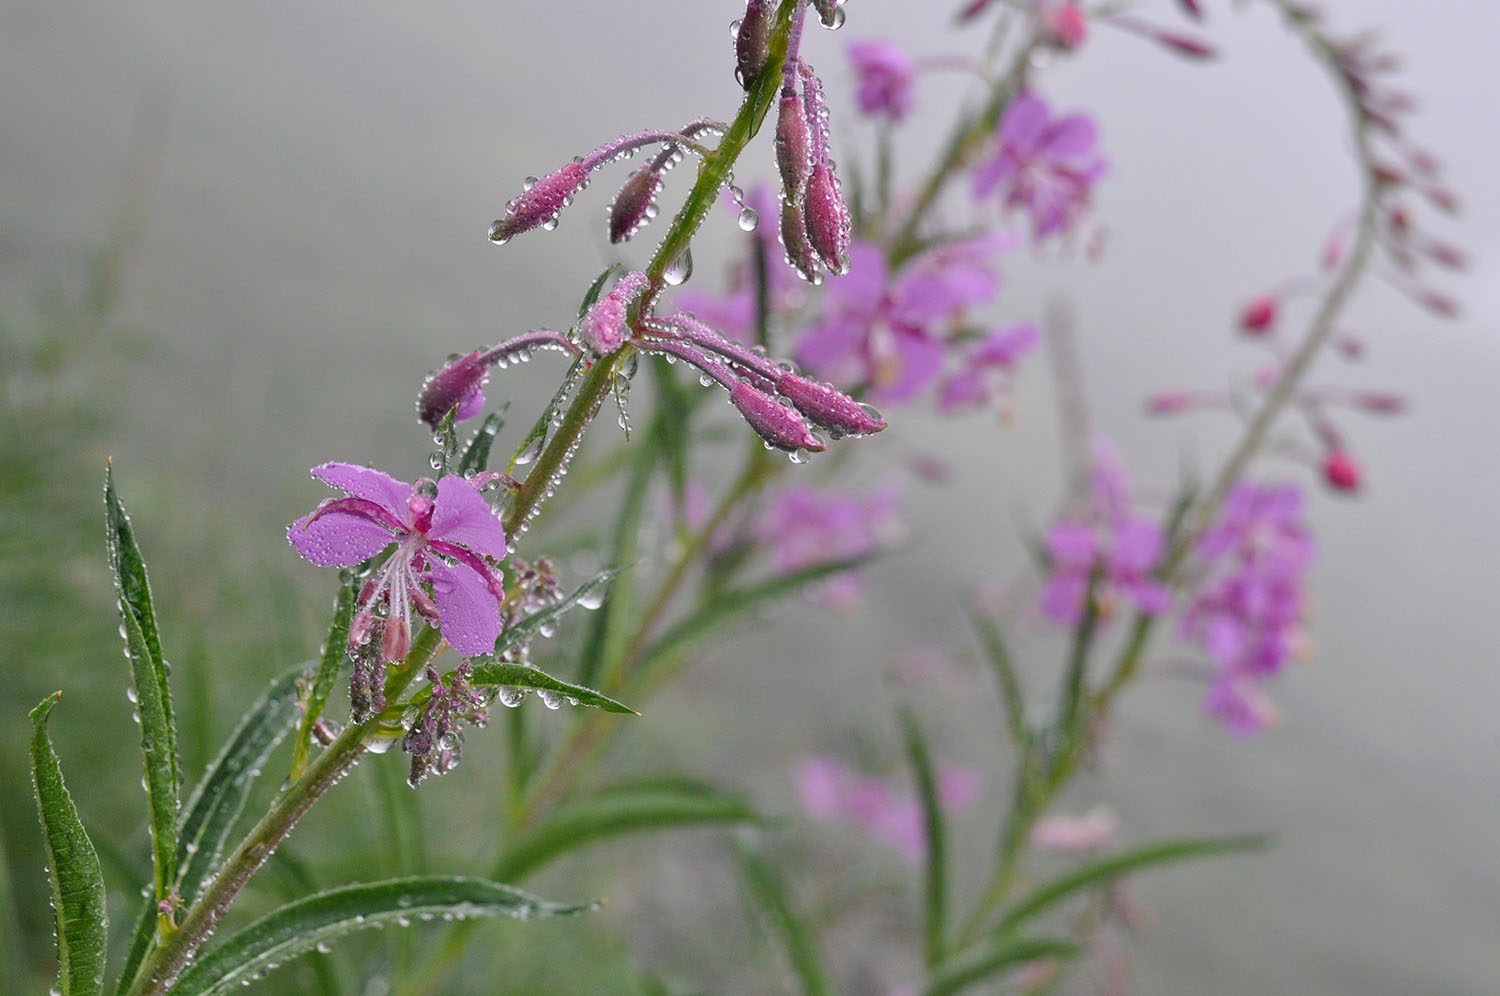
Try these ideas to get a fun, rainy day shot:
Take a photo of people walking in the street with colorful umbrellas.
Get a close up shot of droplets on a window, blurring the city lights in the background.
Zoom in and get a close up of the rain droplets on flowers or another interesting surface.
Tip: If you do take your camera out on a rainy day, be sure to carry with you some protection so it doesn’t get ruined. A dry bag packs up small and can keep your camera and all other valuables dry even in the heaviest downpour.
9. Make sure your lens is clean
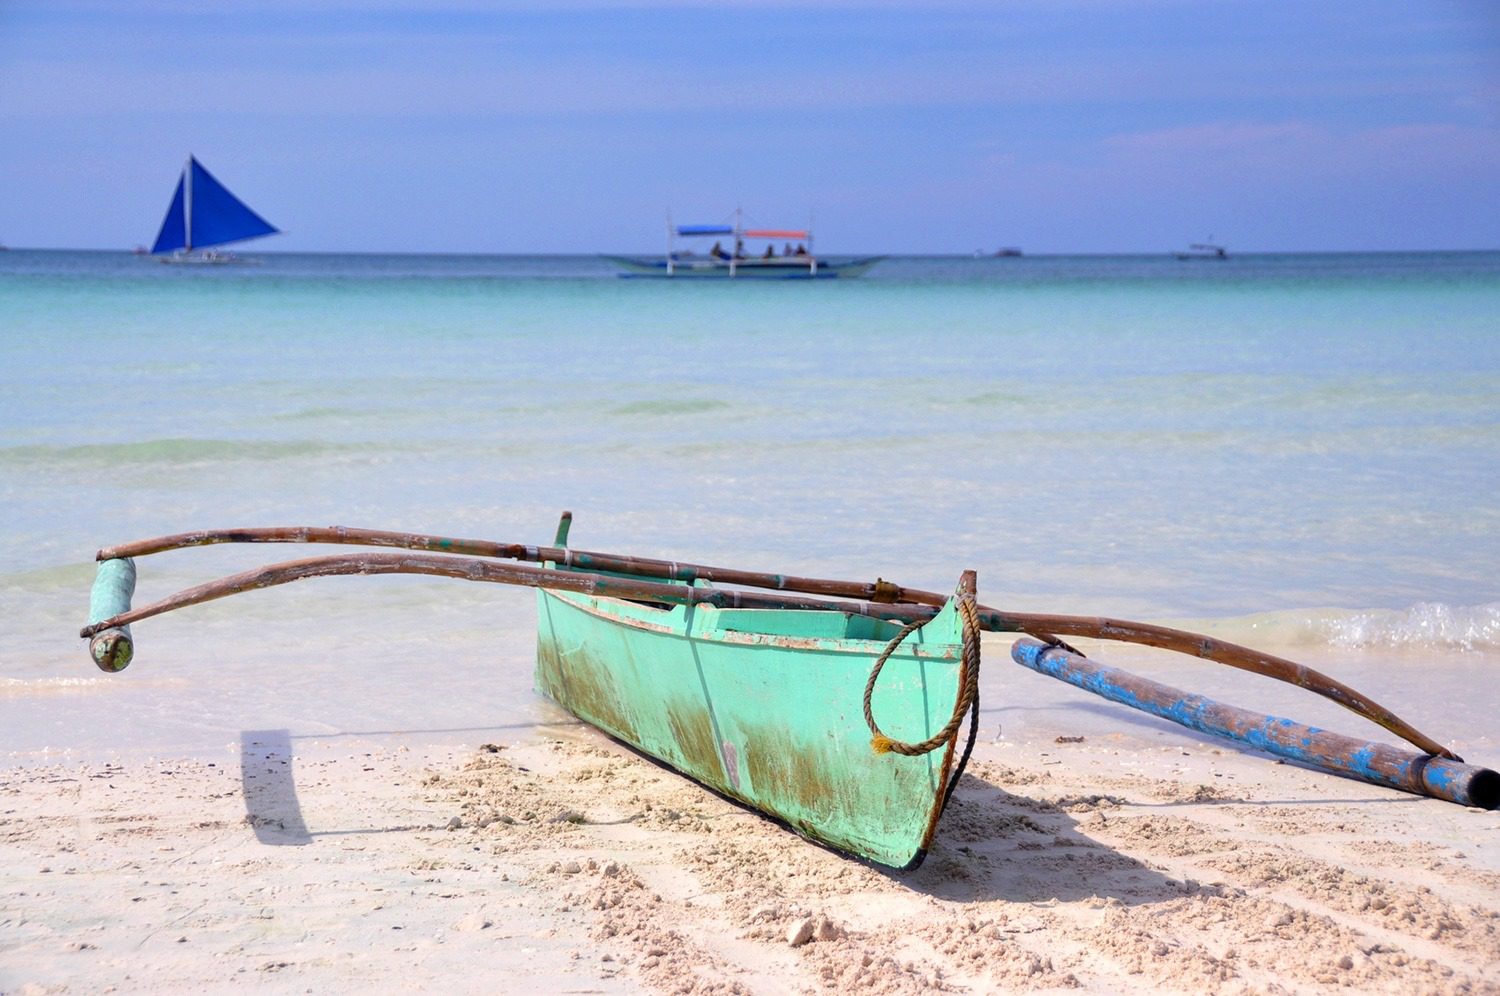
This might sound obvious, but time and time again, I return home from an epic trip to find that when I put my pictures on my computer there’s a spot in every. single. shot.
It has happened too many times to make excuses for, and I’m putting this tip on this list really just to remind myself to clean the damn lens. It’s a lot easier than going back in and editing the spot out of every photo. Carrying along a travel sized cleaning kit will ensure you can wipe your lens safely no matter where you may be.
10. Get a different perspective
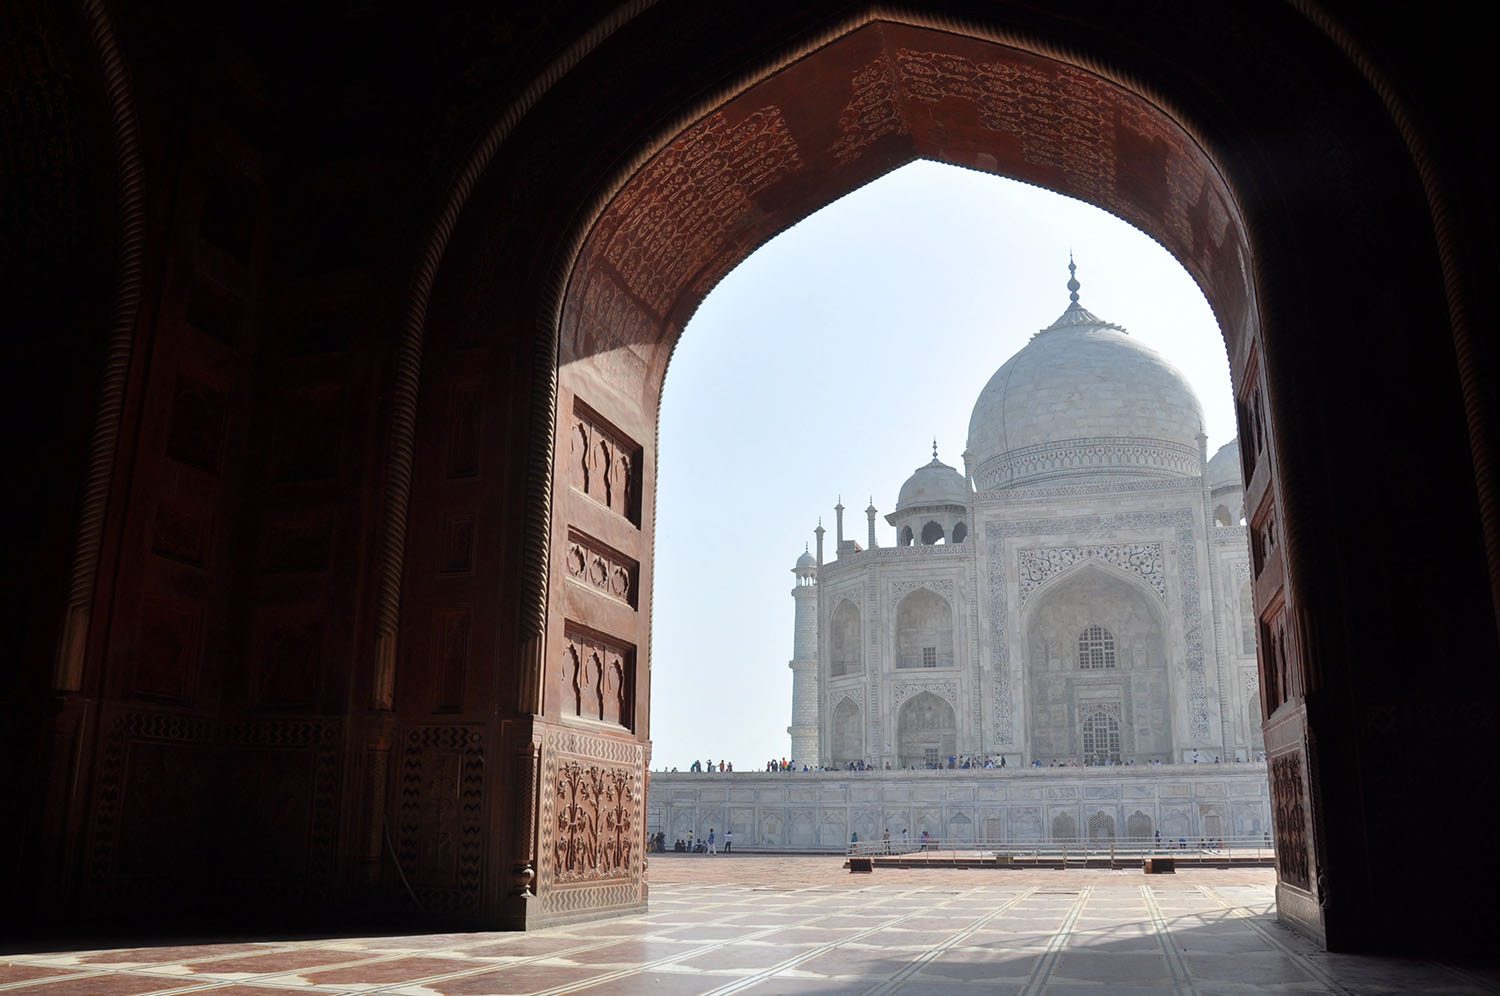
It can be a good idea to get inspiration by searching online for famous shots of iconic places. For instance, a quick Google search of “Taj Mahal” will show you the most famous angles this landmark is shot from.
But in order to really improve your photography skills, do the OPPOSITE. When everybody is taking pictures to the right, turn left. Look up. Look down. Don’t be afraid to get down on the ground and shoot from below.
Walk to a less crowded side of the landmark and take a picture from that lesser-seen angle, like the photo of the Taj Mahal above. Get close up and shoot the details. Turn around and take a picture of all the people taking pictures. (These are always super fun photos!)
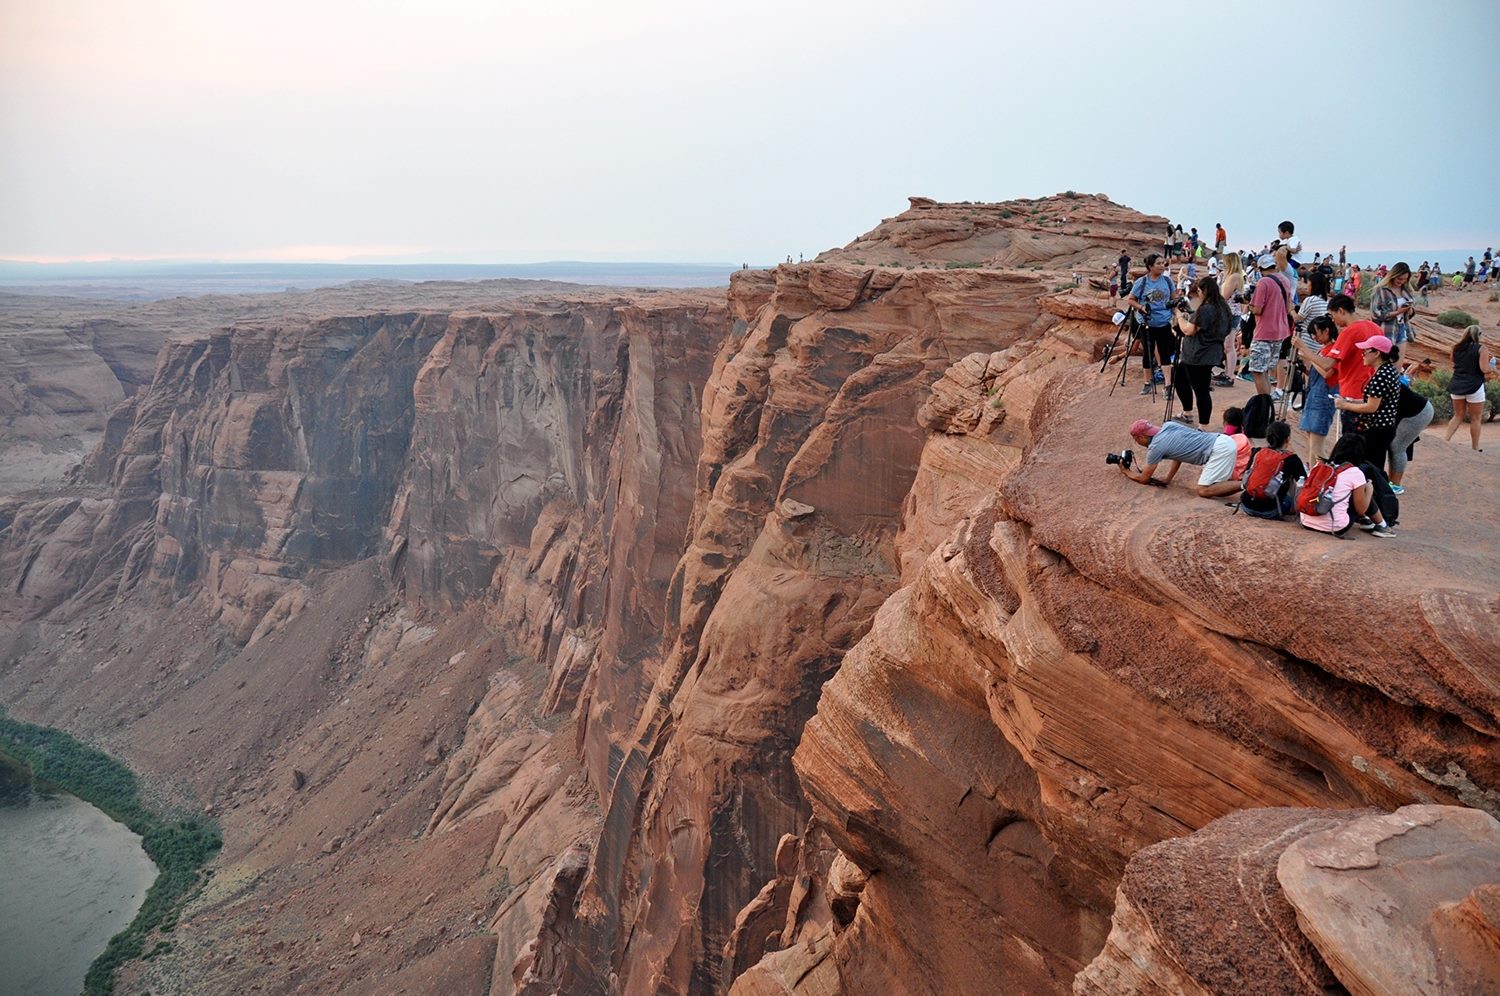
Look on the ground for reflections in puddles. Yes, seriously.
While at the Leaning Tower of Pisa, I took the typical shots of course (like “holding the tower up” – had to!), but my favorite photos from this iconic landmark are the series below of reflection shots that I never would have captured if I didn’t think outside the box of “typical photos”.
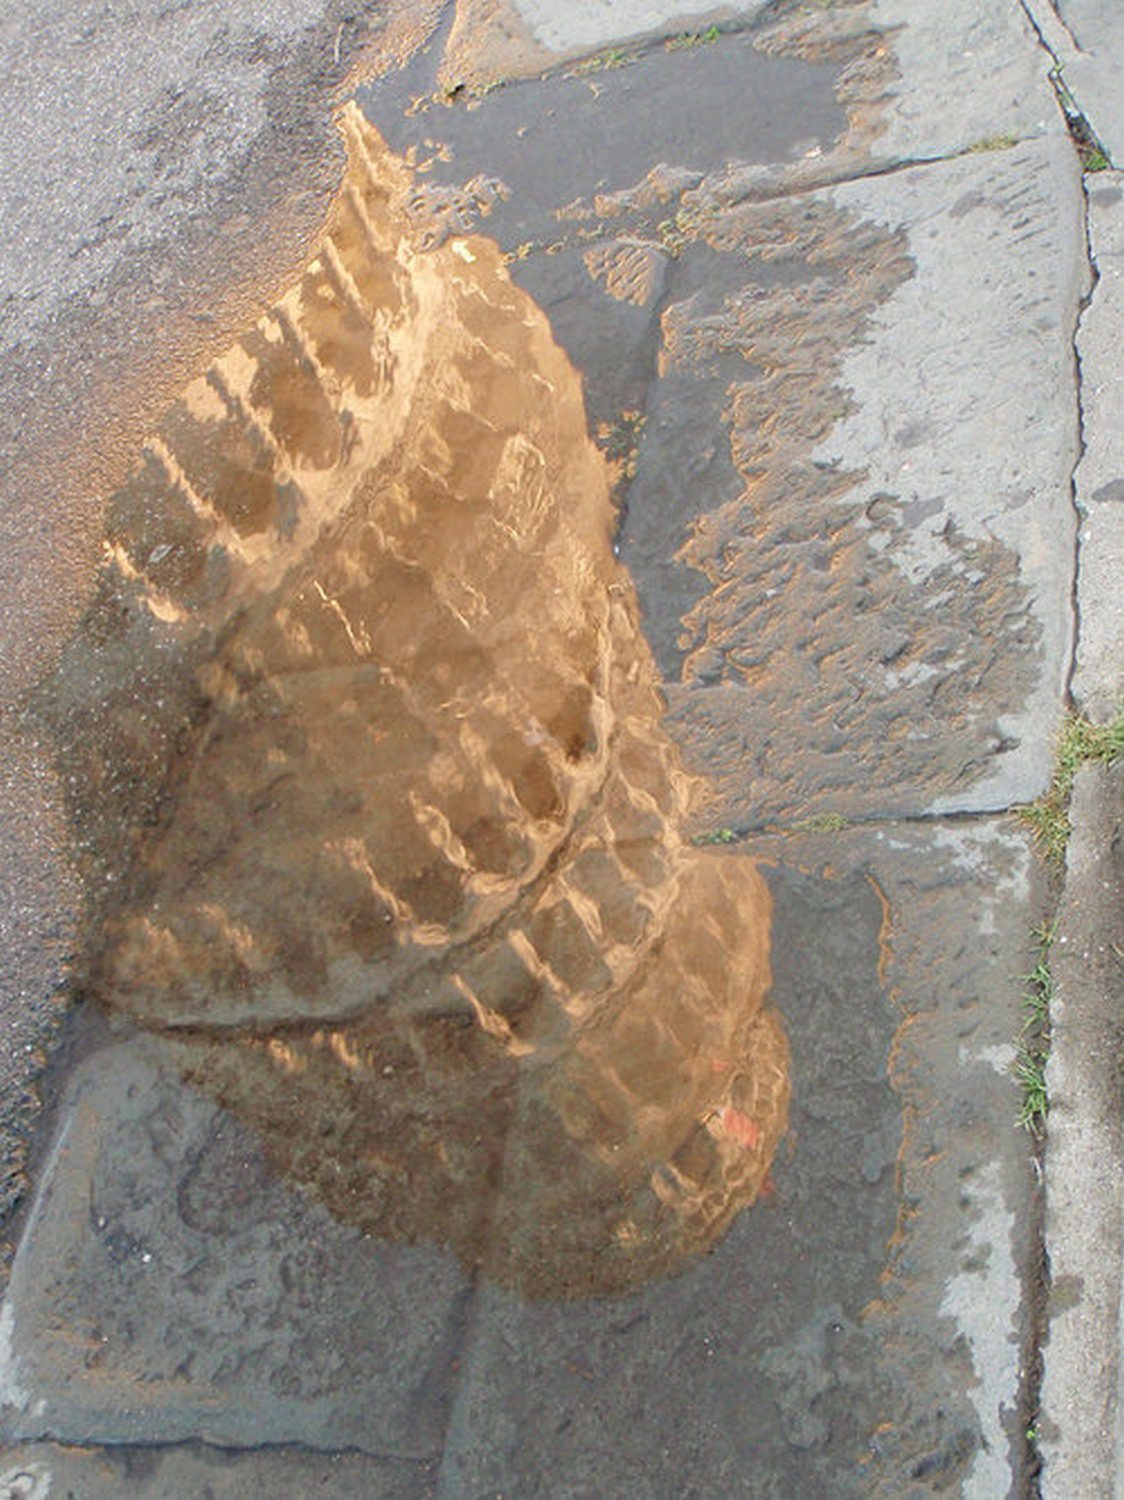
Getting a huge variety will help you discover your unique photo style, and you’ll probably wind up liking some of the obscure shots even better than the typical “money shot” that you can find plastered all over the Internet. This is what will set you apart as a photographer.
11. Take shots of the little things too
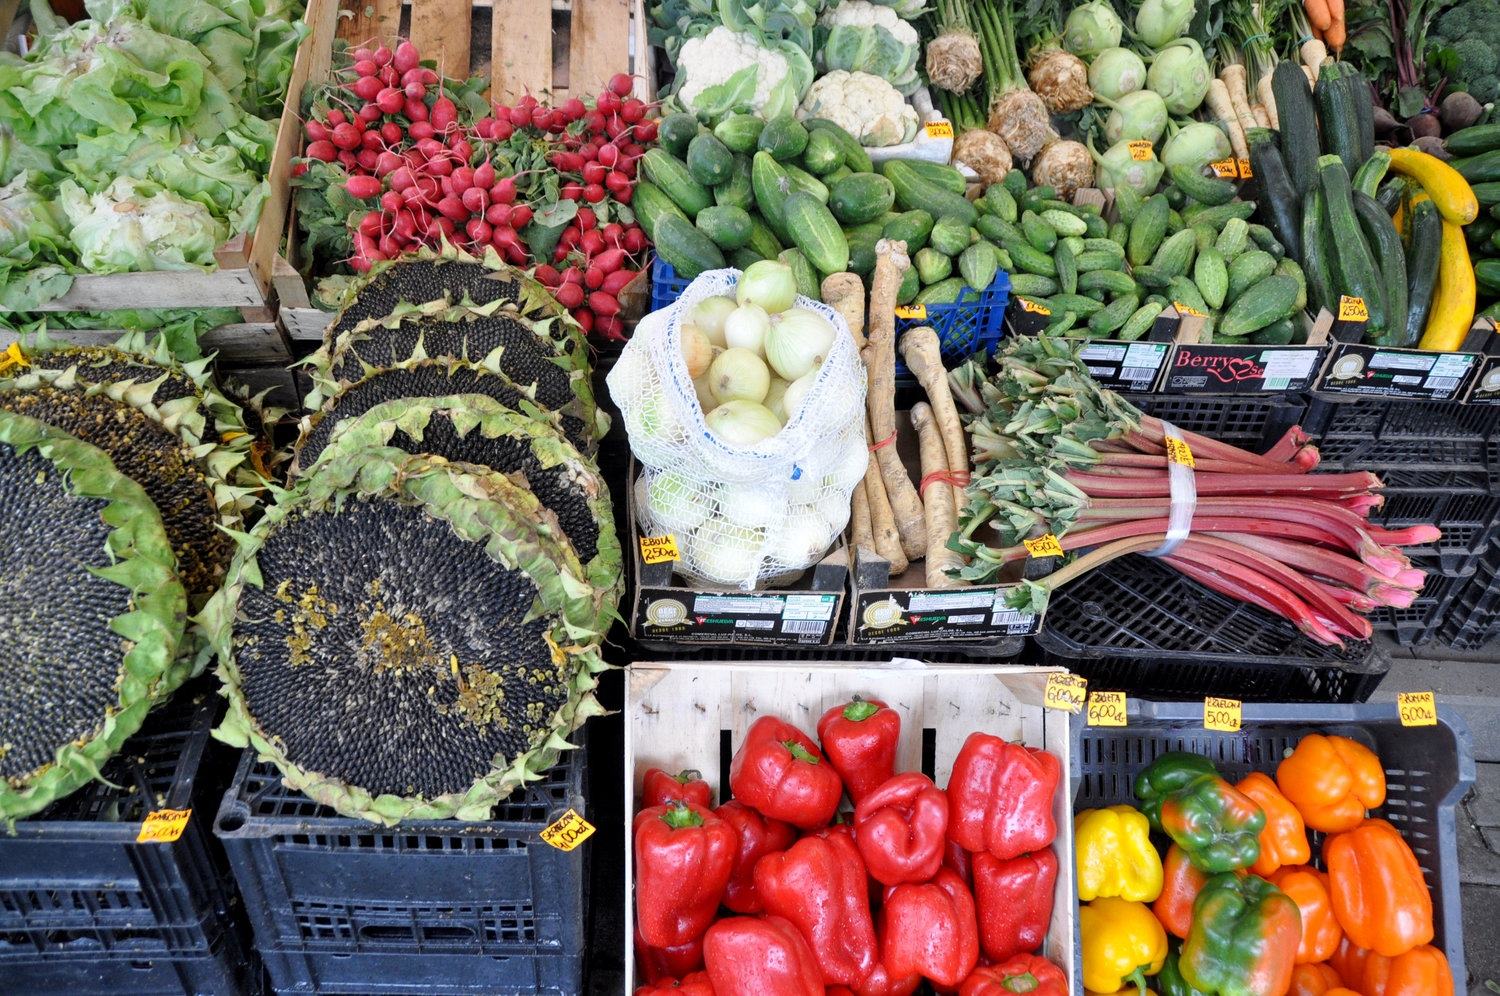
Sometimes when we travel, we get so caught up in the big viewpoints and famous landmarks, that we return from a trip with only photos in front of tourist attractions. I’m totally guilty here.
Often times though, the photos of the “small moments” are just as good, and perhaps even more memorable, than the shots we plan out.
See a food stall with a line wrapped around the corner? Snap it.
Are you walking down a street with a row of adorable homes in all different colors? Click away.
Shopping at a local farmers market? Take a picture of all the beautiful colors and textures of the fresh produce.
Have a delicious local meal? Capture it so you can remember the food from your travels . On a related note, this is a great guide to choosing the best camera for food photography .
And don’t forget to capture the silly moments, too.
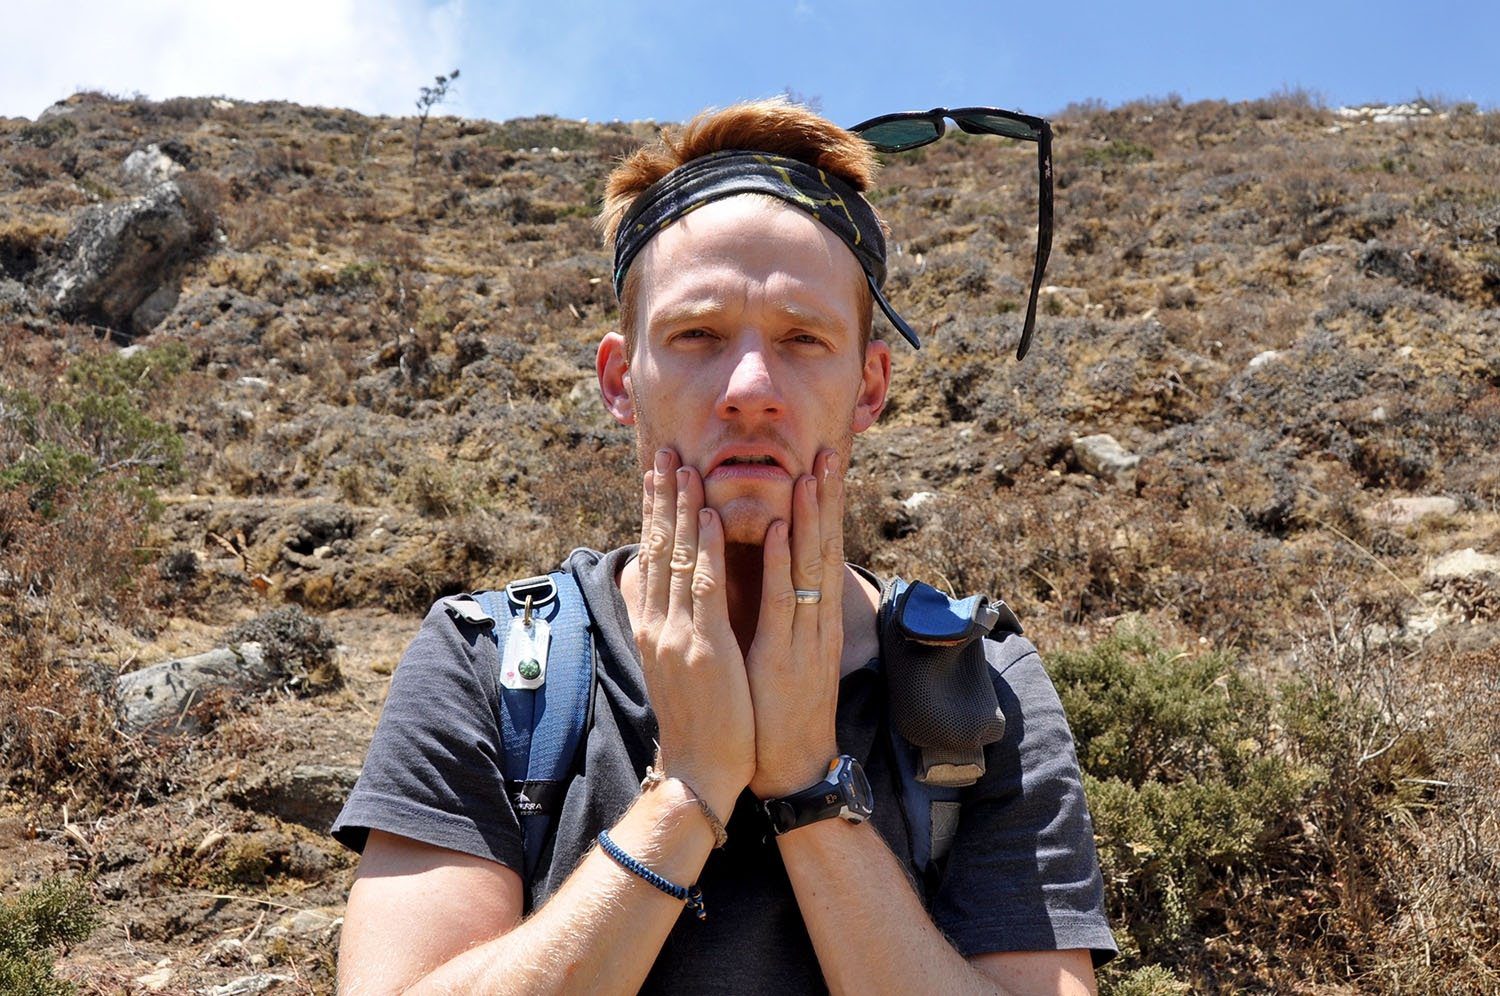
Did your taxi driver say something funny? Capture your travel companion’s reaction.
Catch your hunny putting on sunscreen in a super embarrassing way? You better believe I took that picture! (P.S. Look at those sunglasses!)
Remember, not every photo has to be frame-worthy. And sometimes you’ll find your favorite shots are the unexpected ones because they sum up your trip in a way the “perfect” shots just can’t.
12. Zoom in
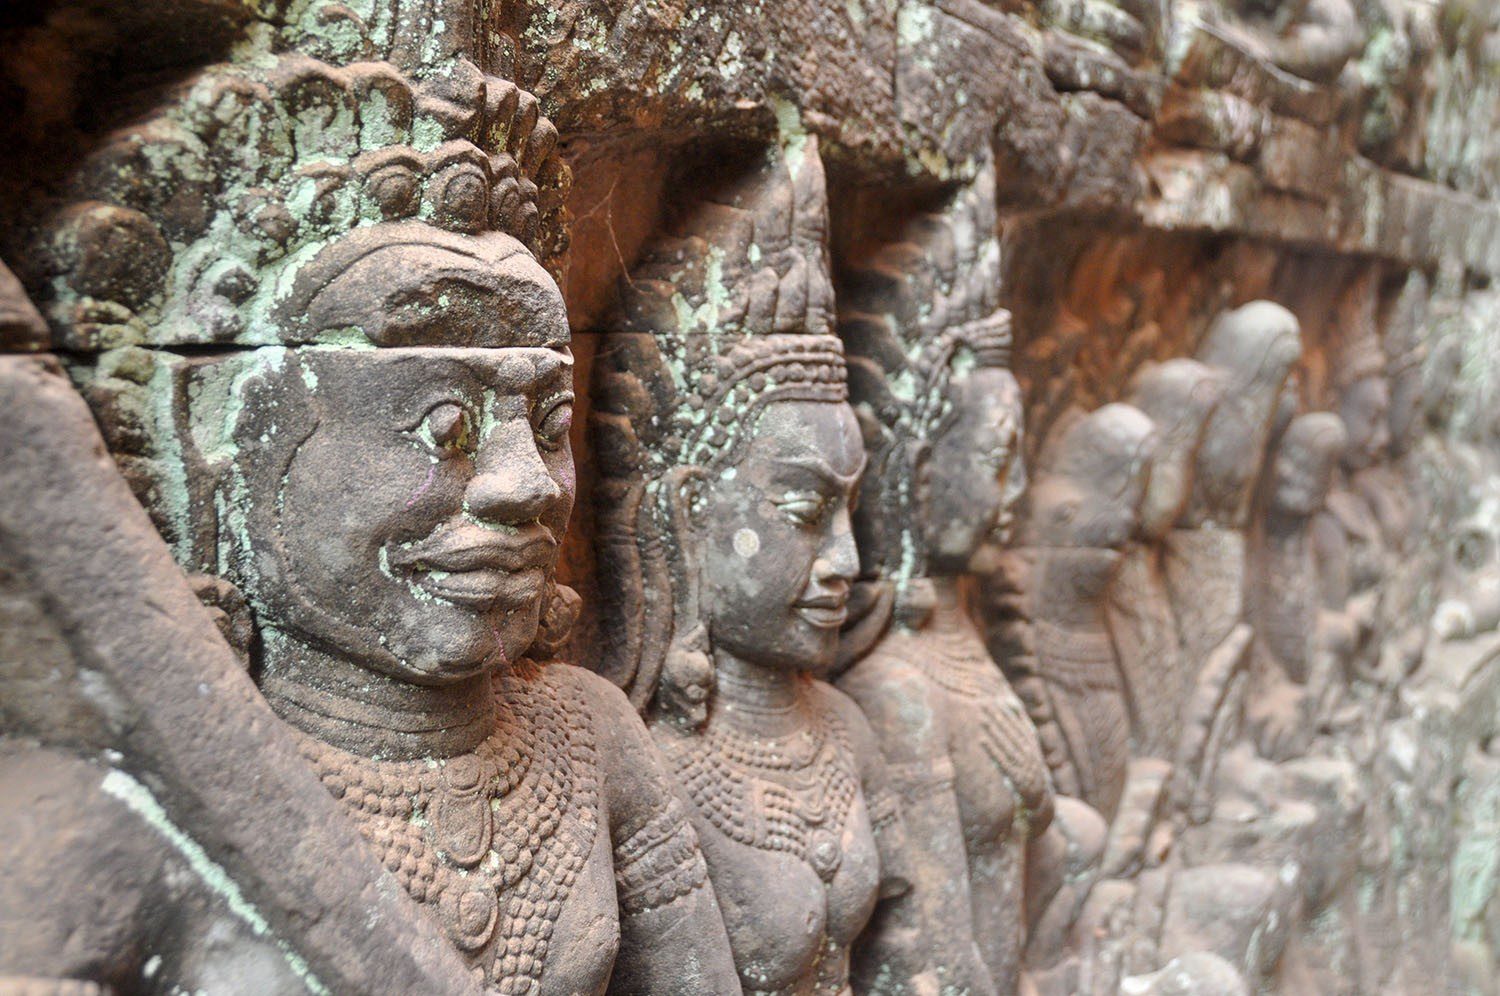
Don’t get so caught up in the big picture that you miss the details. This can be profound life motto, but it also works for photography. Some of the best shots are the super close up details.
If you’re at Ankor Wat , take a picture of the whole complex, but also get close. Capture the texture of the stone and photograph those intricate carvings. That picture will undoubtedly be more interesting than the typical shot everyone gets because it is your perspective. Nobody before you and nobody after you captured it the same with the exact focus and angle as you.
13. Know where the sun is and make it work for you
Knowing where the sun is in the sky is essential to getting a perfect shot. It is usually your main source of light, and it can completely alter your picture depending on where in the frame (or outside the frame) you place it.
If you’re taking a portrait, a general rule of thumb is to make sure the sun is shining on the person. This means that, yes, they will be looking into the sun. This can be uncomfortable around midday, so try to shoot portraits in the morning or late afternoon instead (see #5).
But don’t simply follow the “rules”. Instead, experiment with placing the sun in different spots in your photographs. Play around with silhouettes. The best way to really understand what effects you like is by experimenting.
14. Make sure the horizon is straight
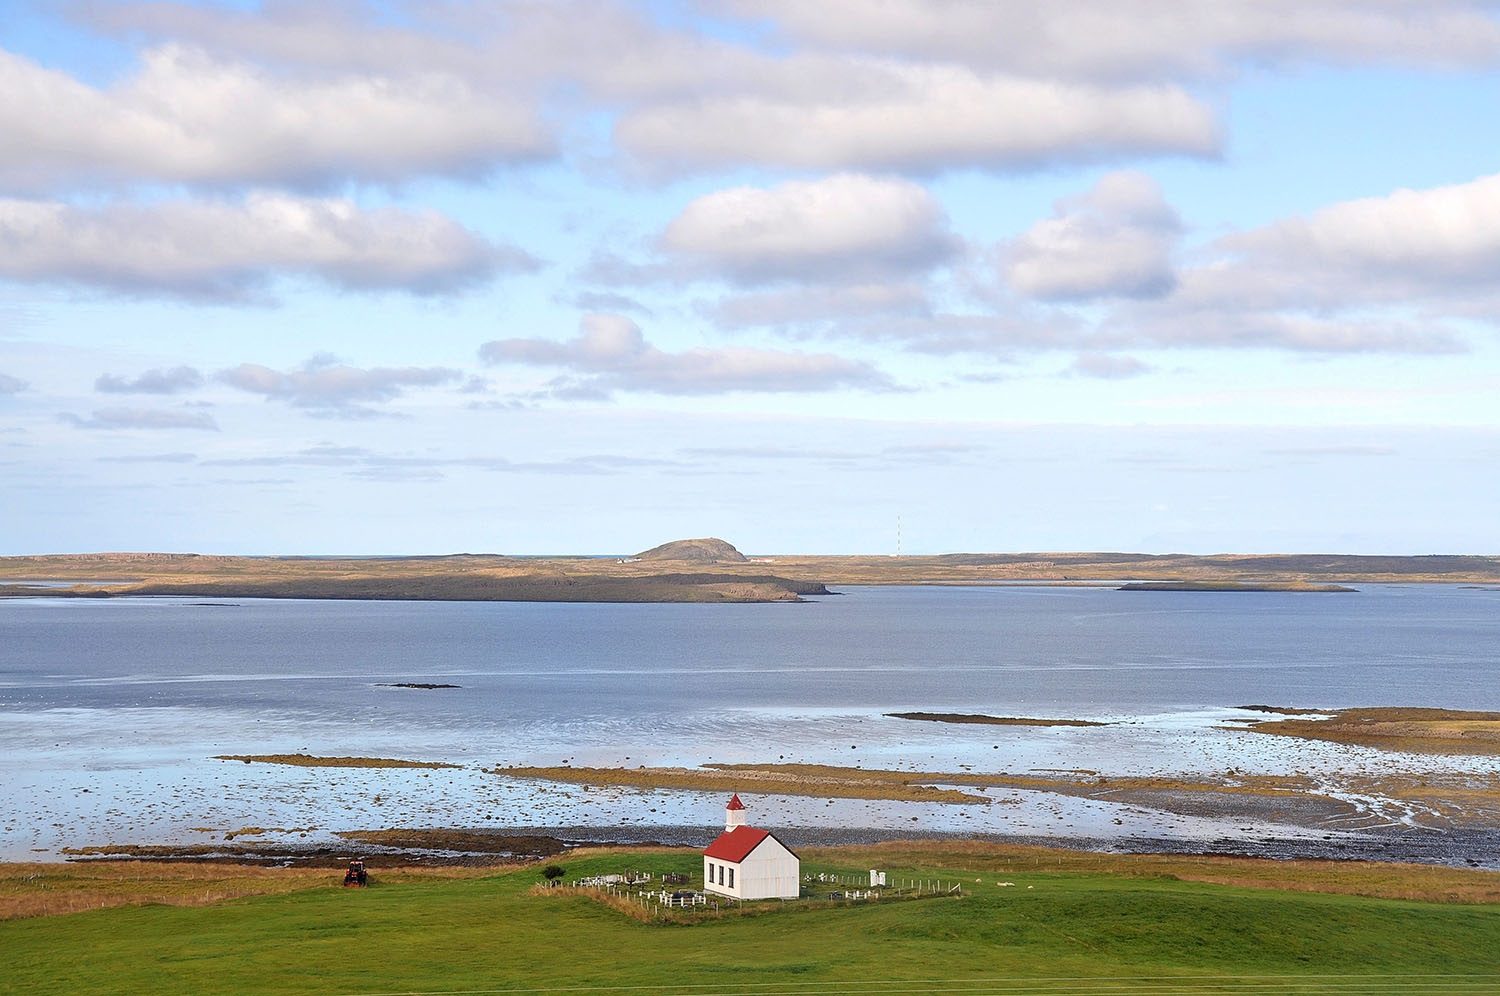
One of my biggest pet peeves is when I’ve taken a beautiful photo, but it’s crooked and it all just looks a little “off”. Most viewfinders have faint lines in them so you can use it as a guide to get the horizon straight. The clean straight lines will take your photos from just okay to looking very professional.
15. Capture movement
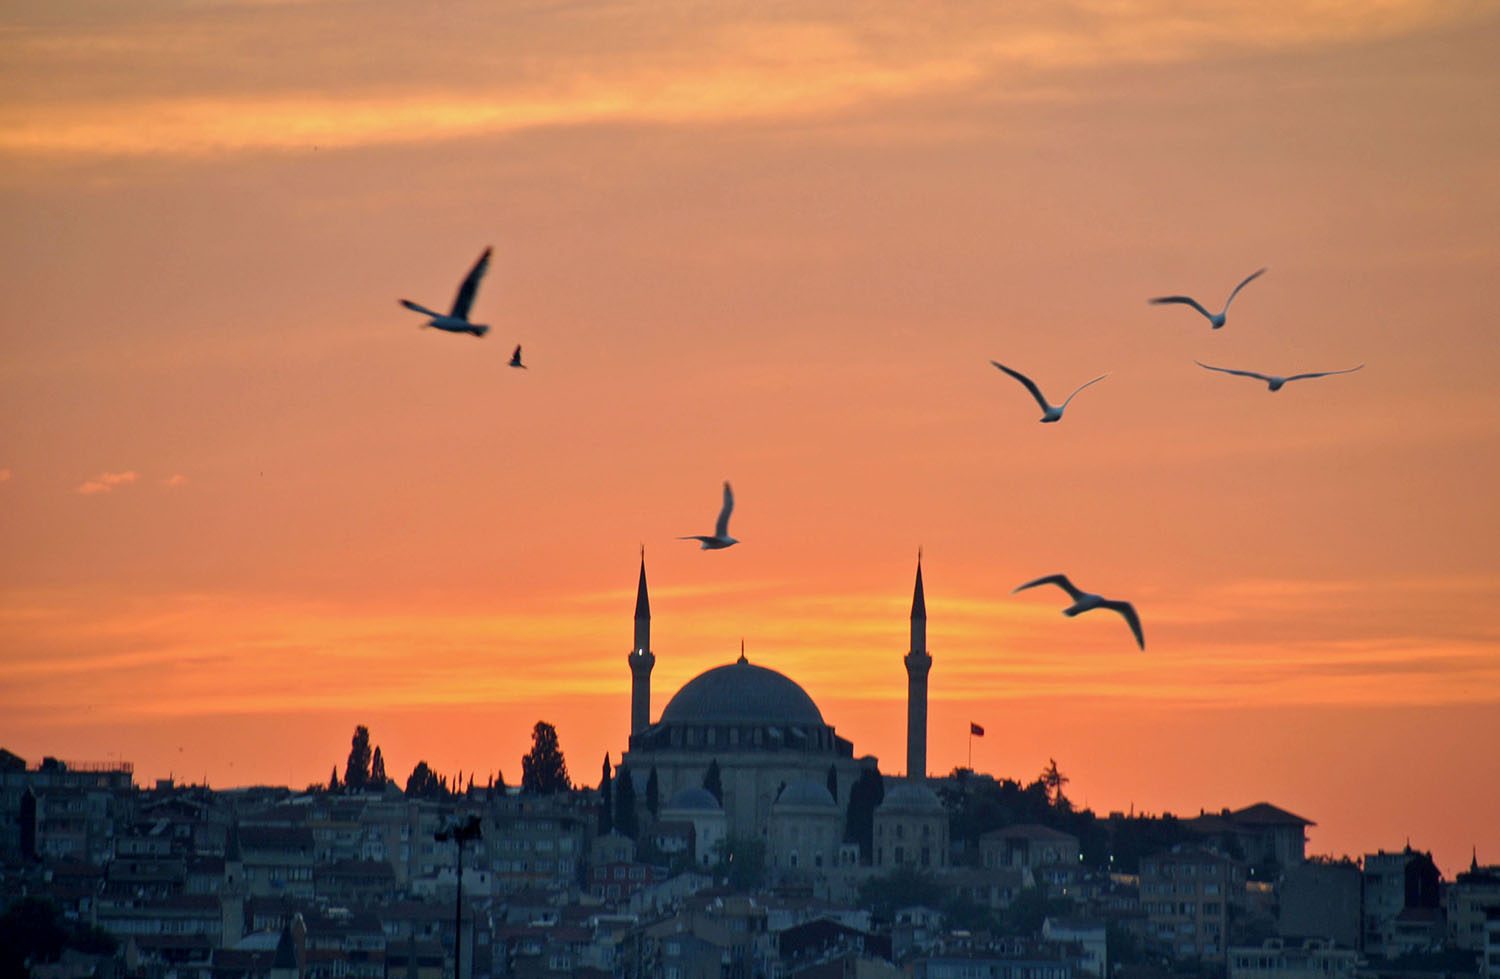
Sometimes we avoid movement because it can look messy. But movement can give your pictures life.
Think about it: a photograph of a New York City with no people in it won’t give the same feeling or dynamic as one with a crowded street with people moving. The second picture emanates the buzz of the city and helps the viewer really understand what NYC is like.
Try to capture birds in flight. Kids playing in a park. The wind blowing trees. Breathe some life into your travel photos.
Tip: If you are trying to capture movement, make sure your camera is set to “burst mode”. See tip #1.
16. Open your shutter
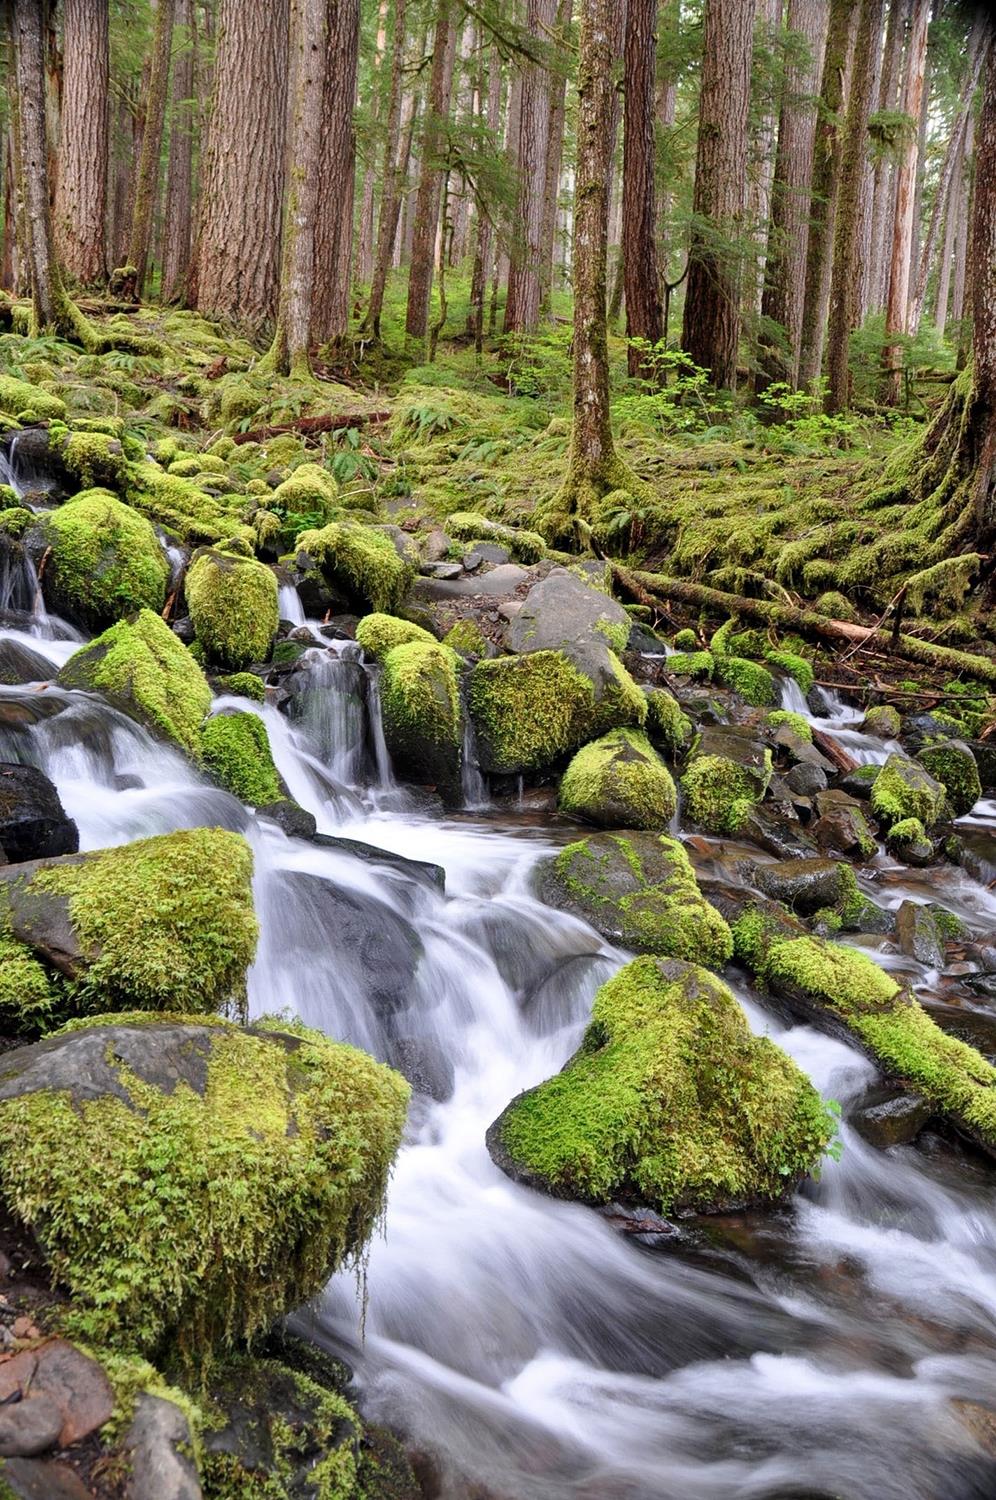
If you’re new to photography, this might sound like a foreign language to you. Think of it this way: usually when you take a photo, the lens opens for a fraction of a second. If you set the lens to stay open longer, you can get some really cool effects.
There are many neat things you can do with a long shutter speed, but on your travels, here are 2 shots you’ll surely want to try:
You can get the typical soft, flowing effect on a waterfall (shown in the picture above).
You can experiment with night photography and you can get pictures of the stars or Northern Lights .
In order to set a long shutter speed, you will NEED need a tripod (see tip #2), and some patience for learning the technique.
Basic rule of thumb: If you set a long shutter speed, more light is coming into your camera lens. This means you’ll need to make your aperture smaller to let in less light.
17. Rule of thirds
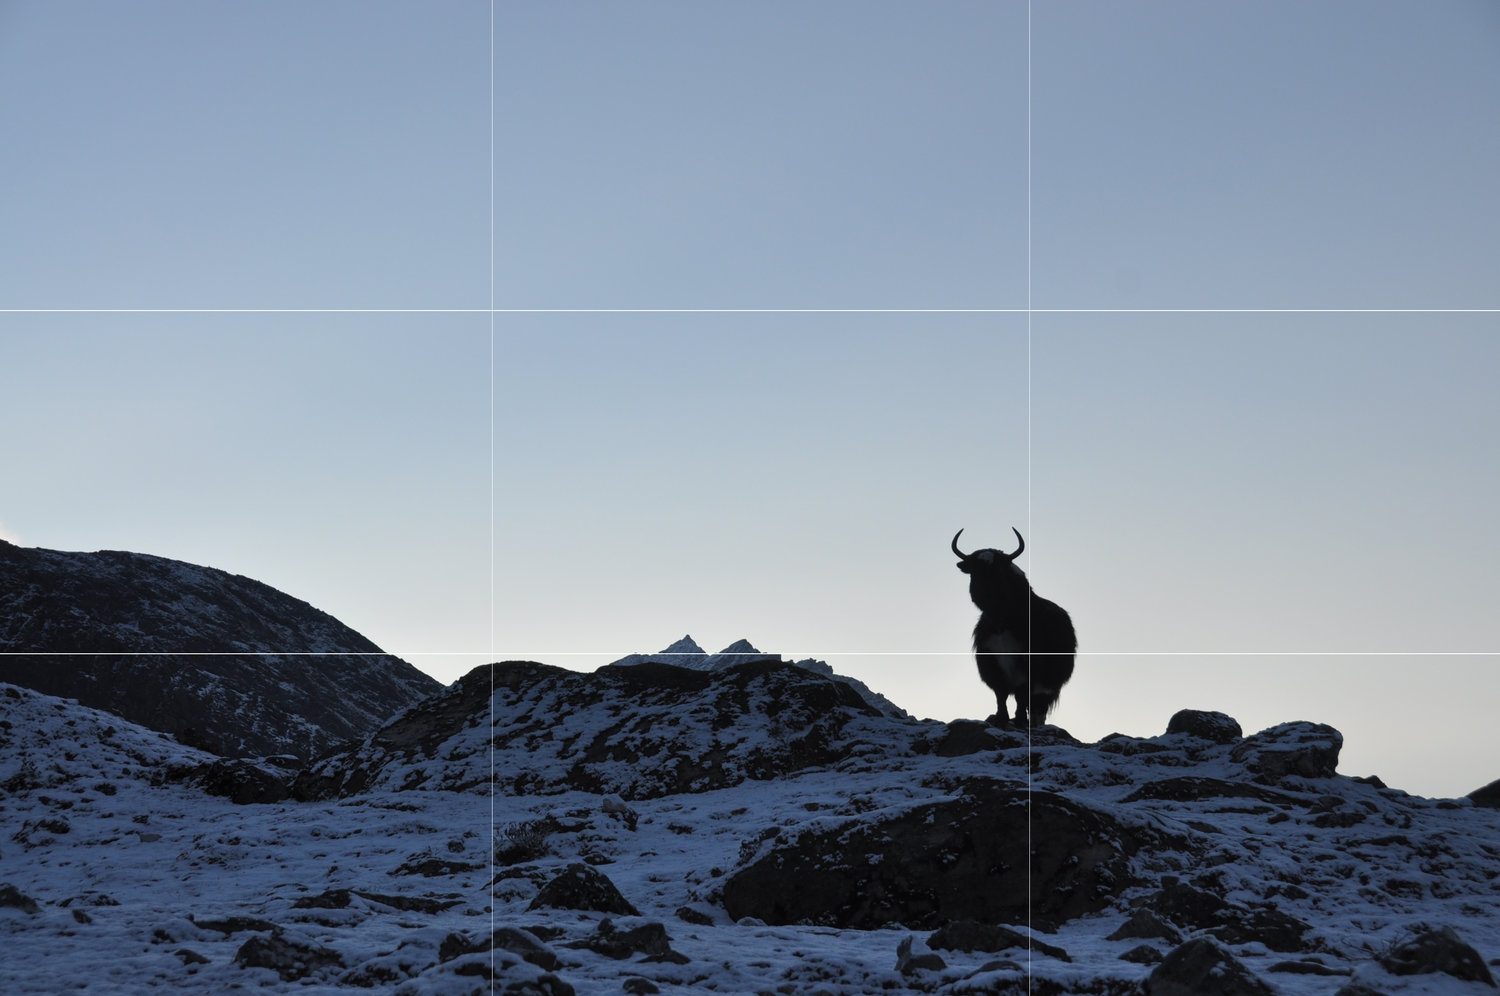
Symmetry is a beautiful thing, but it if you take all of your photos with the subject in the middle, you’re pictures are going to start to look boring.
You’ve likely heard of the rule of thirds, but it’s a good one. Essentially, this means that you will place your subject at one of the crosshairs as illustrated in the photo above.
Play around with this, but it’s not a hard and fast rule to follow for every photograph. Remember if you anything too often, it’ll start to become boring.
18. Get in your shots; but don’t just stand there and smile
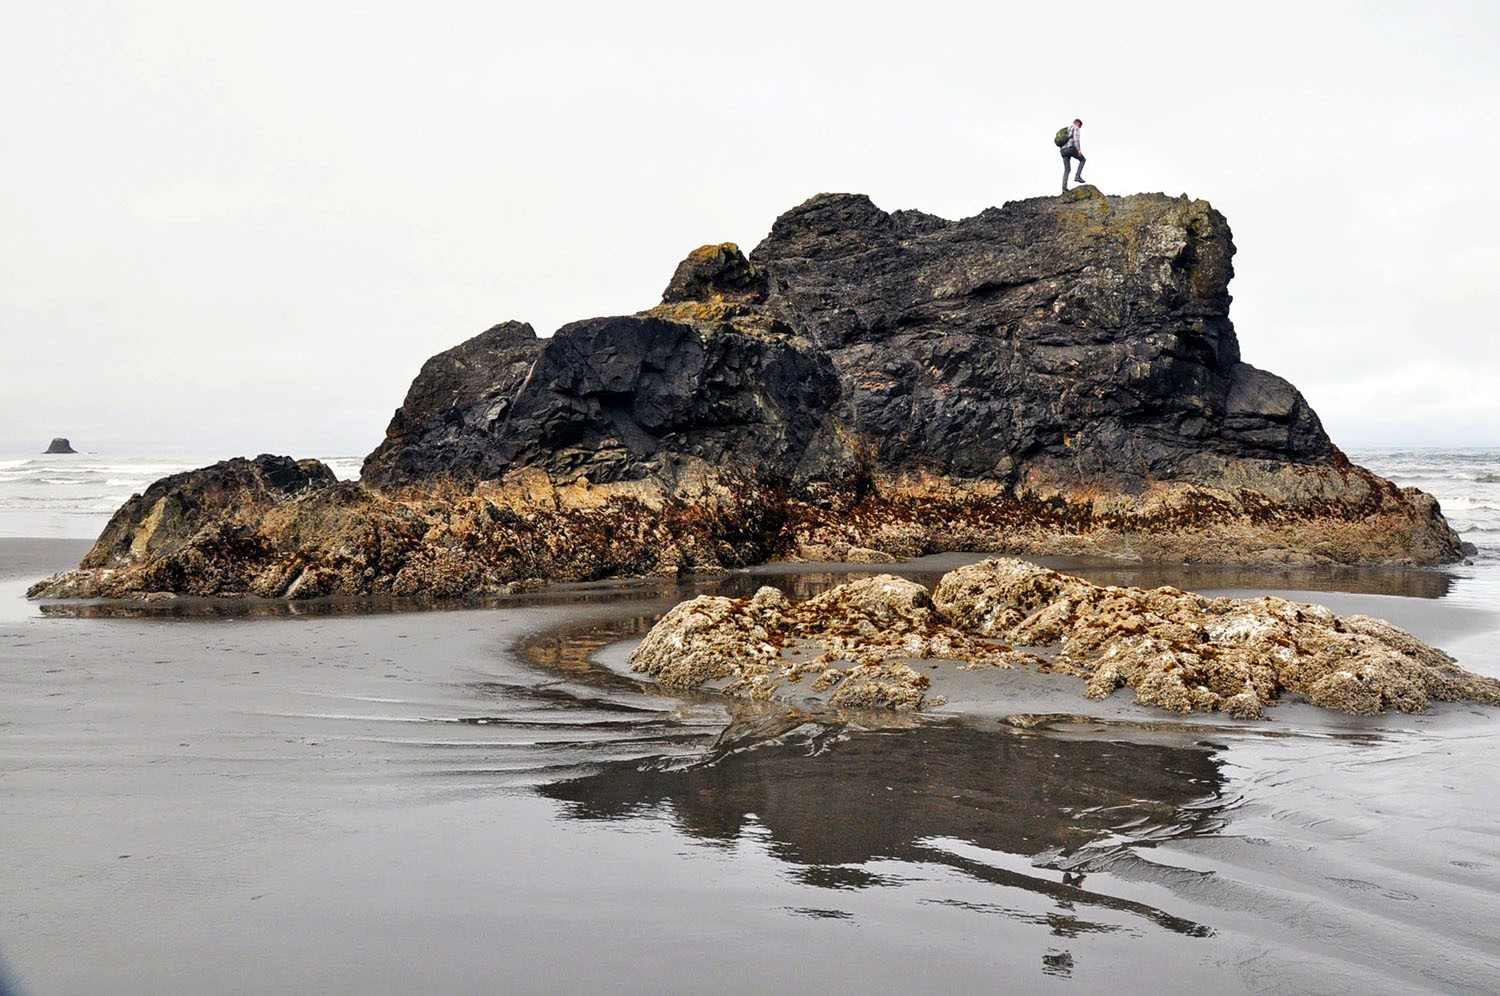
Sometimes it is more comfortable to be behind the camera than in front of it, don’t be afraid to be a model too. Stepping into your pictures can create some really interesting shots.
For example, standing next to a tree in California’s Redwood forest brings a new sense of perspective to the photos. Without a person in the shot, it is hard to tell just how massive these trees are.
Similarly, a person in your shot can bring emotion and movement that you just can’t get by shooting a landscape. So get in there and experiment!
Note: This is easiest if you have a travel companion or a tripod, or stumble upon a camera-savvy stranger. Check out these tips on how to take photos of yourself alone for some more advice.
19. Think about what you’re wearing
I’m not saying you should carry an unrealistic, floor-length dress along on a hike so you can get a pretty shot at the top. (Unless that’s your style, then go for it!)
But when you’re headed somewhere that you’ll want a photo in front of, avoid shirts with writing, and stay away from super busy patterns and anything too “trendy”. Also, choose colors that are neither dull nor super bright; and avoid shirts that will show sweat stains (it happens to the best of us!).
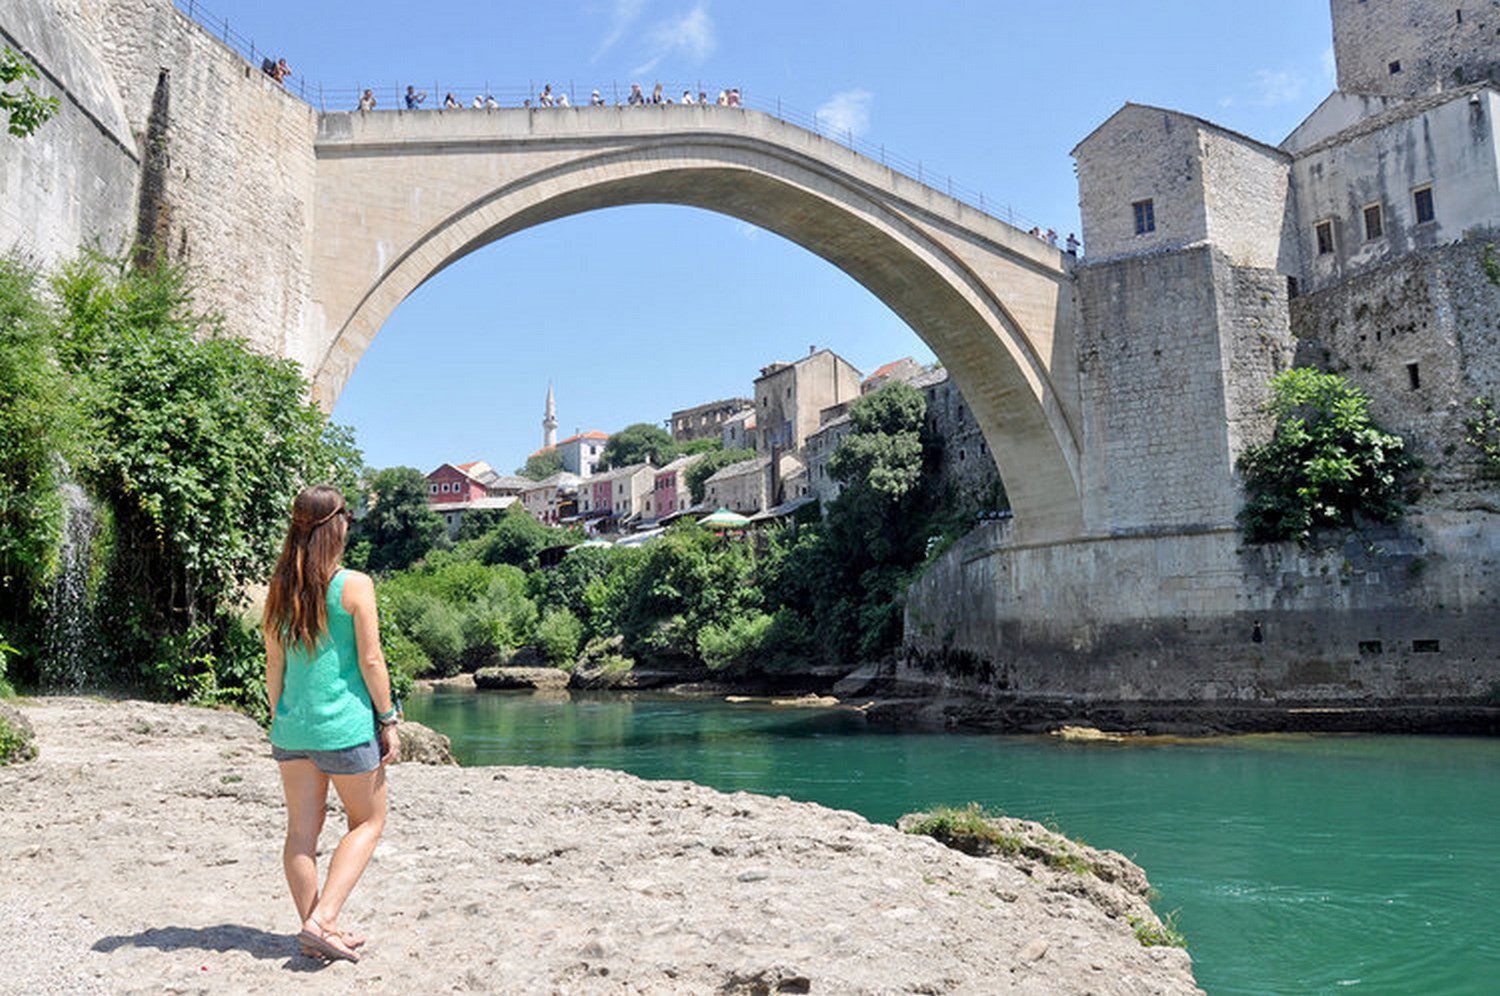
Trust me: you will regret wearing a t-shirt that says “Freshman Women Pub Crawl” in front of Machu Picchu . And if you wear a dark green shirt in a forest, you’ll blend right in and will look like a floating head.
Putting a little bit of thought into your clothing choices can make your photos much better, and will save you embarrassment down the road.
20. Get comfortable taking portraits of strangers
When traveling in a different country, portrait shots are often some of my favorites. They elicit emotion and tell a story. Whenever taking someone’s photo up close, ask for permission. You wouldn’t like it if someone came up to you, took your picture and left without saying anything. So don’t be that person.
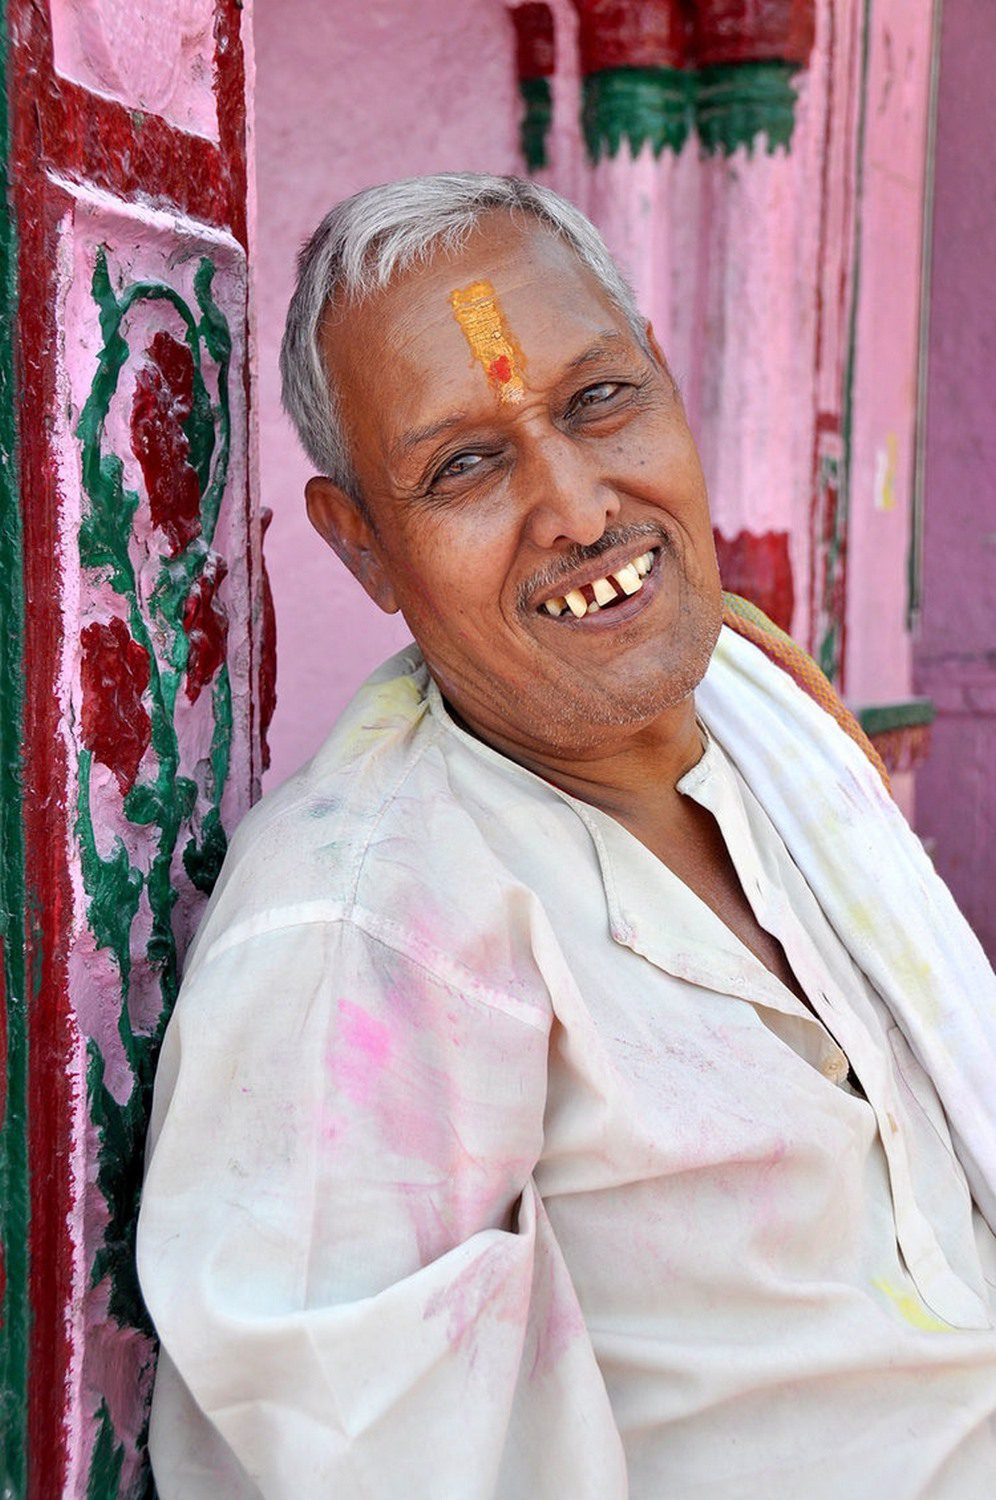
You don’t have to speak the same language to get permission. Simply make eye contact, smile, and point to your camera or say “photo?”. Most people will understand and will either nod or shake their head. Many people I have encountered happily say yes, and it is a positive interaction. If they say no, however, respect their answer and move on.
It can be a little intimidating at first, but I’m pretty sure you will find the pictures and positive interactions make stepping out of your comfort zone worthwhile.
21. Find a theme
If you’re already an experienced photographer, kick up your skills a notch by creating a photo essay of sorts. Observe your surroundings and take notice of any commonalities. It could be as simple as taking photos of the beautiful doors you see all over Ireland.
Or it could be a color.
While traveling in India , I noticed beautiful blue hues in a few different towns and tried to capture a series of “Indian Blues”.
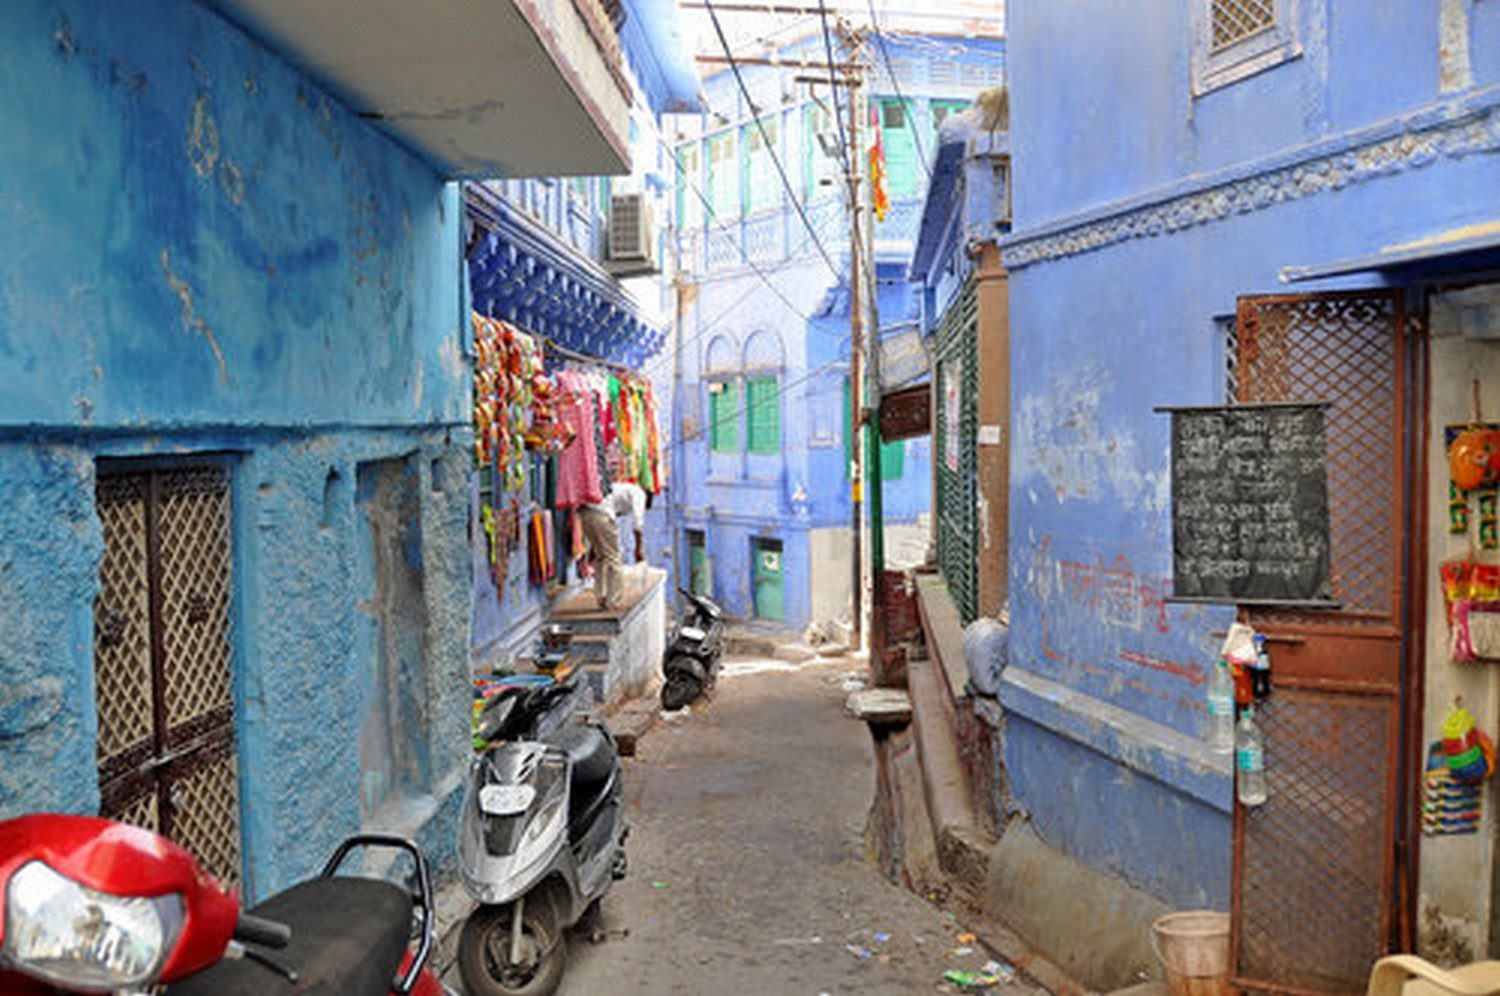
You could try to get even deeper with your theme and capture a specific emotion that you want your viewer to feel.
In Bali , perhaps you notice bright colors everywhere. You want your viewer to feel happy and energized. Seek out colorful flowers and outfits. Take photos of people moving and smiling.
In the Pacific Northwest for example, maybe you want to focus on the sheer size of the trees and mountains. You want your viewer to feel small while looking at your photos. Get a person in many of your shots to illustrate the perspective of the landscape. Keep the person the same size throughout the photos to make one series.
Tip: When you’re creating a photo series, try to shoot all photos in the same settings so they feel like they belong together.
22. Learn to shoot in manual mode
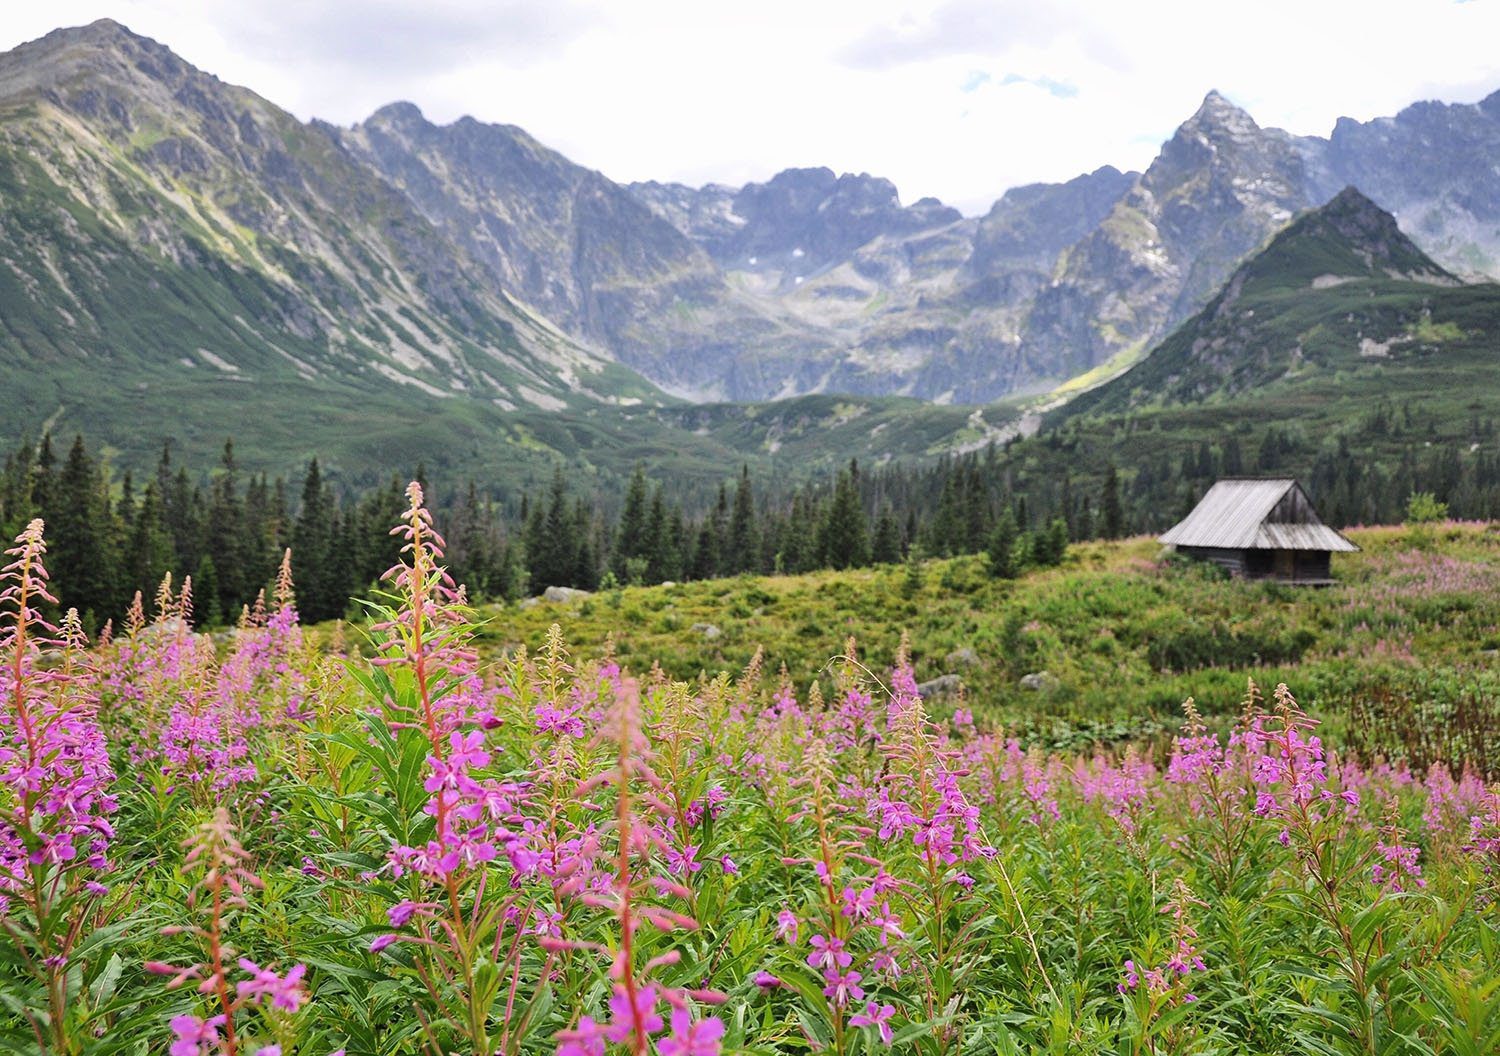
Play around with your settings and learn to shoot in manual mode. Read the manual. Really get to know your camera. Look up YouTube tutorials. Experiment with manual focus instead of simply pointing and shooting.
Knowing your camera inside and out and understanding manual mode will really improve your skills as a photographer immensely.
You can do a lot in automatic mode, but if you want to get better as a photographer, the only way to learn is by using manual settings. This will teach you about the actual process of how light enters your lens and captures an image, and you’ll come away with a deeper appreciation and understanding of photography. Plus, you’ll have a much wider range of skills when it comes to capturing photographs.
23. Change up your focus points
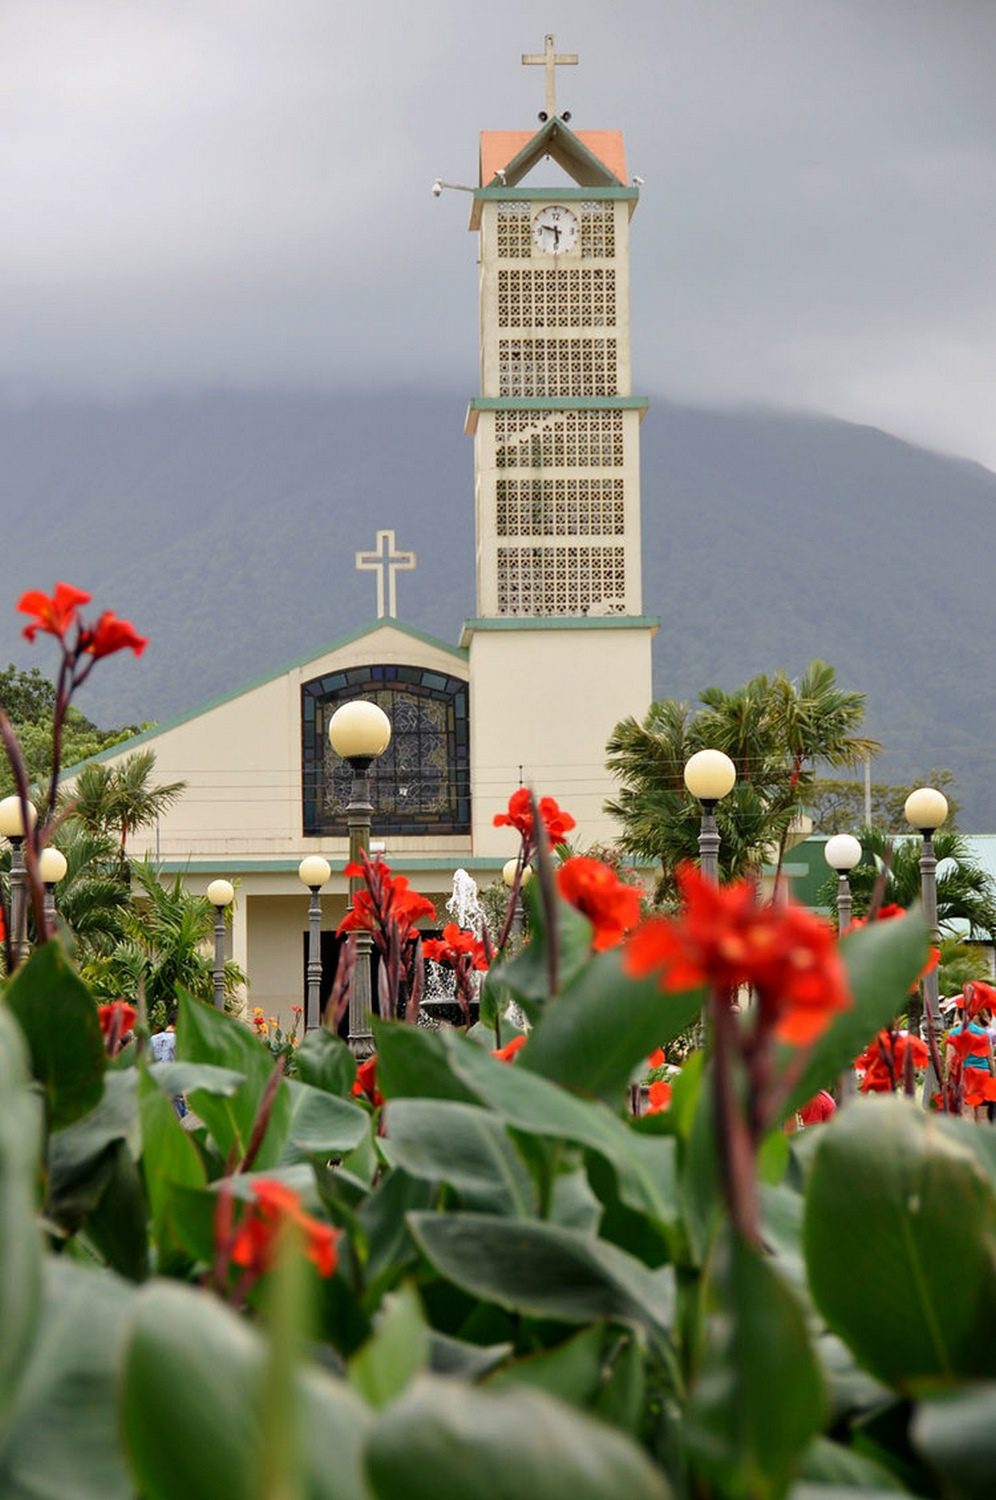
We all love photos where the subject is in focus and the background is blurred, right? Practice this technique by focusing on unexpected points, like a flower in front of a blurred church. Take another photo from the exact same spot with the flower blurred and the church in focus, as shown above. Sometimes the unexpected focal points can make the most interesting photos.
24. Understand white balance
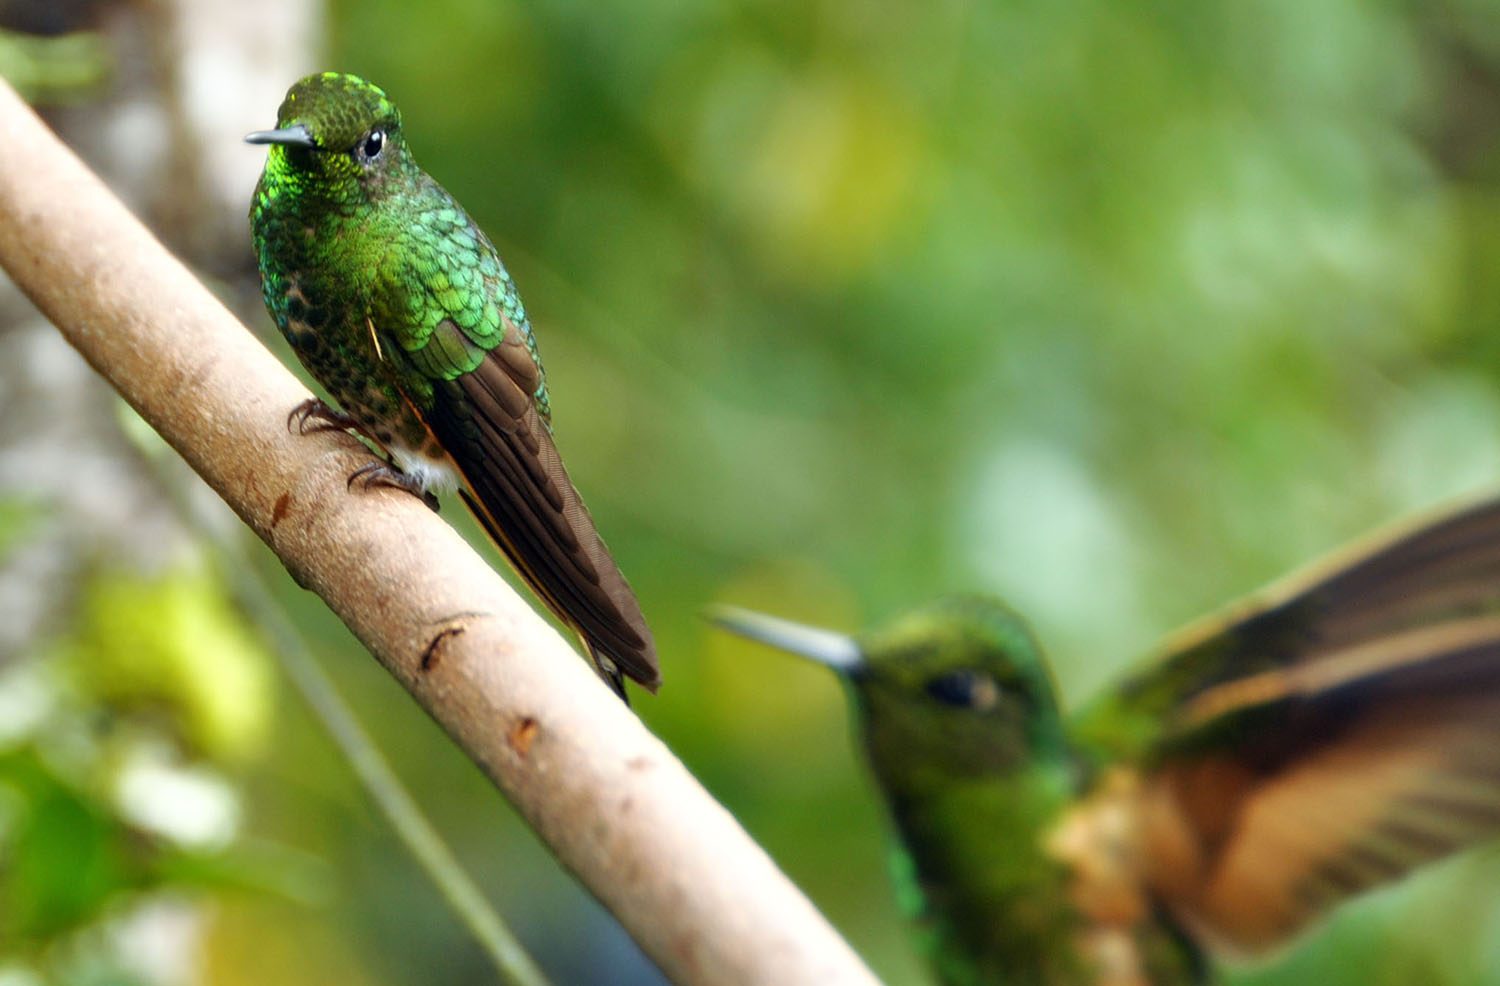
Have you ever taken a photo and the colors just look off ? What’s most likely happening is the color temperature is affecting your picture. I’ll try to put it a bit more simply: Some lighting is warm, like a candle. Other lighting is cool, like heavily overcast sky. Our brains actually compensate for the light temperature and even it out, but a camera isn’t as smart as our brains and that’s why the photo may look different than what you see in real life.
This is where white balance comes in.
I typically have my white balance set on auto, but when I’m in a setting where my colors look funny, I turn my white balance off auto and adjust it so the photographs come out looking like what my eyes are seeing. (I find this happens to me most often when I’m shooting in a dense forest, like in the shot of hummingbirds above.)
This article is very helpful in explaining white balance further in depth .
25. Use a prop
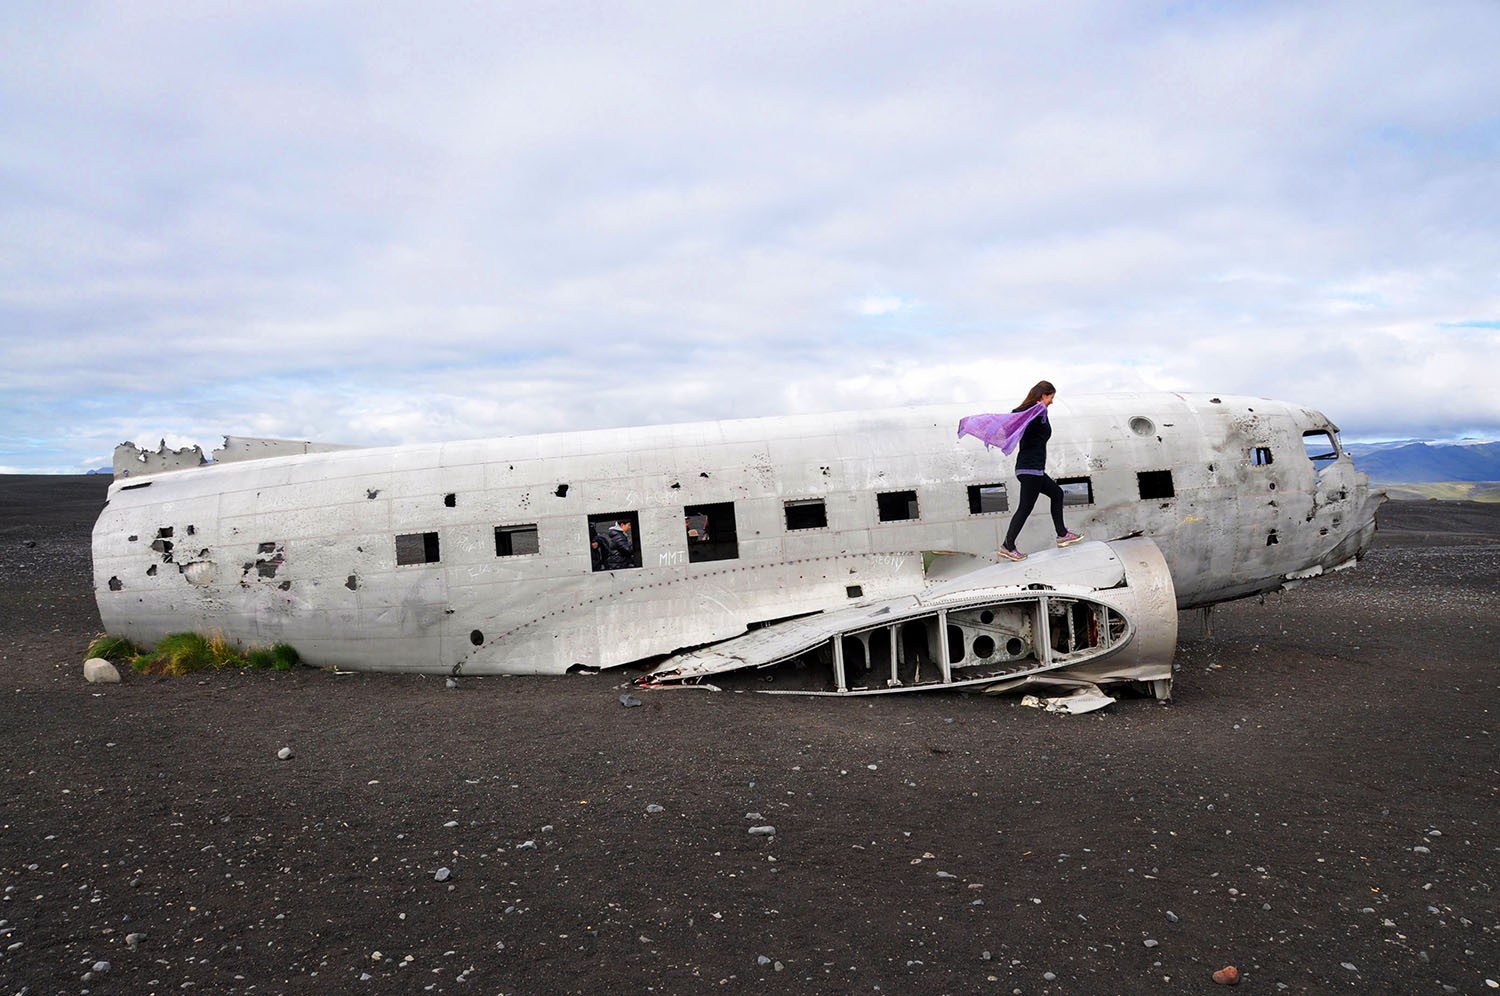
I’m not suggesting carrying around a bag of props for photos (unless you really want to). But you can bring a little color and interest into an otherwise drab landscape with a brightly colored scarf or a patterned blanket. You’re probably carrying them anyway, so try adding them into a shot or two.
26. Shoot in high quality
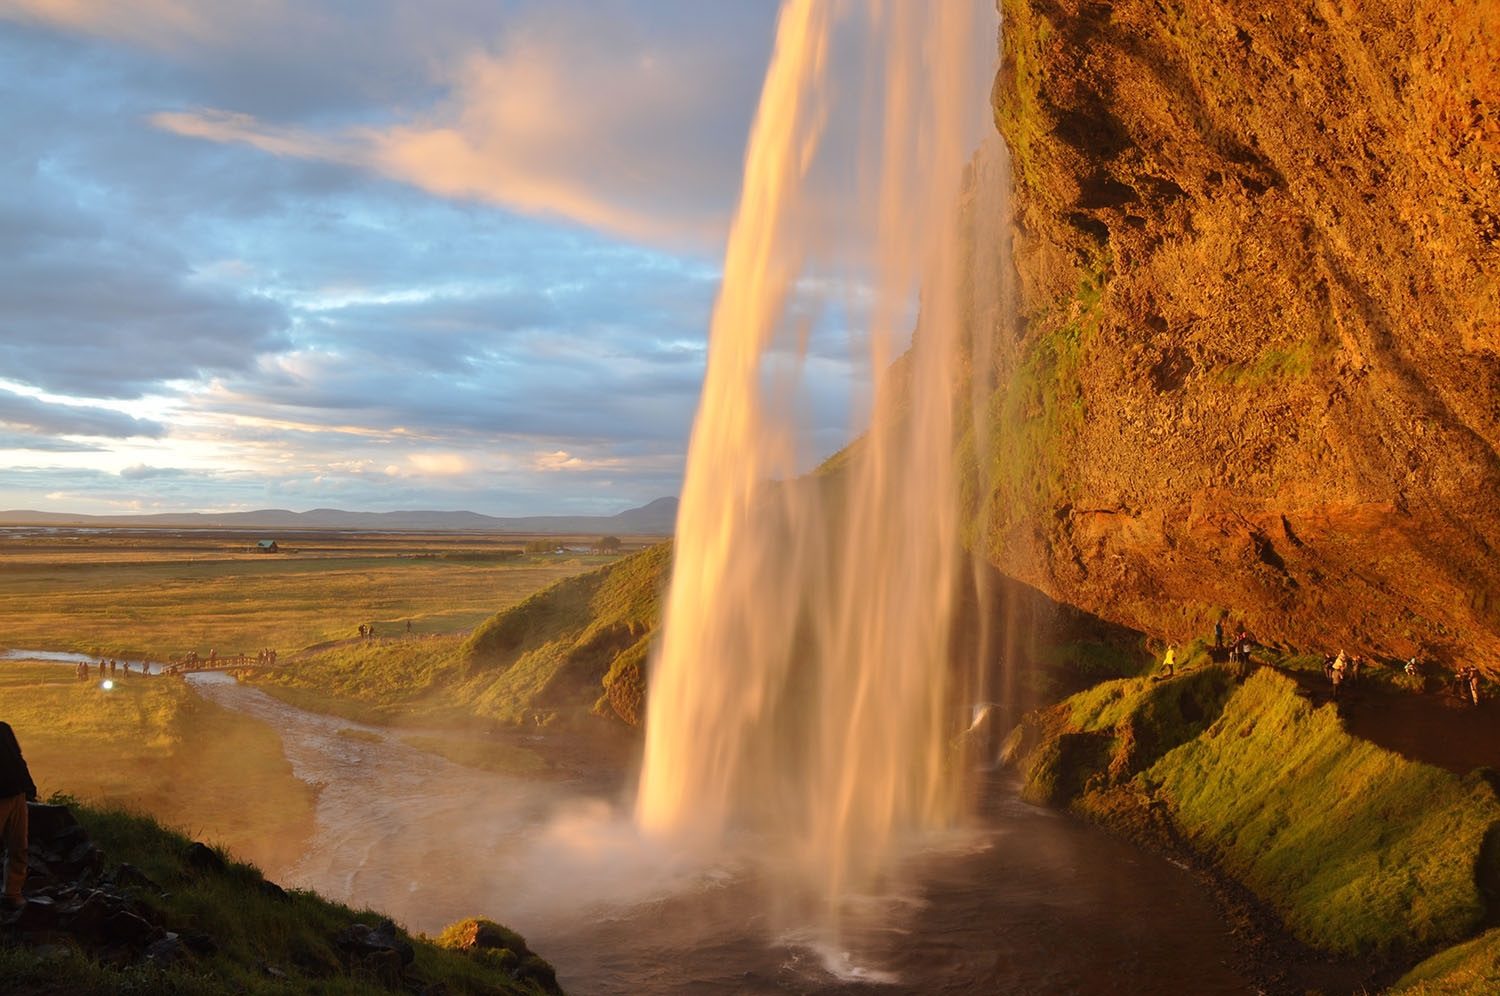
You might typically take photos in normal quality, but if you travel to a destination with an epic viewpoint, you may want to reconsider the quality in which you’re shooting.
If you ever intend to enlarge a photo of, say, an epic waterfall in Iceland , you’ll want to adjust your image size and quality from your normal settings. And if you’re a more experienced photographer, you may even want to consider shooting in RAW so you have the highest editing capabilities.
Know that shooting higher quality photos will mean you’ll have more editing capabilities, but it will also take up more space on your memory card. Be sure to pack extra memory cards so you don’t have to worry about running out of space.
27. Change the way you look at the world
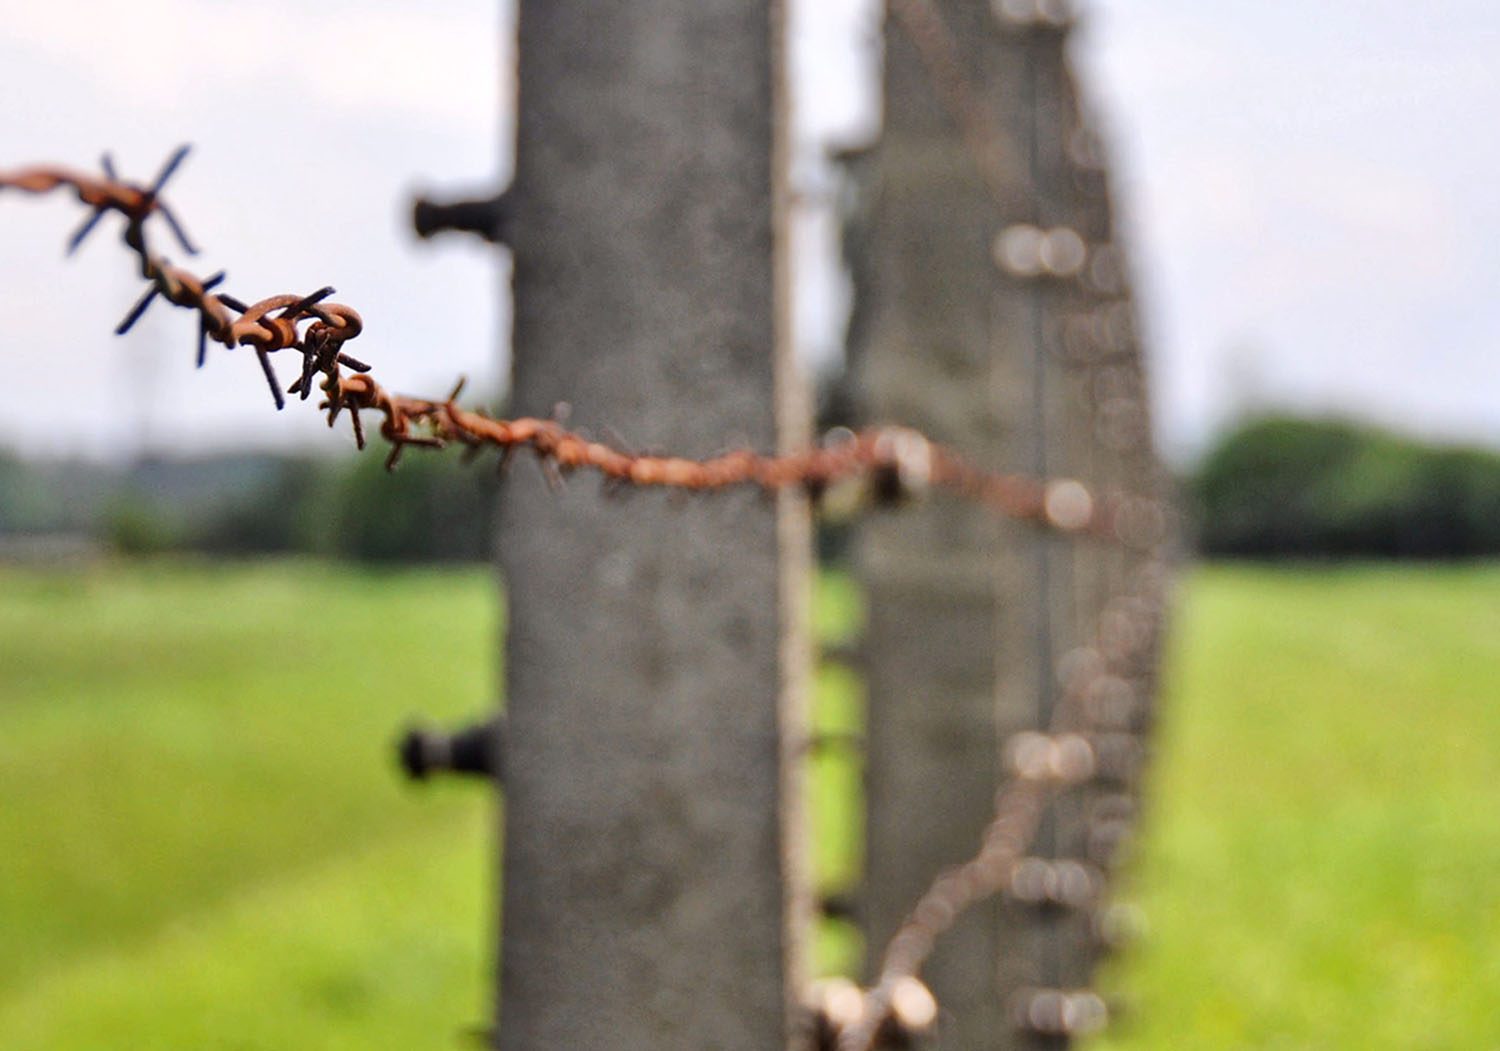
There is beauty all around you, whether it’s flashy or not. Sometimes it’s easy to see, like on an idyllic white sand beach. But other times, beauty can be in the imperfect. The everyday.
When you start seeking out beauty in everything around you, you notice the reflection in puddles and the pattern in tiles. You notice the texture of tree bark and how a small hole in a fence makes a super unique shape. You’ll start to love graffiti and walls covered in interesting vines.
You’ll start seeing beauty in even unexpected places. Capture it.
28. Don’t overthink it
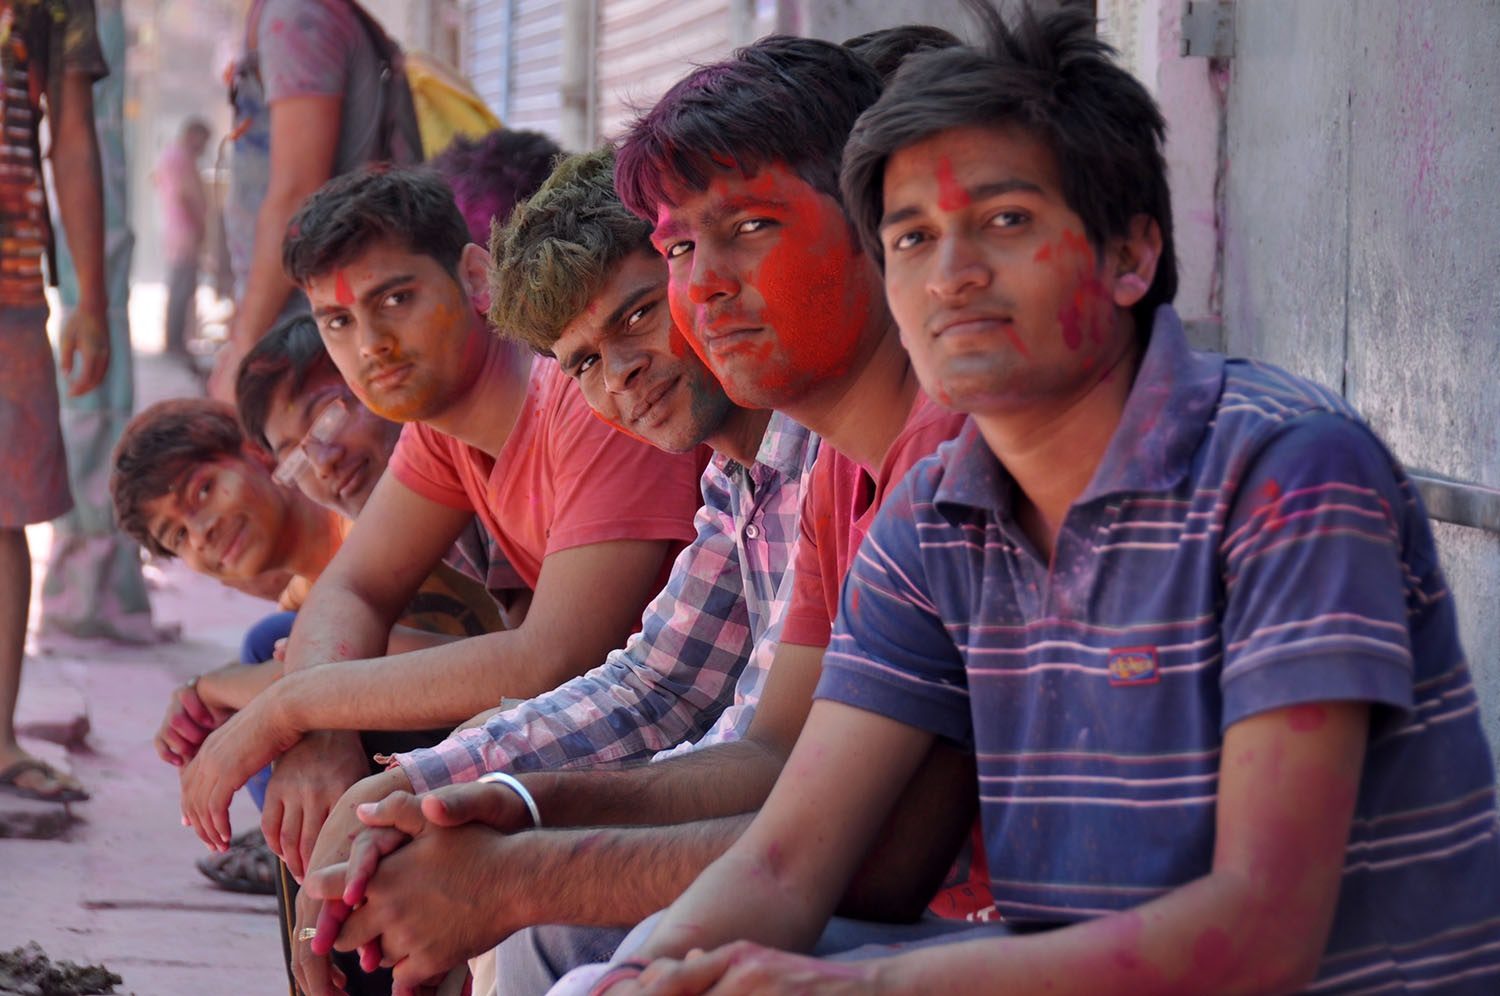
This might sound contradictory after just piling up a list of tips and things to think about when taking photos. But the thing is, even if you’re a pro, you can’t do all of these things each time you snap a picture.
And sometimes you only have a moment or two to capture a shot. Go for it. Spontaneity is beautiful. If you have time, look at your picture and think about how you could make it better and snap another.
Don’t get in your head too much. This list of tips is more or less meant to inspire you and help you think more creatively about photography.
29. Bring your camera everywhere (within reason)
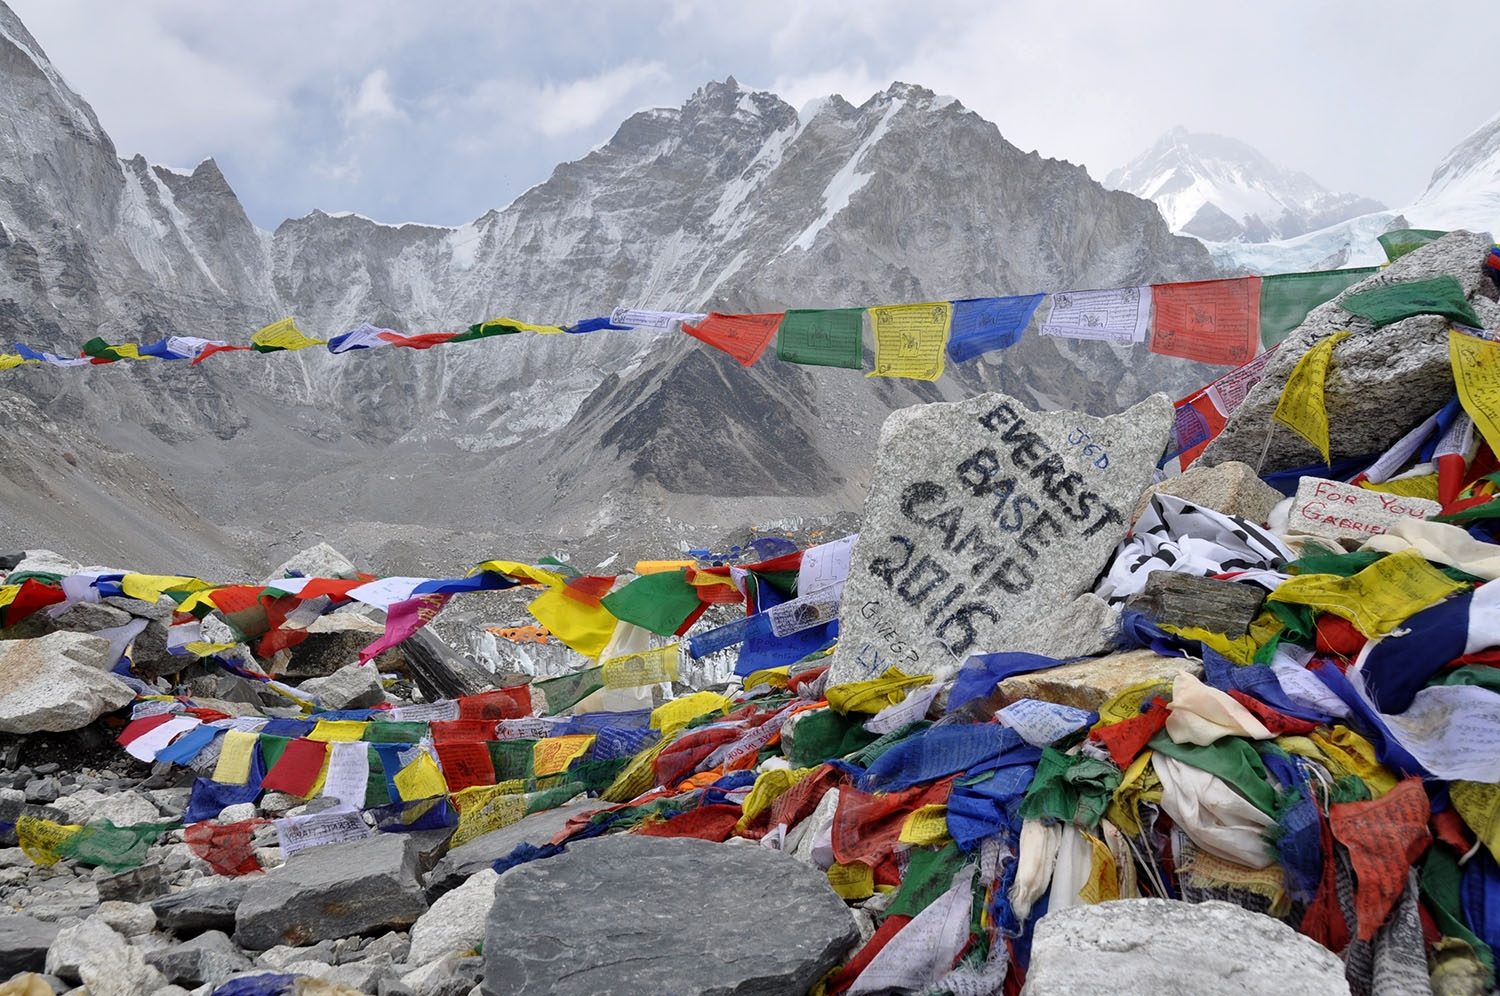
This may sound obvious, but you won’t get pictures if you leave your camera in your hotel room. I used to be so nervous about ruining my camera or getting it stolen, that I often left it behind when I went hiking or anywhere that made me even a bit nervous. I wound up with crappy pictures from my phone and my DSLR sat mostly unused.
I finally realized that it didn’t make sense for me to own a camera if I wasn’t going to bring it with me. I decided I would take it off the pedestal I had once placed it on and I have since brought it EVERYWHERE. I even trekked it to Everest Base Camp . And I am so glad I didn’t leave it behind.
My advice would be to get a camera that you feel comfortable bringing with everywhere. This means that if you don’t want to carry extra weight, get a smaller camera. If you’d be devastated if an expensive camera got stolen or damaged, choose one that you could manage parting with.
It doesn’t matter what camera experts recommend if you’re not going to feel comfortable bringing it along on your travels. Get a camera that makes sense for you.
30. Have your photography equipment ready in a “go-bag”
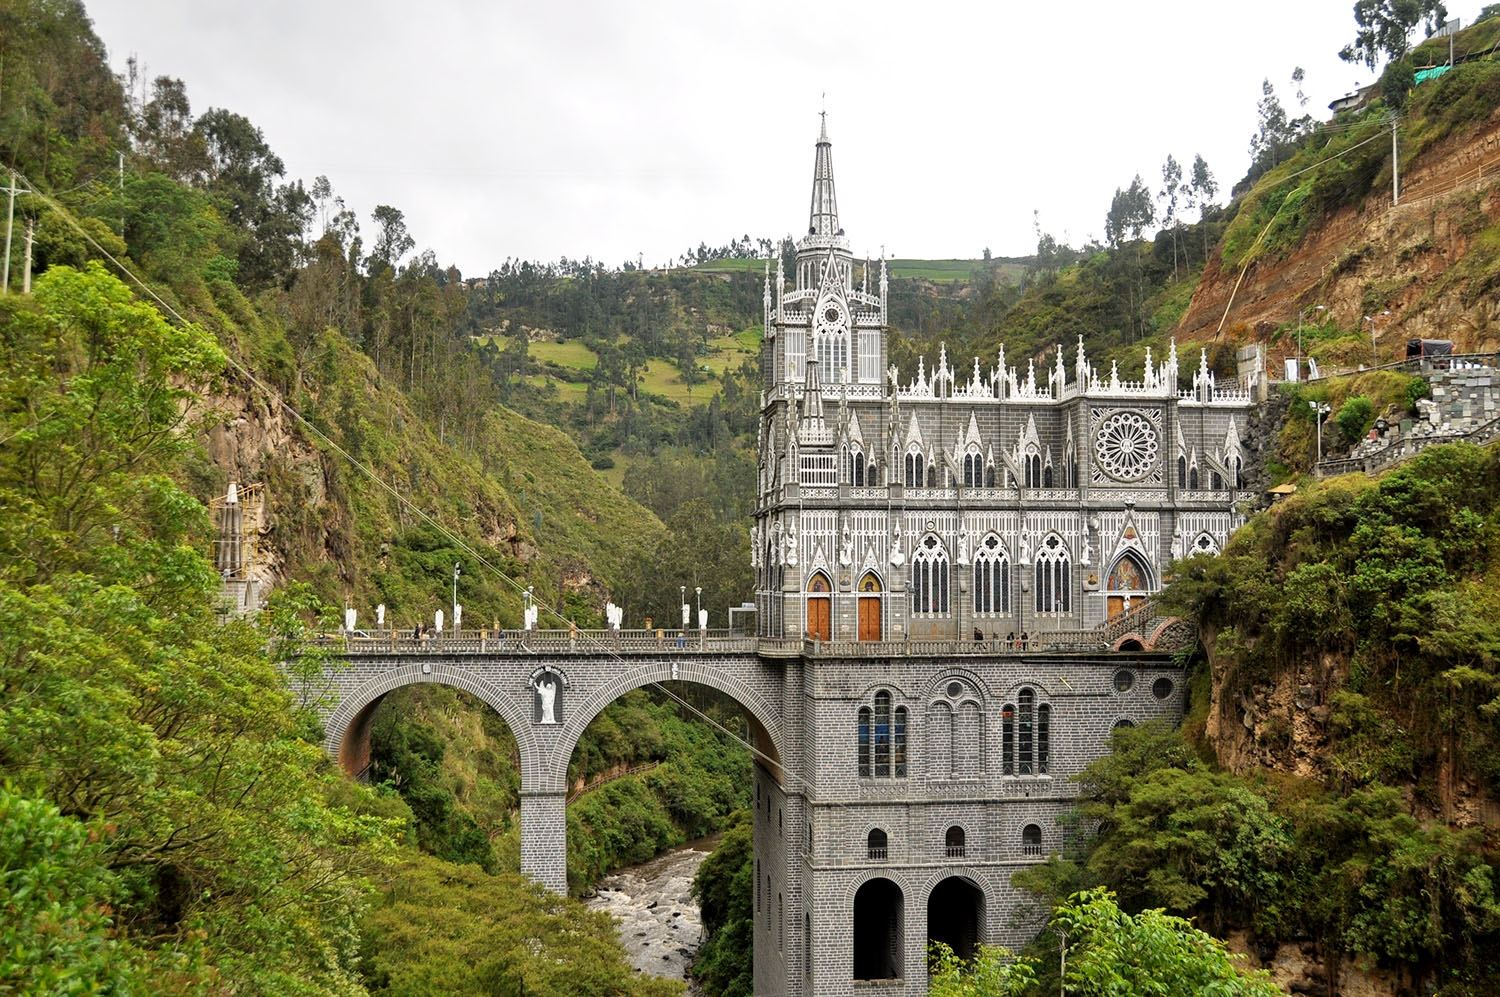
Being prepared is essential to getting the perfect shot on your travels. (For those times that you stumble upon an epic church like this one!)
I’m notoriously bad at leaving equipment behind. There have been many times that I have forgotten a back-up battery and my camera has died right as I reach an epic spot. And I have left behind my tripod or lenses that would have made an alright shot absolutely epic. I’m really trying to get in the habit of carrying it all with me.
You don’t need to have a massive camera bag with all equipment that you own. But make sure you have extra memory cards, back-up batteries, cleaning cloths and a tripod in one easy-to-grab bag so you’re not caught in an epic moment without them. Check out The Broke Backpacker’s article on his picks for the best camera bags for travelers.
31. Play around with editing software
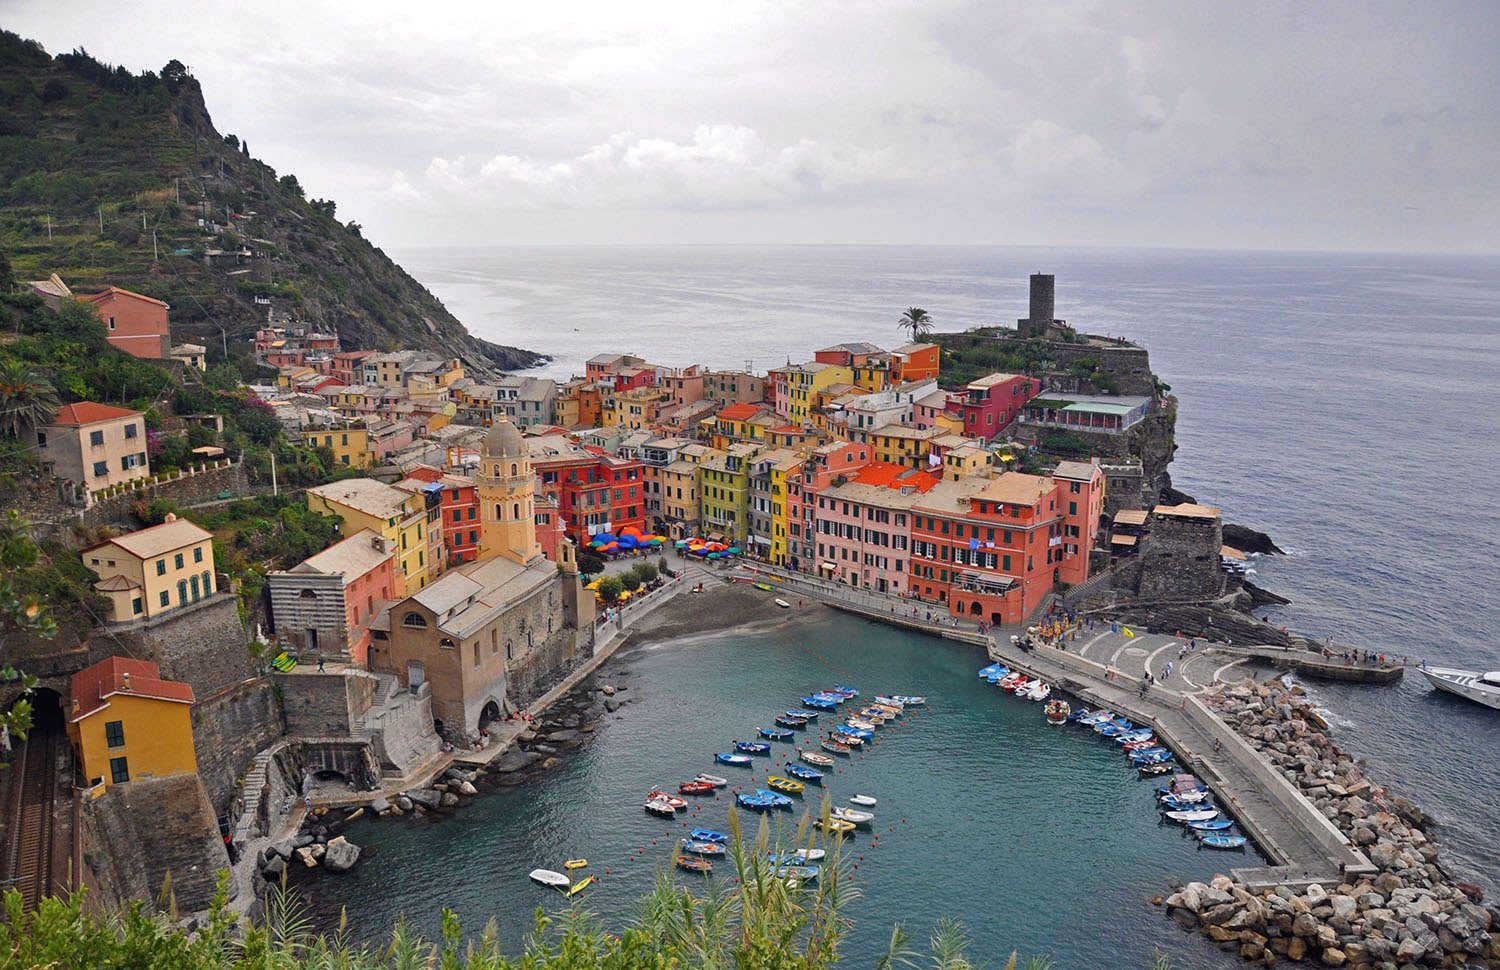
Hey, you photo pro! If you’re looking to really up the ante and create a portfolio from your travels, it’s a good idea to familiarize yourself with editing software. You can make colors pop and really give all your travel photos a bit of your signature style.
I prefer to use editing software to slightly enhance colors and to lighten up dark photos, but I don’t like doing very heavy, noticeable edits. That’s my style, you’ll find your own.
We use Photoshop and Lightroom, which you can rent for $13 per month. If you’re super serious, there’s really no competition. These products are the best.
But if you’re just starting out or simply want to edit your travel photos for fun, there are free versions of editing software that should have all the capabilities you need. Try using Canva or Gimp .
32. Back it up, baby!
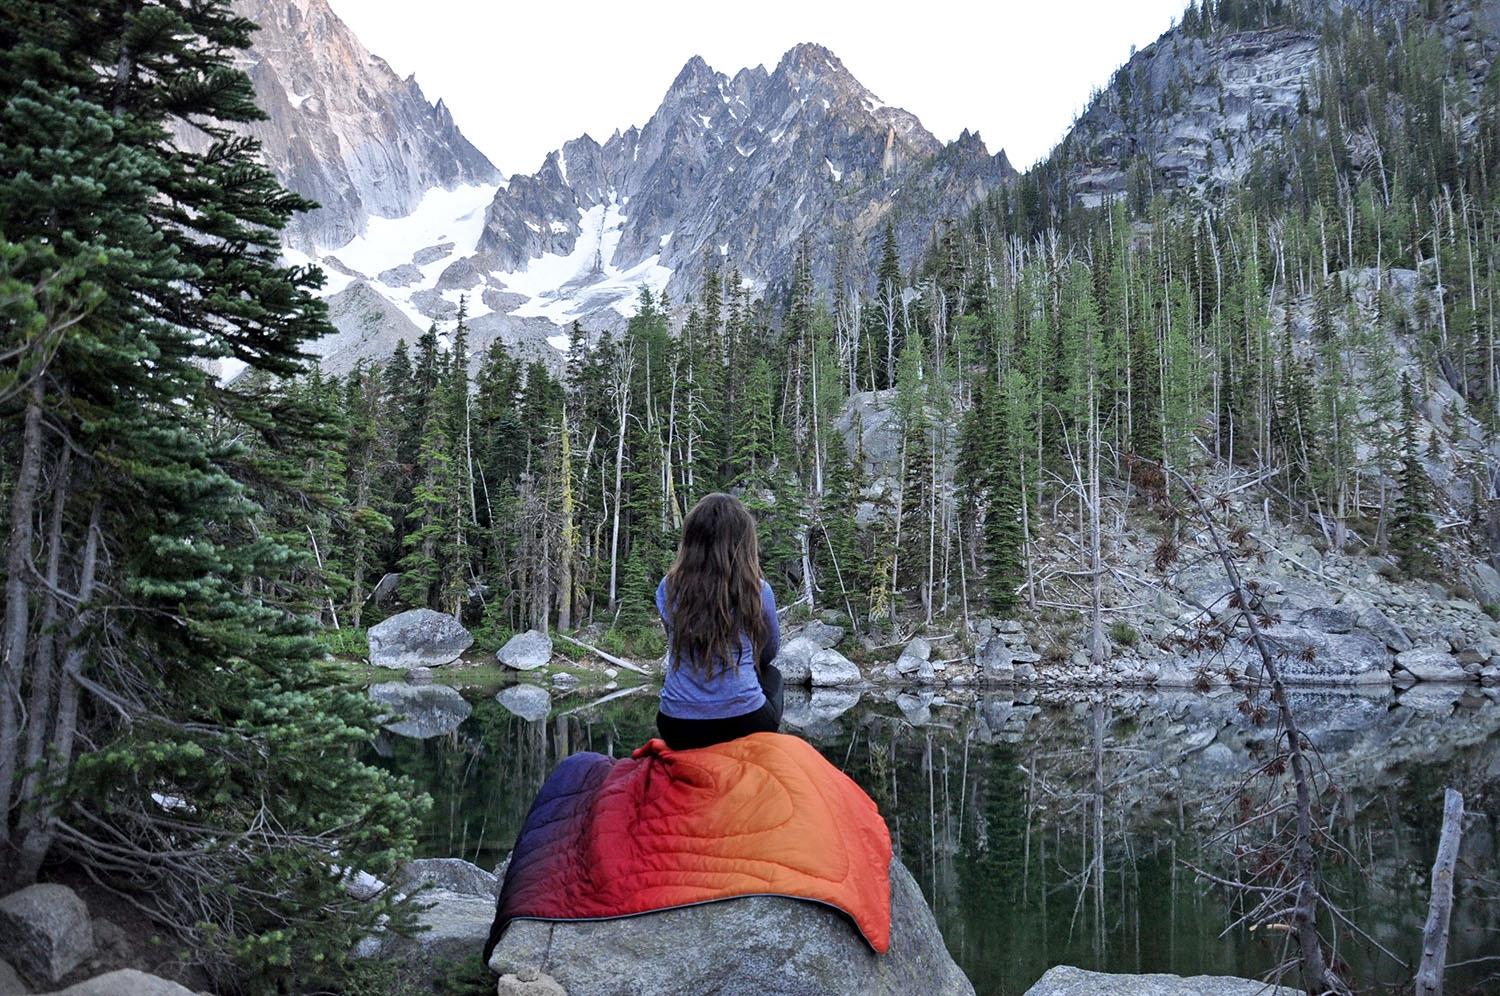
There’s not much that would ruin a trip faster than losing all your photos.
I used to think, “I’ll just back my pictures up when I’m at home”. But I can tell you from experience that you may not have that luxury. Your memory card could get damaged, or your camera could be stolen. You might even accidentally delete your SD card and find yourself having to figure out how to recover your deleted photos (been there and trust me, it’s not fun!).
I’m not trying to scare you, but I do want you to be prepared. Backing your photos up virtually while on your trip is the smartest way to ensure they stay safe. That way no matter what happens, your memories are safe in the cloud! That peace of mind is invaluable. Or I guess it technically costs about $99 per year for unlimited photo storage if you subscribe on Amazon , like we do. (Google and Apple have their own versions too.)
On a similar note, we always make sure we have travel insurance so that we’re covered in case our camera is stolen. Read up on what to look for in travel insurance here .
Travel Photography FAQs
What is my photography background.
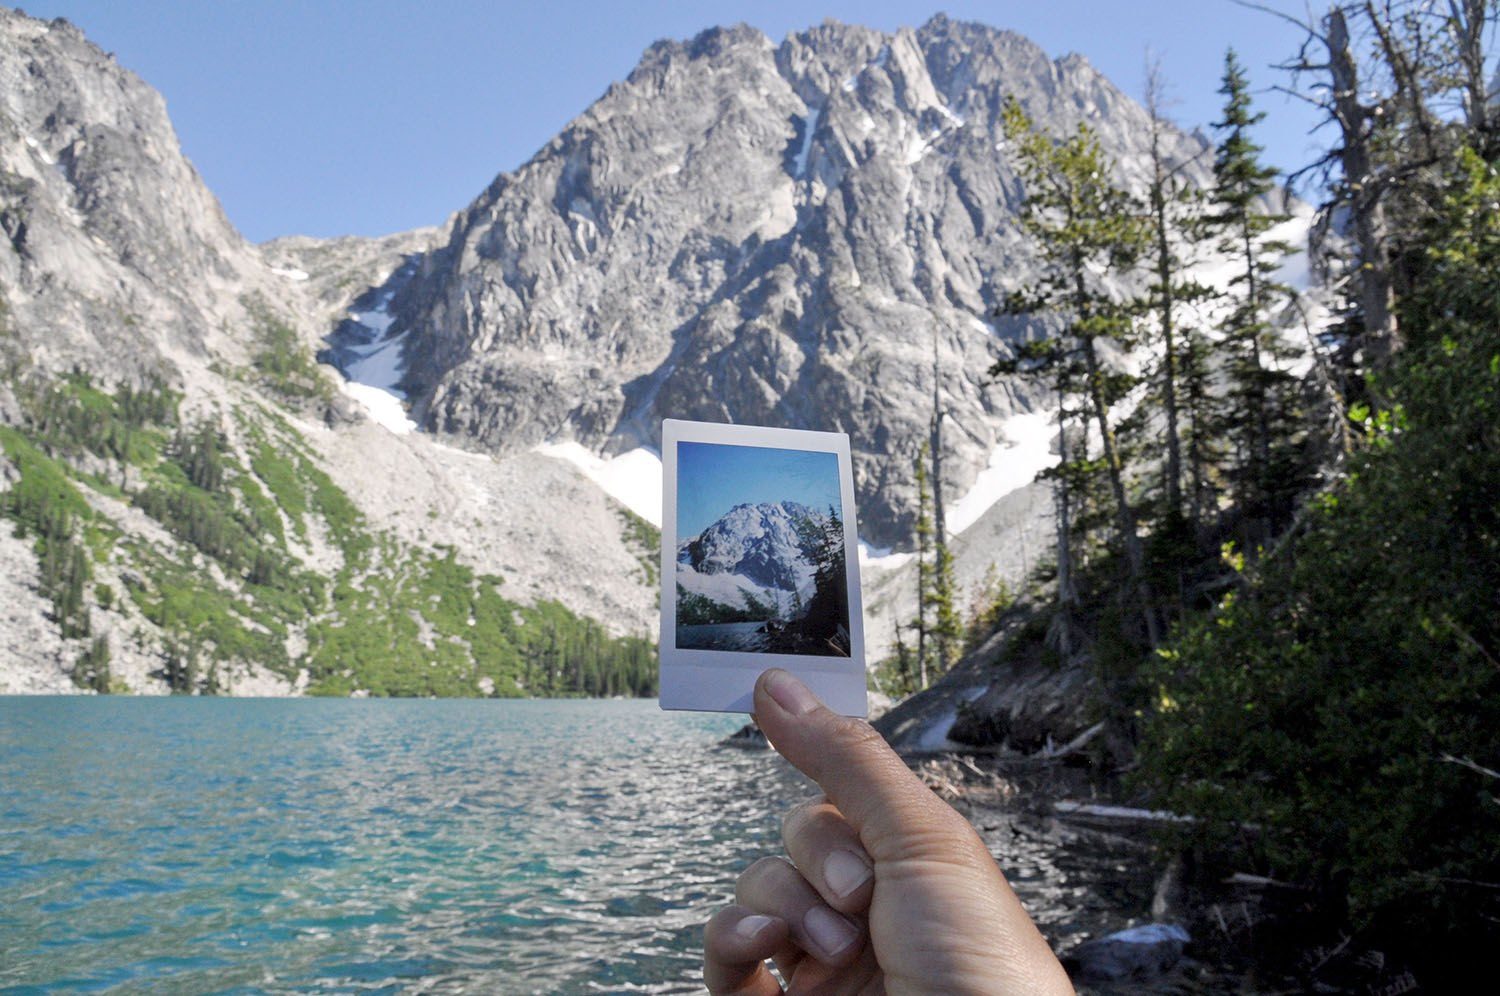
Photography has always been a huge part of my life. My dad was in the photography business, so I grew up with cameras. I took photography classes in high school and college (I miss darkrooms tremendously!) and have toted my beloved camera with me on my travels all around the world.
I’ve done some portrait photography and even worked in product photography, but my favorite type of photos to take are while traveling. All that said, I’m still constantly learning and trying to improve.
Documenting what I see on my travels is like a journal to me. My photographs are my most precious travel souvenirs, and I get so much joy when I look back on them and share these memories with others.
What’s the best camera for travel photography?
Some photographers out there will swear by one brand and say that’s the only way to go. But to be honest, I think the most important thing when choosing a camera is that it’s the right fit for you.
Choose a camera that is:
the right price point for your budget (a good camera does not need to be expensive)
has the capabilities you want to grow, but not more than you need
is a size you are comfortable carrying with you (see tip #29)
Check out this list of the best cameras for bloggers to get some more specific ideas on which models to look at.
Which is better: Nikon or Canon?
Ahh, the great debate… Both Nikon and Canon are great brands, and have similar capabilities and quality.
I think it’s best to be loyal to one brand so you can continue using the same lenses even when you get a new camera body. Plus, Nikons and Canons are set up differently, so when you get used to one it’s best to continue with that brand because you know how it works.
I personally shoot with a Nikon DSLR and I love it, and I have a Canon Powershot G7X and love that one too!
Note: Nikon and Canon aren’t the only good brands out there, but those are the brands I am going to focus on for camera recommendations.
For the novice photographer

If you are new to photography and don’t want to worry about changing lenses, the Nikon COOLPIX B500 Digital Camera ($257) is a great choice! The lens is not interchangeable, but it is lightweight, has an easy learning curve and takes great photos. Perfect for the beginner.
For the intermediate photographer
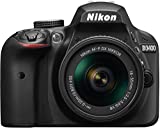
If you are an intermediate photographer and want to develop your skills, you’ll want to get a model that allows you experiment with different lenses. The Nikon D3400 camera ($497) is a good place to start and has enough capabilities to allow you to grow your skills. The Canon EOS REBEL T7i ($749) is the comparable Canon version.
For the serious travel photographer
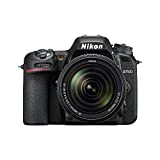
The Nikon D7500 is on the more expensive end, at $1,547 for the camera body only (lens is not included). But the reviews of this model are fantastic. It takes high quality pictures and has many capabilities for a more serious photographer.
For the professional photographer
These are some of the higher end cameras on the market. If you are a professional photographer or aspiring to become one, you may want to get something along the lines of these two models: Nikon D850 FX-format Digital SLR ($3,297) or a Canon EOS 5D Mark IV ($3,299). These are not for the novice.
If you want more information, this is a great comparison of the best DSLR cameras on the market right now.
Budget Tip: Consider buying a used camera if you are on a tight budget, then get a new lens if needed. Sometime people really want to upgrade even though their camera is in great condition.
What is the best camera lens for travel?
A good lens will really take your camera game to the next level. Even the best photographer won’t get great shots with a low-quality lens.
Tip: If you were to choose to invest your money in a high-end lens OR a top-notch body, the lens should be where you budget more.
It is fun playing around with different lenses, and you can get really interesting effects with wide angle lenses and macro lenses. But when you’re traveling, you likely don’t want to carrying around a whole bag of different lenses. (If you do, good for you! I just don’t love the extra weight and bulk.)
My go-to lens for traveling is an 18-200 mm lens . It is super versatile and allows me to get really close up as well as some great landscape shots. If you were to choose just one lens to bring on a trip, I would say this is the best one!
More Tips from Travel Photography Experts
Don’t just take it from us. We reached out to some of our favorite travel photography enthusiasts and asked them to share their #1 tip to give you better travel photos. Here’s what they had to say…
Jeven & Rachel, travel vloggers and filmmakers
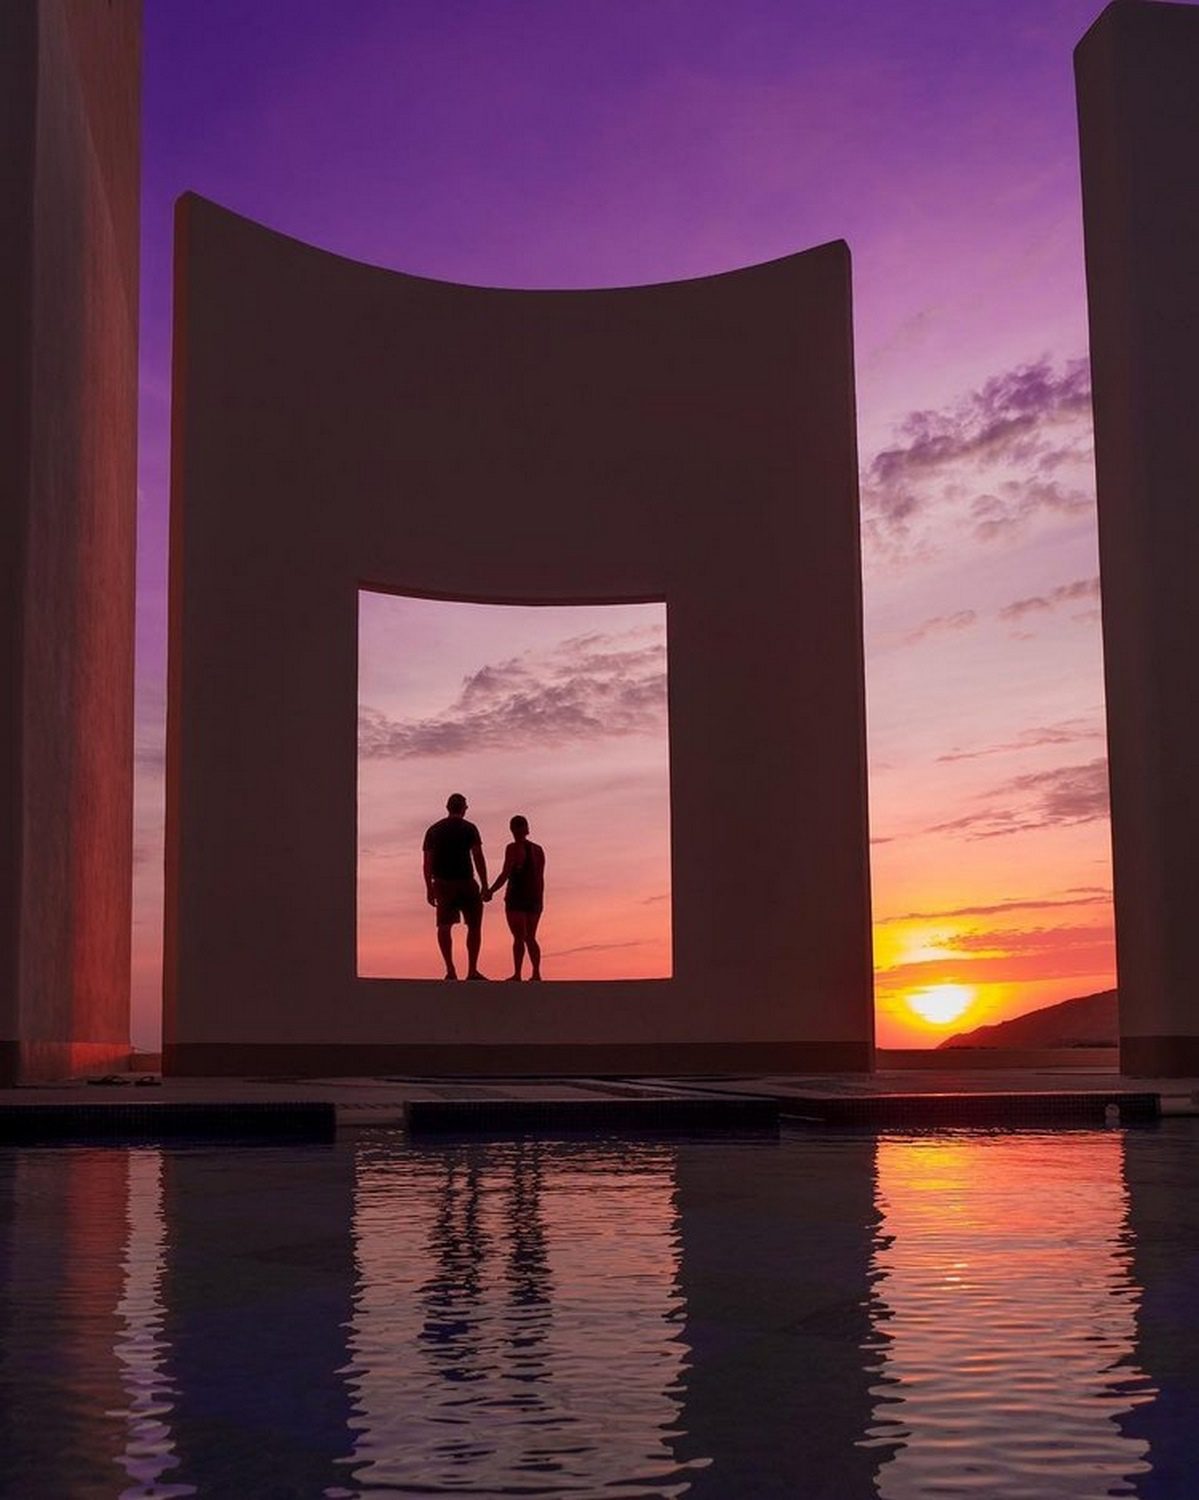
Tip #1: Enjoy the moment. Sometimes we forget to put down the camera. When you get somewhere amazing take it all in, grab some awesome photos then set aside the camera. We’ve traveled with other couples and have see their entire trips ruined because they are too focused on getting “the shot”.
Tip #2: Learn every inch of your camera. The internet is exploding with information. As a photographer you need to get past using the AUTO setting. Go through your cameras manual and learn what every button and every function does on your camera. Once you’ve mastered this then when you’re out shooting you won’t be fumbling around and miss a moment.
Check out their website Wanderworx & follow them on Instagram @wanderworx
Dave Anderson, globe-trotting photographer
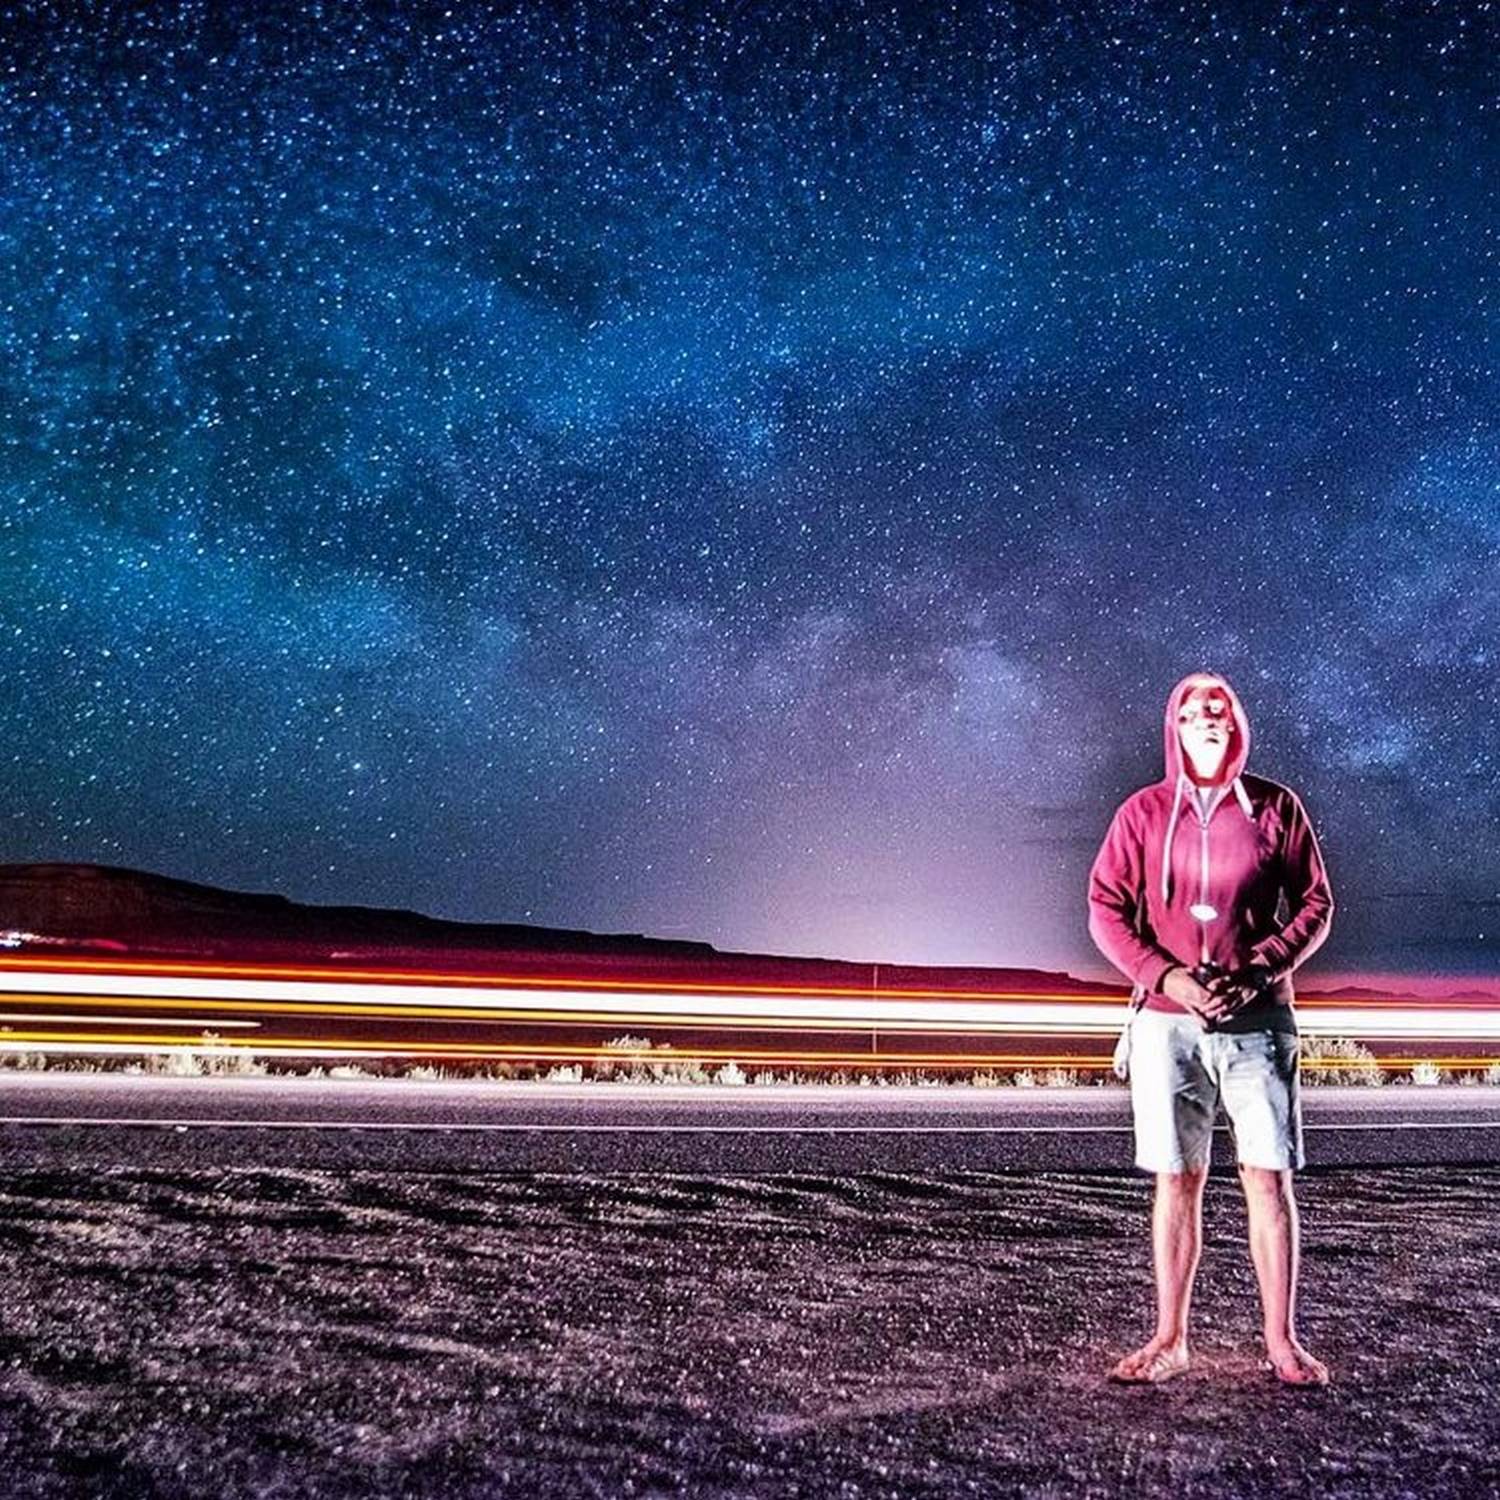
“Invest in a quality travel tripod and set of ND Filters (Neutral Density). I’m a big fan of long exposure photography, and you’ll need to keep the camera as still as possible.
The ND Filter is essential to capture these shots during the day, because what they do is cut out how much light hits your sensor. If you’re near water, it flattens it out and really makes photos pop! It takes a bit of getting used to, but once you learn the basics it’s really addicting, Trust me!”
Check out Dave’s site, Jones Around the World , & on Instagram @jonesaroundtheworld
Mark & Mimm, travel bloggers & photographers
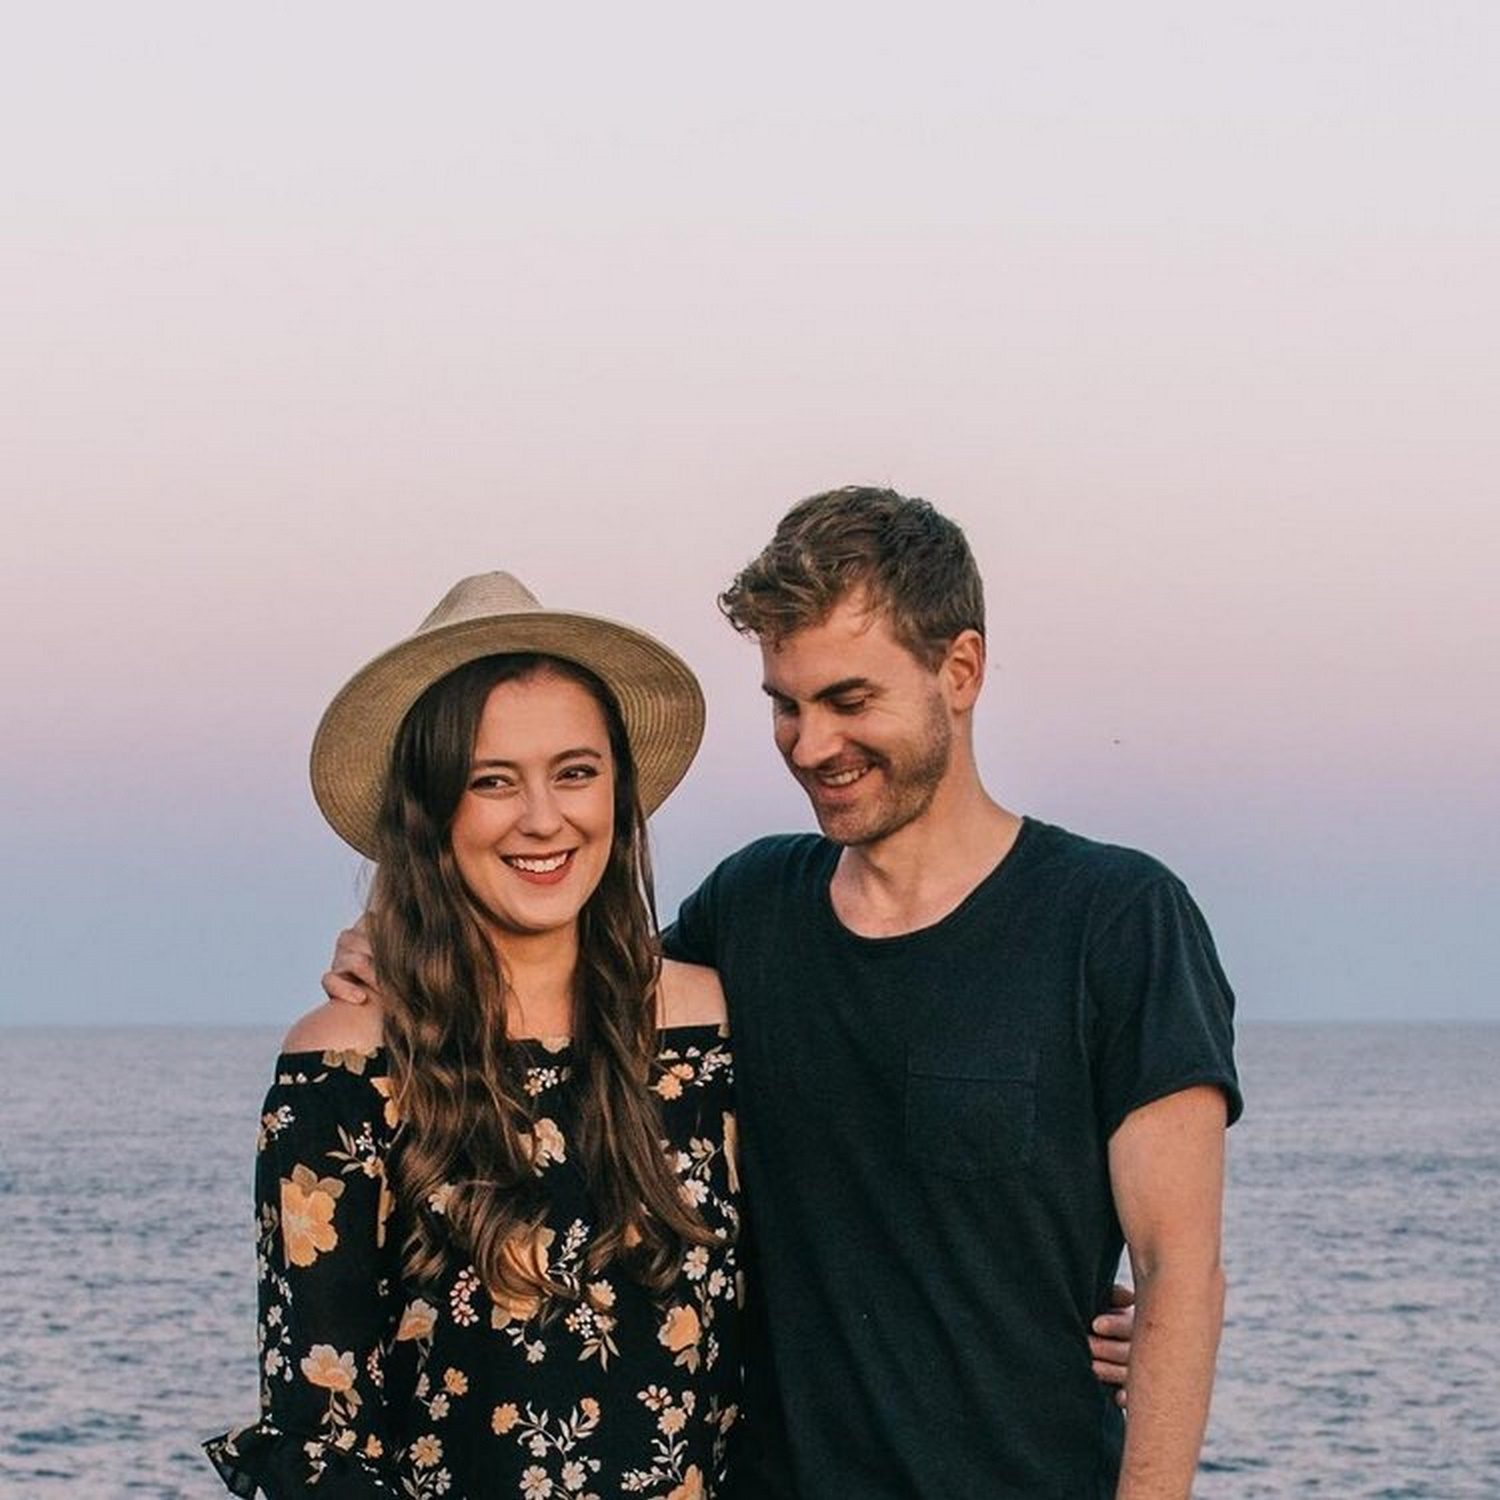
“Aside from the usual suspects of mastering composition, light, and the technical stuff our biggest tip would be to have patience with your photography.
Sometimes you’re so worried about ‘getting the shot’ that you start snapping away without really stopping to check your settings or think about the scene in front of you. When you do that, you tend to miss out on so many great photo opportunities because you haven’t taken the time to really absorb what’s around you.
There’s nothing worse than looking at your photos later and thinking, “if only I’d shot from this angle instead”! When you slow down, you’ll start to see all these small details and totally new ways of composing your shots. ”
Check out their site, The Common Wanderer , & find their Instagram @thecommonwanderer
Amanda Pointer, travel blogger & photography enthusiast
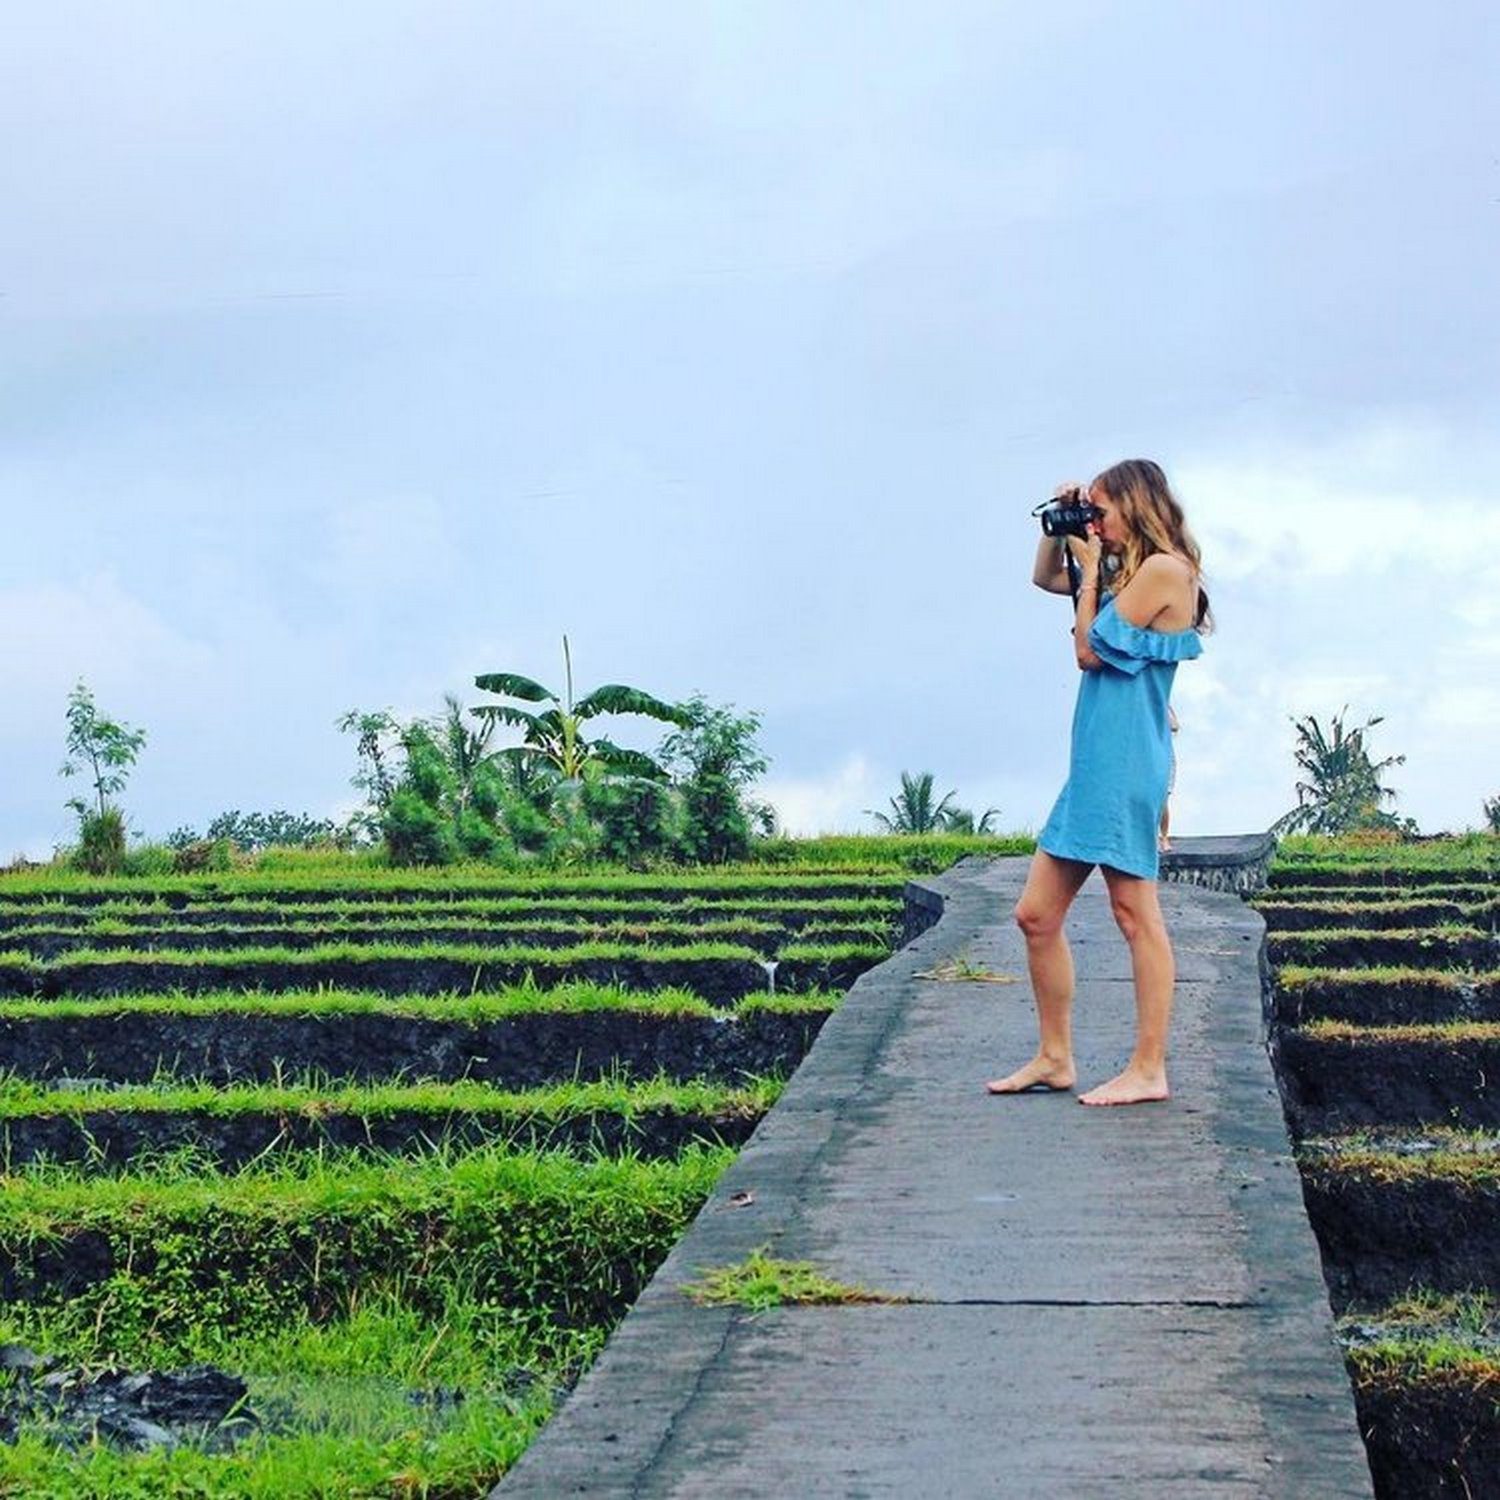
“You don’t need expensive professional gear to take great photographs, but you do need to understand your camera. While I think it’s important to invest in a decent DSLR camera, you don’t need the top of the line model, especially not if you are a beginner.
Shop within your budget and take the time to learn and understand your camera and basic photography principals before you travel. You can find good cameras for under $500 if you shop older models or consider buying used.
“Enroll in a community ed. photography course or spend time watching YouTube videos to learn how to adjust the settings on your camera (don’t just rely on auto!) and then practice, practice, practice before you leave for your travels.”
Follow Amanda’s travel adventures on Instagram .
Val & Nick Wheatley, travel writers & photographers
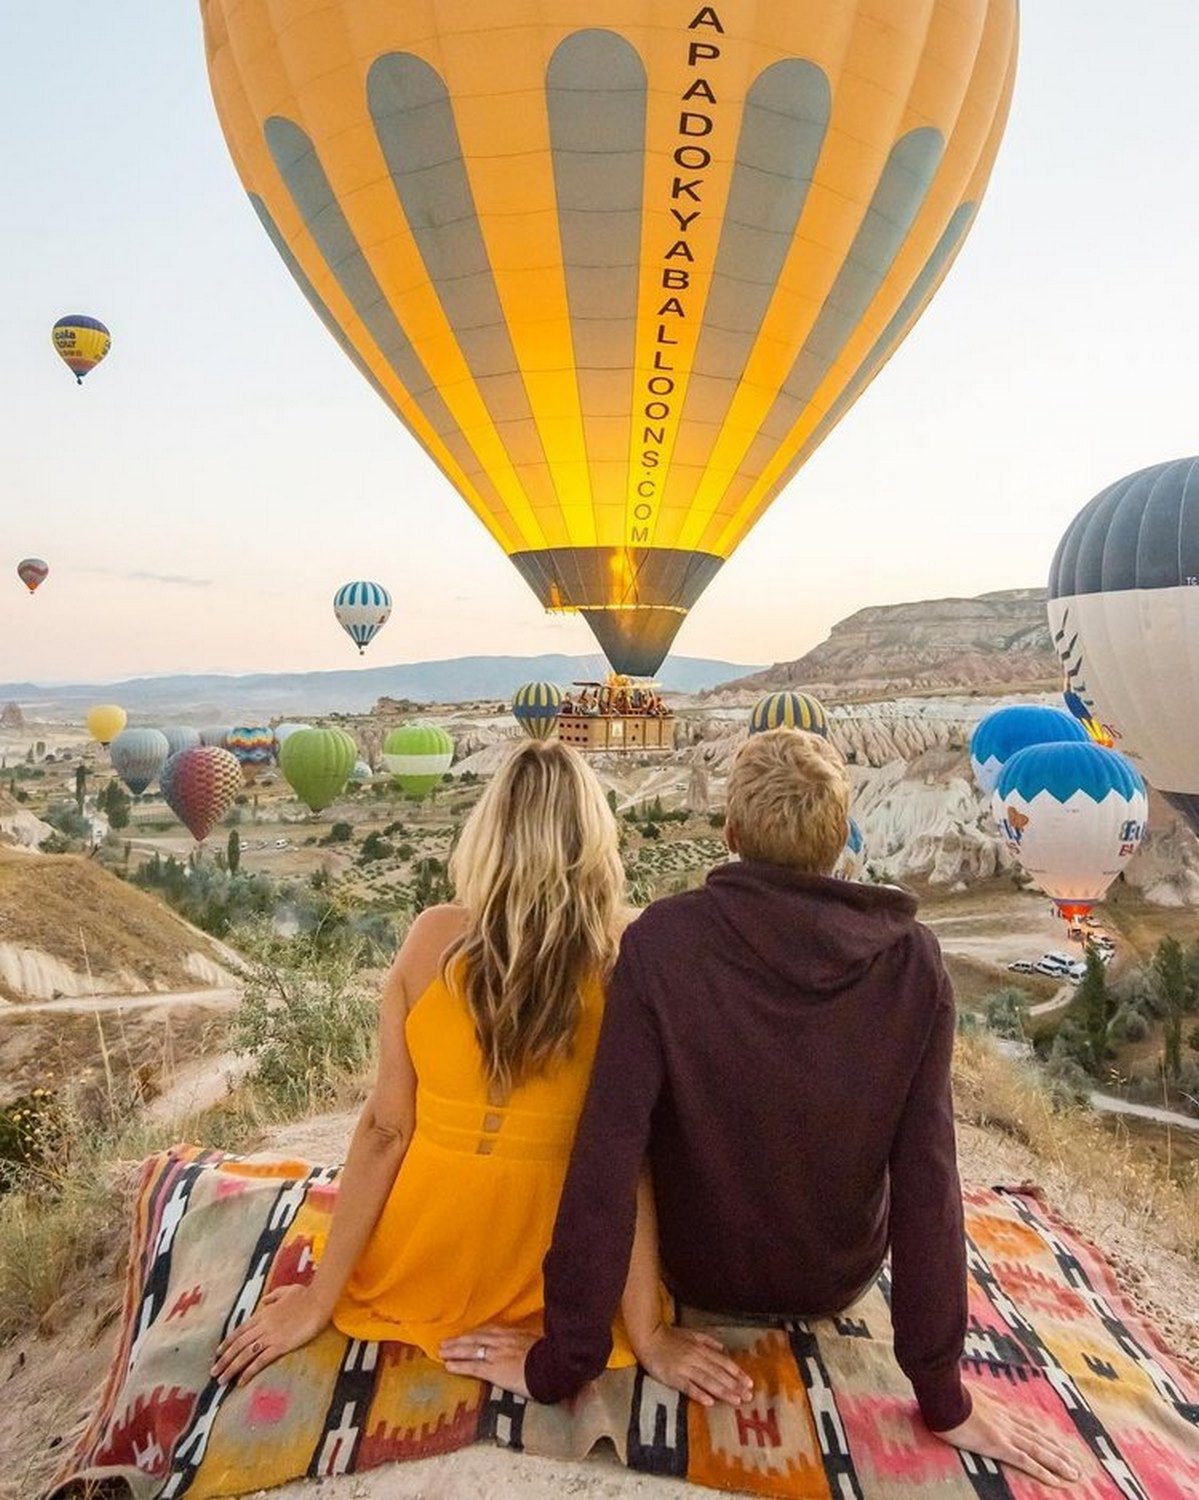
“ Learn a Little Color Theory: When considering the composition of a photo it helps to think about what colors will be present.
Certain colors combinations are more visually pleasing than others. The colors that are opposite each other on the color wheel are considered ‘complimentary colors’. A few examples would be red and green, blue and orange, or purple and yellow.
So if you are going to shoot a photo of yourself in the woods perhaps consider wearing something red as it will compliment the green of the leaves, moss, grass, etc. ”
Check out their site, Wandering Wheatleys , & follow their Instagram @WanderingWheatleys
Simon Hird, photography & hiking enthusiast
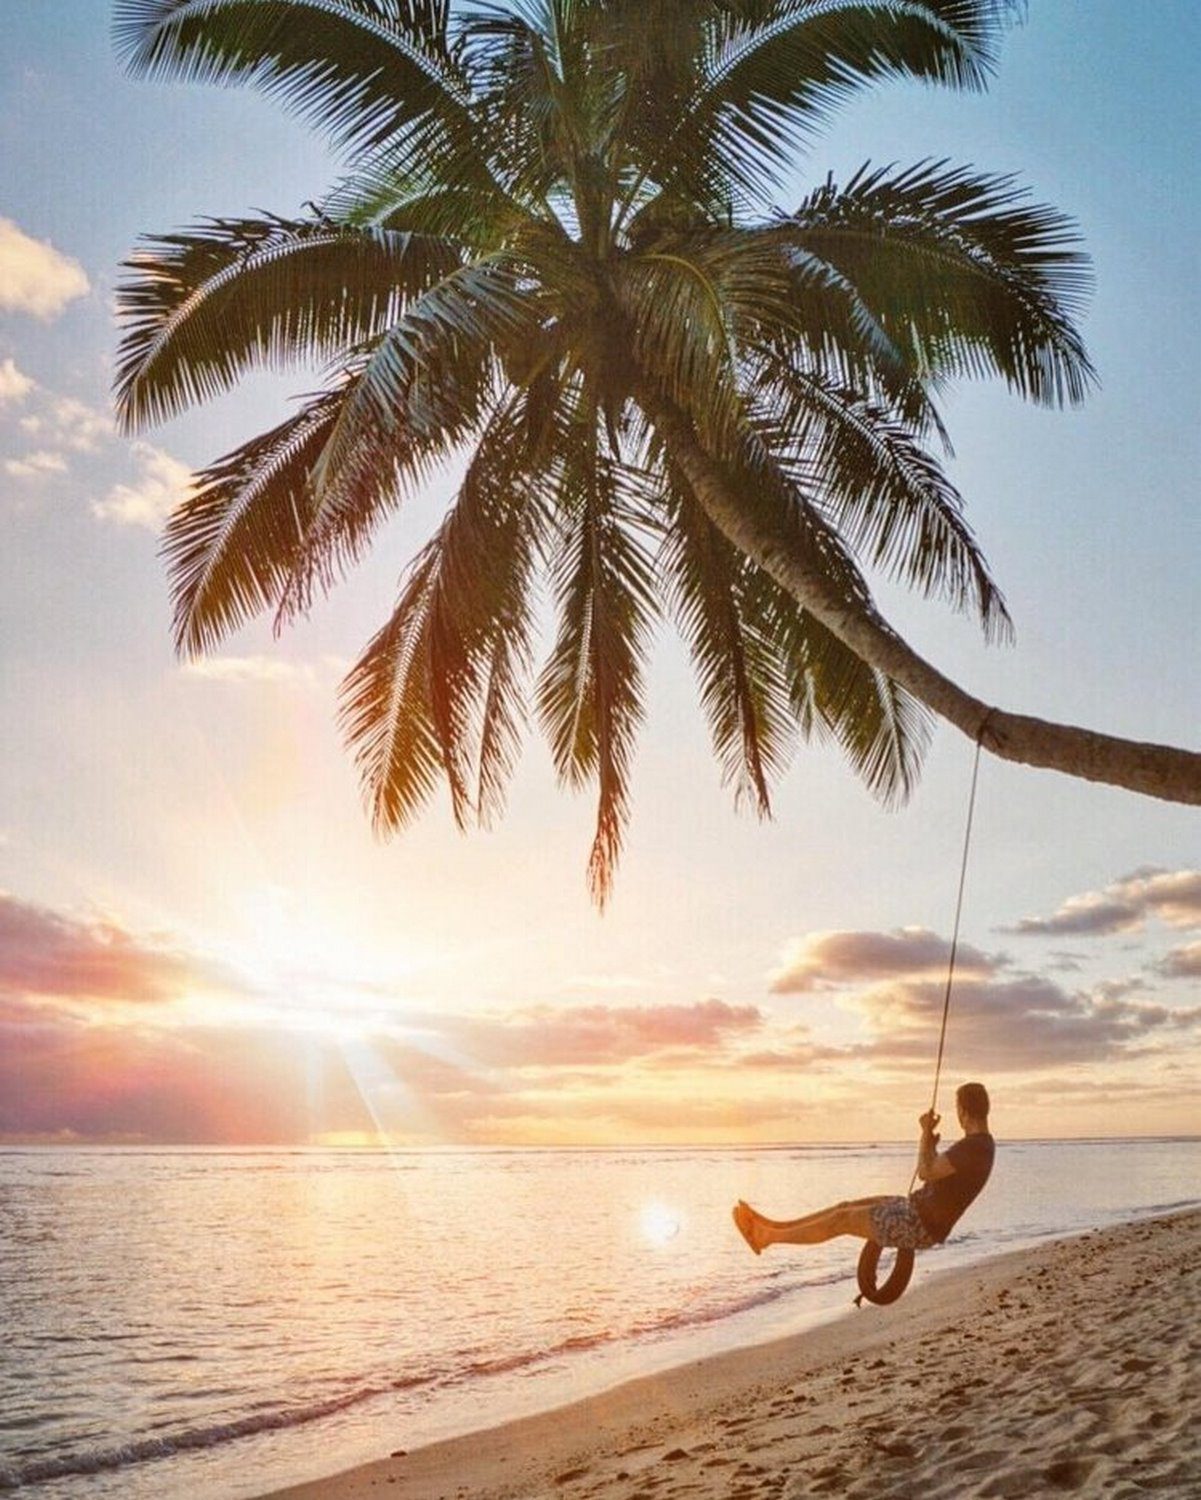
“I think the most important thing is trying to tell a story with your photography. What is it you are trying to say with your photography and why? I think if you consider the aims of your travels or your photography you start to move and shoot with more purpose and direction.
Your work will have more substance behind it and people will really be able to feel and engage with what you are doing. I can guarantee if you find this purpose, you for one will feel way more excited and motivated by your work and at the end of the day that is what matters the most. “
Check him out on Instagram @simonhird
Lia & Jeremy, travel bloggers
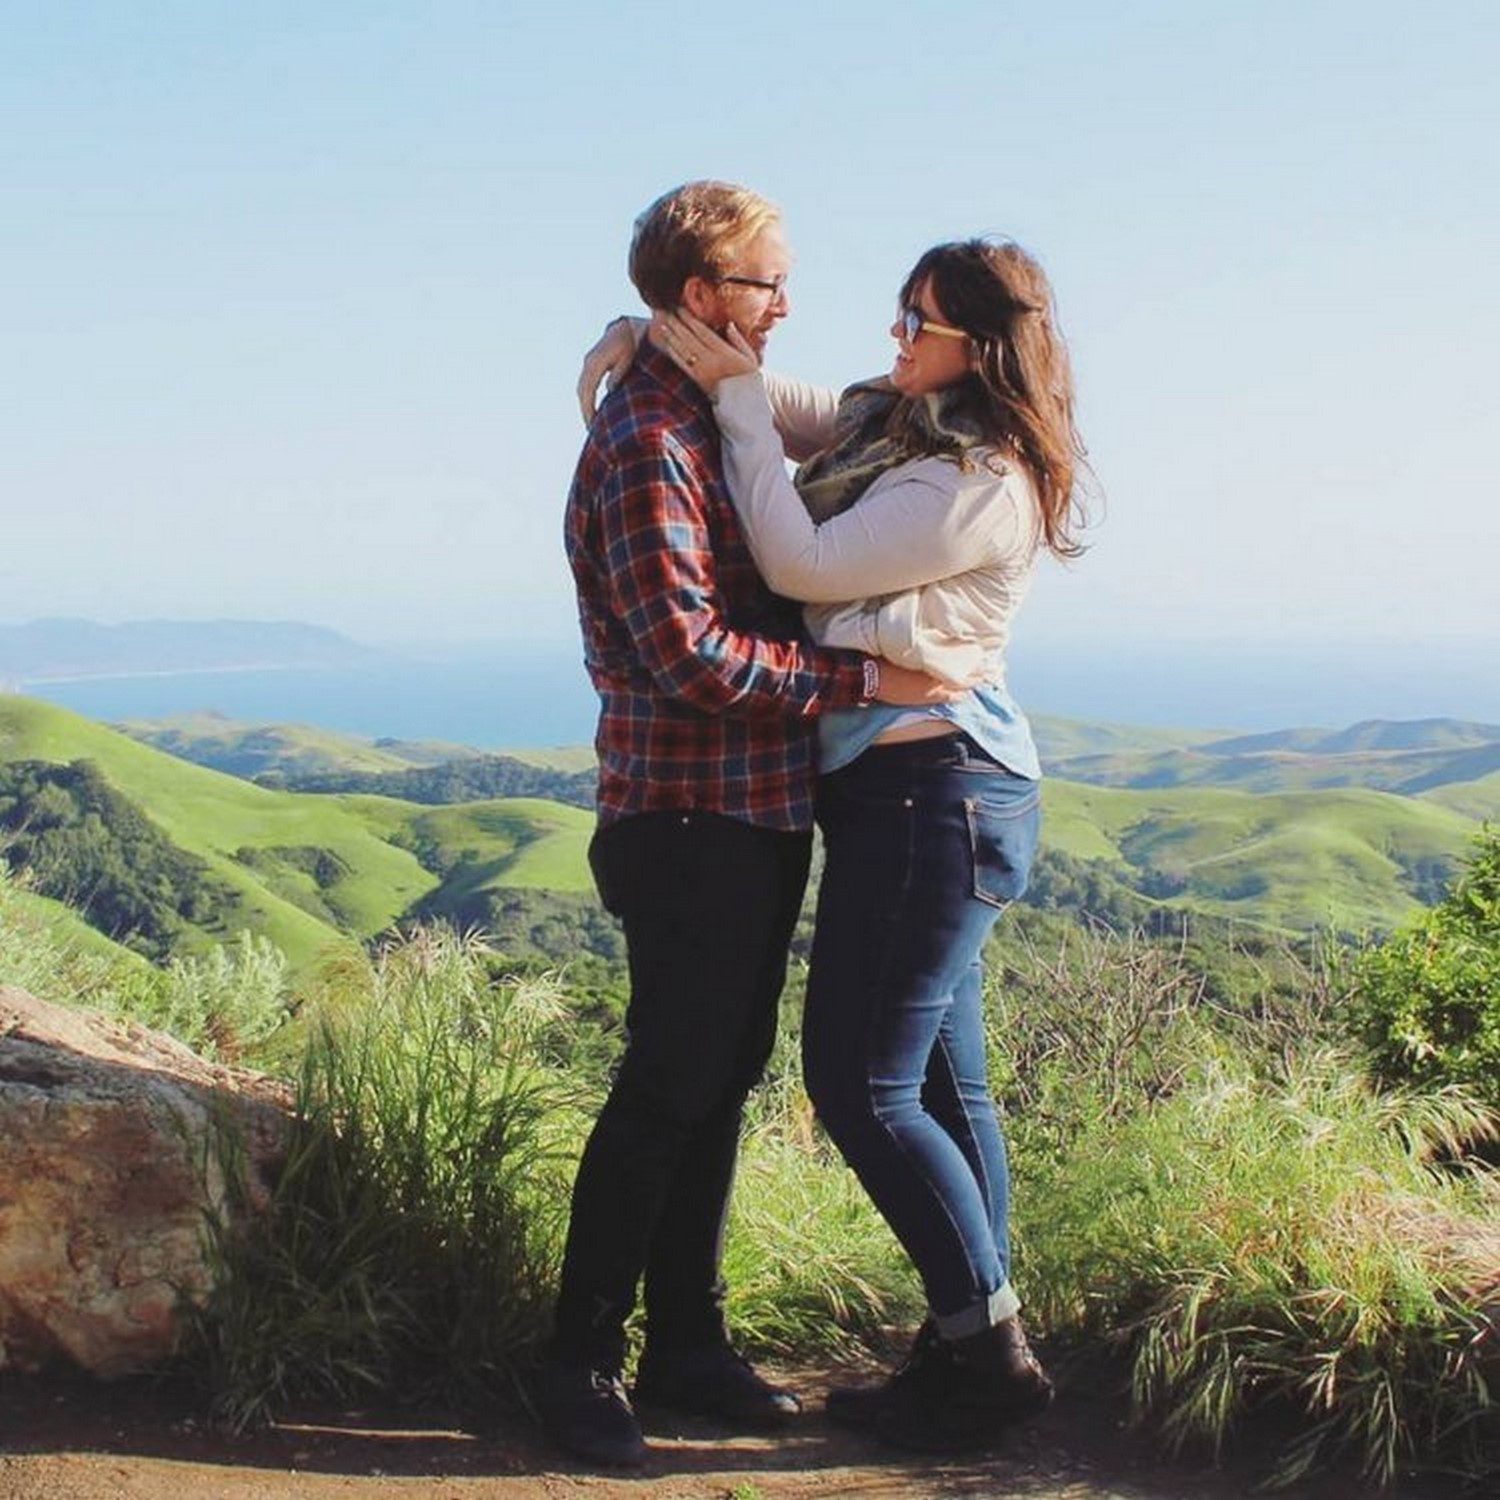
“ Challenge your perspective. If there is a famous landmark you want to shoot, I guarantee everyone and their mother has taken a picture of it at eye level straight on. Even Google Street View probably has the same photo. Yikes.
Find a new vantage point. Climb a tree. Get on your butt. Sneak into the rooftop bar across the street (yes, we’ve done this). Whatever it takes to make it fresh.”
Check out their website, Practical Wanderlust , and on Instagram @practicalwanderlust
You might also like…
- Bali Pictures That Will Make You Want to Visit Right Now
- Where to Get the Best Pictures in Iceland (+ Photography Tips!)
- How Much is Your Selfie Worth?
- Photographic Journey to Everest Base Camp
Share the love!
If this travel photography guide has been helpful to you, we would really appreciate if you share on Facebook, pin it to Pinterest or comment below!

We want to hear from you!
Which tip is your favorite? Do you know other tips in taking travel photos? We’d love to hear from you!
Comments (48) on “ 32 Creative Travel Photography Tips for Beginners ”
GOOD INFORMATION. IT CAME IN HANDEY
A good article with wonderful Explanation, Great Post, Good you explained everything in detail it has been a great help. This is very Informative and helpful article.
This is great, will help me as a beginner
Wonderful blog, Thank you for posting about the Gokyo Lake in Nepal. Consider using a polarizer; this Nepalese lake in the Everest region is the best high-altitude lake in the world.
Amazing photography tour and tips.
wow great post.. I’d definitely love to travel.
I read a lot of travel blogs, like a ton and top but, you two write the most interesting posts with real informative. Very interesting
Lots of amazing tips here, thank you!
I absolutely love your portraits of strangers! incredible colours and expressions!
Thank you for these tips, I cant wait to get out and practice more!
Great post. Once everything goes back to normal, I hope I can start putting these tips into practice. Thanks for sharing .
Hi, thank you for such a brilliant post. I have been reading some blogs that gives me more knowledge about 32 easy creative travel photography tips; I must say this is one of the best among them. You have done a great research for I feel, thanks for sharing.
I love your content. It’s super informative and inspiring. Would you say the Canon Powershot G7X is still a good camera to use? I’ve been looking for a lightweight camera that takes great pictures. I do have a DSLR but sometimes it just gets too heavy for me carry.
Thanks for the comment, and YES! We bought the Canon Powershot G7X about a year ago and really love it. I have a big DSLR too, but there are many times that I don’t want the bulk, and the Canon has been so great to have. It’s also great for taking videos and capturing "selfies" with the screen that flips around. Overall, we really love it. For the price and compact size, it’s hard to beat the quality!
I read a lot of travel blogs, like a TON and you two write the most interesting posts. I really enjoy reading your unique take on things. I like your honesty. Very enjoyable and super informative posts. Thank you to you both!
Nice interpretation of all destinations.all your pictures are nice. Thanks for sharing
Nice post!!.. Thanks for sharing your wonderful travel experience.Superb post, we enjoyed each and everything as per written in your post. Thank you for this article because it’s really informative.
What a great article! I’ve decided to decorate my entire living room with my travels and the photos I’ve taken on trips. I’ve never taken any photography courses and all I have is my iPhone (I know, not super great) but I’m doing my best. I will definitely keep these tips in mind on my next trip. Thanks!!
So many great tips and info! I will be saving this as especially need to learn more about white balance etc. Thank you
Loved reading your post! Some really useful tips. I think my favourite which I’ll definitely start using as of today in the checking out the sunrise/sunset on the location.
Great post! So many great tips here I really want to improve my photography skills so I’ll Definitely be trying out a few of these!
Your photos are absolutely stunning! Wow these pictures are amazing. Your pictures tell a wonderful story. Awesome pics. Loved the post. Nice post! I really appreciate to read the post .
Thank you, Ankita!
Loved the article. So many great tips. The Leaning Tower pictures were awesome. I’ve never thought about photographing puddle reflections. I will have to try it.
You will have to try the puddle pictures. Make sure to get close to the ground to get a good angle. Have fun Deana!
Hi Shama, Thanks Shama, glad you liked the article.
Some interesting points and we loved the photos. Can definitely sympathize with waiting for the perfect Fushimi Inari photo though. I think we gave up in the end!
Hey Maddy. Thank you for your kind words. We had to wait FOREVER to get a good picture at Fushimi Inari. But in the end, I think it turned out okay.
Fantastic post! So many great tips and examples. I read the whole thing and I’ll definitely refer back to this again.
Thanks Megan, glad to hear you liked it!
Such a great post. Saving it for a more careful reading later. There’s always something new to learn about photography. Thank you for sharing your tips.
Thanks Maria for the sweet comment! I feel like I’m learning things about photography all the time.
This is a great post with really good tips. That Arches photos is epic!
Thanks so much! I’m glad it was helpful to you!
Very useful tips and awesome pictures! Travel photography is my second favorite thing after traveling, and I’d be glad to improve my skills. Thanks for sharing!
Thanks Antonina. Traveling and photography are two of my favorite things too!
Before our trip to Croatia this summer my wonderful boyfriend got me a Sony mirror-less camera. It a bit more compact than typical DSLRs and fits into a purse easily but has a lot of the manual functions as well! Great for me because I was just getting started with my interest in photography and it was a bit more budget than a typical DSLR.
Hey Carlye. Mirror-less cameras are a good choice as well. We know a few people who love their mirror-less camera. They are lighter weight and great for people just starting out.
This is an incredible article! Truly has anything you can think of when it comes to travel photography.
That’s so nice Jon, thanks.
These are great tips. My husband needs to see this he is the one that takes most the photos during our trips these days.
Thank so much Amanda!
Awesome post! It’s full of simple, down-to-earth photography tips that would benefit anyone looking to improve their shots.
Thanks a lot Kevin!
Loved this post! Your Leaning Tower of Pisa comment “..had to!”craked me up! I’m convinced that I need to invest in a camera.
Well, you just have to 🙂 And investing in a good camera is great thing because it will make you want to go on more adventures!
WOW…great post! We just use an iPhone right now, but this makes me think we should step up our photography game. Do you have a polarizer you’d recommend? We’ve never heard of such a thing… : /
Hey Hayley, thanks so much for the kind words! iPhones do take some pretty great pictures, but DSLRs are so fun to play with and learn how to use!
-This is a good polarizer (just make sure you get the correct size for your camera lens): http://amzn.to/2xMyz1w
-Or if you just want to try it out and see how you like it, the Amazon version is under $10: http://amzn.to/2zwEz0k (We’ve used the Amazon version of the UV filter and it works great.)
Oh, and if you look up a Neutral Density filter, that’s a neat filter to experiment when traveling, too. We are itching try one out soon!
Would love to see some of your travel photos 🙂
Excellent information! Very well laid out. Thank you. One suggestion: a Camera rain sleeve!
Cheers, John and Susan https://latitudeadjustmentblog.com/
Thanks so much for the kind words. Yes, a rain sleeve is a must for shooting on those drizzly days!
Leave a Reply Cancel reply
Your email address will not be published. Required fields are marked *
Save my name, email, and website in this browser for the next time I comment.
Nomadic Matt's Travel Site
Travel Better, Cheaper, Longer
How to Take Professional Travel Photos
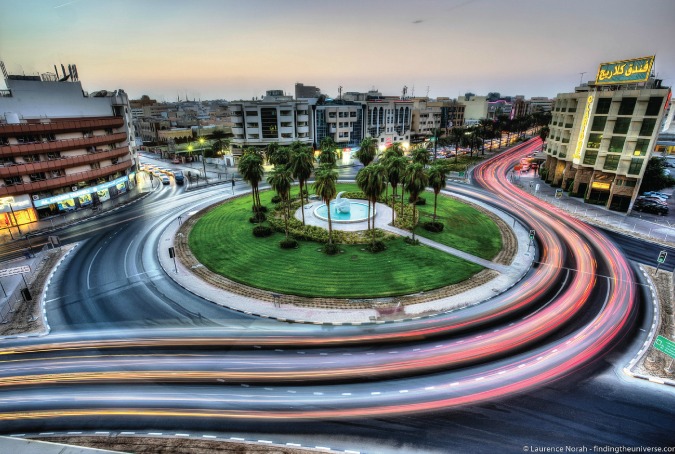
Travel photography is not something I’ve very good at. I take all my pictures on an iPhone, and if they aren’t used on the blog, they mostly just sit on my hard drive. I’ve never taken the time to really improve my skills. Like learning a language, improving your photography takes time.
Luckily, just like learning a language, anyone can do it!
Travel photographs are memories. You look at a picture, and it conjures up thoughts, feelings, and smells that take you back to a long-forgotten place. I think it’s important we all spend a little time improving our photography.
Today, professional photographer Laurence Norah of Finding the Universe begins a five-part series on how to take better travel photos and become a better photographer in general. He’s going to share his top tips to help you improve your skills and take awesome photos.
Enter Laurence…
In 2009, I gave up my job in IT and set off to travel the world. My first destination was Australia , a stunning country where I desperately wanted to capture my adventures. I’d been taking photos since I was 13, but it was only on this trip that I started to focus on learning the art of photography and realized that this was something I could be truly passionate about.
I quickly learned the reality that photography is a skill that takes time, effort, and practice to master.
It’s also not a question of gear — great travel photography is very much about the photographer.
In this post, I’ll give you the eight simple travel photography tips you need to take better pictures right away. If you follow these rules, you won’t go wrong!
Table of Contents
- Composition
- The Rule of Thirds
- Leading Lines
- Foreground, Midground, and Background
- Focal Points
- Use of Color
- Storytelling
1. Composition: Taking Pictures People REALLY Want
Patterns — the human brain is a sucker for them. We’re always looking for patterns, be they shapes in the clouds, symmetry in buildings, or colors that compliment each other. There’s just something about a pattern that our brains love.
Understanding these patterns and what pleases the human brain is a nifty shortcut to taking better photos. And that’s what composition in photography is all about. Learn and apply the rules below, and you’ll start taking more photos that people will enjoy.
Before launching into them, though, some important basics. First, ensure that your camera is level. You don’t want wonky horizons. Your brain generally doesn’t like them; they’re the visual equivalent of nails on a chalkboard.
Next — stop moving. You want to be as still as possible when shooting to avoid blurry images. Hold your camera with both hands and be steady, or use a tripod.
2. The Rule of Thirds
One of the most important rules of composition is known as the rule of thirds.
I learned recently that this is based on how babies learn to identify their mothers’ faces, which can be split up into three parts: the eyes, nose, and mouth.
The rule of thirds requires you to break an image into three equal parts either vertically, horizontally, or both. The goal is to place key compositional elements into those thirds.
On your device, find the setting to enable a grid over the preview screen. Four lines will appear, two vertical and two horizontal.
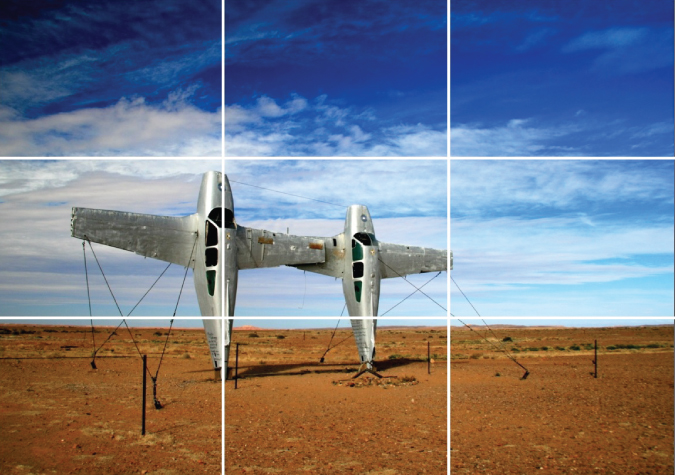
Take a look at my shot above of a surreal sculpture park deep in the Australian outback , over which I have overlaid a grid to demonstrate the horizontal and vertical thirds.
With the grid, you can see how I have composed the image: one-third land and two-thirds sky, while the plane on the left is on the left-hand grid line, close to the intersection of two lines.
Placing subjects on the intersecting points will naturally draw the viewer’s eye to them, as these points are usually where we focus first in an image, and doing so is a great starting point for a good composition.
Another of my favorite subjects to shoot is a sunset. I love how they are always different and how wonderful the light is at that time of day.
To get a great sunset shot, you can easily apply the rule of thirds — composing the shot with two-thirds sky, and one-third land or sea. You want to avoid splitting the image half and half, as it won’t look as good. The shot below of a sunset in Santa Cruz illustrates this and also has an interesting subject in the left third of the image.
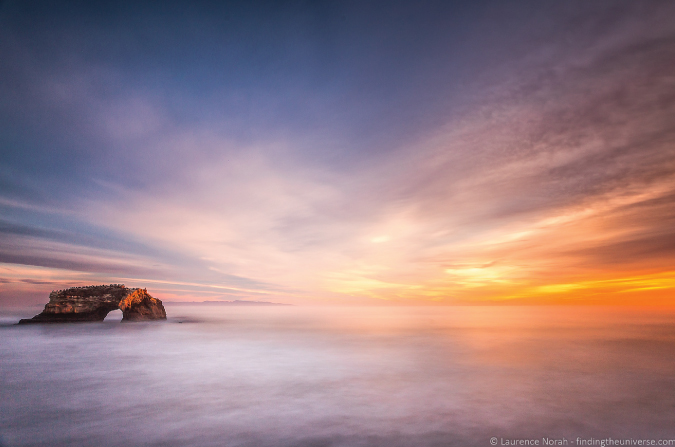
3. Leading Lines
When composing a photograph, you want to make it as easy as possible for the person looking at it to figure out the subject and focus of the image.
One way to do this is with leading lines — the use of natural geography or other features that the viewer will naturally look at first and that will lead their eyes to the main subject.
Roads are excellent as leading lines, particularly in big landscape shots. When I was traveling in New Zealand , I wanted to create a photographic story of the hike up Mount Taranaki, one of my favorite New Zealand hikes . Near the start, the walking trail itself gave me a perfect leading line to illustrate the journey ahead, drawing the viewer’s eye into the frame and up to the mountain.
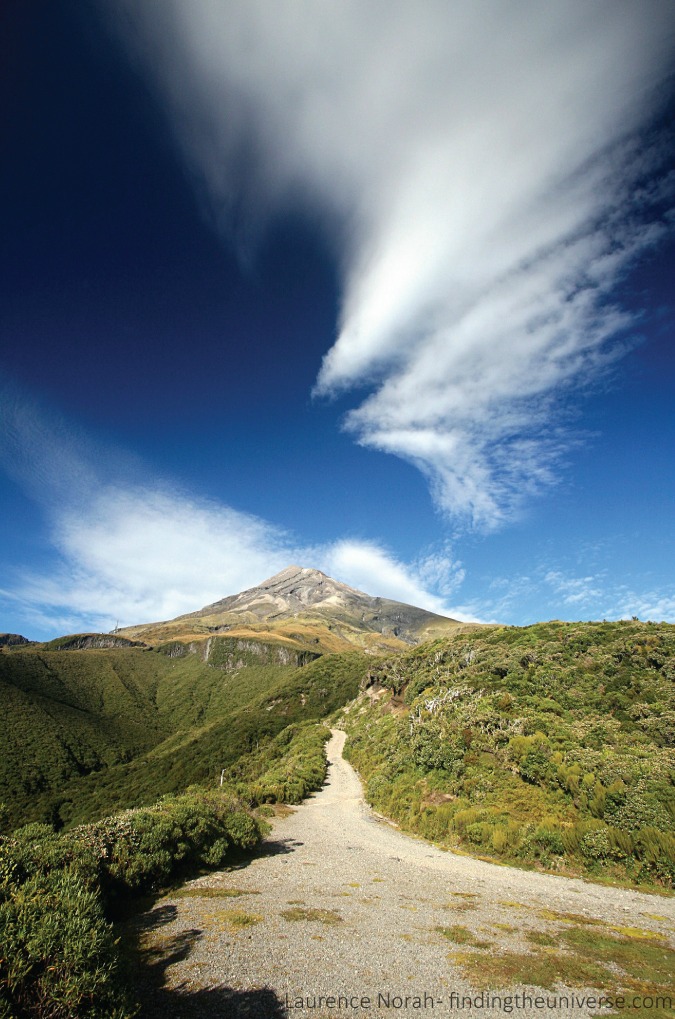
Another good illustration of a leading line is this shot of me walking on railway tracks in Italy. (Obviously, it’s only advisable on either disused or somewhat infrequently used tracks!)
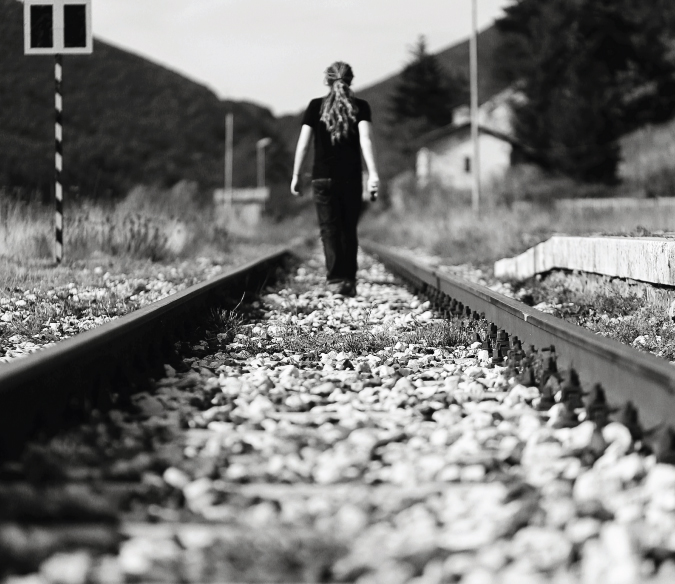
The goal for this image was a self-portrait that evoked my life of travel. The parallel tracks, which appear to converge, were perfect for leading the viewer’s eye to the subject — me. I felt I captured the image of wanderlust that I was looking for by using them.
4. Foreground, Midground, and Background
Have you ever taken a picture of a mountain or city skyline and then looked at it later and wondered why it doesn’t manage to convey the majesty of what you were looking at?
This is likely because your photograph is a two-dimensional image, and you have lost the sense of scale that is apparent when you are present and in the moment.
When composing a shot — and this is particularly true for landscape photography — think about the different elements in the foreground, midground, and background of the shot.
For example, here’s an example of a sunset in Glencoe, Scotland , easily the most stunning place I’ve photographed in 2015.
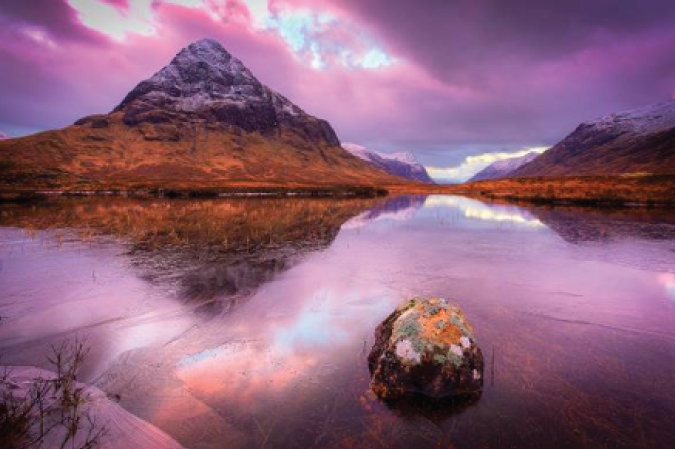
I used the rock in this frozen lake to provide something interesting in the foreground, helping to provide scale and balance to the overall image. The viewer’s eye is drawn to the rock, and then likely to the mountain and sunset, before heading into the distance of the valley.
When you are out and about in the world, think about everything around you. If you see a far-off mountain you want to shoot, look around and see if you can find something interesting in the foreground or midground to incorporate into the shot. If you’re near a river, maybe that could be a canoe. Elsewhere it could be a house. Or a group of sheep. Or a car starting to scale a winding road.
If you’re shooting a city scene, look at what is happening all around you. Street vendors, different modes of transport, and signs and storefronts can all be incorporated as foreground to provide context and scale for your city skyline or that interestingly shaped building.
If you can’t find something, be creative. Find someone to stand in your shot to provide that scale. If you’re traveling with a tripod, do what I did in that railway shot and use yourself as the subject.
Thinking beyond the big background parts of the image and focusing on the smaller elements will help you create more balanced, pleasing images.
Just remember not to confuse your viewer too much with too many compositional elements, and keep it clear what the photo is of.
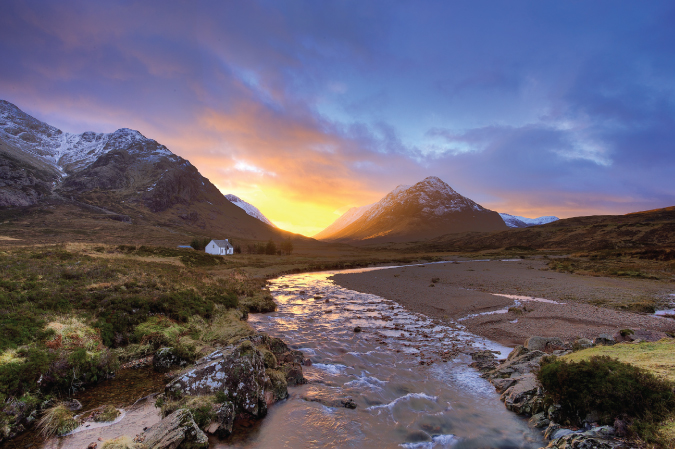
Here’s another shot from Glencoe. Here the house provides that midground scale, while the river works both as an interesting foreground subject and as a leading line to draw you into the photograph.
This compositional technique isn’t about hanging a picture in a frame; it’s about using what’s around you to “frame” the subject you are trying to capture, illustrating to the viewer what the shot is of and drawing their eyes into the scene.
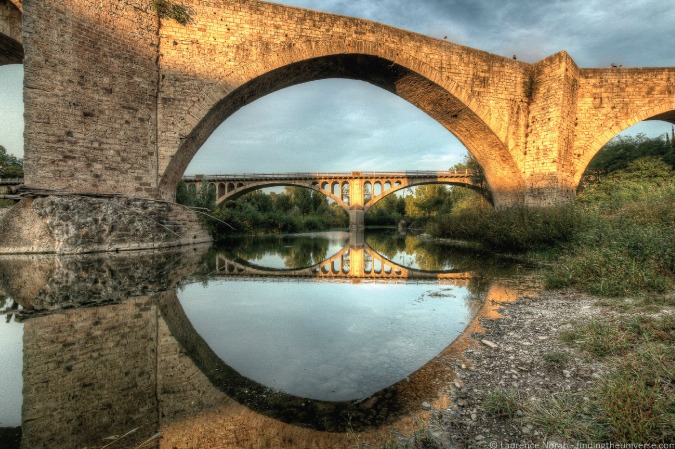
In this shot of the bridge into the medieval town of Besalú in Spain , I used the old bridge and its reflection as a natural frame for the newer bridge.
When you have found your subject, look around to see if there’s a way you can frame it creatively. Some good options for framing include vegetation, like tree branches and trees, as well as doors and windows.
Take a look at this shot of a temple in Ayutthaya, Thailand , to see what I mean. I wanted to capture the beauty of this temple scene while drawing the viewer into the wat in the center.
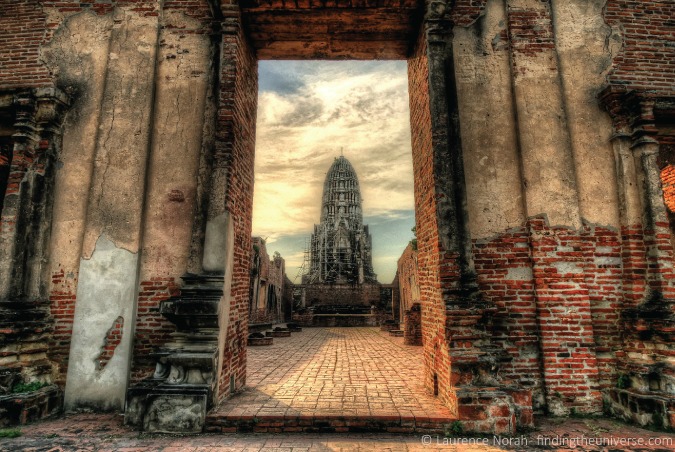
The frame in this case is much larger than the subject, but it is never unclear what the shot is of. This is a really easy photography technique, but it might require you to scout around, or step back from your subject, to find a good way to frame it. Don’t be afraid to stand further away and use the zoom on your lens to get the frame you want.
As another example, using trees to frame a waterfall, here’s a shot of Lower Yosemite Falls in Yosemite National Park.
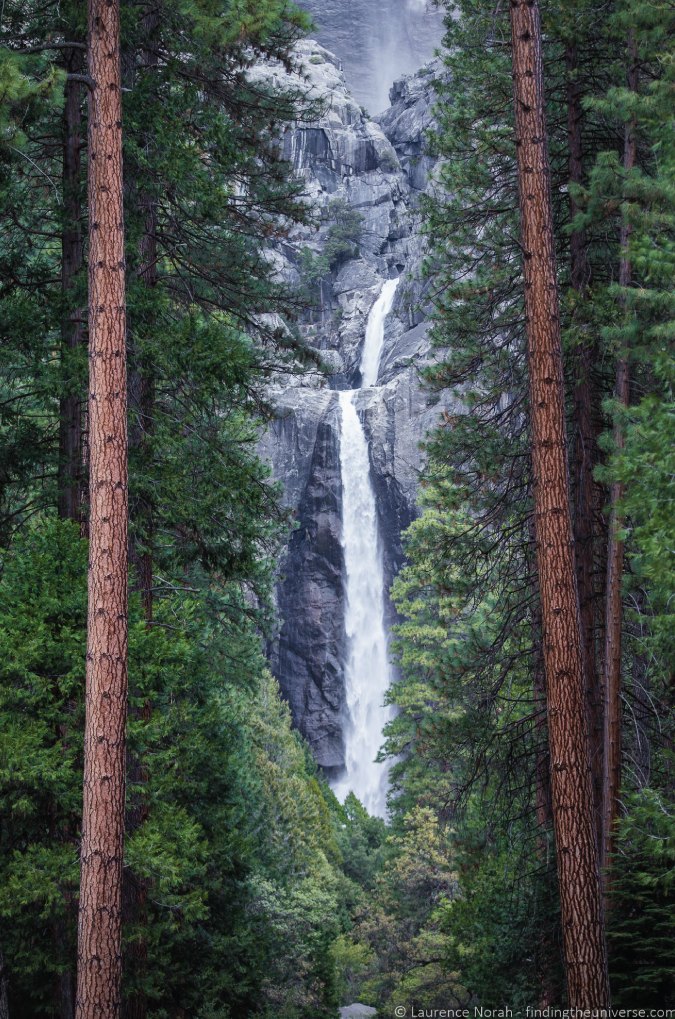
I felt that the trees added much more to the shot with the waterfall between them. There was a pleasing symmetry to the shot, given the two parallel trees.
There are many more options for framing. Experiment and see what works!
6. Focal Points
One way to be sure that people look at the part of the image you want them to look at is to have only that part sharp and in focus and the rest blurry.
This is particularly effective for isolating people or animals in shots — take a look at wedding or sports photos of people, and you’ll see how often the subject of the shot is the only thing in focus.
I love shooting events with friends and family, and I find that this technique works really well at isolating the subject from a crowd and making it obvious who the photo is of.

To start with, you can achieve this effect with the “portrait” or “people” mode on your camera.
7. Use of Color
Color is really important in photography, particularly how different colors work well together. For example, blue works well with yellow (sunflowers in a field), and red works well with green (Christmas!).
To figure out which colors work well together, take a look at this color wheel .
Generally, colors opposite each other on the wheel will complement each other. These colors don’t need to be evenly balanced in a shot — often images work best with a small percentage of one and a greater percentage of another.
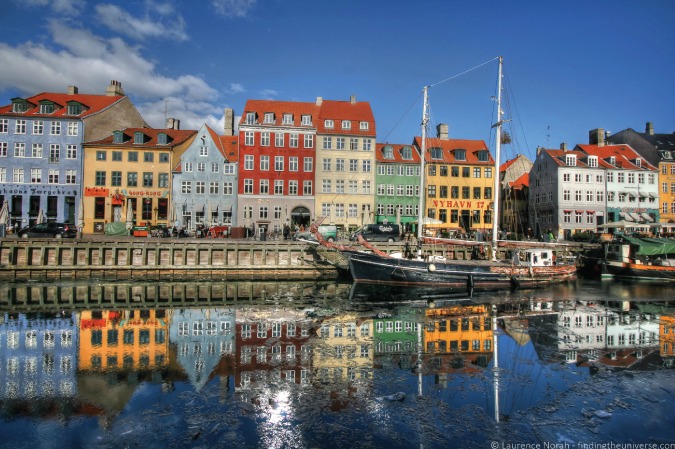
Take a look at the shot above, from the gorgeous Nyhavn Harbor in Copenhagen . You can see all sorts of colors, but in particular, the blue of the sky and water is the predominant color, with the houses’ reds and yellows (yellow is opposite blue on the color wheel) offering a counterpoint.
When you are on your travels, keep an eye out for contrasting and complementary colors that you can incorporate into your shots. Spice markets, old European cities , rural meadows, and old colorful barns in green fields are a great place to start.
8. Storytelling
Remember that when you are taking a picture, you have all the background and surrounding knowledge of your trip in your mind. When you look at the image later, all of that will come back to you.
No one else has that advantage. To them, that shot of a waterfall is just that — a shot of a waterfall. The story of the five-hour hike there through a leech-infested jungle? Lost. The feeling of how refreshing it was on your skin when you took the plunge to cool off? Also gone. It’s just a two-dimensional image on a screen, likely quickly flicked by to be replaced by the next image in the stream.
It’s your job to bring all that lost context to life.
We’re often told that a photograph is worth a thousand words. As a photographer, it’s your job to convey those words. Figure out how to tell that story with your image. Get the shots that pull your viewers into your stories. Use emotion, find and freeze moments, and incorporate the human element so your shots resonate with your viewers.
Take this monkey in Rio de Janeiro . These guys were being really cheeky with tourists, trying to get food from them and generally playing around as much as possible. I wanted to try and capture some of that, and I managed to get this monkey sticking its tongue out at me.
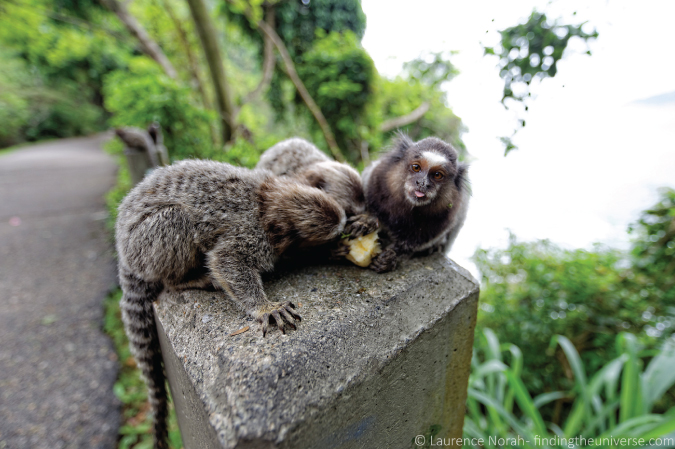
I’d advise spending time thinking about the shot you are trying to create, the moment you are trying to capture, and the story you are trying to tell your viewer. Put yourself into their shoes, imagine you are going to be looking at the shot with no other context, and try to build the shot from there.
This is probably one of the harder parts of photography, and — like the shot of the monkeys above — will likely require some time, patience, and luck. You will make errors. But with research and practice, you will be able to master it!
Practice makes perfect – and travel photography is no different in this regard! The more photos you take, the more you will learn how to compose and capture great shots. While reading some travel photography tips will definitely help, the key is to actually go out in the world and practice them. The more you practice, the faster this will all become second nature. It won’t happen overnight, but over time your skills will improve — I promise!
So what are you waiting for? Get out there and start taking some photos!
Laurence started his journey in June 2009 after quitting the corporate life and looking for a change of scenery. His blog, Finding the Universe , catalogs his experiences and is a wonderful resource for photography advice! You can also find him on Facebook , Instagram , and Twitter .
Travel Photography: Continue the Series
For more helpful travel photography tips, be sure to check out the rest of Laurence’s series:
- Part 1 – How to Take Professional Travel Photos
- Part 2 – How to Shoot the Perfect Travel Photograph
- Part 3 – The Best Camera Gear to Get
- Part 4 – How to Take the Perfect Photo: Advanced Techniques
- Part 5 – 7 Editing Tips to Improve Your Travel Photographs
Book Your Trip: Logistical Tips and Tricks
Book Your Flight Find a cheap flight by using Skyscanner . It’s my favorite search engine because it searches websites and airlines around the globe so you always know no stone is being left unturned.
Book Your Accommodation You can book your hostel with Hostelworld . If you want to stay somewhere other than a hostel, use Booking.com as it consistently returns the cheapest rates for guesthouses and hotels.
Don’t Forget Travel Insurance Travel insurance will protect you against illness, injury, theft, and cancellations. It’s comprehensive protection in case anything goes wrong. I never go on a trip without it as I’ve had to use it many times in the past. My favorite companies that offer the best service and value are:
- SafetyWing (best for everyone)
- Insure My Trip (for those 70 and over)
- Medjet (for additional evacuation coverage)
Want to Travel for Free? Travel credit cards allow you to earn points that can be redeemed for free flights and accommodation — all without any extra spending. Check out my guide to picking the right card and my current favorites to get started and see the latest best deals.
Need Help Finding Activities for Your Trip? Get Your Guide is a huge online marketplace where you can find cool walking tours, fun excursions, skip-the-line tickets, private guides, and more.
Ready to Book Your Trip? Check out my resource page for the best companies to use when you travel. I list all the ones I use when I travel. They are the best in class and you can’t go wrong using them on your trip.
Got a comment on this article? Join the conversation on Facebook , Instagram , or Twitter and share your thoughts!
Disclosure: Please note that some of the links above may be affiliate links, and at no additional cost to you, I earn a commission if you make a purchase. I recommend only products and companies I use and the income goes to keeping the site community supported and ad free.
Related Posts
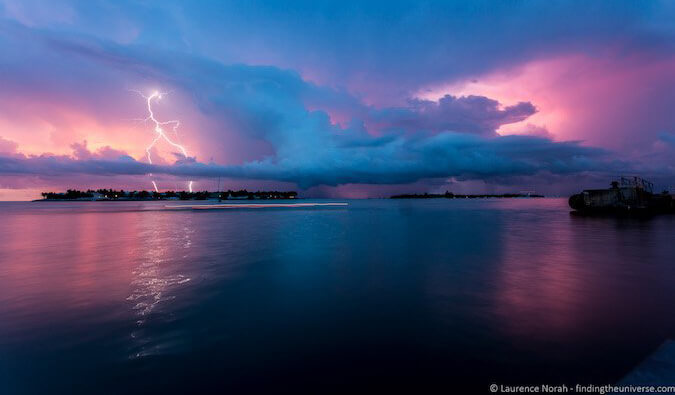
Get my best stuff sent straight to you!
Pin it on pinterest.
- Search Please fill out this field.
- Manage Your Subscription
- Give a Gift Subscription
- Sweepstakes
- Travel Tips
- Travel Photography
How to Take Travel Photos You'll Be Proud to Show Off Back Home
:max_bytes(150000):strip_icc():format(webp)/Stacey-Leasca-2000-631fabdcfe624115bea0ce8e25fdec96.jpg)
You've spent days flying, driving, ferrying, boarding trains, or maybe even a combination of all of these modes of transportation to reach your destination. And now you're finally here, the place you've always dreamt about, told friends about, and bragged to your coworkers about, so of course you want to capture it in all its glory on your smartphone or your fancy digital camera . But when you do, you realize the images simply don't do it justice and you're stuck with nothing to show for your journey of a lifetime.
But it doesn't have to be that way. In fact, travel photography can be not only easy, but fun. All you have to do is listen to the experts.
On a recent excursion to Havana, Cuba , we were lucky enough to spend a little time amongst some of the best in the travel photography business, including Renan Ozturk , a photographer for the likes of National Geographic and athlete with North Face; Elisabeth Brentano , a California-based photographer who spent nearly a decade in newsrooms around Los Angeles before trading it in to live on the road in search of the perfect landscape shot; and Chelsea Yamase , a Kauai-based adventurer and photographer whose photos will make you want to learn to free dive right this second.
Here's are their best travel photography tips that anyone from beginners to experts will appreciate.
Renan Ozturk: Chase the light
"My biggest travel photography tip is something really simple, which is just to shoot in the good light," Ozturk said, explaining that good light can be found during "sunset or sunrise. It also extends into the pre-sunrise and post-sunset."
To Ozturk, timing truly is everything when it comes to both taking photos and enjoying your time while adventuring around the globe.
"Stay out a little longer than most people," he said. "That will give you better photos and will help you beat the crowd for your food and your photos."
Lastly, the photographer and documentarian suggested would-be travel photographers learn how to use a few editing apps, like Lightroom Mobile . "It's really going to make a big difference," Ozturk said.
Chelsea Yamase: Snap the candid shots
"I think the best photos evoke a sense of place and let you get lost in a particular moment; vacation photos are no exception," Yamaze said. "The three rules I use: lighting, composition, and connection."
It's clear with one glimpse at Yamase's wildly popular Instagram account that she abides by these rules religiously, which helps her followers feel like they are traveling right alongside her as she free dives in Hawaii or camps under the stars at Yellowstone .
And like Ozturk, Yamase believes that getting up early truly pays off.
"In general, shoot in morning or evening light, tropical ocean scenes can sometimes look nice midday when the color of the water is the most vibrant," she said, adding that spending just a few extra moments walking around an area will help you set up the perfect snap.
"Get low or high, and take a few from each spot. A breeze, a slight change of angle or posture can make a big difference," Yamase said. "You can always go back through and delete the ones you don't like."
And beyond the technical, Yamase explained that the "connection" is the most important part of taking any photograph.
"What does it feel like to be here and how can I portray that emotion," Yamase asks herself while clicking down on her camera's shutter. "I see so many vacation photos where couples or families stand in front of a viewpoint, all pose and smile. Totally nothing wrong with those (they make great Christmas cards) but beyond showing that 'Hey we all made it here!,' there isn't much of a story."
Instead, she suggested people try to move and interact with the environment around them, which she said "will be inherently more interesting."
Yamase noted that often the best photos take real moments ("maybe your friend blissfully laying on the beach") and refine them just a touch. She suggested directing your subject to move a certain way ("perhaps asking her to lay 15 feet away where the sand is undisturbed and you can get the water just touching her toes") to help you not only capture a beautiful image, but also capture the feeling of that very moment.
"Overall, I've been in some of the most beautiful places in the world and my favorite photos are always the one I have the most connection with," Yamase said. "The candid, awkward, inspiring, excited moments you can't really plan for. So keep that camera out and don't be afraid to snap candid captures along the way."
Elisabeth Brentano: Talk to locals
"If you want to come home with a truly memorable photo, treat it like a piece of art and take your time," Brentano said.
Like Yamase, Brentano said it's crucial you take a few minutes to walk around an area to find the perfect composition. "Don't be afraid to come back again and try for better light, if you have that option," she said.
Brentano explained that when you're not rushed, you have time to think and try new things with your photography. "You can still shoot the same spots as everyone else, but try to put your own creative spin on it, whether you're shooting or editing."
Brentano added that searching for a unique foreground element, like flowers or rocks, will add impressive depth to your photo. Moreover, she said, don't be afraid to do a bit of research or ask around with the locals about amazing sunrise and sunset spots. "Your efforts will almost always be rewarded," she said.
And if you want a photo of yourself but there is no one around to help, be sure to master the art of the tripod selfie. "You can easily set a 10-second timer on most cameras, and don't be afraid to give it a few tries — I'm certainly not a one-take wonder."
For more advice on taking the perfect vacation snapshot check out our guide to photographing sunsets here.

30 Travel Photography Tips: Take Better Travel Photos (and Look Good in Them Too!)
Whether you are a traveler extraordinaire who hopes to take better travel photos, you want to explore the world of posting on social media, you are a mom who snaps pictures of her family wherever you go, OR you want to UP your adventure photography game, learning a few of basic tips will help to improve your photography skills AND the quality of your photographs.
Let’s get started.
Table of Contents
30 Simple Tips to Take Better Travel Photos
As an affiliate, I earn from qualifying purchases. This page may contain affiliate links. I would love your support through clicking on the links. Read the full disclosure here.

Here are a few simple tips to follow as you are traveling and learning how to take aesthetic photos —especially when you visit sites that are popular and everyone else wants to visit at the same time as you!
Aesthetic definition : (adj) concerned with beauty or the appreciation of beauty. Examples of beautiful objects are: landscapes, sunsets, humans and works of art .
1. Avoid Visiting Popular Sites at Popular Times
Maybe this isn’t the “popular” answer, but it is the obvious one.
To avoid visiting popular attractions at the busiest times, this tip might mean waking up early in the morning before crowds gather or visiting a popular site in the early evening when crowds begin to thin.
Not a morning person? Sometimes sacrifices have to be made to capture the best pic and take better travel photos!
Other busy times you may wish to avoid visiting popular sites:
- During holidays
- In the high season
- On a local holiday
- Around noon
- On the weekend
That being said, sometimes you just have to go with the flow and recognize that your shots might be full of 500 of your “new” best friends!
2. Avoid Crowds and Tour Groups if Possible
One of my golden rules for dining while traveling is to wander about five blocks away from the main tourist area and crowded dining options to find out-of-the-way restaurants where the locals might pop in for lunch or dinner.
The same can be said for learning how to take aesthetic photos. If you find that the main tourist areas are completely overrun with tourists AND with tour groups following a guide holding a brightly colored selfie stick, wander away from the crowds and discover the photos that show local life, Friday morning markets, and beautiful architecture.
You will be amazed at your ability to take better travel photos when you can slow down and enjoy the scene in front of you.
3. Be Patient
Have you ever looked at a photo on Instagram and wondered, “ How did they manage to take a picture without any tourists in it ? When I was there it was so crowded I could hardly keep track of my family!”
Patience, my friend. Patience.
…And having your camera ready to go the moment the last tourist walks out of your frame. That’s another idea for learning to take better travel photos.
Again, patience may not reward you with a tourist-free shot. Sometimes you just have to be okay with that.
>> Related : Romantic Instagram Quotes for Couples Who Love to Travel
4. Have Your Camera Settings Dialed In and Act Fast
Having patience leads to this tip: As you are waiting for a photo opportunity, make sure that you have ALL of your camera settings ready to go. Take a few test pictures while the crowds are milling if needed so you know that your shot will be perfect. Adjust for light, change angles, or zoom in.
Act fast once your frame clears.
This spot in front of of the General Sherman tree in the Sequoia National Park in California is often besieged with tourists wanting a memento in front of the giant sequoia tree and the sign.

To capture a “tourist-free” photo of the tree, be ready for the break in the crowd and then snap away. You may only have 2 seconds. Again, have your settings ready to go so that you know the shot will turn out the way you want.
>> Related: 20 Epic Outdoor Adventures in Yosemite National Park
5. Have Your Smartphone Ready as a Backup
This may take a little fancy handwork, but have your camera open on your phone and easy to reach if you are switching between a DSLR. If you find you just can’t get the lighting right or need to shoot from a higher angle to take better travel photos, use your phone’s camera.
Don’t be afraid to use your phone for pictures.
Cameras on newer phones offer sophisticated and advanced technology for all of your travel and adventure photography.
6. Edit Your Photos Later
Edit, edit, edit.
There are free apps for your phone or even desktop options such as Adobe Photoshop or Lightroom where you can crop and remove people from your photo. A little bit of magic to help you take better travel photos.
If you have never used the Adobe products, there is a learning curve associated with those programs.
My tip : Straighten your photos. This is especially apparent if you are taking photos of the ocean. Be sure to straighten the horizon before posting online.
7. Stand So People in the Background are Hidden from View
Sometimes it will be simply impossible to wait for all of the people to clear from your shot to take an amazing travel photo .
If you can, place your subject (you, a family member, friend, or travel partner ) strategically in front of people in the distance.
Voila! It looks as though the street is empty AND that you have mad photography skills!
8. Take Day Trips to Less Popular Destinations to Take Better Travel Photos
The touristy experiences in the bigger cities, such as Rome and Venice and Paris, are great so you can say, “I’ve been there!”, but sometimes getting outside of the city and away from the crowds is awesome.
Day trips to smaller, out-of-the-way towns and villages, such as Orvieto in Italy or Riquewihr in France, can be just as magical and picturesque.
>> Related: 7 Instagram Worthy Villages in the Cotswolds
9. Simply Ask People to Move
You will find that most people will move when they see you waiting with a camera in hand to take a picture.
Sometimes you’ll just have to ask people to move and they are happy to do it. Other times, there’s no rushing some people and they are going to stand in that spot for as long as they want. Dang it! (If this is the case, you can go back to the “ be patient ” point, you can change your angle, you can try again later, or you can just move along.)
10. Use the Crowd in Your Shot to Take Better Travel Photos

Recognize that sometimes you just aren’t going to get the “tourist-free” shot of your dreams when you are planning how to take aesthetic photos of a destination.
For example, the Piazzale degli Uffizi in Florence outside of the Uffizi Museum is often overcrowded with tourists. You may wish to have all of the tourists move out of the way for you to capture the amazing architecture in the foreground and the buildings in the background, but sometimes wishes don’t come true.
Take the picture anyway.
>> Related: Best Things To Do In Florence, Italy
Tips for Looking Awesome and Taking Pictures of YOU!
11. wear colors that pop.

Do you know what colors look best on you?
Choose bright colors that enhance your skin AND make your photos POP with color when you travel.
It may be as simple as wearing a brightly colored scarf.
Consider your destination and make color choices based on it. For example, if you’re at the beach, wear something besides blue so that you stand out from the color of the ocean.
>> Related: 27 Instagram Worthy, Insanely Colorful Destinations Around the World
12. Learn How to Pose to Show Your Best Side
- Move to good lighting
- Slightly push your butt out behind you to show a slimmer torso
- Bend your arm to create space between your arm and your body
- Turn your body 45 degrees toward the camera
- Turn your face so one ear is closer to the camera and slightly tilt your chin down
- Lean forward from the waist just a touch
- Stand tall, don’t slouch. Watch your posture. Sit up to elongate and slim your waist
- Put one foot forward—put most of your weight on the foot in the back
- Show movement—walk, twirl, look away from camera, grab your sunglasses, tuck your hair behind your ear
- Be confident
- Take candid shots
- Use props and have some fun

13. Use a Tripod
While not one of your essential photography gadgets, you may find that a tripod for your camera or your iPhone comes in handy for family photos, still shots, selfies and travel and adventure photography.

The GorillaPod might be a great inbetween tripod if your camera and lens fit the 6.6 pound weight specification.
14. Use a Selfie Stick to Take Better Travel Photos of You!
In a world with camera phones, it is a simple task to ask your travel partners or even a stranger to take your picture.
If you go on vacation and return home without a single photo of you, hand over your camera next time or consider investing in a selfie stick .
How to Take Aesthetic Photos: Follow the Rules of Composition
If you are a new photographer and are feeling a little overwhelmed as you learn to master your camera and take better travel photos, take heart. It takes a lot of practice. The amazing thing about digital cameras is that you can take as many photos as you like , delete as many photos as you don’t like, and continue learning each time you venture out with your camera to take better travel photos.
Following a few rules of composition will enhance your photos.
15. Consider the Light
Use natural light as much as possible in your photographs. Natural light generally refers to any light created by the sun (or the moon).
While it would be nice to say, “Avoid the sun at midday,” sometimes you just can’t as you are traveling. What can you do in such a situation?
- Use a lens hood
- Try to find shade
- Make a point to come back to the spot in early morning or early evening
- Have your subject turn their back to the camera
- Take advantage of the shadows cast by your subject and be creative
- Shoot from a different angle
Good lighting is essential to your photographs when you are trying to take better travel photos.
Quick Tip * Do you ever wonder where the ideal position is to have your subject stand in relation to the sun? Have them stand so that when you as the photographer are facing them, you see their shadow between you and them.
16. Use the Rule of Thirds To Take Better Travel Photos
Imagine that your screen (view finder) is divided into a grid of 9 equal sections when you frame your shot. For the most dynamic and natural photos, move your subject away from the center of the photo and place them along one of those vertical lines or where the points intersect.

You can turn ON the “GRID” option in your camera app or camera settings to visually see the grid as you take pictures. After practice, you will naturally begin to use the Rule of Thirds in your photos and take better travel photos.

Now, this is not to say NEVER CENTER YOUR PHOTOS! There is a time for centering your subject when you wish to create symmetry. But to generally achieve a more natural-looking photo, learn to use the Rule of Thirds.
17. Try Not to Have Objects Sprouting Out Of Your Subject’s Head

Photography skills 101: If you look at the composition of your photo and notice that there is a flagpole or a sign or an architectural feature that extends smack above your subject’s head, have them move a little to the left or the right.
18. Use Natural Frames

Framing is a compositional technique in photography that draws the viewer’s eye to the most important feature in your photo and creates a frame around the subject. Using frames adds more dimension to your photo.
You can achieve this framing technique using windows and doors, an arched entryway, trees and bushes, a tunnel…even an umbrella.
Once you start finding objects that can create a framing effect, you’ll begin to see them everywhere.
19. Find Leading Lines as You Compose Your Photo

Using leading lines to take better travel photos is where you basically use lines from a feature in your photo to direct the viewer’s eye toward the main story, subject, or intent within the photo. Leading lines moves the attention from one element to another.
Examples of leading lines:
- Railroad tracks
- An aisle in a church
- Architectural feature
>> Related: 25 Best Hikes in Colorado Near Denver
20. Shoot from a Creative Angle

The effort to take better travel photos may simply mean taking a picture from a different perspective. This may involve shooting up from a lower angle or looking down from a higher vantage point.
Move away from always trying to see your subject eye to eye. Crouch down to a child’s level, stand on your tiptoes, or hold your phone above the crowd to capture a new perspective.
If your children are playing at a play park, try standing under them as they climb the structure or above them as they as play below.
21. Try to Capture a Reflection
Some of the coolest photos come from capturing a reflection of your desired subject.
Did you know that some photographers travel with a water bottle for this very purpose? They create a puddle on the ground in front of an architectural tourist site and take a shot of the reflection in the water.
You can also look for reflections after a rain shower, in a river or body of water, or even in a pair of reflective sunglasses.

22. Focus on the Eyes
Think back to the Rule of Thirds compositional tip. An important point when photographing people is to make sure that the subject’s eye that is closest to you is on one of those points. That is where you camera focus should be as well.
Focusing on the eyes ensures that the viewer engages with the eyes, after all “the eyes are the window to the soul.”
23. Make Sure Your Focus is Spot On
How many times have you taken a picture only to find later that it is out of focus or focusing on the wrong thing? Practice. Practice. Practice.

24. Look for Contrasting Colors

If you are visiting the beach, wear a color that pops against the color of the ocean. If you are in the mountains, zoom back a little to capture some of the bright blue sky to add extra dimensions. Even fall color pops more with the contrast of a little blue in the sky.
Adventure Photography Skills to Take Better Travel Photos
25. learn the basics of your camera.
If your goal is to improve your adventure photography skills AND take better travel photos, find a course that teaches the basic principles of photography. Find someone that teaches in a style that resonates with you.
Understanding ISO, Aperture, and Shutter Speed and how they all work together sometimes takes effort to wrap your head around.
Many professional photographers encourage you to get away from shooting in Auto Mode and “focus” on shooting in Manual Mode. That’s where understanding ISO, Aperture, and Shutter Speed is essential.
If you are traveling and moving from one scene to another, one tip is to shoot in Aperture Mode and let your camera figure out the Shutter Speed. This helps when you are on the go and want to be able to compose a shot quickly.
You can still achieve some nicely composed and focused shots.
Click to check out Live Snap Love’s “Auto to Awesome” Course to learn the basics
26. Practice
There’s nothing like good old fashioned practice to improve your skills over time. Practice on your family. Practice on your friends. Practice on inanimate objects in your garden. Practice with each trip you go on to take better travel photos and improve your photography skills.
Study photos that professionals have taken to discover the angles they shoot from, where they focus and how they use light to their advantage.
27. Take a Course to Learn the Features of Your Camera

If you are looking for a comprehensive course that starts at the beginning, Audrey Ann from Live Snap Love has some amazing photography courses to take.
PS. She offers some FREE cheat sheets too!
- Free Manual Mode Cheat Sheet
- Free Lightroom Starter Kit
- F ree Aperture Cheat Sheet
- Free 90-Day Starter Kit
- Edit Like a Pro in Lightroom Classic
- Get Organized in Lightroom Classic
- Auto to Awesome
Want to learn more about these courses? Discover the 5 Best Travel Photography Courses for Beginners .
28. Study Other Photographers

One of the best ways to improve your photography skills is to study other photographers.
Follow some of your favorite photographers on Instagram and discover the Instagrammable places they shoot around the world. If you know you will be traveling to the dreamy villages outside of Florence , see what others take pictures of.
- What time of day did they take the picture?
- Did they stand from above or below?
- Did they include people in their photograph?
- What creative angle did they use?
29. Research Instagrammable Places in Advance

If you spend time on social media or Pinterest, begin to take note of particular destinations and the Instagrammable places where people take pictures. Search for “ Instagrammable places of… “
Captions for Travel Photos
Once you have captured the best travel photos, you may wish to post them on Instagram. Here are a variety of posts showcasing the best captions for travel photos:
- 75 Romantic Instagram Quotes for Couples Who Love to Travel
- 70 Inspiring Instagram Captions for Travel
- 65 Awesome Travel Quotes for Instagram
- 300+ Instagram Content and Travel Caption Ideas for Bloggers
10 Captions for Travel Photos that Combine Photography and Travel:
- “You can always take a great photo—no matter what the conditions.” – Steve Davey
- “The whole point of taking pictures is so you don’t have to explain things in words.” – Elliott Erwitt
- “Travel photography is really a way of life: a way of traveling.” – Steve Davey
- “Having a camera around your neck gives you a good excuse to be nosy.” – Martin Parr
- “The most valuable things in life are a man’s memories. And they are priceless.” – Andre Kertesz
- “Take only pictures, leave only footprints.”
- “I think of myself as an explorer who has spent his life on a long voyage of discovery.” – Paul Strand
- “Never stop looking, no matter where you are, everywhere there are good photographs.” – Art Wolf
- “If you want to be a better photographer, stand in front of more interesting stuff.” – Jim Richardson
- “The real voyage of discovery consists not in seeking new landscapes, but in having new eyes.” – Marcel Proust
30. Book a Photography Tour
There are plenty of walking tours around the world, and many have options for photography tours as well.
My Favorite Camera Equipment
If you spend any time on social media, you may encounter people who are passionate about their brand of camera. There has long been a debate about which camera brand is the best—Sony, Canon, Nikon, etc.
The answer? Whatever camera you have with you !!!
Point and Shoot Camera

Underwater Camera

Mid-range DSLR
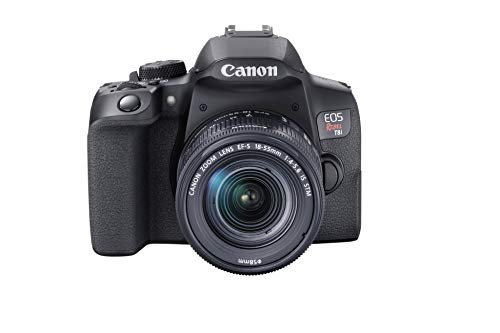
Just remember, you don’t have to travel with ALL of your photography equipment. Pack lightly. Take only the essentials. That may mean your camera body and one possibly two versatile lenses and a few accessories. Here are a few ideas for you to consider.

A go-to lens for the Canon T8i is the Canon EF-S 18-135 mm f/3.5-5.6 with image stabilization. It is perfect for all of your domestic AND international adventures. The Canon T8i (in the Canon Rebel Line) is a perfect beginner’s camera.

If your skills have improved and you are looking to upgrade from a T-series camera to a Canon 6D Mark II or similar DSLR, note that you will also need to upgrade your lenses from the EF-S line to the EF lenses such as this lens: Canon EF 24-105mm f/4 L IS USM Lens

Upgrading is an important consideration, as the photography hobby comes with some expensive photography gadgets and equipment!
The good news, the relatively inexpensive Canon “ nifty fifty ” lens—an EF lens—works with both camera bodies. (Be sure to pick the nifty fifty lens suited to your brand of camera).

Nowadays, with the advances in smartphone camera technology, the best camera might just be in your back pocket!

There are tripods that are small and flexible for travel, but if you are traveling solo (or even with a group), you may wish to have the added benefit of the Fugetek selfie stick in your travel gear .
The selfie stick a handy gadget complete with an iPhone and Android compatible camera stand. The stick can extend in height with an easy click-in lock and comes with a removable remote for easy one-step operation. The tripod features non-skid feet for your selfie stick to become a stand alone device.
The Canon Wireless Remote Control is a handy photography gadget that is lightweight and small. It allows you to take “selfies” with your DSLR!

Or, if your hands are full holding reflectors or if you are using a tripod, you can easily set up your camera on the remote setting and enable the remote control.
There is a specific camera setting !
Don’t forget to change the setting on your camera!
There is a debate in the photography community as to the need or value of Lens Filters. For certain types of photography, filters are essential in achieving a specific look and feel to your photos.

A UV Protected Lens Filter can be a protection to your more expensive lenses.
Be sure to purchase the correct size of filter for your lens.
While you often hear about the “golden hours” in photography, it isn’t always practical to only shoot at the first light of the morning or in the waning hours of the evening for the best light.

As you travel, you are shooting and sightseeing all day long and need to account for the sun as best you can. A Lens Hood can help you to take better travel photos during the daytime hours.
The lens hood blocks the direct sunlight from hitting the lens and allows you to take better travel photos in the bright light of the day.
Again, be sure to purchase the correct size for your lens.
Extra Memory Card
Be sure to have sufficient memory in your SD Cards . If your travel extends for an extended length of time, invest in a card with enough space for all of your vacation photos.

Having a backup card isn’t a bad idea either.
Camera Battery & Charger

Not only should you have a back up SD card as part of your photography gadgets, but having a back up Camera Battery along with your Battery Charger is a good idea.

An improvised backpack rain cover fashioned from plastic bags may work to cover your backpack and keep your camera and photography gadgets dry in a pinch. Invest in a Waterproof Backpack Covers for future rainy days.

Frequently Asked Questions
What makes a great travel photo.
Anyone can take a nice picture of the Eiffel tower. To elevate your photography skills and take great travel photos, you will need great light and excellent composition. Learn those skills to give your photography skills an edge.
What is a good quote of traveling and photography?
“Sometimes I arrive just when God’s ready to have someone click the shutter. ” ~ Ansel Adams
Is a smartphone good for travel and adventure photography?
Yes. Your iPhone may just be your best travel camera. “While the image resolution and quality might be higher on a DSLR or other high-end camera, the iPhone wins hands-down on portability and convenience.” iPhonephotographyschool.com
Love this Post? Pin it!

Final Thoughts on 30 Travel Photography Tips to Take Better Travel Photos and Look Good in Them Too!
This is a brief overview of how to take better travel photos. The key, really, is to practice, practice, practice .
There is so much more to learn if you wish to master the features of your camera, and especially to move away from shooting in Auto .
All in the hopes that you will be able to take better travel photos.
And when you arrive home from your excursions, find creative ways to display the amazing photos you took on vacation.
You may also love…
- Travel Photos: 12 Creative Ways to Share and Display Them
- 15 Popular Photography Gadgets
- 20 Instagram Worthy Beautiful Lakes Around the World
- How to Best Journal Your Travels and Your Life
- 10 Great Reasons to Visit Paris
- Long Airport Layover? 30 Creative Things You Can Do To Pass the Time
Share on Social Media
I’m a Colorado-based travel blogger with a passion for exploring the world, enjoying family time, and taking fantastic photographs. I am also a book writing, creative thinking, detail loving, frequent flying, comfort loving mom of three girls and wife to an amazing guy. Discover More .
Similar Posts

300+ Incredible Travel Content Ideas for Instagram

15+ FREE Gorgeous Photos: Wallpaper for Your iPhone to Inspire Travel

24 Super Smart Apps for Your Next Adventure

Safe Travels: 20 Tips for Peace of Mind As You Travel Solo or with Others

15 Festive Things To Do In Denver For Christmas

27 Travel Experts Share Their Best Travel Tips
44 comments.
Great tips! I definitely try to avoid popular spots at popular times, because I am definitely not an expert at editing people out of my photos. I also really would like to start taking photos with a camera and not just a smart phone, I think that’s a great way to step up my photography game!
This is a super helpful guide! I try to use a lot of these techniques when I take photos too, but you also taught me something new with the use of the grid on your phone camera – great idea! I also swear by my selfie stick/tripod; it really comes in handy for those couple shots. Xx Sara
This is such a useful guide! I definitely need to work on my patience more as I’m not an expert at removing people from shots with software. Even using a grid, I always end up with focal points in the centre, but I guess that takes practice to break that habit. Also, love the tip on the lighting shadow direction!
Great tips Jolayne! I agree with all of these – and above all, be patient haha! Avoiding group tours is another big one for me, where possible! I’m a huge fan of Adobe Lightroom for editing. Thanks for sharing!
Patience is a virtue, especially when traveling.
Interesting idea to use the grid to take photos! Patience is definitely key when you’re trying to get photos in busy spots. We always get at least one person walking into the photo who doesn’t seem to notice we’re taking photos.
This is a fantastic post! I think so many of us are looking to up our photography game and guides like this definitely help 🙂
Thanks so much. I know I can always use helpful tips.
These are some great tips! I’m always looking to take better travel photos so I’ll be sure to test out your suggestions! And it is a good reminder that I need to spend some time getting to know my new camera too! So far it is stuck on manual mode! Thanks for the great guide!
Love all these tips! I use the Grid on iPhone camera all the time – it really helps!
It is pretty handy even if it is just a reminder.
I wished I could just ask people to move aside sometimes, but I’m so socially awkward I almost always NEVER say anything hahahah.. I like the tip about just working them into your composition though! Definitely a creative alternative way to just make the situation work for you and I’m gonna keep that positive attitude with me the next time I’m out there!
These are some great tips! I always try to get to touristy spots during off-times exactly for this purpose. I’m not a professional photographer but I can at least try to not have a bunch of people in my pictures haha
So many great photo travel tips! I especially like the ones for take better photos of yourself!
So sorry for your loss. Keep practicing on the photography and editing and you will find improvement.
A really comprehensive post, very useful. I’ve definitely suffered from photo frustration, where my mind- and even my eye- can see the capture I want but I can’t master my camera/ timing/ settings to quite get it. Practice for progress, I suppose!
On a different note, I’m glad to see the humble selfie stick getting a mention. I think they got a bad reputation at one point but used with consideration- a great tool.
WOW! This is a very comprehensive list with tons of great advice. Would be useful for everyone regardless of their skill level.
These are some great tips! I especially like the ideas for posing and wearing colors that pop.
We all want to look fantastic in our pics right?
Great tips! I am a big fan of avoiding crowds and shooting early in the morning when possible. I also love the idea of wearing items that pop – it’s great to think about contrast when shooting.
Haha i love the bit about be patient, but also simply ask people to move. So true!
Patience is a virtue as a photographer.
This guide was SO helpful! Thank you! I really appreciated the tip about shadows.
Thanks. I always love to learn more about photography.
Wait, you mean people DON’T like to see things coming out of their heads in photos?! Just kidding, but truly, that was a tip that I used to never think about, LOL! Great ideas, and beautiful photos.
Wow! Some great tips here. Thank you for sharing.
I love your photos! I have to start using my selfie stick!
Thanks. I am photography junkie. Just can’t help myself.
Love this post! I love taking photos and slowly but surely getting better at doing so over the years has been so rewarding. Great read <3
I like the rule of thirds– I have started using this recently and the composition is so much better!
It is where you eye tends to focus
Thanks for these helpful tips, Jolayne! Will have to try putting some of them into practice ?
Lots of great advice. I love taking photos when I’m traveling, I just need to practice with not making them on auto. We had the general Sherman tree without others since we visited at the end of April. There was another couple and we took pictures of them and they of us.
Very useful guide as I have a trip coming up! I was especially interested in the lens you recommended. Thanks!
Very helpful tips. Thanks for sharing your favorite camera equipment. That’s very helpful!
Great tips. We are constantly taking blurry pictures while running. Advice for being patient is definitely key.
Great Post! I bought myself a camera as a Christmas present a few years ago and I’m scared to death of it. So many settings to navigate through. I definitely need to take a class to get some of the basics down. Lots of great information here. Thank you!
Really some great and some easy-to-implement tips in this post! Thank you for putting this together.
Great post. Mastering photography is on my to-do list.
So many great tips here! And I definitely need to start practicing how to take better photos of myself, LOL!
Great and detailed post. This will definitely help our followers!
Great post! Definitely will give this a closer read later. I consider myself a decent amateur photographer, so really appreciate all the info and great tips!
You have some lovely photos on this post. I find these tips very useful and will try to remember them the next I am out and about. Thanks for sharing!
Leave a Reply Cancel reply
Your email address will not be published. Required fields are marked *
Save my name, email, and website in this browser for the next time I comment.
This site uses Akismet to reduce spam. Learn how your comment data is processed .
Take Better Travel Photos with These Easy and Natural Poses
Part of the fun of travel is taking photos, especially photos with us in them. Whether you are looking to take travel photos for Instagram, to have for your own memories, or even just to send home to mom to prove you are still alive, having travel photos of yourself is, for many of us, somewhat important. But the dilemma is always figuring out how to take better travel photos of yourself and, perhaps even more worrisome, how to pose for them.
For a long time, the go-to pose for many travellers, especially female travellers, was to face away from the camera and look off into the distance so you just see the back of the body. Like this one:

Now, that probably works really well for a tourism marketing campaign but it’s not the goal for personal photos. We want our photos to be about us, to show our personality, and to show off what a good time we are having. While I definitely have my share of those view from the back photos, I’m a big believer in showing my face. After all, my brand is very personal and, if you are a regular reader/follower, you already know I’m a dork so really I have nothing to hide: proof below.

Let me be clear in stating I am no model. Far from it. I am beyond awkward and I have more than enough photos to prove it. So, why is the awkward one writing a guide on easy and natural poses for better travel photos? Well, needless to say I’ve had a lot of practice. Plus, I’ve worked with a few photographers in the past couple of years, including during a few photoshoots, and I’ve learned a lot.
While I still definitely take some awkward shots, I’ve also learned how to pose naturally for photos. Enough so that I at least have a pretty decent looking Instagram feed and have been asked many times for tips. So, here we go. From me to you, here are some easy and natural poses you can use to take better travel photos.
Choose Natural Poses That Create Lines
Creating lines with your body is a) more flattering and b) gives the viewer’s eye something to follow. Remember, leading lines is a common trick used by photographers when composing photos. Long lines and angles add more interest but also make you look better. They help create space so you look longer and leaner.
So, how do you do this? Easy.
Stand with your hand on your hip so your arm creates a triangle.

Ta-da!
If you look at the photo above, the space I’ve created by bending my arm and not holding it right against my body highlights my ‘hourglass’ shape and is much more flattering than if I just stood with my arms down to my sides. Pretty simple.
With your legs, however, you do need to be a little more careful. You don’t want them to face the camera straight on- that will actually make them look shorter. If you are facing straight forward, swivel your hips a bit to one side so your leg is a bit more angled (like I did above) and stretch one leg out to create a longer line. Or, if you bend at the knee to create more of a triangle shape, then take the photo from a side angle like below.

The same applies when you are sitting. Try to prop one leg up to create a triangle or, bend them both. Again, away from the camera, not directly facing it. You can also cross your legs/ankles. If you cross your legs while sitting, try to extend your feet towards the camera (heel up, toe down) again so your legs look longer.
Create Movement While Taking Travel Photos
If standing and posing feels weird, then just move. Walking is one of the easiest ways to get better travel photo. Walking is easy and natural so you’ll automatically feel more comfortable since this is something you naturally do. Plus, since people explore by foot, it fits the travel theme and gives it an authentic feel.

If you want to get a bit more fun with it, you can also run, jump, or spin.
The added bonus to these types of photos is that movement adds interest to photos. When you move so does your hair, your clothes, your accessories etc. Which can make photos a lot more interesting. In the photo below, I was just walking slowly up the stairs, but it was windy and that, combined with my walking, added movement to my hair and the skirt of my dress.

Even if you don’t move your body, you can still add movement to your photos by flipping your hair, taking on/off a sweater or jacket, or swishing your skirt or dress.
Tip: For movement photos, your best bet is to take photos on ‘burst’ mode OR take a video then take a screenshot of the moment you like best. The tulip photo below is actually a screenshot I took from a video.
Where Do I Put My Hands when I Pose For Photos?
Hands can be super awkward in so many situations. We all have them but we never seem to know where to put them. Especially when we are getting our photo taken.
As mentioned above, putting your hand on your hip is an easy position with the added benefit of creating angles. If you are a man, put your hand(s) in your pocket(s) instead of on your hip.
Another easy, natural move is to play with your hair. This is common for women but men can run their fingers through their hair too.
You can also touch/hold the brim of your hat if you are wearing one or even a pair of sunglasses you are wearing. Again, this works well for both men and women.

Hold something; food, flowers, an umbrella, a drink. Or play with a piece of jewellery. If you are a man, adjust your collar on your jacket or sleeves of your shirt.
You can also lean against things; a wall, a handrail, a tree etc. Again, keep in mind: long lines, angles, create space.

Some people also suggest touching your face or resting your hand under your chin. Personally, I think I always look awkward as hell when I do this so the closest I get is tucking my hair behind my ear. But, it’s worth a trying- it might be something you feel comfortable and look natural doing.
What About Facial Expressions?
Facial expressions are up to you. Generally, I like to smile. I don’t do the sexy pout thing. Again, I’m too awkward. But, smiling is sometimes easier said than done. I’ve ‘smiled’ for photos before and it actually looks like I’m in pain. That or a deer stuck in the headlights. Neither option is cute.
When it comes to smiling, I sometimes like to make myself laugh. I learned this from another blogger a few years ago and have tried it since. It works out pretty well, especially if you are looking for more fun/candid type photos of yourself.

Where Do I Look when I Pose for Photos?
Looking towards the camera is normally the most obvious option. You can look over your shoulder or face the camera straight on.

However, looking straight to the camera can get pretty repetitive. Especially if you want shots that look slightly more candid.
Looking up and to the side is easy, or down and through your eyelashes. Just make sure that your eyes follow the line of your nose so you see your entire eye in the photos- not just the whites of your eyes. That’s creepy.

If I am taking my own photos, I sometimes end up looking at the screen of my camera (where I can see how I would look) and not at the lens itself. I’m getting better at remembering to look at the lens, but it’s still sometimes an issue. Also, I have blue eyes so if it’s bright and sunny outside I end up getting pretty squinty. This is why I often wear sunglasses in my photos. That way it doesn’t really matter if I’m looking the wrong way or squinting- you can’t tell!
Let’s Talk About Angles When Taking Travel Photos
Another quick thing I want to mention is angles. When we take typical selfies or even talk on IG stories, we always lift our cameras higher so we don’t risk the dreaded double chin look. However, lower angles can actually work really well for taking better travel photos of yourself. Obviously, you don’t want the camera right underneath you, composition is still key, but low angles tend to be more interesting. Especially in narrow spaces like city streets if you are trying to incorporate buildings into the photo. Shooting from a lower angle is also an easy way to get rid of some of the unwanted objects (potentially even people depending on the angle) in the foreground. In the photo below, I was actually standing in front of a trash can, but because I aimed my lens higher, you can’t see it.

Final Tips for Posing for Better Travel Photos
Posing for photos can feel super awkward. Especially if you are alone and trying to take self-portraits. It’s easy to feel self-conscious. However, it’s way more common than you think and often the people looking at you are trying to see if it’s worth them stopping to get the same photo. Seriously, I can’t tell you how many times I’ve been casually followed by other travellers who hop into spots after me to get their own version.
Additionally, it will get better with practice. I promise. Don’t trust me? Go check out my Instagram profile and scroll back. I really only started getting comfortable in front of the camera in 2019 and it is painfully obvious.
Finally, just keep shooting. Set your camera to burst mode, keep pressing the clicker on your remote, or set your camera/phone to video and just keep moving around. You will always have more bad shots than good ones but that’s ok. All you really need is one so take plenty to make sure you get it!
Hope these tips help and have fun!

YES! I’ve been wanting this and I love the practical advice you give. This has inspired me to bring along my tripod and set up some shots 🙂 I am usually too self conscious to take travel selfies, but regret not having them later. They’re the difference between my pics and buying a postcard or looking up a destination online!
Yay! But also, lets just travel together again and take photos of each other 😀
I’m saving this post so I can refer to it the next time I am able to travel and having a picture taken of me. I loved your suggestions on facial expressions as too many times my face is what I hated about the photo.
I hope it comes in handy!!
I absolutely love this! These are such great poses with awesome examples. I love taking photos (with and without me) in them, but when I am in them I have no idea what to do. These were brilliant suggestions! Thank you so much for sharing!
I hear you! Sometimes it can be so awkward! I’m glad this helped give you some ideas 🙂
[…] of how to pose which has been incredibly valuable. If you haven’t yet, check out my article on how to pose for travel photos. I promise it will come in […]

Leave a Comment Cancel Reply
By leaving a comment you agree with the storage and handling of your name and email address by Eat Sleep Breathe Travel. *
Dreaming of Adventure?
Sign up to the Eat Sleep Breathe Travel mail list and stay up to date with all the latest travel tips and stories.
- Czech Republic
- Falkland Islands
- Latin America
- New Zealand
- North America
- South Georgia
- Kilimanjaro
- Adventure Travel
- Archaeology
- City Guides
- Itineraries
- Portrait Photography
- Tips and Advice
- Travel Photography
- Travel Stories
- Unhelpful Guides
- Wildlife Photography
- Work With Me
25 Brilliant Tips For Travel Photography
Let me guess: you love travel, but while you want to enjoy your holidays and make the most of the beautiful destination , you’re also a keen photographer and want to capture stunning images that you can look back on and share with your family and friends.
Contents (click to view)
That’s why you’re looking for tips for travel photography. But travel photography is hard! What gear should you take? How do you know where to go and when to go there? What about the weather? Photographing strangers is scary! Places are often crowded! There are so many questions and challenges that it can be quite intimidating to even start.
But as they say, a journey of 1000 miles starts with a single step. And you’ve taken that first step by coming here to read my easy travel photography tips for beginners. Hopefully all this advice will help inspire you to get your camera out and start improving your travel photography so you can create beautiful images of your holidays to enjoy for years to come.
Tips for Travel Photography: Planning
1/ do your research.
The best travel photography starts before you even leave home. To make the most of every destination , you first need to do your research. Look up the places you’re going to on Pinterest, Instagram, or your favourite travel blogs, find out where are the best places to go and the best time of day to go there, and get helpful advice on what gear to take. You can also search for images that inspire you and make a list of the sorts of themes and angles you’d like to get. That way, when you’re at the location, you won’t be wasting your precious holiday time searching for the right spot.
2/ Know your camera
Another thing you need to make sure you do before leaving home is getting to know your camera. I rarely read instruction manuals, but when I buy a new camera, reading the manual is the first thing I do. Modern cameras are packed with amazing functions to help you take stunning images, so if you just stick yours on auto and hope for the best, you’re missing a great opportunity to get the most out of it.
If you’re a beginner travel photographer you don’t necessarily need to start learning all the manual settings, but even taking advantage of some of the different modes your camera offers – such as sports, nighttime or portrait – will really help take your travel photography to the next level.
Read more: The Rewards Of Visiting Uganda’s Batwa Tribe
3/ Travel as light as you possibly can
Don’t weigh yourself down with endless lenses, bodies, tripods and other paraphernalia. Yes it’s great to have lots of gear to choose from, but especially when you’re a beginner the key to great travel photography is freedom and flexibility. If you’re lugging a heavy backpack full of stuff, chances are most of it will end up staying in the bag, or by the time you’ve rummaged through it to find the thing you want the moment will have been lost.
This image was taken on Day 5 of climbing Kilimanjaro with a little Fuji X100T compact I bought specifically so I wouldn’t have to lug a DSLR up the mountain. I’m sure I got more and better shots with this because I could have it in my hand so it was ready to go every time I saw something interesting.
Read more: Climbing The 8 Days Lemosho Route On Kilimanjaro
4/ Bring the camera you have, and always have it with you
The old tip, ‘the best camera is the one you have with you’ is absolutely true. There’s no point splurging on a fancy camera if it’s so heavy you end up leaving it in the hotel. I love my Canon 5D Mark IV , but I have to admit it’s very bulky and heavy and there are lots of occasions when it’s not sensible or appropriate to bring it.
I can’t count the number of times I’ve ended up just using my phone because it’s quick and convenient – and you can take great travel photos with a smartphone! As a beginner, the number one best way you can improve your travel photography is by always having your camera close to hand so that when you spot that perfect moment, you’re ready to grab it.
Read more: An Unhelpful Guide To… Aztec Ruins In Mexico
Travel Photography Tips for Beginners: On Location
5/ prioritise your photography.
You may get lucky and spot a golden opportunity for the perfect photo, but if you’re really keen on taking the best travel images you can, you’re going to need to carve out time in your trip for photography. That’s what’s going to make the difference between a nice holiday snap and a professional-quality travel photograph.
When I’m travelling, I often plan mornings or afternoons just to explore a place with my camera; for me it’s a great way to really get to the heart of an area and spot things I’d never normally notice if I was just walking round as a tourist.
Read more: Stunning Photography on the Streets of Cuba
6/ Get up early and stay out late
The best times to prioritise for travel photography are around sunrise and sunset. Not only will you get the nicest light – the hours just before and just after dawn and dusk (known as blue hour and golden hour) will give you the prettiest light and the most interesting skies, but you’ll also avoid the crowds and be more likely to get those gloriously empty images of your destination that you see on all the travel websites. Yes, it can be tough to drag yourself out of bed that early, but I promise you it’s worth it!
I took this image of our campsite in the Sahara Desert, Morocco , at blue hour, just after sunset, while the rest of my tour group were drinking wine round the campfire. I don’t regret it for a second, and of course I joined them as soon as I was done!
7/ React to the moment
While it’s great to have a plan, sometimes it’s even better to just chuck that plan out of the window and go with the flow. So you’ve arrived somewhere and it’s really crowded? The weather is bad? That famous landmark you came to see is covered with scaffolding? Then you’ll need to adapt.
Travel photography is all about seeing what’s in front of you and capturing the spirit of the place, and if that spirit isn’t what you were expecting, just roll with it. When I was in India I found everywhere was really crowded, so instead of trying to take photos of landmarks (arguably quite boring anyway), I decided to capture the other people taking selfies and came back with some much more characterful travel images as a result.
Read more: India: a Nation of Selfie-Lovers
8/ Set yourself a challenge
It can be all too easy to wander aimlessly with your camera, taking pot shots at random things and not really getting anything good. At times like these I find it’s really helpful to set myself a project. It might be to get ten really great photos of traders in a market, or to focus on doors, street dogs, or graffiti.
You could force yourself to shoot everything without using your zoom or set yourself a travel photography scavenger hunt with a list of 10 or 20 different things you want to capture that sum up the destination for you. Doing this will really force you to think about your photography and help you bring back much better images than if you just fire off your shutter at whatever happens to be in front of you.
In Trinidad, Cuba I spent about three hours wandering around just taking photos of people in doorways; this is one of my favourites.
9/ Abandon your tour group…
If you’re taking a tour or travelling with a group, travel photography can be extra challenging. Getting stunning images takes time and patience, and if you’re always being told to keep up, or you’re worried about getting lost, that can really limit what you can achieve.
So wherever possible, I find the best solution to this is to ditch the group and do my own thing. If you plan to do this, make sure you tell the guide so they’re not looking for you, get their number in case you do get lost, agree a time and place to meet later, and if you can, grab a friend for company and safety. I also always try to be one of the last back on the bus – not late, of course, so I’m delaying everyone, but not early either, so I’m not sitting in a half empty bus when I could still be out exploring.
In Chefchaouen, Morocco , I left the group and wandered off by myself to find interesting corners like this one.
10/ … but mine your guide for information
Taking a tour – even if it’s just a day trip or a guided visit to a site – does offer up one huge advantage for travel photography: local knowledge! Your guide should know all the best places to go, the key things to photograph, and the best times to go there. I always let the guide know that travel photography is my passion, and they will often give great advice and sometimes even adjust the itinerary to make sure I get extra opportunities to take amazing photos of the destination.
In Inle Lake, Myanmar we had a free day, and by chatting with the guide I learned it was possible to hire a private boat and go out on the lake before sunrise, which is how I got images like this one.
Read more: The Beautiful Leg-Rowing Inle Lake Fishermen, Myanmar
11/ Get lost on purpose
Sometimes the best images I’ve taken have been the unexpected ones, when you wander down a side street and discover a slice of local life that the guidebooks would never know about. If you stick to the beaten paths and follow the usual tourist trails, mostly what you will see is other tourists and the country’s polished public face.
It’s only when you dip a little behind the scenes that you find the really interesting stuff, the bits that haven’t already been photographed a million times. So be bold. Wander curiously and see where it takes you – and when you’ve had enough just ask for directions or let Google maps guide you back.
Tips for Travel Photography: Composition
12 / use the rule of thirds.
If you’re a beginner travel photographer you may already be familiar with this concept. The rule of thirds states that if you imagine your image divided up into thirds horizontally and vertically, the most visually-pleasing composition is one where the subject of the image sits on one of the third lines. This draws the eye in and makes for a much more satisfying image than if you put the subject dead centre or too far off to one edge. It really works and it’s one of the easiest ways to make a huge difference to your photography in a single step.
In the image below, you can see the horizon sits nicely on the bottom third line, and the church tower and window are on the left third line.
Of course the rule of thirds is really a guideline more than a rule. Feel free to break it if you want to! If you scroll through the images in this post you’ll notice that the majority of them do follow the rule – but not all of them!
13/ Include people
While you probably want to avoid massive crowds of tourists, it’s a really great idea to try to capture individuals in your travel photos. Including a person can add a sense of scale to a beautiful landscape or give a focal point to wide shot of a landmark.
A street with a few traditionally-dressed locals walking through will always capture the essence of a destination more completely than an empty road, while a charming portrait of a local character always makes for an engaging image. So rather than waiting for people to walk OUT of your shots, why not think about waiting for them to walk IN?
Read more: 25 Spectacular Places To Visit For Travel Photography
14/ Be patient
The best travel photographs rarely happen in an instant. Yes, it only takes a fraction of a second to click the shutter, but to get to that point you need not only planning, but also patience. Quite often I find I can see the potential shot, but the reality is not quite right. The sun needs to come out from behind a cloud, or I need the right sort of person to walk through the shot, or I want the market trader to hand over the money or the tourist to get out of the way.
Often I can be waiting for ages for the thing to happen; sometimes I lose patience and give up, but other times the farmer I’ve got my camera trained on looks up and laughs and it’s totally worth the wait.
Read more: Taking Portraits in Myanmar (Burma)
15/ Think about what’s in the background
A common mistake that many beginner travel photographers make is that they’re so focussed on the subject of their image that they fail to notice what’s going on in the background. Is there a tree growing out of your subject’s head? Did a tourist just wander into the back of the shot? Is there a parked car or pile of rubbish spoiling the view?
When composing your image, ask yourself, ‘what is this photo actually OF?’ and then try to exclude anything that distracts from that, either by reframing, moving your position, moving the subject (if you can!) or waiting until the annoying person in the back of shot has moved away.
In this image of the Falkland Islands I chose to include the people as I wanted to show the juxtaposition of the group and the albatross colony, but if I’d wanted this to just be a photo of the colony I’d have needed to move or zoom in.
16/ Move your feet
Most modern cameras have huge zooms which allow you to get a variety of different shot sizes from a single standing point. But if you stay stuck in one place, you may be missing out on a better view of your subject just to one side. So don’t get too attached to one spot: get closer, get further away, find a vantage point… you might just stumble across something unexpected. And as an added bonus: photography is great for your daily step count!
While the rest of my group were all standing together over to the left, I explored a bit further round to the side and was able to get a much better angle on this chimpanzee.
Read more: Chimpanzee Trekking In Uganda: A Breathtaking Wildlife Adventure
17/ Don’t copy Instagram
While it’s great to use Instagram for background research, once you’ve seen what’s out there try to think outside the box and do your own thing. No travel photographer ever won an award by taking the exact same picture as everyone else, and no one wants to look at hundreds of identical photos of the same place.
How many photos have you seen of a girl in a big hat with her back to the camera looking at a view? It’s so unoriginal! See what everyone else is doing, sure, but then use it as inspiration and move forward.
18/ Take the obvious shot, then take a better one
Each time you take a picture, instead of just taking one, take two. First, the standard one from the conventional viewpoint, and then do something different. Zoom in, crouch down, move closer, walk round the side, wait for someone to walk into the frame, look for a different vantage point, find some way to make your image a little bit less ordinary. This will set you apart from the masses and give you unique, more eye-catching images.
This first photo of the Duomo in Orvieto, Italy , is perfectly nice, but don’t you think the second one is far more interesting?
Read more: 30 Beautiful Pictures Of Guatemala And The Stories Behind Them
Traveller Photography: Best Practice
19/ be culturally aware.
There are many places in the world where photography is frowned upon. Some sites ban it, in other places local people just don’t like being constantly papped by passing tourists. Sadly with the rise of social media this is becoming more and more common, and it’s certainly something I’ve found frustrating in the past, but as a responsible traveller it’s your job to respect the locals and their customs.
So if you find yourself in a place where it’s not permitted or appropriate to take photos, don’t do it. Simply enjoy being in the moment and focus on making memories instead.
Read more: Ethical Travel Photography: How To Capture With A Conscience
20/ Ask permission
It’s not necessary (and it would be impossible) to ask permission from every man or woman in the street before you take a photo, but if you want to take a close up of an individual it’s a good idea to get their consent first. Doing this shows respect and gives that person the chance to decide whether they want to be photographed or not. Don’t worry if you don’t speak the language, a simple smile and a gesture towards your camera is universally understood.
Sometimes, however, you may not want to interrupt the moment as this can often cause the person to stop what they were doing and ruin the shot. In this case you’ll need to make a decision. If you’re far enough away and can quickly take the photo without offending them, do that. If you want to get closer, the best strategy is to ask permission, take one or two photos, walk away a little and wait for them to forget about you and go back to what they were doing, then come back and get the shot you originally wanted.
21/ Be safe
Of course it should go without saying that while following all of these tips, it’s important to be sensible. Don’t go off alone if you’re not sure you’ll be able to find your way back. Don’t wander into a dodgy part of town with a big expensive camera hanging round your neck.
Make sure your money is secure and your backpack pockets are properly zipped and your passport is in the safe in your hotel so that someone can’t pickpocket you while you’re busy focussing on other things.
Watch where you’re putting your feet so you don’t fall off a cliff or step in front of a car. If possible, have someone with you so you can keep an eye on each other. Photography is enormous fun, but that fun will come to a swift end if you get robbed or worse, and no image is worth putting yourself in danger for.
Travel Photography Tips for Beginners: Technicalities
22/ bring enough memory and batteries.
You’ve spent all that money to go all that way, so the last thing you want is to miss out on bringing home some fantastic images just because you didn’t bring enough memory! Make sure you’ve got your charger, at least one spare battery and a big enough memory card or two. Imagine how annoyed you’d be if you spotted something astonishing and then couldn’t capture it because your card was full or your battery died!
23/ Backup backup
Whether you can do this depends on where you’re going and how light you plan to travel, but I never go away for more than a few days without taking a laptop and hard drives with me. At the end of every day I download the photos and back them up on two drives which I store separately, so that if ever my camera or a drive gets lost or broken, I won’t lose all my images.
This image of a penguin colony in Antarctica was just one of several thousand that I took. Losing them all would have been a disaster so I backed up my photos every day.
24/ Learn some basic photo editing
If you really want to take your travel photography to the next level, you need to learn a little photo editing . No professional travel photograph you will ever see has come straight out of the camera; they have all been tweaked at least a bit.
I’m not talking about hours of colour correcting and photoshopping here, and if you’re a beginner I’m not suggesting you pay for pro editing software (at least for now, though you may want to later on), but there are plenty of free tools out there (including the one that probably came with your camera) that will allow you to make a few simple improvements. Things like cropping, levelling a wonky horizon, or adjusting white balance or exposure, are just small corrections that can really help to make each image just that little bit better.
25/ Practise at home
And finally – yes, it’s all about practice. No one ever got good at anything overnight, but if you’re passionate and you want to learn, you WILL get better! Why not try taking your camera out round your local area, for example? Practice street photography in your own town or shoot landscapes in your nearest bit of countryside. That way when you’ve splurged your savings on that trip of a lifetime, you won’t mess it up!
Further travel photography reading
Looking for more tips for travel photography? Why not try some of these:
- 19 Wildlife Photography Tips for Beginners
- 13 Top Tips For Photographing Markets
- How To Take Great Photos Of The Northern Lights
70+ Stunning South Georgia Photography Tips
- Photography on the streets of Cuba
Liked this travel photography tips post?
Why not Pin It for later? Thank you for supporting my blog!
Bella is a multi-award-winning travel writer, wildlife photographer and science and history documentary director from London. Among many awards and nominations she won Blogger of the Year at the British Guild of Travel Writers’ Awards 2023 and Best Photography at the Travel Media Awards 2020. Her work has been published by National Geographic, Wanderlust, and BBC Travel among others. Her films have been shown around the world including on the BBC, Discovery and PBS.
Further Reading...
Chichicastenango Market in Guatemala: A Photo Guide
A Kenya Safari Holiday: How To Plan The Perfect Trip For You
An Essential Active Beach Resort Vacation Packing List
An antarctica clothing list: what to pack.
Some of the links on this site are affiliate links. This means that if you click through and make a purchase, I will earn a small commission at no additional cost to you. Passport & Pixels is a participant in the Amazon Services LLC Associates Program. As an Amazon Associate I earn from qualifying purchases.
- Skip to primary navigation
- Skip to main content
- Skip to primary sidebar
- Skip to footer

Indigo Sahara
Travel Reviews, Guides, Tips & Travel Hacking
25 Easy Poses For Travel Photos (With Examples)
By: Indigo Sahara, M.A. | Published: April 5, 2023 | Updated: April 5, 2023
Posing for photos is surprisingly difficult. Honestly, posing correctly for location, outfit and body type does not come naturally to anyone. In order to help you advance in your photo-posing skills quicker than I did, I’m giving you access to over 25 easy poses for travel photos that anyone can do.
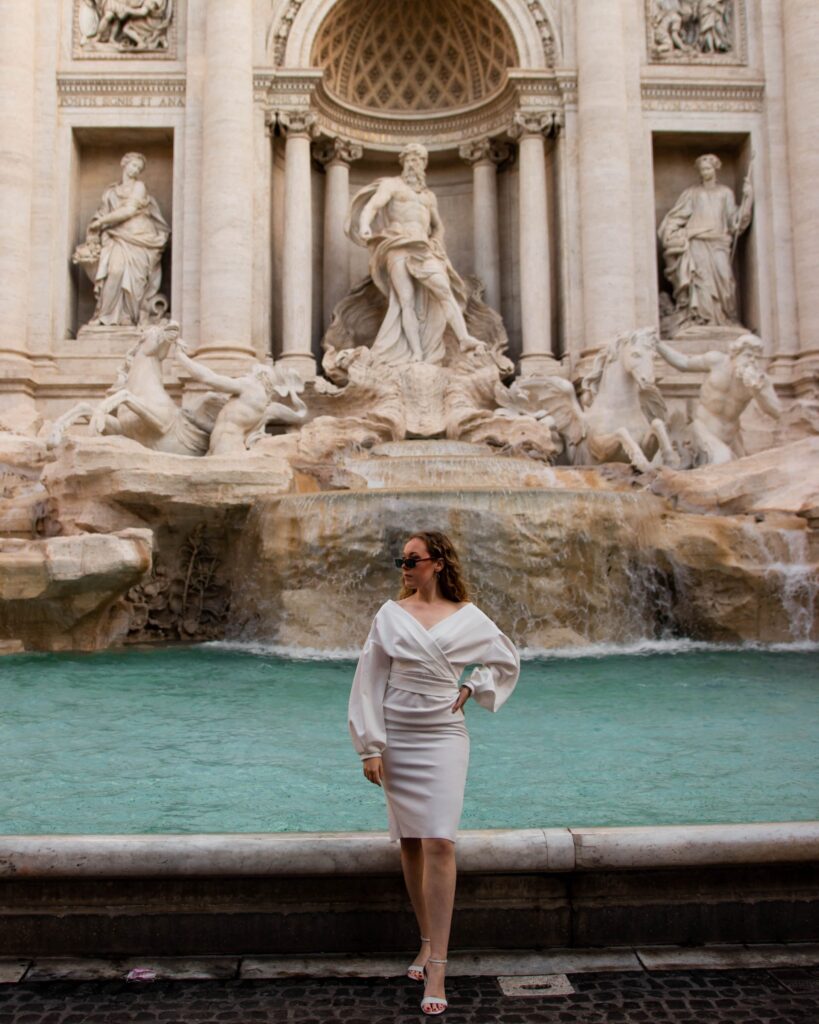
Disclaimer: This post contains Amazon affiliate links. If a product is purchased using one of the following links, I may earn a small commission from the brand at no cost to you.
But first, I want to let you know about a couple other blog posts I have that you’re going to want to check out next:
- Cheap Travel Camera Gear For Better Travel Photos
- 15 Easy Beginner Tips To Elevate Your Travel Photography
- 115 Travel Instagram Captions You Need In 2023
Now, let’s dive into the best poses for travel photos .
Table of Contents
Posing Basics: How should I pose for pictures while traveling?
It is important to know a few of the basics when it comes to posing. Here are five pro posing tips to remember as we go through the specific poses for travel photos .
1. Pose To Evoke Emotion
A good photo evokes strong emotion. Try to evoke the exact emotion you feel at the time of taking the photo .
Perhaps you feel a sense of awe, happiness, curiosity or seriousness. Show the viewers how you feel. This can be done through facials, lighting, editing and, of course, posing.
2. Keep Your Hands Busy
Keep your hands busy if possible. Touch your cheek, put your hand on your hip, run your fingers through your hair and use props whenever you can.
Of course, there will be times when you have nothing to do with your hand(s). So, when that’s the case, loosen up and let them hang naturally.
3. Point Your Toes
Whenever you’re sitting or have a foot off the ground in a photo, your toes should be pointed . This will elongate your legs and look a lot less awkward.
If you can’t point your toes in the shoes you’re wearing, such as hiking boots, flex your feet. Basically, just don’t leave them dangling.
4. Avoid Touristy Poses
Touristy poses (like jumping, peace signs, or awkwardly standing and smiling) are fun and location-appropriate sometimes.
But, if you want to look like your favorite travel influencer, avoid these poses the majority of the time.
5. Combine These Posing Tips Together
As you browse through the following travel photo poses , you will notice that I often combine two or more of these posing basics together. Once you practice and get the hang of it, combing the tips will become second nature.
Poses For Travel Photos
1. make triangles with your arms..
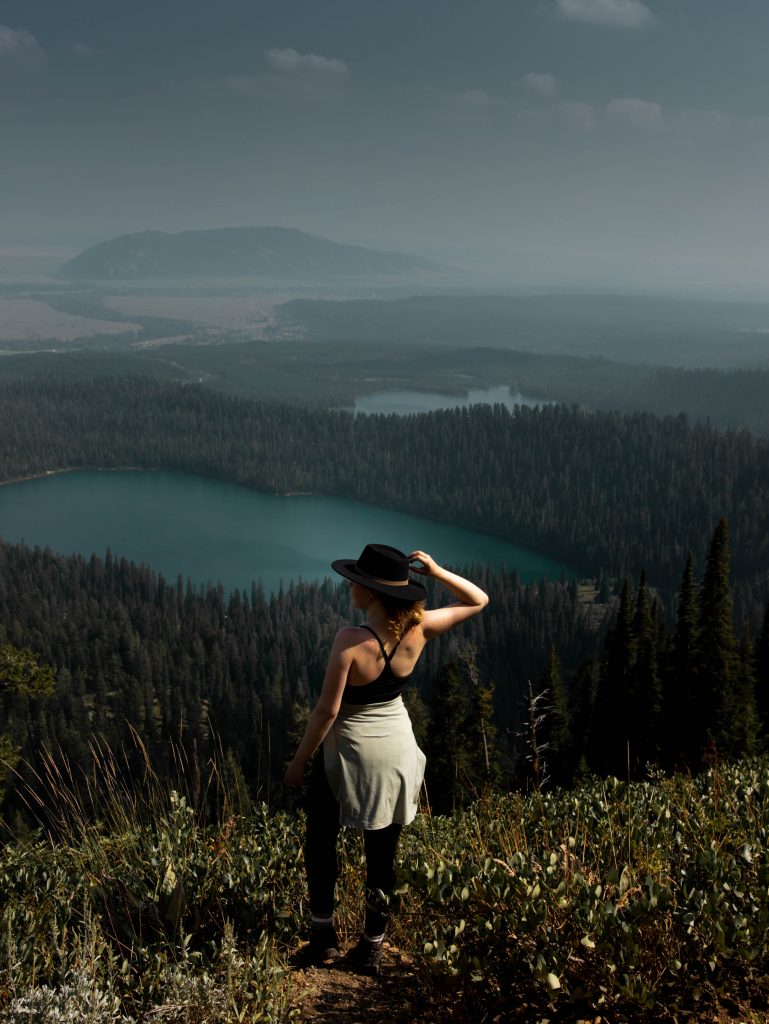
This may sound a little peculiar at first, but making triangles with your arms is an industry trick-of-the-trade in the world of photography.
Making triangles brings definition to your muscles, elongates your torso and, overall, brings more life to every photo. It will also help you feel less stiff and more natural, which is the goal.
2. Make a triangle with one of your legs.
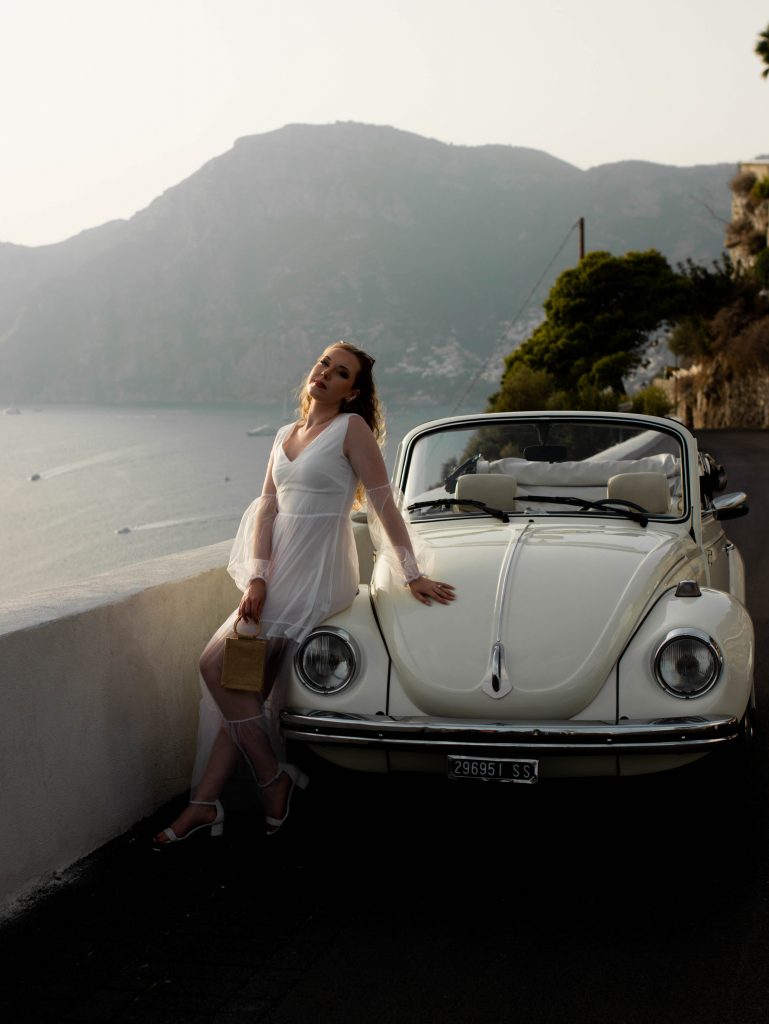
The same rule applies with your legs.
Make a triangle with your legs by bending or popping one of them.
3. Hold on to the back of your hat.
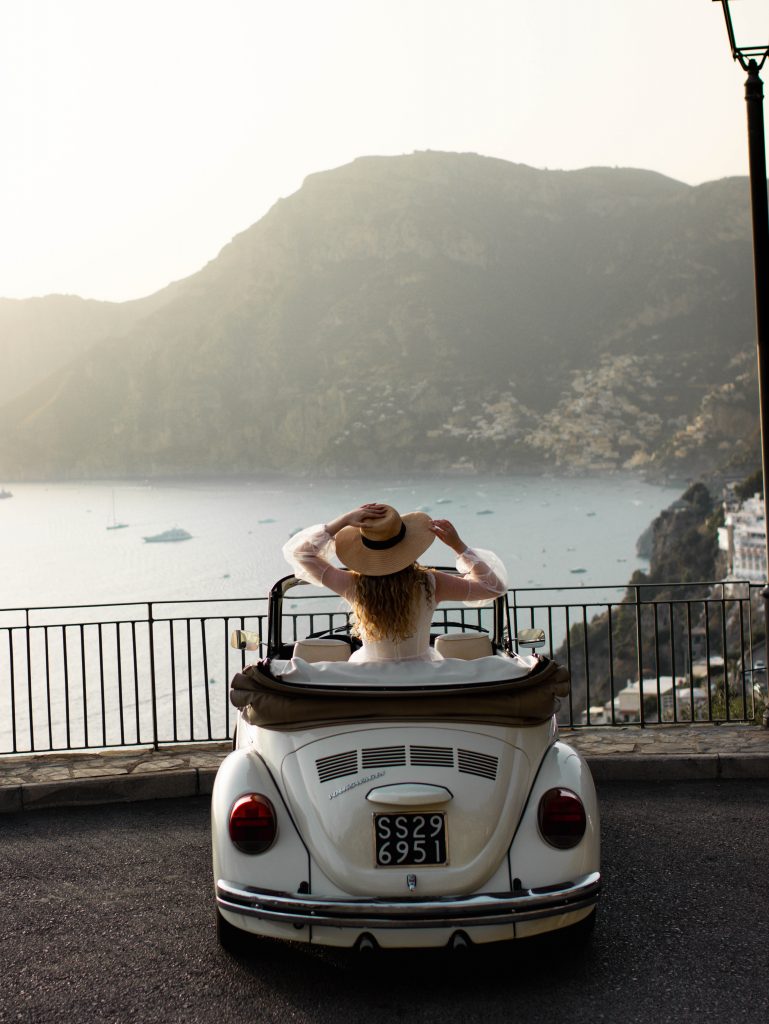
I always bring hats on my trips. As you can see, hats make fantastic travel photo props . Plus, they give you something to do with your hands.
Often times, the wind is actually so strong where you are taking travel photos that you have know choice but to hold on to your hat.
Other times, holding the back of your hat can make the viewers imagine that there is wind, and this helps the viewers imagine that they themselves are at the location.
4. Lean against a wall or other nearby object.
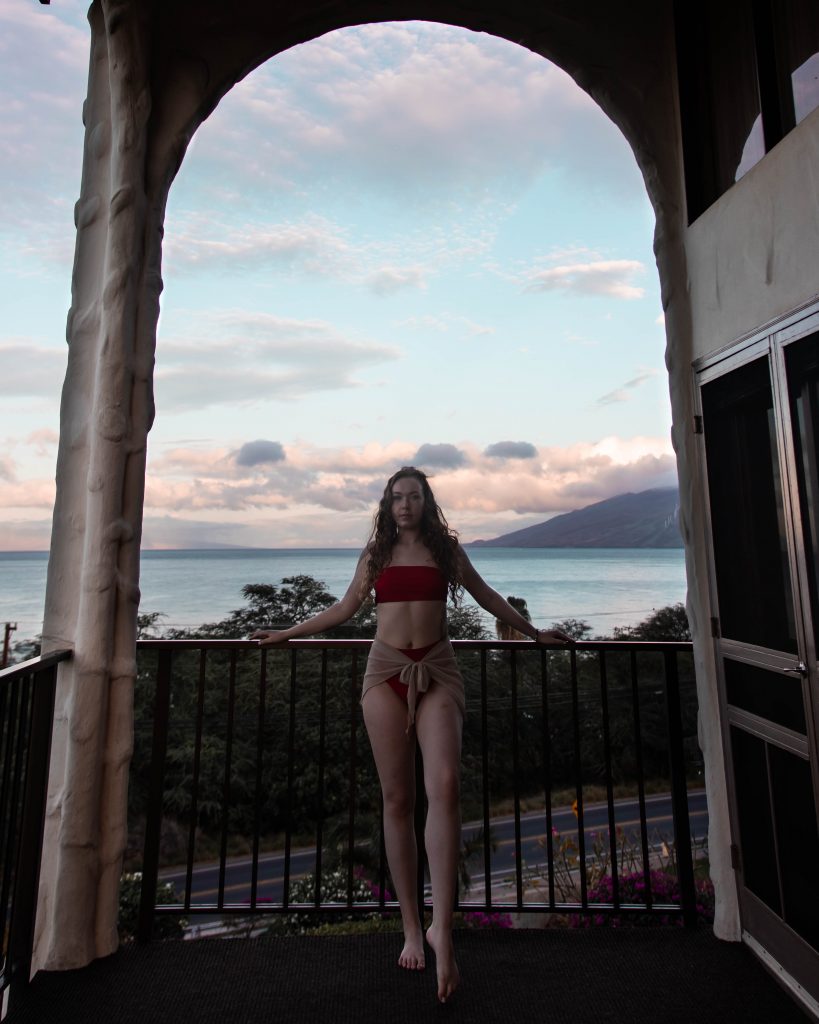
This pose is pretty self-explanatory; just be careful not to slouch too much while you lean.
Leaning straight-up gives an element of calm-and-collected to the photo, which looks particularly fitting in luxury travel and beach photos.

5. Run away from the camera.
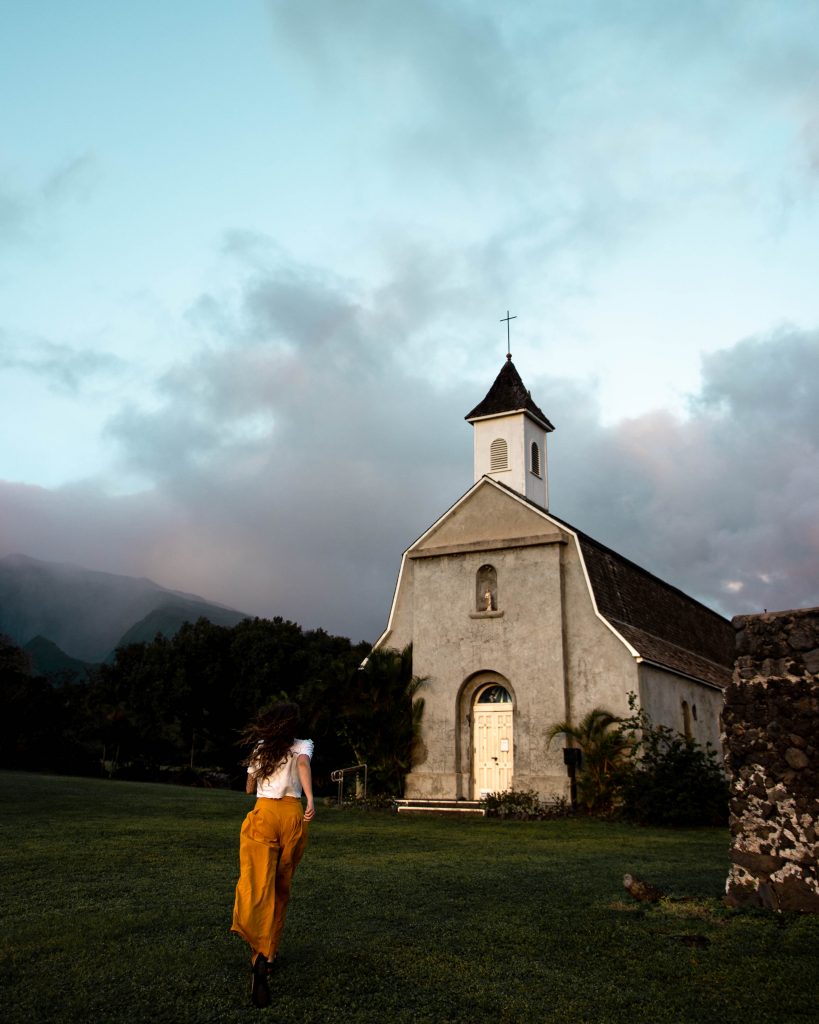
Again, one of the key ways to producing a high-quality travel photo is to evoke emotion and desire.
Running away from the camera toward an object in the photo will make the viewer want to run toward the view with you, and it creates an exciting feeling of FOMO (fear of missing out).
6. Run toward the camera.
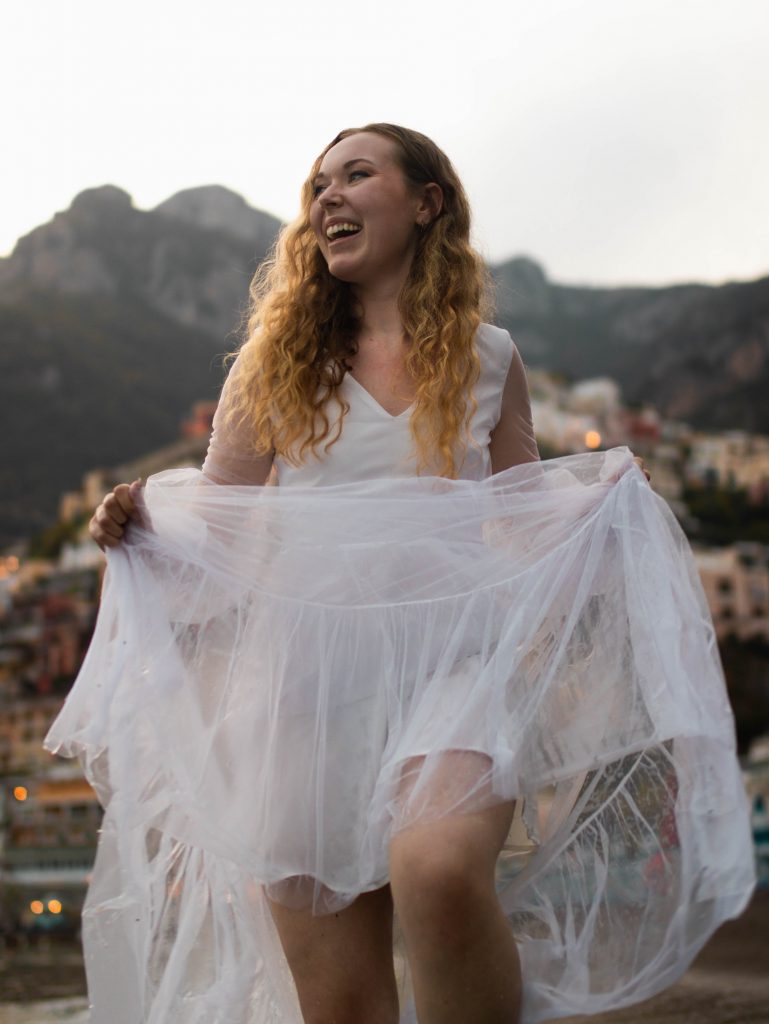
The previous rule applies here, too.
Running happily toward the camera leaves a cheerful and frolick-y impression on the viewer, which is exactly what us travelers feel when we’re at a new destination.
7. Face away at an angle and look back at the camera.
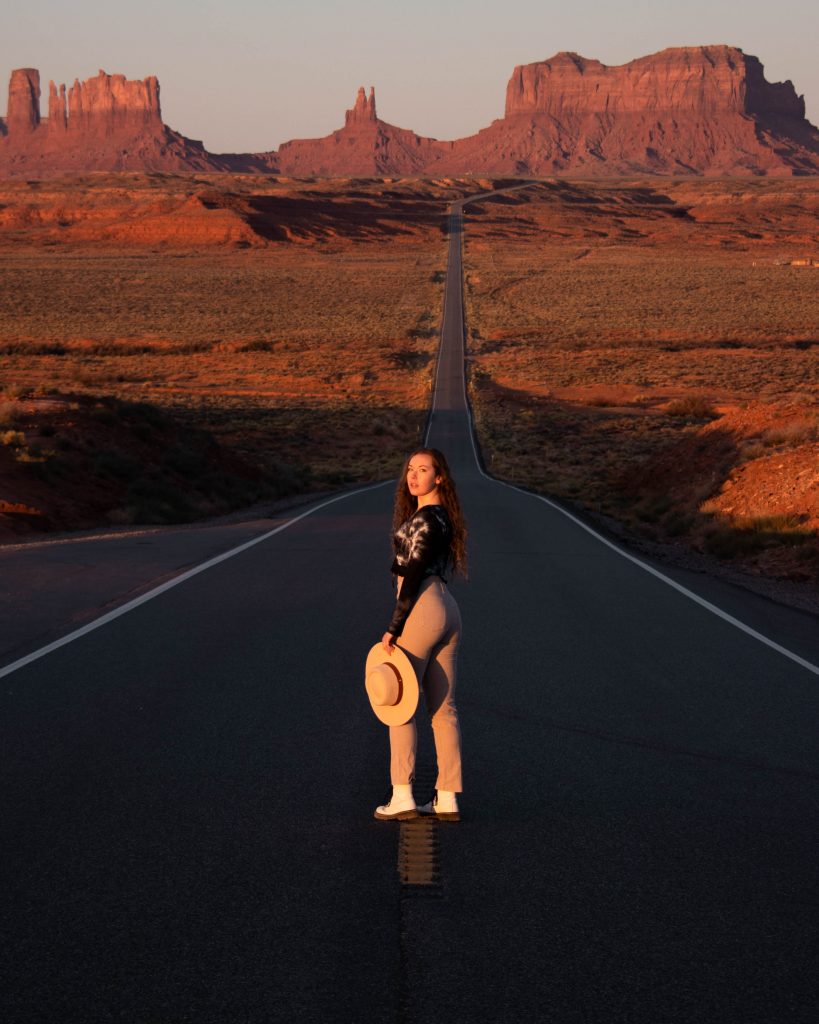
This is, hands down, one of the most flattering travel photo poses .
Plus, this is an excellent pose to use when there is nothing in the photo to sit or lean on.
Take this travel photo pose to the next level by holding a prop with your back arm, such as a hat, purse or beverage.
8. Face away and pop one leg.
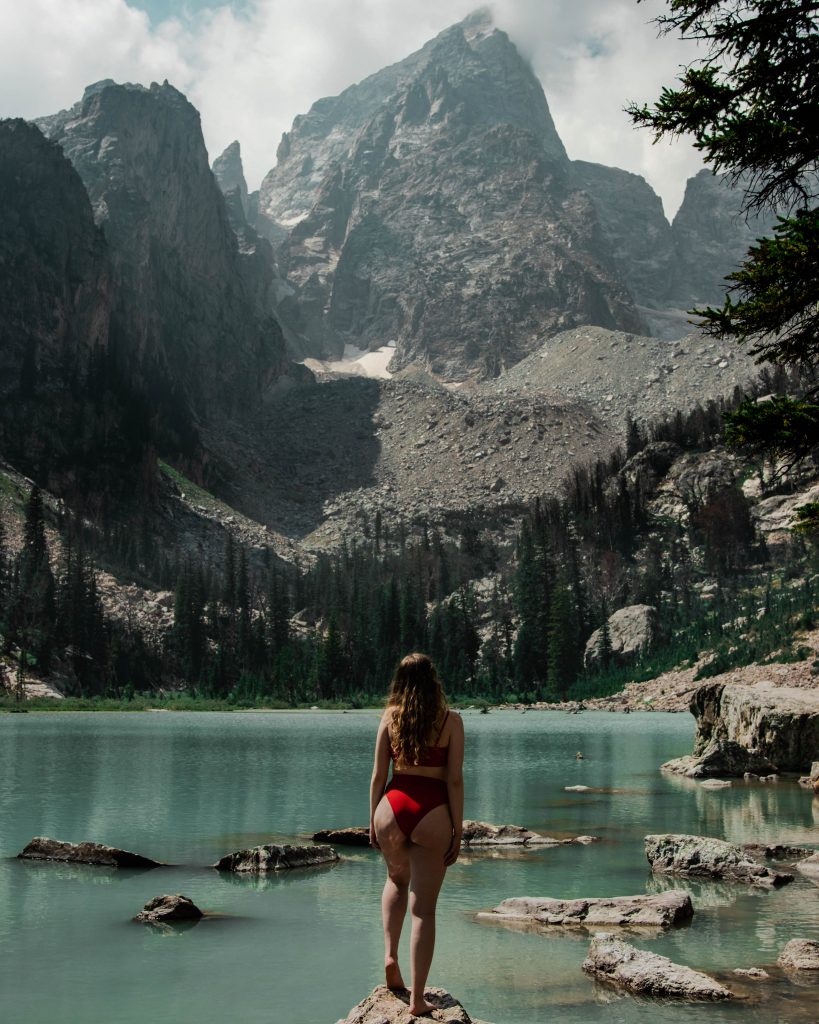
Facing the view with your back to the camera and one leg popped is another extremely flattering pose.
It simultaneously brings attention to both you and the view, without taking away from the view.
9. Look up and tilt your head back slightly.
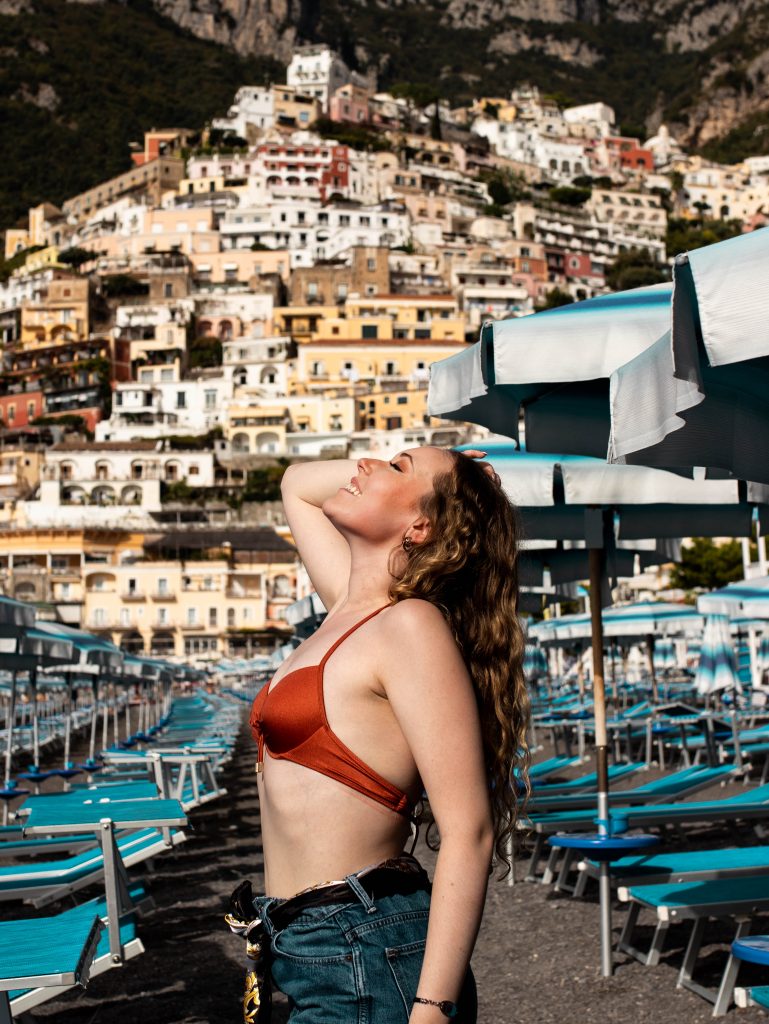
As previously mentioned, the goal with any travel photography is to evoke emotion.
Looking up and tilting your head back will evoke a sense of freedom, which many people feel — or desire to feel — while traveling. You can smile or keep a more serious facial expression here.
10. Focus on the background
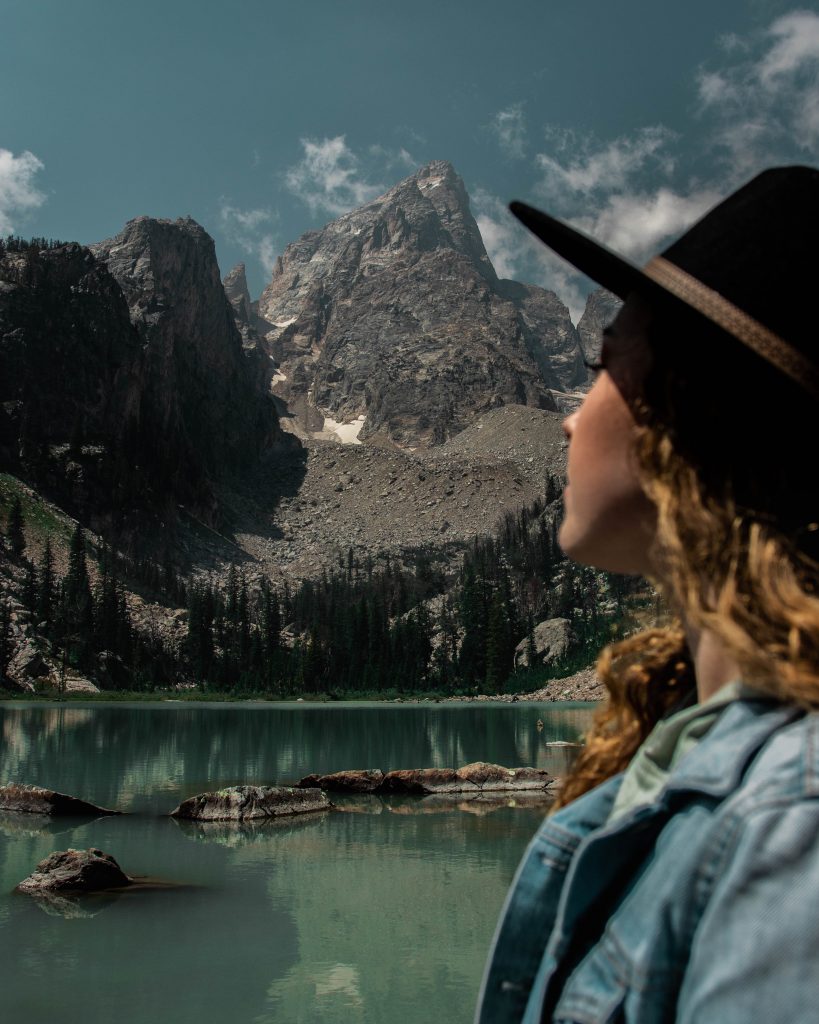
This “pose” is more of a camera trick than a physical pose, but I add it to the list, nonetheless.
Focusing on the view rather than the subject shows the viewer exactly what they would see if they were with you. If the viewer was at the location with you, and if you were standing slightly in front of them, you would be out of focus as they look directly at the view.
To get the most blur, you will need a camera lens with a low f-stop. I suggest getting one with an f-stop under 2.0, like the Sigma 28-35mm F1.8 that I used in the above photos.
11. Block the sun with your hand. (Poses For Travel Photos)
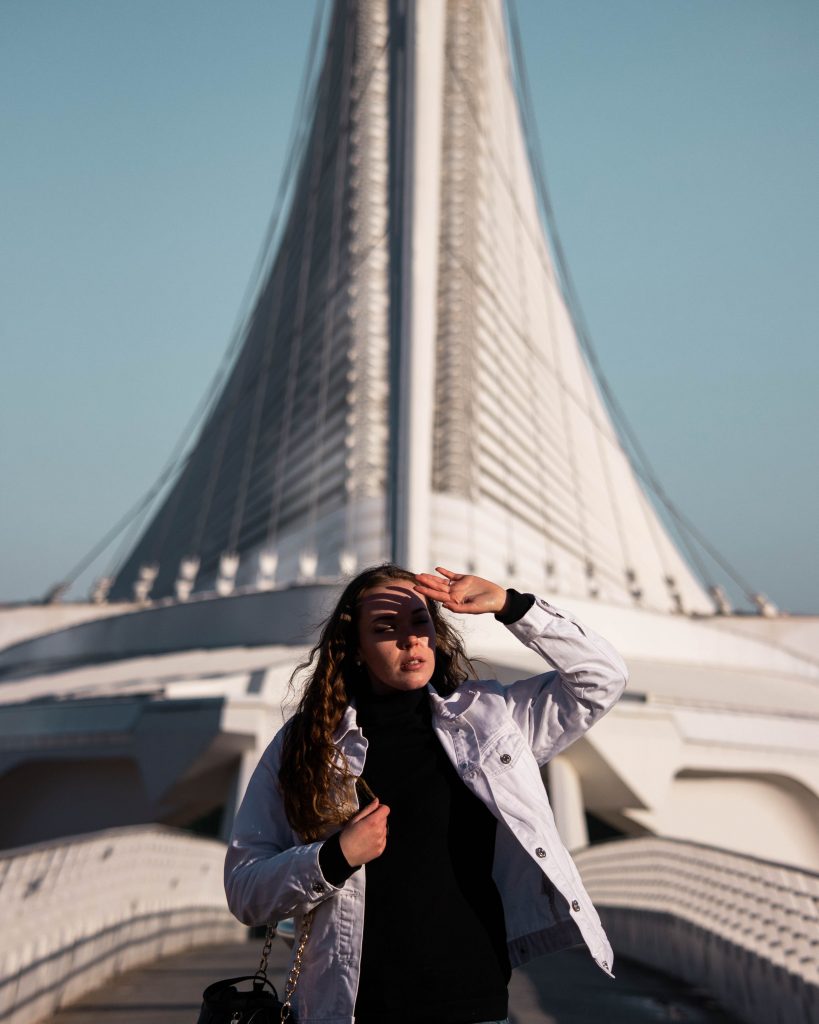
Kind of like the wind-and-hat situation, sometimes you actually need to block the sun out of your face .
Not only can this pose cast a unique shadow across your face for an extra element of pattern, but it also makes a seemingly perfect photo location look a bit more realistic.
12. Play the main character.
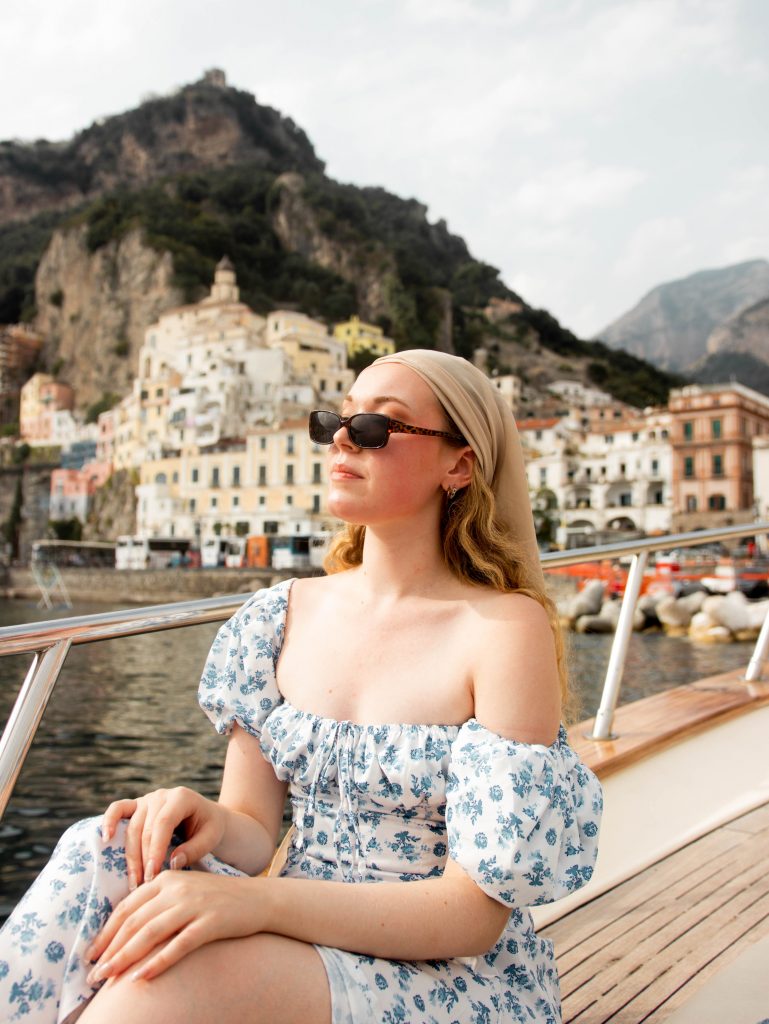
Indulge in a main character moment while you’re traveling.
Have fun and act sassy if it fits the style of the location.
13. Look up in awe. (Poses For Travel Photos)
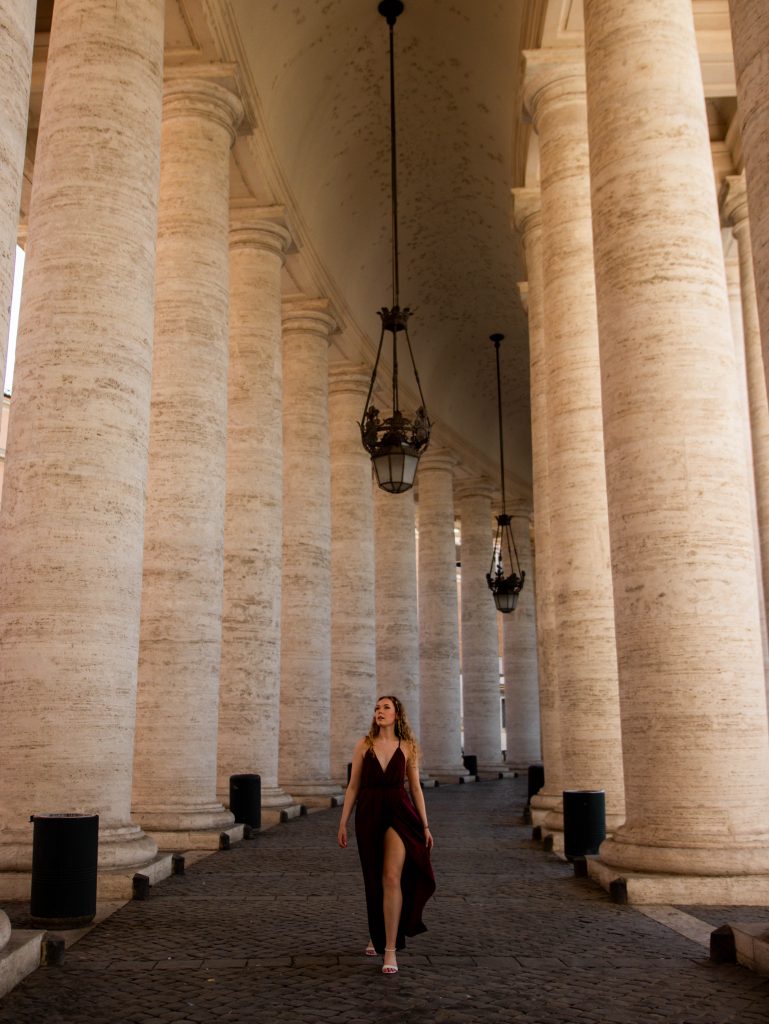
You know those moments when you go somewhere incredible and all you can do is look up and mutter, “Wow”? Try to reenact that feeling in your travel photos.
I especially love to use this travel photo pose in busy locations where I don’t want to look like a complete “influencer in the wild.” By looking up at the view like you would naturally anyway, you can sneak photos without bystanders even noticing that you’re posing.
14. Sit with your knees stacked.
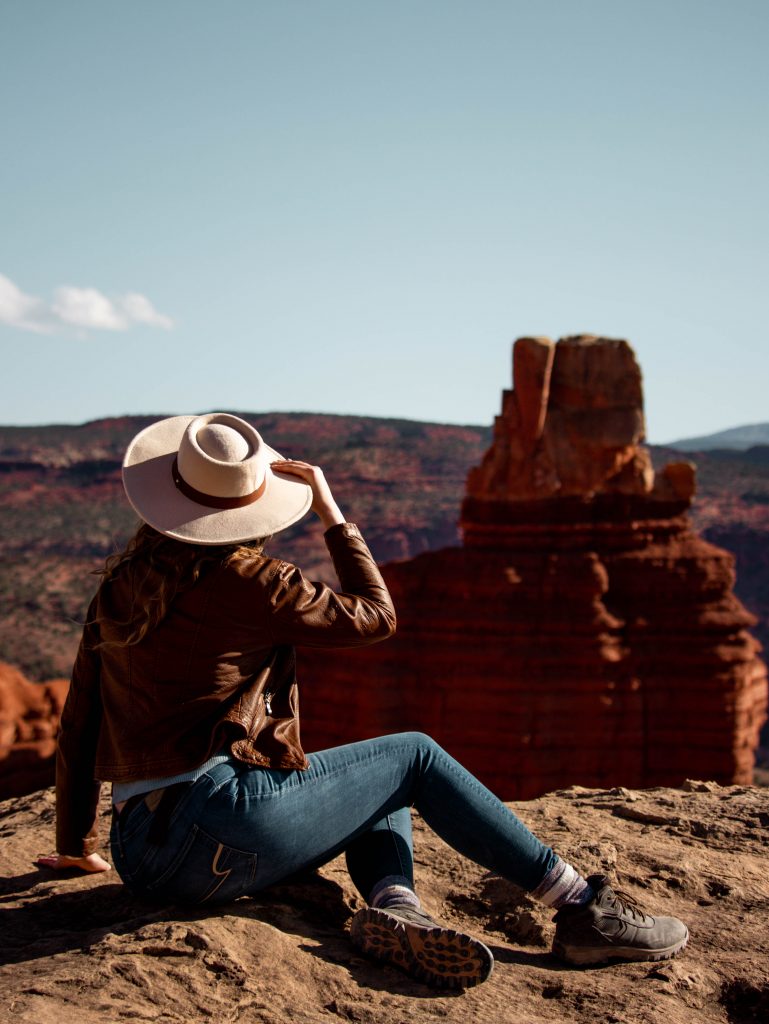
Posing while sitting can be tricky.
The best way to pose while sitting is to sit with your knees stacked on top of one another . This pose elongates your legs, forces you to sit up straight and prevents a potentially awkward crotch shot.
15. Rock back and forth for a fake walking shot. (Poses For Travel Photos)
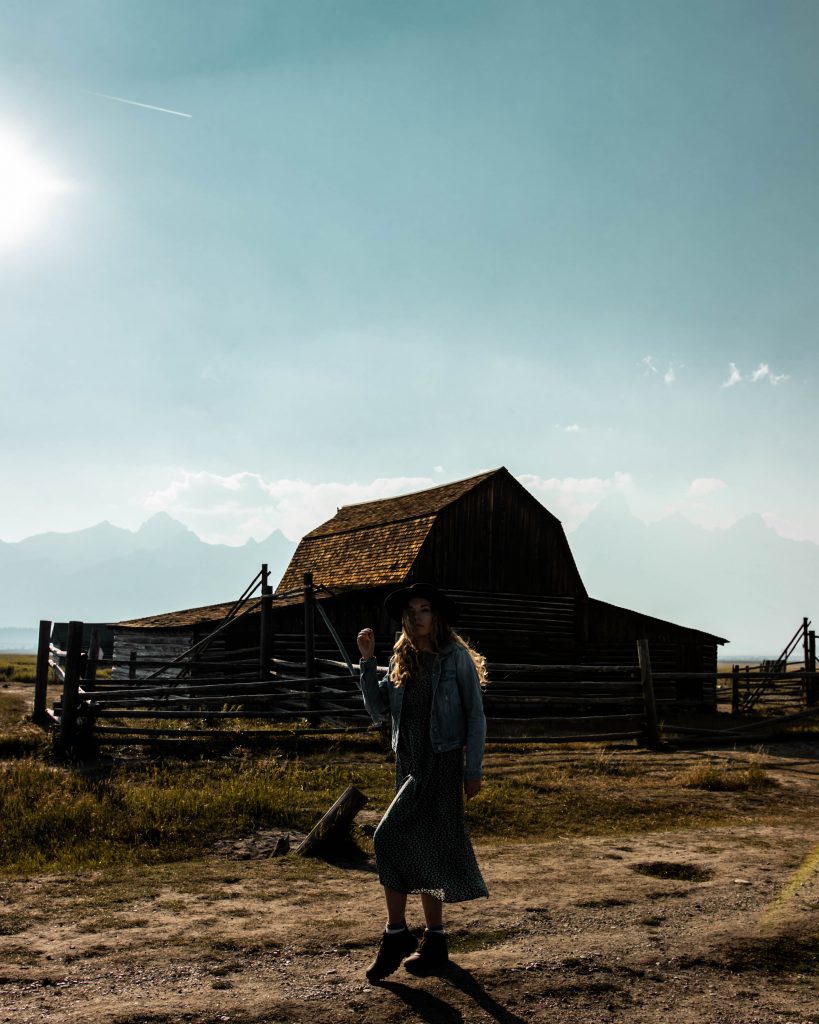
Would you ever guess that I wasn’t actually walking in the above photos? No? Exactly. I was just rocking back and forth!
Just like added emotion to a photo, adding motion is equally important for producing professional quality travel photos .
This posing hack comes in handy particularly when you want to stand in a specific spot of the photo frame but still want to add motion. Nobody will ever know you weren’t genuinely taking a stroll.
16. Face away and look down at an angle.
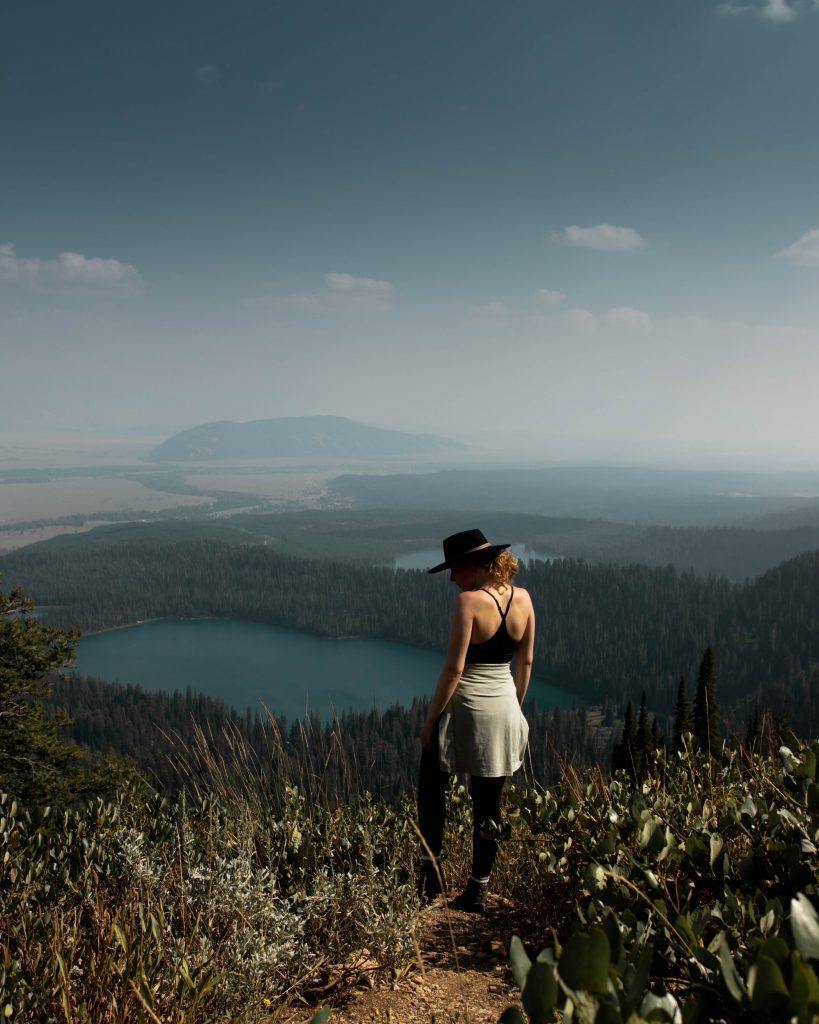
This simple pose for travel photos allows the view to speak for itself.
Its simplicity is physically flattering, and you can easily incorporate the triangle rule by popping one leg.
17. Throw your hands up. (Poses For Travel Photos)
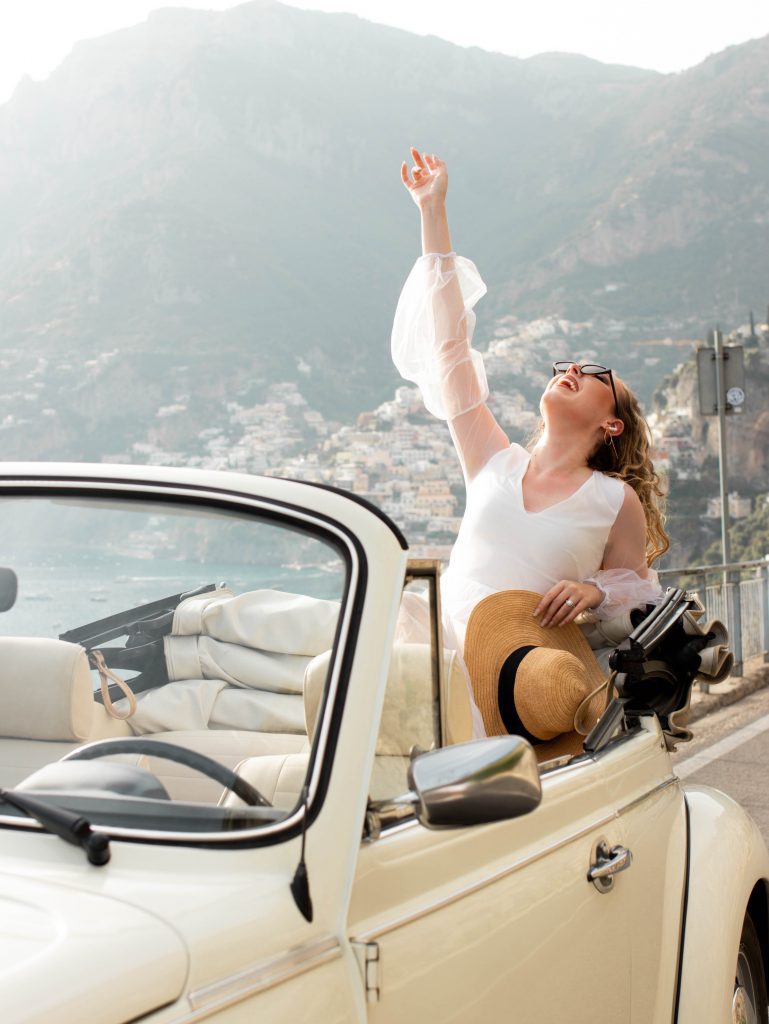
Throwing one hand (or both hands) up in the air will inspire the viewer to travel and feel as free as you did in that moment.
P.S. if you’re a peace sign addict, this is one pose where you can throw up a peace sign appropriately without looking like a tacky tourist.
18. Throw a jacket or purse over your shoulder.
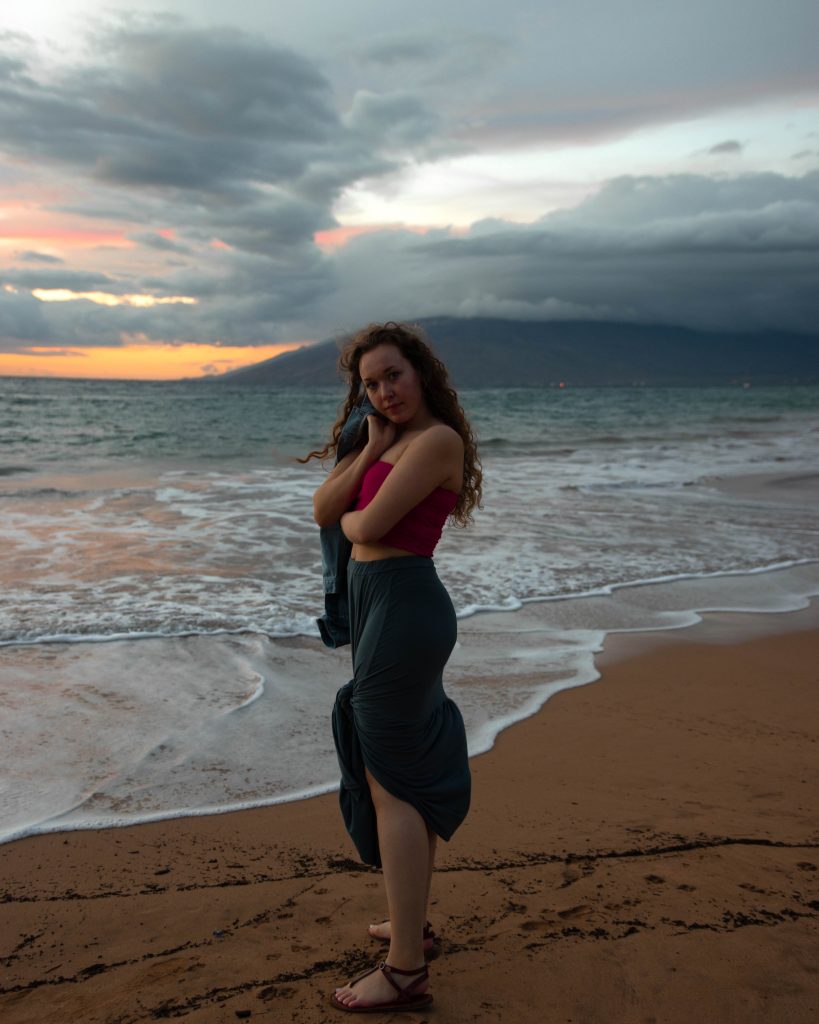
In you haven’t noticed, props are amazing when it comes to adding a little spice to your travel photos. Props can be as simple as your jacket, coat, sweatshirt, purse or scarf.
If you want an alternative way to hold your prop, throw it behind you over your shoulder.
19. Hold an object in front of you to add foreground. (Poses For Travel Photos)

A basic photography rule is to always have a defined foreground, middle ground and background whenever possible.
An obvious foreground, such as a foreground that is created when you hold an object slightly in front of you, can bring a lot of dimension to the photo, which is very pleasing to the eye.
20. Act like a drama queen.
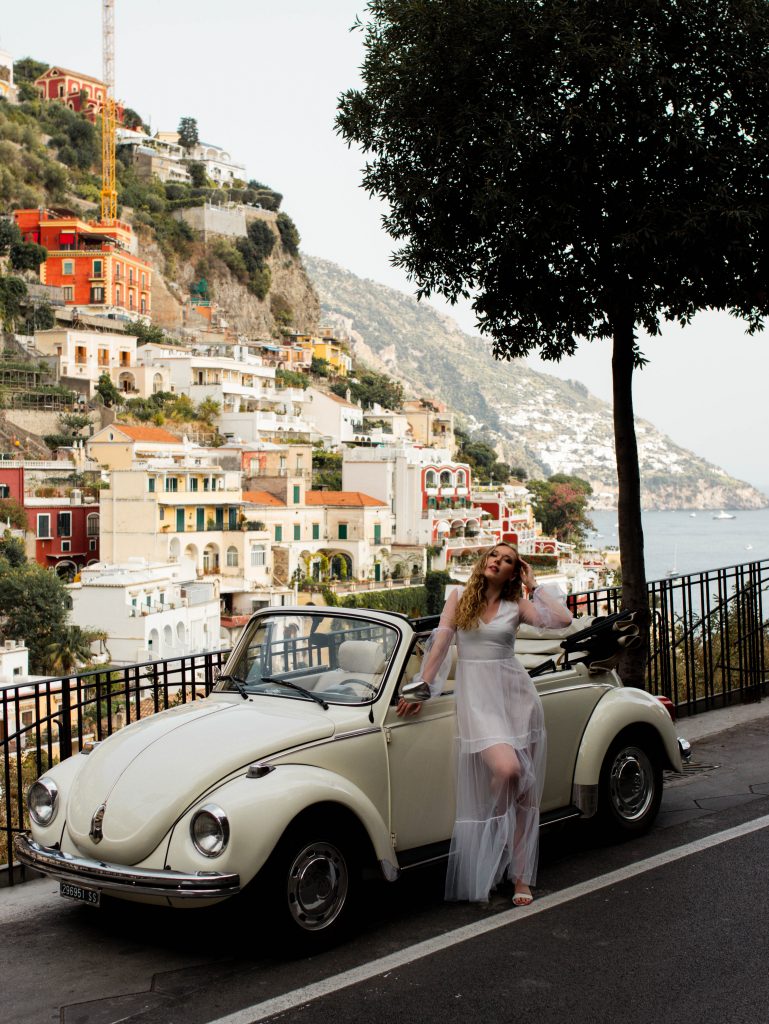
Embrace your inner influencer, act like a drama queen and just have fun with it.
Even though you may feel silly in the moment, especially if you’re in public, remember that the awkwardness lasts 30 seconds but the amazing travel photos you create will last your entire life .
Who cares what strangers think!
21. Hold food or a drink in your hand. (Poses For Travel Photos)

Food and drinks are super simple yet impactful props in travel photos. Why? Because cultural foods are a huge part of traveling to a new place. Demonstrate this part of traveling by incorporating the foods you eat (and drinks you drink) into your photos .
And, chances are, you’ll already be eating out on your trip anyway.
Bonus tip: food and drinks act as props that give you something to do with your hands .
22. Stand tall and proud.
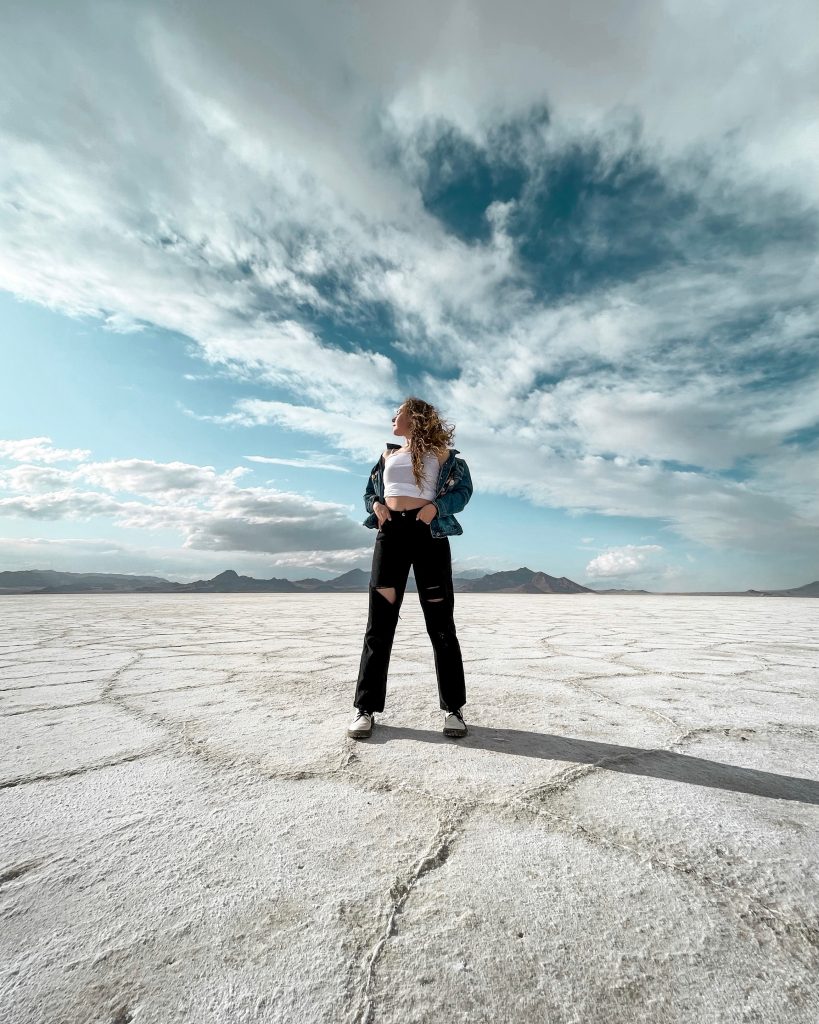
You don’t always need fancy camera equipment or stellar pose ideas to make a great photo.
This photo from the Bonneville Salt Flats was taken on an iPhone. All I did was stand tall and proud .
23. Hold or adjust your sunglasses. (Poses For Travel Photos)
Like hats and jackets, sunglasses make great props in travel photos as well. Adjust your sunnies to add a little attitude and pizzaz.
This pose also naturally adds a triangle shape with your arm(s), which, as you know by now, is one of the best ways to elevate any pose for travel pictures .
24. Get a bird’s eye view.
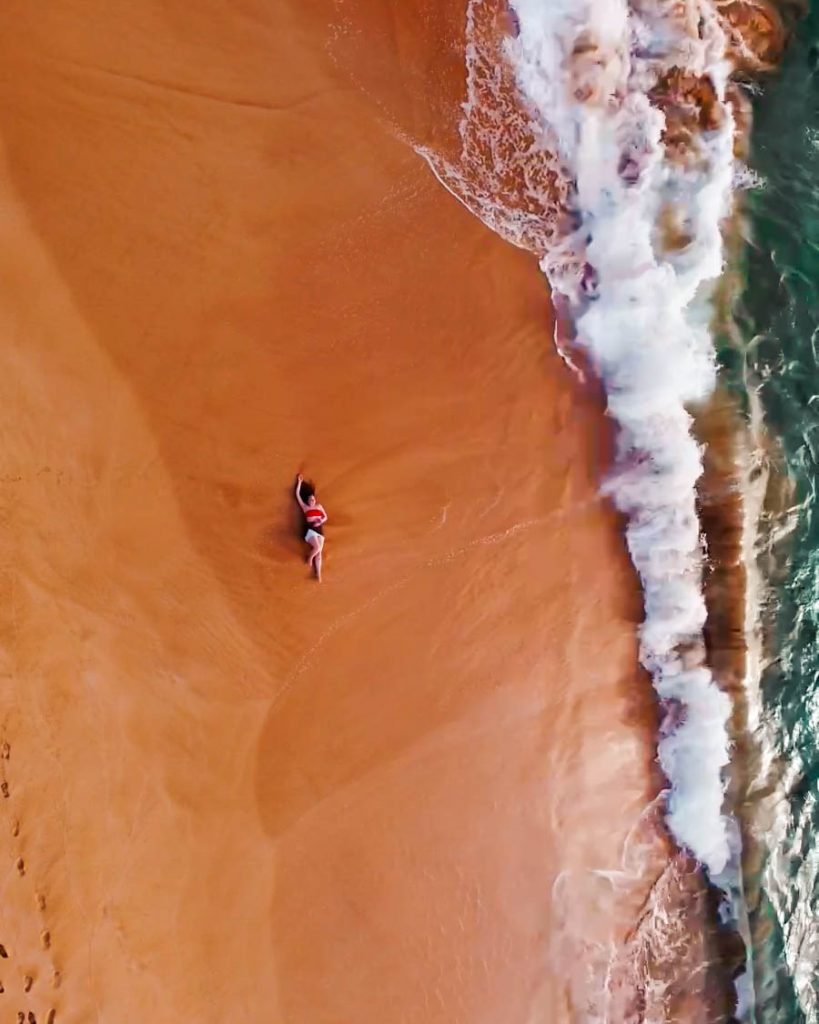
Disclaimer: yes, these are drone shots. But, you don’t always need a drone to catch a bird’s eye view.
Lay down on the ground and have a friend take a photo from above. A chair, ladder or ledge of some sort will get the job done and provide your viewers with a new visual perspective.
25. Grab your jacket collar or opening. (Poses For Travel Photos)
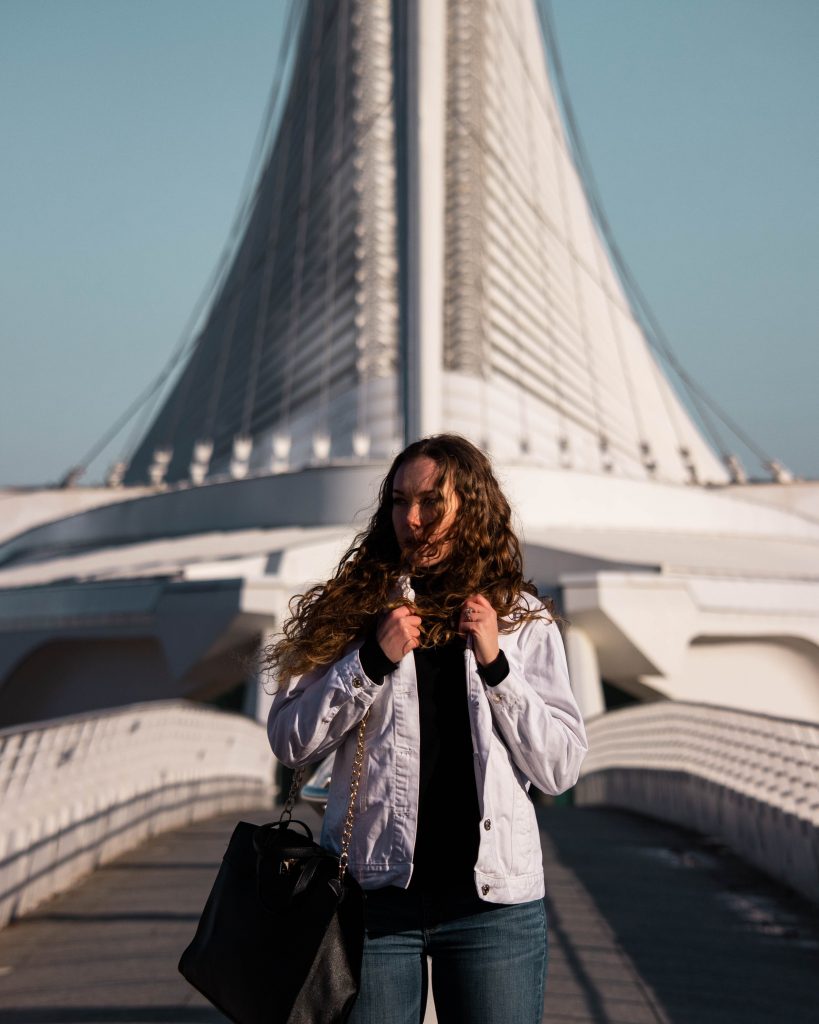
Lastly, acting like you’re going to button your jacket (or pop your collar) keeps your otherwise limp hands busy. Not to mention, it brings more life to the photo.
And that wraps up our 25 easy poses for travel photos . Which travel photo pose are you going to try? Be sure to follow me on Instagram and tag me in your posed photo for a chance to be featured on my Story .
More Tips For Travel Photos
15 Easy Beginner Tips To Elevate Your Travel Photography Beach Picture Ideas For Instagram You Need Now Cheap Travel Camera Gear For Better Photos 115 Travel Instagram Captions You Need To Copy

Save These Poses For Travel Photos
Save these poses for travel photos for easy access later by sharing to your socials.
- Share on Twitter Share on Twitter
- Share on Facebook Share on Facebook
- Share on Pinterest Share on Pinterest
- Share via Email Share via Email
About Indigo Sahara, M.A.
Indigo Sahara, M.A., is the founder and CEO of the Indigo Sahara travel blog. Since earning her master's degree in global leadership, she has traveled to more than 20 countries. Now, her goal is to make travel accessible to all by teaching others how to travel on a budget. She writes world travel guides and travel hacking tips weekly.
you’ll also love
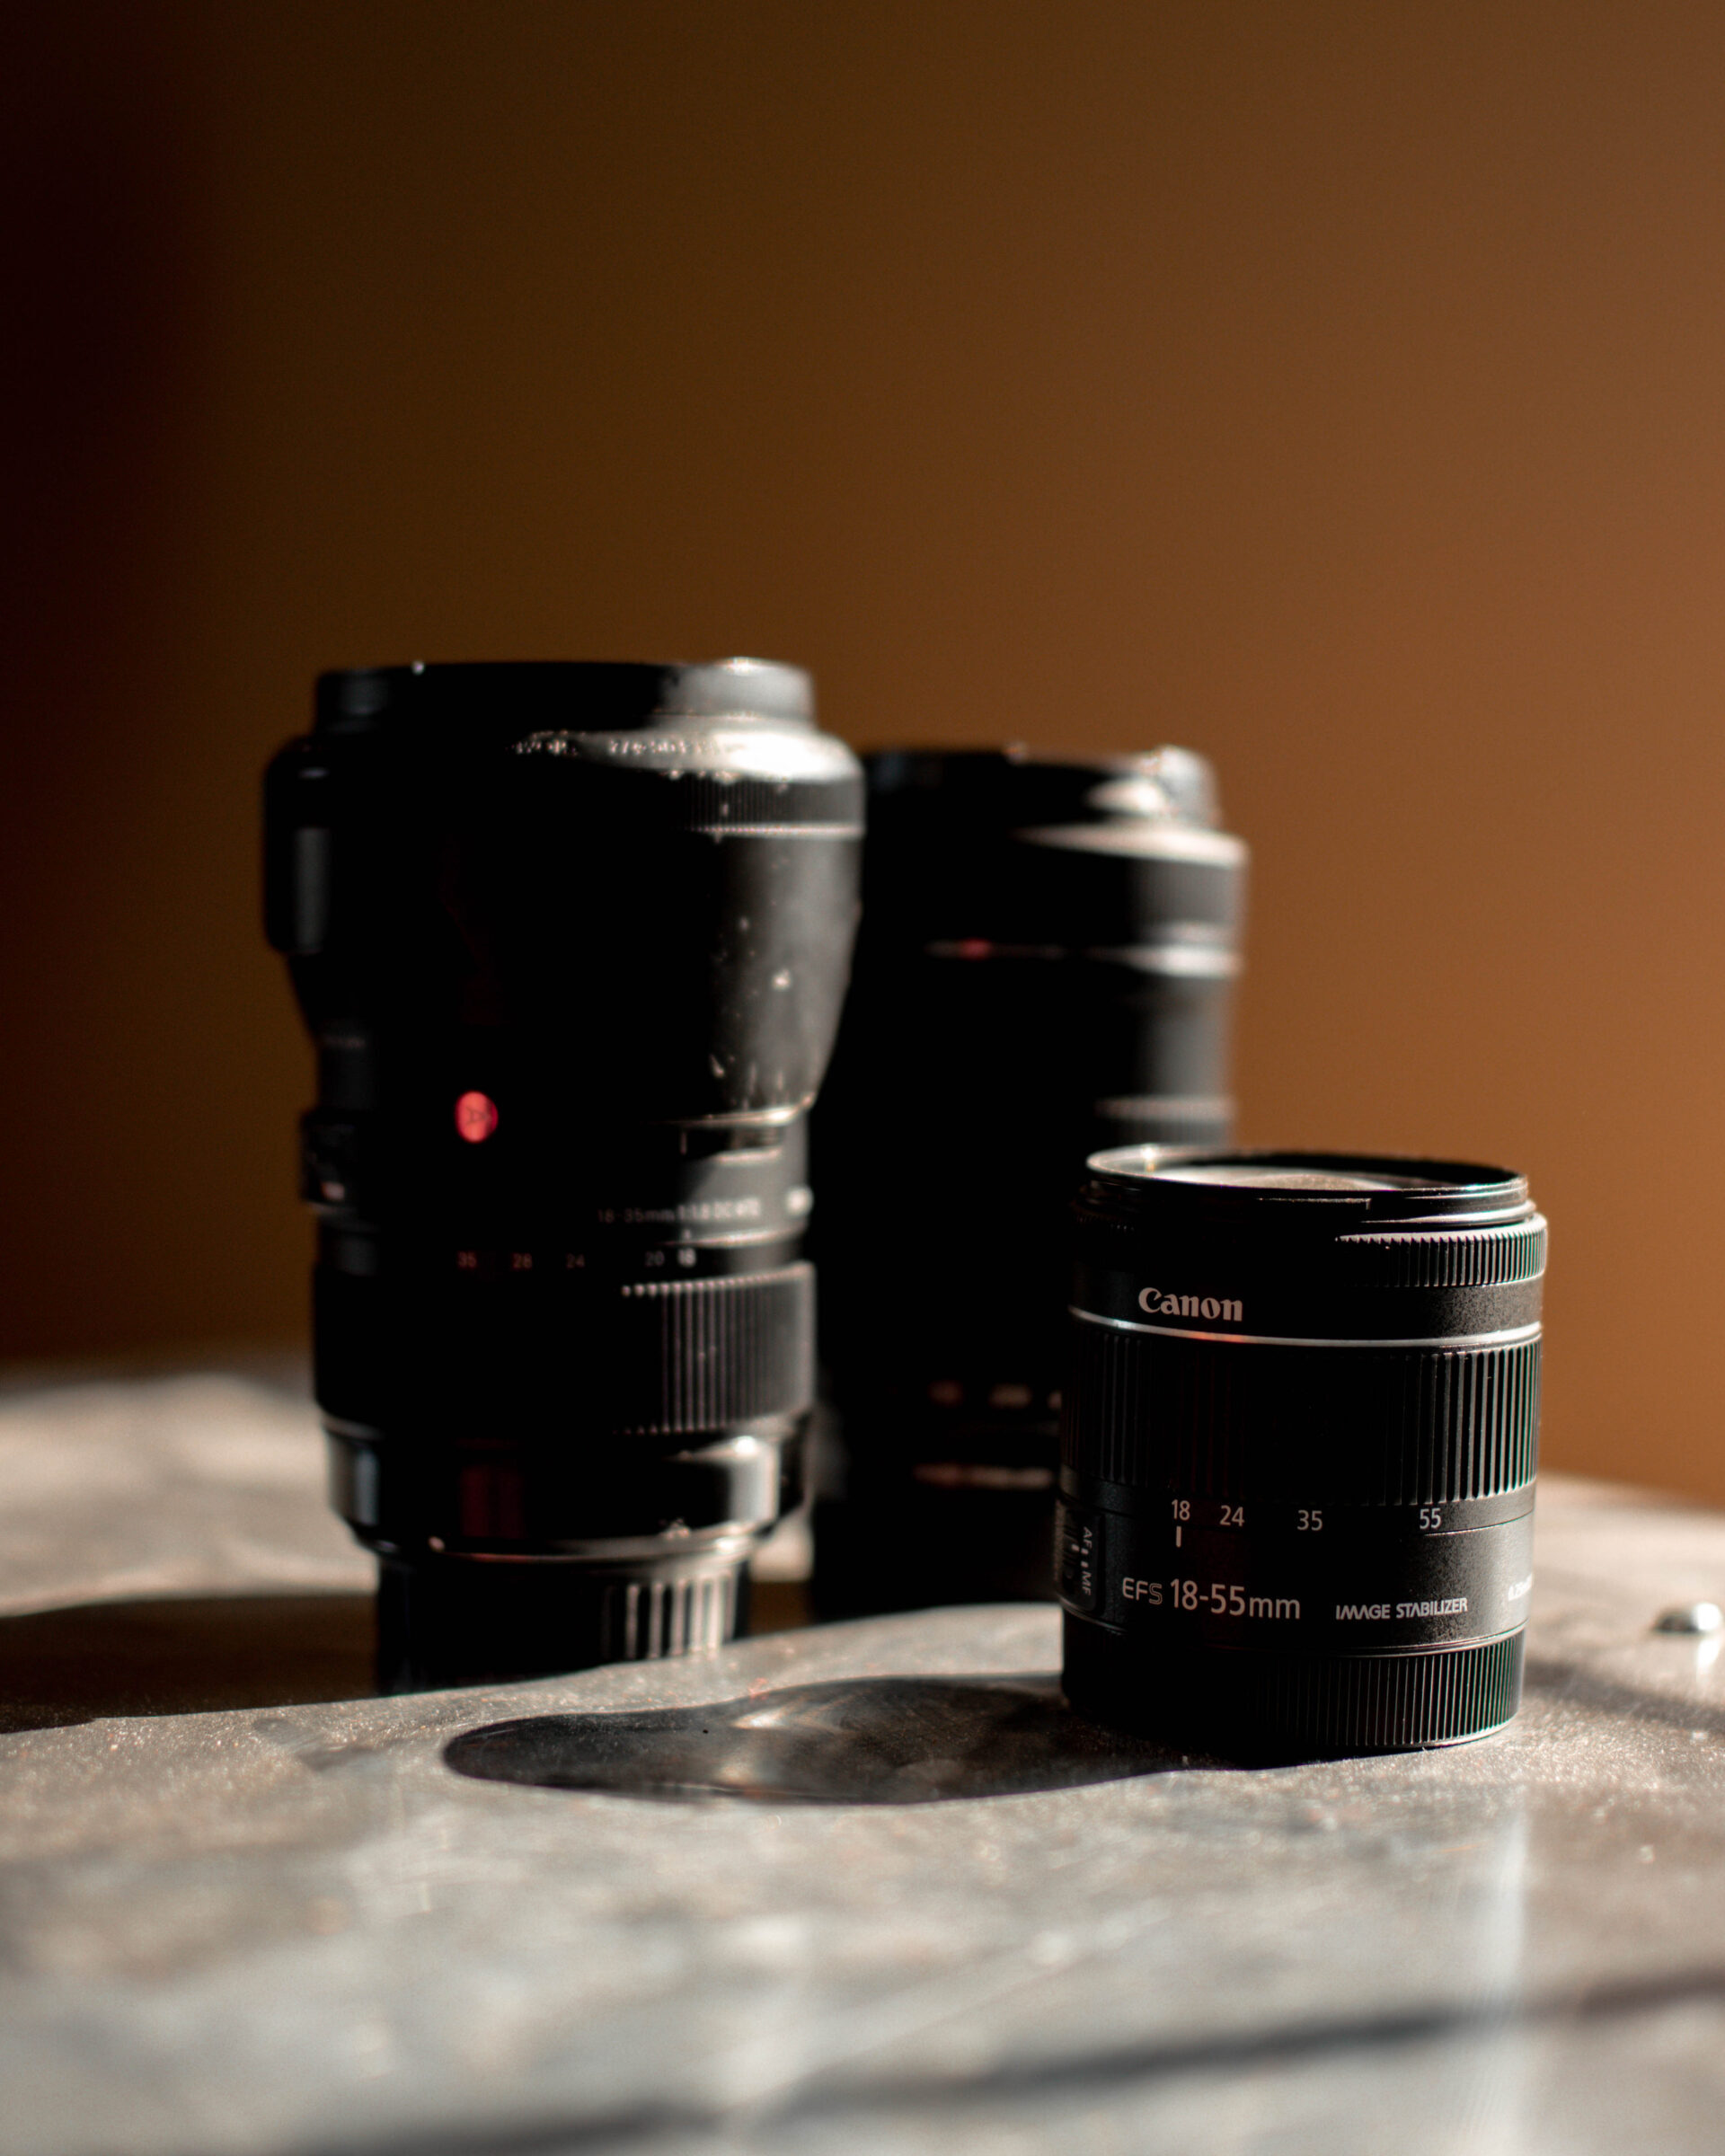
Get exclusive content.
Stay up-to-date & receive the latest travel guides and tips right to your inbox.
Reader Interactions
January 29, 2023 at 5:00 pm
Love these tips! Thanks for sharing!
January 31, 2023 at 4:39 pm
So glad you like them, Brianna!
[…] Learn a couple of poses for your travel photos. (Here are 25 easy poses for travel photos with examples!) […]
[…] I have an entire guide to the best Amalfi Coast Instagram spots, as well as travel photo tips for posing, beginner travel photography and the best budget travel camera […]
[…] In addition, if you need some pro tips on taking the best travel photos, I have an entire travel photography beginner guide, as well as guides on how to choose the best camera gear for travel, the best camera lenses for travel and even how to pose in travel photos. […]
[…] extra Chicago photo inspiration, I have an entire guide full of travel photo tips for posing, beginner travel photography and the best budget travel camera gear. Plus, […]
[…] Fall is, hands-down, one of the most beautiful times of year to take photos. There is no doubt that the changing colors and morning haze make perfectly photogenic landscapes. But, sometimes, it can be hard to come up with photo concepts and poses. […]
[…] you need some extra flying photography inspiration, I have numerous travel photo tip guides for posing, beginner travel photography and the best budget travel camera […]
[…] some extra Animal Kingdom photo inspiration, I have several guides with travel photo tips for posing, beginner travel photography and the best budget travel camera […]
[…] if you really want to elevate your Maui Instagram photos, check out my ultimate guide to posing for travel photos here as well as my beginner’s guide to travel photography […]
[…] if you need some couple photography inspiration, I have numerous travel photo tip guides for posing, beginner travel photography and the best budget travel camera […]
[…] if you need some extra travel photography inspiration, I have numerous travel photo tips for posing, beginner travel photography and the best budget travel camera […]
Leave a Reply Cancel reply
Your email address will not be published. Required fields are marked *
Save my name, email, and website in this browser for the next time I comment.
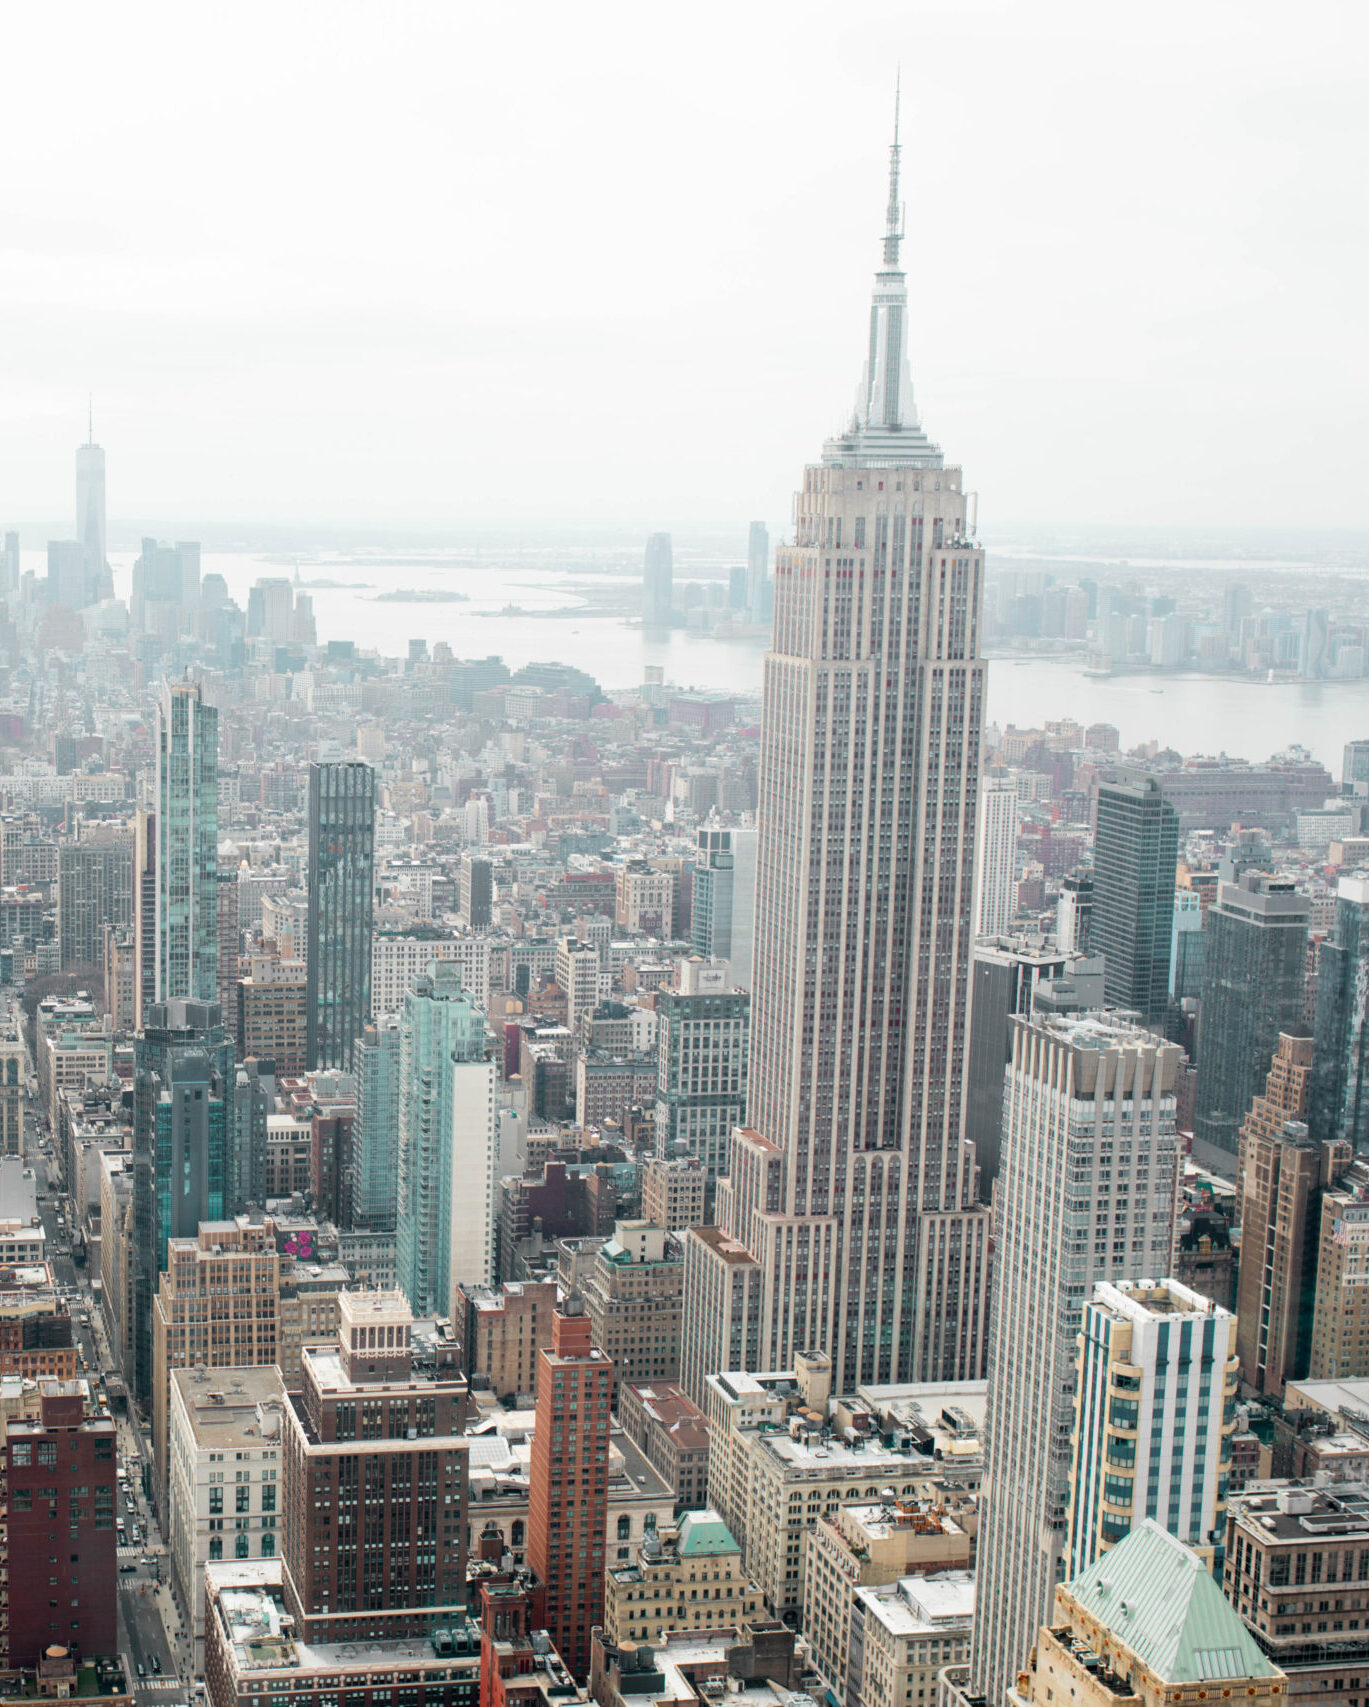
New York Song Captions For The Perfect Post
Follow on instagram.
@indigosahara

- Destinations
- Travel Tips
- Travel Essentials
- Travel Photography
- Camera Gear
- Work With Me
- Privacy Policy
- Refund And Returns Policy
stay in the know
Copyright Indigo Sahara © 2024 · Theme by 17th Avenue
- AI Generator
161,003 Simple Travel Stock Photos & High-Res Pictures
Browse 161,003 simple travel photos and images available, or search for luggage to find more great photos and pictures..


25 easy tips for stunning family travel photography
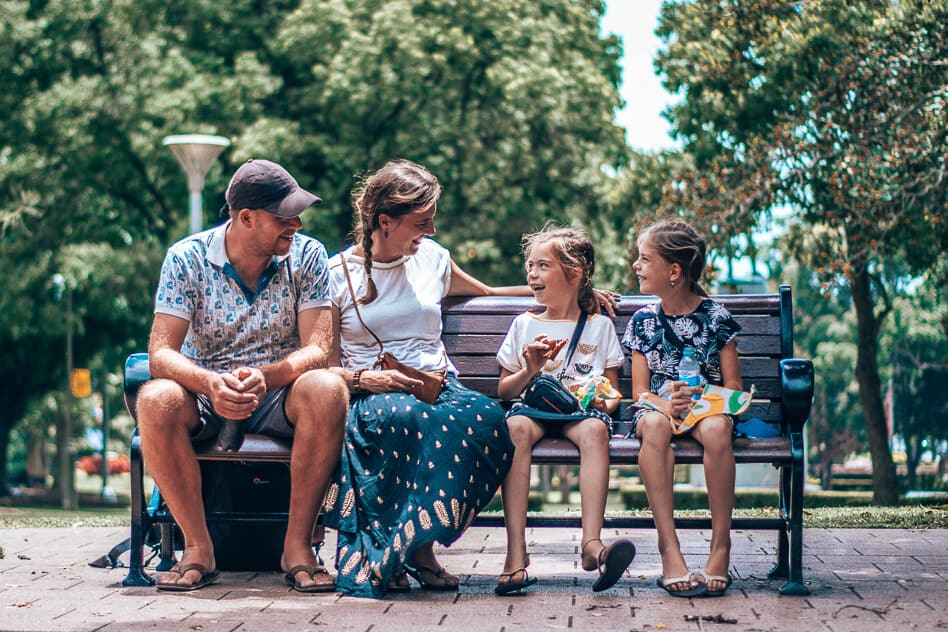
This post may contain affiliate links. If you make a purchase through one of these links, we may receive a commission at no extra cost to you. Please read our affiliate disclosure and privacy policy for more information
Table of Contents
Family photography ideas and Instagram tips for your next family vacation photos
Have you ever had the feeling your family vacation photos don’t end up the way you pictured them in your head (a lot of the time because the kids don’t cooperate)? They don’t represent the way your family felt at the moment or tell the story in the right way? Or do you want to improve your family travel photography to show it off on Instagram or Facebook as we do?
Taking amazing shots doesn’t have to be difficult. In this article, I’ll give you a lot of simple tips and tricks to up your game and take those family travel pictures you always dreamed of!
You don’t even need a fancy camera for most of them, the tips are always applicable!
To me, beautiful pictures are art. They tell a story, take you into the moment. They are the most precious souvenirs I take back home. Travel and photography are my passions, which is also the reason why I turned them into my business. I hope all of our photos will be amazing memories for our kids and ourselves, and that they will inspire other families to go out and explore with their own kids.
A family vacation is, first of all, a time to be together, be in the moment with your kids and partner. If you are like me, however, you also want beautiful shots that reflect the way you felt about your trip.
I once started without any knowledge about photography, picturing in my head all the stunning photos I would take during our trips and would frame onto our wall afterward. Unfortunately, that’s not what happened. I didn’t do it the right way to really let my pictures and family shine. I’m still not a professional, but over the years I learned a lot and gained much experience. Especially since we started to travel full time with our kids.
Read more: Our travel stories
And now it’s time to share all of my tips with you guys, so you can take the best pictures ever on your next family trip.
What camera gear to use for your family travel photography
The question most people ask us on our Instagram is which camera or lens we use during our travels .
Whatever you choose, don’t forget you’re traveling with kids. Think about your holiday, the trips you are planning, the activities you will do.
And of course, the kids you will bring along. You don’t want to travel with gear that is too heavy or takes up too much room in your backpack. Try to pack light. Sometimes it’s a difficult balance between the weight of your bag and the level of quality you want to achieve with your photography.
Read more: Our travel photography gear guide
Let’s dive into it.
1. Choose the right camera
First of all, a good picture doesn’t only rely on a professional camera. For an amazing shot, you both need the vision, experience, and material. If you have a DSLR camera but don’t know how to handle it, it’s useless.
You don’t have to spend a huge amount of money to take great family travel pictures. Once you get experienced though, you’ll slowly start to dream about the more expensive gear.
The tips in this article are useful for whichever phone or camera you use . I have taken some great shots with my iPhone 7plus.
If photography isn’t really your thing or maybe something you only practice occasionally, you might want to invest in a smartphone with an excellent camera. Top of the notch at the moment is the iPhone XS and iPhone 11 Pro , the Huawei P30 Pro , and the Samsung Galaxy S10 5G
That being said, once you get the hang of it, you’ll soon meet the limitations of smartphones. For example, low light performance and the possibilities for editing are really limited.
I can highly recommend you to buy a DSLR or mirrorless camera with interchangeable lenses if you want to shine in family travel photography. You won’t regret it!
Make sure you learn how to work with your camera . Don’t shoot in automatic. Take a basic photography course and learn to shoot in manual. Master the triangle of ISO, aperture (F), and shutter time (S). It’s not that hard, you just need to practice a lot!
Download your FREE manual photography cheat sheet & discover OUR PHOTOGRAPHY E-BOOK
Want to learn how to take travel pictures that tell a story? How to use the manual mode of your camera? And how to use these pictures to grow your social media or business?
Our online photography e-book and course will launch soon!
Download our FREE printable manual photography cheat sheets now to learn what terminology and settings to use and be the first to know about the launch of our course with an early-bird discount!!
We’ll launch our course both in English and in Dutch. Let us know below which language interests you.
Thank you and welcome to the tribe!
You can download your FREE manual photography cheat sheet HERE .
Have fun with manual photography!
For travel, mirrorless cameras are a fantastic alternative to the classic DSLR. They also have high-quality and interchangeable lenses.
But they don’t have a mirror, which means they are smaller (ideal for a travel backpack) and make less noise. Great for taking candid shots of your kids without them noticing.
My favorite mirrorless camera for smaller budgets is the Sony A6000, which we have. In my opinion, it is one of the cameras that offer the best value for money and is a great starter’s camera! You could also look into its successors such as the Sony A6300 and Sony A6500.
If you want to go more professional, the full-frame Sony A7 series is the way to go. Our next camera will be the Sony A7R Mark III or its successor Sony A7R Mark IV if I really want to go wild!
I’m a Sony photographer, but for Nikon people, I can recommend the Nikon D850 and for Canon lovers the Canon EOS 5D Mark IV . Both are full-frame DSLR cameras.
2. Take the right lens along
Another big thing to consider is which lens to use for family travel photography on your mirrorless or DSLR camera. Personally, I love family travel pictures where my kids or family are in focus and the background is blurry (which you achieve by opening up the aperture and having a lower f-number).
Either that or a stunning wide-angle landscape picture with or without my family in it, where everything is in focus.
When traveling, you don’t have the luxury to take many different lenses , mainly because you also have to carry all that stuff for your kids. That, and your children won’t have the patience to wait until you have changed your lens for the perfect shot. So the difficult thing to decide is which lenses to bring that will cover most of your wishes.
One of my favorite lenses is a prime lens . You can’t zoom so you will have to use your feet to go closer or further away. But the image quality is often better, they are small (ideal for travel) and are quite affordable, even if you want to have a low aperture such as f1,8 (which will give you that amazing blurry background).
I use a Sony FE 50mm f1,8 , ideal for a lower budget. But the Sony E 35mm f1,8 is on my list because it will allow me to take more wide-angle shots. I have to admit, for budget reasons, I often take pictures with my basic kit lens too, which is the Sony FE 16-50 mm f3,5 – 5,6 . It does what it has to, but not more than that.
The real lens that can’t miss in your travel bag, is a zoom lens in the 20 – 70 mm range . This will give you all the possibilities you want for family travel photography without having to change your lenses all the time. There are different kinds, but the one on my list is the Sony FE 24-70mm f2,8 , which is quite costly but the best lens on the market in its range.
3. Invest in some photography accessories
If you have any money left, some accessories are really handy or even unmissable if you want to make amazing family travel pictures.
First of all, the tripod . You may have noticed we often take pictures with all four of us. Although I love the pictures of my kids, the pictures that go on our wall are often those with the four of us. I could ask a random person to take the shot, but more often than not, the picture doesn’t turn out the way I want it. We either have no feet, aren’t close enough in the shot, or even worse, aren’t in focus.
The tripods we recommend for your camera and have ourselves are the Manfrotto Compact Light Tripods . Another great accessory is a Gorilla Tripod , either for your camera or smartphone. With its flexible legs, you can put it up anywhere!
How recognizable is this to you? You set up your camera on self-timer, press the button, have to run towards your family and a nice stranger is standing there having fun.
Buy a remote , and you won’t have that problem anymore. Works great too if you want your kids to be more natural because they forget you are actually taking pictures. Every brand has its own specific remotes so research which one is best for your camera.
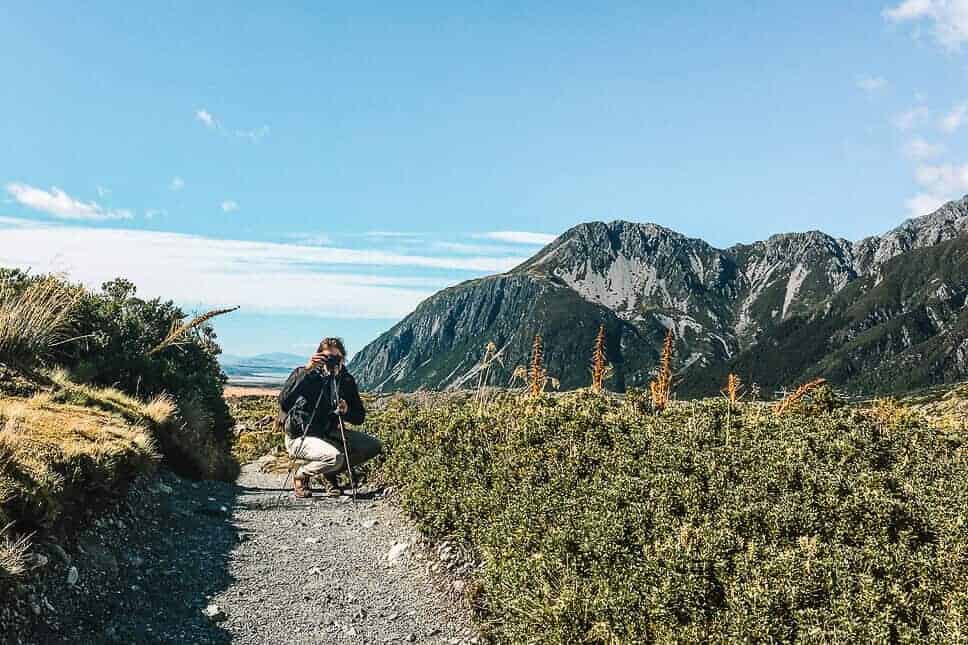
Prepare yourself
4. practice with your camera before you go.
You are ready to get more serious about your family travel photography and you have bought yourself a DSLR or mirrorless camera. And there you are, at this iconic place, the kids are all lined up and the magic doesn’t happen.
You take a picture and it doesn’t come out the way you want it. So you start adjusting some settings, but by then the moment has passed. You have one annoyed partner and the kids are on the loose.
The solution: practice, practice, practice!
Trust me, I’ve been there! I only started shooting with my DSLR a couple of years ago and had to learn a lot. I am not even a professional right now, but I did gain a lot of experience. If you really want to master your camera, take a small course on how to use it. Or watch lots of Youtube videos . Because who wants to read the manual after all.
A great other tip is to use a cheat sheet , which contains the best settings for different kinds of situations. In the beginning, you will need it, but after a while, you’ll get so familiar with your camera and certain situations it will all come naturally.
5. Look for inspiration for your family vacation pictures
Although I do believe in impulsive and in-the-moment shots, I always do research about a place before we head off to explore. It inspires me and gives me tips on great spots I might otherwise miss.
And because you travel with kids, you don’t have the luxury like other photographers to take a shot over and over again or walk around for hours until you find the perfect angle.
I mainly use Pinterest and Instagram to find my inspiration for a destination. On Instagram, go to the search option and either look for the location or use hashtags in the top section (not most recent).
Hashtags that always work well are the official hashtags of a tourism board, often starting with #visit, for example, #visitscotland. The more specific your search, the better the examples will be. If you are in Kuala Lumpur, you could search for #kualalumpur, but you will get better results for #petronastowers or #batucaves which are specific highlights.
Check out our Instagram for more family travel pictures.
Read more : 50 travel families to follow on Instagram
These family travel pictures, for example, were created based on the inspiration I gained from Instagram. The left one is the Burg Eltz castle in Germany. We stayed in Cochem, but without Instagram, I would have never known this castle existed and was so close by. The drone shot on the right also was inspired by some other shots I saw on Instagram.
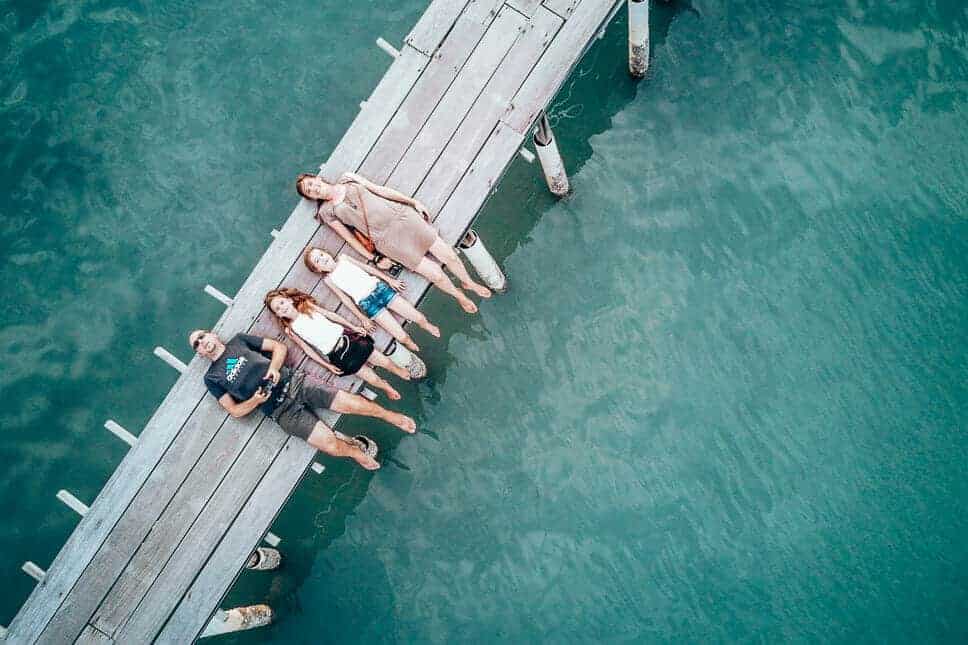
On Pinterest, type ‘Best Instagram spots in your destination’ , ‘Most Instagrammable spots in your destination or ‘Best photo spots in your destination ‘. Browse for a while and you’ll most definitely find a lot of ideas. Follow our Pinterest to get more family travel and travel photography-related tips.
Just one short note, this inspiration will give you ideas or a different perspective on a certain destination. Maybe show you some hidden spots you otherwise wouldn’t have found. But please, also go away from the typical Instagrammable places .
Go wander and discover your own magical spots when you’re there! Don’t forget to just enjoy the moment and capture your kids while they are having fun.
6. Communicate the idea with your family
You’ve done your research, have some stunning pictures in your head, but forgot to tell the rest of the family about it. The result: a cranky husband because he thinks it’s time to go or kids who don’t want to cooperate anymore. Or even worse, you were planning to go to a spot by sunset and it doesn’t fit in the family planning anymore.
The solution: talk to each other ! I used to make those mistakes too, but now I show my inspiration to the rest of my family. Which often inspires them too or at least they see what the goal is.
And they clearly know that after those shots, it’s time again for some regular old-school family fun! Can’t promise I’ll put away the camera then though, cause I also like those candid shots of my kids having fun!
If you want a shot of yourself with the kids, help your partner . Take a few test shots to show what you want, how it should be framed, what the whole idea is. And most of all be patient!
Your partner will learn too, but you can’t expect him/her to immediately have the same vision or know all the tricks.
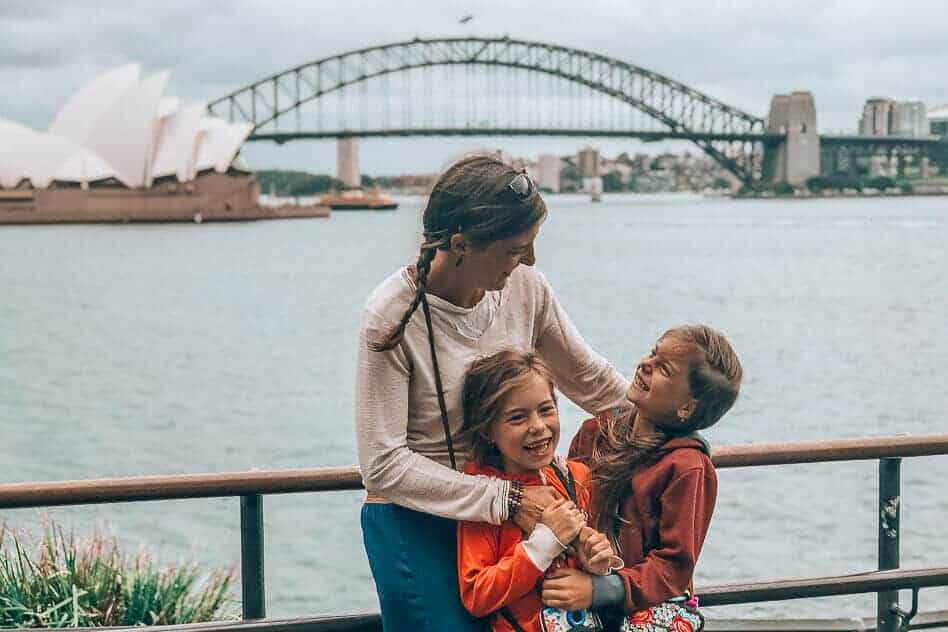
Composition
7. frame your picture correctly.
One of the basic principles of photography composition is the rule of thirds
The basic principle is you divide a picture into three, both horizontally and vertically. This will create 4 lines and 4 intersection points.
The general rule is you don’t center your main subject in a picture, but you place it on one of those intersection points. If you couldn’t frame it correctly when taking the shot, no worries. It’s something you also can adjust afterward by cropping your picture in the right way during editing.
It will make your pictures much more interesting and appealing to the eye! This doesn’t mean you always have to apply this rule (for example in a shot where symmetry is important), but most of the time your picture will be more balanced that way. It has to do with the natural way the eye and brain look at a photo.
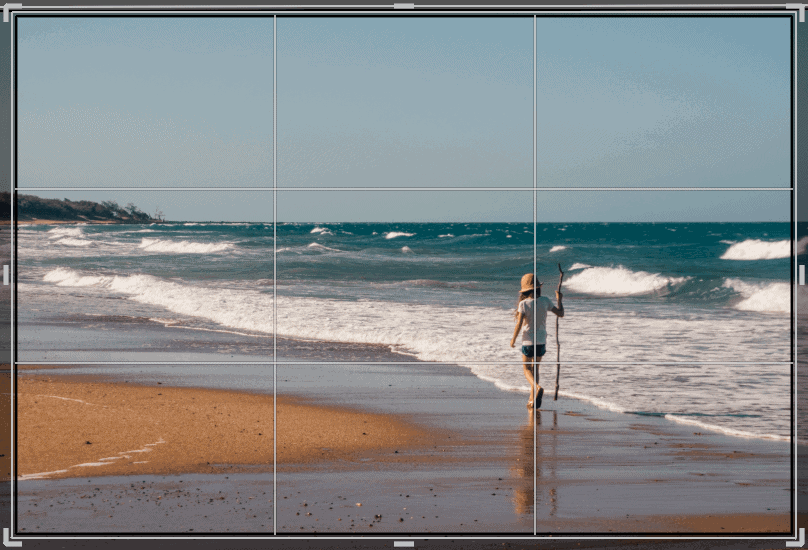
Another thing that makes a composition interesting is choosing symmetry, lines, or frames . By using train tracks, symmetric lines in buildings, doors, windows, … you’ll create a whole other dimension to your picture.
And then there is one more thing. You can go portrait such as a close-up or waist up. Or you take a wide shot with attention to the background. But if you go wide, don’t lose parts of the body such as hands or feet .
You can always crop afterward, but if you forgot to take the feet in the original picture, they are lost. Another reason why I don’t like to ask strangers to take pictures of us.
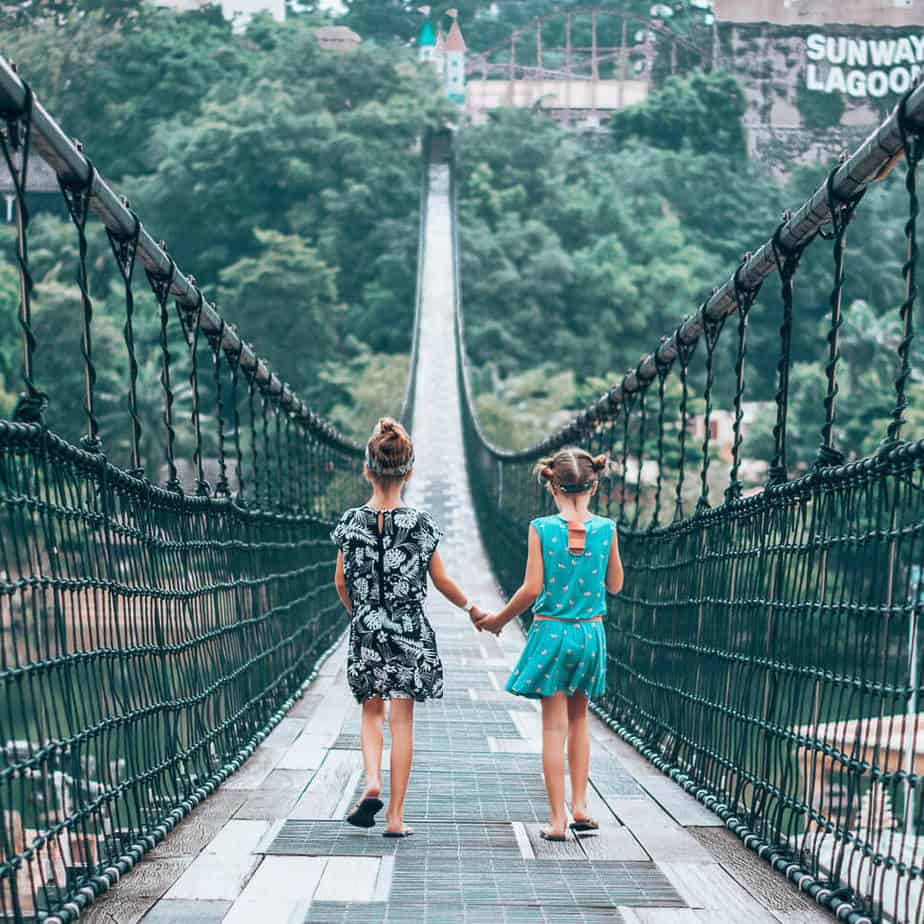
8. Be selective
Be very critical when it comes to deciding what should be in your shot and what should be excluded. For example, you can take an amazing shot with the perfect background but that red trash can or ugly car takes away all the intention.
Maybe if you move a bit to the right when taking the picture, it’s not in the frame anymore and you have the perfect shot!
Think about the story you want to tell with your family vacation pictures! You might want to show how beautiful the scenery is, with your family enjoying it. Here you have to choose a wide-angle shot.
Or you want to tell how much fun your kids are having. Then you should choose a close-up and don’t let the surroundings distract from this lovely moment. Try to think about what your story is and which elements therefore need to be in your picture.
9. Use different perspectives and angles
To make your family travel pictures interesting, try different things. Go level with your kids to really capture the moment. Try a top-down perspective or go low and shoot up . People have often been laughing because I’m laying flat down in the dirt capturing my kids.
By using different perspectives and angles, you’ll draw people into your picture. Because that’s what amazing photography is about. You want to recreate the moment and the atmosphere for people looking at your picture. Pass on the magic you felt there!
Be creative, try something else!
Try to play with your camera settings, for example, choose a long shutter speed if you want movement in your shot.
A big thing in photography is shooting pictures in the perfect light . For me, this is one of the most difficult things in family travel photography. Chasing the perfect light is so much easier for solo or couple-travelers!
10. Use the golden hour
You’ve probably heard about it before, the golden hour. It’s that timing right after sunrise or before sunset when the light is magical. The perfect timing to shoot family travel pictures. The light is soft, there are no harsh shadows and you’ll have beautiful colors. But oh that’s right! Do we have kids?
The annoying part is that sunrise often is quite late, so by the time the lightning is perfect, the kids are cranky or even in bed already. The solution: shoot during wintertime, travel to countries around the equator such as South East Asia, or get up early.
11. Get up early
Most kids are up early anyway, so why not take advantage of that and go out. During and immediately after sunrise, the lightning is beautiful . Although it’s not realistic to want this every morning, plan to get up early on two or more occasions when you are traveling
Another benefit is you’ll avoid the crowds in popular places or big cities! Which is great for your pictures but also so much easier to control the kids and let them play.
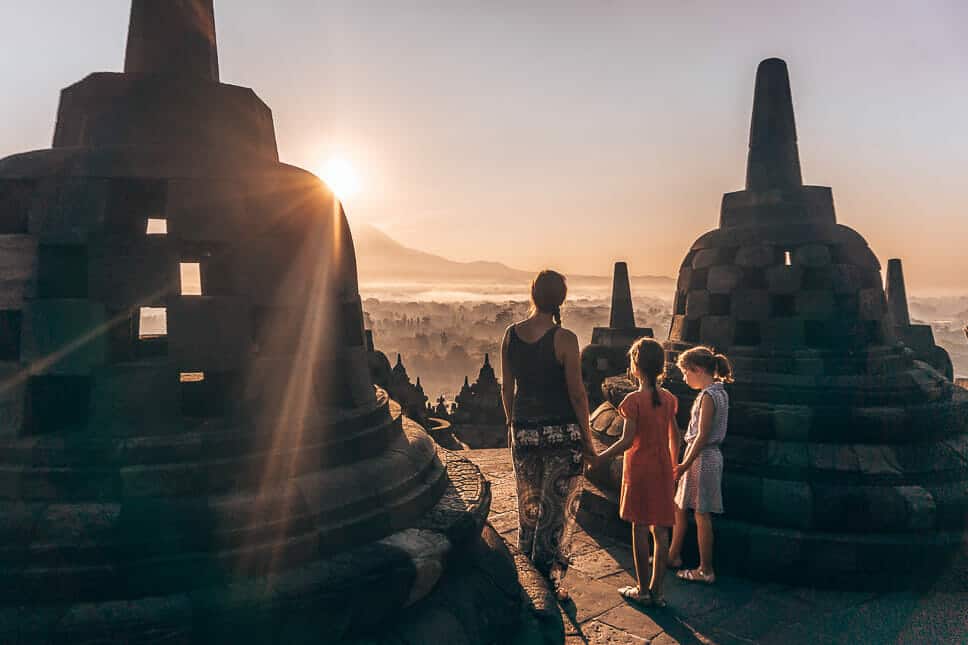
12. Find the shade during the day
There’s a lot you can do in the editing phase, but one of the most difficult things to correct is family travel pictures taken in direct sunlight with extremely harsh shadows and bright areas. Try to look for shadows during the day.
Go under some trees, look for the shade of a building. Not only will your kids thank you, but you’ll also get much better results.
Taking the picture
13. take candid or in-the-moment shots.
Although I love those shots of my kids looking at some amazing view or building, the most beautiful family vacation pictures are often candid shots. The photos where they don’t realize they are being captured and they are just enjoying the moment, having fun, or learning something new .
It’s the expression on their faces that you’ll want to remember as much as the things you see. For this kind of picture, I love to take close-ups .
Candid pictures are honest, they show how your kids really are. Don’t be afraid to even picture them when they’re having a hard time, feel sad or angry. You want to remember your holiday as it was, also those moments that were less relaxing or fun.
Another thing is to be ready ! I’ve missed some amazing candid shots just because I forgot to bring my camera or thought I wouldn’t take any pictures at that moment. Your camera should be within easy reach.
Great help here is a strap that goes over your shoulder . You can walk around like that, move it away when you need to help or carry the kids, but have it within reach at all times.
By using the burst modus or continuous shooting , your chances of taking the perfect facial expression will definitely improve! And they can be a great way to create a gif video afterward.
A great tip when shooting kids is to use the back focus button instead of the shutter autofocus. By holding that button , you can lock your focus, which is great when you want to shoot kids running around!
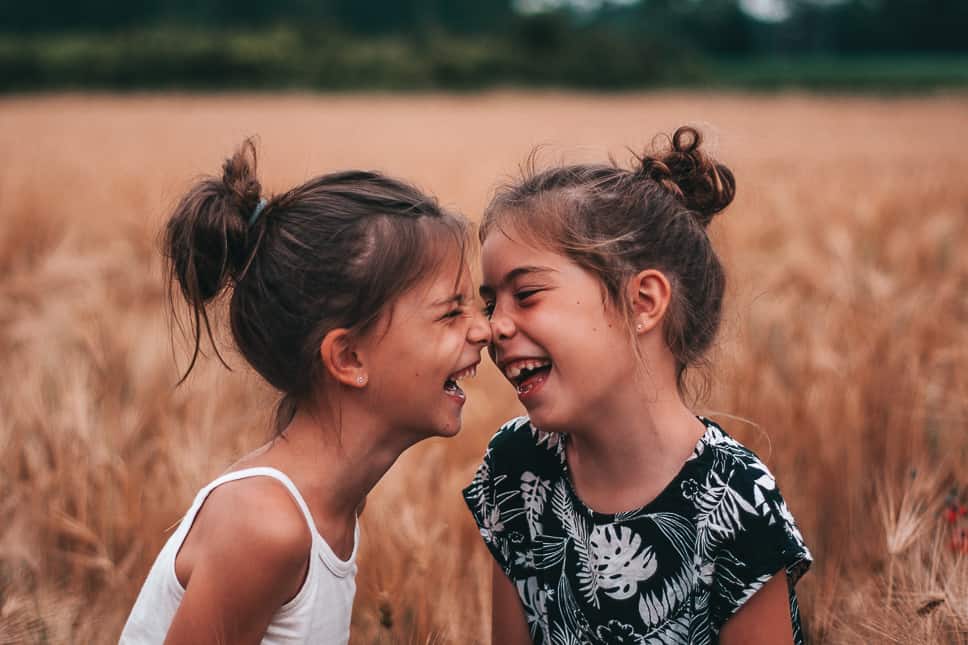
14. Don’t be afraid to stage or coach the kids
I know, I just said you should take candid pictures of the kids but there’s no harm in staging a shot once and a while. You probably have the perfect picture in your head, so tell the kids where to stand, what to do .
Otherwise, they will be running around and be everywhere except where you want them to be.
If you want to make it feel more natural, let them run towards you or away from you, make them look at each other or away from the camera, take a shot of them enjoying the views.
And I always love jumping pictures as well. It’s a lot of fun to get everyone to jump at the exact same moment. The burst or continuous shooting comes in handy again here.
15. Make the kids cooperate
First of all, don’t ask your kids to pose or cooperate with you the whole day. Let them be kids , they want to play, run around, and just not be doing what you ask all day long. Try to limit the moments you take family vacation pictures where they have to cooperate.
Ok, I’ll admit, I bribe my kids too . With candy or a lollipop, the promise of a refreshing pool or a nice playground. Always works.
I don’t like it when the kids put up their fake smiles. So I either tell them a joke or get in the shot myself and start to tickle them.
If they don’t feel like having taken their pictures at that moment, I let them look at the view while I capture their backs. Ask them to tell you what they see.
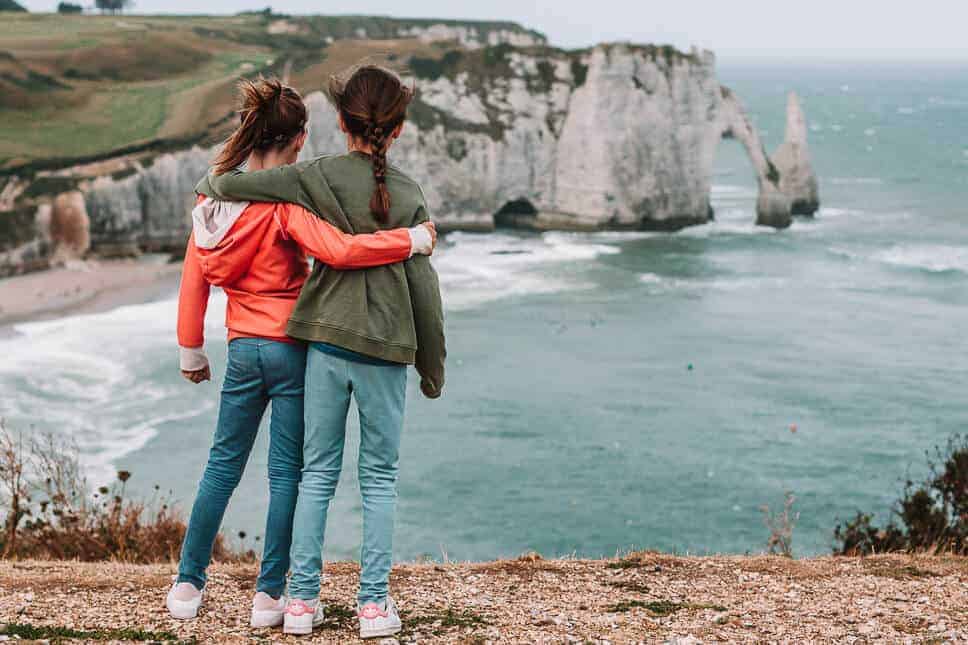
Get in the shot
16. use a remote and tripod for your family travel pictures.
Pictures of my kids… I have hundreds. What am I saying… Thousands! But at a certain point, I realized I didn’t have a lot of pictures with all four of us besides the occasional selfie. Or even just with one of us and the kids.
After all, we are on this trip together. So I started to take more shots of our entire family . Trust me, those are often the pictures that make it to our wall.
As of now, a tripod is an essential part of our photography gear . We never go anywhere without it. The great thing is you don’t have to ask a stranger to take a picture, which often doesn’t turn out how you want it anyway. When you choose a tripod , make sure it isn’t too heavy, but strong enough to carry your camera.
Although there is some charm in using the self-timer and running back to your family to get there just in time for the shot (or not ?), you might want to consider using a remote as we said before.
The remote will most definitely make life easier and the great thing is kids often forget they are being captured that way.
17. Don’t be embarrassed
It took us some time (especially Jurgen, the dad in this family) to get over the embarrassment of openly setting up tripods, posing, taking time for pictures while other people are watching or waiting.
In the beginning, we felt really awkward, which often translated into the pictures as well.
But you’ll get used to it. Now, we often have people copying us after we’ve been taking pictures. So maybe they are not laughing at you but admire you for your great idea!
18. Try something different than the typical ‘let’s all smile in the camera’ picture
Don’t get me wrong, those shots are lovely. And you definitely need to take some of those. But try to be a bit more original with your family travel photography!
Walk up towards the camera, be silly, throw yourself in a pile (preferably with daddy on the bottom ?), look at each other, tickle the kids, walk away from the camera, jump, get a drone shot, …
The more creative you get with your family travel pictures, the more fun you’ll have!
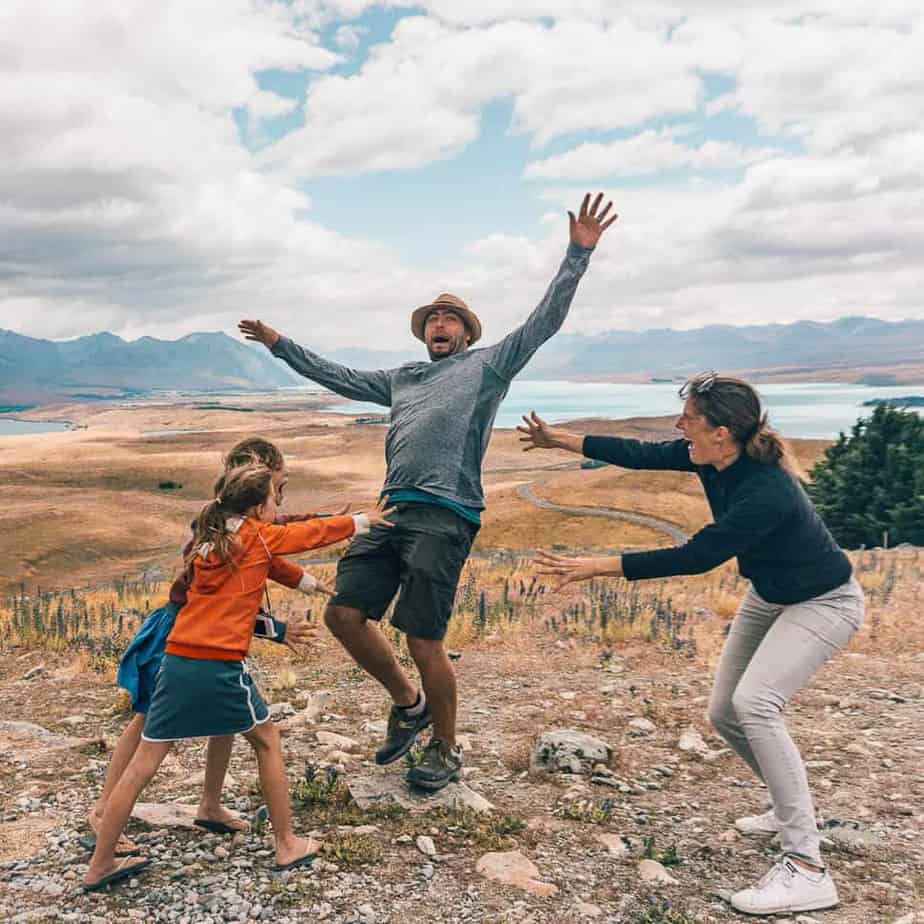
Be creative in your family travel photography
19. find the light.
Every photographer knows how important this is. You have to find the light! If you don’t have an external flash (which most travelers don’t as it is again a lot of extra weight), try to avoid using your flash . It will make your family travel pictures look unnatural.
Instead, find the light in your surroundings . Look for the sun peeping through the trees or a window. Try to play with the light by shooting right into the sun for silhouettes, create sun flares by putting the sun right at the edge of your frame, …
Don’t forget to change the settings of your camera if you’re taking pictures of the sun, such as the ISO (low), aperture (high f-number), and shutter speed (1/125 and up).
Like we said before, try to avoid harsh shadows by taking pictures in the shadow when the sun is up high. The better your lens or camera, the easier you can take pictures in low-light situations. You’d be amazed at how bright they can get after editing them.
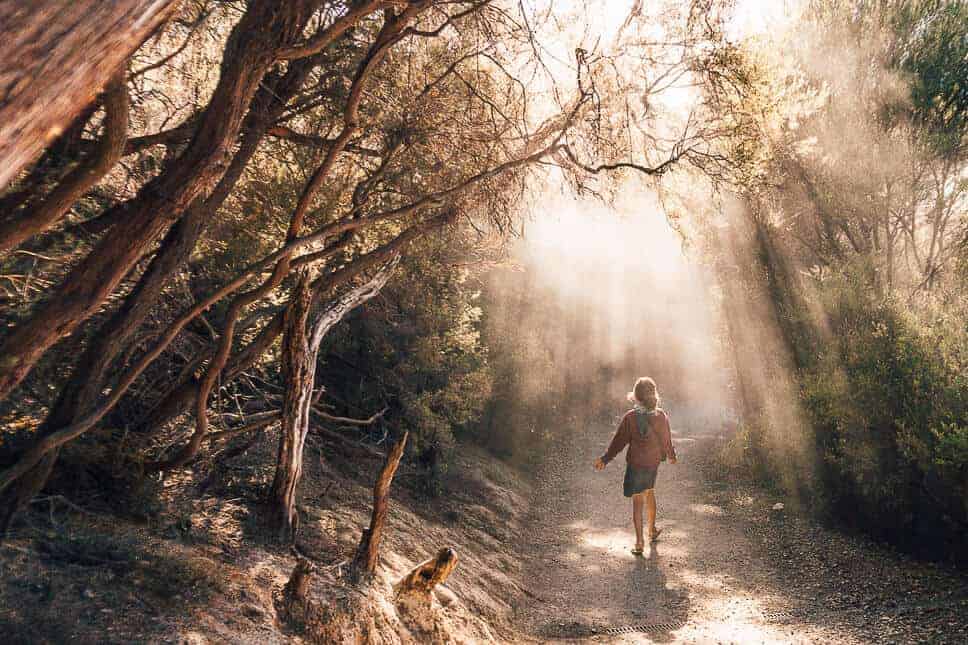
20. Think about what you wear
I have to admit I will sometimes prepare the clothes we are wearing before we head out to explore. I either try to match all of our clothes , colorwise, to make sure we don’t get a cacophony.
Or I make sure the kids are wearing colors that go well with the surroundings. Sometimes I’ll choose soft colors, but mostly I go with colors that pop.
It makes family vacation pictures far more interesting when you wear bright clothes. For example in a landscape picture, wearing a colorful coat such as red or yellow will make you stand out.
21. Try underwater or drone photography
If you really want to be creative in your family travel photography, try to use an underwater camera or drone. We bought our drone before we left for full-time travel and it has been amazing to take family pictures from a whole different perspective .
The drone we use is the DJI Mavic Pro , but we’d love to upgrade to the DJI Mavic 2 Pro . In our opinion, these are the best travel drones, compact, stable, and stunning quality.
As far as underwater photography is concerned, I am not an expert at the moment, but I’m planning on becoming one. I love the endless possibilities, the way you can put things in another perspective, and the beauty of underwater conditions.
You could buy a case for your regular camera. In my opinion, however, this is for professionals or if you really want to excel in underwater photography. One of the best budget-friendly solutions would be a GoPro Hero 8 (with an extra underwater case). It’s small, easy to handle, and has amazing quality!
22. Let the kids take a picture
Our girls both love to take over the camera or run around with their own. I guess they want to be like mom ?. Let them! They might surprise you with their unique point of view.
If they can practice, they will learn how to take good pictures. Might come in handy when you want a shot of the two of you!
Both of our kids had a Nikon Coolpix W100 which is also waterproof. Another great one is the Olympus Tough TG-6 Waterproof Camera or even the mirrorless Sony A6000m if they are getting older and serious about it. Read more: Best travel gifts for kids
Edit your family travel pictures
23. use an editing app or software to take your photography to the next level.
Although a lot needs to happen at the moment you are taking pictures such as the composition and getting your kids to cooperate, it’s amazing how much you can do afterward. I’ve really discovered the game of editing for family travel photography.
The better the quality of your camera, the more is possible, especially when it comes to lifting up the darks.
I prefer Adobe Lightroom for my editing . In my opinion, it’s still the most complete software. You’ll have to practice a bit in the beginning to use it, but once you get the hang of it the possibilities are endless. If you really want to get better at editing, Lightroom is definitely the way to go. They also have a free app for smartphones.
Even by doing some quick changes to the colors, highlights, and shadows, you can improve your family travel picture a lot. One piece of advice is to practice, practice, practice. There are tons of tutorials, YouTube videos, and courses out there to learn all the tips and tricks.
If you don’t want to get into Lightroom, there are some great apps out there to easily edit your pictures on your phone. Examples are Snapseed, VSCO, Prisma Photo editor, …
24. Crop and frame your picture correctly
One of the things that really bother me when I see other family vacation pictures, is when the horizon isn’t leveled out. It’s really simple to adjust this and can be done in every app or even right on your phone. A quick win to make your picture more attractive and look professional.
Like we said before, don’t forget to crop your photo according to the rules of good composition as well. Think about the rule of thirds, symmetry, lines, …
25. Edit differently depending on the goal
Everybody needs to find their own style. I started with overediting a bit too much, now I prefer the richer colors and leave the shadows darker. Don’t try to overdo it, keep it natural.
It also depends on the goal . I sometimes edit differently for Instagram, for a picture that I want to be framed on my wall, for our blog, …
Try to find your own style!
If you want to have some more travel photography inspiration have a look at the website of National Geographic. Click here and go straight to the article
I hope these 25 tips will help you to take your family travel photography to the next level. They are quite easily applicable. You’ll be surprised how much better your family vacation pictures can look.
But most of all, have fun! You’re on this family trip because you want to have quality time with your kids and partner. You want to explore, learn new things, see new cultures or just relax.
Have fun taking these family travel pictures, have fun as a family trying to be creative. Don’t make the family travel photography something that annoys the rest of the family because they just want to enjoy their trip.
Let us know in the comments what you think about this article or if you want to add something else. And save it on Pinterest for later!
Happy travels!
Other articles that might interest you
- What’s in our camera bag: our travel photography gear
- 50 travel families to follow on Instagram
- 150 road trip quotes for Instagram
Save on Pinterest
Do you want to remember these tips for later? Save this article on your Pinterest.
Related Posts
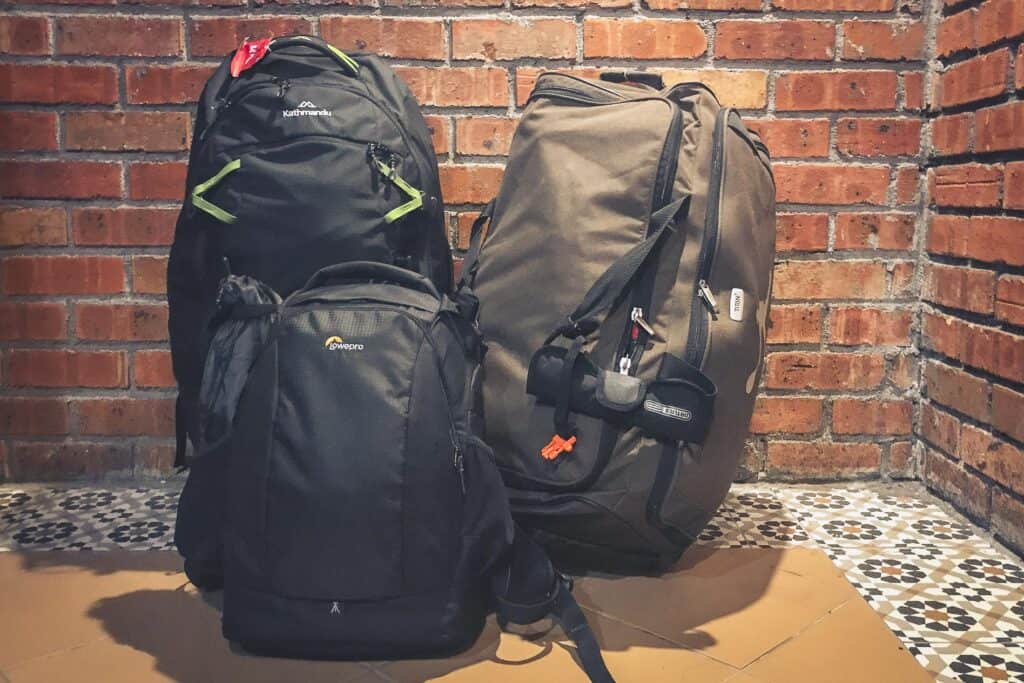
10 essential steps for planning long term travel with kids
10 Family Travel Podcasts you should listen to

Our Favourite Travel Families On Youtube in 2019
50 Travel Families on Instagram you should follow
1 thought on “25 easy tips for stunning family travel photography”.
Love those family travel snaps and a comprehensive list of tips. Thank you for sharing. Time to grab my camera and get busy.
Leave a Comment Cancel Reply
Your email address will not be published. Required fields are marked *
Save my name, email, and website in this browser for the next time I comment.
Privacy Overview
FREE 2 DAY DELIVERY ON ORDERS $399+

12 Tips for Better Vacation Photos

© Lindsay Silverman
Foodies aren't the only folks taking pictures of what they eat. Traveling often allows you to try new, unfamiliar or exotic dishes. Taking a photo before you dig in is one way to remember the meal. COOLPIX cameras and some Nikon DSLRs have a Food Scene Mode that makes it easy to get a shot like this.
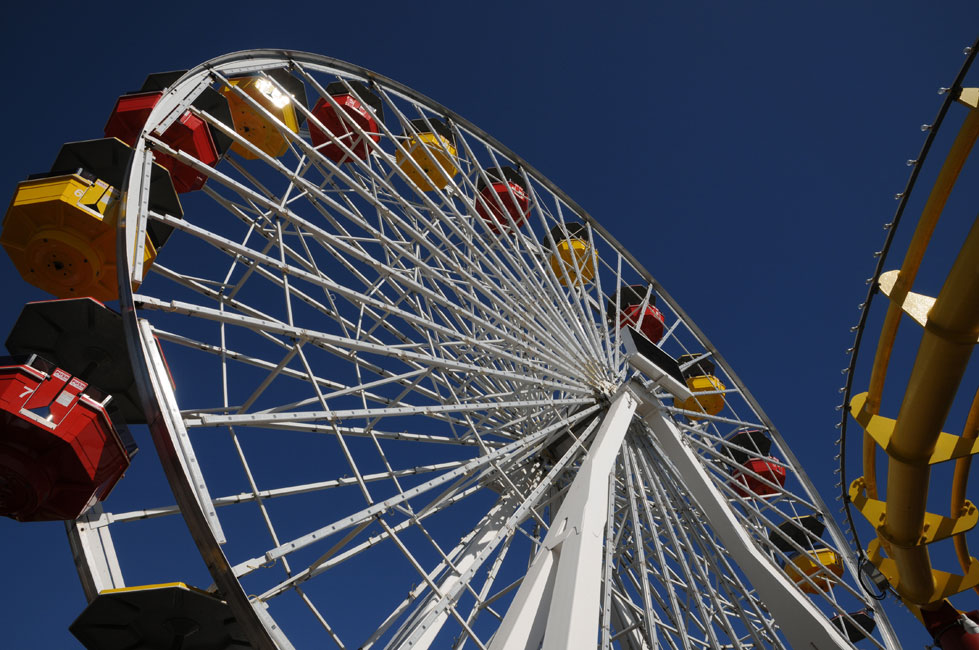
Look for a different vantage point to make a photo of a common subject more unique. Shooting from below this ferris wheel, pointing upwards, this amusement park ride is juxtaposed against a deep blue sky for added impact.
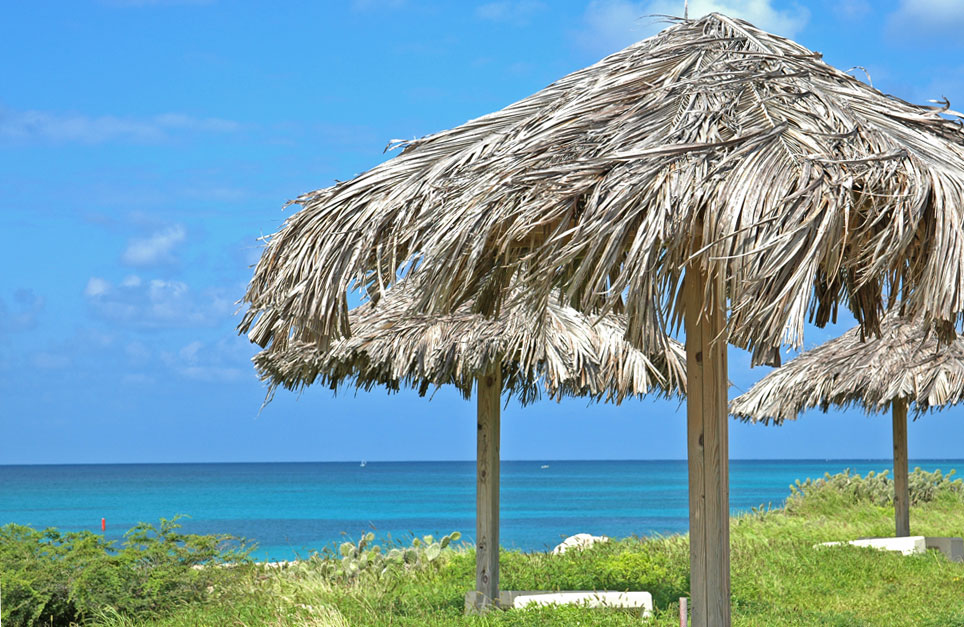
© Diane Berkenfeld
You don't always need the entire subject in the frame for the viewer to understand the scene.
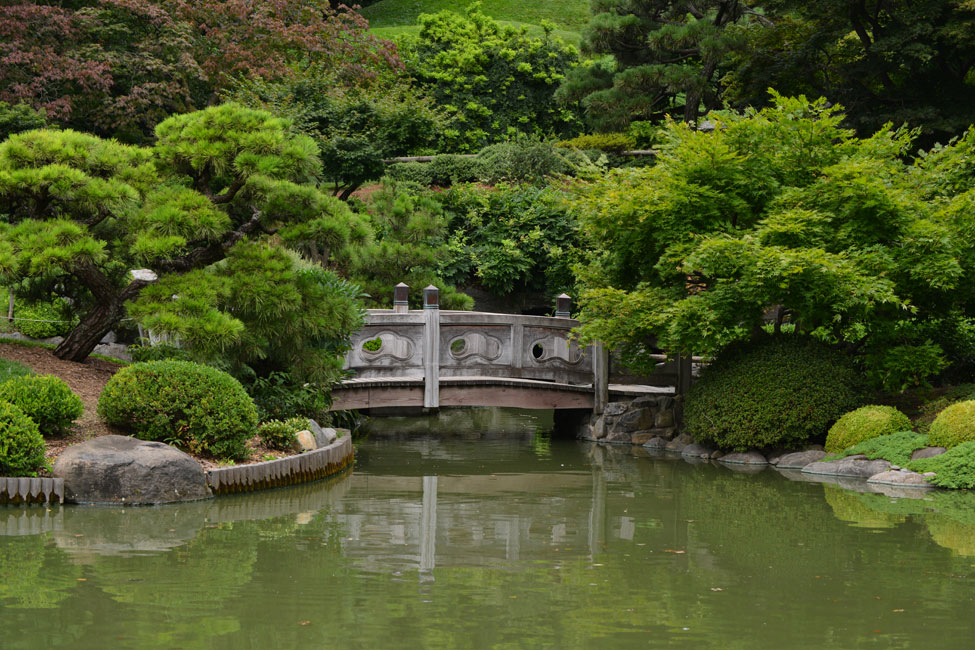
Follow simple composition tips for great photos. Most of the time you don't want to place the horizon in the middle of an image. Here the photographer placed it off center, with lush vegetation filling two-thirds of the frame and the water of the pond filling only one-third of the frame.
Whether your stumble upon a sign like this one on the side of a barn or the kind of signage that explains the flora or fauna that live in the area or the description of a historical landmark, take a photo. You may not decide its something you want to show off, but it will jog your memory about the photos you took in the area.
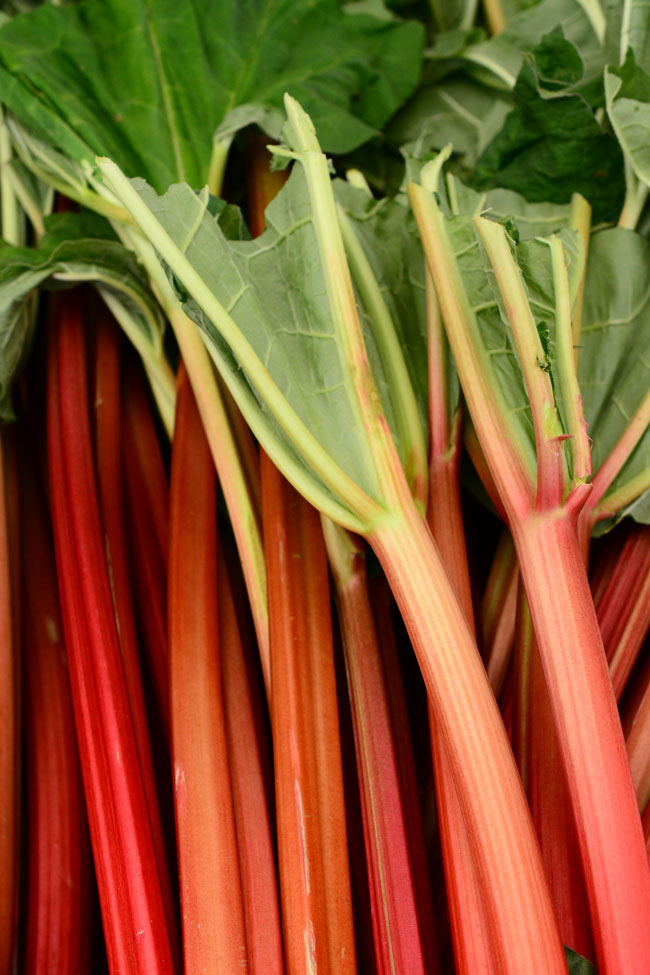
Visits to a farm or farmstand offer up wonderful subjects. You can photograph the entire scene or zoom in tight for a close up of a signular grouping of subjects, like the rhubarb pictured here. The photo is all about color, shapes and lines.
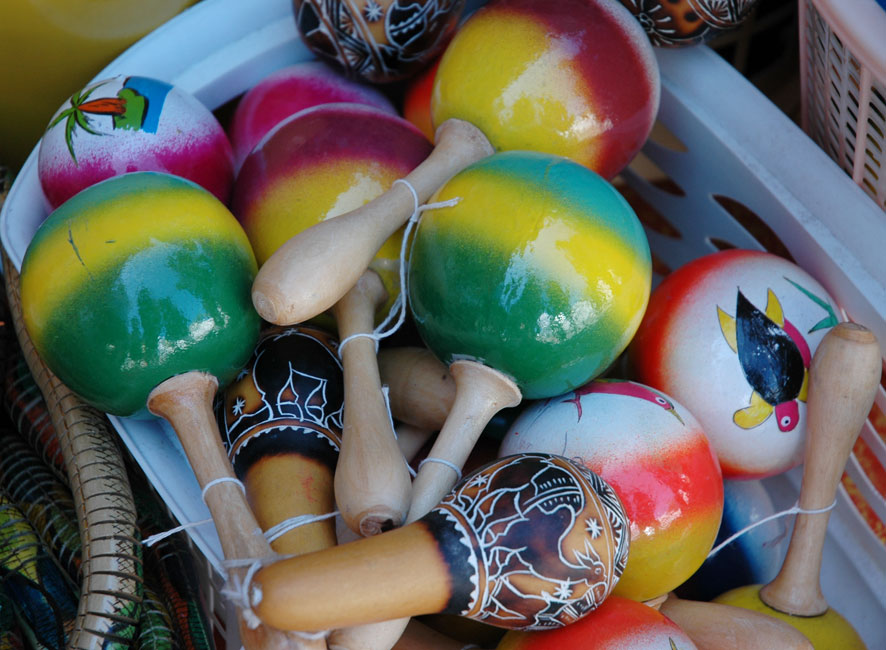
Souvenir shops offer lots of subjects to photograph.
1. Make sure your batteries are fresh (if your camera uses Alkaline batteries) and fully charged (if your camera uses rechargeable Li-ion ones); We’ve all run out of power at one inopportune time or another but doing so while traveling can be devastating.
2. Bring extra media cards. You don’t want to face the decision of having to delete images or video clips to make room for new ones in the middle of your vacation.
3. Do your homework. Research the location if you aren’t familiar with it. Once there, you can even ask the locals if there are any places off the beaten path that might make for interesting photographs or video. Taking maps or guidebooks with you on your trip? Take a photo of the family gathered together, with the maps and books spread out, as a fun way to start your vacation image capture.
4. Have fun. Look for unique angles such as carefully climbing high above your subjects, or getting the camera low to the ground for a change in viewpoint. Take both video and stills when you do this for more variety.
5. Take some candid photos during the vacation of everyone having fun. You can capture great expressions and moments when your subject isn’t aware that the camera is pointed at them.
6. Stabilize the camera whenever possible. If your camera has VR (Vibration Reduction), turn it on.
7. Take a shot of the nearby signage so it will be easy for you to recall where you were for a specific photo or video.
8. Zoom in on the details. Fill the frame with your entire subject. Fun photos at a market, for example, might be a shot where the entire image is a close up of one particular subject such as a basket of ripe fruit or veggies, or table full of souvenirs.
9. Shoot your food! It’s easy to take a great shot of a mouth-watering plate of food by using the Macro mode or zooming in tight on the dish. This is a fun photo you can take to remember the delicacies you enjoyed on your trip.
10. Take a variety of photos: wide establishing shots that show the whole scene, as well as photos that focus on one subject. This will help you tell a more complete story of your trip.
11. Pass the camera around. How will anyone know you were there if you stay behind the camera the entire time? Have others in your group take pictures or shoot video of you having fun too.
12. Follow these three easy rules of composition:
Rule of thirds: When you look through your viewfinder or at the LCD screen, imagine a tic-tac-toe grid over the scene. The rule of thirds suggests that the points where the lines intersect are the best places to position your subject. Doing so will generally result in a pleasant and balanced composition;
Most pictures look better if the horizon is positioned above or below the middle of the frame, not directly in the center of the image. The exception is when shooting a reflection;
When photographing people and animals it's best to have them looking into the frame.
More from Nikon

Learn photo & video terms

Nikon School
Check out Nikon School.

Check out the Nikon apps.

NEW Mentors online course
Fashion photography with Dixie Dixon, Visual Storytelling with Joe McNally, Wedding photography with Jerry Ghionis and Sports photography with Rod Mar
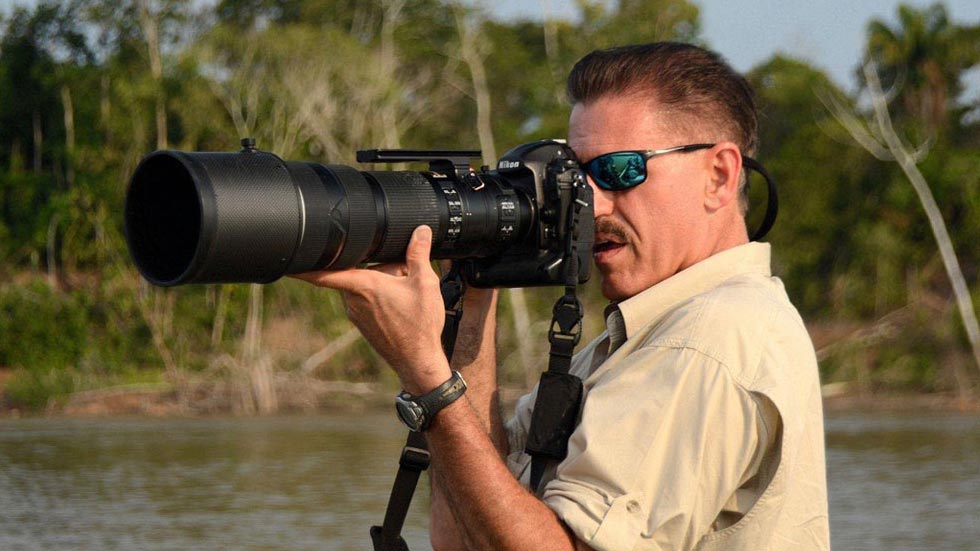
Nikon Ambassadors
Check out the Nikon Ambassadors.
Stay connected to Nikon.
By clicking Sign Up, you are opting to receive promotional, educational, e-commerce and product registration emails from Nikon Inc. You can update your preferences or unsubscribe any time.
Thanks for signing up!
We’re sorry, but Freepik doesn’t work properly without JavaScript enabled. FAQ Contact
- Notifications
- Go back Remove
- No notifications to show yet You’ll see useful information here soon. Stay tuned!
- Downloads 0/60 What is this?
- My collections
- My subscription
Find out what’s new on Freepik and get notified about the latest content updates and feature releases.
The best travel camera in 2024: compact and portable cameras to take anywhere
The best travel cameras are small, lightweight, easy to use and offer a range of features – here are the ones to look at
- The Quick List ↩
- Best compact
- Best full frame
- Best hybrid
- Best for size
- Best budget
- Best waterproof
- Best action cam
- Best for 360º
- Best for vloggers
- How to choose
- How we test

The Quick List ↩ 1. Best compact 2. Best full frame 3. Best hybrid 4. Best for size 5. Best budget 6. Best waterproof 7. Best action cam 8. Best for 360º 9. Best for vloggers How to choose How we test
The best travel cameras have to do one crucial thing: be better than your phone. That means the best travel cameras need to combine compactness with image quality, advanced features with simple operation, and ideally the ability to share your holiday photos and vacation videos fast.
Even though the best camera phones can produce great images, you just don't get the same quality as you would if shooting with one of the best point-and-shoots or best mirrorless cameras . Smartphones are restricted by smaller sensors offering lower still and video quality, reduced low light performance, and minimal control over depth of field (for those blurry backgrounds).
We'll look at mirrorless cameras that offer better image quality and more versatility than compact systems but at the cost of increased size and weight. Compact cameras, perfect for keeping on you at all times, won't weigh you down, and are really simple to use – although they have smaller sensors and fixed lenses. And finally, action cameras that are robust cameras made for wild adventuring!

Gareth is the Reviews Editor at Digital Camera World, and the person in charge of approving all the latest camera-related tech. He never misses an opportunity to travel, or an excuse to take photos while traveling, so is best placed to judge what are the best travel cameras for all sorts of different vacations and adventures.
The Quick List
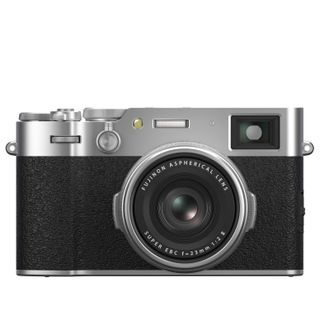
Travel cameras should be small and light, but not lacking in features for amazing photos and video. The Fujifilm X100VI ticks all of those boxes, with a diminutive size, but 40MP images and 6.2K video. And does all this while looking great, with some stunning retro charm.
Read more below ↓
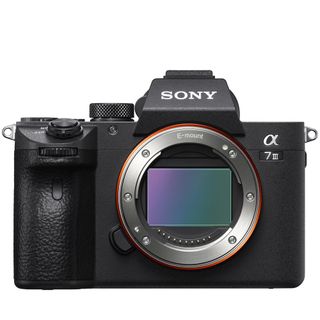
Despite aging a little, the Sony A7 III still offers some features that are competitive with new models like IBIS, auto-tracking, and 4K video. Best of all, the camera is incredibly well-priced, making it the best option for traveling without worrying too much about damaging expensive kit.
The Fujifilm X-S20 is a camera for everyone, with great quality stills, but is set apart by its deceptively powerful video skills. This makes the X-S20 the perfect travel camera for any hybrid creator who is a versatile and lightweight camera, all at a price tag that won't break the bank.
When picking the best travel camera, we're focusing on portability. If you want to fit a whole photographic kit – that's a camera and several lenses into a bag, then the dinky but mighty Olympus OM-D E-M10 Mark IV is one of the best portable cameras around.
If you want a small camera that shoots great stills and video, and cost costs the earth the Panasonic Lumix G100 is the best budget option out there for travel. There is also the slightly newer G100D, which is much the same, but with a USB-C port and upgraded EVF.
If you're planning on a coastal adventure then you need a camera that is fully waterproof and rugged enough to take on the most challenging adventures. This camera offers better stills than your average action cam, so if photos are your main priority – the Tough TG-7 is for you.
View the full list ⇩

This is a camera that can withstand some serious adventuring, action cameras are made for extreme conditions, and the best of the bunch is the Osmo Action 4. The Osmo 4 offers an incredibly wide field of view, image stabilization, and waterproofing for action-packed vacations.
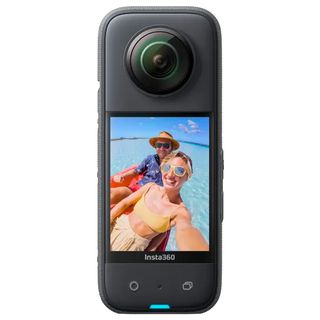
If you want to remember every little bit of your vacation, then you can't go wrong with a 360º camera to capture not what only is going on in front of you, but all around you. The Insta360 X3 is the best all-encompassing camera you can buy, best of all it is easy to slip into a pocket or bag for travel.
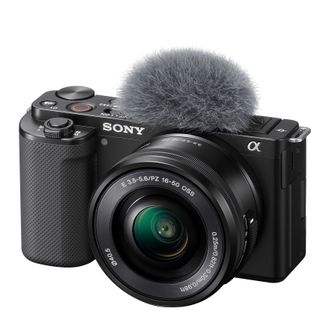
If you are looking for a small yet mighty all-in-one camera with quality video and audio made to go straight on social media or YouTube then the Sony ZV-E10 is the best choice. It does take decent pictures, but if you are looking for something more hybrid, check out the X-S20 above.
The best travel camera in 2024
Why you can trust Digital Camera World Our expert reviewers spend hours testing and comparing products and services so you can choose the best for you. Find out how we test.
Best compact travel camera
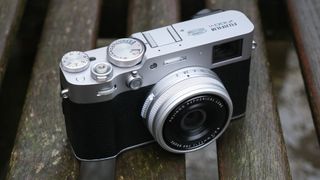
1. Fujifilm X100VI
Our expert review:
Specifications
Reasons to buy, reasons to avoid.
✅ You want a pocketable camera: the Fujifilm X100VI is a very compact camera, the whole package of camera and lens are so small that you can easily slip this into a jacket or rucksack pocket. ✅ You want a camera that looks good: The X100VI is easily one of the best-looking cameras you can buy. The stunning retro looks of old-school film cameras are matched with superb build quality.
❌ You want a range of lenses: the lens is fixed on the X100VI, so you are stuck with the 23mm focal length, although its digital cropping modes give the illusion (but not performance) of more focal lengths ❌ You want a cheap travel camera: the X100VI has a premium price tag, and there are options that produce a similar image quality, if you don't mind a different style of camera that is.
If you are looking for a camera for traveling, then one of the major things to look out for is something small and lightweight that can easily slip into a bag or a jacket pocket and won't be a drag to carry around for long periods – enter the Fujifilm X100VI .
The X100VI is a fixed-lens camera, which means that it has a single lens that can't be changed. The lens is 23mm, or equivalent to a 35mm length lens on on a full-frame camera, a perfect length for travel photography as it is wide enough to get in landscapes and street scenes, but narrow enough for portraits and family shots. While there are converters available for the X100V to change the length of the lens, I find these have an adverse effect on image quality. The X100VI does have a trick to crop images when taking them to give the illusion of additional focal lengths, although at a reduced size.
The X100V packs in some lovely 40MP photos, and while not the most ideal camera for video, you can get 6.2K (cropped), 4K, or HD video with slow motion reaching 240 frames per second. There is also human, animal, bird, and vehicle autofocus tracking, so you can snap away with confidence that your shots will be in focus. Finally, image stabilization helps cut out hand jitters in low light or shooting video, for more stable footage.
And for those who want to share travel snaps as you go, you get access to Fujifilm 's awesome film simulations and custom recipes, which takes the work out of editing, and with WiFi and Bluetooth connectivity and the Fujifilm X App, you can quickly share ready to post photos and video to social from your phone.
The X100VI's design will catch a few eyes while traveling. The camera is lovely to hold, made with premium materials, and with a wonderful hybrid optical viewfinder that shows either the real picture or how it looks through the sensor with a flick of a button. However, as a major downside for travel, the X100VI lens is not weather-sealed without an adapter – at an additional cost.
Speaking of cost, this premium camera comes at a premium price, with some similar tech available for less in other models. But for the build quality and features, I think it does a lot to justify its higher price, but if you want the best compact camera, there is nothing better than this.
Read our full Fujifilm X100VI review for more
- Back to the top ⇪
Best full frame on a budget
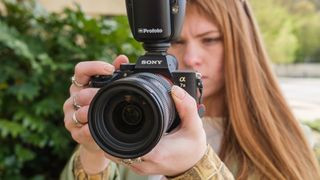
2. Sony A7 III
✅ You want full frame quality: full frame cameras can produce more focus separation and are better in low light, the A7 III is the most affordable step into full frame. ✅ You want a camera to use outside of traveling: the A7 III is a pro-level camera that is not just for travel, you can shoot brilliant photos all year round with a multitude of lenses available for different subjects.
❌ You don't want the expense of lenses: the cost of lenses can add up, especially ones for full-frame cameras, if you want to keep costs low, choose a fixed lens camera or an option with smaller cheaper lenses. ❌ You want a small camera: the A7 III isn't huge, but it also isn't small. With a lens attached, it is going to take up quite a bit of room in a bag, and won't be sliding in any pocket.
While the Sony A7 III might be the oldest Sony Alpha camera still being sold as new, even being replaced by a newer Sony A7 VI, it more than holds its own today. Any photographer looking for an excellent full-frame hybrid camera for traveling should seriously consider this camera as an option.
Why? Well, I don't think there is a better value full-frame camera out there, which when traveling can take some of the jeopardy out of damaging or losing your incredibly expensive kit.
It might be getting on a little, but the camera still has a very competitive 24.2MP back-illuminated image sensor, which delivers great tonal range and makes high ISO settings possible, which anyone who is shooting a lot in low light on their travels will really appreciate. A 5-axis image stabilization system also delivers less shake when shooting at night, or capturing video.
And if you are also looking to get some video footage on your travels then the A7III has very capable 4K video, although has been surpassed by a few other models on this list which would be more suitable if video is a priority.
The A7III has a speedy and accurate 696-point AF system, and while not the latest algorithms, the A7 III also has some solid human face and eye tracking, so you can take reliably focused photos of your friends, family, or any interesting denizens you meet out on your travels.
Whilst the A7III can be thrown a little off-balance with big pro lenses, Sony's lens range is extensive and there are many smaller primes to suit this camera perfectly for those who don't want to carry a lot while traveling. Or superzoom lenses like the Sony FE 24-240mm will empower you to capture everything from near to far.
Read our full Sony A7 III review
Best hybrid travel camera
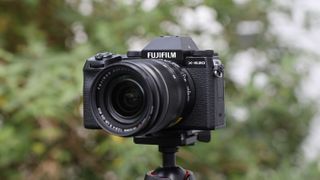
3. Fujifilm X-S20
✅ You shoot video and photos: the Fujifilm X-S20 is the best of both worlds, with great-looking photos and awesome video skills too! ✅ You want to balance price and features: the X-S20 offers a lot for its price, and it is one of the best-value cameras around, you will struggle to find matching video specs at this price point.
❌ You don't really care about video: there are other options that might suit photographers more than the X-S20 with higher megapixel counts. ❌ You might need weather resistance: the X-S20 is not weather-sealed, so if you plan to get adventurous, a camera that can handle dust and water might be a better choice.
When I tested the Fujifilm X-S20 I was just so impressed at the amount of features that Fujifilm had managed to squeeze into its petite body – it's not just a great stills camera, it is also one of the best video cameras available, and the cherry on top, it is really well priced! For anyone looking for a hybrid camera to shoot a mix of photos and video, I think this is the best camera for any traveler right now.
Fujifilm chose not to update the X-Trans IV sensor from the X-S10, but this sensor despite its age still holds up very well today when it comes to stills. The X-S20 is also able to use Fujifilm's excellent film simulations and programmable film recipes to create ready-to-use images straight from the camera, which makes any regular social media posting that much easier. The new X-Processor 5 also brings brand new subject recognition and tracking autofocus, making taking photos on the fly quicker and more reliable.
Despite its compact size, the X-S20 is a deceptively powerful video camera. The new processor combined with the modest resolution sensor means the X-S20 is capable of 6K video using the entire sensor (open-gate). The camera is also capable of numerous codecs and F-Log for getting in-depth with color grading. The subject recognition and tracking also carry through into videos and there are dedicated vlogging video features too.
Some might prefer the classic retro style like the X-T5 or X-T30 II, but with fewer manual dials, the X-S20 is a more user-friendly camera, with a more useful fully articulating screen than any of the X-T range. The camera is small, but handling is great with enough of a comfortable grip for long days, and the camera pairs really well with Fujifilm's small zoom and prime lenses, making traveling light with a kitted-out X-S20 a little easier. While the price is a little higher than the X-S10 that preceded it, I think the price bump is justified as this is one capable camera for traveling.
Read more: Fujifilm X-S20 review
Best travel camera for size
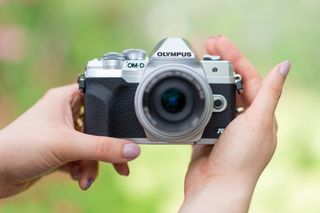
4. Olympus OM-D E-M10 Mark IV
✅ You want a small system: the whole OM Micro Four Thirds system is tiny, with small cameras and lenses, so you can take a lot more gear to cover more subjects. ✅ You want a good-looking camera: with a cool vintage style based on Olympus's OM film cameras, the E-M10 IV looks as good as the footage it shoots.
❌ You shoot a lot in low light: the Micro Four Thirds sensor in the E-M10 IV doesn't handle low light as well as larger sensors, not good for frequent nighttime shooters. ❌ You won't use the retro dials: if you are looking for just fast auto controls then the dials on the top of the E-M10 IV will be largely redundant for your needs.
When picking the best travel camera, we're focusing on portability, and the dinky but mighty Olympus OM-D E-M10 Mark IV is one of the best portable cameras around if you are looking for a whole system including lenses that can easily slip into a bag. The best Olympus lenses include positively tiny optics that can go a long way for travel photography, helping you keep your kit and weight size down. So if you are the type of carry-on-only travel photographer but with big photography ambitions then this is for you.
Not only does it have an incredibly lightweight body, but the camera will look great on your travels too, with a cool retro design that harks back to Olympus's long pedigree in film cameras. The camera has tactile dial-led controls for anyone who wants to get creative with manual photography, although don't let that fool you into thinking the camera is complicated, as there are lots of automatic modes and helpful features built into the camera.
The OM-D E-M10 Mark IV uses the smaller but still powerful Micro Four Thirds sensor. This has some slight disadvantages in terms of low-light capabilities, so if you like to go out a lot at night when you travel, then a larger sensor might be better for you.
But Micro Four Thirds does have one big advantage, it effectively doubles the focal length of any lens mounted to the camera; so a 50mm will behave like a 100mm, so if you are about to head off on safari, then this could make all the difference to getting up close to wildlife. Its snappy burst shooting, its accurate autofocus, and its impressive 4K video will also all assist you with creating amazing content. It's a terrific all-around camera.
Read our full Olympus OM-D E-M10 Mark IV review for more
Best travel camera on a budget
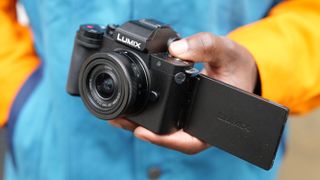
5. Panasonic Lumix G100
✅ You want an affordable camera: the Lumix G100 is a great deal for the features it offers, and an affordable way to get great travel snaps. ✅ You want a range of small lenses: there are a lot of Micro Four Thirds lenses, so there is something for every occasion, and best of all, they tend to be on the smaller side for easy travel.
❌ You want the very latest tech: the G100 is a little on the older side and doesn't have Panasonic's latest autofocus, which puts it a little behind the competition. ❌ You want more serious creative video: intended as a hybrid camera, there are lots of video-focused features, but the camera lacks IBIS and a headphone jack/USB-C found in rivals.
Sometimes, you just want to create quality images and video while you are traveling, but you don't want to pay a small fortune for a camera to do so, or risk carrying around an expensive camera. The Panasonic Lumix G100 is the best camera you can get for traveling that offers all the quality features you will need but at an affordable price.
The G100 is a super-small, super-cute camera with a Micro Four Thirds sensor. It is still easy to capture high-quality video and stills with simple controls, menus, and its approachable button layout. The camera can be paired with numerous dinky Micro Four Thirds lenses too, especially small pancake lenses to keep the overall size down. Micro Four Thirds also has the benefit of doubling the focal length, so 100mm becomes 200mm, so you can pair the G100 camera with telephoto lenses for capturing far away subjects like wildlife without having to carry huge lenses.
A downside though is there is some compromise for the low price, and the G100 is not the most technically advanced camera on this list, and its autofocus uses Panasonic's cruder contrast-detect technology, which is a little slower than other cameras and is notorious for "pulsing" and "hunting" during video.
Despite this, the G100 is also a perfect camera for vloggers, with an articulating screen and ready to share footage. But while there’s an inherent risk of dumbing things down too much when creating a camera for social media creatives, Panasonic has avoided that pitfall with the Lumix G100, and this is a great camera if you're just as interested in vlogging as you are in travel photography.
Read our full Panasonic Lumix G100 review
Best waterproof compact travel camera

6. OM System Tough TG-7
✅ You want a rugged adventure camera: the TG-7 can certainly withstand some serious adventuring with a rugged water/dust/freeze/drop-proof build. ✅ You want a photography-first adventure camera: the TG-7 puts photography first and foremost, offering a better experience than smaller fiddly action cameras.
❌ You want to strap the camera to things: while action cameras have numerous accessories to strap to your sports equipment, there is far less for the bigger TG-7. ❌ You only care about video: if you are just looking for the best rugged video camera for travel, then action cameras have you covered (see below).
Following the acquisition of Olympus's camera division, the OM System TG-7 is essentially an update to the much-loved Olympus Tough TG-6 under a new brand name. Although that camera has long been the top-regarded travel compact for adventurers who are as invested in photos as video. Action cameras might be smaller and just as hardy, but can't compete with the TG-7 for photography experience.
The TG-7 is ready for any travel adventure and is water-proof, dust-proof, crush-proof, drop-proof, and freeze-proof, so whether your hiking, climbing, swimming, or otherwise take you to the hottest deserts to the coldest tundras, the camera should come out the other side unscathed.
The TG-7 might have a relatively conservative 12MP resolution, although this helps dramatically when it comes to low-light images, as each pixel is larger allowing it to capture more light. Why is this important? Well if you are shooting in darker underwater environments, in gloomy forests, or at night, then you will get higher-quality images.
The Touch also has RAW images, so you can get even more creative control over the final edit of your images. The camera also has a pretty incredible macro mode as well if you find some small details on your travels that you have to capture.
While it might not be up to the same standard as the best action cameras for video (see below for that), the Tough can capture decent 4K video, and will get some perfectly serviceable footage for social and YouTube of your wild adventures!
Read our full OM System Tough TG-7 review
Best action camera for travel
7. DJI Osmo Action 4
✅ You want a camera that can keep up with your travel adventures: the Osmo 4 is hardy enough for whatever conditions you throw at it, weather-sealed and fantastic stabilized footage. ✅ You want a tiny camera: action cameras like the Osmo 4 are great as they are so small they are effortless to travel with.
❌ You want to shoot high quality photos: the 12MP photos from the Osmo 4 can't compete with more dedicated cameras, and the wide angle lens needs lots of corrections. ❌ You need accessories: the market for DJI accessories isn't as big as the more famous GoPro, so if you need niche or cheaper accessories, that might be the brand to choose.
For most adventurer-creators, the Osmo Action 4 is the perfect balance of quality and price. Stabilized 4K video looks great and the camera can take a lot – not just rough and tumble but temperature extremes and it's waterproof to 16m without a case. Best of all, it has a larger image sensor than any other camera on the list, so it is better in lower light, making it more flexible.
DJI did have an interesting experiment with modular design, now seemingly abandoned, with the Action 2, but they do retain powerful magnetic mounts which can even partially survive the heat of an oven (we tried accidentally – see our full review).
Like the more famous competition, DJI has high-quality horizon balancing and image stabilization, which has improved on the Action 3. The resolution limit is 4K, but in practice, this is the ideal resolution for action (and the limit of almost all TVs). More useful is the 120fps capability (or 240fps at 1080P).
The fact that Action 4’s isn’t interwoven with subscription software is one we wholeheartedly appreciate, too, but GoPro seem to finally growing out of this.
Read our full DJI Osmo Action 4 review
Best 360º camera for travel
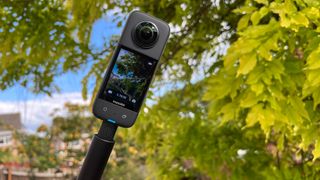
8. Insta360 X3
✅ You want to capture everything: the Insta360 X3 can capture all that goes on around you, perfect for capturing immersive travel content. ✅ You want to travel light: the Insta360 X3 is very small and lightweight, and won't trouble your carry-on bag limits.
❌ You want a versatile camera: the Insta360 X3 is made for one thing, and that is great 360º footage, if you want to capture more, you might need to bring a second camera. ❌ You want artistic images: the Insta360 X3 has big 72MP images but the small sensor means they aren't as creative as a bigger camera.
The new Insta360 X4 has just launched offering 8K video and an updated design, but I still think the X3 offers great features for a much better value, so it remains in this guide for now!
There are times when handling even an action camera's wide-angle lens becomes a problem, and that's where a 360-degree action camera can step in. With two back-to-back lenses and enough smarts to eliminate a selfie stick from the footage, this almost magic camera can capture an image from a point within reach looking any direction you see fit.
I tried it with the bike attachment – which holds the camera a little way in front of the bike, over the front wheel – and was amazed at the footage which makes it look like I'm cycling toward a perfectly controlled drone. Better still, by syncing with my phone I could draw GPS data and have it overlaid, in the form of a speedometer, by the Insta360 app before sharing.
The only real worry is how naked those glass lenses are when the camera is in use; the joy of re-positioning the camera angle after the fact can be hours of fun. 5.7K is good enough for sharing, but more resolution would help pro work.
Read our full Insta 360 X3 review for more details
Best for travel vloggers
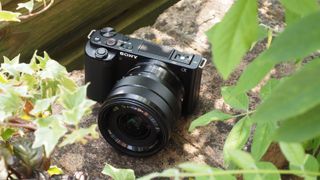
9. Sony ZV-E10
✅ You want ready-to-share footage: this Sony is made for capturing footage with minimal editing to get up on YouTube and social media straight away. ✅ You want excellent audio: the ZV-E10 has built-in stereo microphones that capture some of the best audio possible on a camera without external mics.
❌ You are more interested in photos: the ZV-E10 is not a bad photography camera, but its video focused build means other cameras are better for stills shooters. ❌ You want a viewfinder for framing: if you love a viewfinder for framing shots, then the Sony A6400 is almost the same camera, but with an EVF.
The ZV-E10 makes for an excellent traveler's camera and is one of the cheapest vlogging-focused cameras yet. Combined with its slim dimensions, and wide choice of lenses, this makes it a perfect choice for travelers who want to shoot a lot of video.
The big selling point of the ZV-E10 over other cameras capable of similar video is that the ZV-E10 comes with sophisticated built-in mics and a clip-on windshield for noise reduction, making it much easier to get clean audio on your vlogs even outdoors – which works excellently. Sony has put its years of audio experience into this camera and it shows.
The ZV-E10's 4K UHD video is of excellent quality too, and as we've come to expect from Sony, the autofocus is best in class, whether shooting video or stills. The camera has tracking modes for easy autofocus and digital image stabilization that crops your footage slightly but attempts to iron out any shake, which works well except for in very heavy movement.
And a point worth mentioning is that, while the ZV-E10 may be optimized for vlogging, it's still a capable stills camera with a 24MP sensor, and 11fps burst shooting, so photographers needed worry about restricting themselves with it.
However, if you are more keen on photography than video, cameras in the Sony a6xxx range (like the Sony a6400 ) offer almost the same specs, but with a viewfinder, but you do lose the built-in stereo mics. Making it a tough choice for a hybrid shooter that might want the best of both worlds.
Read our full Sony ZV-E10 review
How to choose the right travel camera
These are five key things to look out for when choosing the right travel camera for your needs.
1) Image quality: Ask yourself how you will use any photos or videos you capture. If you only plan to share content online on social media then any of the above cameras will be suitable. If you plan to print your pictures, though, then mirrorless cameras with larger sensors and higher megapixel counts will produce better-quality results.
2) Focal range: What kind of range do you need for your traveling activities? Compact cameras can have impressive zoom ranges, but to achieve their tiny size they often lack quality compared to mirrorless cameras. For mirrorless cameras, what lenses are available? So-called standard zooms are a great option for all types of travel, but they can also be large and heavy. A wide-angle lens might be best for capturing cities and landscapes, or if you are going to see wildlife or a sporting event then a compact telephoto lens might be best.
3) Size and weight: If you're going on vacation then the last thing you want to take is a heavy kit – especially given things like baggage restrictions when traveling. With that in mind, both your camera and lens(es) need to be small and light. If you want something that can fit in your pocket, get a compact camera – but if you don't mind taking a bag, a mirrorless system with one or two lenses could be more versatile.
4) Simplicity: Don't want to get bogged down with camera settings? Most modern cameras have a range of auto modes – especially compact cameras, which take away the stress. Advanced modes and complicated controls don't usually mix with spur-of-the-moment snaps, so decide what is important to you and pick your camera based on that.
5) Price: The cameras in our list have a range of prices, and we try to include cameras that suit every budget. The price of a camera usually reflects its capabilities, although all the options listed here will take great images and video – so try to strike the right balance between what you need in a camera and what you can afford.
Is it better to use phone or camera for travel?
We covered this a little bit at the start of the article, but the answer is that it is always better to use a camera for stills or video when possible. So the question really becomes, "Do your travel plans make using a camera possible?" Phones are so small and quick to use that they go where cameras are too bulky and slow to shoot. A great compromise is a compact camera – or the Olympus Tough TG-6 , which is a weather-proof camera that goes the places that you wouldn't dare to use your phone!
Is a DSLR or mirrorless camera better for travel photography?
As a travel camera, mirrorless cameras are usually the better choice for most people. They are much small and lighter than DSLRs, and also usually have a selection of smaller and lighter lenses to match. This makes traveling easier as it takes up less space and weight in increasingly restricted carry-on bags. Mirrorless cameras also are generally newer than DSLRs and most likely have more modern technology, making photography and video easier to capture and of better quality.
What size camera lens is best for travel?
Again, this comes down to what your travel plans entail and what you plan to shoot. The kit lens that comes bundled with many cameras will cover the most commonly used focal ranges, so that's a good place to start (though kit lenses do not deliver the best image quality). We recommend checking out the best lenses for travel photography to see what's right for you.
How we test travel cameras
When we are reviewing cameras, we carefully think about what scenarios each camera could be used for. When considering which cameras would make ideal travel cameras, we judge each camera on how small and lightweight it is for easy packing and transport, as well as carrying for long periods of the day while out exploring.
We also consider the technical capabilities of each camera, and how suitable they are specifically for travel photography scenarios from beach vacations to safaris, to city breaks. Finally, we consider the price of the cameras to select options that cover a range of budgets and requirements.
We use our real-world experience with each camera and our in-depth camera knowledge to determine a final selection of top cameras that we would recommend as the ideal camera traveling companions.
Want to find out how we test and review DSLR and mirrorless cameras? We trial cameras both in real-world shooting scenarios and in carefully controlled lab conditions. Our lab tests will generally measure resolution, dynamic range, and signal-to-noise ratio, which gives us a benchmark by which to compare cameras.
Resolution is measured using ISO resolution charts, dynamic range is measured using DxO Analyzer test equipment and DxO Analyzer is also used for noise analysis across the camera's ISO range. Our compact camera evaluations are based on real-world testing alone.
For our real-world testing, our reviewers spend time with each camera, testing it in a variety of shooting situations and providing their qualitative thoughts on how the camera was to use and evaluating the images and video it produced. Here's an example of how we literally take a camera on vacation to evaluate it!
Get the Digital Camera World Newsletter
The best camera deals, reviews, product advice, and unmissable photography news, direct to your inbox!

Gareth is a photographer based in London, working as a freelance photographer and videographer for the past several years, having the privilege to shoot for some household names. With work focusing on fashion, portrait and lifestyle content creation, he has developed a range of skills covering everything from editorial shoots to social media videos. Outside of work, he has a personal passion for travel and nature photography, with a devotion to sustainability and environmental causes.
- James Artaius Editor
Related articles


7 Creative (& Affordable) Ways To Display Travel Photos
Posted on Published: May 19, 2023 - Last updated: March 25, 2024
Categories Photography , Travel , Travel Tips
I don’t know about you, but when I come back from vacation I have thousands of new pictures. The only question is, what to do with them !
Now that photos live in a digital world, and aren’t automatically printed, they can be easily forgotten which is such a shame.
So, here are 7 creative ways to display travel photos . Whether in a physical travel photo album, a no-frame gallery wall , or a high tech changing photo frame, you can make sure those memories are never lost.
Psst! This blog post contains affiliate links in it which sends me a bit of extra money if you use them… at no extra cost to you!
1. Back To The Basics: Make A Travel Photo Album
Making a travel photo album from your digital photos can be done in one of two ways …
The Old School Method: Print & Add Photos Yourself!
Print up all your favourite travel photos the same as when they were taken on physical film. The only difference now is that you can choose to only print the good ones (and eve do some editing before!).
I use Shutterfly to print my photos on standard size prints ( 4×6, 5×7, and 8×10 ), but they also offer square and even large format prints.
You’ll also need to buy a physical photo album to place your photos in once they arrive. And yes, they still sell those!
You can pick up a simple one , like this one on Amazon , to add your photos!
Or, make it more of a scrapbooking project , and buy this album kit to make a truly one of a kind album!
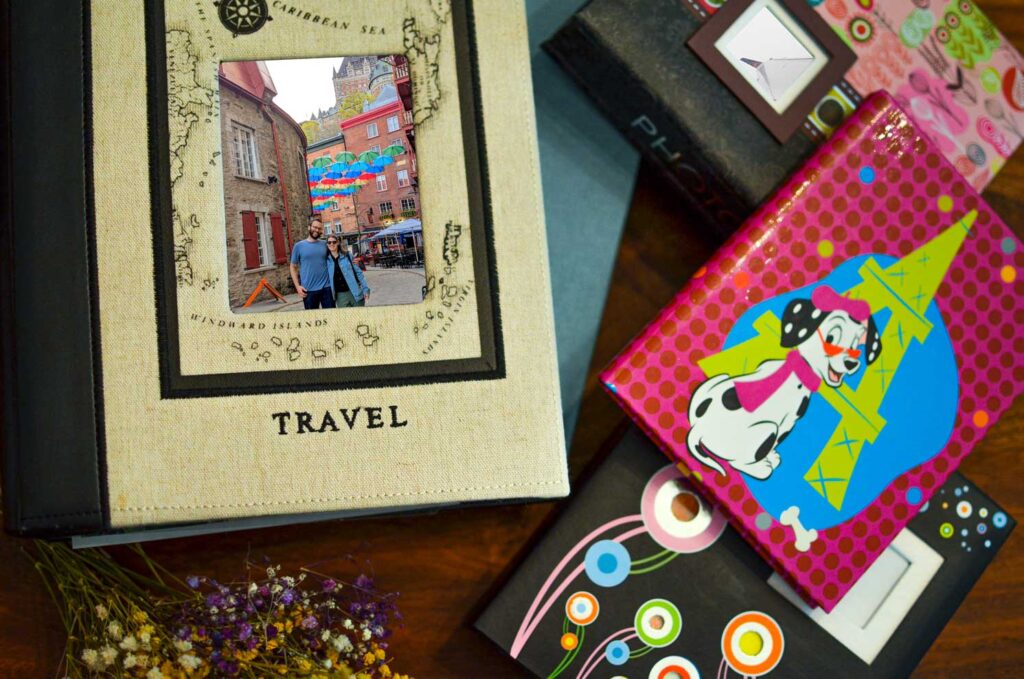
The New School Method: Travel Photo Book
Instead of spending time printing individual photos and adding them to an album, you can do that all digitally. Again, I like to use Shutterfly to make my travel photo books.
It’s more like making a digital scrapbook that you print all at once on one page. You can add different sized images, borders, even stickers, and of course comments!
I make one for every each trip I like making mine 8×8 hardcover books. The lay flat option looks incredible too, but it will add cost of course!
Shutterfly gives you the option for full control over designing your travel photo album. I’ll admit, it’s a big time commitment, but it’s really interesting to see how my editing style has changed over the years!
But if you don’t have time to spend editing, they also give you the option to have them design it for you in 24 hours … free of charge.
Once your travel photo album arrives, leave it on display so you can pick up anytime you want to relive your trip. Or for guests to peruse at their leisure, just like an old school travel photo album!
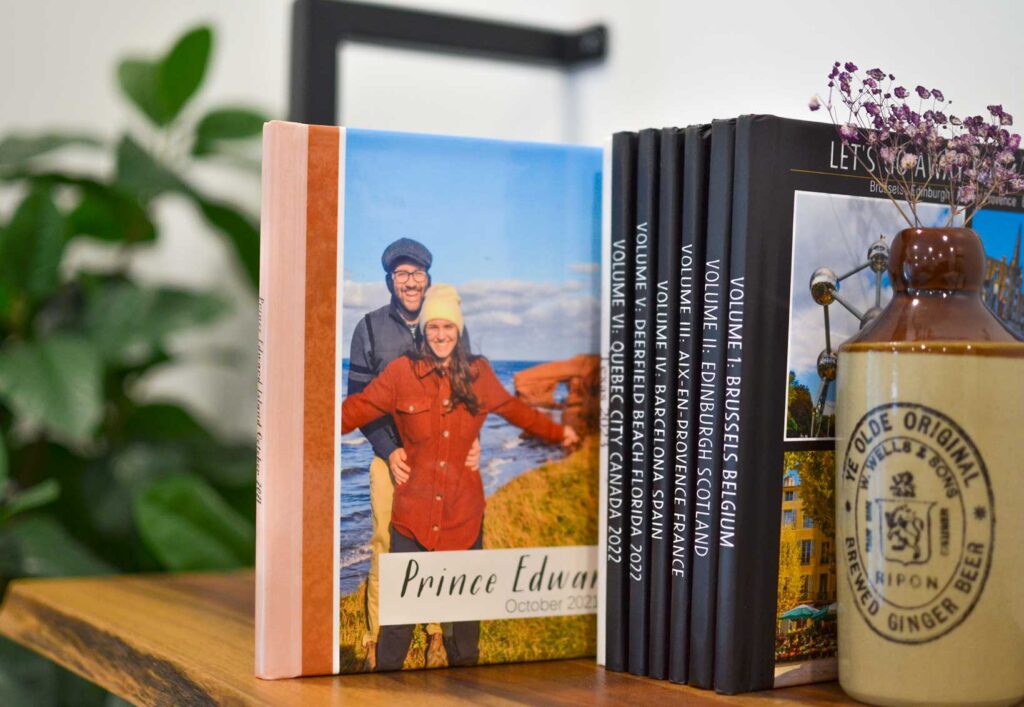
P.S. Shutterfly often has discounts on their books as well, and now they’ve even partnered with Costco giving members 51%.
2. Display Travel Photos By Printing Them On Something Fun!
On Shutterfly, you can also make your photos into so many other fun creations !
So why not print your photos on a pillow, mug, a calendar for the following year, or even a customized luggage tag for your next trip .
I’ve printed my travel photos on a mousepad and fridge magnets, and it’s such a fun way to subtly display your favourite photos from your latest trip!
Check out all the creative options on Shutterfly !
Ideas To Display Photos On Wall
A very common way to display your favourite travel photos is to print them and hang them somewhere in your home.
But the question is, how do you display them on your wall once they’re printed!? Well there are a few options, with pictures frames and without !
3. Creative Ways To Display Photos Without A Picture Frame
There’s no denying, the most expensive part about hanging your photos on a wall is framing them!
So I came up with a creatives ways to display a lot of photos without the need for any frames at all: a growing travel photo wall!
I chose the biggest emptiest wall in my house and printed as many photos as I wanted in a square template. I simply tape as many photos that could fit on the wall.
Don’t worry, I have a full how to make a growing travel photo wall post here .
It’s an inexpensive way to display A LOT of travel photos all at once for everyone to see. I’m also able to easily add to it after every trip – the only real limit is the size of the wall! Plus, it’s a no brainer to mount the photos and even remove them, it doesn’t damage the wall at all!
I’ve added to, and even moved my photo wall now several times! It’s a real show stopper as well when ever anyone comes over. It’s a fun game to see what locations people can recognize.
Step It Up A Notch
If you aren’t sold on the no-frame idea, you can easily step up your photo wall by buying an extra large frame to add all your photos to.
This way, your photos are protected, and it looks a tad more professional! But, it will definitely cost you!
You might also be interested in reading…
- How To Make A Removable Photo Wall (Perfect For Travel Photos)
4. Make A Gallery Wall Or Photo Grid With Travel Photos
For a more traditional way to display your travel photos on your wall, you can also frame them.
For a fun look, create a travel gallery wall with different sized prints and frames. It’s easy to add new photos, and they don’t have to be measured perfectly, or even match!
For a more uniform look , print the same size photo and place them in the exact same frame. It’s a more serious way to display your photos but I find it works really well for themed photos.
For example I printed up all my lighthouse photos from Prince Edward Island and displayed them in my long – and otherwise empty -hallway.
You can also change the photos in the frames after every trip!
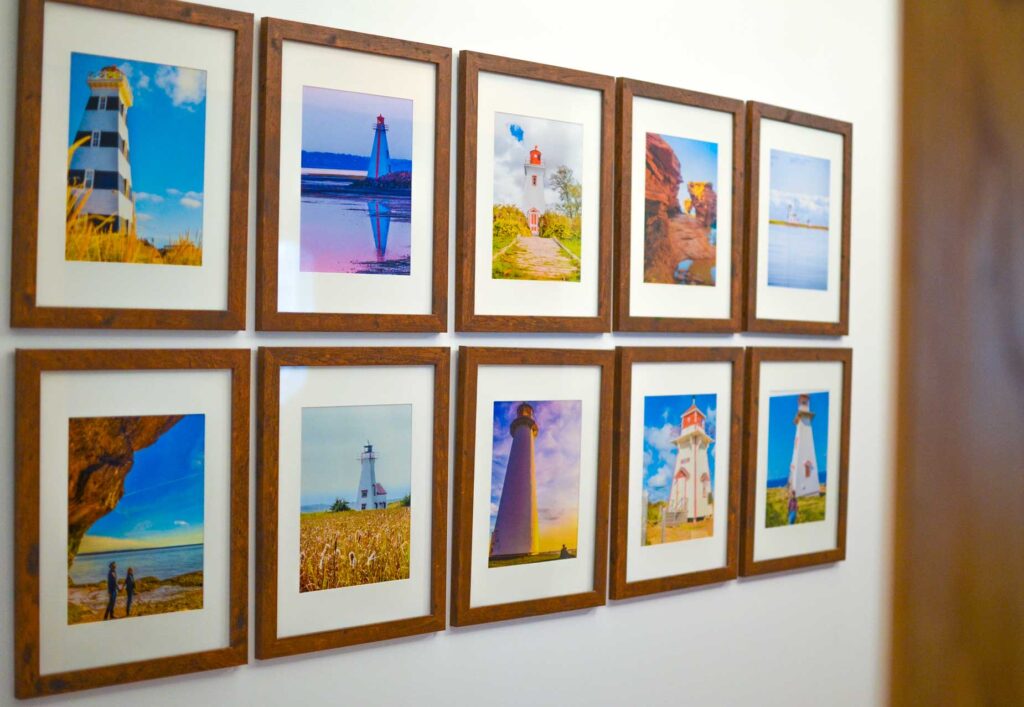
5. Make A Canvas Print (DIY Option)
One of the most creative ways to display photos without frames is to print them on a canvas.
Canvas prints are beautiful and really make a statement on your wall – without the need for any frame at all!
I love the look of photos printed on canvas, but I’ll admit they can definitely add up to a hefty bill (especially for the larger sizes). Several places offer photos prints on canvas, like Shutterfly , or you can attempt to make it yourself…
You can actually transfer a photo print to a canvas yourself. It will cut costs in half, and it makes a really neat rustic look too! Read the full DIY project here.
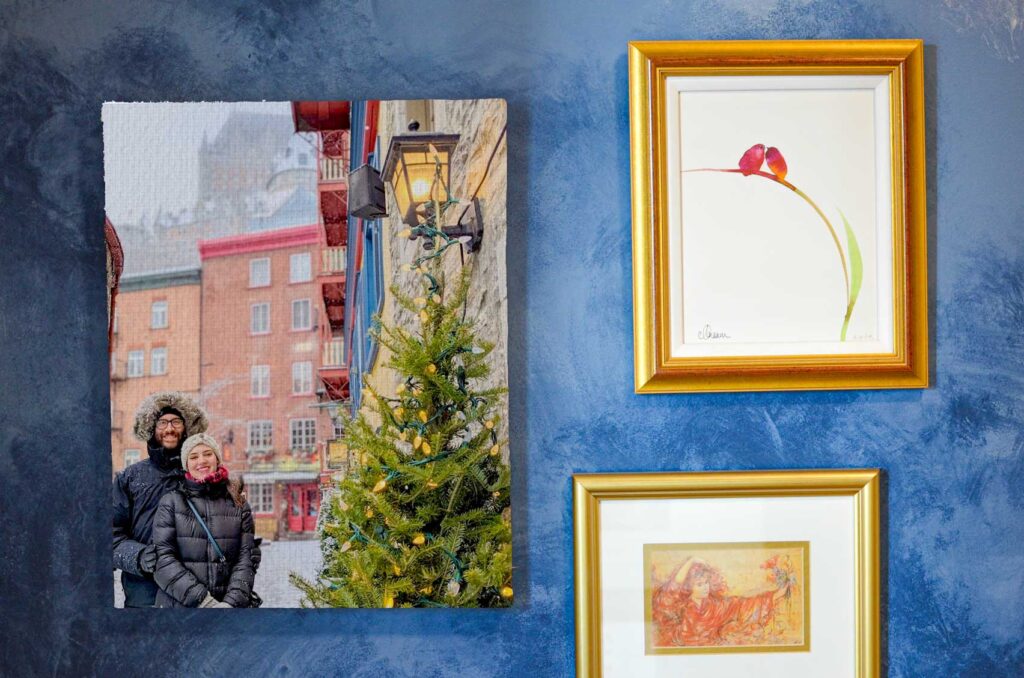
Non Print Ideas To Display Photos
You might not want to spend time, money, or even paper to print and display travel photos from your latest trip, so here are two no print ideas to display photos !
6. Invest In A Moving Picture Frame
A moving picture frame is a hassle free, no printing, way to display travel photos.
It’s a bit on the pricey side at the start, but you’ll save a lot of time, money, and paper in the long run .
It’s so easy to change the photos it displays, and add more after every trip! You have a constantly changing loop of photos.
I have a Google Nest Hub , and honestly I don’t use it for much else other than displaying my travel photos from my most recent trip.
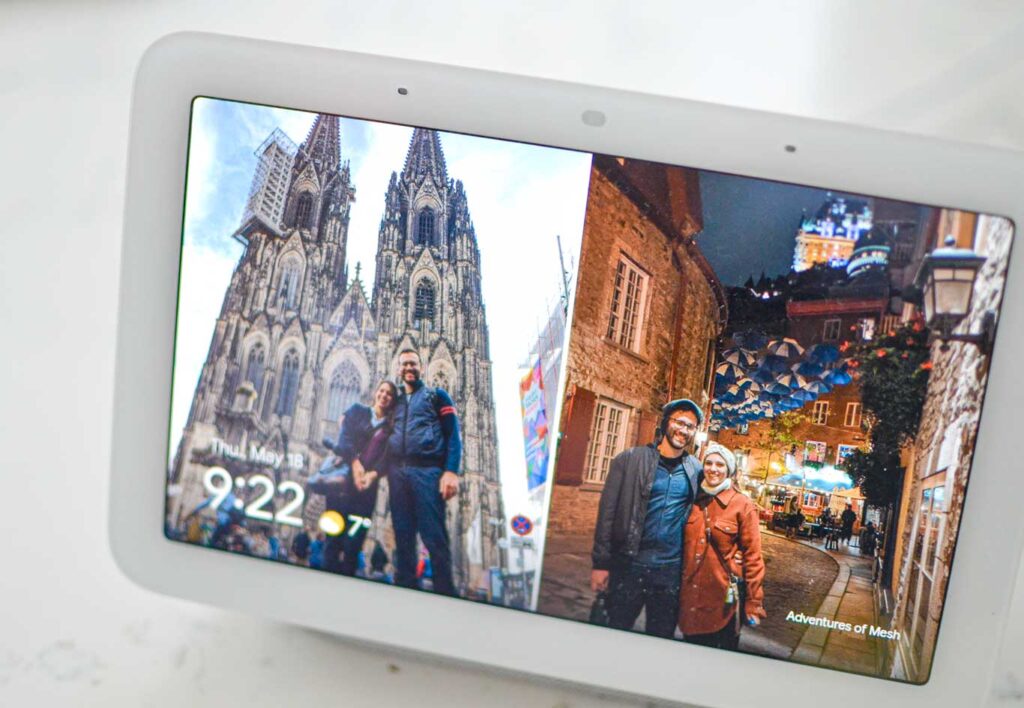
7. Make A Personal Blog For A Non Print Option!
A blog is your own personal website where you can add your favourite travel photos.
It’s your own online space that’s easily accessible and you can even share the URL with friends and family to see (don’t worry, it doesn’t have to be a public blog).
Sign up for WordPress.com , it’s completely free to start adding your photos! You can even add comments to share your favourite stories from your trip with each photo!
The ultimate digital travel bundle: travel planner & daily travel journal
My digital travel planner template has everything you need to plan your vacation. And keep track of your travels every day with my digital and printable travel journal .
See the bundle on Esty .
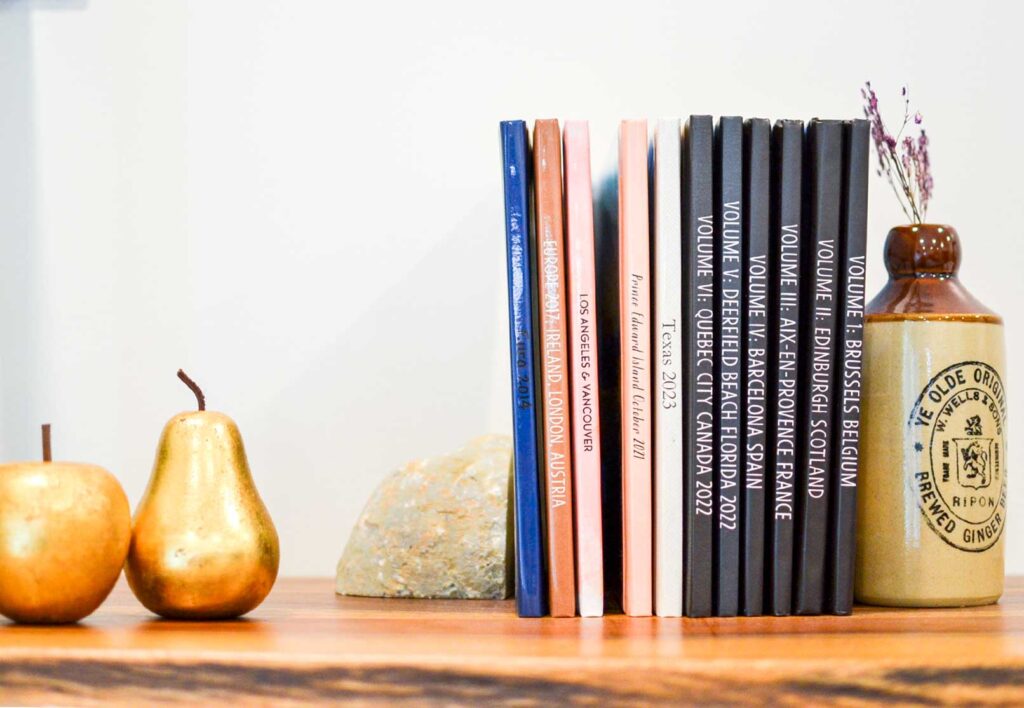
P.S. Learn How To Take Better Group Travel Photos
Stop taking selfies or asking someone to take a photo of you while you’re away. I have a few handy travel photo gear I always bring with me to take the best photos of myself and my travel partners – every time!
Although, if you learn how to take better photos, you might just have a harder time deciding which ones to display when you get back…
Anyway, it’s all about a remote shutter, a mini tripod, and a phone adapter… read more about how to take the best travel photos .
Travel Photo Gear

Read More Related Posts
- How To Take Group Travel Photos By Yourself: My Secret Hack
Click Image To Share Or Save This Post
Last update on 2024-04-26 / Affiliate links / Images from Amazon Product Advertising API
Liveshare Moment
Wednesday 30th of August 2023
These 7 tips you mentioned will be very helpful to travelers to create and display their travel albums. Nice information Thanks for sharing...
Friday 22nd of September 2023
Thanks! I hope so :D

IMAGES
VIDEO
COMMENTS
Take a look! These are our best travel photography tips: 1. Get to Know Your Camera. First, let me make one thing clear. You do not necessarily need expensive camera gear in order to take really nice pictures. Smartphones and entry-level point-and-shoot digital cameras like this one offer excellent quality.
A simple image, but one of my favourite travel photos. Table of Contents. General Travel Photography Tips for Beginners. 1) Know Your Camera. 2) Focus on the Golden and Blue Hours. 3) Plan Your Shots. 4) Learn About Composition. 5) Framing, Framing and More Framing. 6) Move Your Feet.
176. Download and use 100,000+ Travel stock photos for free. Thousands of new images every day Completely Free to Use High-quality videos and images from Pexels.
But if you're just starting out or simply want to edit your travel photos for fun, there are free versions of editing software that should have all the capabilities you need. Try using Canva or Gimp. ... It's full of simple, down-to-earth photography tips that would benefit anyone looking to improve their shots. October 23, 2017 at 1:52 am ...
General travel photography tips for beginners. Here are some travel photography tips that will help you take your photos to the next level. 1. Composition is everything. If you want your travel photos to stand out, try playing around with the composition. Be sure to take photos at different heights, angles, and distances away from a subject.
For the most part, you just need to remember: Slow shutter speed = more motion blur. Fast shutter speed = no motion blur. TRAVEL PHOTOGRAPHY TIP |When travelling, use a shutter speed of 1/200+ in standard light conditions for sharp images. UNDERSTANDING APERTURE/DEPTH OF FIELD.
12 Ways to Take Better Photos. 1. Be Aware of the Sun. This is the most important tip of the lot. Ideally, you want the sun behind you so that your subject is fully lit. If the sun is behind your subject, you'll end up with a much darker, poorly lit image. While this can be done intentionally for effect, for most shots you'll want the sun ...
7. Use of Color. Color is really important in photography, particularly how different colors work well together. For example, blue works well with yellow (sunflowers in a field), and red works well with green (Christmas!). To figure out which colors work well together, take a look at this color wheel.
Renan Ozturk: Chase the light. "My biggest travel photography tip is something really simple, which is just to shoot in the good light," Ozturk said, explaining that good light can be found during ...
Contents. 19 Useful Travel Photography Tips to Take Better Photos. 1 | Keep Your Camera Out. 2 | Understand How Your Camera Works. 3 | Shoot an Auto Mode. 4 | Travel Light. 5 | Do Your Research. 6 | Learn Some Compositional Techniques. 7 | The Three C's.
Here are a few simple tips to follow as you are traveling and learning how to take aesthetic photos—especially when you visit sites that are popular and everyone else wants to visit at the same time as you!. Aesthetic definition: (adj) concerned with beauty or the appreciation of beauty.Examples of beautiful objects are: landscapes, sunsets, humans and works of art.
Easy. Stand with your hand on your hip so your arm creates a triangle. Ta-da! If you look at the photo above, the space I've created by bending my arm and not holding it right against my body highlights my 'hourglass' shape and is much more flattering than if I just stood with my arms down to my sides. Pretty simple.
Tips for Travel Photography: Planning 1/ Do your research. The best travel photography starts before you even leave home. To make the most of every destination, you first need to do your research.Look up the places you're going to on Pinterest, Instagram, or your favourite travel blogs, find out where are the best places to go and the best time of day to go there, and get helpful advice on ...
Poses For Travel Photos. 1. Make triangles with your arms. This may sound a little peculiar at first, but making triangles with your arms is an industry trick-of-the-trade in the world of photography. Making triangles brings definition to your muscles, elongates your torso and, overall, brings more life to every photo.
Browse 159,057 simple travel photos and images available, or search for luggage to find more great photos and pictures. modern luxury house with private infinity pool in dusk - simple travel stock pictures, royalty-free photos & images. Modern Luxury House With Private Infinity Pool In Dusk.
Family photography ideas and Instagram tips for your next family vacation photos. What camera gear to use for your family travel photography. 1. Choose the right camera. 2. Take the right lens along. 3. Invest in some photography accessories. Prepare yourself.
Follow simple composition tips for great photos. Most of the time you don't want to place the horizon in the middle of an image. Here the photographer placed it off center, with lush vegetation filling two-thirds of the frame and the water of the pond filling only one-third of the frame. ©
3. Follow a Grid Layout: Easy as 1,2,3. The simplest, most straight-forward design is a grid layout. The easiest and most versatile layout for your travel photo collage wall is a grid. A well-structured grid layout displaying your travel memorabilia instills a sense of order and sophistication.
Page 1 of 100. Find & Download the most popular Simple Travel Photos on Freepik Free for commercial use High Quality Images Over 51 Million Stock Photos.
Search from Simple Travel stock photos, pictures and royalty-free images from iStock. Find high-quality stock photos that you won't find anywhere else.
These are the best compact cameras for travel — my personal favorite being the Canon G7X Mark II. Canon G7 X Mark II - Check Prices Here. Details: This small camera has built-in wifi, 20.1 megapixel, full manual mode option, captures RAW & JPG, ISO 100-12800, 24-120mm equivalent F2-3.9 lens.
The Quick List. Best compact. 1. Fujifilm X100VI. Preorder at BHPhoto. View at Adorama. Check Amazon. Travel cameras should be small and light, but not lacking in features for amazing photos and video. The Fujifilm X100VI ticks all of those boxes, with a diminutive size, but 40MP images and 6.2K video.
6. Invest In A Moving Picture Frame. A moving picture frame is a hassle free, no printing, way to display travel photos. It's a bit on the pricey side at the start, but you'll save a lot of time, money, and paper in the long run. It's so easy to change the photos it displays, and add more after every trip!
Craving over-the-top getaways is out. What's in? Using easy redemptions to enjoy travel right now. We've all seen it: the point hustlers with credit cards splayed out like a winning poker hand ...
0 Followers, 0 Following, 0 Posts - See Instagram photos and videos from Dillon's Wanderlust Made Easy (@travel_with_dillon)