

Journey To The Savage Planet

- Some people, myself included, encountered issues with achievements unlocking in co-op. This does not strictly apply to co-op achievements, but ones that can be done either way. Sometimes, they'll unlock only for the host, and sometimes the other way around. For co-op achievements, try unlocking it via different methods like letting the other player get the final blow/unlock, leaving someone inside or outside the arena, and so on and so forth. For single-player achievements that aren't popping, just unlock them later in a solo game. If for some reason nothing works, well, nobody's going to know or judge you for using something like SAM.
- Pretty much everything here that is not solo-only is WAY easier and faster when done with at least one other person. I recommend using co-op to grind some of the more tedious achievements like completing the Kindex and getting every goo on the planet.
- If you want to 100% the game, get used to scanning every little thing, even if you don't care about the lore or anything about the planet. You need a certain percentage of scans in order to progress in Research levels, and if you are scanning everything along the way then you can easily meet prerequisites before you ever need to worry about them.
- It's impossible to miss scans. If you kill a boss and forgot to scan it, just come back later. Collected a resource and forgot to scan the rock? Just scan it later. I don't think there are any items that you can actually miss scans on- if there are, I have yet to find any.
- If you want to 100% the game, you need to own the Hot Garbage DLC, as some Steam achievements are tied to it.

- Nomad Pistol
- Fast Reload
- Fastest Reload
- Advanced Battery
- Advanced Battery 2
- Advanced Battery 3
- Advanced Battery 4
- Improved Battery
- Improved Battery 2
- Improved Battery 3
- Improved Battery 4
- Supercharged Shot
- Bounce Shot
- Bounce Bomb
- Basic Utility Belt
- Better Utility Belt
- Best Utility Belt
- Bombegranate Stabilizer
- Bombegranate Booster
- Blight Bomb Stabilizer
- Blight Bomb Booster
- Shock Fruit Stabilizer
- Shock Fruit Booster
- Standard Spacesuit
- Proton Tether
- Advanced Proton Tether
- Live Sampler
- Precious Stuff Magnet
- Landing Impact Nullifier
- Faster Refuel
- Launch Boosters
- Advanced Launch Boosters
- Jump Thrusters
- Triple Thrusters
- Quadruple Thrusters
- Stomp Boosters
- Advanced Stomp Boosters
- Smart Visor
- Smarter Visor
- Alien Goo Detector
- Alien Artifact Detector
- Alien Alloy Detector
- Fuel Detector

- Gelatinous Blob
- Binding Bile
- Grapple Seed
- Bombegranate
- Blight Bomb
- Shock Fruit

- You need to beat Teratomo and get off the planet to beat the run. You don't need to scan everything, find every collectible, or even find every fuel canister, just enough to get off the planet. You don't even need to get every upgrade, although having more mobility will certainly make life easier.
- You have a timer at the bottom, but don't let that scare you. You are under no time pressure to complete the run.
- You have a limited number of lives (3 to start out with), which are shared in co-op. However, you can find 3 bobbleheads hidden in the game, each of which gives you an extra life, and inputting the Konami code will give you another.
- Do this after you've beaten the game at least once, the experience will help you stay alive.
- Collecting the bobbleheads requires a lot of backtracking, so it may not be worth going after unless you want to hear the AI's funny dialogue.
- Falling off the edge of the island, like in a normal game, doesn't count as a death. The term "dying" still only applies to losing all your health from combat or fall damage.
- While you play, collect every goo you can along your way. If you collect goo as you go along, you can be more reckless and take some more hits later on. It just makes life easier. No need to go off the beaten path to find every goo, just enough that you feel comfortable taking on the bosses.
- If you're playing co-op and you just want to get everything done quickly and easily, have one person focus on main objectives, while another focuses on exploration and research tasks.

- Unlocks after completing More Jiggawatts!
- 150 Aluminum
- 300 Silicon
- Unlocks after completing Ultrathoner .
- 200 Aluminum
- 200 Silicon
- Unlocks after you collect your first Postcard.
- Unlocks after completing Strange Filth .
- 100 Aluminum
- 100 Silicon
- Unlocks after completing The Toxic Revenger .

- Javelin Habitat
- Outside the Javelin
- Towering Crystals
- Meteor Crater
- Cliffs of Mt. Gzarfyn
- The Broken Bridge
- Tower's Entrance Only unlocked near the end of the game.
- Planetary Flotsam
- Festering Chasm
- Fungi of Si'ned VII
- Festering Overhang
- Matriarch's Lair
- The Enigmatic Spire
- Xerophilous Landing
- Repaired Teleporter
- Pillars of Xzorgana
- Tears of T'bo
- Slamphibian Pit
- Crackling Pedestal
- Moist Vestibule
- Vault Floor 4
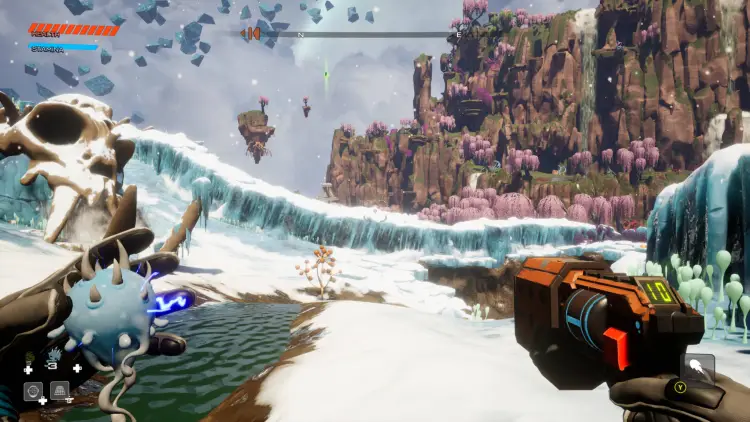
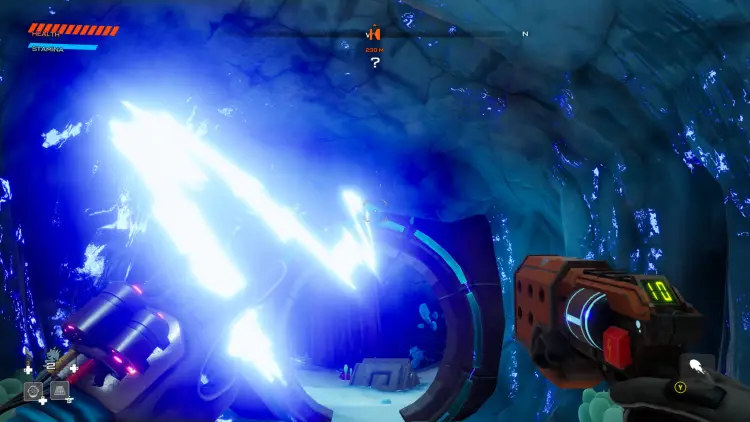
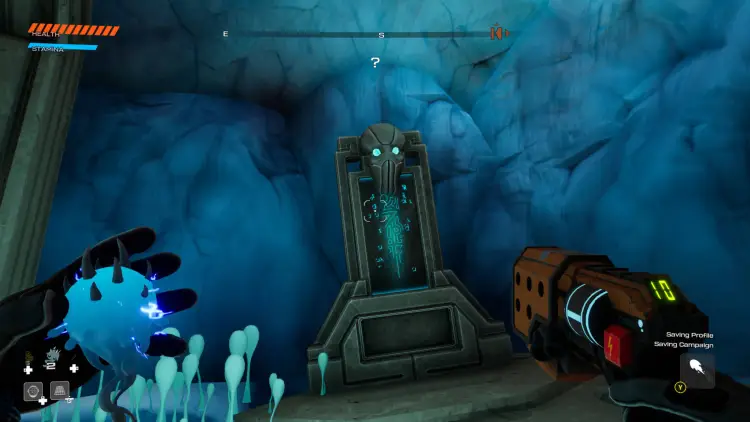
- Shangtar's Frigid Embrace: You might remember, near the beginning of the game, a passageway you couldn't enter underneath the massive skeleton. Once you obtain the Shock Fruit, you can enter and find an Enigmatic Tablet and an Orange Goo inside.
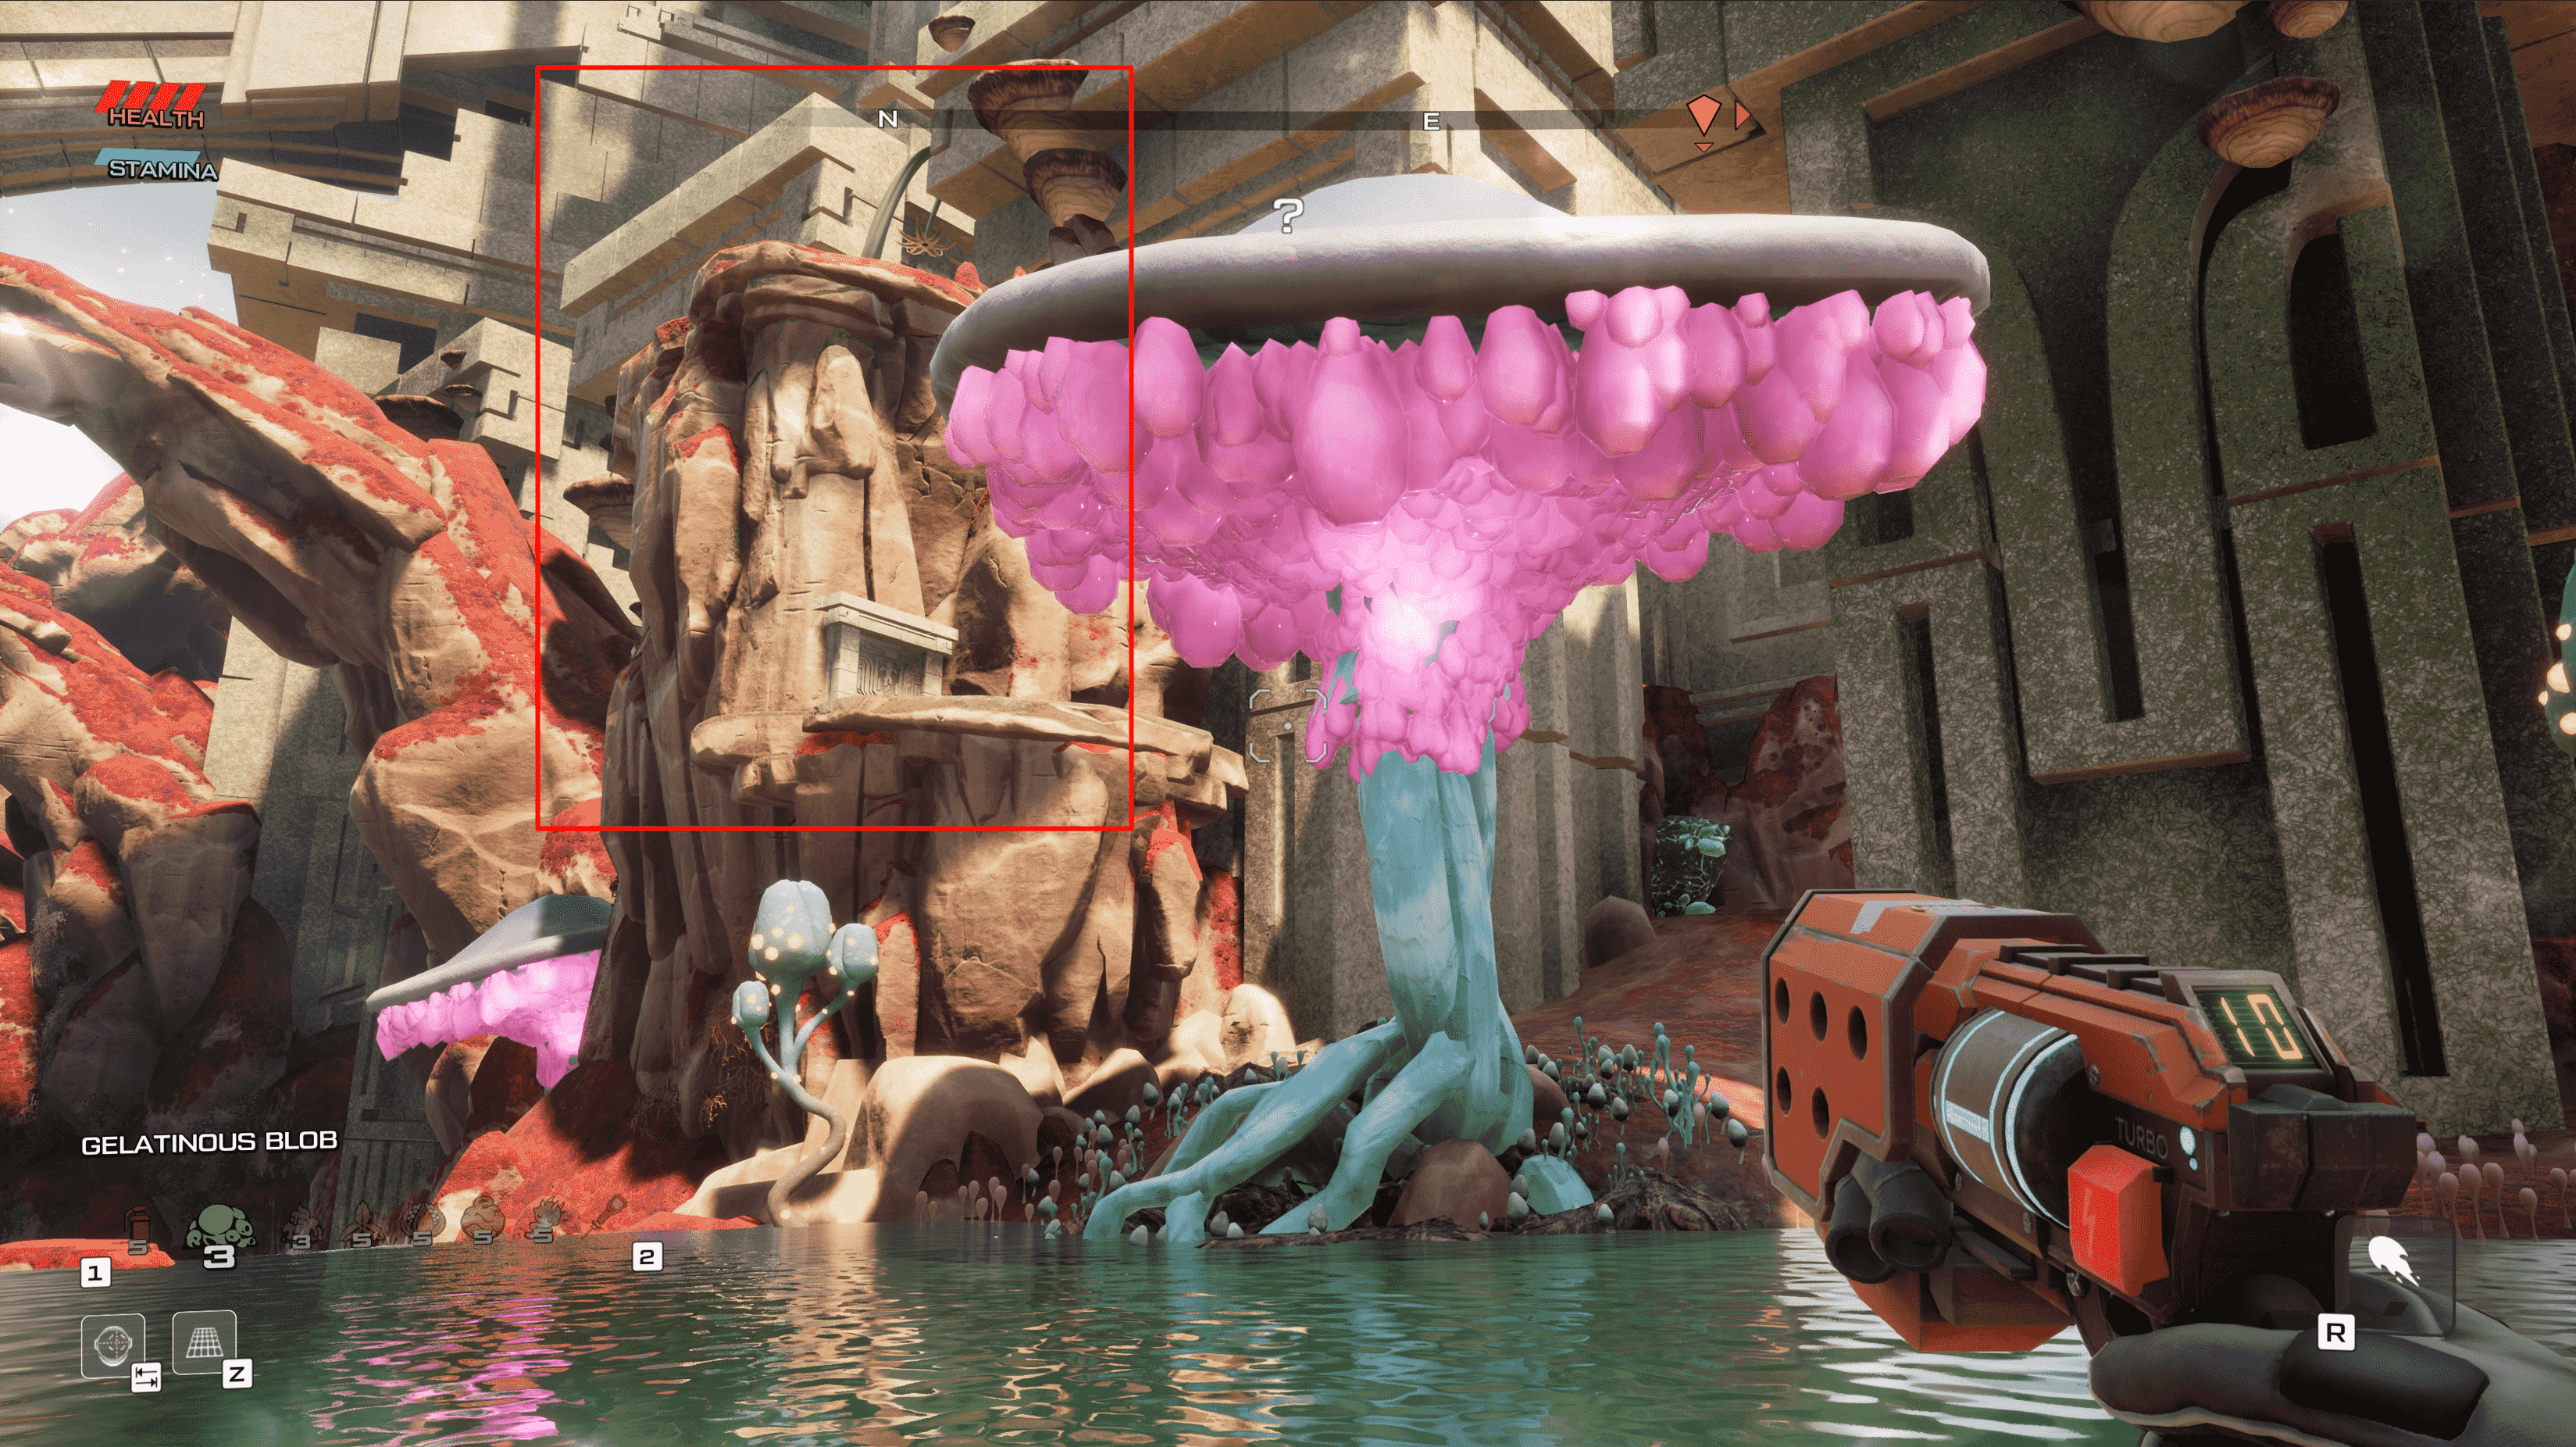
- The Fungi of Si'ned VII: (Triple Thrusters required) See image above. From the teleporter, head north, past the Advanced Proton Tether Shrine, and you'll find a small pond. Keep walking north until you stand at its edge, and look to the right. You'll see a few platforms, one of them with a Leaping Alien Petroglyph. However, you don't need Launch Boosters to access this area at all, you can make it up here with Triple Thrusters (you can make it onto the mushroom with just having the normal Jump Thrusters but I could never get up all the way without the Triple Thrusters). Reach the top, jump into the hole, and you'll be treated with an Enigmatic Tablet along with some Silicon and Aluminum.
- Festering Chasm: (Grapple Seeds required) From the teleporter, head north until you reach the Virulent Tree. Once you reach it, head west and you'll find a cave. If you have Grapple Seeds, you can figure out the rest.
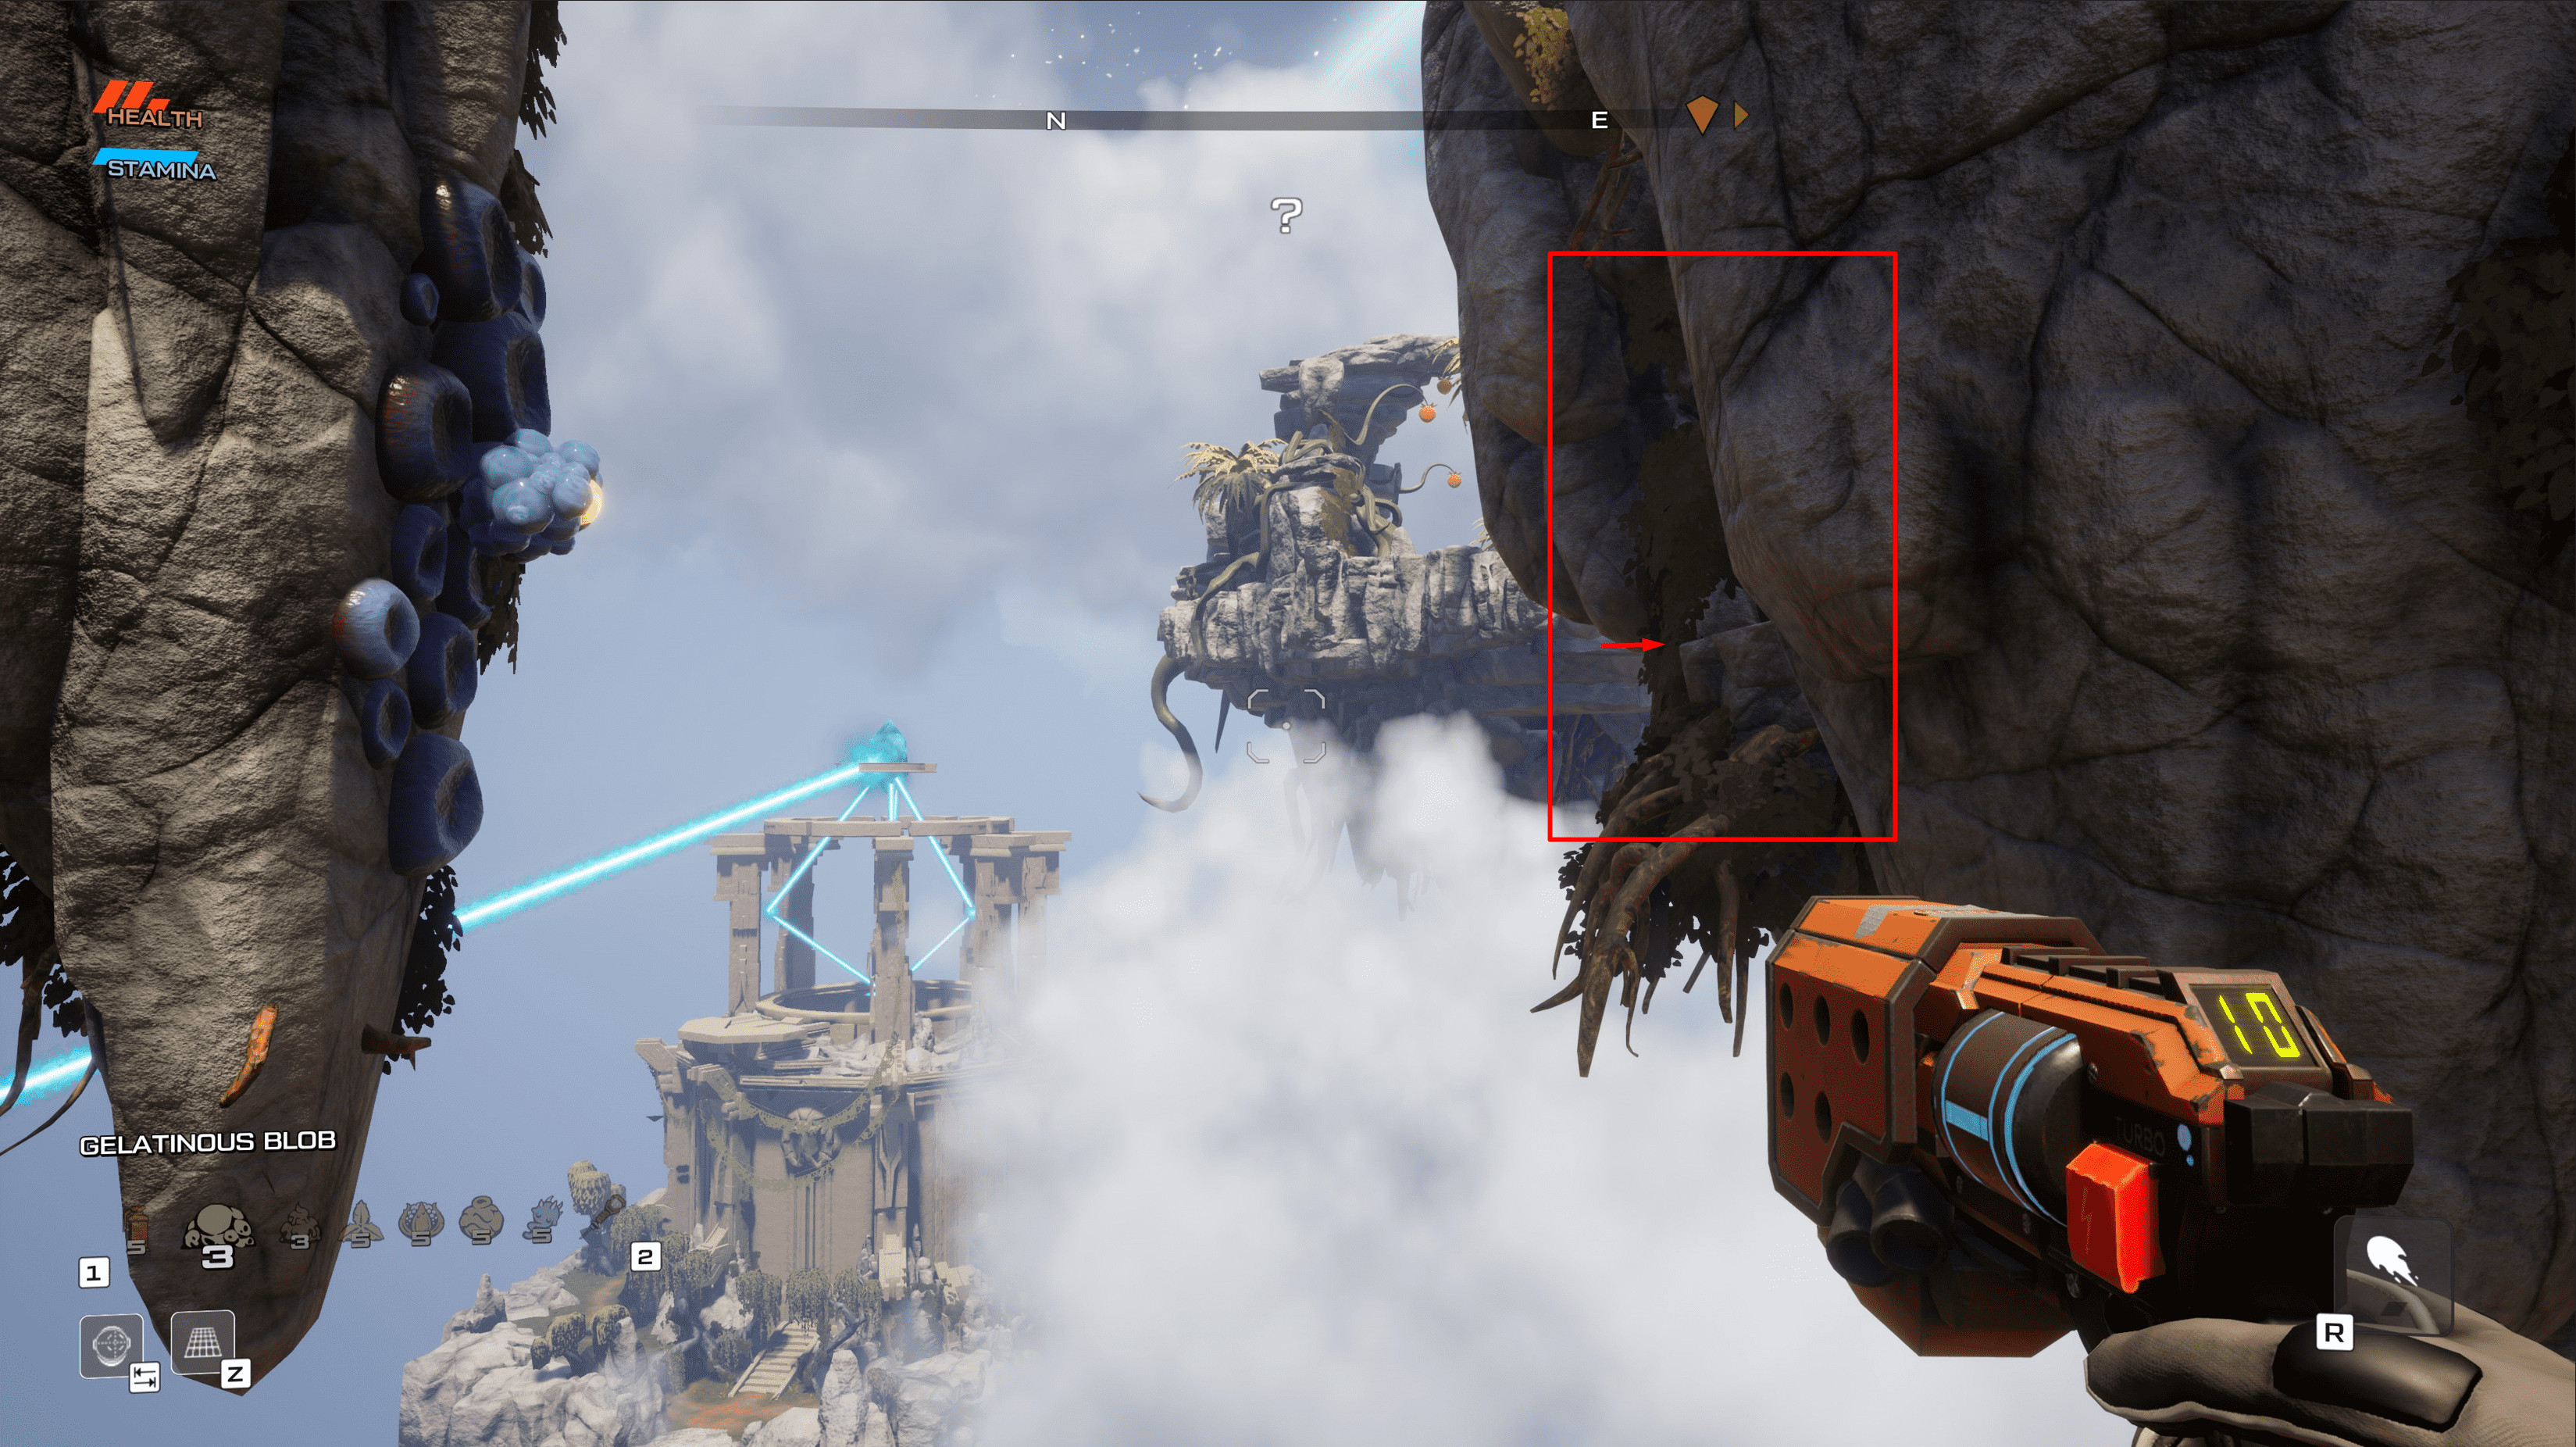
- Tears of T'bo: (Either Grapple Seeds or Triple Thrusters required) See image above. From the teleporter, head northwest into a small body of water. There is a waterfall here, with an Aluminum Vein to its left. Jump up to the Aluminum Vein. You'll spot several descending platforms with Grapple Barnacles on a wall near the end. You can just use a Grapple Seed to reach the ledge with the tablet, or just use Triple Thrusters to reach the ledge that's directly in front of those same barnacles. The arrow in the image is pointing to the platform's edge, which you can safely jump to.
- The Pillars of Xzorgana: (Grapple Seeds required) From the Repaired Teleporter, head southeast, under the stone arch. You'll see a large horizontal pillar sticking out of the rocks with Grapple Barnacles on it. Go directly underneath this pillar and break the Fragile Crystals. You need Grapple seeds to go through this cave.
- Plork's Sizzling Gauntlet: (Stomp Boosters and Shock Fruit required, Quadruple Thrusters recommended) From the Xeriphilous Landing teleporter, head northeast. Past the edge of the island, you'll find several descending platforms heading underneath the island. They lead to an Alien Proximity Door, with a Cracked Stone Grate behind it. As soon as you break the grate, you'll be dropped into a gauntlet that forces you to run through lasers in order to reach the end. The reason I recommend having Quadruple Thrusters for this is that they let you bypass a majority of the gauntlet before it even starts, simply by jumping over it. In the end, you're treated to an Enigmatic Tablet alongside two Carbon, three Silicon, and three Aluminum Veins.
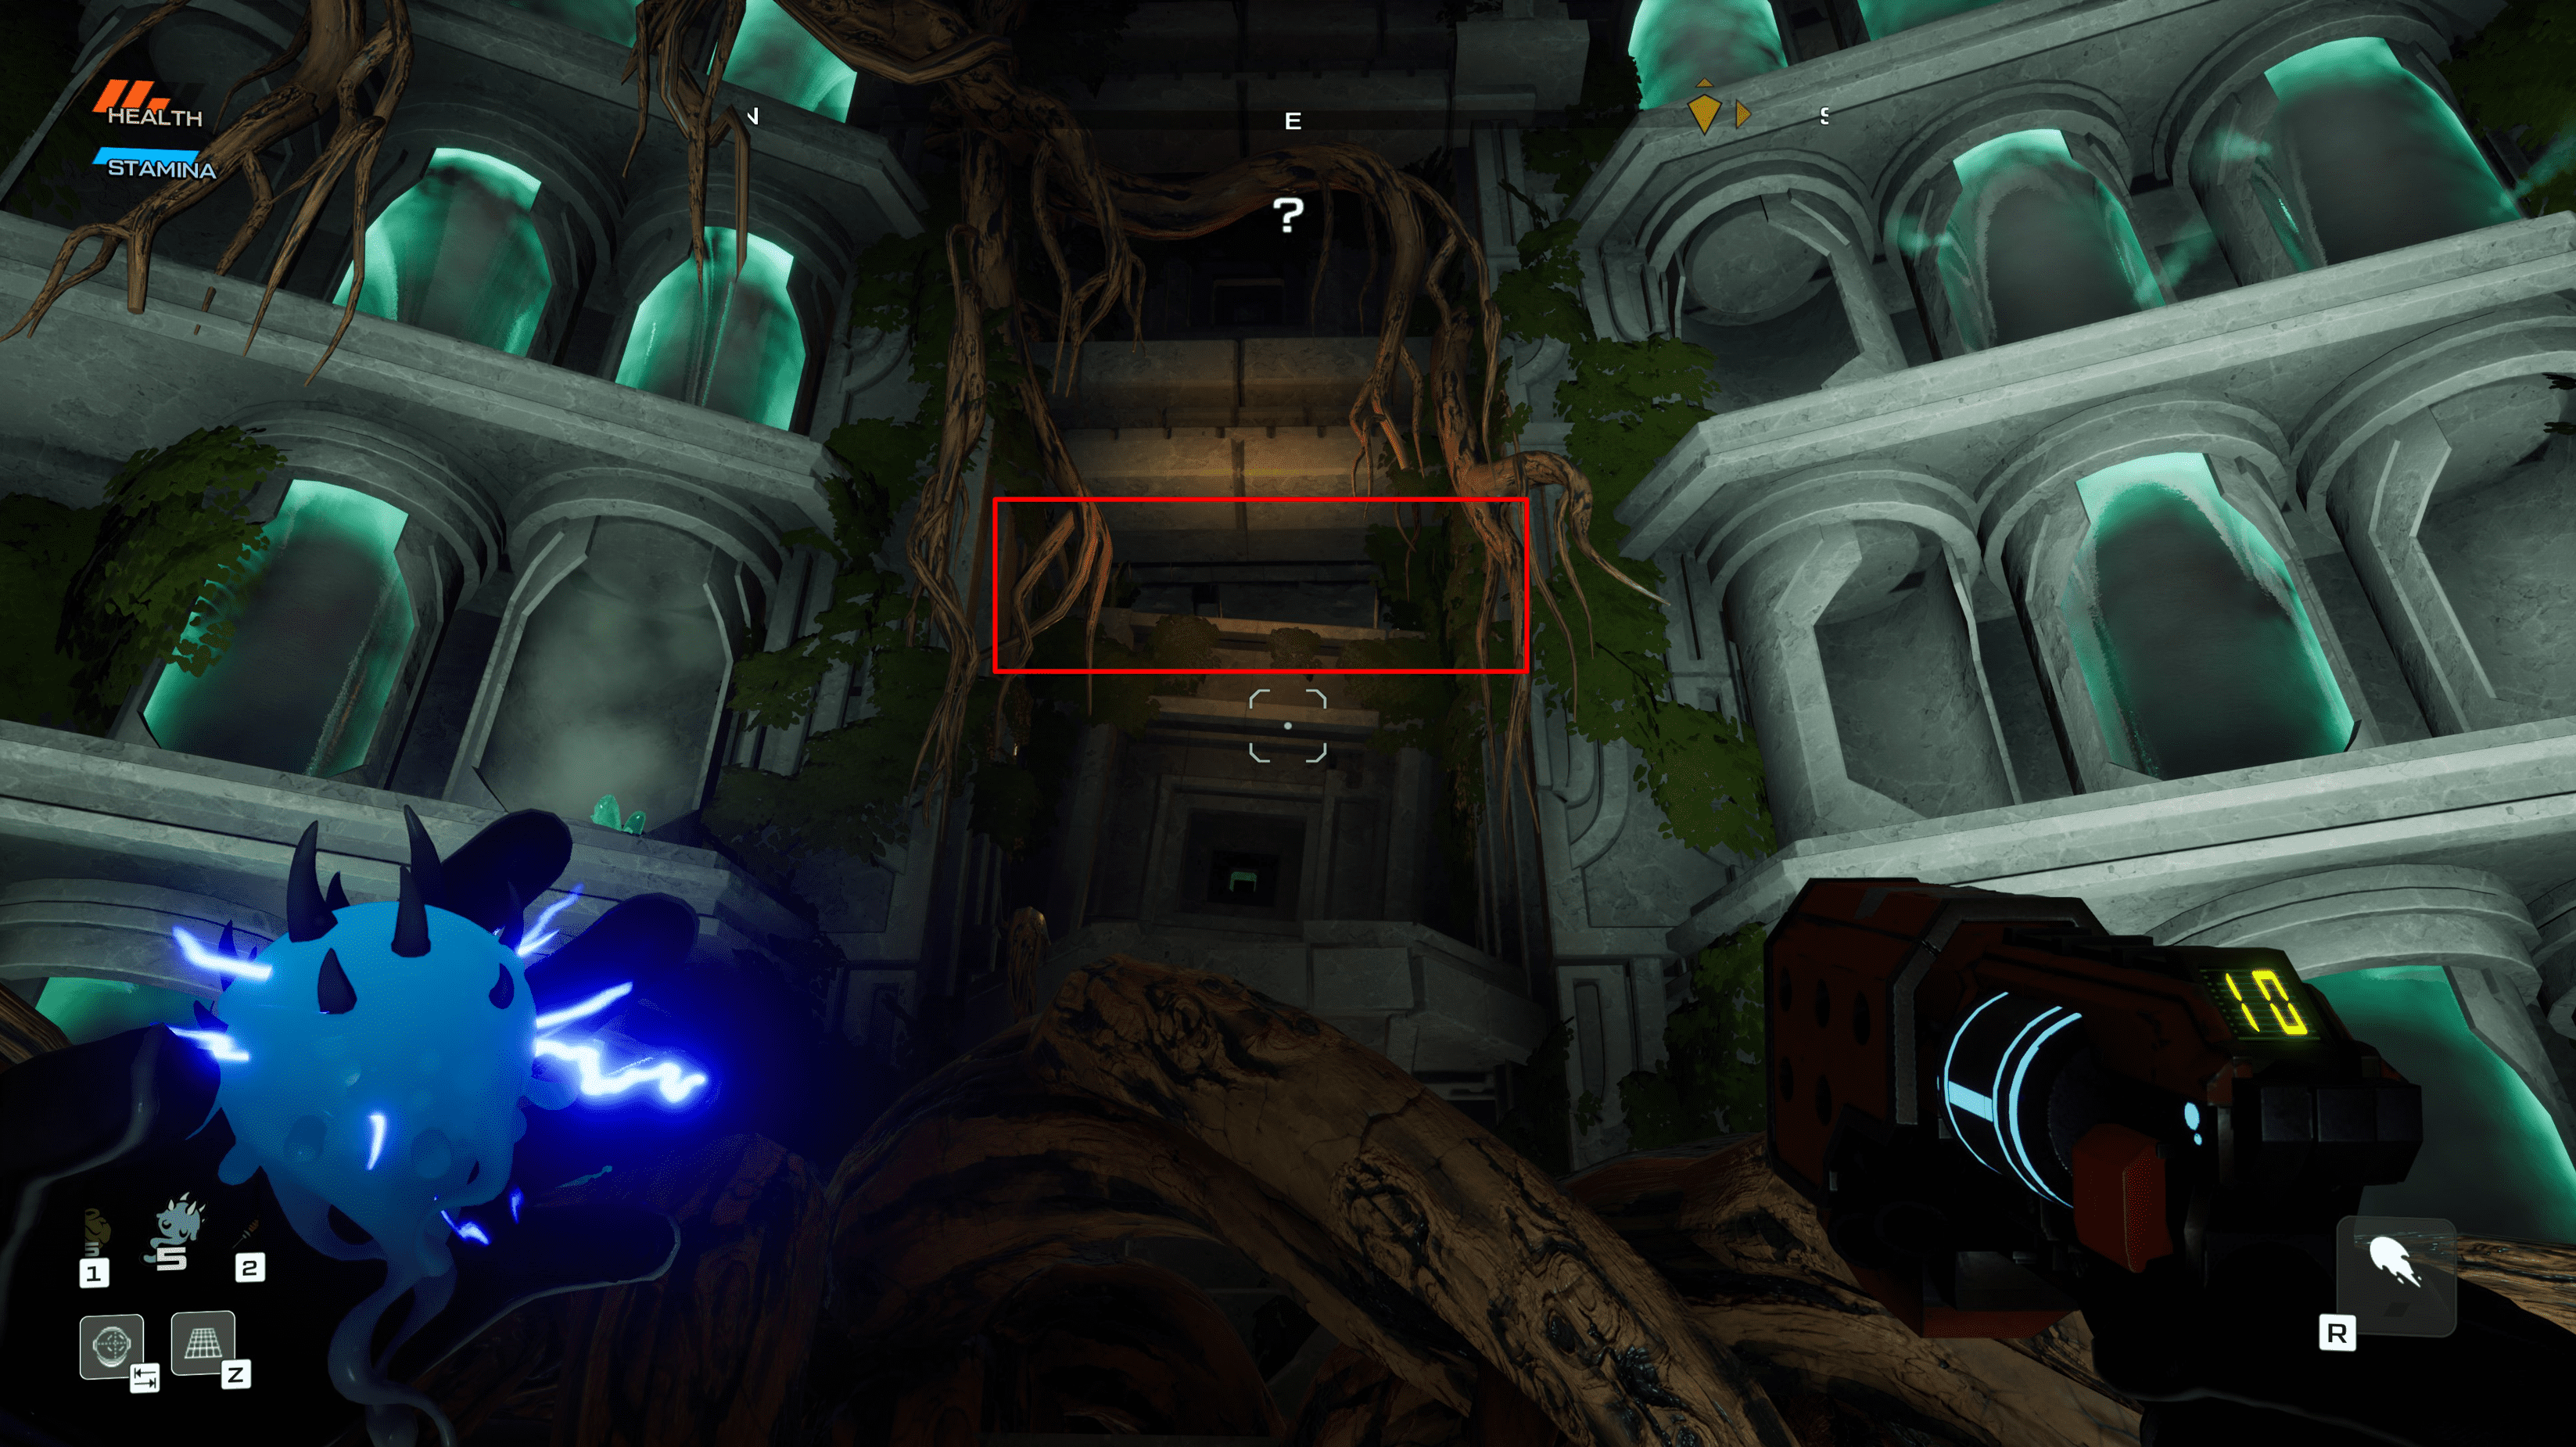
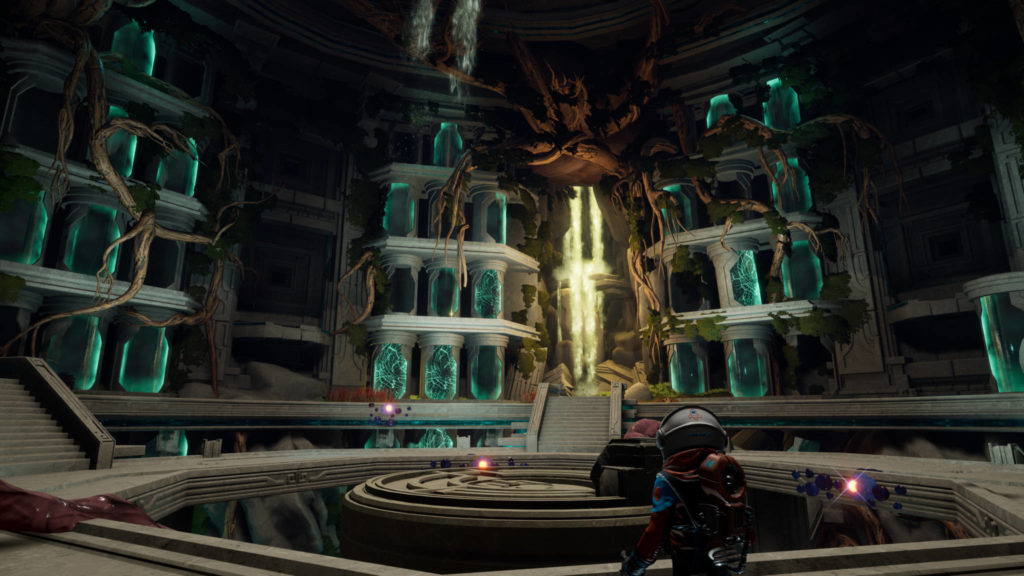
- The Spire's Heart: See image above. On the bottom level, face the south wall with all the Seed Preservation Pods. In the second row from the top, the left breakable pod contains an Enigmatic Tablet.
- Outside the Javelin: From Shangtar's Frigid Embrace, head back toward the Javelin but take the path on the right. There's a gap you need to jump, which you can do with a single Gelatinous Blob. Head north around the rocks, and you'll reach the goo.
- Shangtar's Frigid Embrace: To the south, on a rock surrounded by Pufferbirds.
- Shangtar's Frigid Embrace: On a platform to the south that leads to a Grapple Flower- you can reach the platforms with Gelatinous Blobs and a single Jump Thruster, but it's a bit tough.
- Shangtar's Frigid Embrace: High platform in the south. Proton Tether required.
- Shangtar's Frigid Embrace: Floating island off to the south, reachable from the high platforms. Proton Tether and Bombegranates required.
- Shangtar's Frigid Embrace: Under the giant skeleton.
- Shangtar's Frigid Embrace: Under the giant skeleton, behind the Alien Proximity Door. Shock Fruit required.
- Shangtar's Frigid Embrace: High platform in the north, above the Vaultivore. Quadruple Thrusters required.
- Shangtar's Frigid Embrace: Behind a Meat Vortex in the Burgle Haven area, accessible from under the giant skeleton.
- Jellywaft Basin: Across the frozen lake.
- Jellywaft Basin: Behind the waterfall.
- The Verdant Wilds of Zyl: From the rock arch you need to pass through when going north, head west. There's a breakable wall in the ice.
- The Verdant Wilds of Zyl: In the northern area around the teleporter, it's hanging underneath a rock arch. Jump Thrusters plus a Gelatinous Blob are all you need.
- Towering Crystals: From the teleporter, head south and look in the Tentaweeds.
- The Verdant Wilds of Zyl: On a floating island west of the Towering Crystals teleporter. Proton Tether required.
- The Verdant Wilds of Zyl: From the giant log through which you first enter the area, head southeast and look over the edge. It's hanging above some platforms.
- The Verdant Wilds of Zyl: From the location of #17, follow the edge of the island while keeping it to your right until you find some water. It makes a waterfall off the cliff, which is hiding a small cave. You need Grapple Seeds to leave safely.
- The Verdant Wilds of Zyl: From the giant log tunnel, head south and follow the edge of the island. You'll find a descending path that leads to a cave and another path with Bombodoros. Go down this path and you'll find a goo in a small cave.
- The Verdant Wilds of Zyl: From the giant log tunnel, head east until you reach the Towering Statue. Jump down from there and go northwest. There's a small area with a Meat Vortex protecting an Alien Goo.
- The Verdant Wilds of Zyl: From the giant log tunnel, head northeast. There will be a Tentareed cluster near the rock wall.
- Kayn's Icy Refuge: This is the other cave on the path that leads to #19. Head inside and to your right, there will be a ledge. Jump Thrusters are required.
- Kayn's Icy Refuge: Head further into the cave past #20. Eventually, on your left side, there will be a room obscured by Fragile Crystals. The Alien Goo is hanging from the ceiling.
- Tranquil Crevasse of Tranquility: Several Meat Vortexes guard the path forward when you first start out- behind the second one is a breakable wall. Bombegranate required.
- Tranquil Crevasse of Tranquility: Heading south from #24, there will be Tentaweeds along the path up. It's in the second patch.
- Tranquil Crevasse of Tranquility: After the third Meat Vortex up here, head southwest after entering the open area. It's hidden in Tentaweeds.
- Tranquil Crevasse of Tranquility: From the Meteor Crash teleporter, look over the east edge and jump down there, then get into the room the Meat Vortex is protecting. Gelatinous Blob required.
- Tranquil Crevasse of Tranquility: From #27, once you leave that area, head north. There's a breakable wall hidden under a rock platform. Bombegranate required.
- Tranquil Crevasse of Tranquility: From the Meteor Crash teleporter, head northwest, across the stone bridge. Keep heading in this direction until you reach the far end of the platform, behind the large stone pillar. It's sitting on the edge.
- Tranquil Crevasse of Tranquility: From the Meteor Crash teleporter, head north, across the bridge, and ascend the crystal platforming section. Go up the three crystals, then another three, then you jump from one platform to another, go up two more crystals, and when you reach the next rock platform, stop and look south. You'll see the goo in a little nook in the rocks, reachable with Jump Thrusters.
- Tranquil Crevasse of Tranquility: From #30, jump back to the same platform where I said to stop earlier, and this time look north. There's a small cave, goo is at the end.
- Tranquil Crevasse of Tranquility: On the platform directly above #30, hidden in Tentaweeds.
- The Smoldering Abyss: In the first room, go through the left tunnel, and keep going left until you reach another lava room. You want to land on the leftmost platform in this room, where you'll find the goo.
- The Smoldering Abyss: In the first room, go through the left tunnel, and keep taking the paths lit up with blue crystals. You'll reach another lava room and there is a small platform to the left, right above the lava, with a Vitality Plant and the goo.
- Towering Crystals of Madness: Floating island above the teleporter, accessible with the Proton Tether after you ascend the crystals.
- Towering Crystals of Madness: Ascend the crystals, then head south, stay near the edge. Once you reach a spot you need to jump up, jump to the area below with the Pikemanders instead and head southwest. It's in the Tentareeds near the far edge here.
- The Cliffs of Mt. Gzarfyn: From the teleporter, head southeast. There's a breakable wall, Bombegranate required.
- The Cliffs of Mt. Gzarfyn: From the teleporter, head southwest. It's in a patch of Tentaweeds.
- The Cliffs of Mt. Gzarfyn: From the teleporter, head south and keep going through the mist, and you'll find it in a patch of Tentaweeds.
- The Verdant Wilds of Zyl: Found at the very top of the crystal platforming section guarded by Barfers. However, I found it's easiest to get here from the Cliffs of Mt. Gzarfyn teleporter. From there, head south, to the location of #39, and jump down to the closest platform. To the west, there are Grapple Barnacles leading you up to a breakable wall. You can jump down here from the location of #39 as well, although it might take you a few tries. Otherwise, you need Grapple Seeds to get this.
- Zor's Planetary Flotsam: From the teleporter, head to the island directly west. The goo is sitting atop the rock pillar on that island. You need Gelatinous Blobs or Launch Boosters to reach it.
- Zor's Planetary Flotsam: On the same island as #1, hidden in the Tentareeds and weeds.
- Zor's Planetary Flotsam: From the location of #1, there is an island to the north. Proton Tether required.
- Zor's Planetary Flotsam: From the teleporter, head south, to the island with large Ambers on it. The northernmost one is hiding the goo.
- Zor's Planetary Flotsam: From the teleporter, head to the southwest island, it has large Ambers on it. In the Tentaweeds in the eastern part of the island, there's a goo.
- Zor's Planetary Flotsam: On the same island as #5, the northwestern Amber deposit is hiding a goo.
- Zor's Planetary Flotsam: On the island with the Launch Booster Shrine, there's a Meat Vortex. Feed it and get your goo.
- Zor's Planetary Flotsam: On the island being guarded by the Sproutlook, on the lower level, in the southeast.
- Zor's Planetary Flotsam: From #8, head to the island to the southwest. Advanced Proton Tether required.
- The Gaseous Underbelly: From the entrance from Zor's Planetary Flotsam, the first room has a small cave on the lower level, in the western wall.
- The Gaseous Underbelly: On the lowest level of the cave, before going up the area with waterfalls, there is a small cave in the southern wall.
- The Gaseous Underbelly: Standing at the edge of the lowest platform with Cave Pufferbirds (not Infected ones), look to the northwest, on the same level. There is a Grapple Flower on the ledge going there. That's a cave that has a goo at the bottom.
- The Gaseous Underbelly: On the same platform as #12, look toward the south. There is a waterfall right next to a Grapple Flower, and it's hiding a goo. Note: I think there's supposed to be a breakable wall, but I'm not 100% sure.
- The Gaseous Underbelly: In the first pool of water that the light hits, when you're coming out of the cave. A waterfall is pouring onto it.
- The Fungi of Si'ned VII: From the teleporter, head south, through the rock arch. There are two waterfalls pouring into The Gaseous Underbelly. Above the one on the right, there is a cluster of Tentaweeds hiding a goo.
- The Fungi of Si'ned VII: From the teleporter, head southeast, into the giant dead tree. At the top, there is a ledge with an Alien Metal Alloy that leads to a mushroom. From this platform, look east, and you'll see another mushroom holding a goo.
- The Fungi of Si'ned VII: From the alloy mentioned in #16, look northwest. There are three Ambers up here, the one in the middle has the goo.
- The Fungi of Si'ned VII: From the teleporter, head south. Go past the bodies of water, straight to the edge of the island. There's a convenient little ledge here, with a platform with water beneath it. Jump down and look over the edge, and you'll see another similar platform- jump down there. Now stop and look to the west, you'll see a Grapple Rail leading up to a cave. Advanced Proton Tether required.
- The Fungi of Si'ned VII: Leave the cave with #18, grapple back to the platform you came from, and look over the edge. You'll see another platform with a Skipper sitting next to a goo.
- The Fungi of Si'ned VII: Get onto the giant pink and gray mushrooms in the area and head to the western edge of them. There's a floating island in the distance with Grapple Barnacles leading to it, and a breakable wall on it. Grapple Seeds and Bombegranates are required.
- The Fungi of Si'ned VII: On those same giant pink and gray mushrooms from #20, there is a goo on the southern edge that overlooks the Domain of the Untamed Beast.
- Domain of the Untamed Beast: From #21, just jump down and keep going south, into the cave. Then, take the first left.
- Domain of the Untamed Beast: In the southeastern corner of the arena, there's a convenient ledge leading to a Grapple Rail, which leads to a nearby island. Advanced Proton Tether required.
- The Fungi of Si'ned VII: From the teleporter, head northwest. Keep going, past the shrine, and look through the first cluster of Tentaweeds you find near the edge.
- The Fungi of Si'ned VII: From #24, head northeast, look in the Tentareeds near the pool of water.
- The Fungi of Si'ned VII: From the Advanced Proton Tether Shrine, head northeast. Or, from #25, look south. There are twin waterfalls hiding a cave. The Amber near the middle of the cluster has the goo.
- The Fungi of Si'ned VII: From the Advanced Proton Tether Shrine, head northwest, there's a ledge that's overlooking the giant gap here. On the western wall of the gap there are Grapple Barnacles, and on the southern wall is a ledge with a breakable wall and a goo inside. Bombegranate required.
- The Fungi of Si'ned VII: From the Advanced Proton Tether Shrine, head northwest, there's a ledge that's overlooking the giant gap here. Below it is a ledge with a breakable wall. Bombegranate required.
- The Festering Chasm: From the teleporter, look south, it's hanging from the rock arch. Quadruple Thrusters or Launch Boosters required.
- The Festering Chasm: Atop the tallest Repulsive Tree.
- The Festering Chasm: From the teleporter, take the path going northeast and stay right. It goes through a log, and then under a rock arch. Beyond the rock arch, there's an area with Royal Skippers. It's a small area with a rock in the center, and the goo is next to it.
- The Festering Chasm: From the teleporter, take the path going northeast. Once you pass through the log, go southeast. There's a cave obscured by Tentaweeds. Advanced Proton Tether or Triple Thrusters are required to get through this cave.
- The Festering Chasm: Near the Royal Skipper area, there's a giant Leaping Alien Petroglyph. Jump up here and head southeast, it's in the Tentaweeds.
- The Festering Chasm: From the teleporter, head to the northwest edge of the map, where there are giant mushrooms making paths up and around the island. Northwest of the Repulsive Tree, there is a somewhat small rock arch with a goo atop it, which can only be reached from the mushroom platforms.
- The Festering Chasm: From #34, head to the northwestern mushroom platforms, the goo is on the farthest one.
- The Festering Chasm: From #35, head southeast along the mushroom platforms. You'll eventually see a Silicon Vein next to a goo.
- The Festering Chasm: From #36, keep heading southeast, up the mushroom platforms, until you reach the very last one before landing on the Fungi of Si'ned VII level. Instead, turn north, and you'll see a Grapple Flower leading you to a ledge that leads you to Grapple Rails, going all the way to a floating island with a breakable wall. This is also reachable from the Fungi of Si'ned VII level, but you might not notice it the first time around.
- The Festering Chasm: Jump up the giant Leaping Alien Petroglyph, and use the first Grapple Rail- don't keep going. It should shoot you onto a level with Tentaweeds on it, which are hiding a small crawlspace with a goo.
- The Festering Chasm: From #38, use the second Grapple Rail to progress, or jump up the giant Leaping Alien Petroglyph. Talk a bit further and you'll see two Grapple Rails. Look at the one to the northwest, but don't take it, just walk toward it. There's a cluster of Tentareeds hiding the goo. Advanced Proton Tether required.
- The Festering Chasm: From #39, take the Grapple Rail in the southwest, it's hanging from the ceiling and might be a bit hard to spot. Advanced Proton Tether required.
- Xerophilous Landing: From the teleporter, in the northeast corner of the island.
- Xerophilous Landing: From the teleporter, head southeast. There's a Meat Vortex guarding a Cracked Stone Grate. Stomp Boosters required.
- Perch of the Observers: From the Repaired Teleporter, head northeast. There's a floating island with an Amber inside it, you need a Blight Bomb to get it.
- Perch of the Observers: From the Repaired Teleporter, take the northeast exit out of the cave and wrap around the left wall of rocks. There is a breakable wall here. Bombegranate required.
- Perch of the Observers: It's atop the rock pillar near the smoke spout directly above the Repaired Teleporter.
- Perch of the Observers: From the Repaired Teleporter, take the southeast exit out of the cave and go south. There's a cave in the rocks the giant Cacnuts are growing on, with a Cracked Stone Grate inside, and an Amber below that. Stomp Boosters and Blight Bomb required.
- The Pillars of Xzorgana: This goo is found in the first area with the tall pillars that you need to scale, it's hanging on the underside of a floating pillar near a waterfall.
- The Pillars of Xzorgana: From the teleporter, head north. There's an Alien Proximity Door that's facing away from the teleporter, Shock Fruit required.
- The Pillars of Xzorgana: From the teleporter, head east. There's a Cracked Stone Grate with a goo inside. Stomp Boosters required.
- The Pillars of Xzorgana: From the teleporter, head southwest. You need Quarduple Thrusters to be able to clear the gap onto the neighboring island. Alternatively, you can also reach this island by climbing nearby pillars using Grapple Seeds, so the thrusters are not required. Below this island is another smaller island. On here you'll find a cluster of Tentareeds hiding a cave with a Cracked Stone Grate inside. Stomp Boosters required.
- The Crackling Pedestal: From the teleporter, head northwest. You'll see roots going over the edge of the island, and underneath these roots is a Grapple Flower that leads you to a small cave with a goo inside.
- The Crackling Pedestal: From the teleporter, head west, around the rocks. There is a large patch of Tentareeds on the other side, the goo is in there.
- The Eternal Tears of T'bo: From the teleporter, look west, at the top of the rock pillar. You can see the goo from the teleporter.
- The Eternal Tears of T'bo: Next to the teleporter, there are two Canopy Leaf trees right on the edge of the island. Near the right one, there's a small gap between the rocks where you can just walk off the island. Jump down to the lower platform that's to the west. As you're doing so, you'll see the Orange Goo on its own little platform to your right. Just jump around the rocks to reach it once you're down there.
- The Eternal Tears of T'bo: From the teleporter, head east. Keep running until you reach a cave with a Cracked Stone Grate inside. Stomp Boosters required.
- The Eternal Tears of T'bo: From the teleporter, head north, through the arch. This area has an Alien Proximity Door facing the water where the Imperial Scarabs are floating around. Shock Fruit required.
- The Eternal Tears of T'bo: This goo is found at the very top of the rocks above #16.
- The Eternal Tears of T'bo: From #17, head east. There's a platform that's at a slightly lower level than the rest of the island with a Cracked Stone Grate on it. Stomp Boosters required.
- The Eternal Tears of T'bo: From #17, head north. Look over the edge of the island, at the giant tower below. The goo is sitting on top of the tower, you should be able to see it from up there.
- The Infernal Cauldron: From the teleporter, head south. There's a ledge with a small cave being obscured by Tentareeds, with a Cracked Stone Grate inside. Stomp Boosters required.
- Collect live samples (Pufferbird, Baboushka, Pikemander).
- The easiest place I found to get this done is in Shangtar's Frigid Embrace. There's an area beneath the platforms with Mesmertoxins on them with four Pufferbirds and a single Alpha. Group them together, Shoot the Alpha, watch them explode.
- The quick way I got this one done was by teleporting to the Moist Vestibule, one of the last maps in the game. Once you beat the game, the elevator that took you down to Teratomo's Refuge is gone, so it's just one massive hole with a teleporter at the end. There are lots of tall cliffs in the game, you'll find one pretty quickly so there's no sense in leaving it until the end of the game.
- You'll probably figure this one out yourself but in case you're kinda dumb like me, just kick the Pufferbirds and shoot them before they reach the ground.
- Scan 25% of the Kindex.
- Collect live samples (Kapyena, Jellywaft, Infected Pufferbird).
- This is fairly easily done in the Planetary Flotsam- there are a few areas with Pufferbirds and Prime Jellywafts, so you can bring the creatures together using Bait and hope the Jellywaft hits them.
- Kill three amber-armored Pufferbirds with a single Bombegranate.
- Both of the tasks above can be done at the same time, in the same location. In the Festering Chasm, there is a group of Pufferbirds nearby with Amber armor. Keep in mind that you need to blow them up as the armor is melting, so I found it easiest to attract a whole group with bait, bind them, throw a Bombegranate, and then throw a Blight Bomb while the Bombegranate is charging up.
- Collect live samples (Slamphibian, Schnozo, Imperial Scarab).
- Kill five creatures with a single charge shot.
- Both of the taste above can be done at the same time, in the same location. There is a group of five Cave Pufferbirds at the Repaired Teleporter. Bring them together with bait, charge your gun, shock them, and then shoot a charged shot into them. Easy!
- Kill 10 creatures in a row using melee attacks without getting hurt.
- Scan 75% of the Kindex.
- The Verdant Wilds of Zyl: This log can be found where you first obtained Jump Thrusters. It can be reached pretty quickly if you head west from the Meteor Crash teleporter. There's a rather wide crawlspace in the rock wall above the platforms you jump around on here, you need Launch Boosters to reach it. Inside this cave is an Explorer Log and a Metal Alloy.
- The Verdant Wilds of Zyl: You need Bombegranates and Triple Thrusters (or just use a Gelatinous Glob and use a double jump) to enter this area. Alternatively, jump off a north cliffside from the Meteor Crash teleporter. At the end of this cave, you'll find an Explorer Log and a Metal Alloy.
- Plork's Narrows of Despair: From the Fungi of Si'ned VII teleporter, go south and into the Gaseous Underbelly. At the very bottom of the cave, you'll find an Alien Proximity Door. You need a Shock Fruit and Triple Thrusters at minimum to complete the gauntlet here. At the end of the gauntlet, you'll find an Explorer Log and Metal Alloy.
- Domain of the Untamed Beast: From the Fungi of Si'ned VII teleporter, follow the path going west, and then go south when there's a fork in the road. In the southwest edge of the arena, there is a Cracked Stone Grate. There is a small grappling section and at the end there is another Cracked Stone Grate, this time hiding the Explorer Log.
- Pillars of Xzorgana: From the teleporter, head southwest and reach the end of the extended rock platform vbetween the two pillars. Standing at the edge, jump to the closest floating pillar to your southeast. Looking southeast from that pillar, below the rest of the floating pillars you should see a lone floating rock with a Grapple Flower on it. Look to the west and you'll see Grapple Barnacles on the nearest rock pillar, with an Amber-encased Explorer Log inside. If you forgot Blight Bombs, you can just get on that main island, grab some, then loop back around- the cave is easy to reach from there.
- Pillars of Xzorgana: From the teleporter, head northeast. Grapple up to the large island and turn around, you'll see a smaller island with Fragile Crystals on it floating to the northwest. Behind those crystals is an Explorer Log.
- The Spire's Heart: Teleport to the Moist Vestibule and jump down to the first of the three Vault floors. On the northern wall, to the right of the waterfall, is a noticeable breakable Seed Preservation Pod, smack dab in the middle. Break it to reveal the Explorer Log. With a Smarter Visor, you should be able to scan it without needing to jump up there.
- The Spire's Heart: Teleport to the Moist Vestibule and jump down to the middle of the three Vault floors. On the southern wall, there is a single breakable Seed Preservation Pod on the wall, to the right of the giant roots.
- Shangtar's Frigid Embrace: It's found on the platforms to the north, you need to pop its three pimples to open it. This will probably be the first one you find, as it is easily accessible with the Jump Thrusters.
- Kayn's Icy Refuge: This cave can be entered from The Verdant Wilds of Zyl. From the giant log through which you first enter the area, make a right and keep following the island edge until it starts wrapping around the ice. Keep going down this path and you'll find this cave. This cave is found on the south edge of Shangtar's Frigid Embrace. Head to the right, and keep following the path. You'll find an Ornate Alien Chest that is opened by scanning its three symbols found in the cave.
- The Verdant Wilds of Zyl: From the Meteor Crash teleporter, take the northwest path that takes you to an open area with Pikemanders protecting a Combativore. Defeat three Marbled Pikemanders to open it.
- The Verdant Wilds of Zyl: From the Meteor Crash teleporter, head west until you reach the edge of the island. On this end of the island, there's a large cave with lava in it. You need to know how to grapple in order to reach the Vaultivore at the end.
- The Verdant Wilds of Zyl: This Metal Alloy is found in a secret location near the platforms where you were first given the quest to obtain Jump Thrusters. There is a small crevice you need Launch Boosters to reach.
- The Verdant Wilds of Zyl: You need Bombegranates and Triple Thrusters (or just use a Gelatinous Glob and use a double jump) to enter this area. Alternatively, jump off a north cliffside from the Meteor Crash teleporter. At the end of this cave, you'll find a Metal Alloy and Explorer Log.
- The Verdant Wilds of Zyl: From the Towering Crystals teleporter, head southeast. There is a small entrance to a cave in the rock wall. Jump onto the platforms going in and out of the lava here, and there's a Vaultivore in the back.
- The Verdant Wilds of Zyl: From the Towering Crystals teleporter, ascend the Towering Crystals of Madness. Once you reach the top, head south. You'll find an Osmotic Cube on the ledge here. To obtain the Metal Alloy inside it, you need to feed it dropped materials. The closest enemies are on the platform below, just smack it down there and kill creatures for it.
- The Verdant Wilds of Zyl: From the Towering Crystals teleporter, ascend the Towering Crystals of Madness. Once you reach the top, head south. The same area I recommended smacking the Osmotic Cube into has a Combativore holding a Metal Alloy.
- The Cliffs of Mt. Gzarfyn: From the teleporter, head south. You'll find a stack of layered rocks with a Grapple Flower at the top of it- once you do, go west and jump down to the small platforms below. Follow them south and you'll find a waterfall obscuring a Vaultivore. Shoot its three pimples to open it, you can see them all from just outside the waterfall.
- The Verdant Wilds of Zyl: From the Cliffs of Mt. Gzarfyn teleporter, head south. Keep going until you reach a large patch of Tentaweeds hiding an Orange Goo. From here, just jump off the ledge, you can see the Vaultivore directly below you.
- Planetary Flotsam: From the teleporter, head south. You'll see an island being watched over by a Sproutlook. Perform a takedown on the Sproutlook and you'll unlock the Vaultivore directly underneath it.
- Plork's Narrows of Despair: From the Fungi of Si'ned VII teleporter, go south and into the Gaseous Underbelly. At the very bottom of the cave, you'll find an Alien Proximity Door. You need a Shock Fruit and Triple Thrusters at minimum to complete the gauntlet here. At the end of the gauntlet, you'll find a Metal Alloy along with an Explorer Log.
- Domain of the Untamed Beast: From the Fungi of Si'ned VII teleporter, follow the path going west, and then go south when there's a fork in the road. In the Domain of the Untamed Beast, defeat the Kapyenas and interact with the Cartographer, and you'll open the Vaultivore found in the cave under the Gigashrooms. It's a part of the Lost Cartographer sidequest.
- The Gaseous Underbelly: From the Fungi of Si'ned VII teleporter, go south and into the Gaseous Underbelly. You'll see a little platform on the side. Inside, you'll find an Osmotic Cube. Smack it down to the Pufferbirds, kill them and let it eat the resources, and enjoy your Metal Alloy!
- Fungi of Si'ned VII: Get to the top of the giant mushrooms in the area. Once on top, take a look at the giant alien structure, particularly to the north. You'll see a Vaultivore sitting atop the structure, and you can see two of its pimples from there. If you're on the south side of the Vaultivore, you'll see a Grapple Flower you can latch onto, which you can reach with Triple Thrusters from a tall mushroom. When you get on top, look over the north edge of the structure and you will be able to shoot the last pimple, it's below you.
- Fungi of Si'ned VII: From the Fungi of Si'ned VII teleporter, head south, through the giant rock arches. There's Combativore at the end, and it'll spawn three Inferior Jellywafts and one Prime Jellywaft. Defeat them and the Combativore will open up.
- The Infested Husk: From the Fungi of Si'ned VII teleporter, head southeast into the giant tree trunk. The very top holds a Vaultivore.
- The Festering Chasm: Southwest of the teleporter, there's an area with a Combativore and a lot of Amber Pufferbirds. Defeat the Boomerangs and get the alloy.
- The Festering Chasm: This Metal Alloy is found in the Virulent Tree of K'Klenai. The inside of this tree is a giant puzzle, and you'll need Blight Bombs to get rid of the amber. What you want to do is move the giant nuts around so they sit in the holes with no light in them, while leaving those under sunlight empty. There are just enough nuts to complete the puzzle and once you do, the Vaultivore in the center will open and give you the Metal Alloy.
- The Festering Chasm: Head west from the teleporter. Use the Grapple Flowers to make your way up to the top area using the large mushrooms and platforms. Once you're up here, head south through the large rock arch. Eventually, you'll come across a Vaultivore being defended by Floopsnoots and Boomerangs. You can see the locations of all three pimples if you stand next to the Vaultivore.
- The Festering Chasm: The last Metal Alloy in the area is found in the Ornate Alien Chest that you can only access by using the Grapple Rails to reach the Matriarch Lair. One of the symbols is in the nearby Amber, another in a small cave that's hidden by Tentareeds, and the last one is in a floating island northwest of the chest.
- Xeriphilous Landing: There's a Vaultivore right next to the teleporter here. The pimples are located at the top of the tall stone pillar to the southeast, in a tree to the north, and behind a Meat Vortex door to the east.
- Perch of the Observers: From the Xiriphilous Landing teleporter, head west. You'll find an area being guarded by two Sproutlooks. Take them down to unlock the Vaultivore beneath them.
- The Putrid Anomaly: While missable, you won't miss this if you unlock every teleporter along your way. To get to the Repaired Teleporter, you want to get to the island that's southwest of Xiriphilous Landing, which is probably the next one you'll make your way to after completing the Perch of the Observers. Interacting with this teleporter teleports you to a normally unreachable island off in the distance, the Putrid Anomaly. Defeat the creatures it spawns, and get your reward.
- Repaired Teleporter: You need a Blight Bomb to get this done. From this teleporter, go west until you reach the edge and loop around the rock wall to the left. There you'll find a Vaultivore with three pimples. One is right above the Vaultivore, another is encased in Amber nearby, and the last one is directly beneath the Vaultivore. To find it, look over the west edge of the island. There's a wall of Grapple Barnacles, but you don't really need those if you have thrusters, because there's a normal Grapple Flower on the island. You can just jump onto the floating rock and you'll find the little cave with the last pimple. Then, you just jump out and grapple to the flower on the island. Or, just use a Grapple Seed and lose the style points.
- Pillars of Xzorgana: From the teleporter, go southwest. You'll see a platform extended between two pillars. With Quadruple Thrusters, you can make it to the neighboring island with the Skippers flying around. Head to the far end of this island and you'll see a small cave with a Cracked Stone Grate. Now the item you need isn't inside there, but right outside the cave- the Osmotic Cube! Smack it down to some island with creatures, kill them and let it collect the resources, and enjoy a new Metal Alloy.
- Pillars of Xzorgana: From the teleporter, go southwest. You'll see a platform extended between two pillars. Below here, you'll find another small platform. You need Grapple Seeds to get through this area and at the end, there's a Vaultivore.
- The Infernal Cauldron: This entire island is just one battle arena with a Metal Alloy as a reward. Defeat the Kapyenas and get your prize. You can reach this island by heading southeast from the Pillars of Xzorgana teleporter.
- The Infernal Cauldron: Head to the islands southwest of the teleporter. On these small islands, there is an Ornate Alien Chest.
- Tears of T'bo: Head north from the teleporter. You'll eventually find an island covered in Bombodoros. There's a Combativore here, and you need to defeat Pikemanders to open it.
- The Crackling Pedestal: Right next to the teleporter, you'll find a Vaultivore- defeat the nearby Schnozos to open it. Its symbols are to the east behind Fragile Crystals, to the south, and hidden in Amber in a cave on the west.
- I Want To Go Home. Eventually. Collect your first Fuel Pod.
- Screw This Noise. Relaunch the Javelin before beating the game.
- Home At Last. Collect all 10 Fuel Pods and relaunch the Javelin, after beating the game.
- Towering Crystals: From the teleporter, scale the Towering Crystals of Madness. Once you reach the top, head east and you'll see a Fuel Pod in a small cave. It's before you reach The Cliffs of Mt. Gzarfyn, so if you reached the teleporter, head back down. This is probably going to be the first Fuel Pod you find.
- Plork's Vertical Corridor: From the Cliffs of Mt. Gzarfyn teleporter, head south and jump down from the platform where the Osmotic Cube sits. From there, keep heading south, staying close to the rock wall to your left. Just follow where these platforms take you until you reach a small body of water with a waterfall pouring into it. Behind the waterfall is this gauntlet. You need Shock Fruit to enter, and Launch Boosters to ascend, so you won't be getting this until you're near the end of the game. I also don't recommend doing this until you get a lot of health, because the lasers eat four or five bars of health if you touch them.
- Zor's Planetary Flotsam: From the teleporter, you want to start heading south on the floating islands, staying near the left side, to reach the first Grapple Rail you find that leads you to a cave in the rock wall. The Fuel Pod is sitting right inside there.
- Festering Chasm: From the teleporter, go southeast and ascend the Leaping Alien Petroglyph. You need a Bombegranate to break into the cave and once you do you're rewarded with a Fuel Pod.
- Festering Chasm: From the teleporter, head northeast and keep following the path through the log. Once you get the message saying a secret is nearby, go to the Stinkshroom that's ahead of you, just right of the path that you're on. It's hiding a cave with a Fuel Pod inside.
- Fungi of Si'ned VII: From the teleporter, head southeast. Follow the path and just before you reach the giant cracked log, go to your left. There's a path off on the side with a Cracked Stone Grate at the very end.
- Pillars of Xzorgana: From the teleporter, head southwest. You need Quadruple Thrusters to jump to the neighboring island where the Skippers are flying around. Head around the right side of the rocks to find a Cracked Stone Grate. Stomp Boost your way through and enjoy your new Fuel Pod.
- Pillars of Xzorgana: From the teleporter, head southwest. There is a small cave located beneath the long extended platform on the edge of the island here. Just jump off while facing the island you jumped off, and use your thrusters to get into the cave. You need Grapple Seeds to progress through the cave, and at the end, there is a Fuel Pod along with an Alien Alloy.
- Pillars of Xzorgana: It's on the floating island directly above the teleporter. An easy way to get up here is using the stone pillar to the east of the teleporter.
- Crackling Pedestal: From the teleporter, head southwest- there is a little floating island nearby with an Alien Proximity Door on it. You can't shock it from the main island and you can't shock it when you're already standing in front of the door, so you need to shock it as you're jumping over, or just jump off the island, shock it, and jump back.
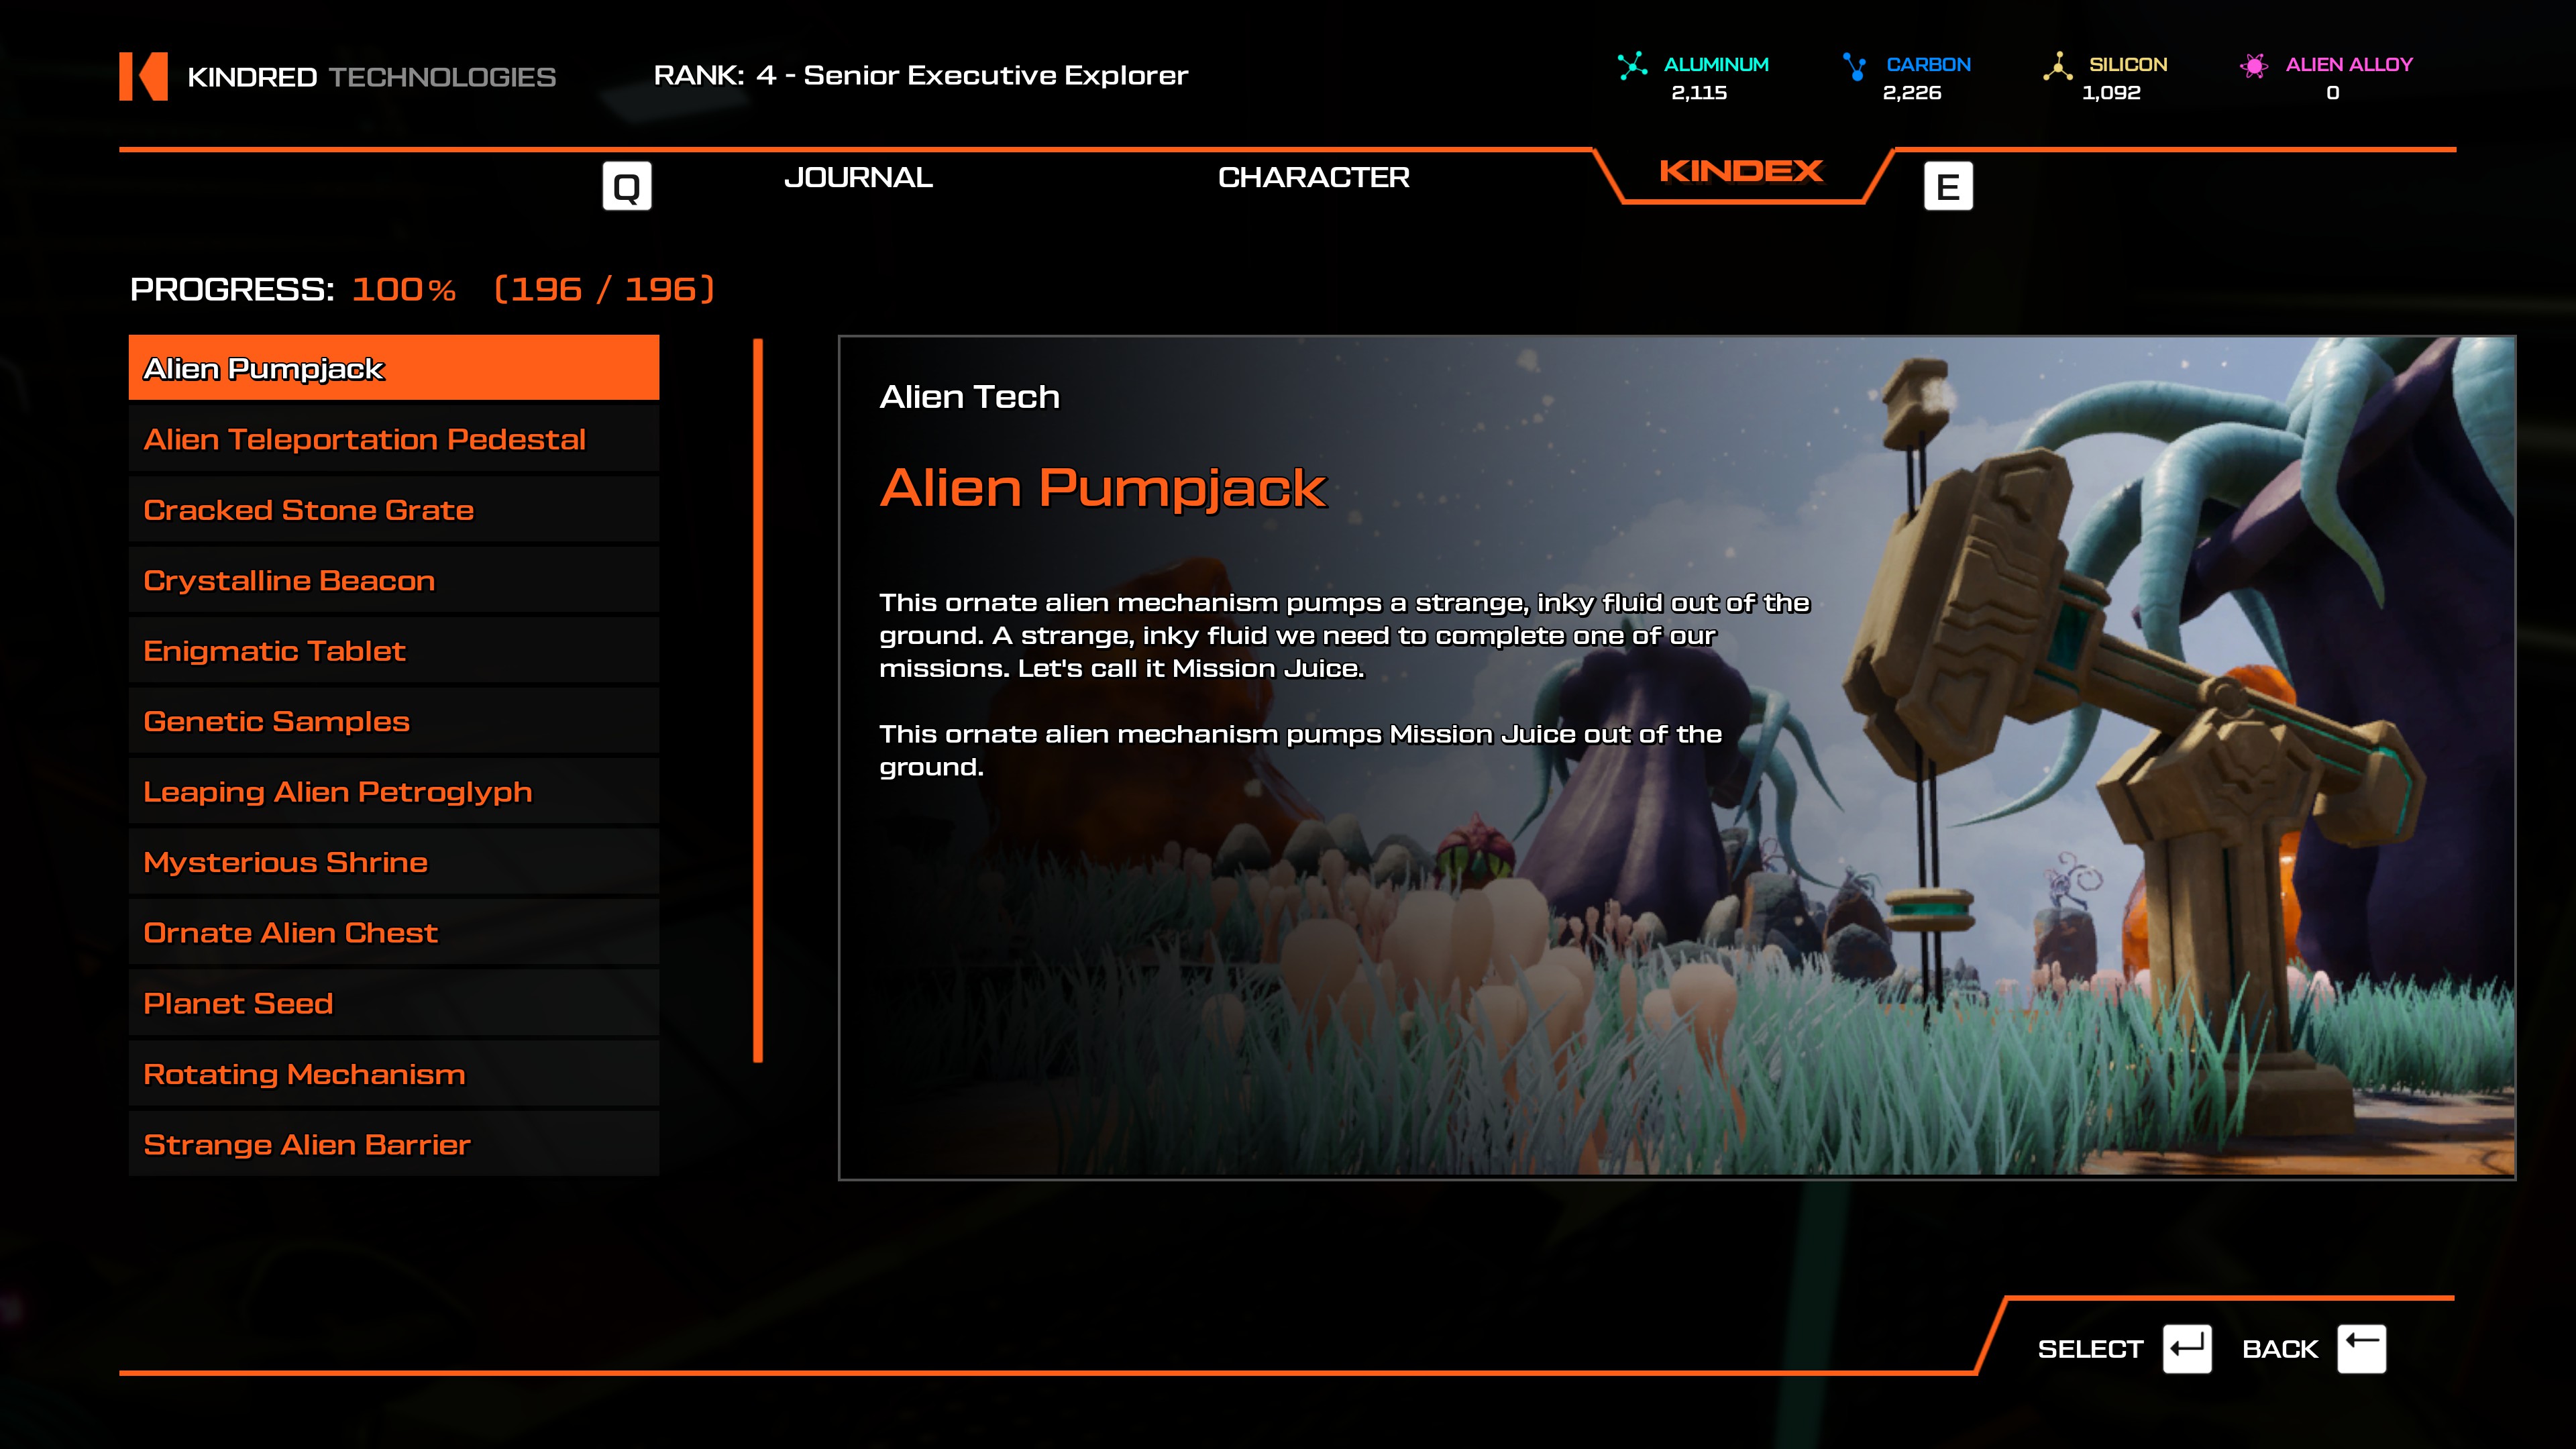
- Found only in the Planetary Flotsam, on a few of the islands.
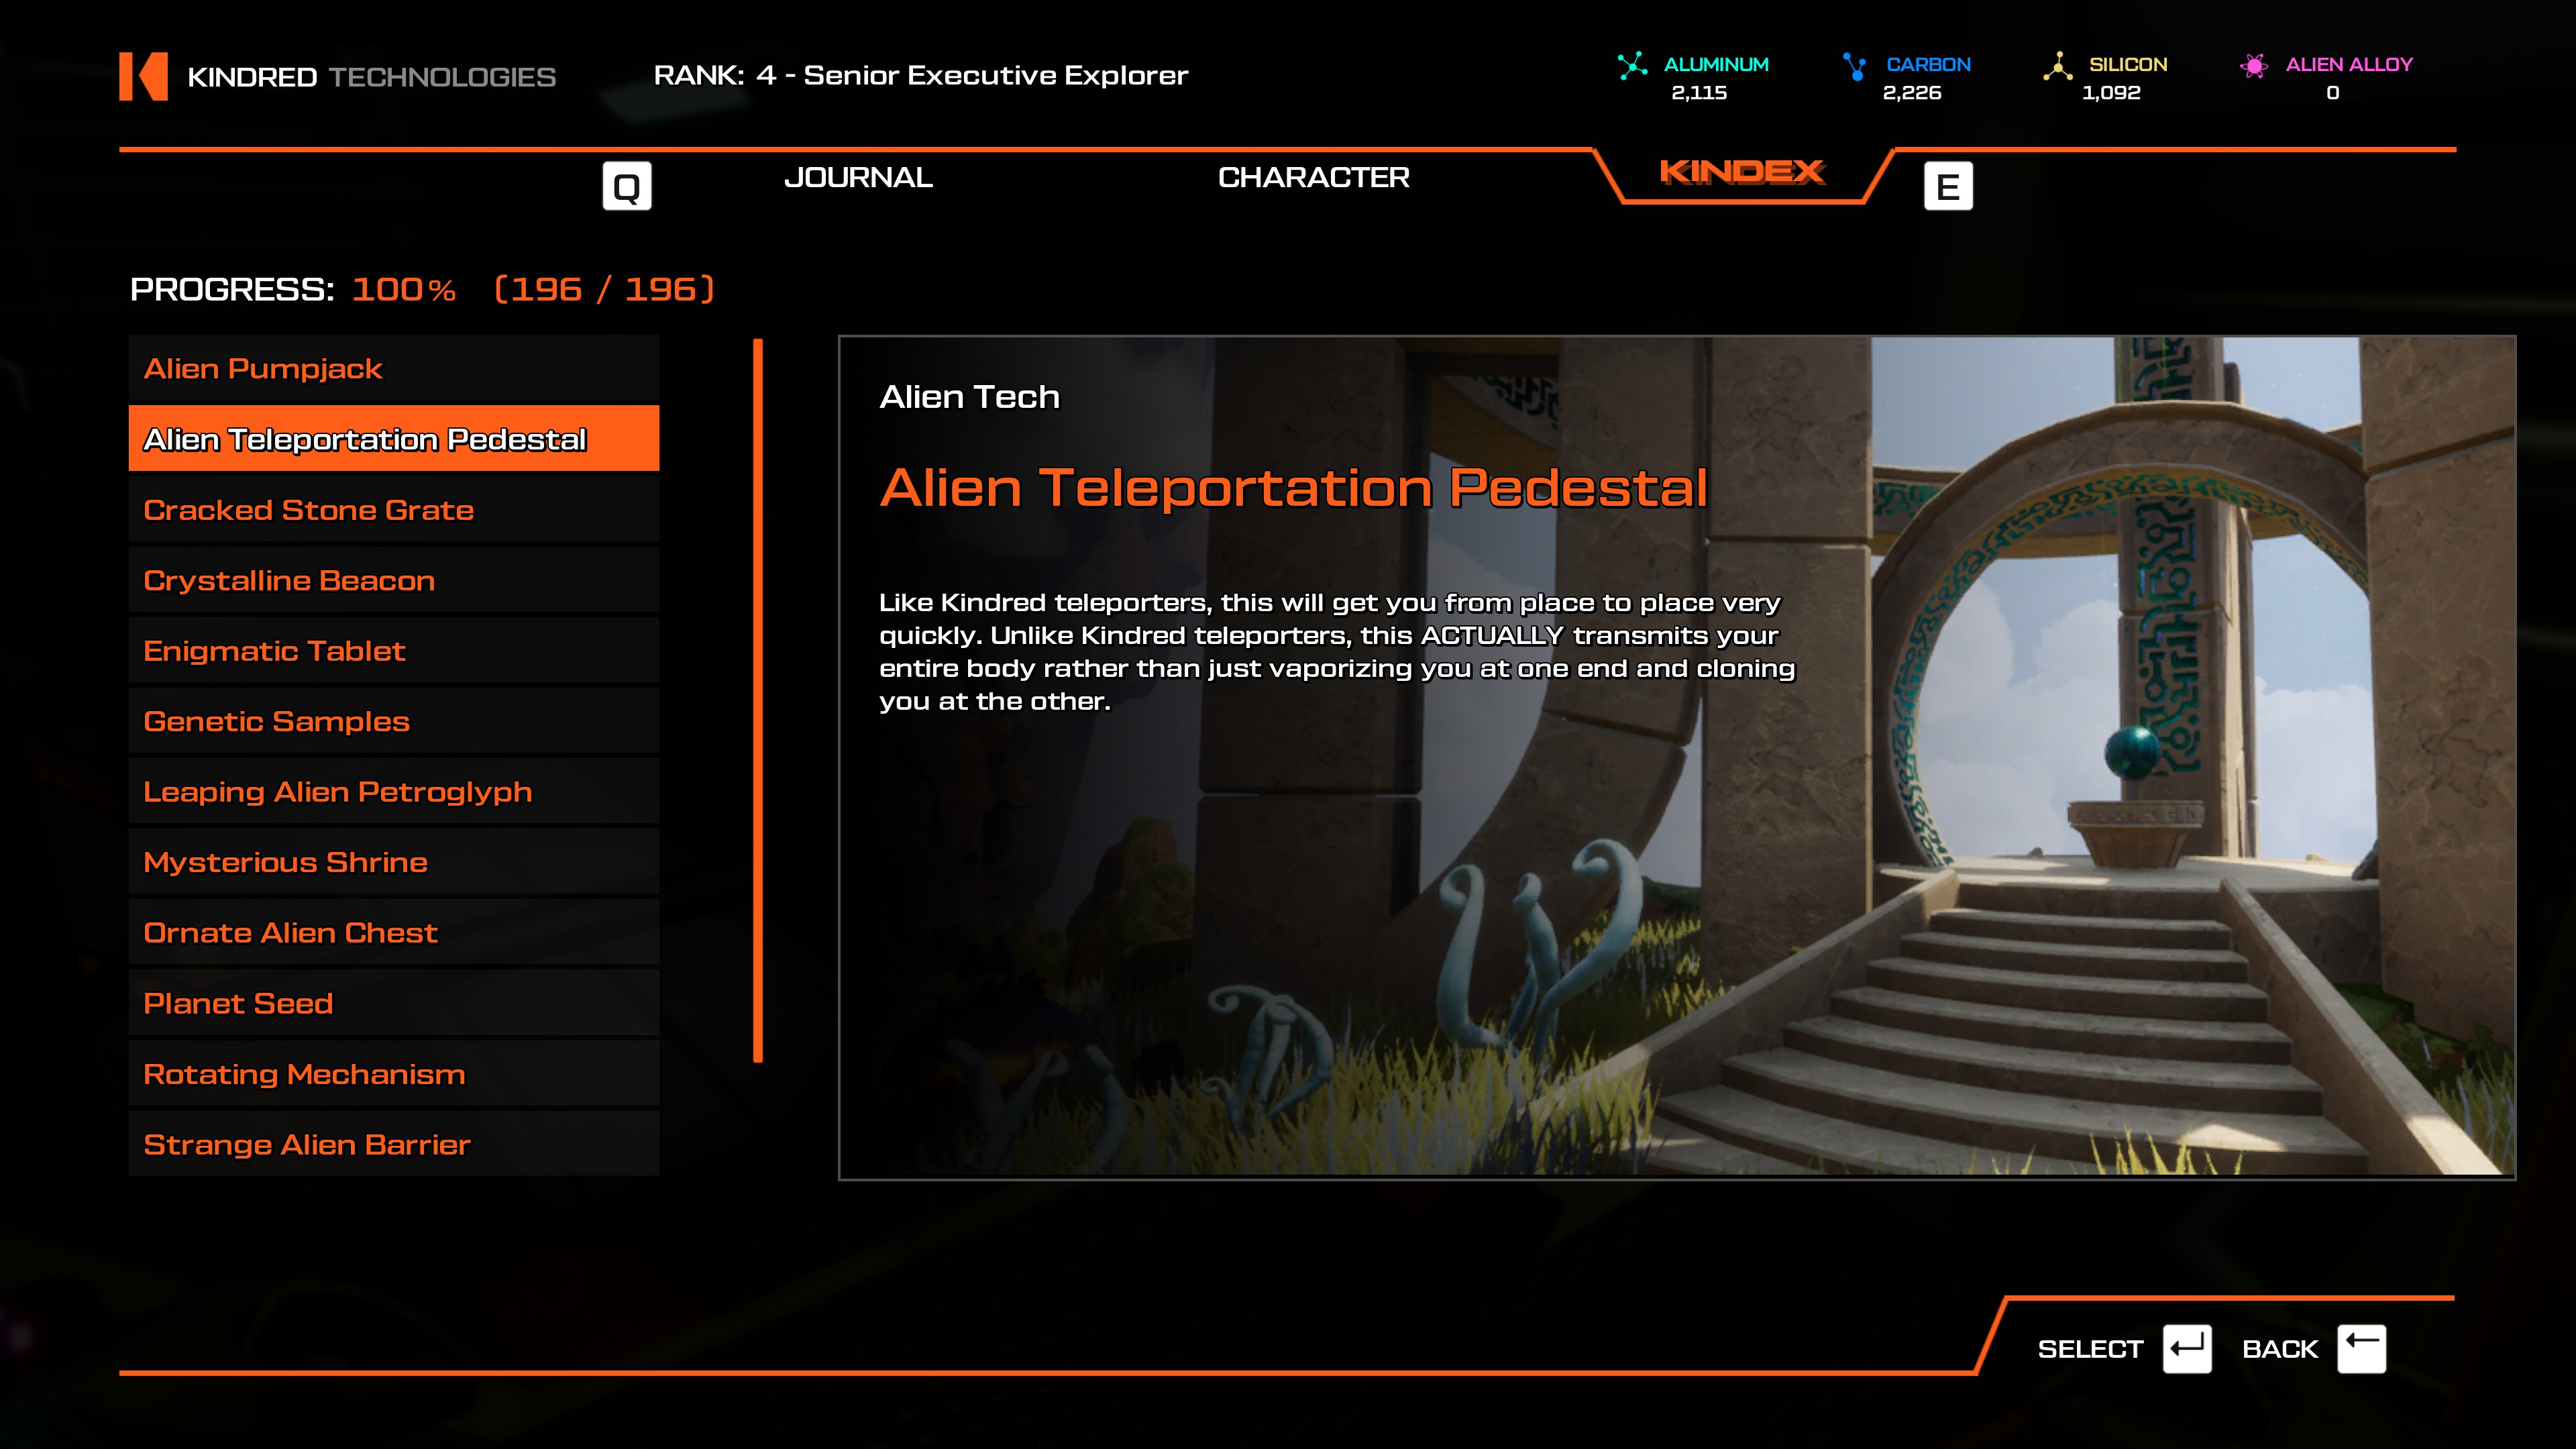
- Unlocks as you scan the first Alien Teleporter you come across.
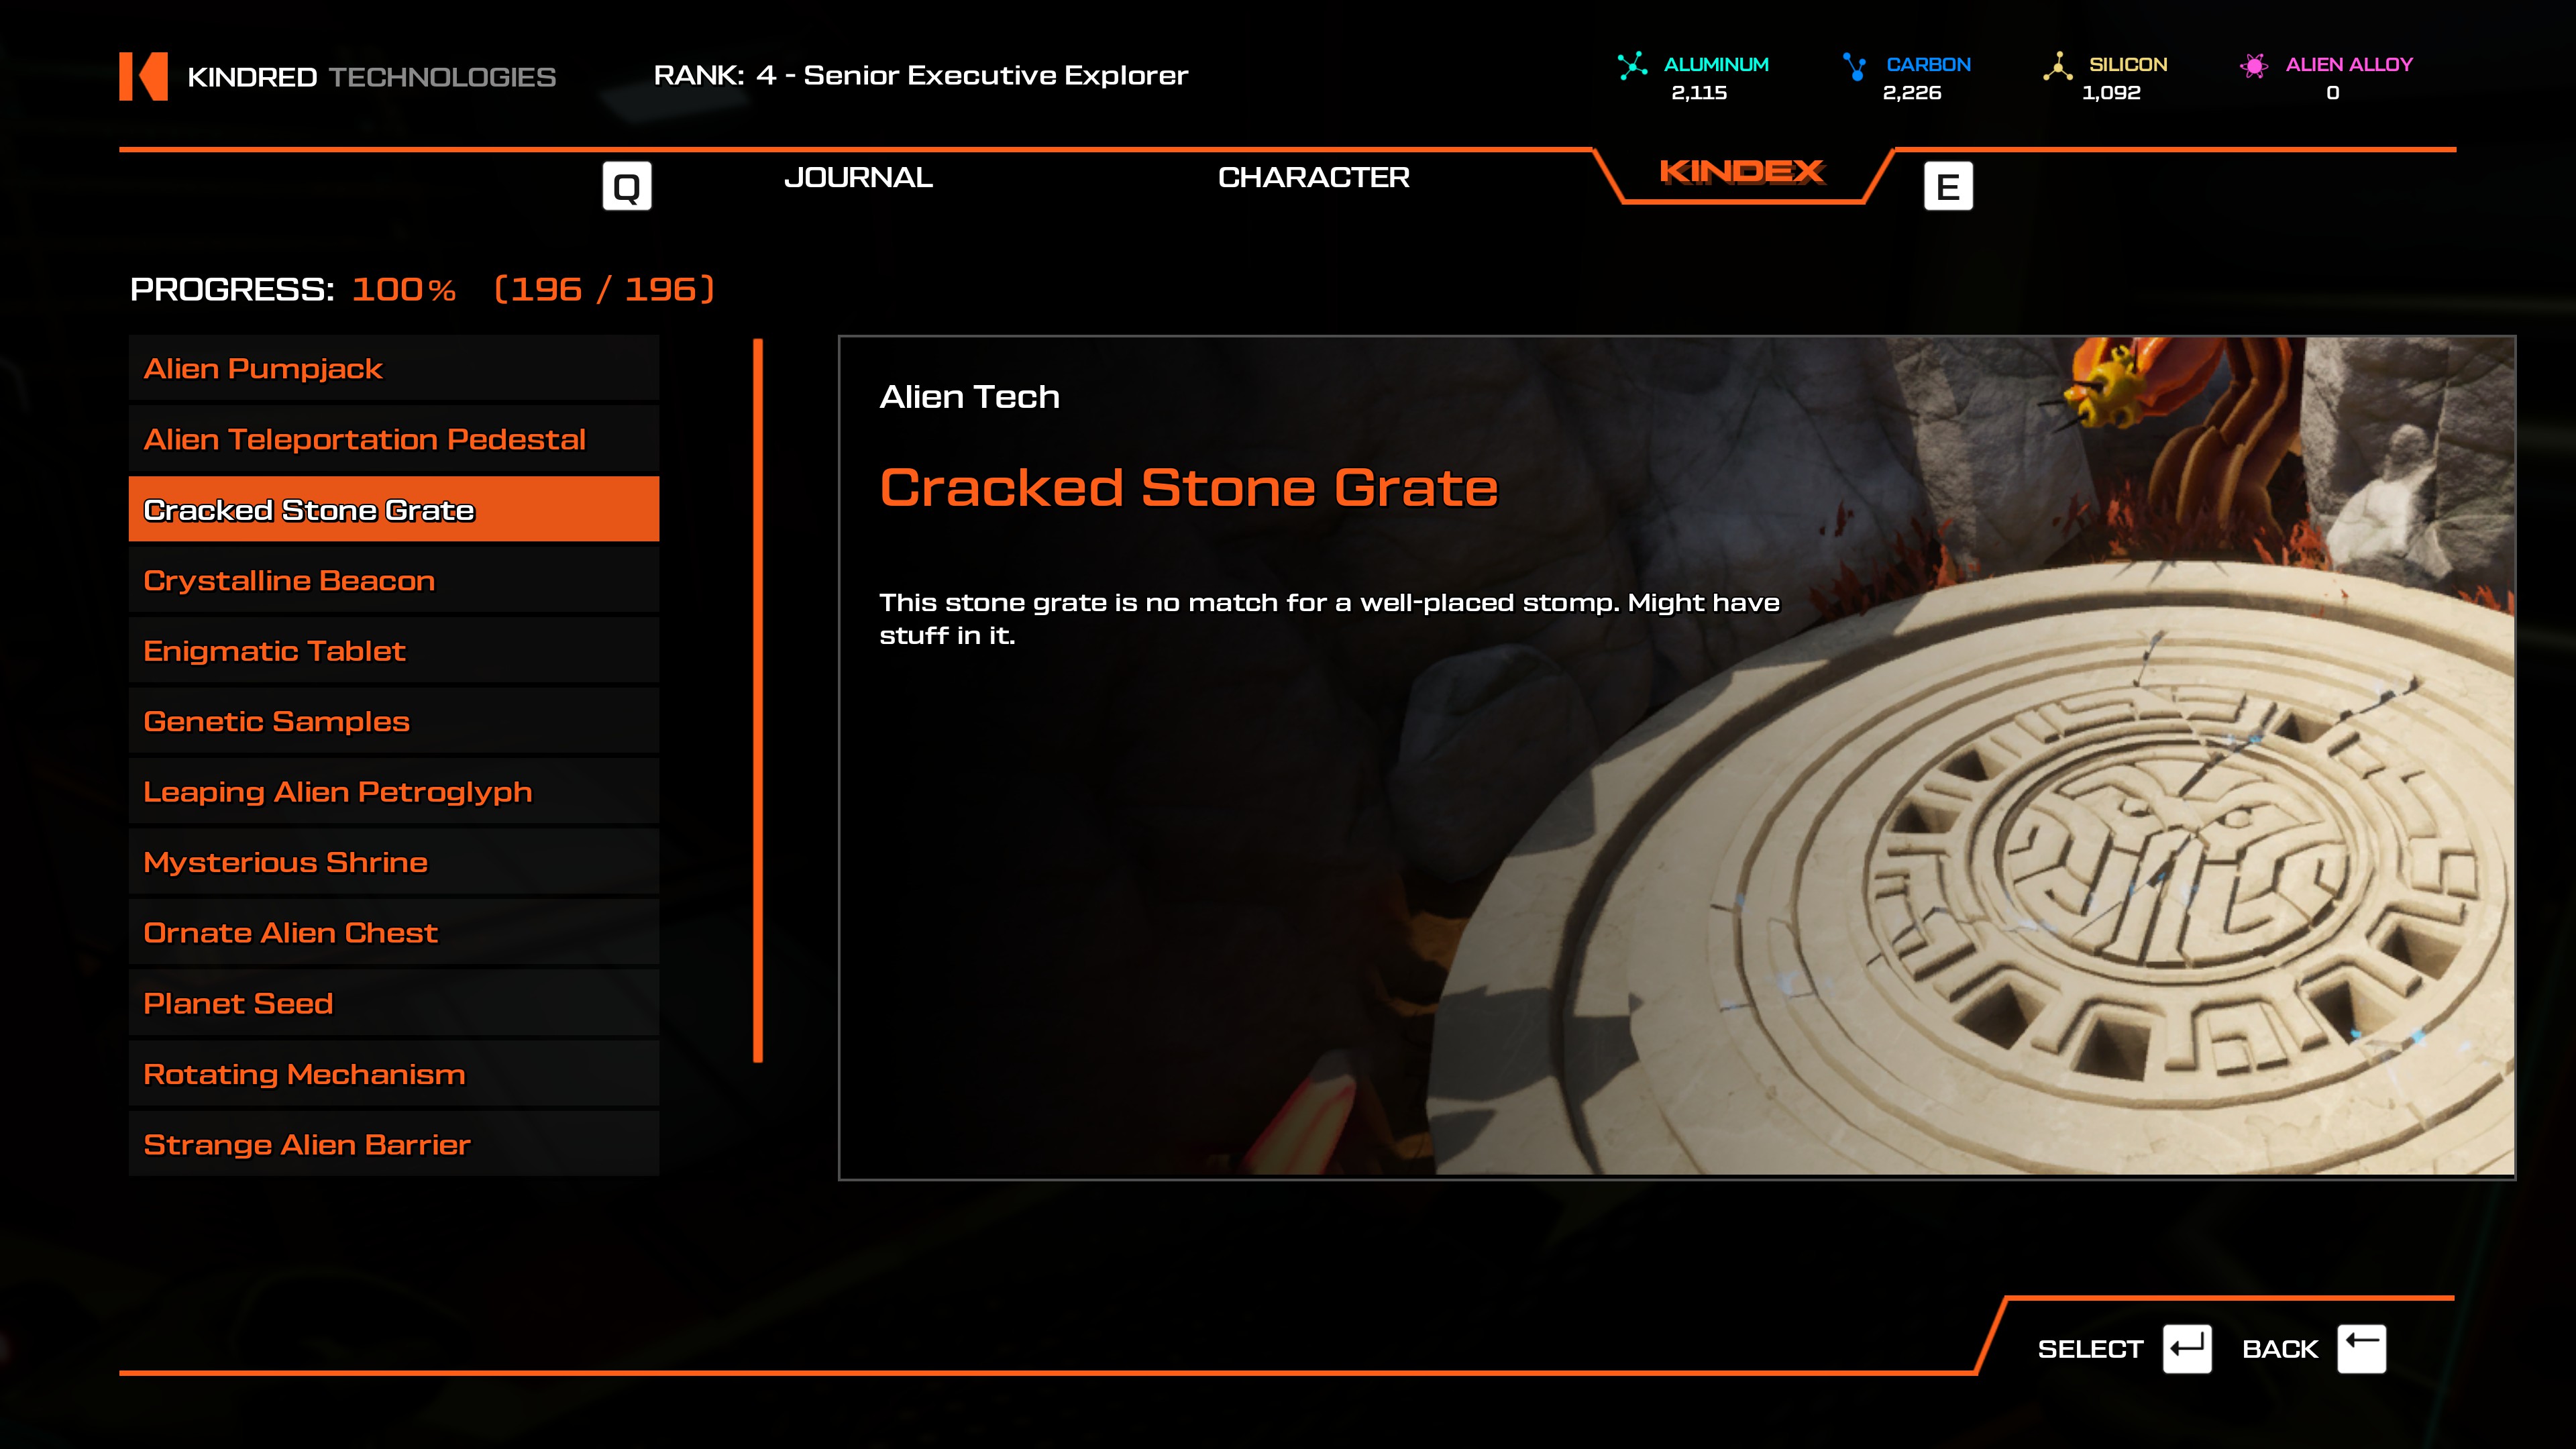
- These are the cracked glowing grates that you need Stomp Boosters to get through. While you find them much earlier, the closest one to a teleporter that I found is at Xerophilous Landing, head southeast. It's behind a Meat Vortex gate.
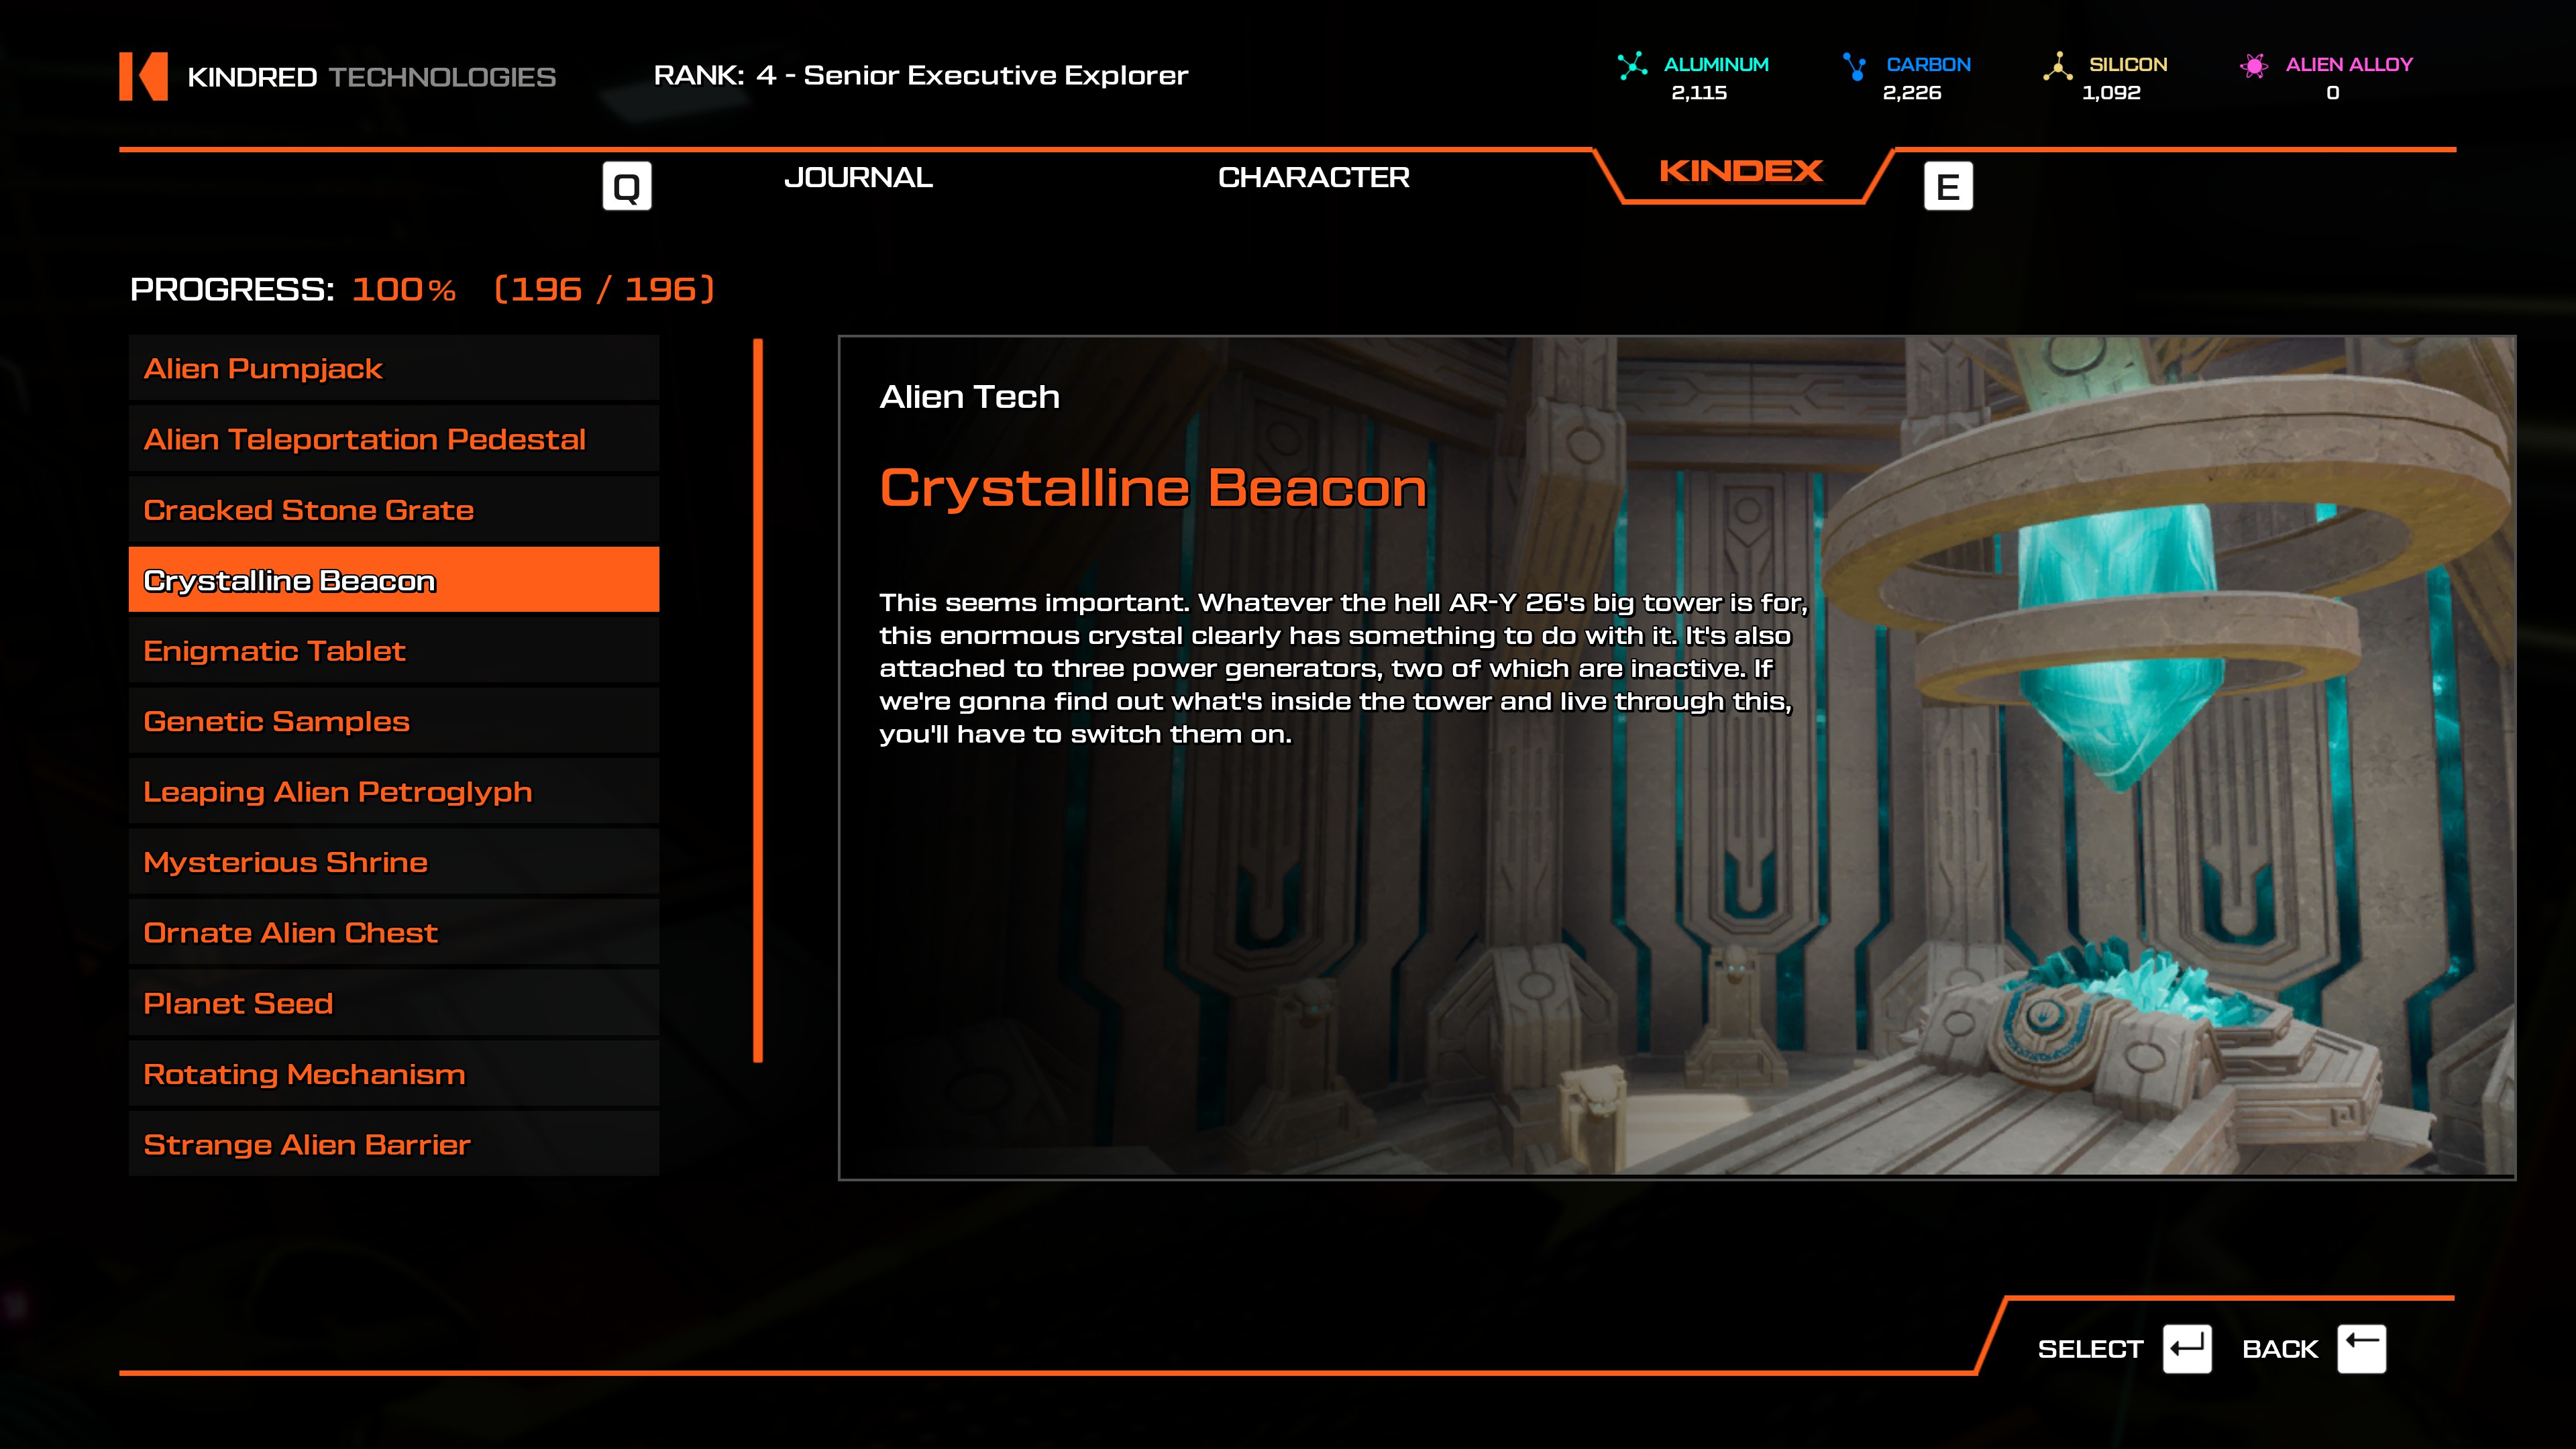
- This is found within the large tower that sits in front of the Enigmatic Spiral teleporter. It's unlocked after you complete the other two towers' puzzles.
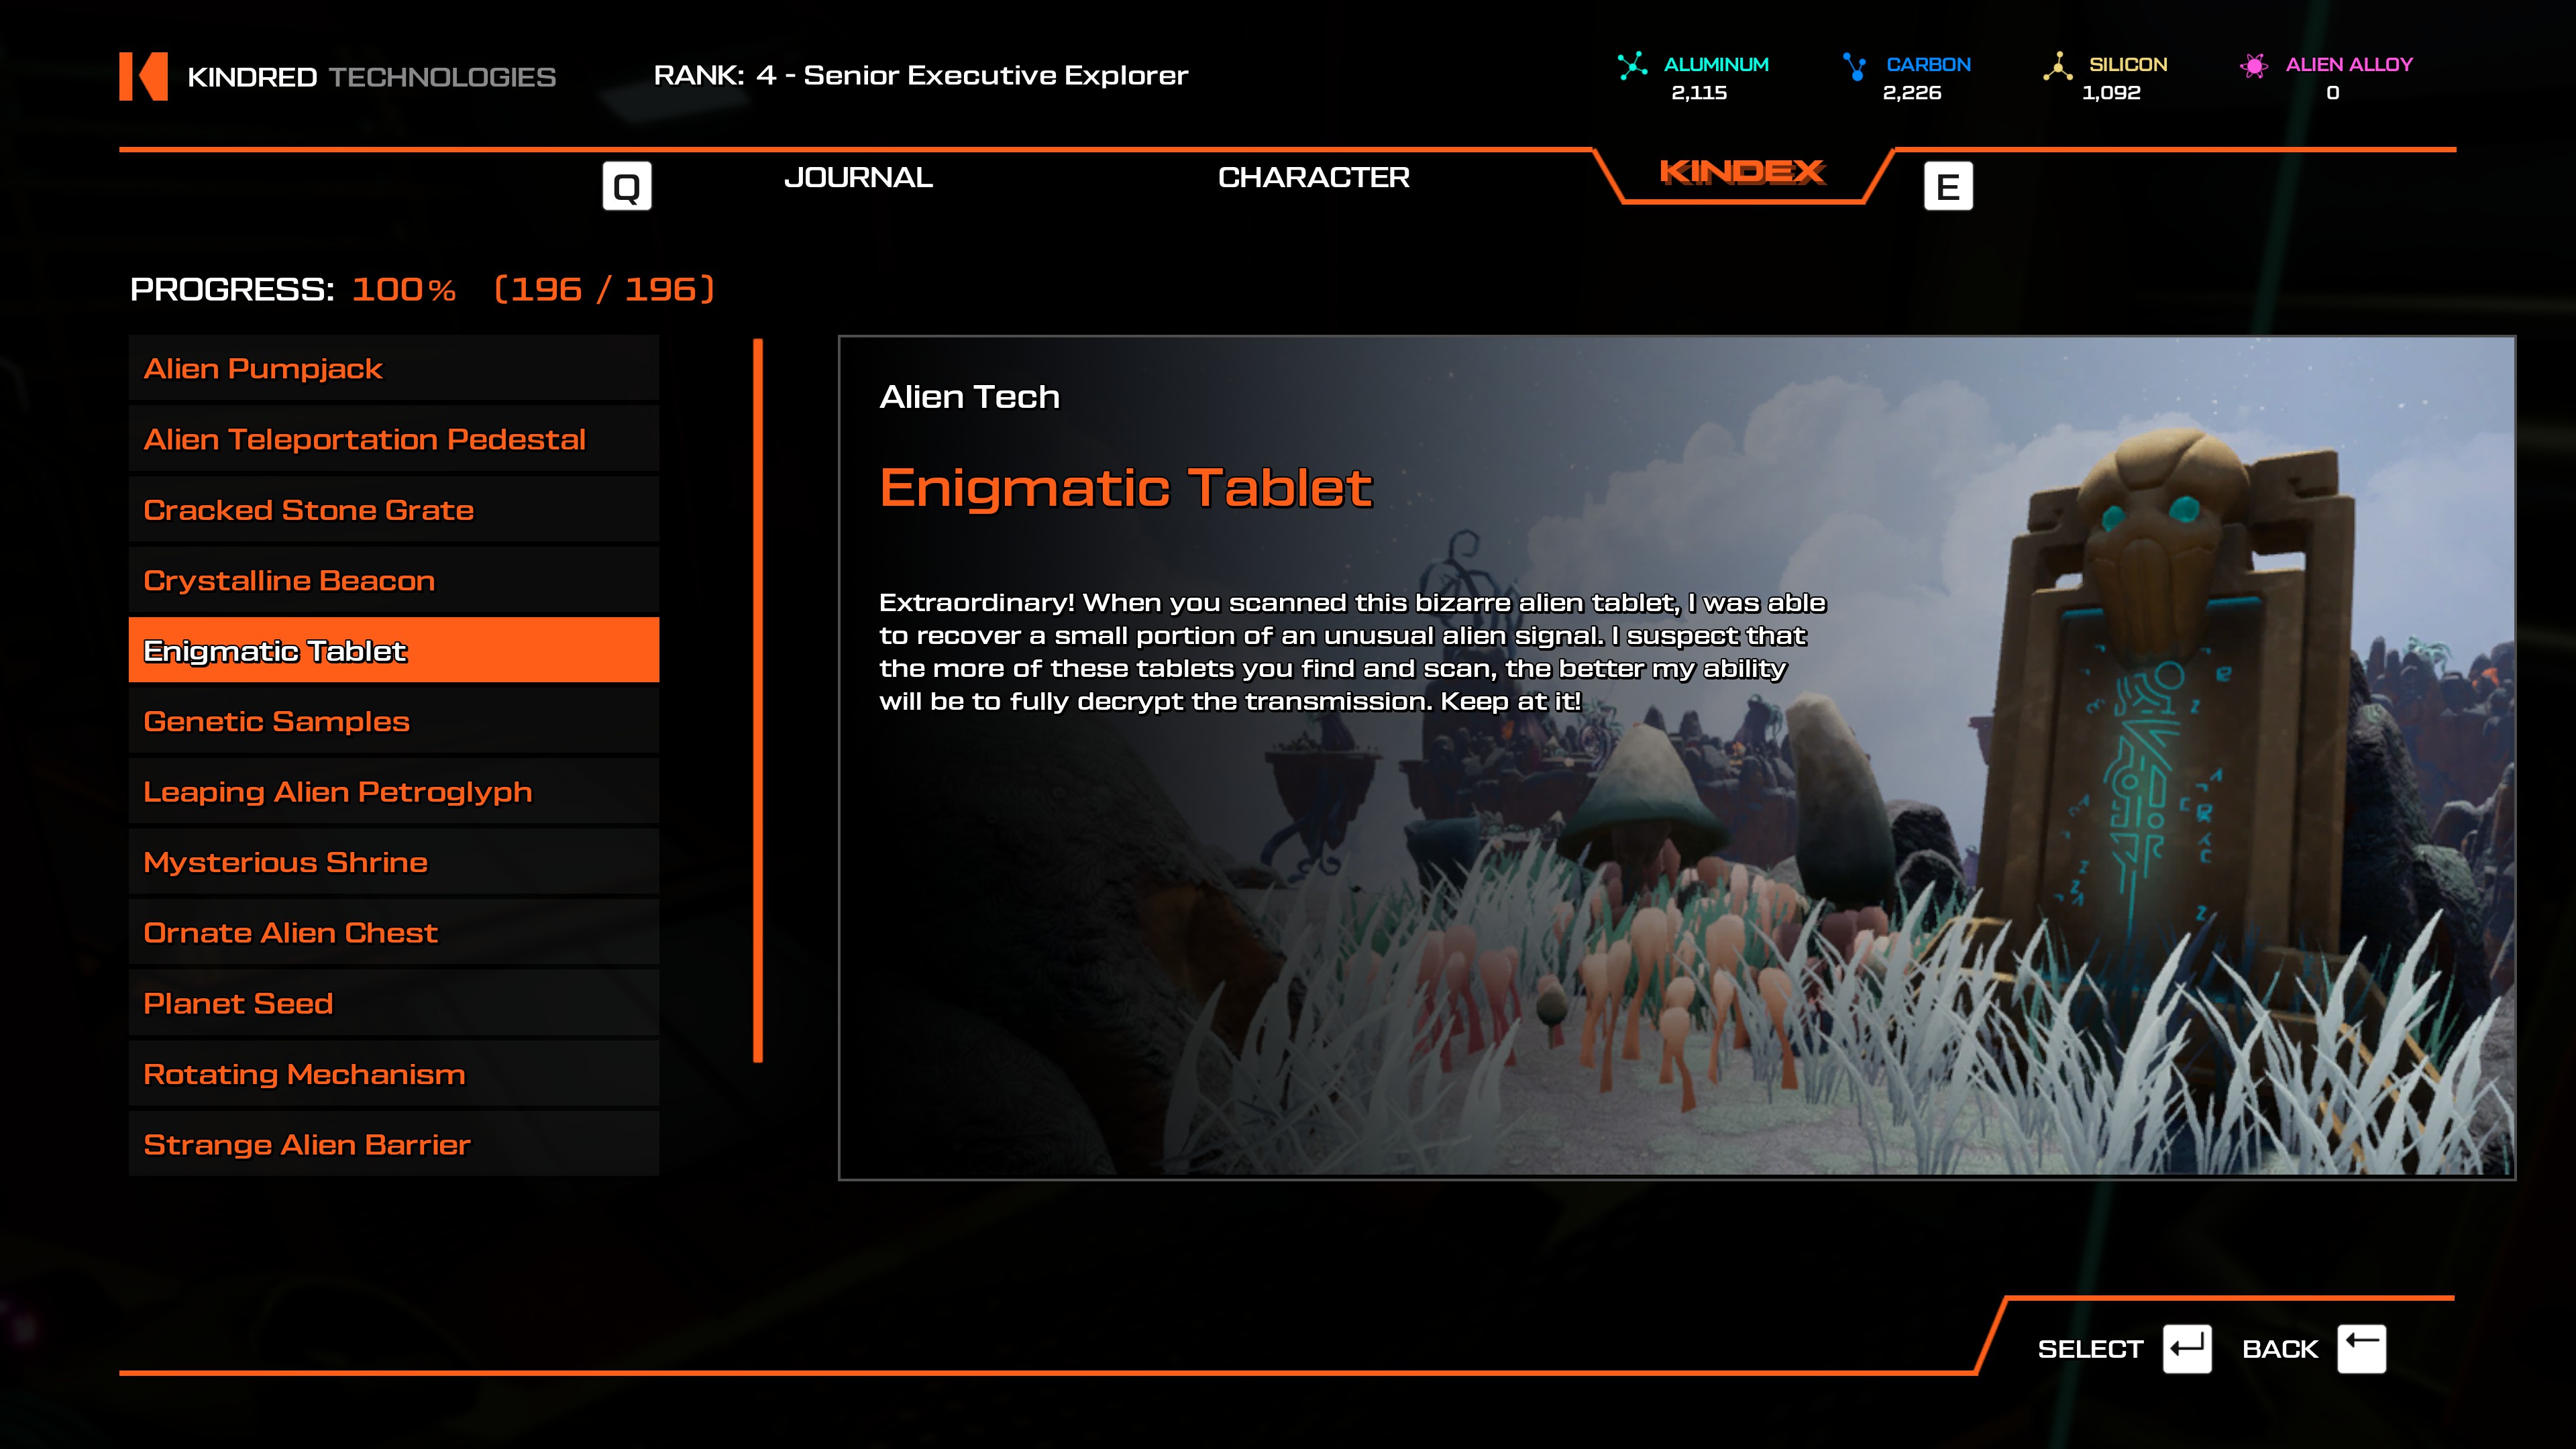
- The first one you come across is the one in front of the Planetary Flotsam teleporter.
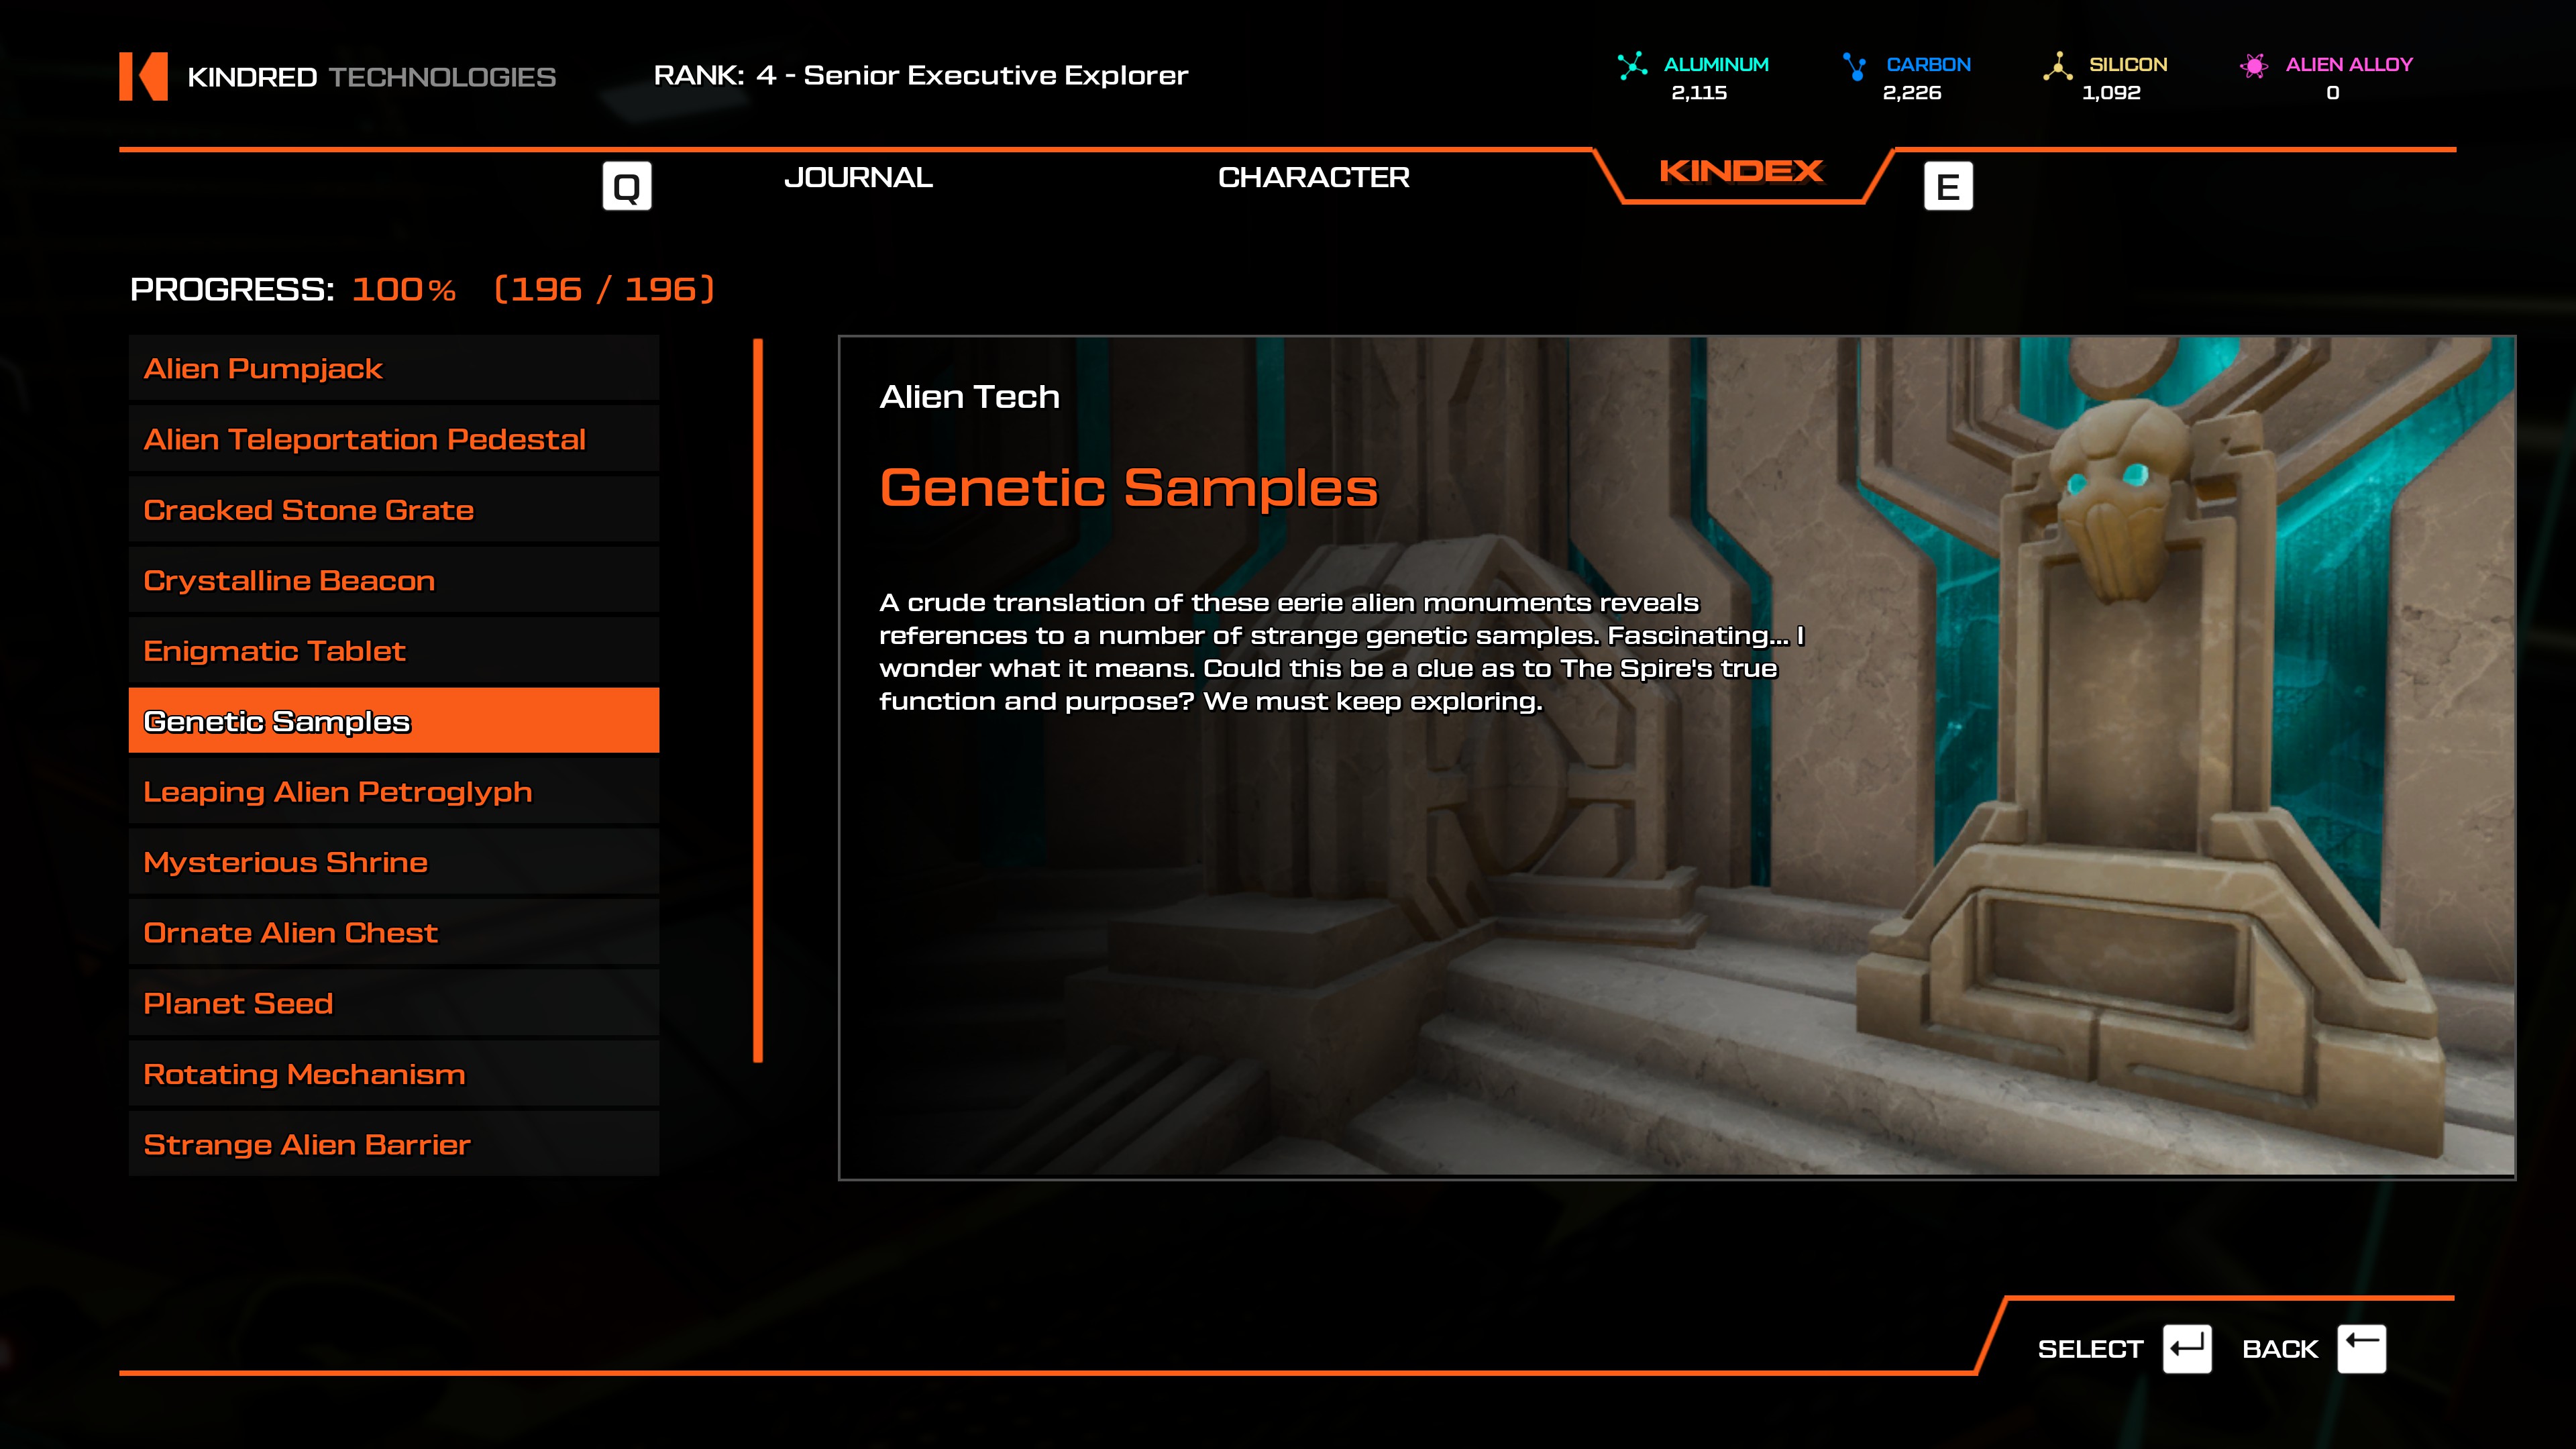
- From the Planetary Flotsam teleporter, look at the island to the west where there is a lone pillar standing on the far end of it. You can see the Leaping Alien Petraglyphs on its sides, although it's up to you on how you want to get over there.
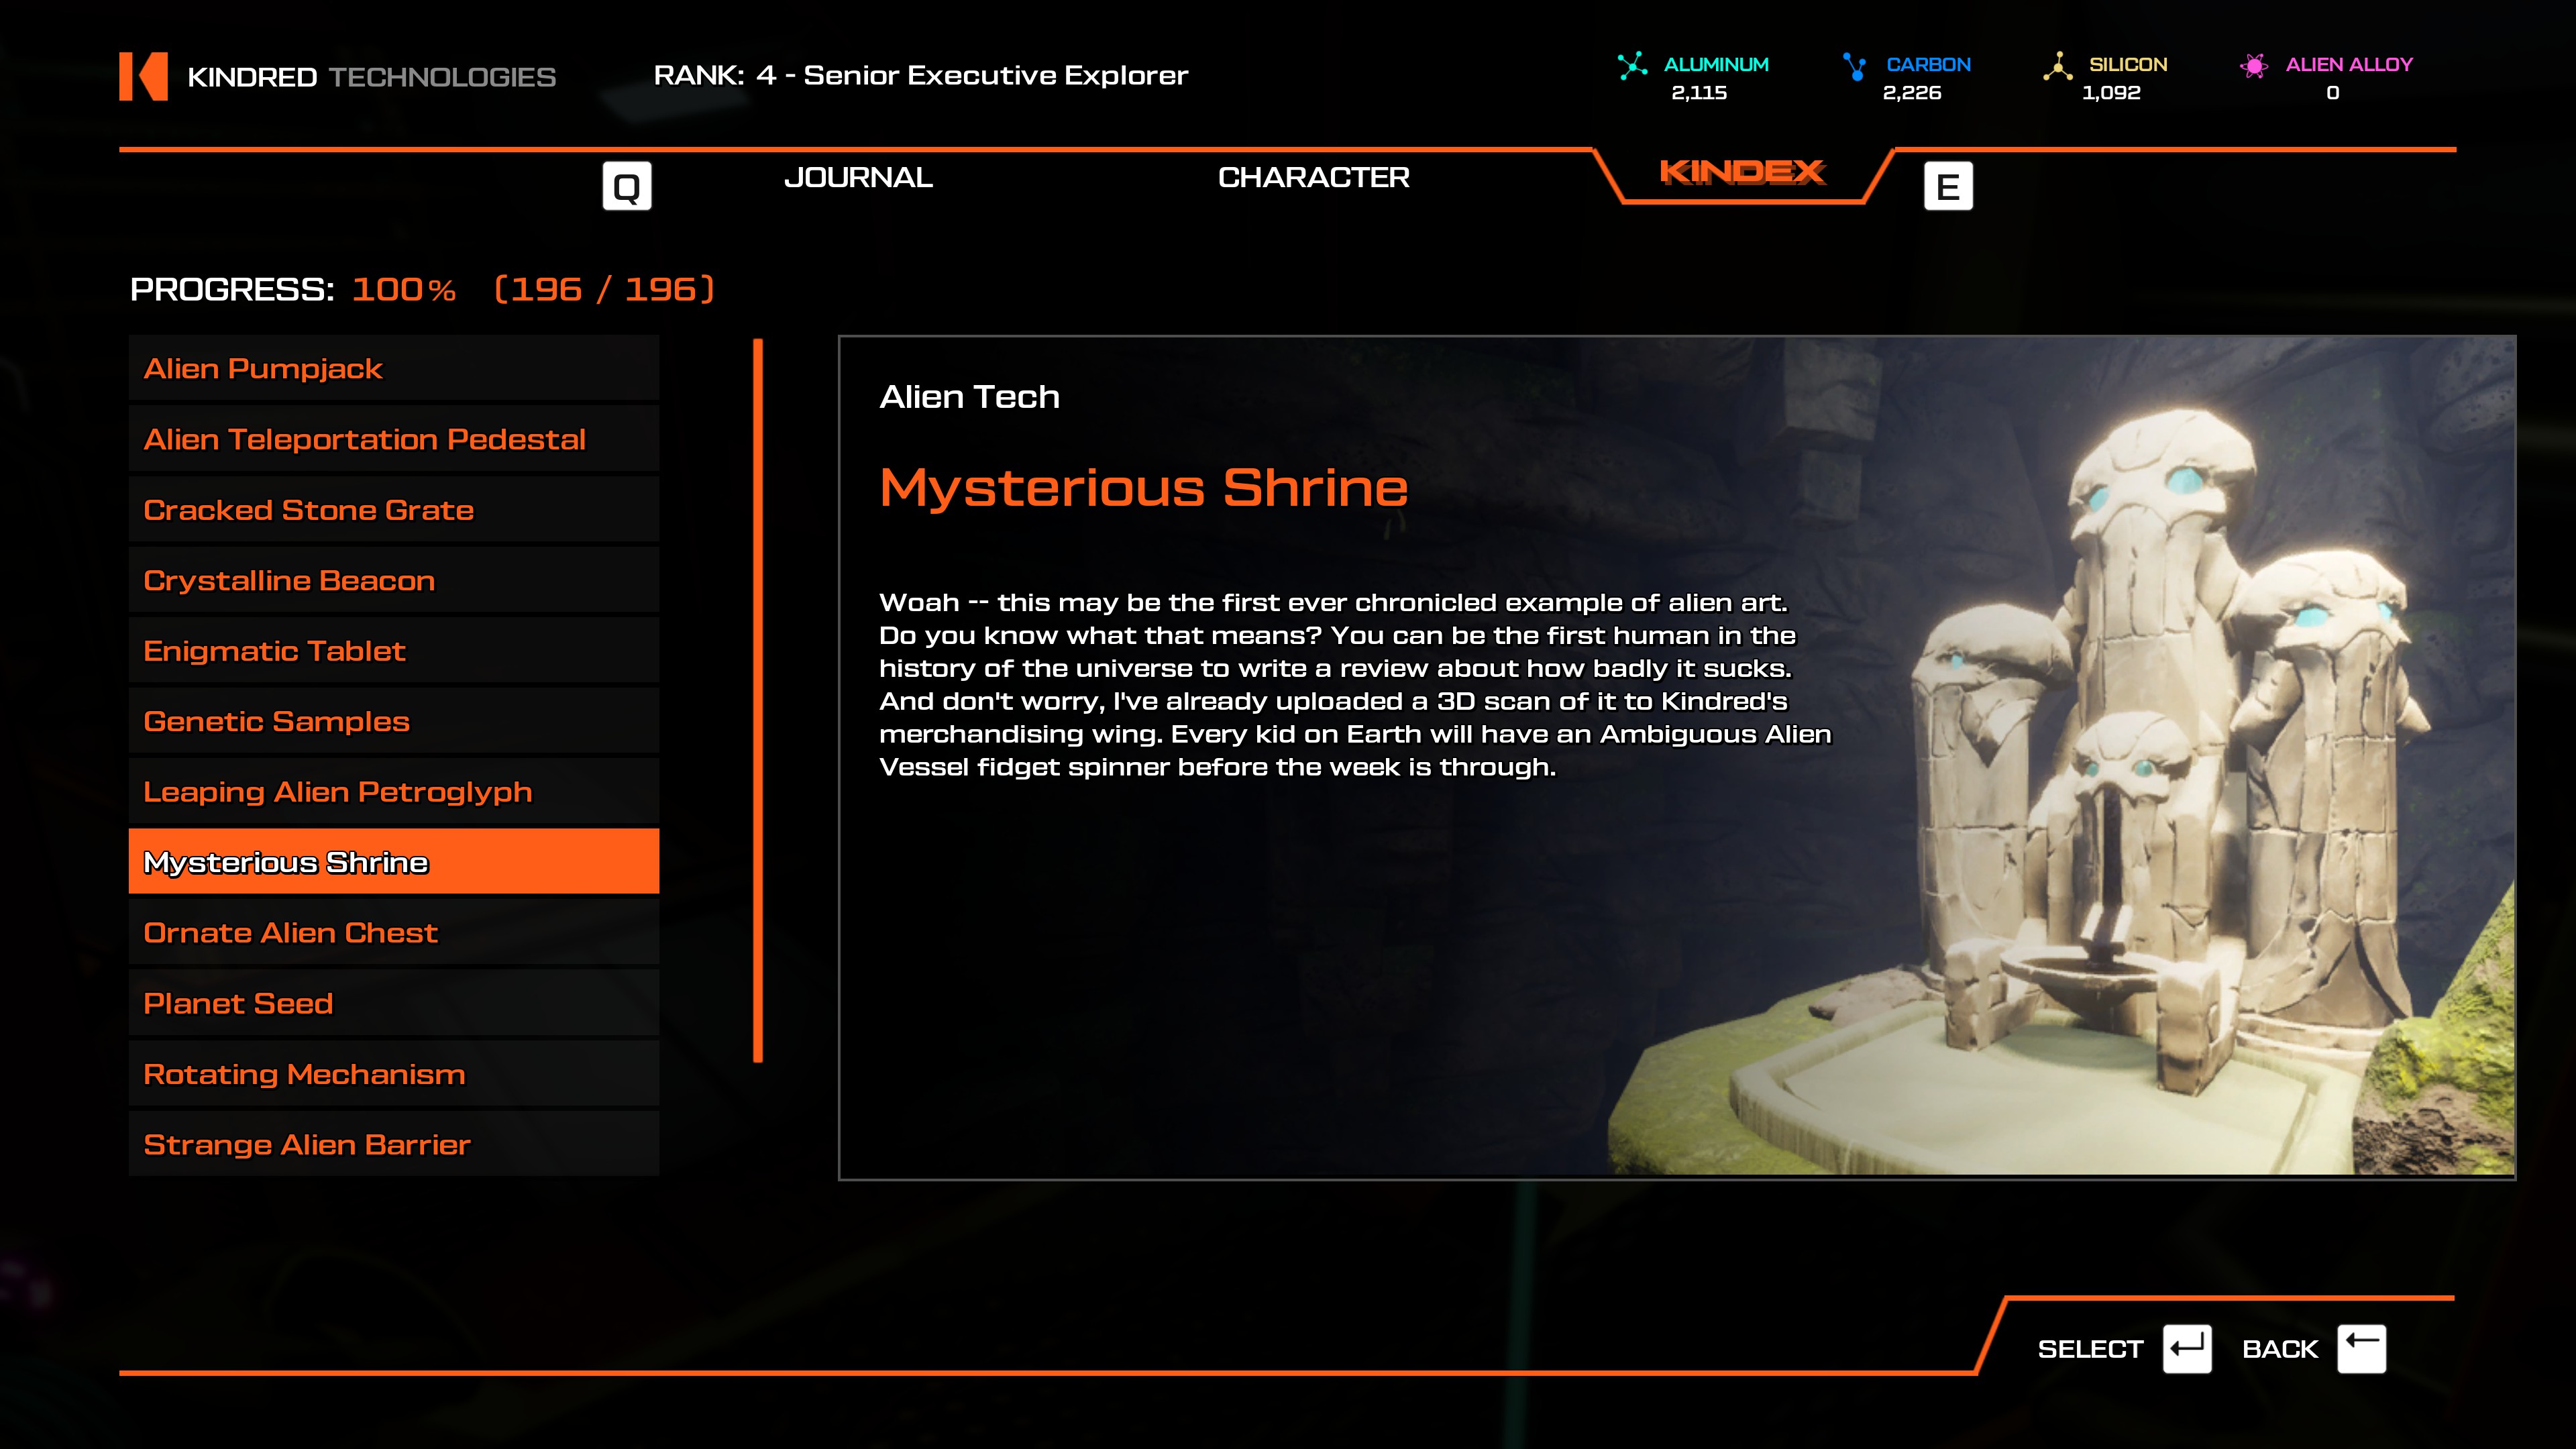
- Not sure about this one, this may unlock as you go along in the game.
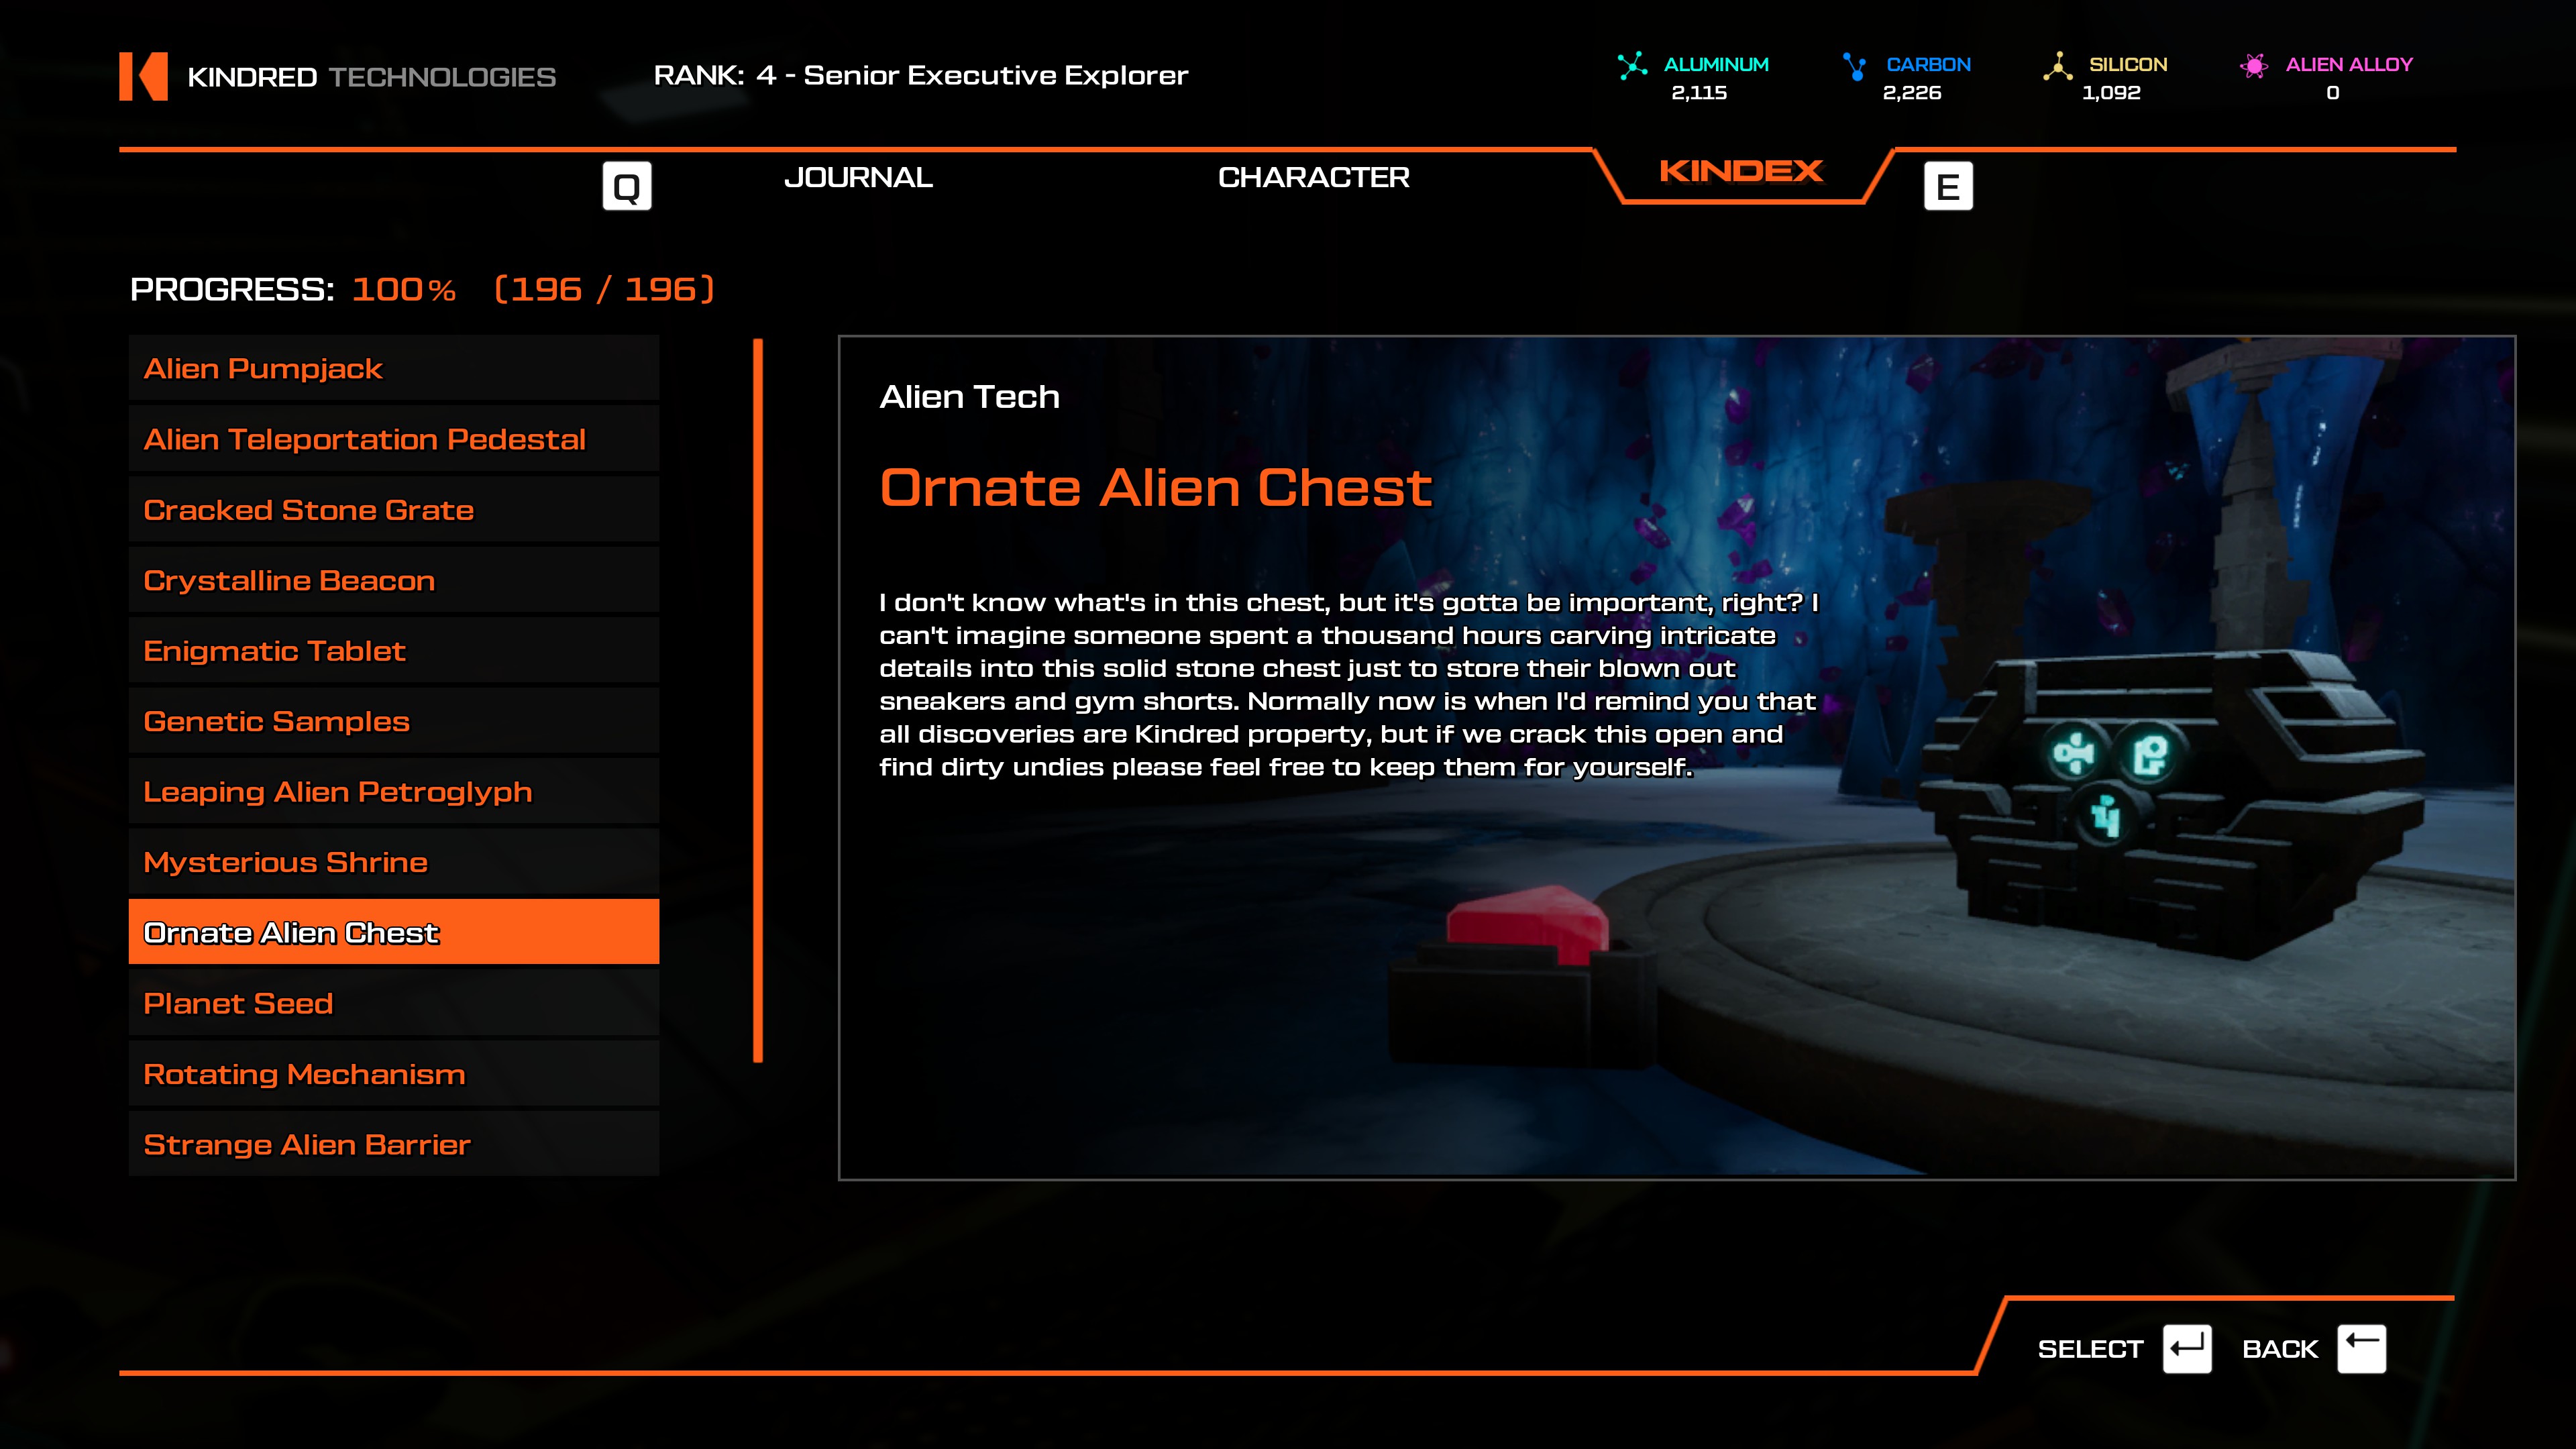
- Go to the Festering Overhang, and look over the edge. It's directly beneath you.
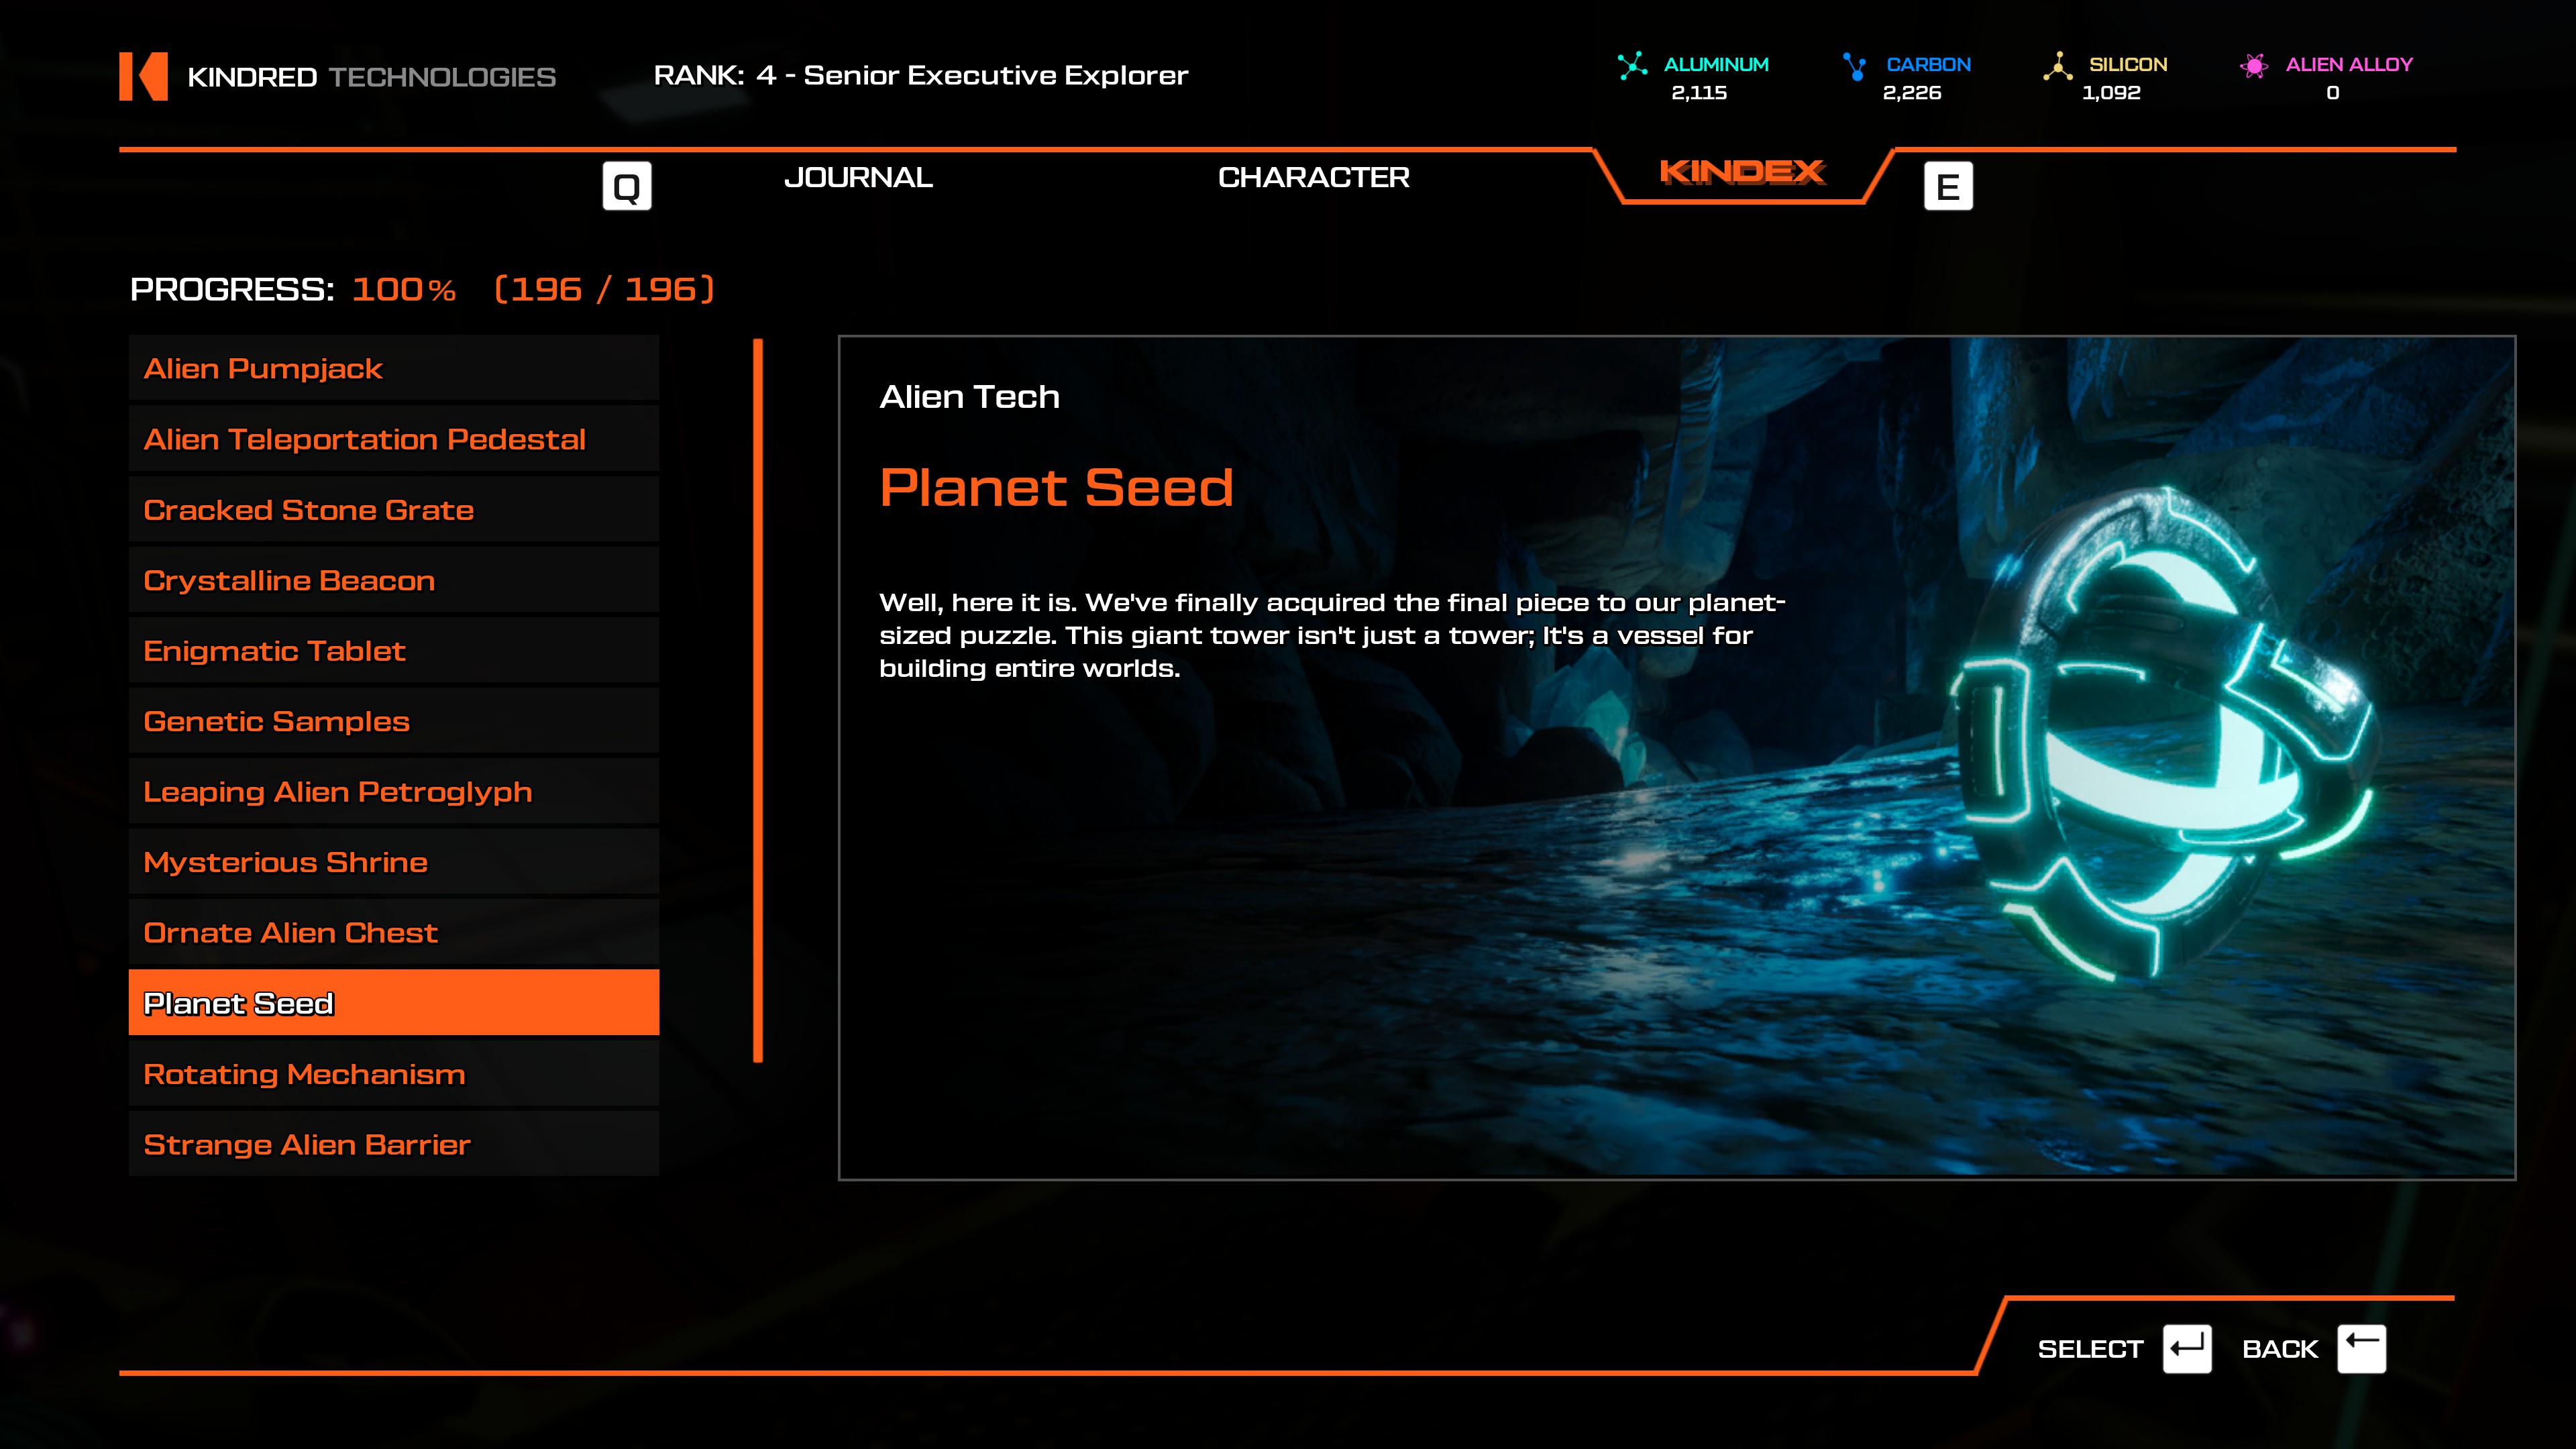
- Unlocks when you bring the Seed back to the Javelin.
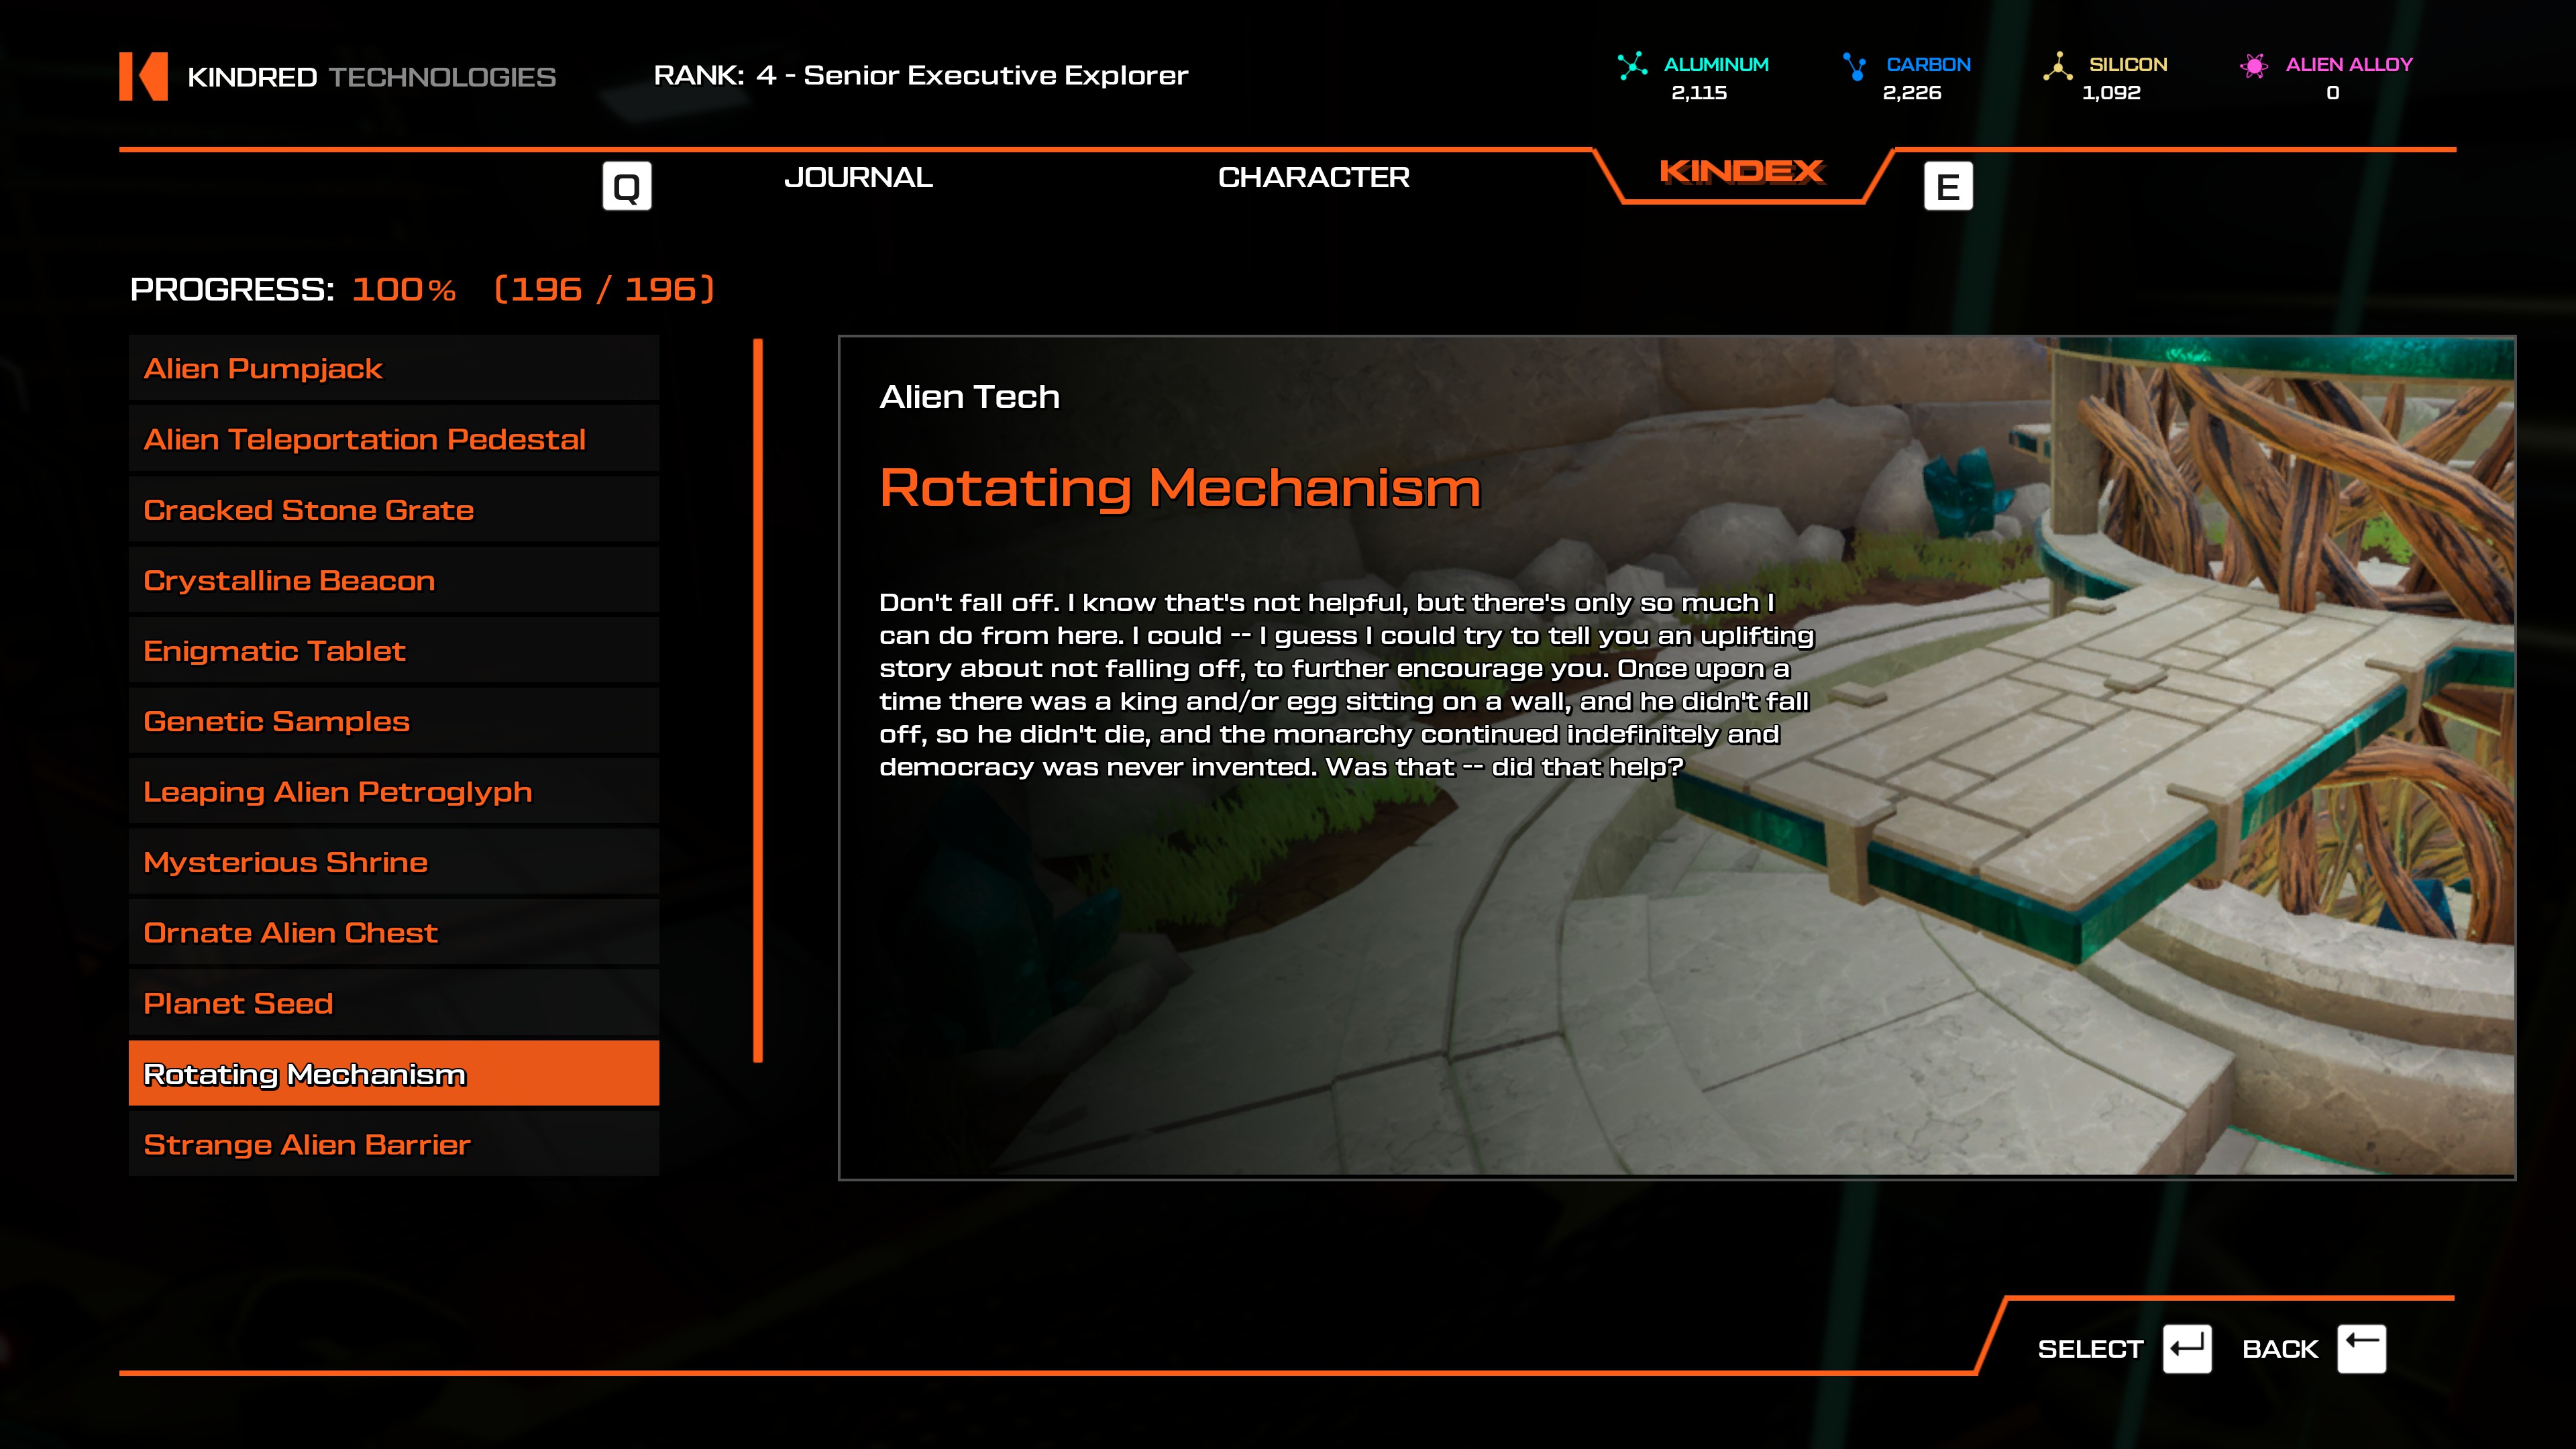
- This is the floor of the tower in the Elevated Realm where you need to quickly jump up platforms to escape the rising lava. From the Enigmatic Spiral teleporter, it's the tower to the right of the big one.
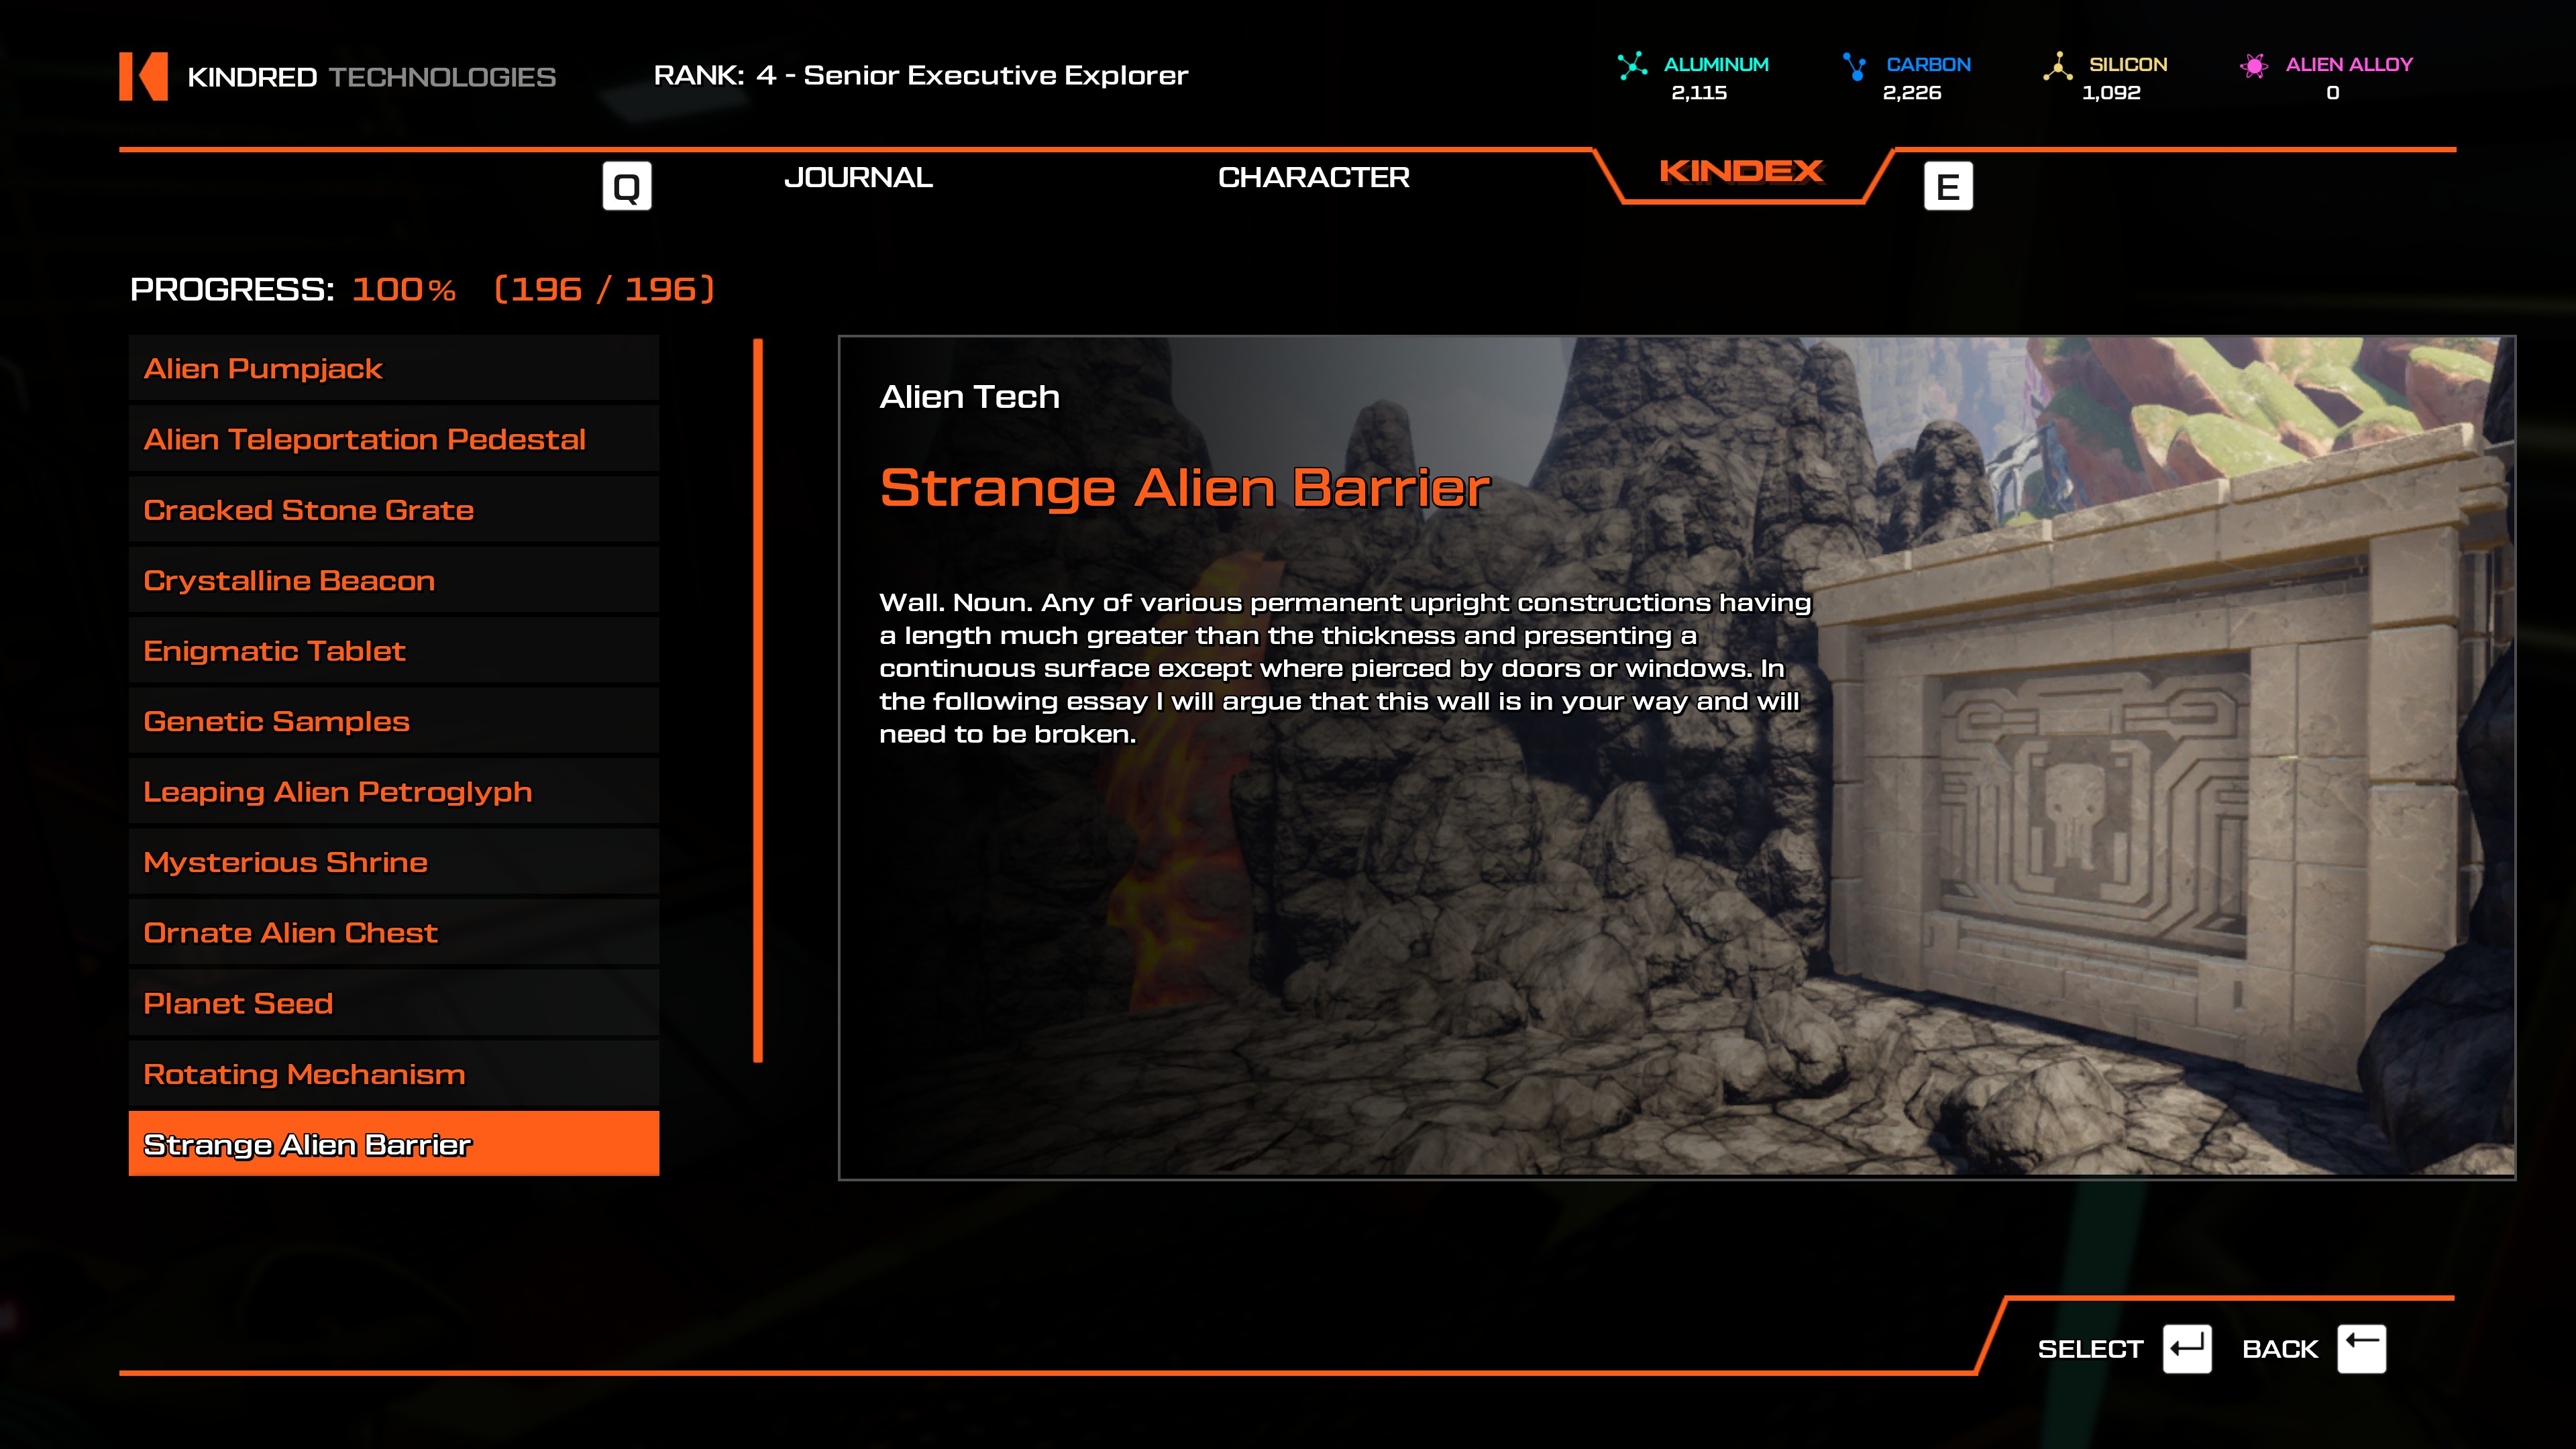
- This is the large alien wall that breaks behind Cragclaw, the first major boss of the game. Take the Broken Bridge teleporter to get back to it quickly.
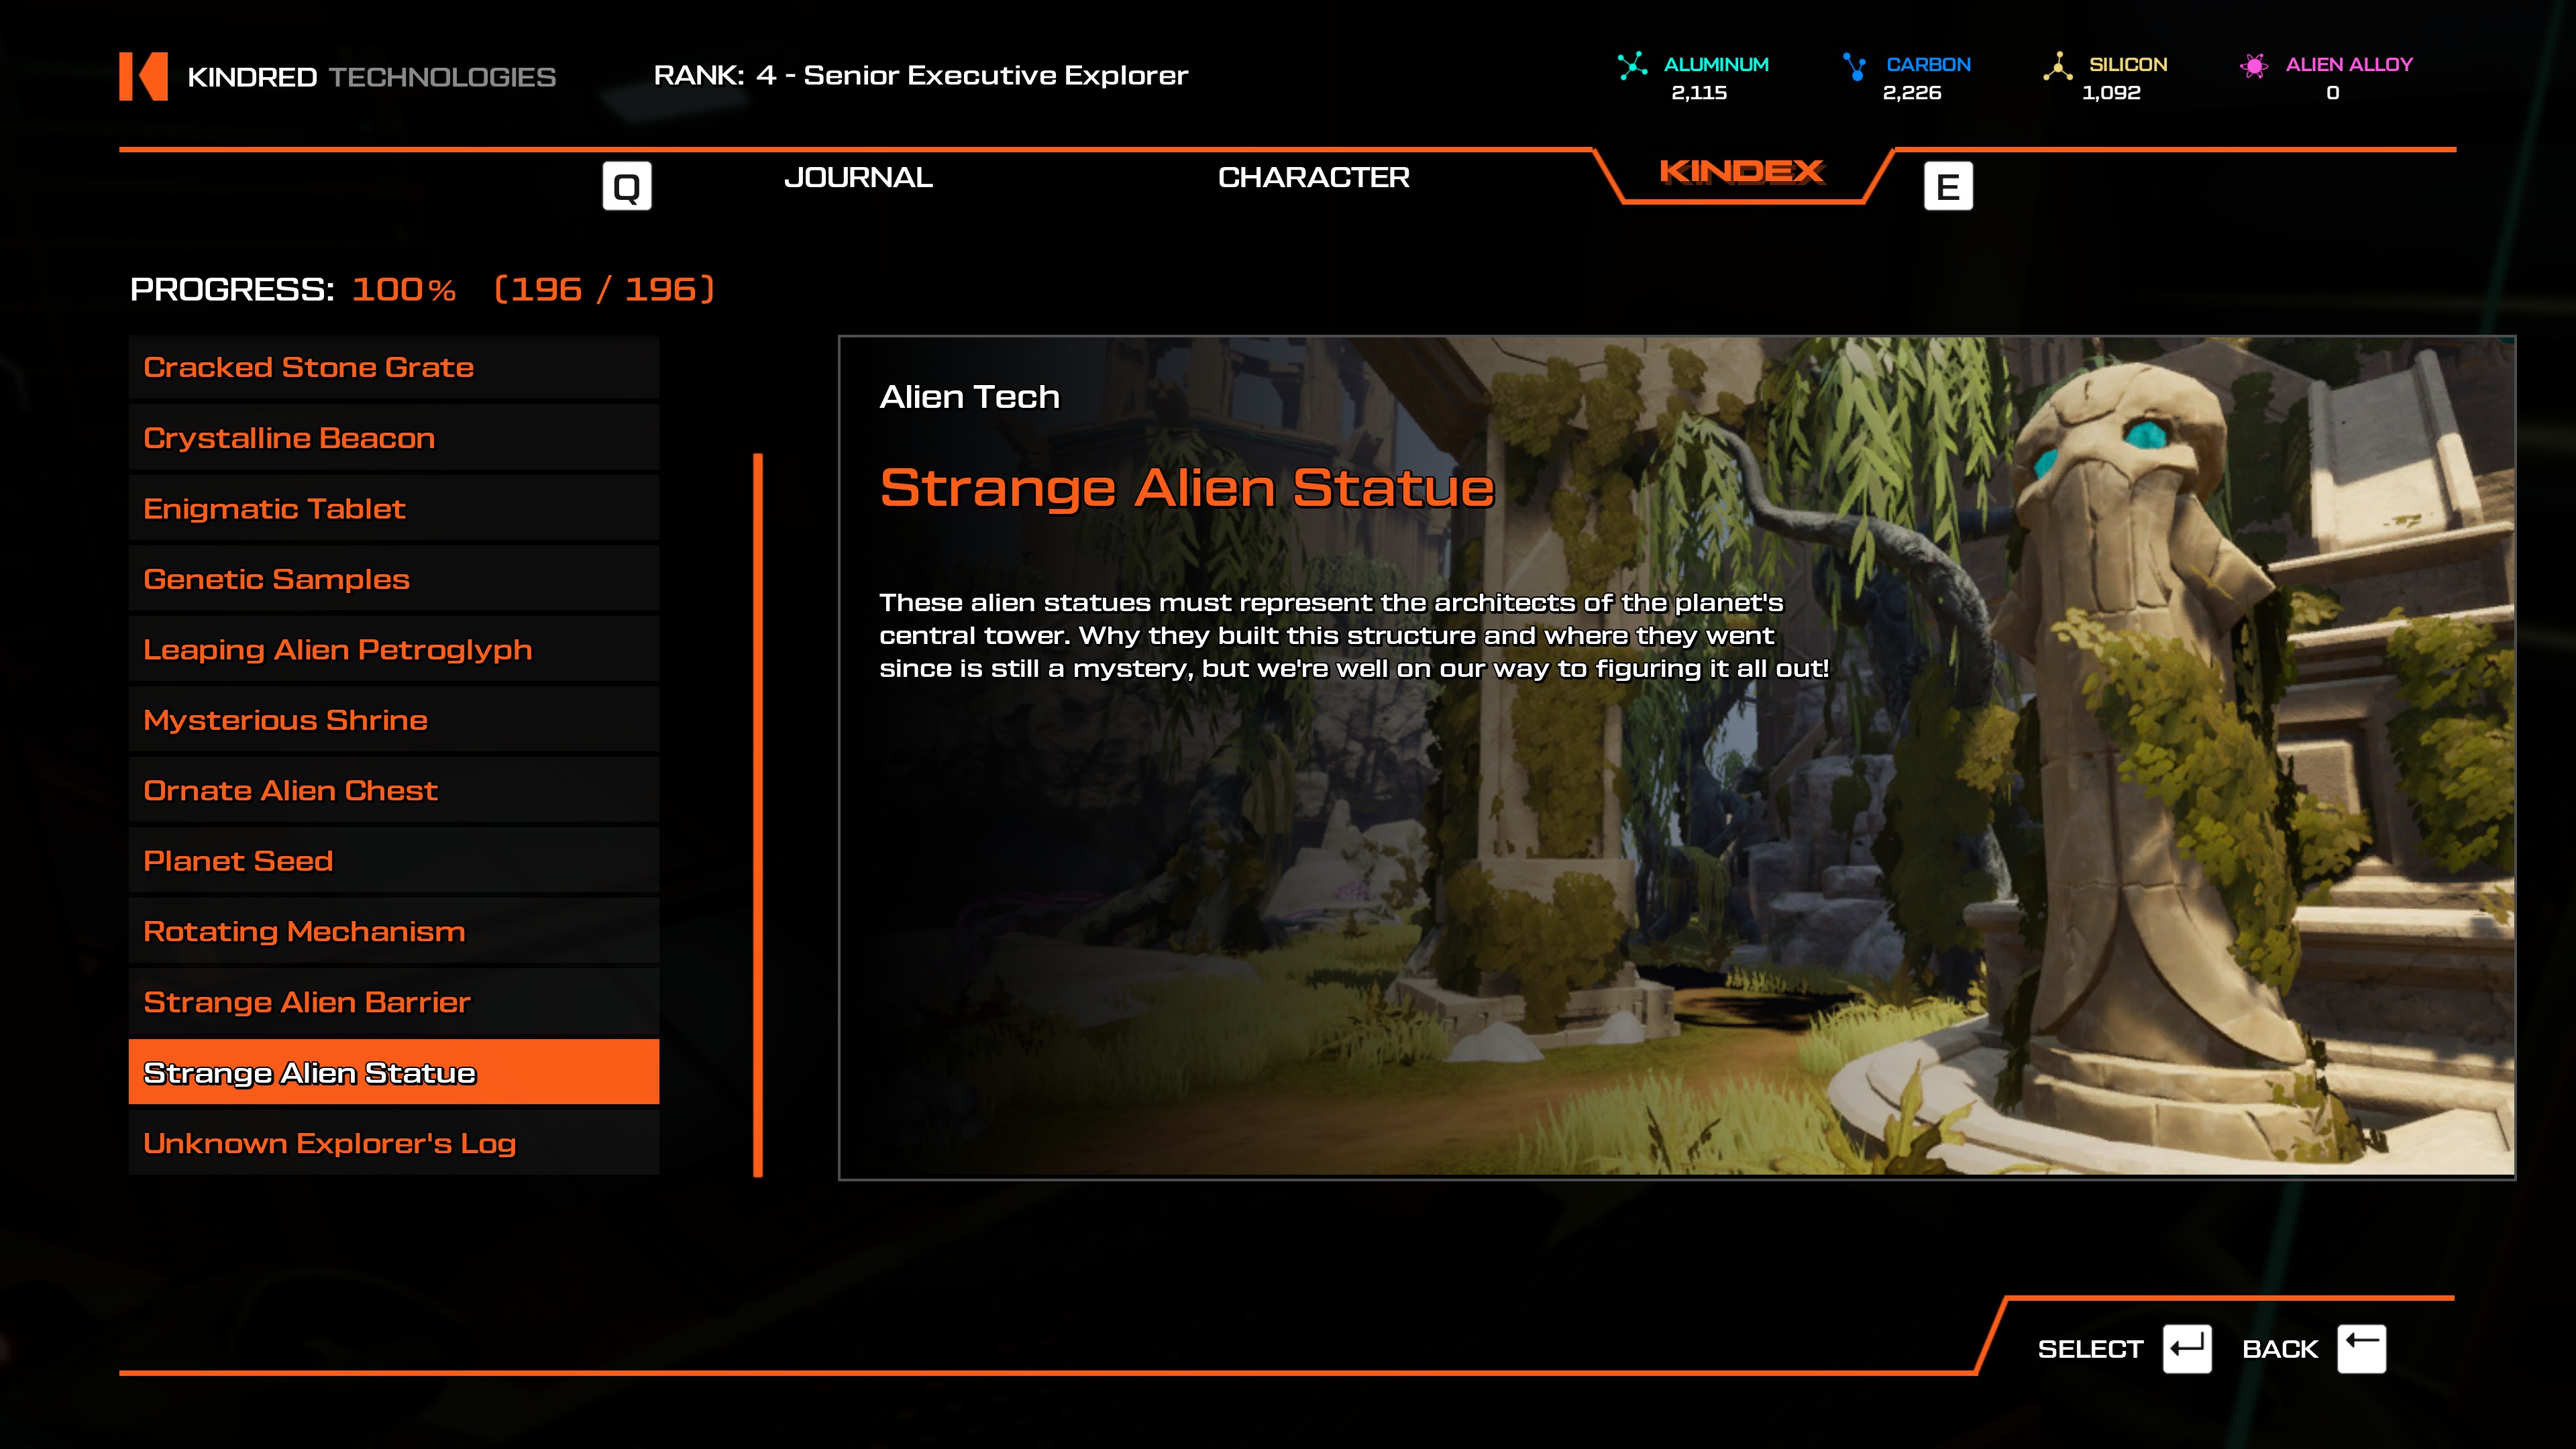
- Teleport to the Enigmatic Spiral and head straight to the large tower. These are the two pillars at the bottom of the stairs leading into the tower. There are Maroons walking around everywhere.
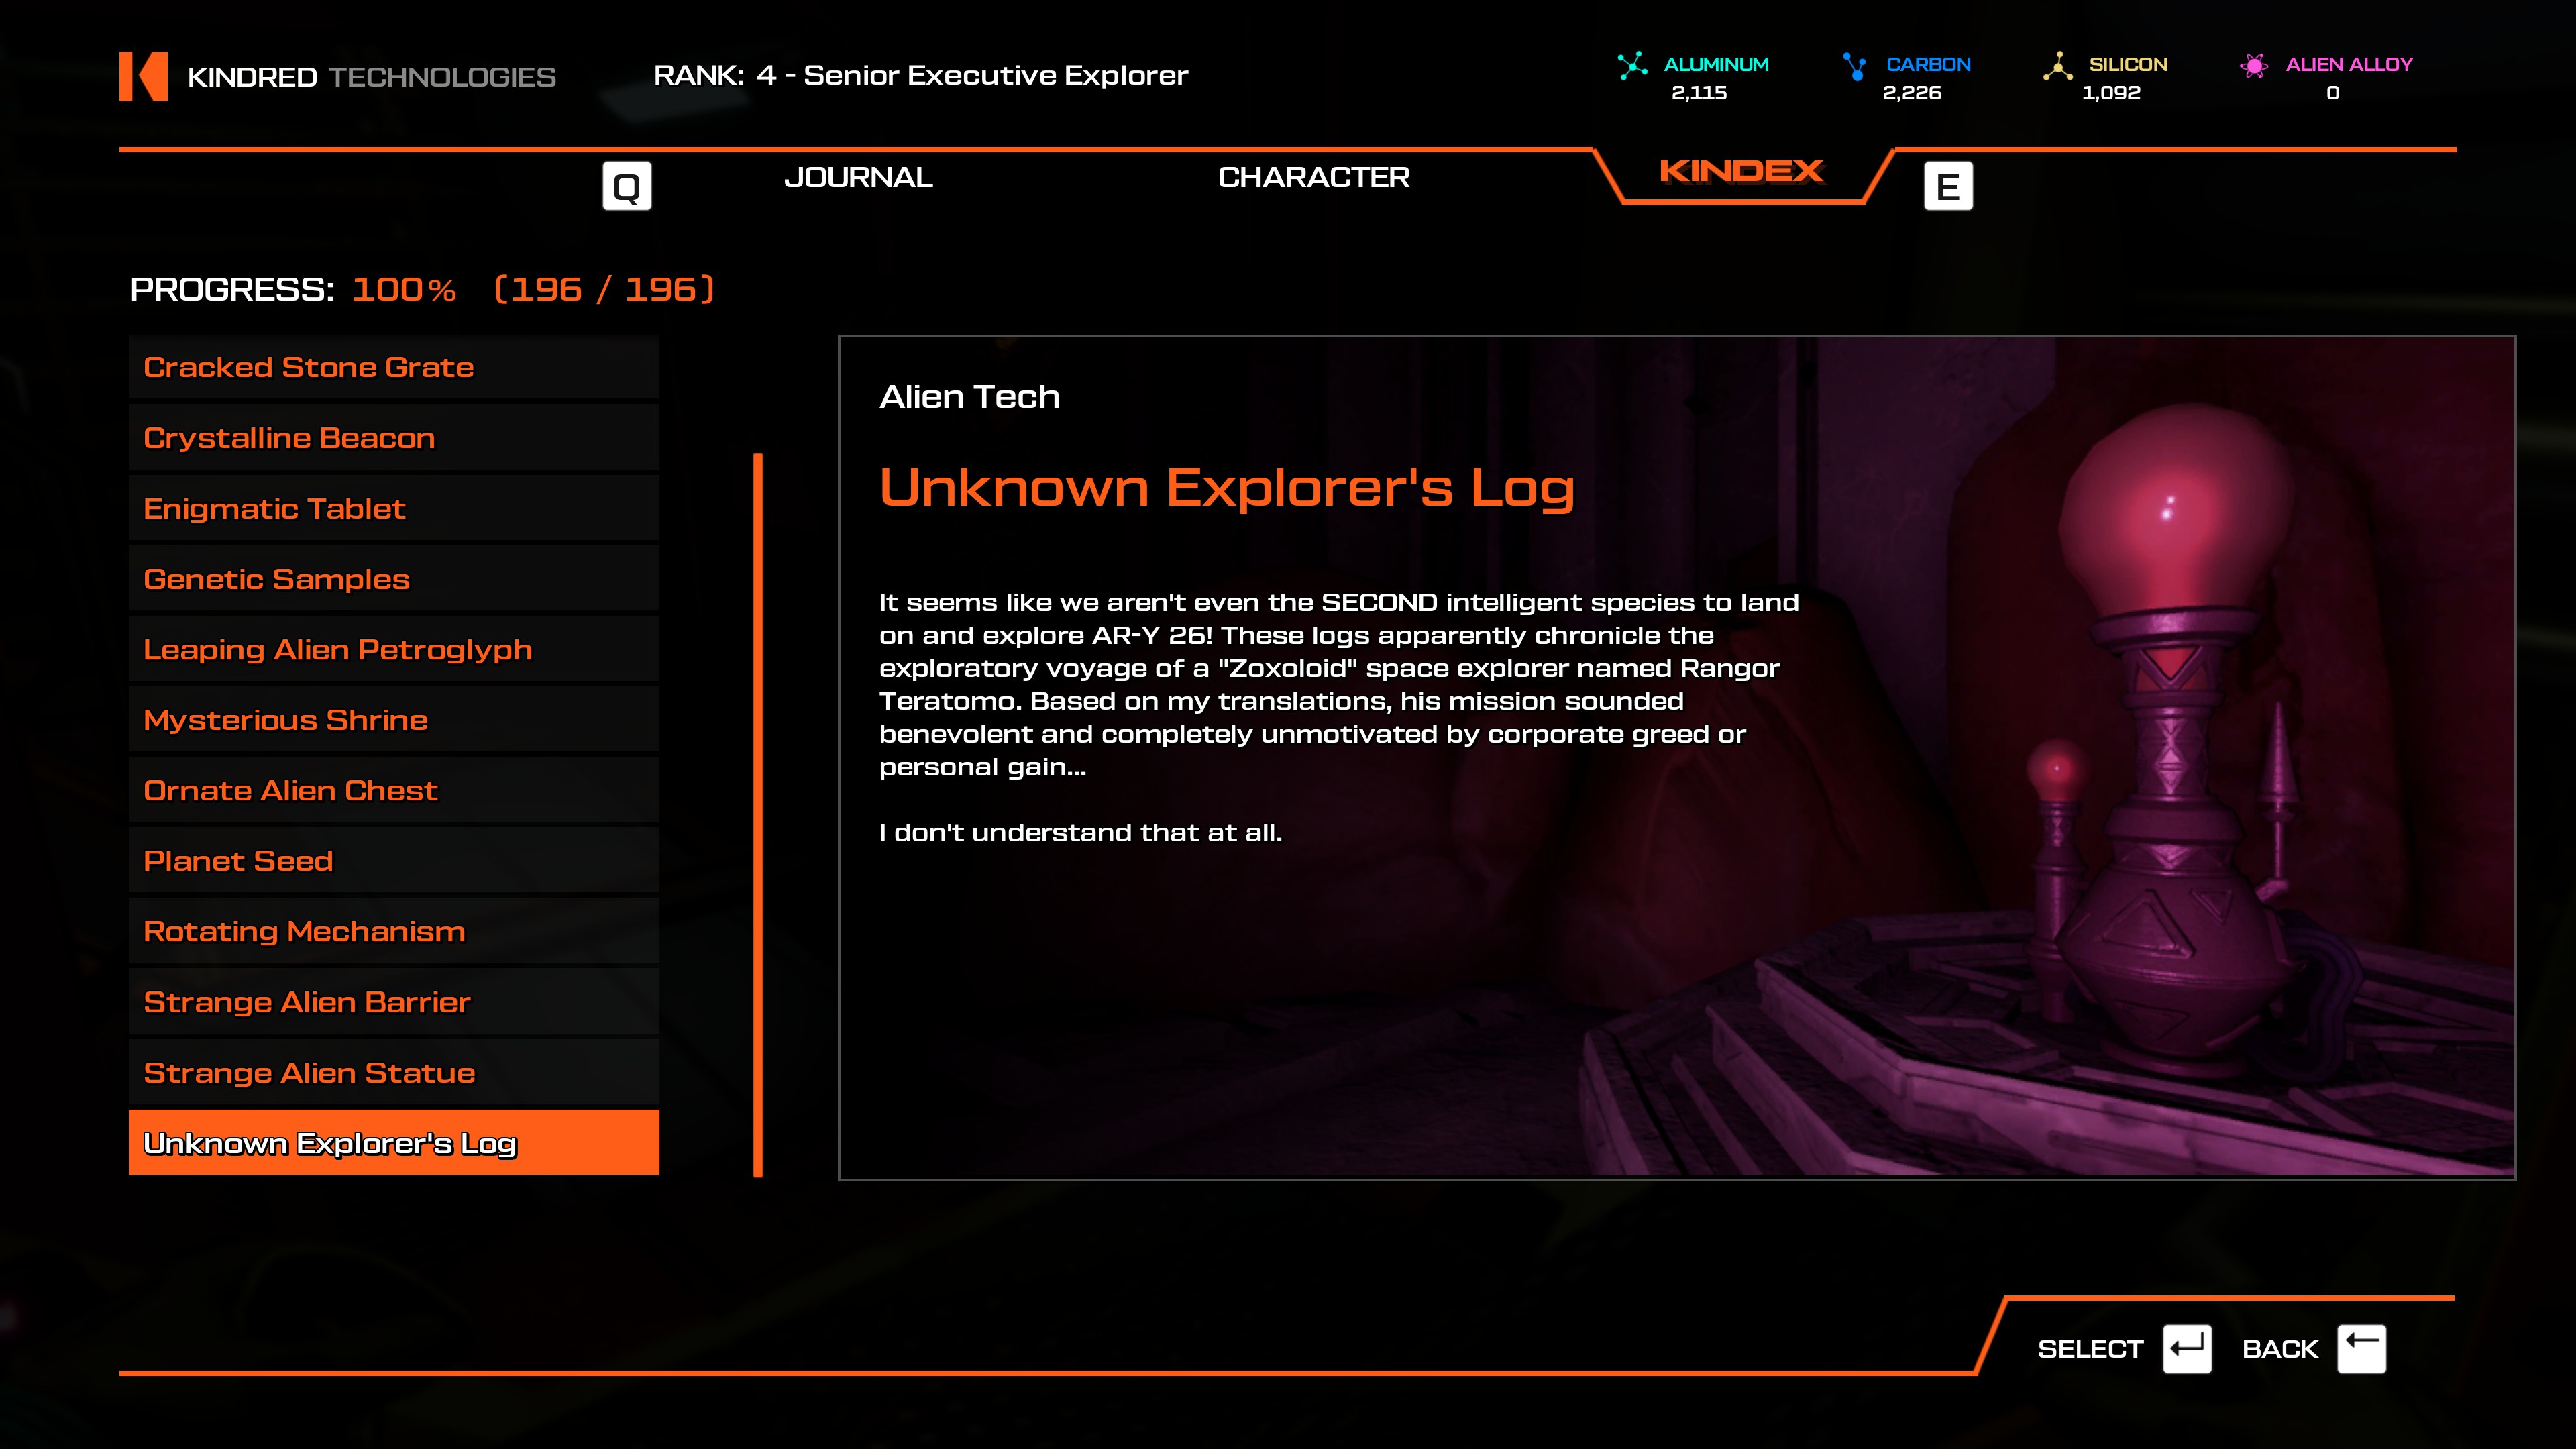
- While you'll probably find these as you go along in your game, the easiest one to get to in my opinion is found near the end of the game, in the Vault (see image above). It's found on the top level, the first one you drop into, and I'm facing the northwest wall there.
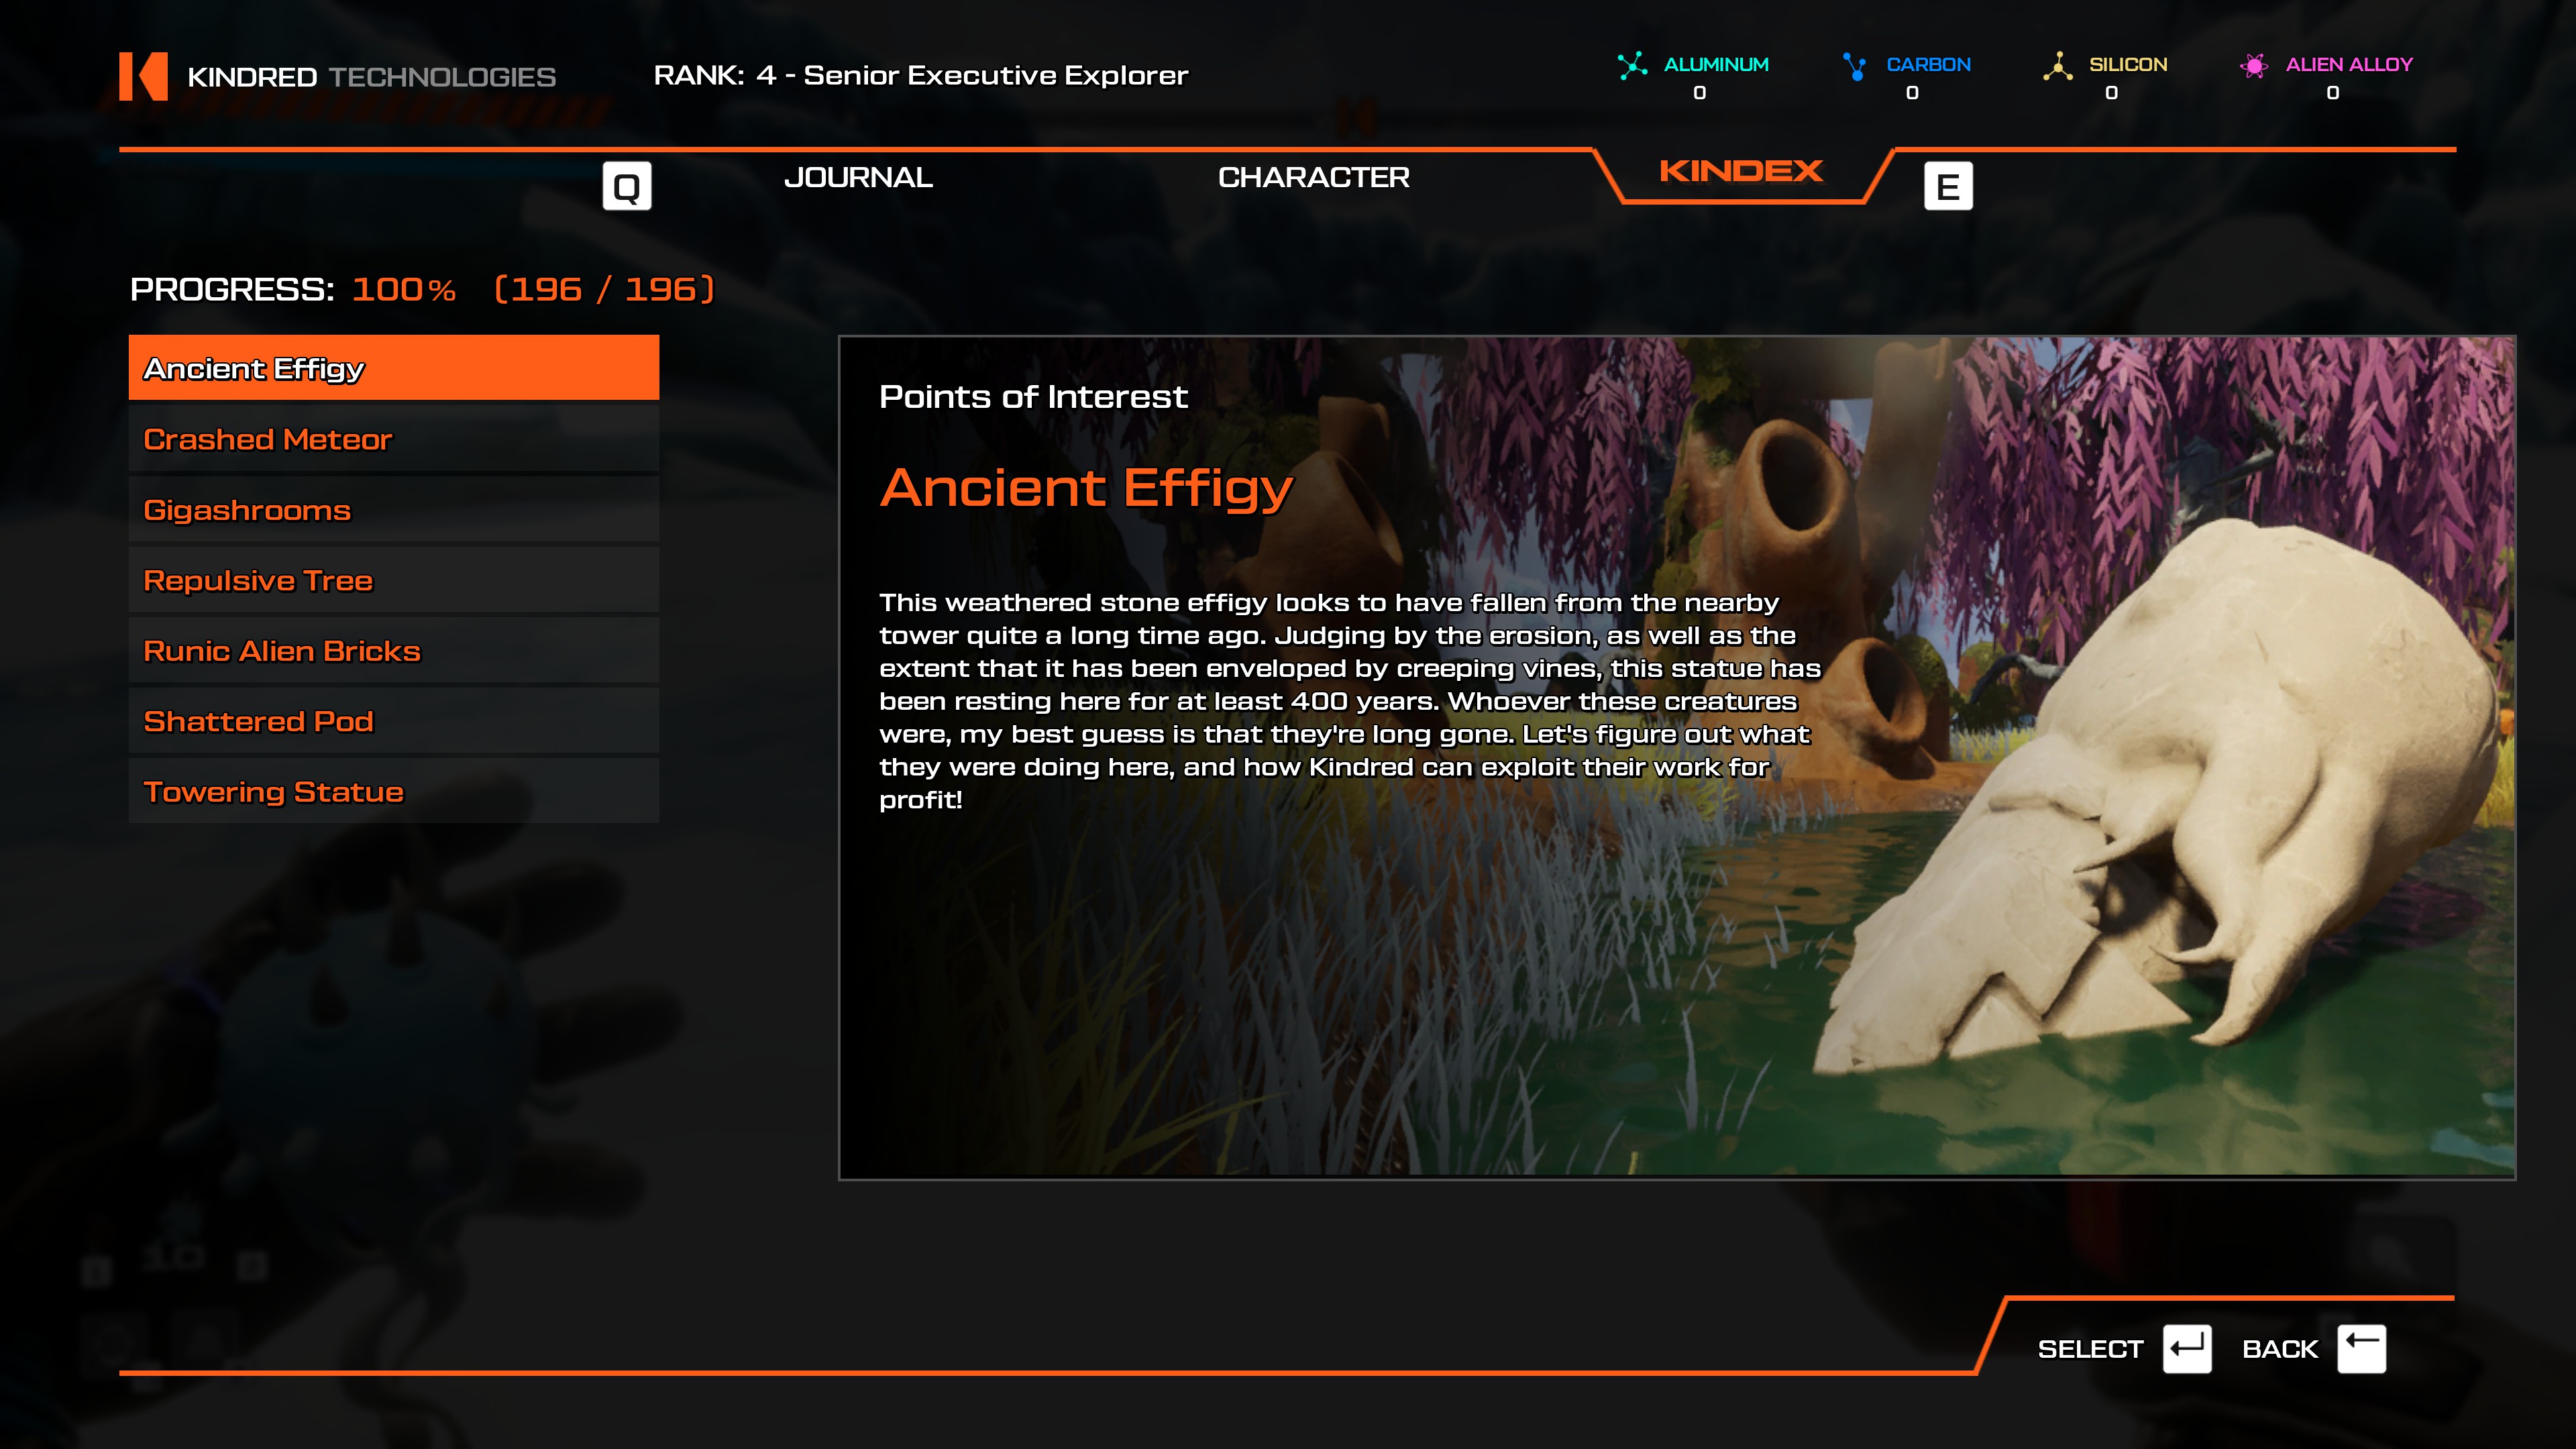
- From the Towering Crystals teleporter, head southwest, toward the direction of the log tunnel. It's sitting in a clearing, in a pool.
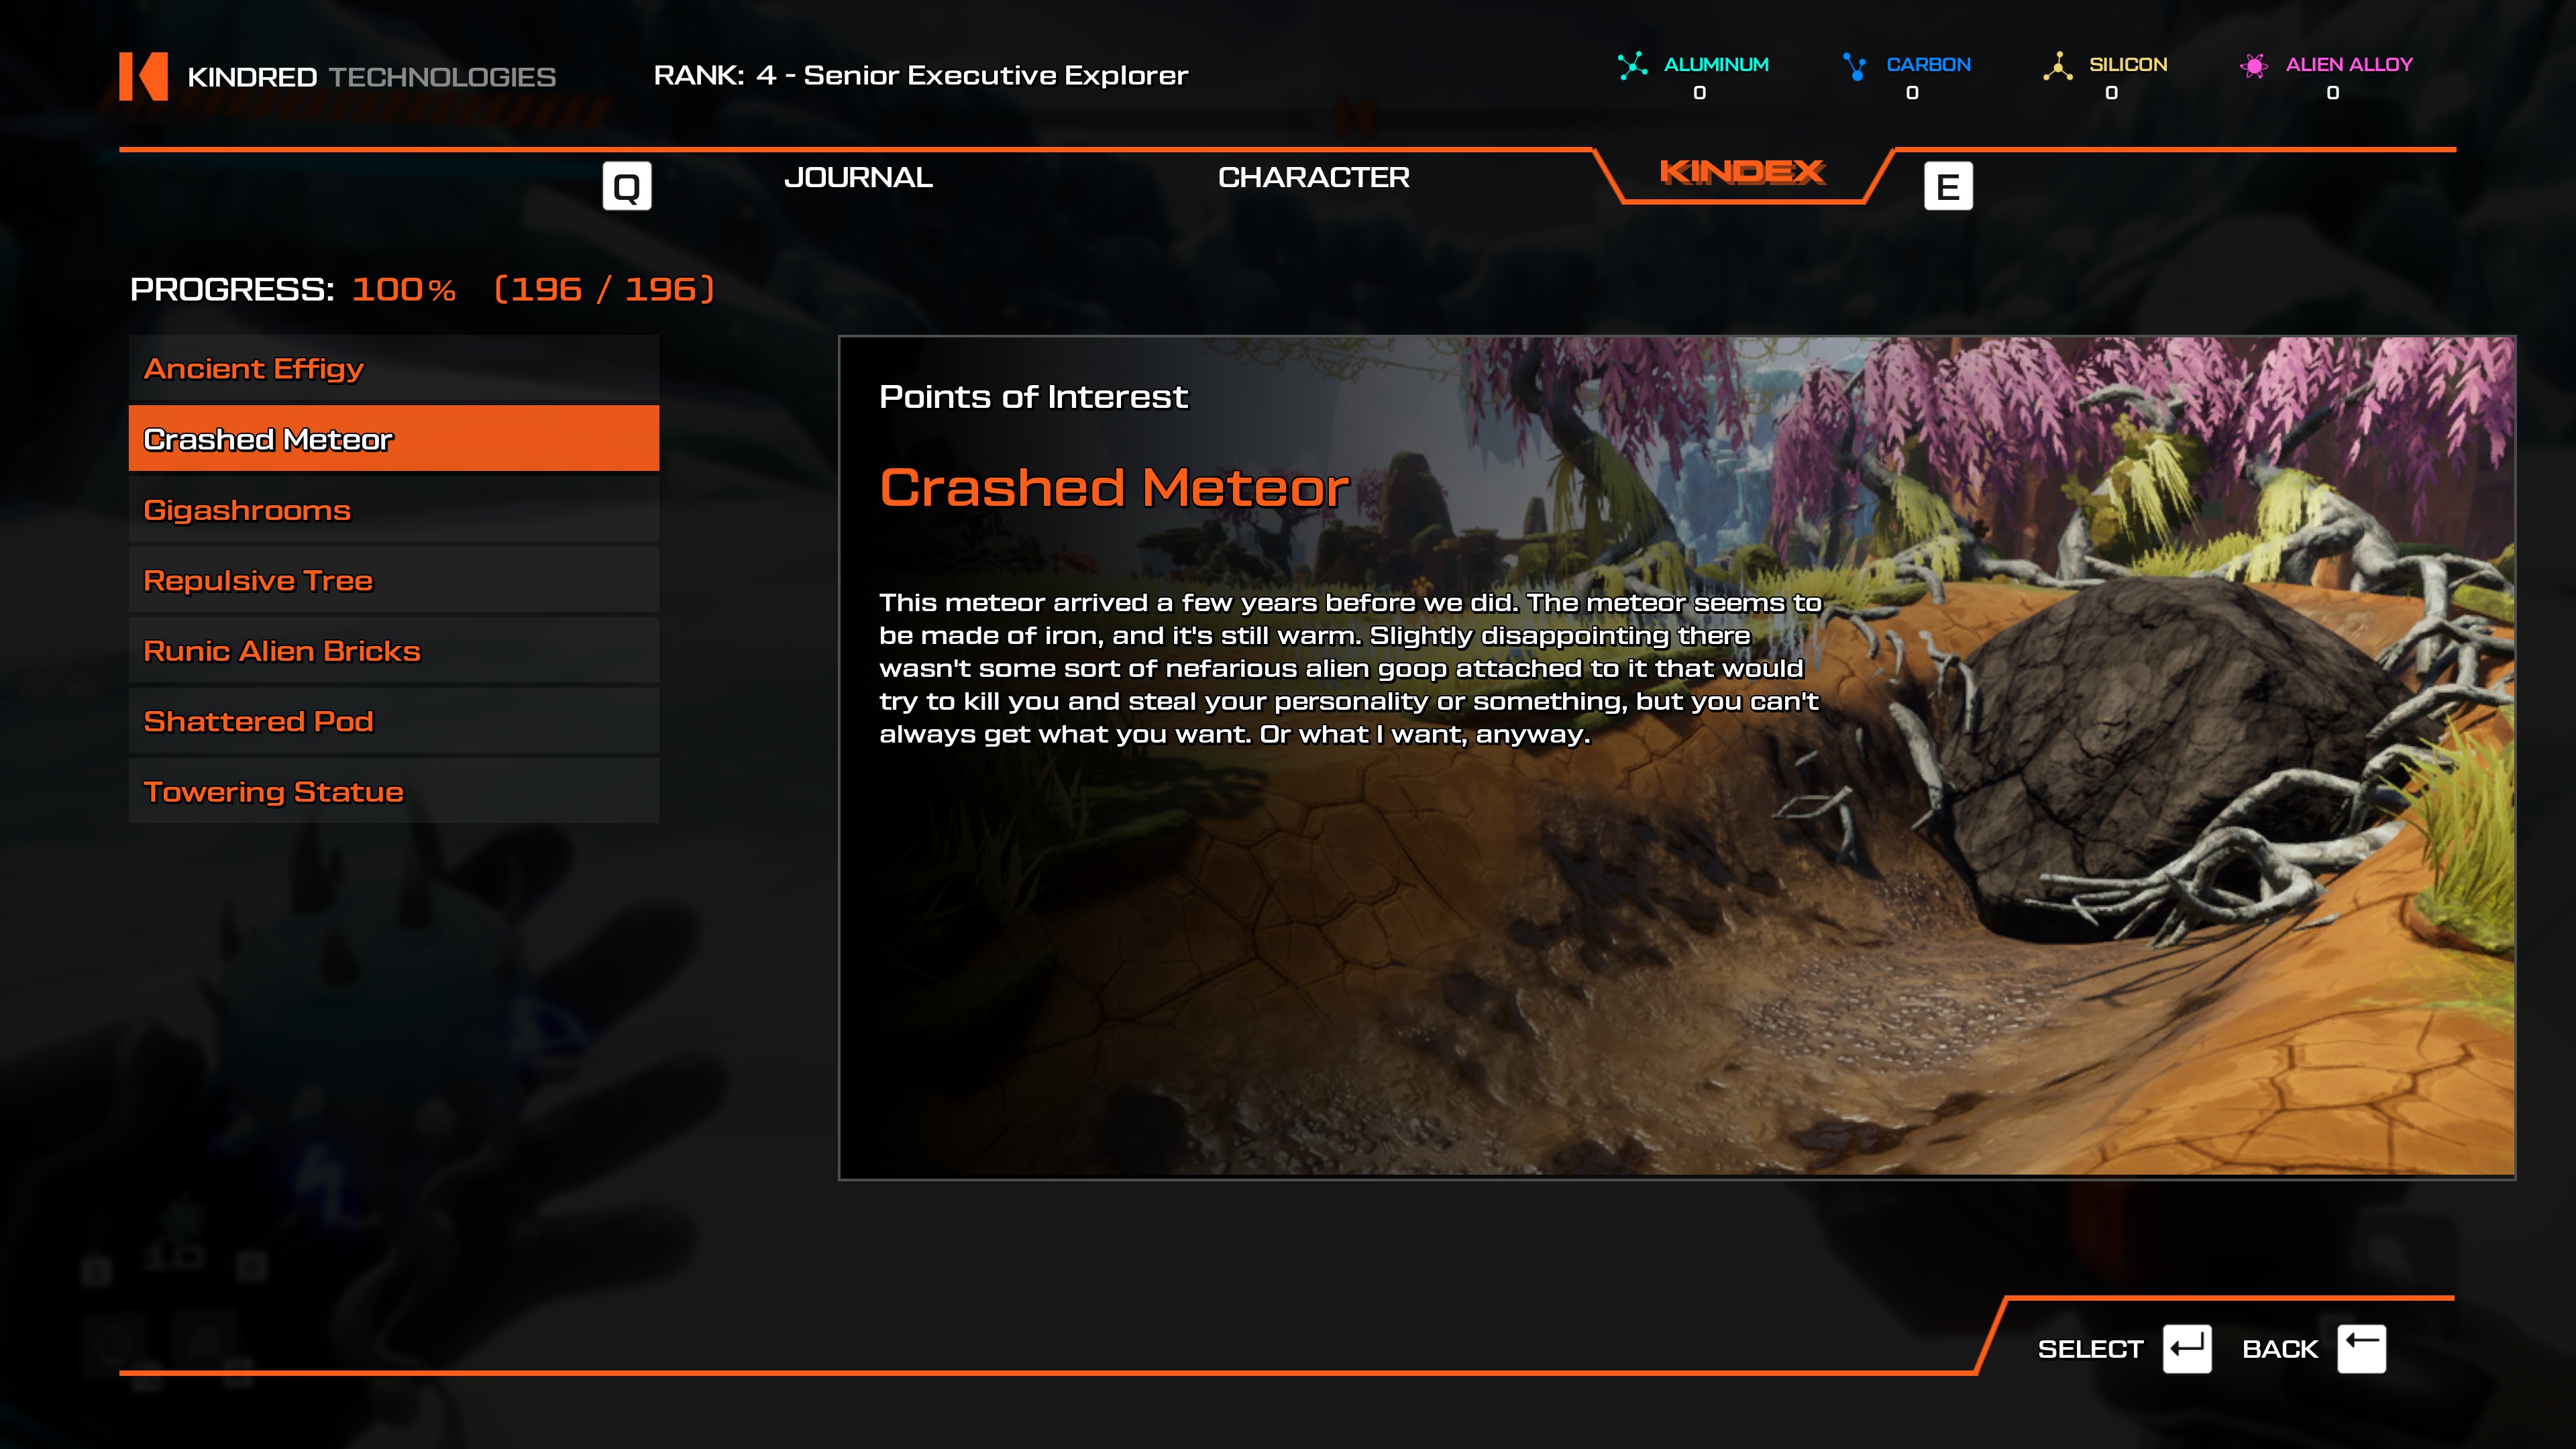
- Use the Meteor Crash teleporter and just turn on the scanner. It's already on your screen, a little to the left of where your crosshair is when you spawn.
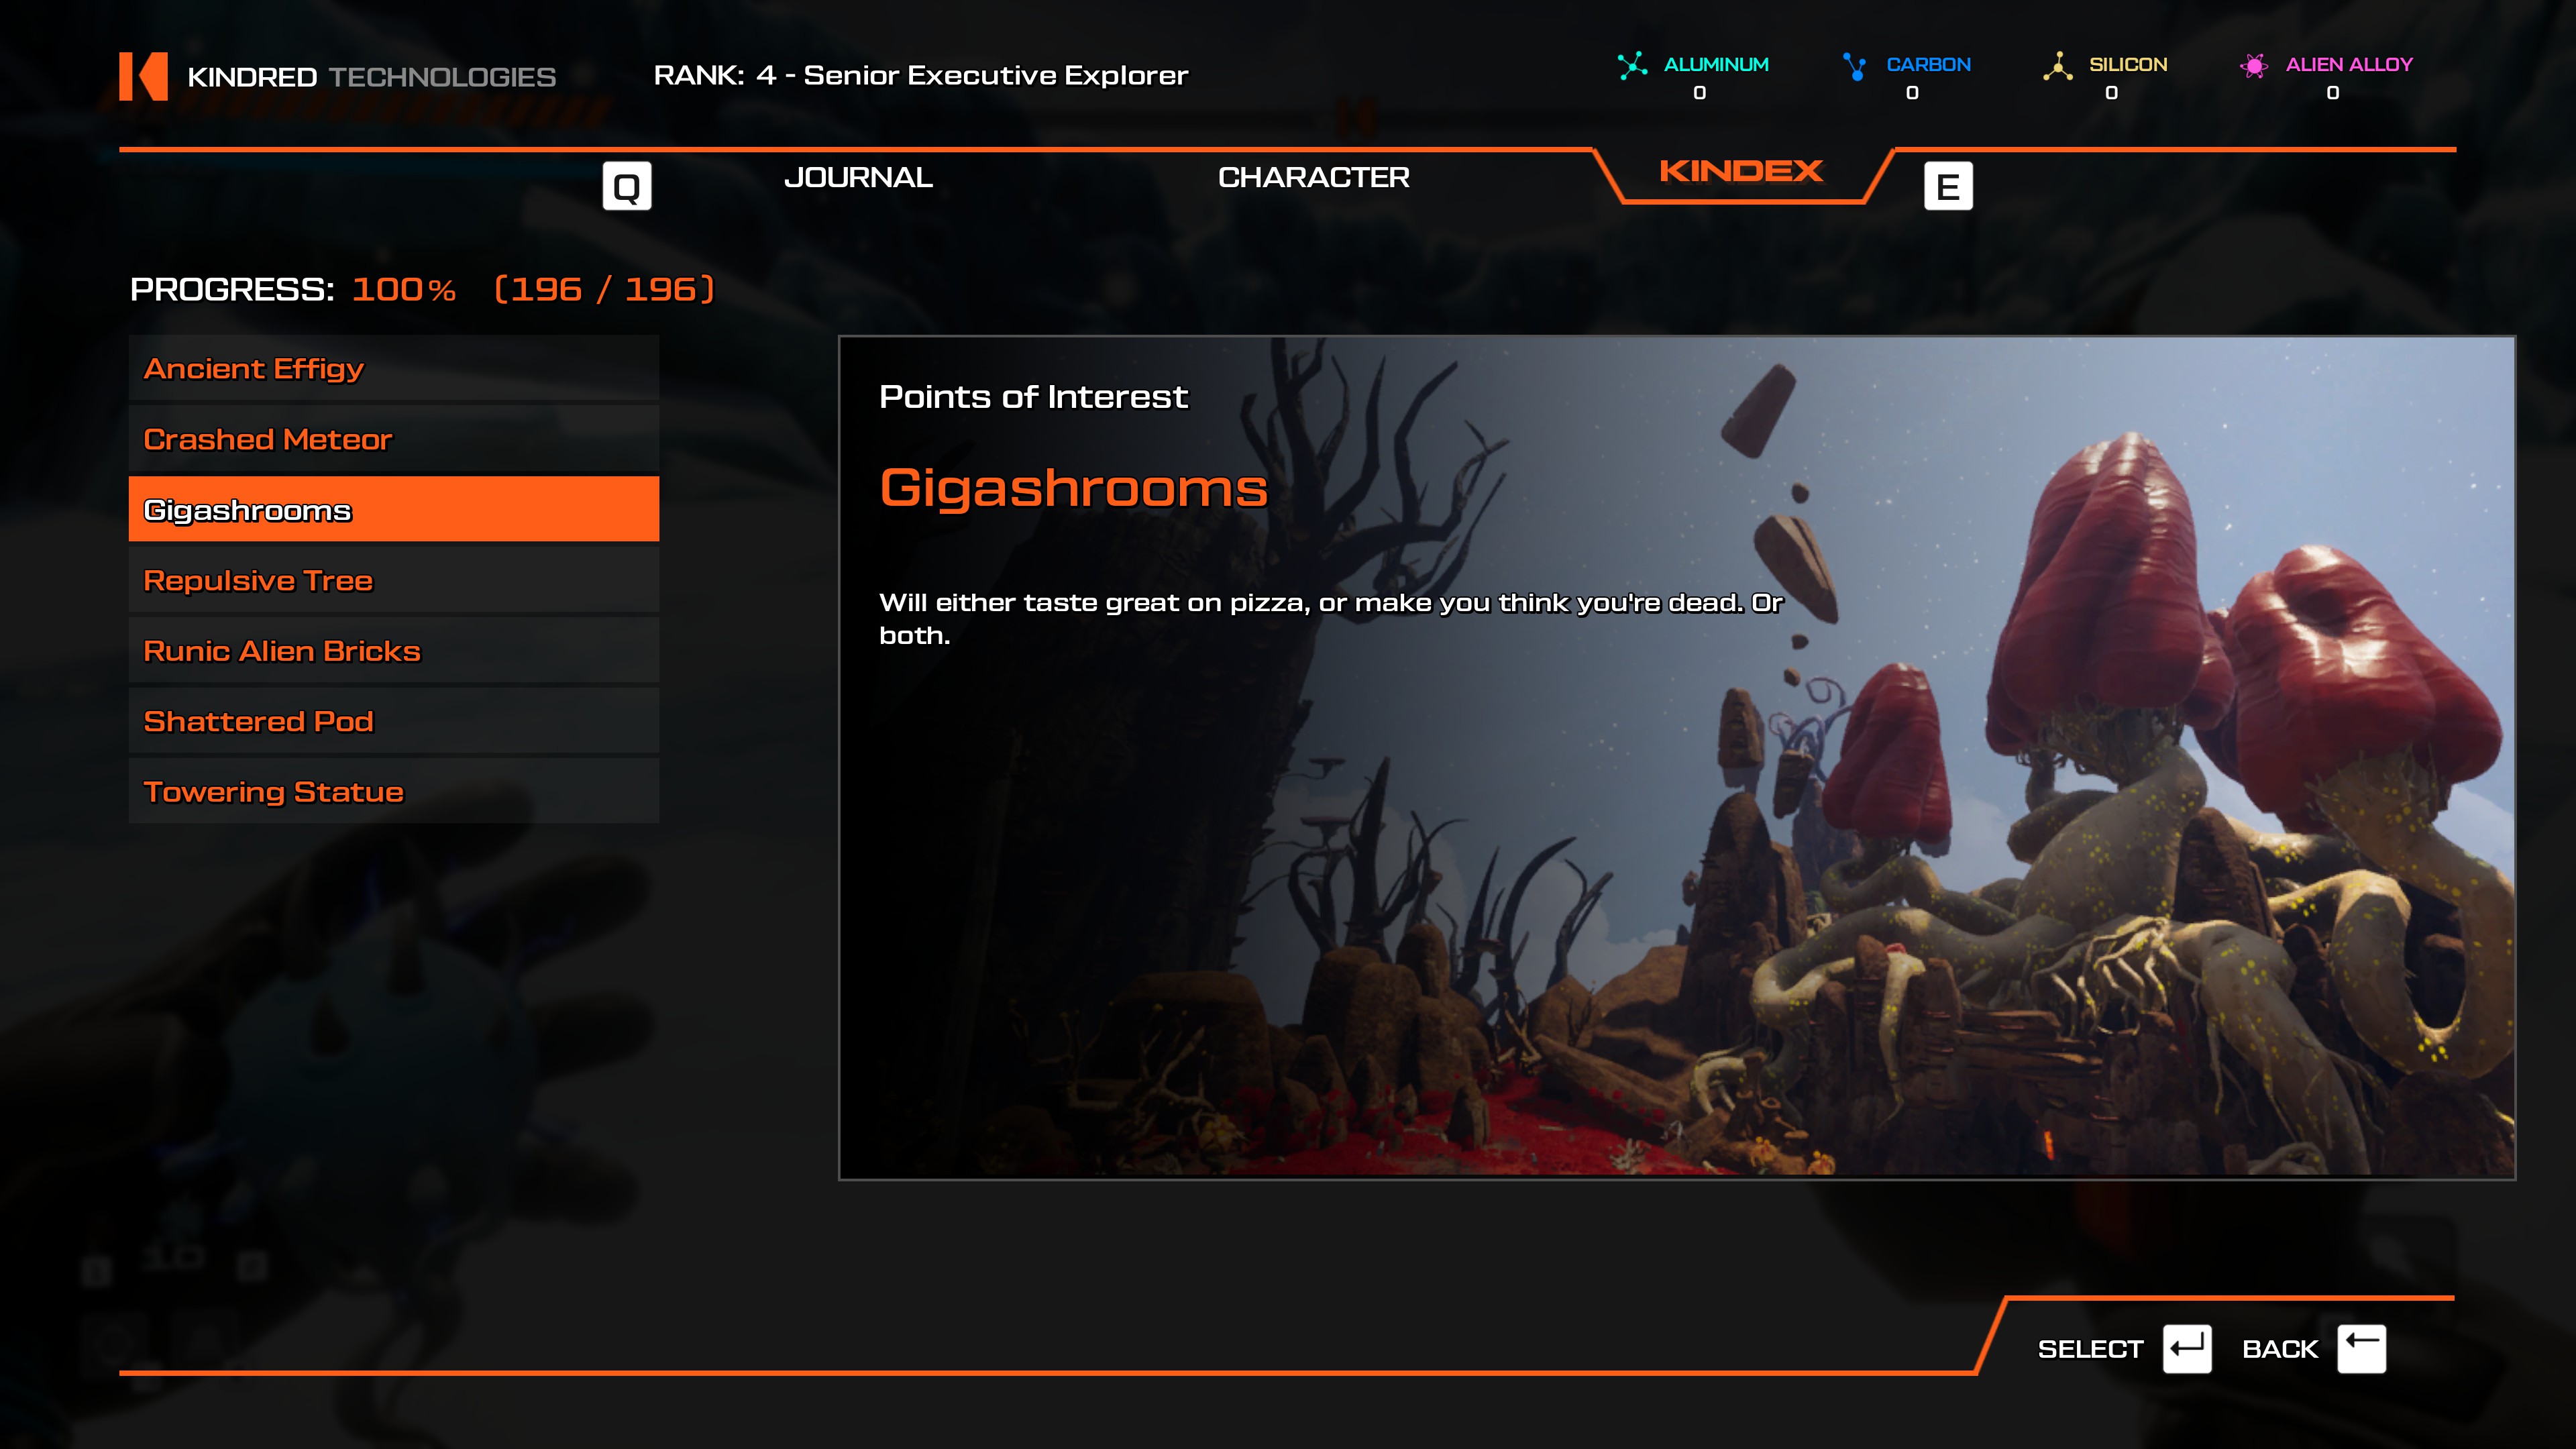
- From the teleporter, take the path going west, under the arch, and keep going left on it. You'll reach the Domain of The Untamed Beast. You'll see giant red mushrooms. For some reason, you aren't able to scan the lower half of the red part of them, but you're able to scan them if you look at their tops. I think this might be because of a possible invisible wall messing the scanning up because you're able to get behind them and scan them with no problems, but that isn't the case from the front. At the same time, there's also an invisible wall that you can stand on behind them. The wall reaches a height of around where you're able to scan the shrooms. Not sure what's up with this honestly, but it's a well-documented issue you can read about online that lots of people have trouble with.
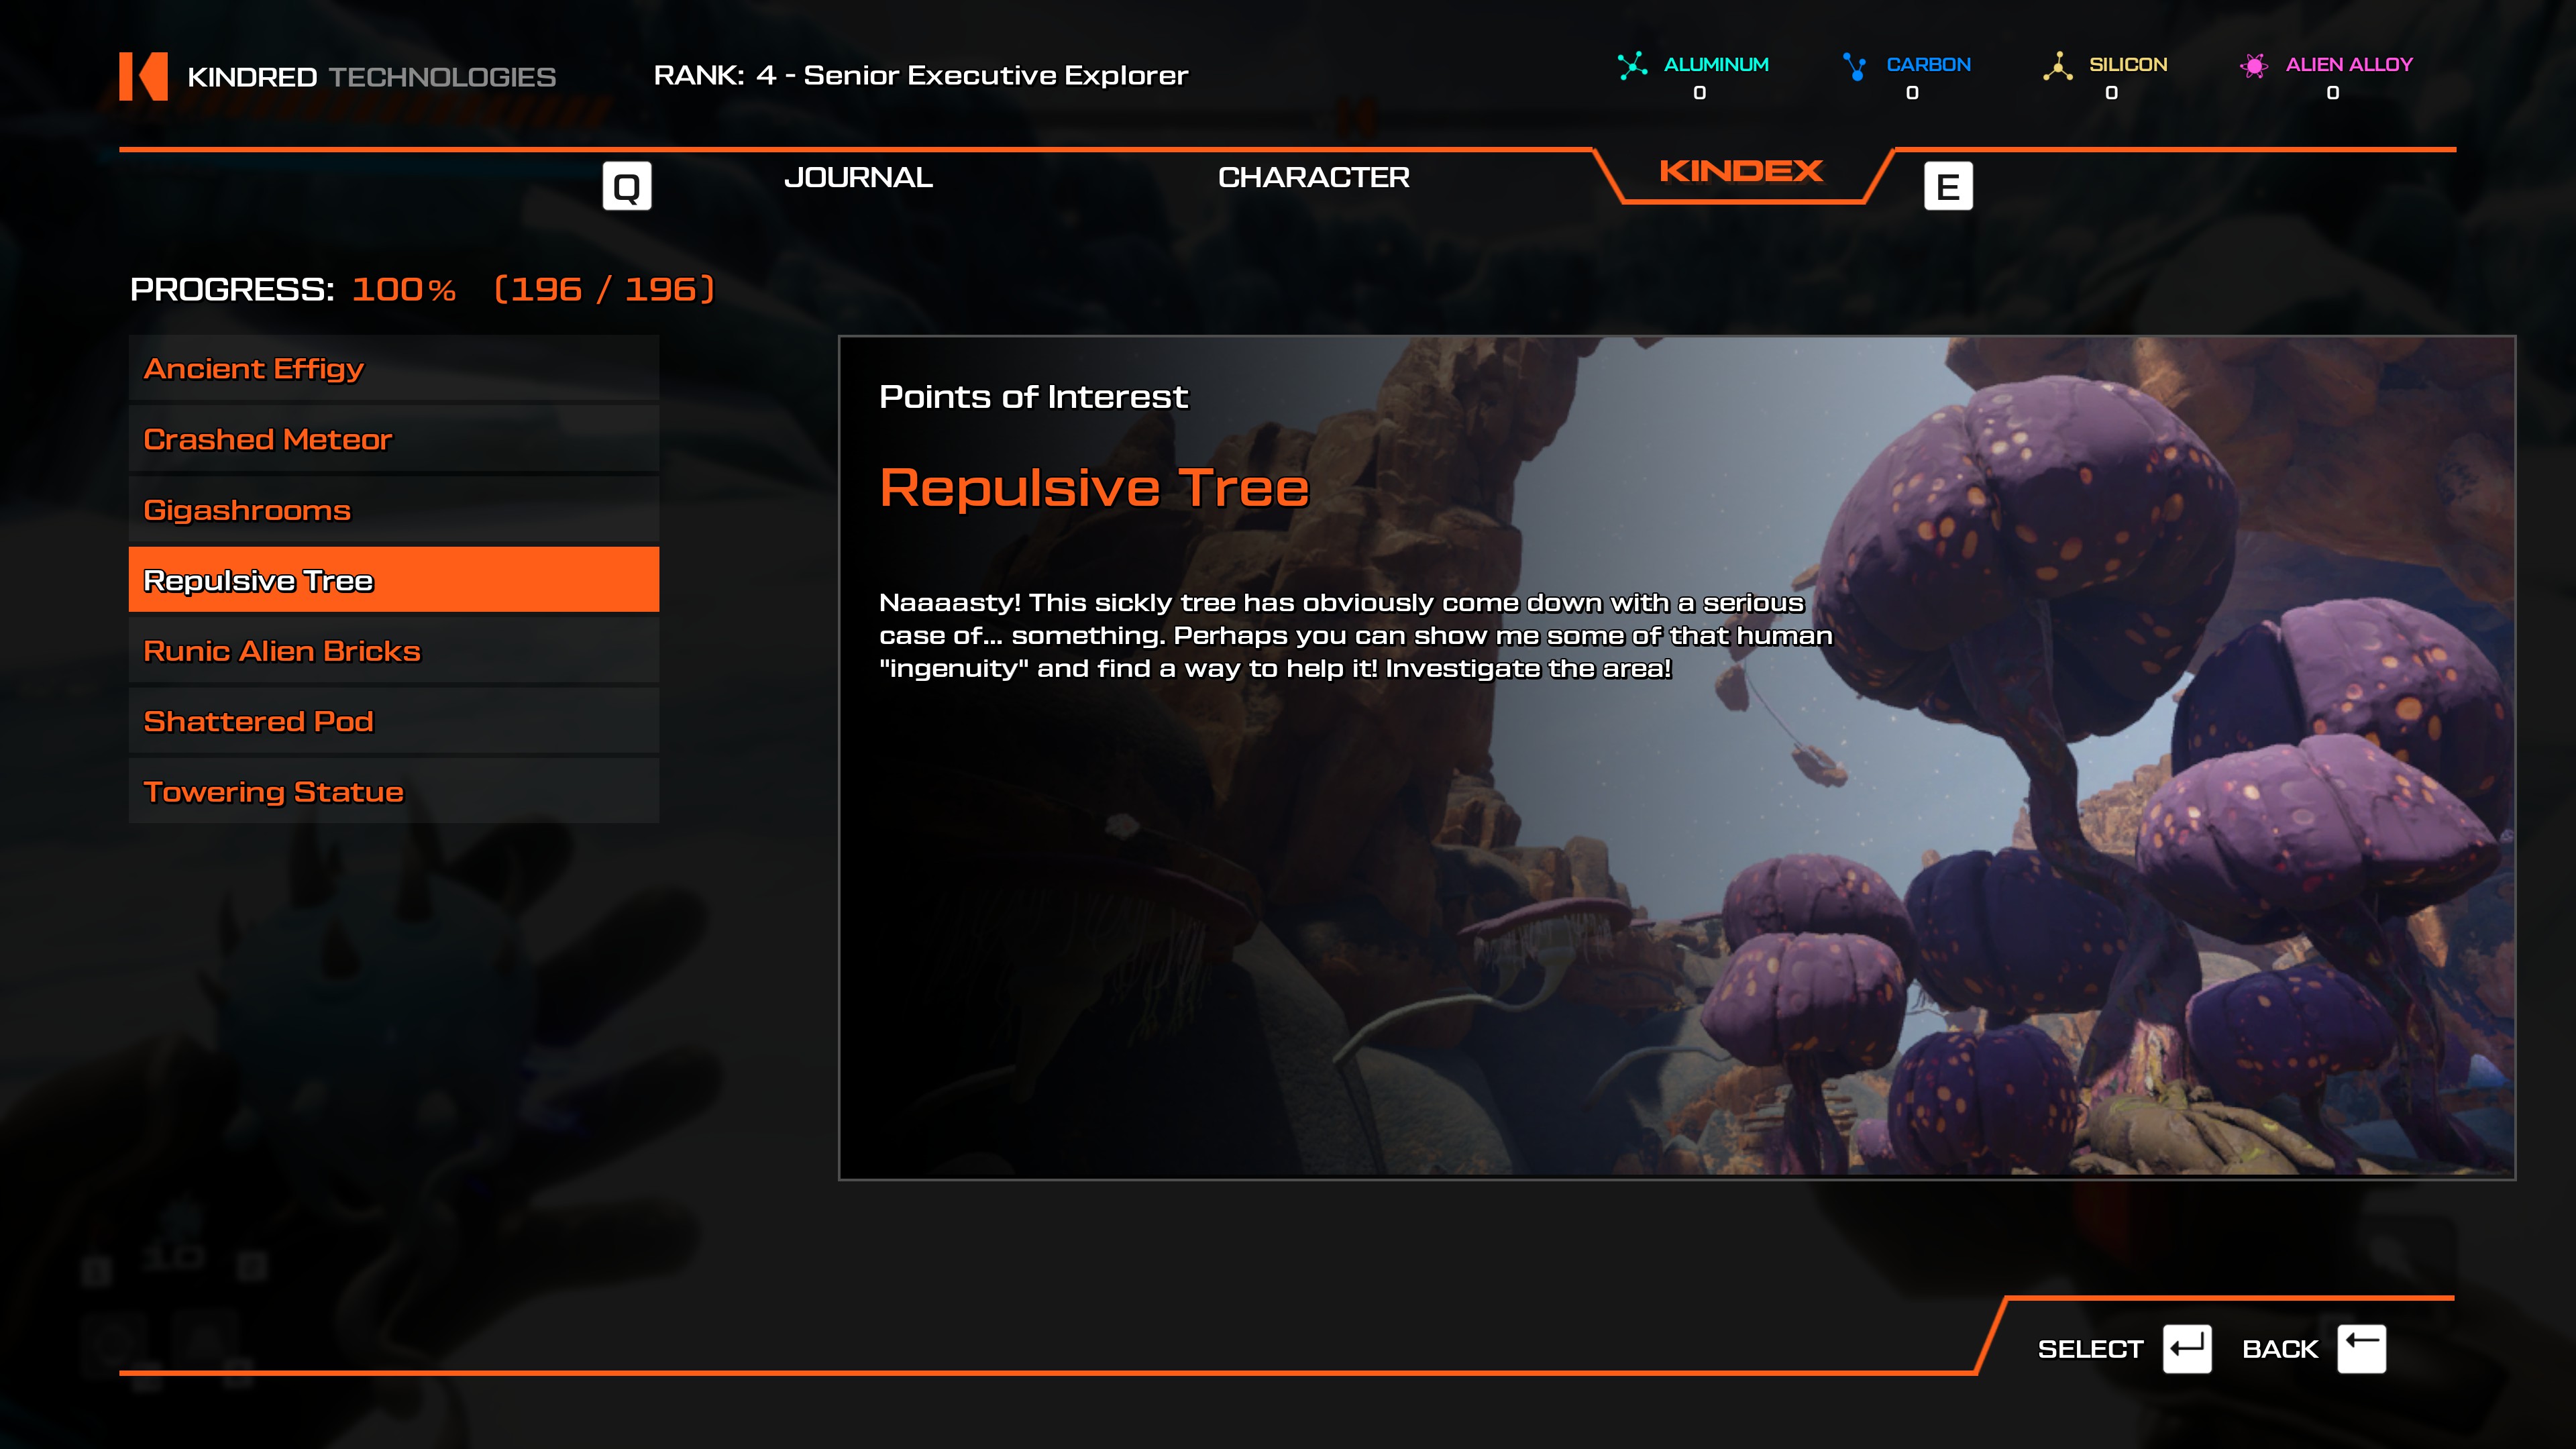
- From the Festering Chasm teleporter, head north. The Repulsive Tree refers to the Virulent Tree of K'klenai, the giant purple mushroom-looking trees.
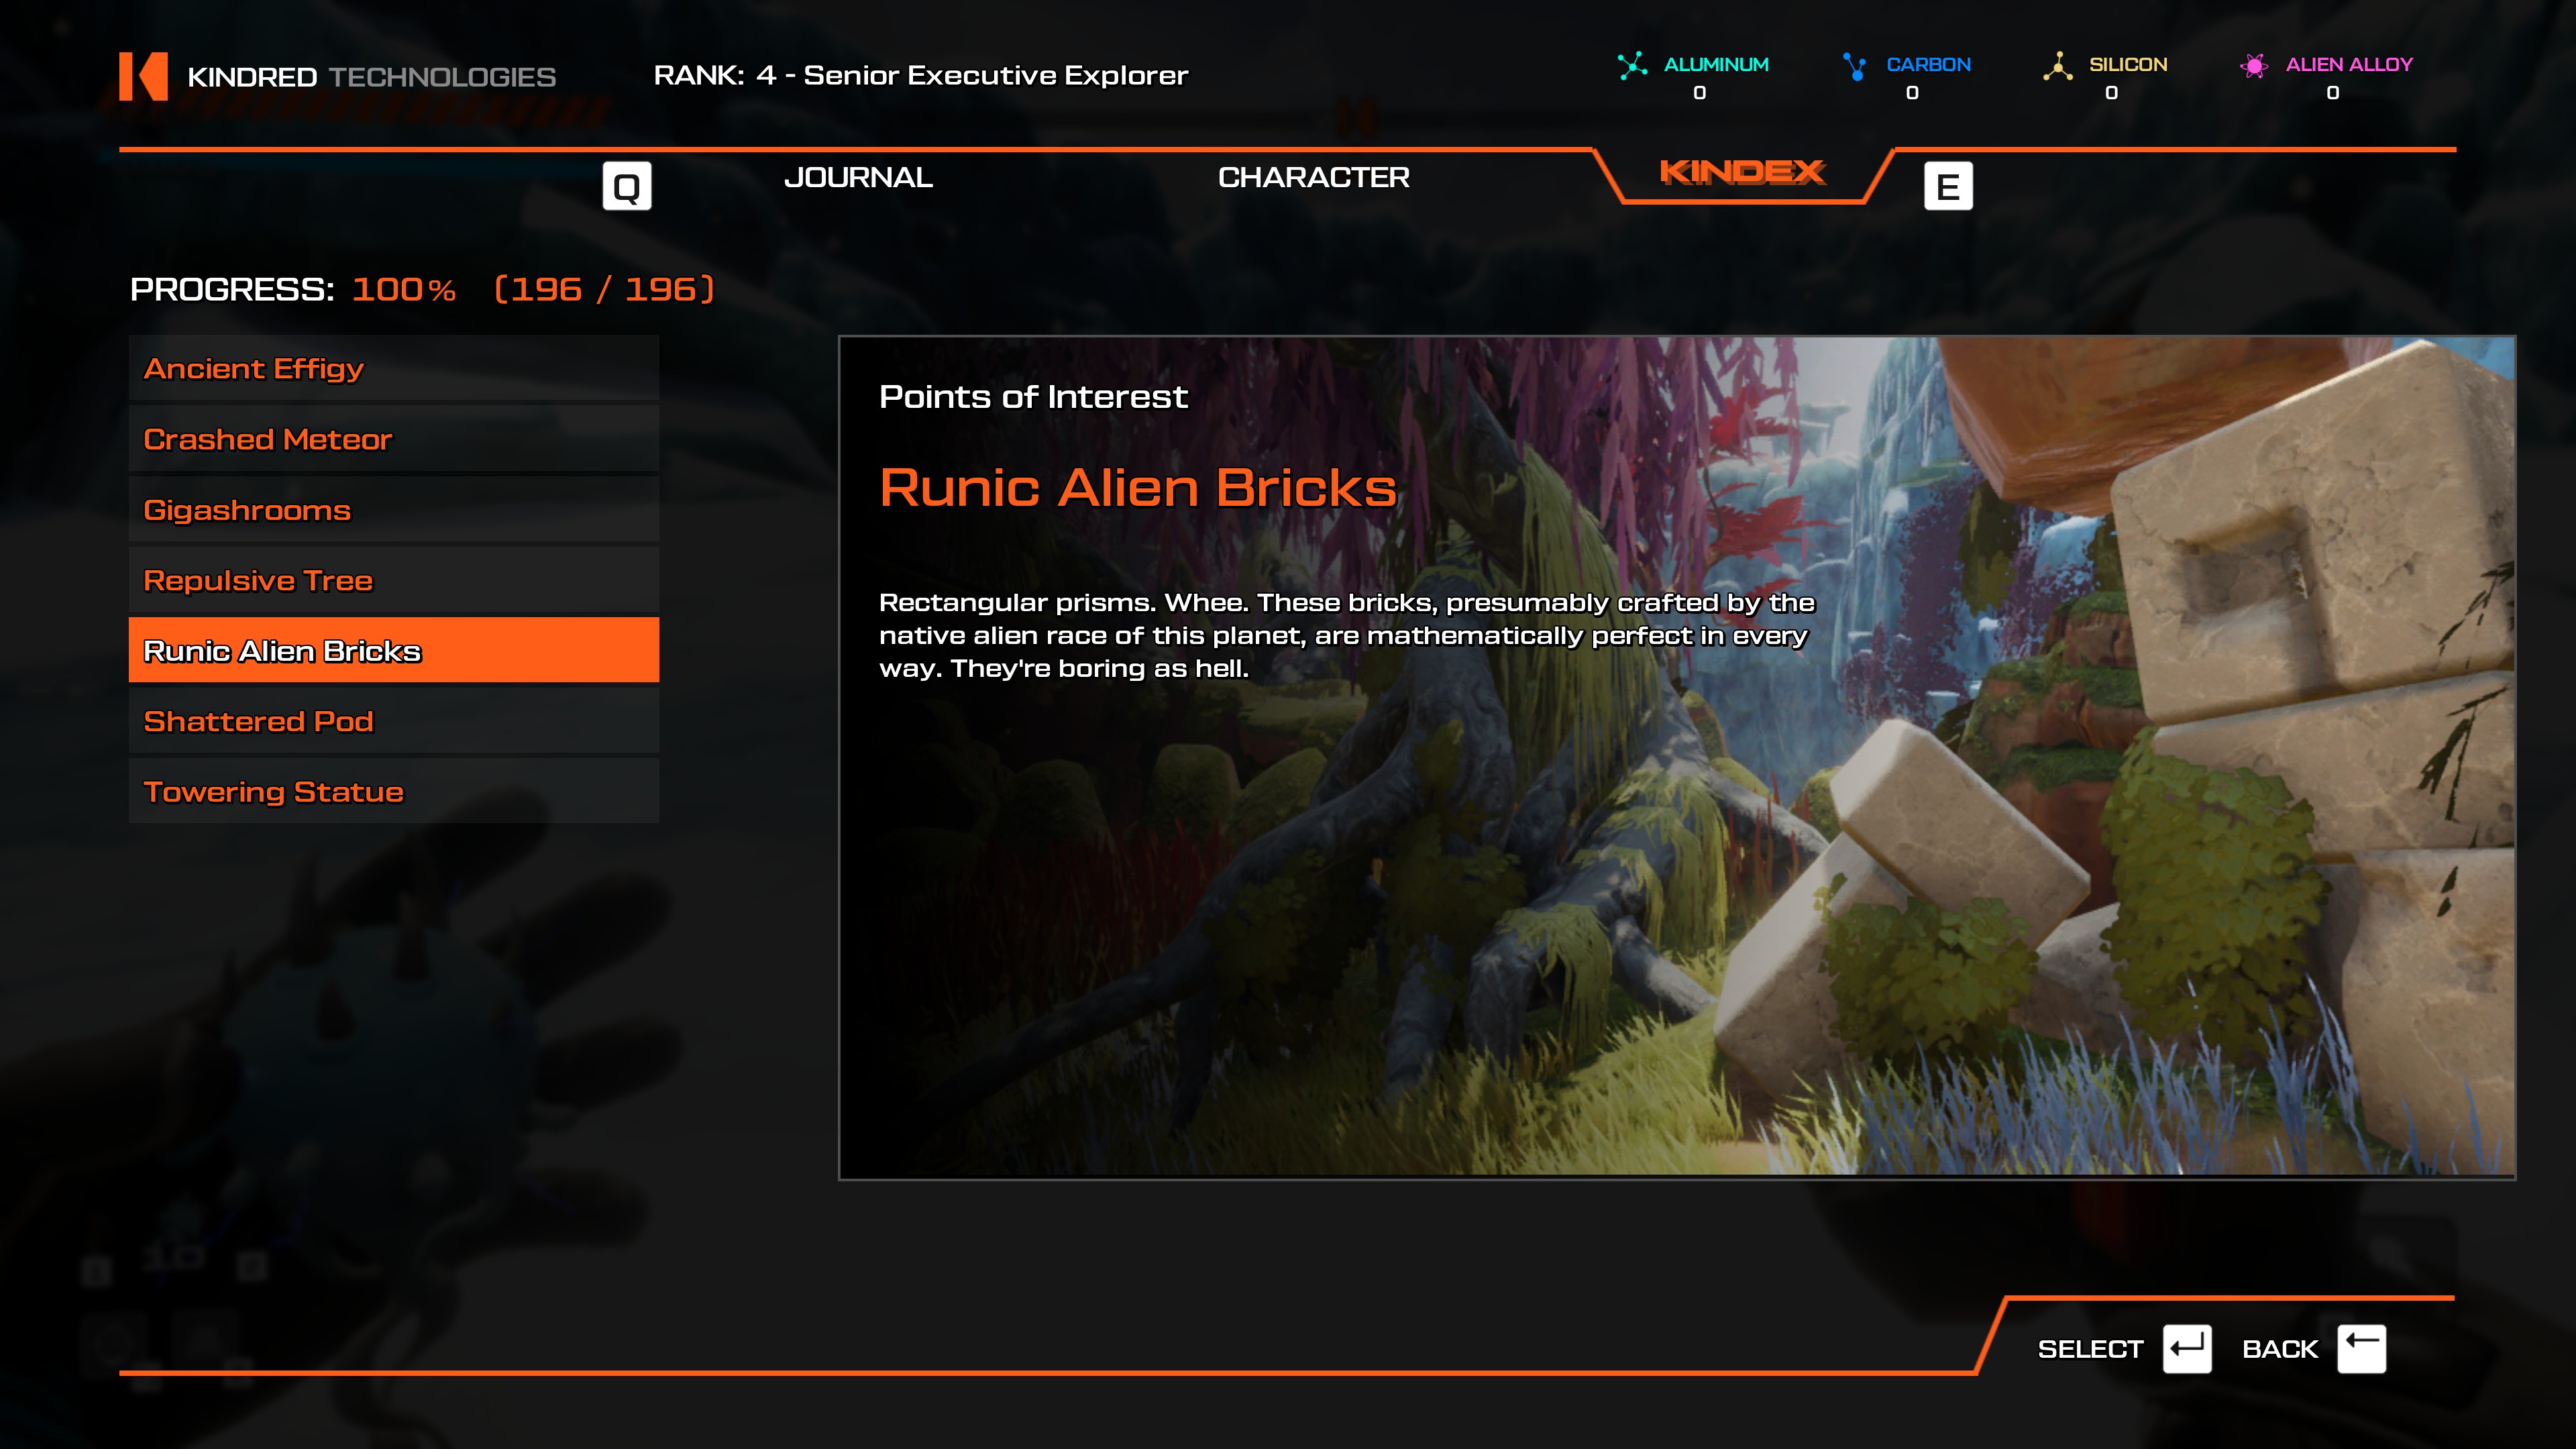
- From the Towering Crystals teleporter, head southwest, following the edge of the island. Along the edge, before you reach the stone bridge with a rock arch above it, you'll find the giant bricks. If you pass underneath the arch to go into the area with Pufferbirds, you went too far.
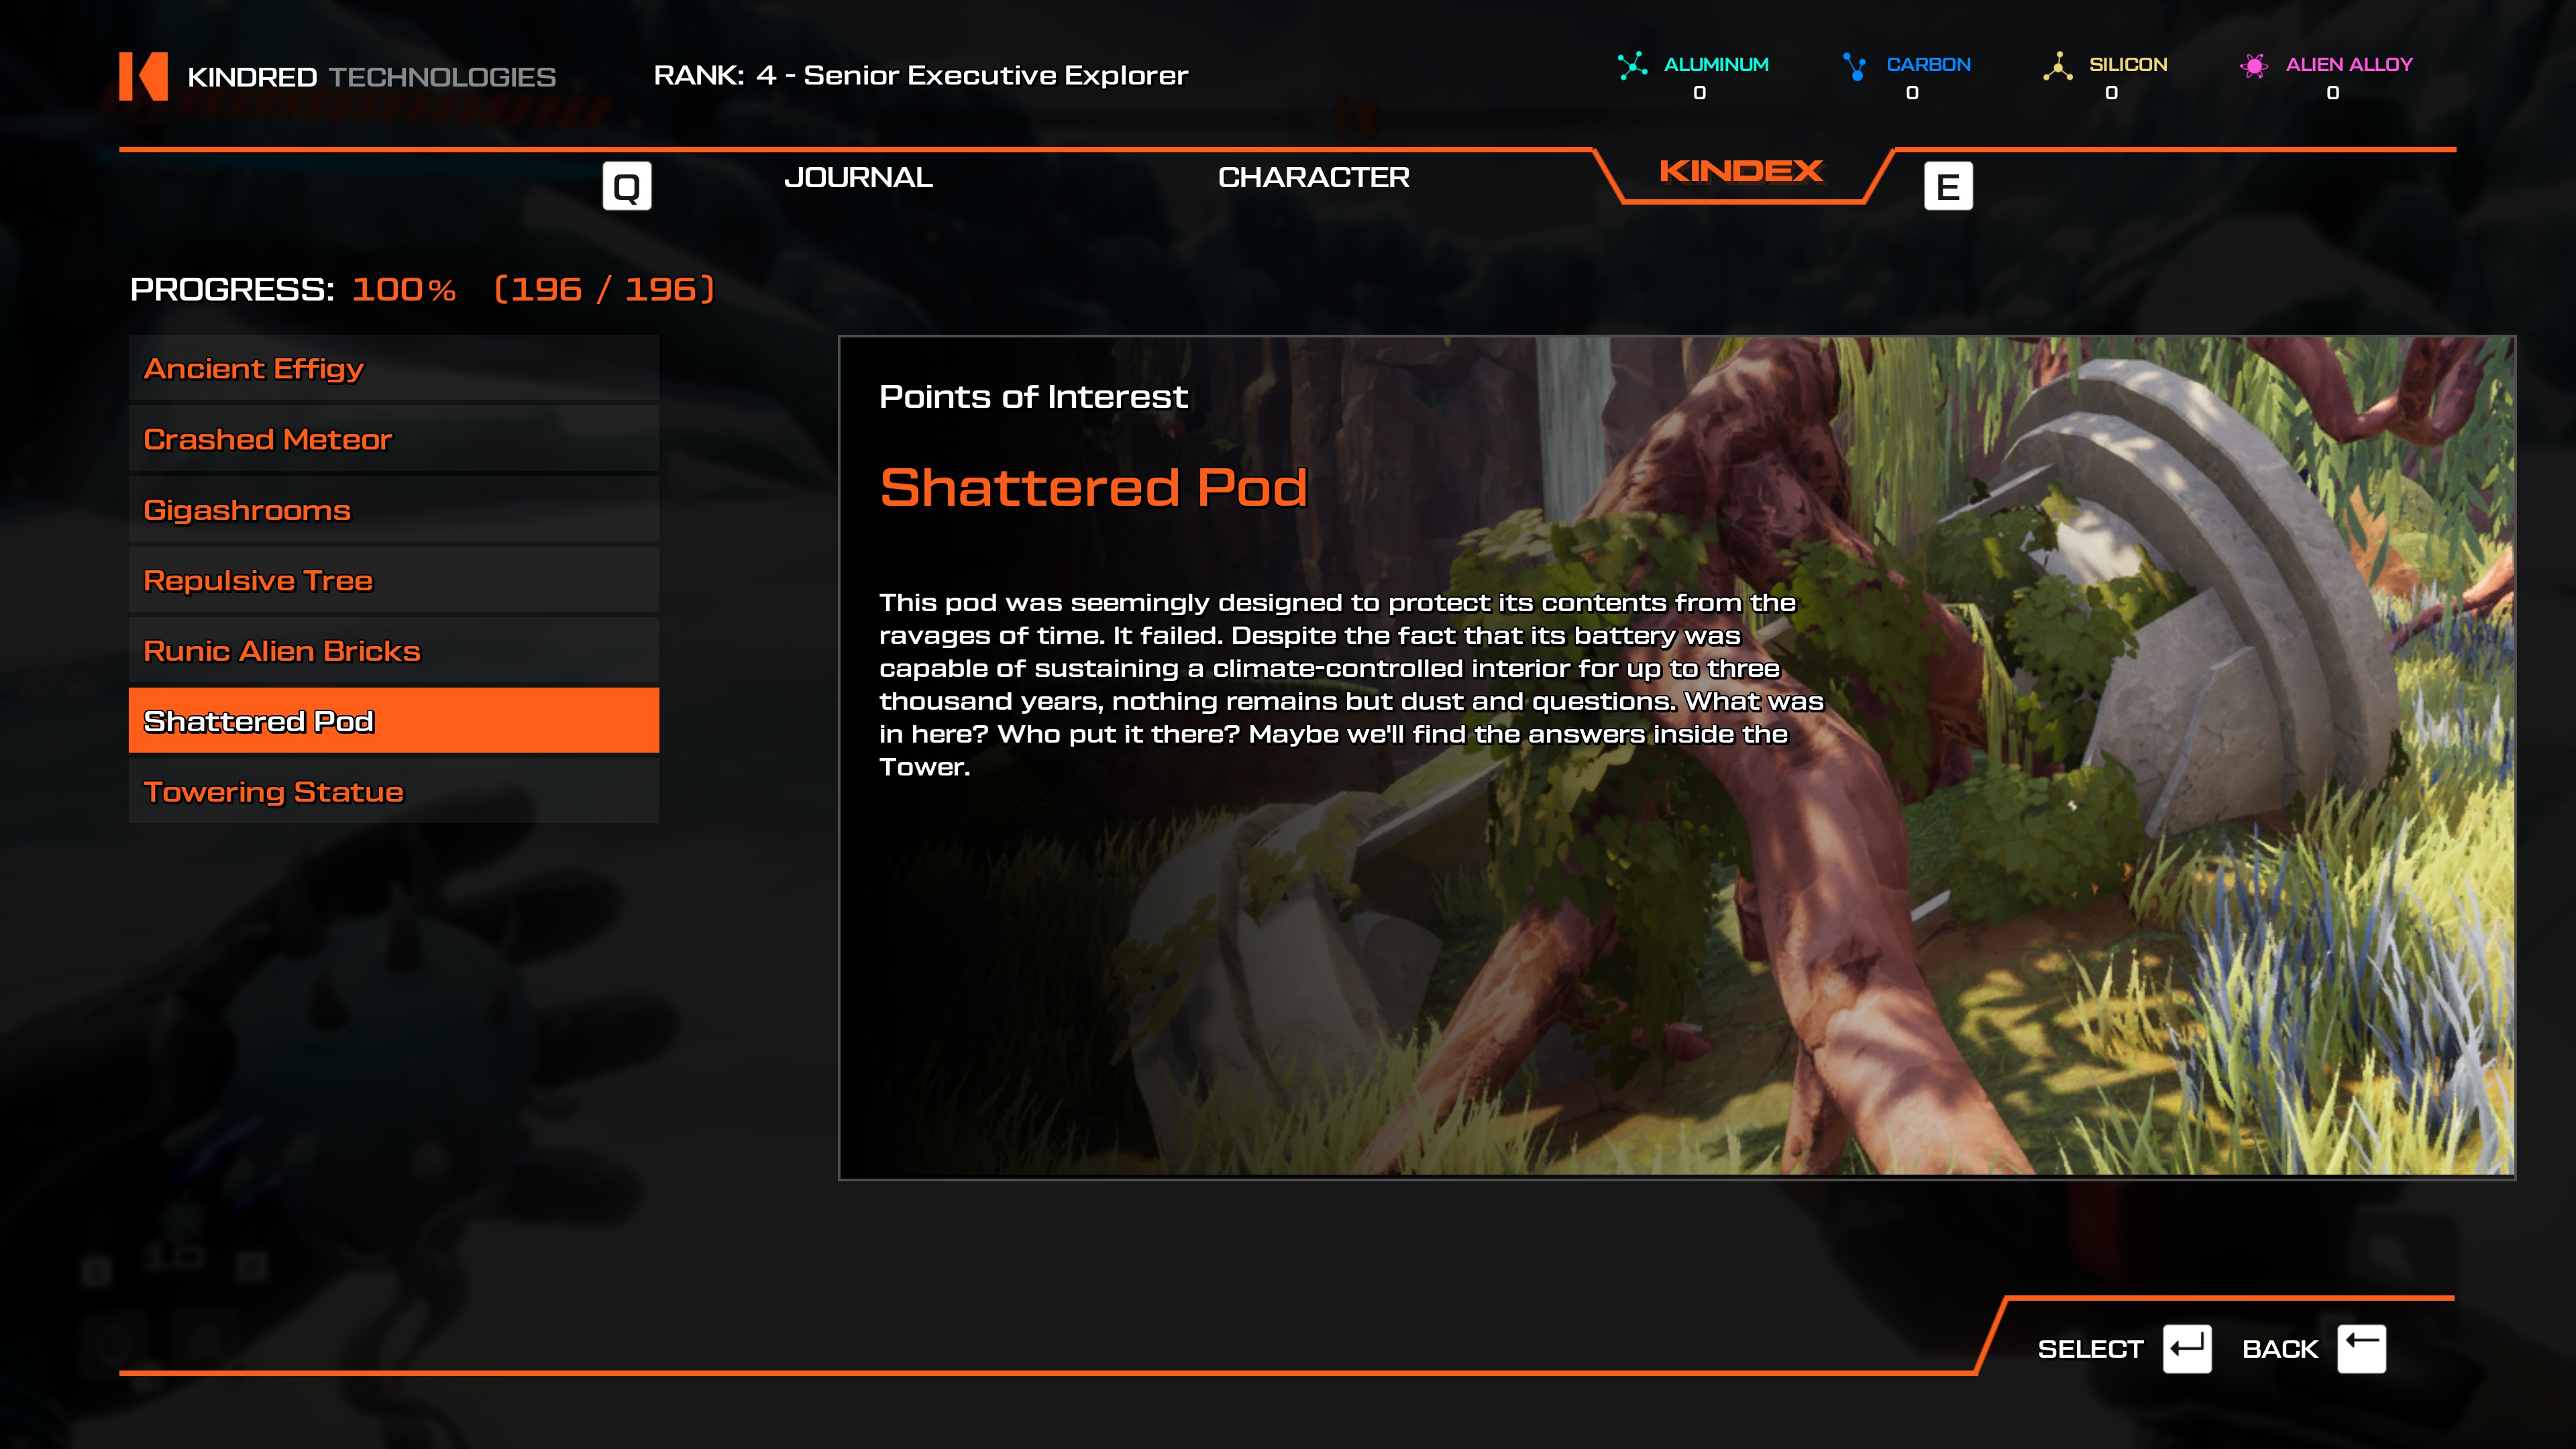
- From the Towering Crystals teleporter, head south. After you pass the Towering Crystals of Madness, look around in the small clearing. The Shattered Pod sits underneath a tree here.
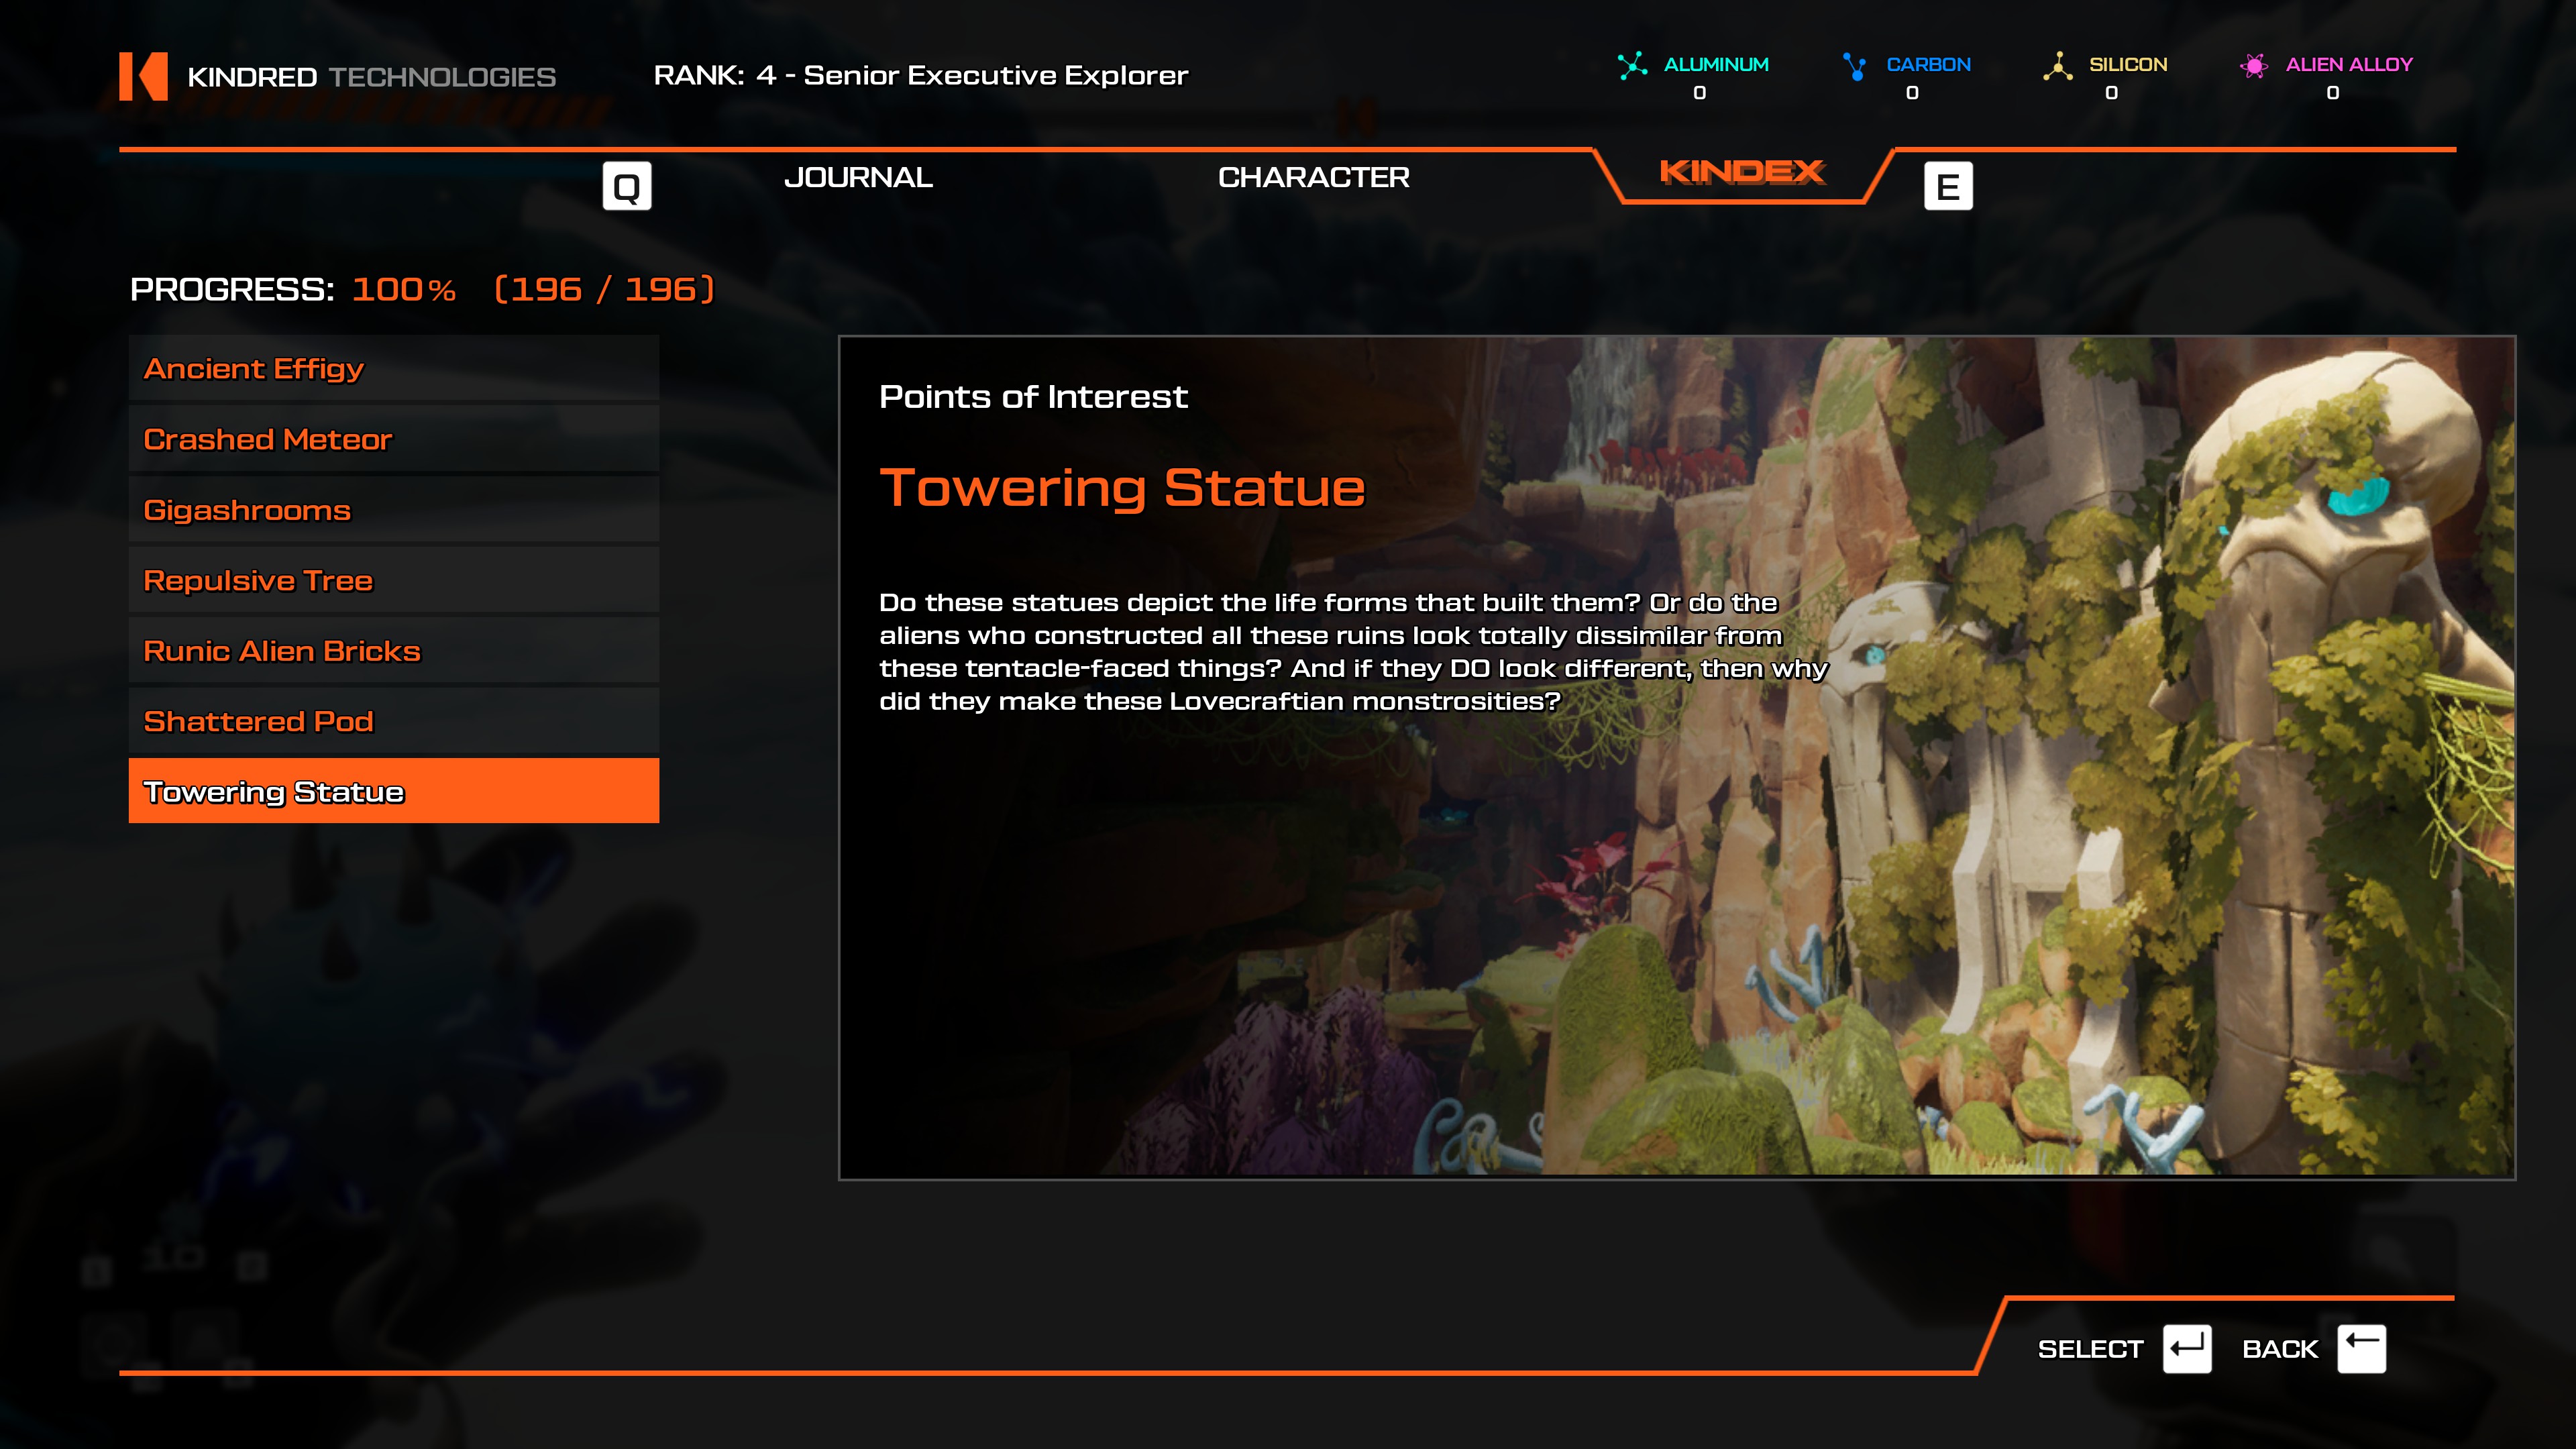
- The Towering Statue sits on the platform where you're first tasked with obtaining Jump Thrusters in order to double jump, it's the path almost directly east from the log tunnel.

- I think it might be possible to miss this because while I would guess most players will end up scanning it at the start of the game, it's not mandatory.

- I've been able to get through a playthrough without them, so I guess it's possible to miss these as an entry in your Kindex!

- This is the loot box that drops when you die in the game. Technically, if you didn't die once during a playthrough and find that you're missing entries, this is probably one of them.
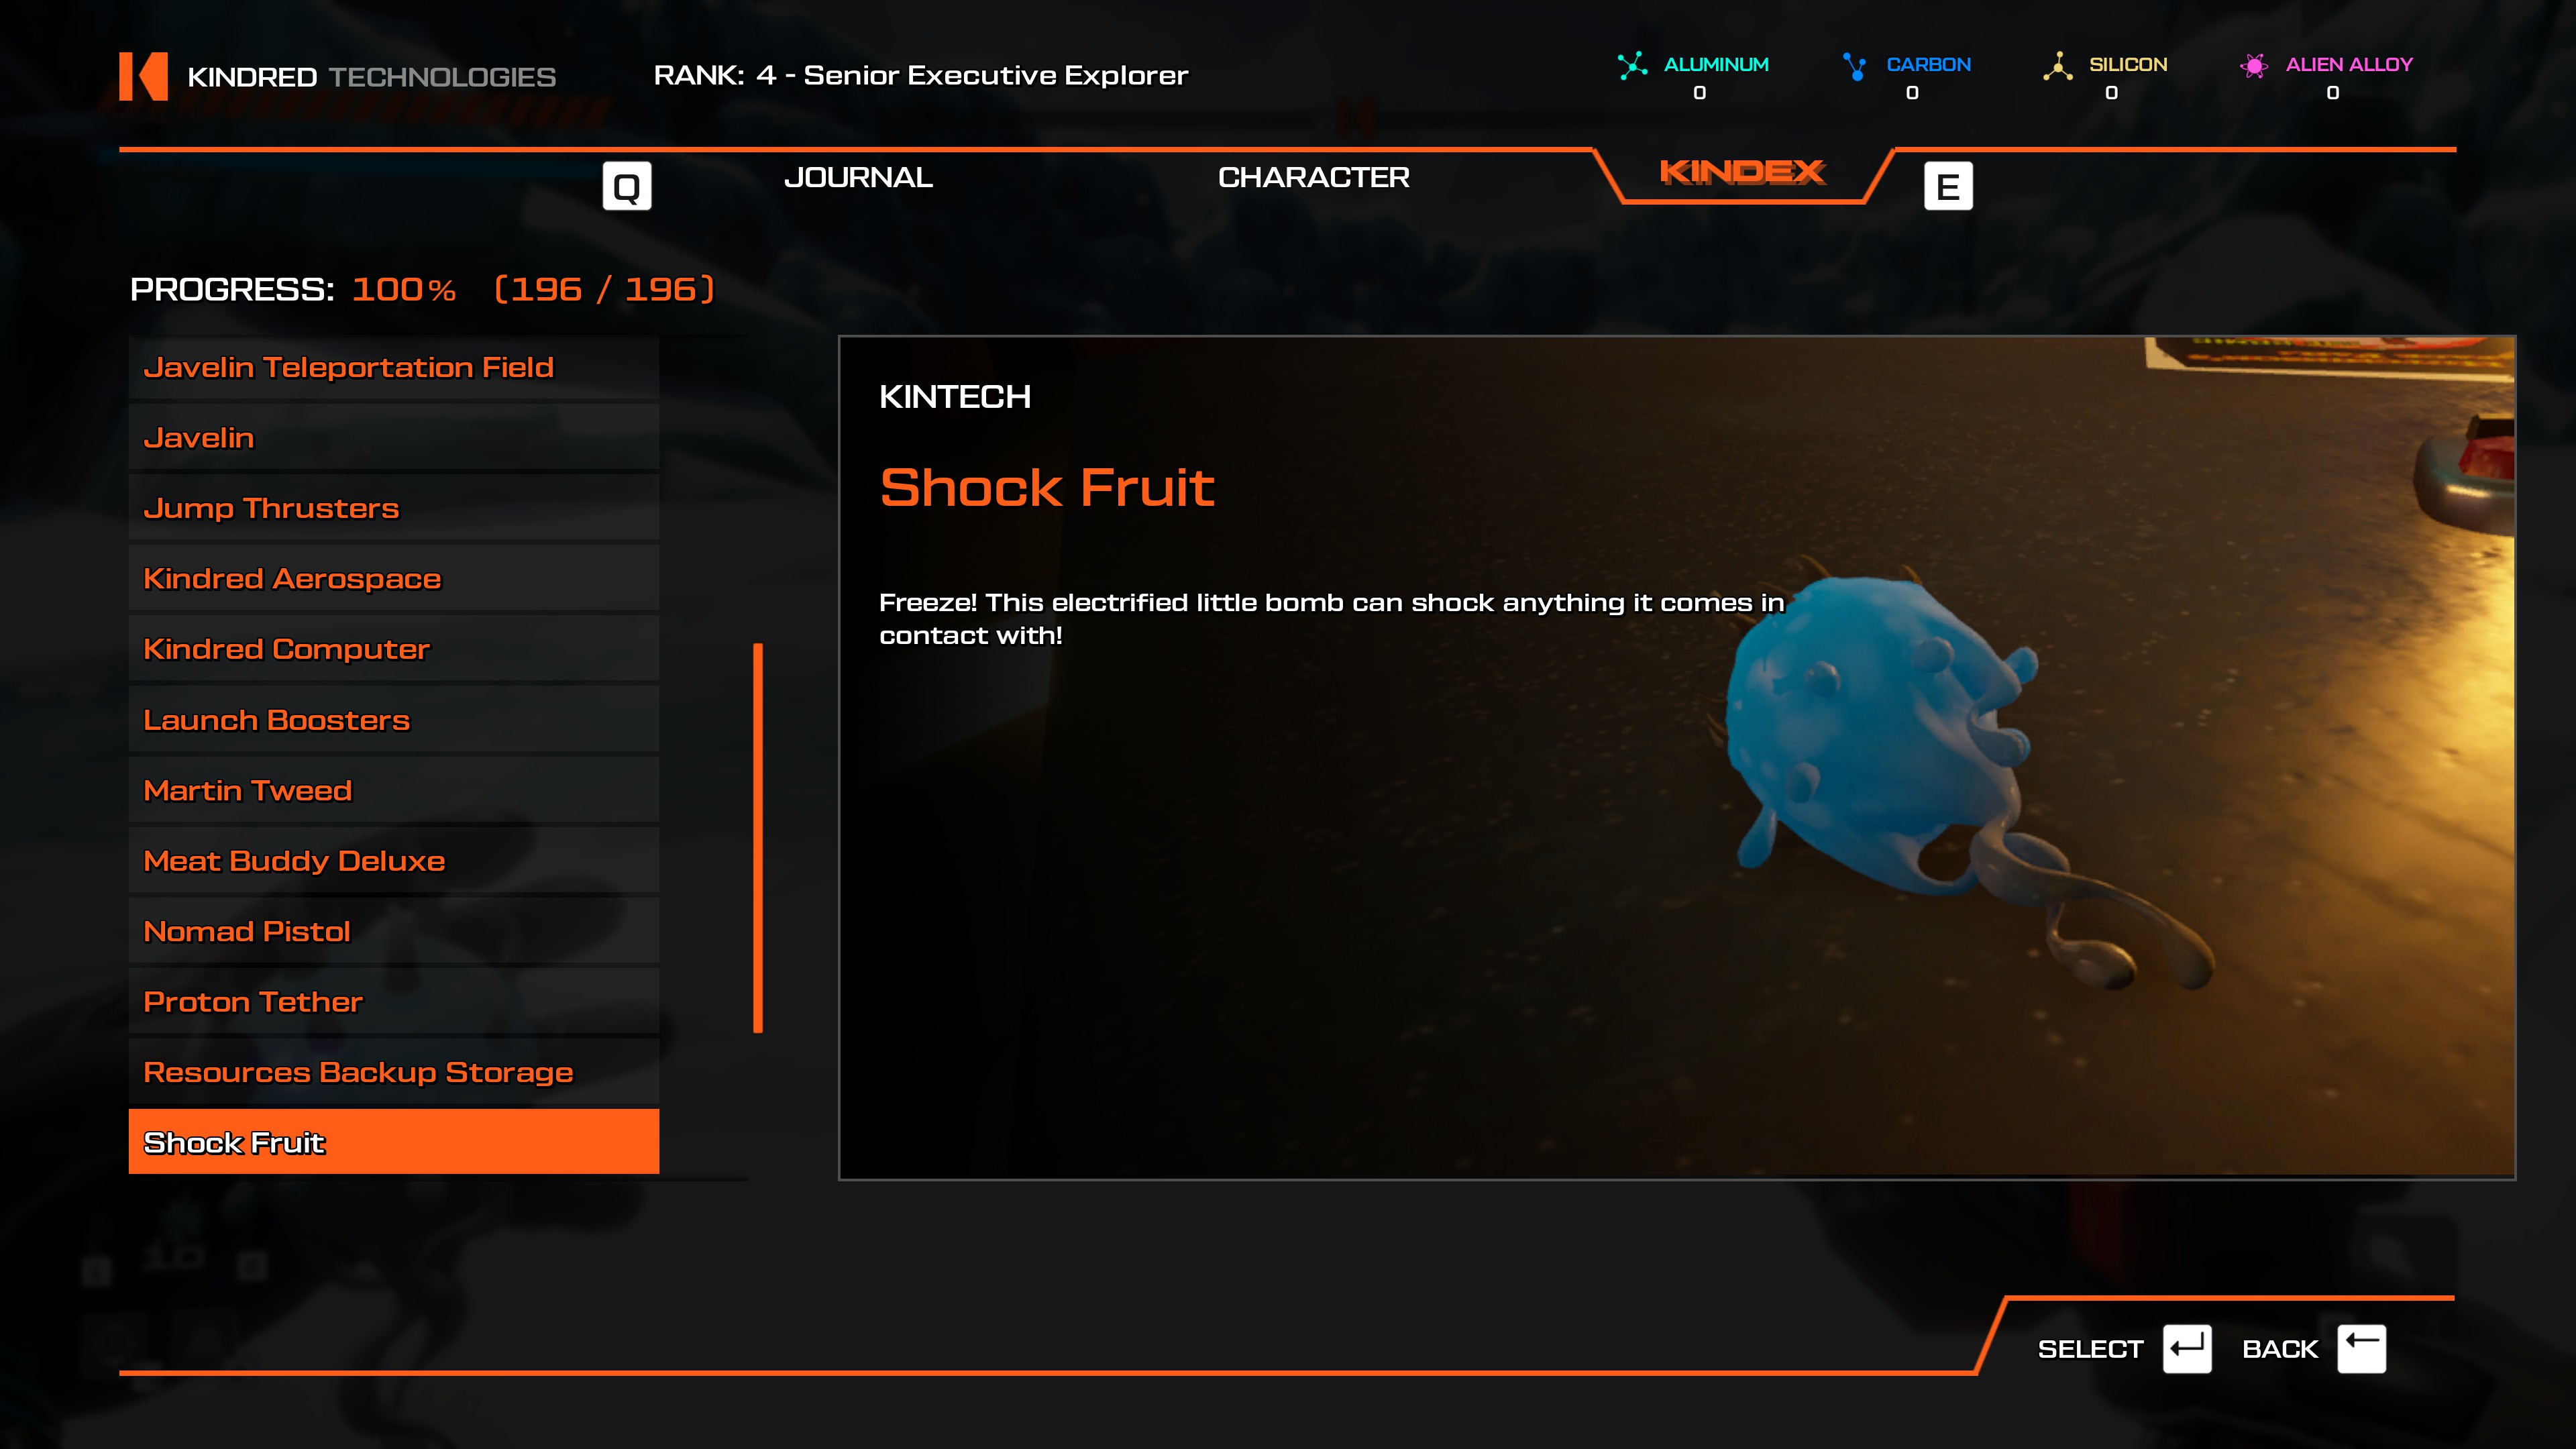
- This is also missable if you don't die in a playthrough.
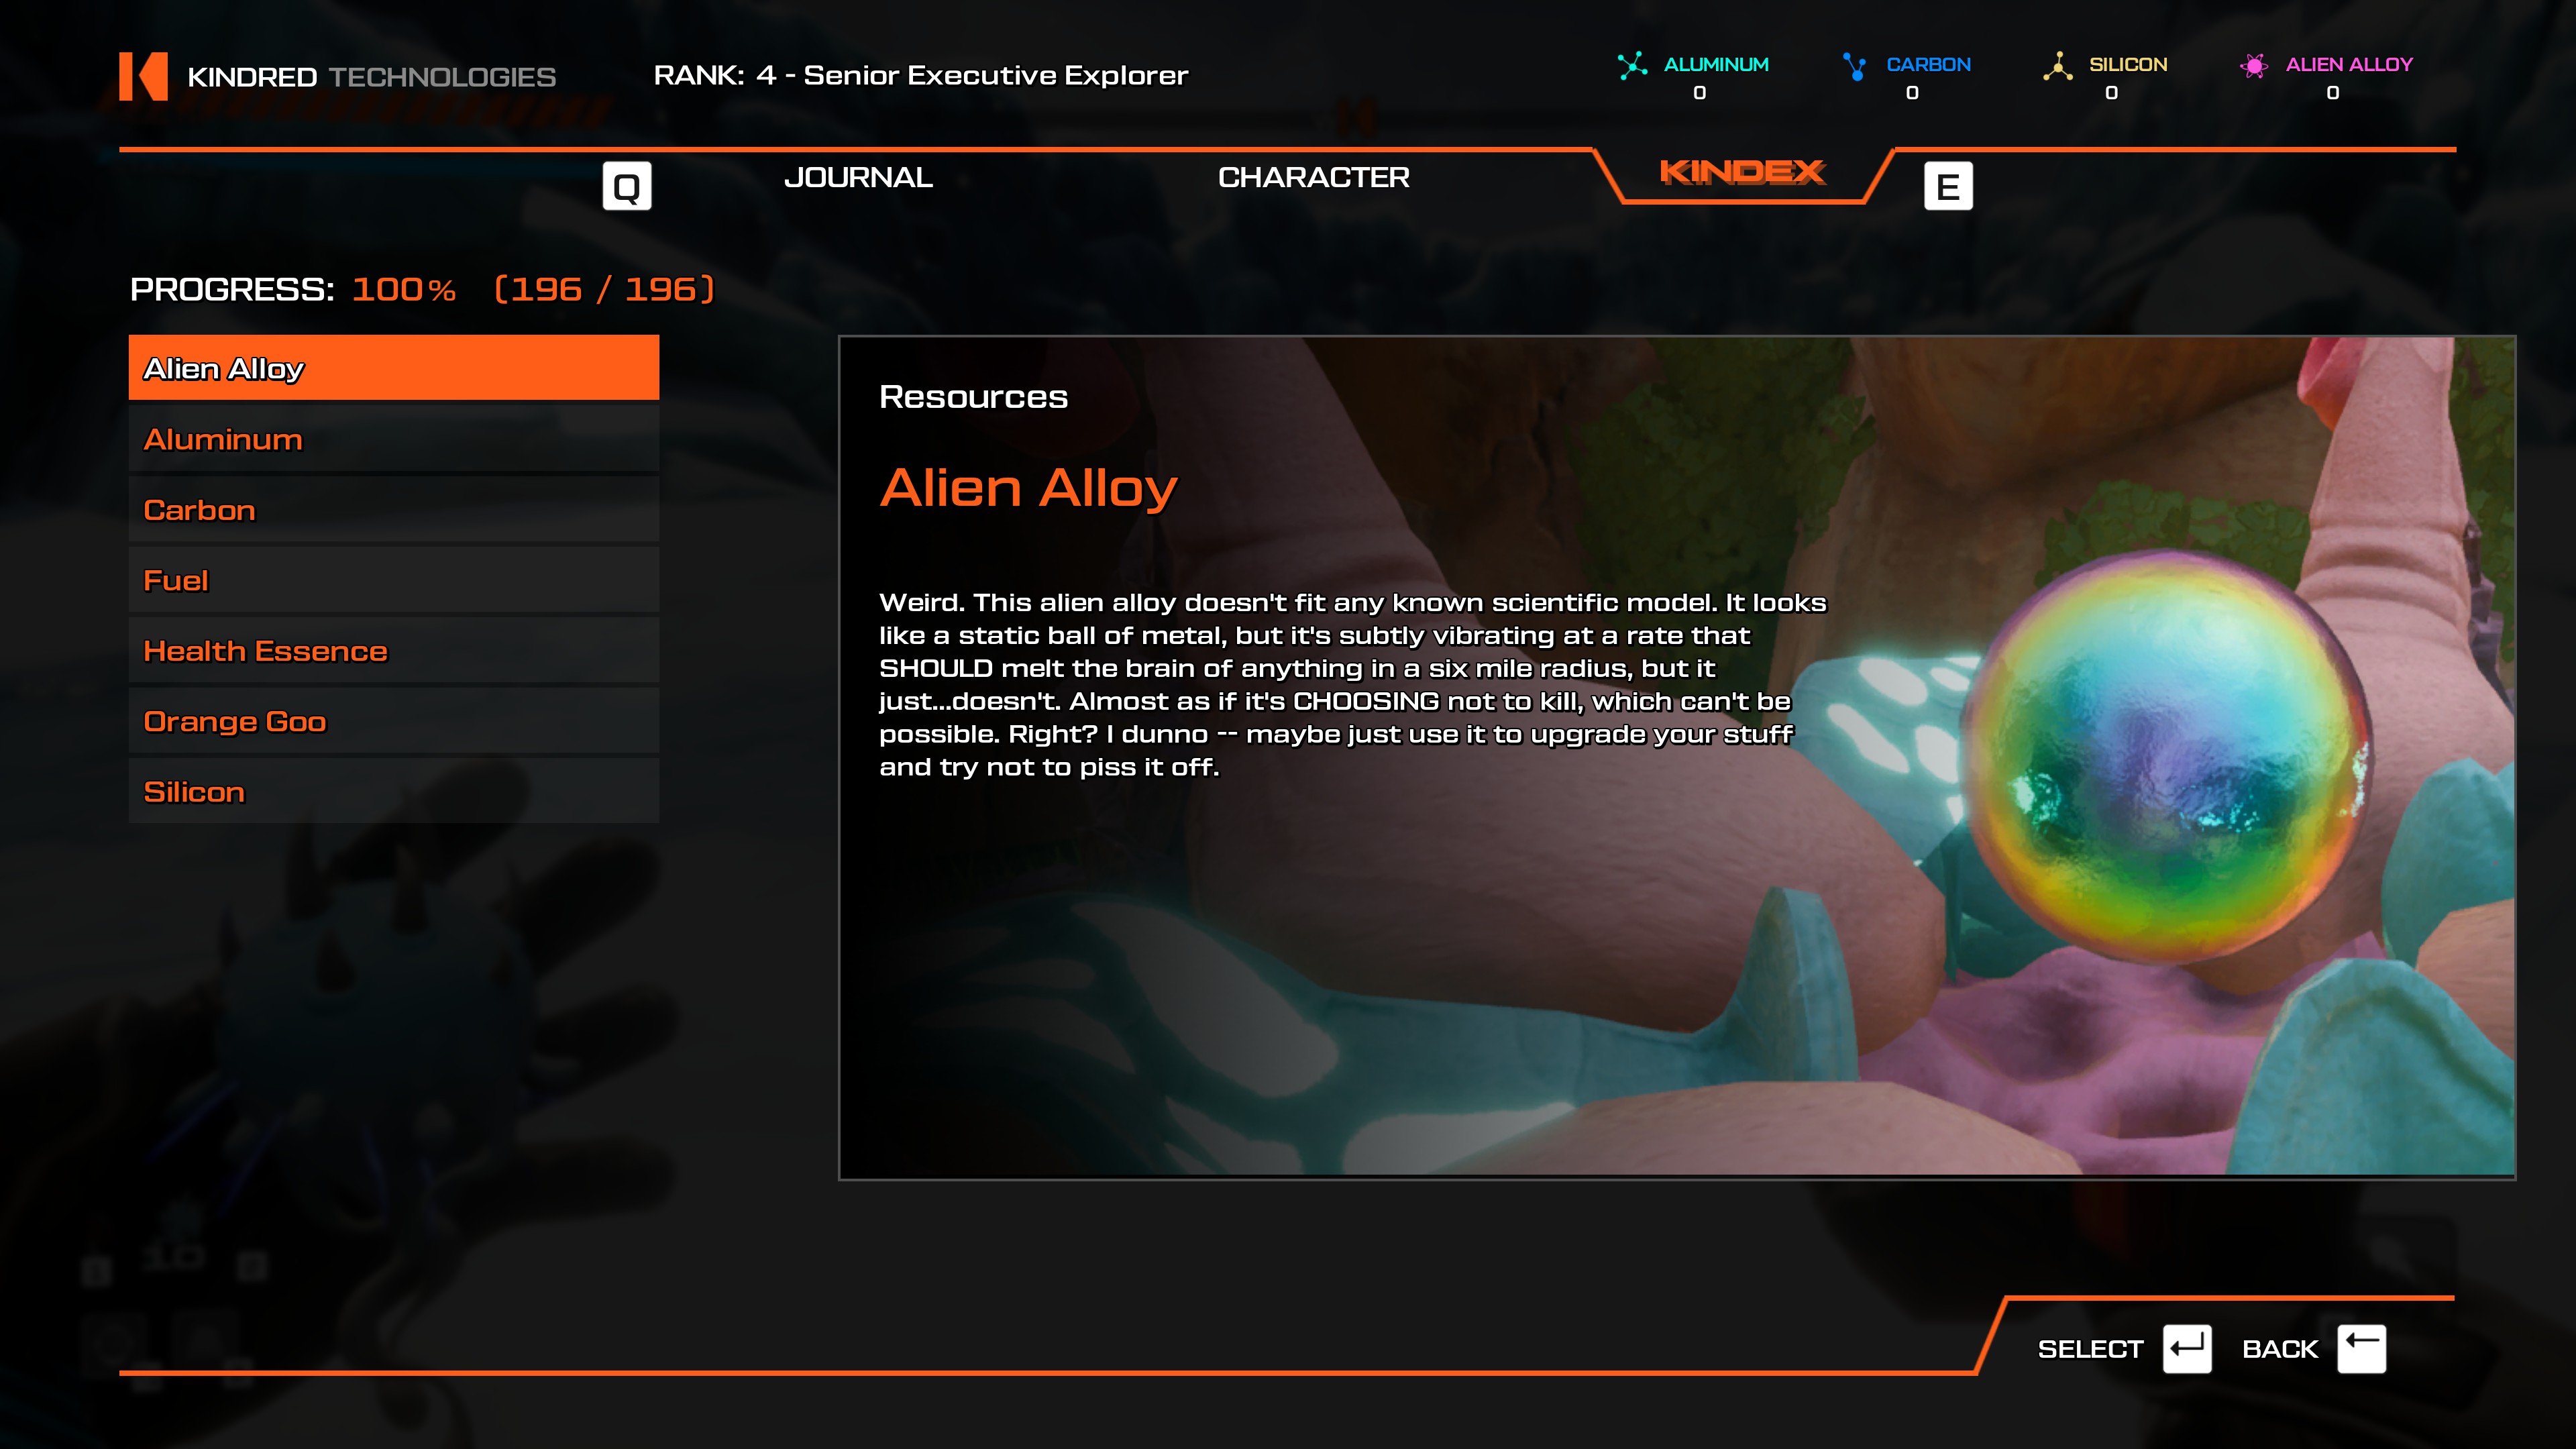
- While it's technically possible to beat the final boss without collecting a single Fuel Pod, you're still forced to collect these if you actually want to leave the planet, otherwise it doesn't count as an ending.
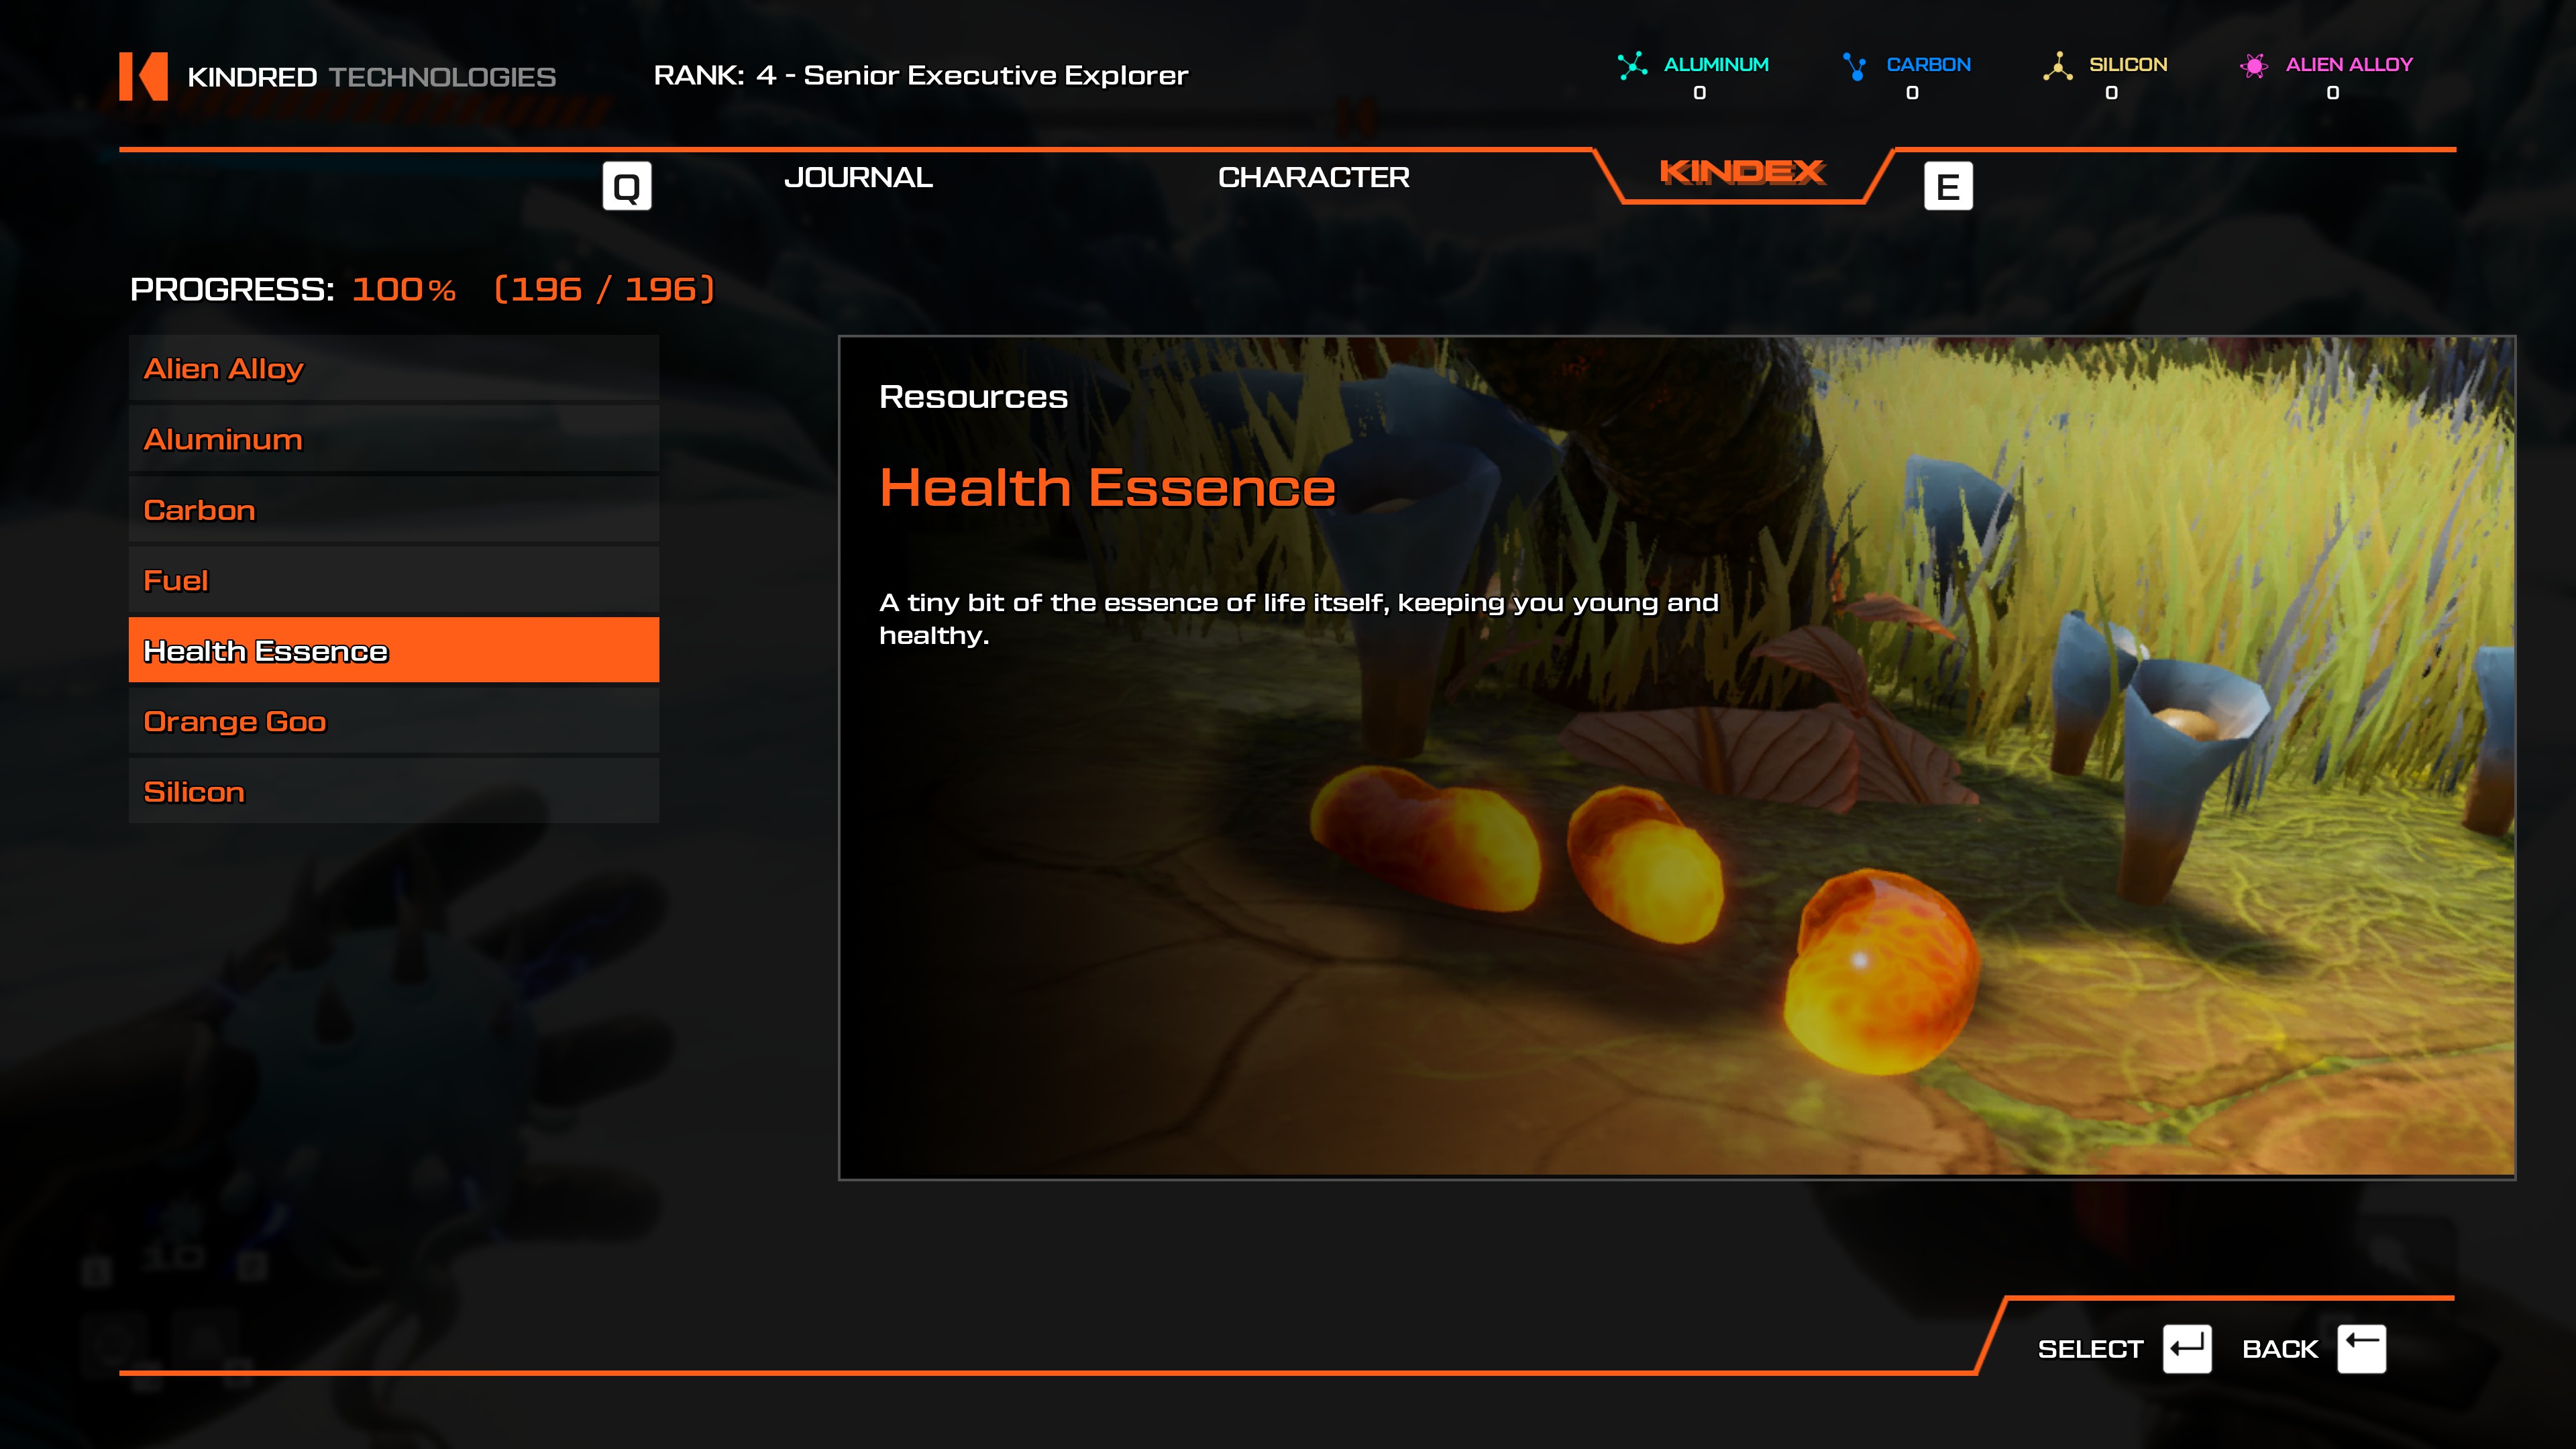
- It's also possible to beat the final boss without getting this, although unlikely.
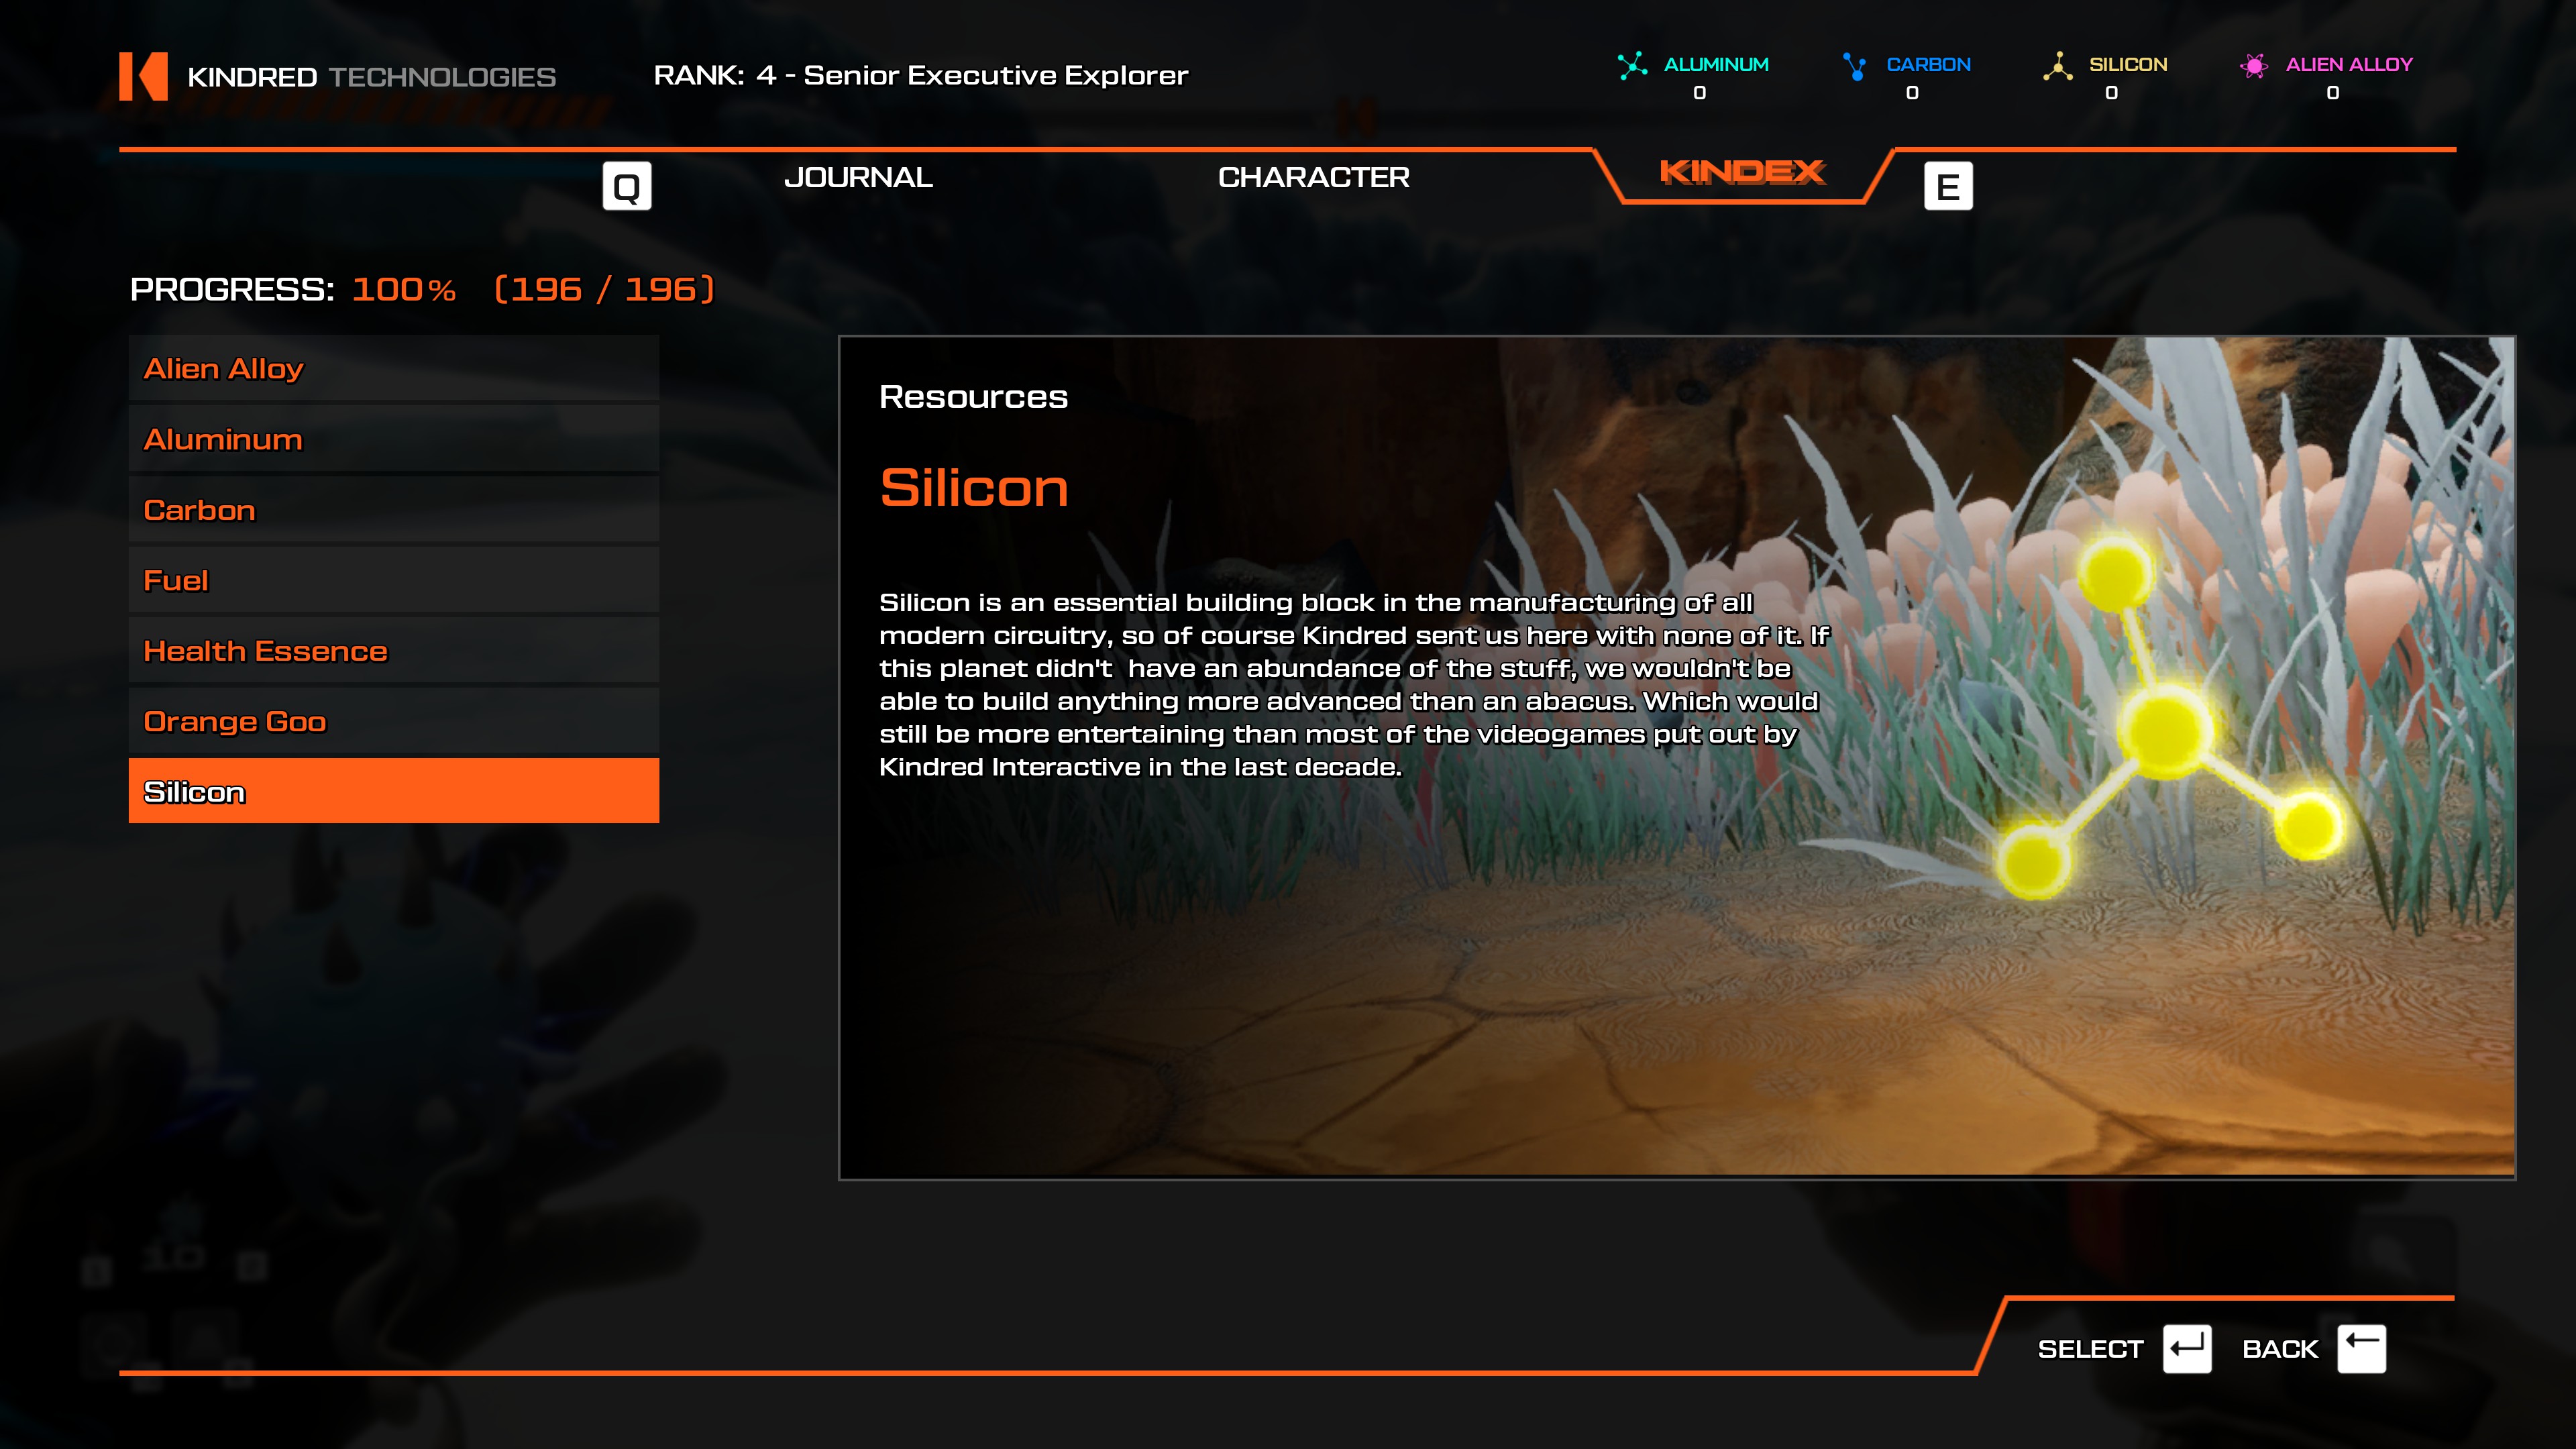
- The cave entrance is in The Verdant Wilds of Zyl, to the right of the Towering Crystals of Madness.
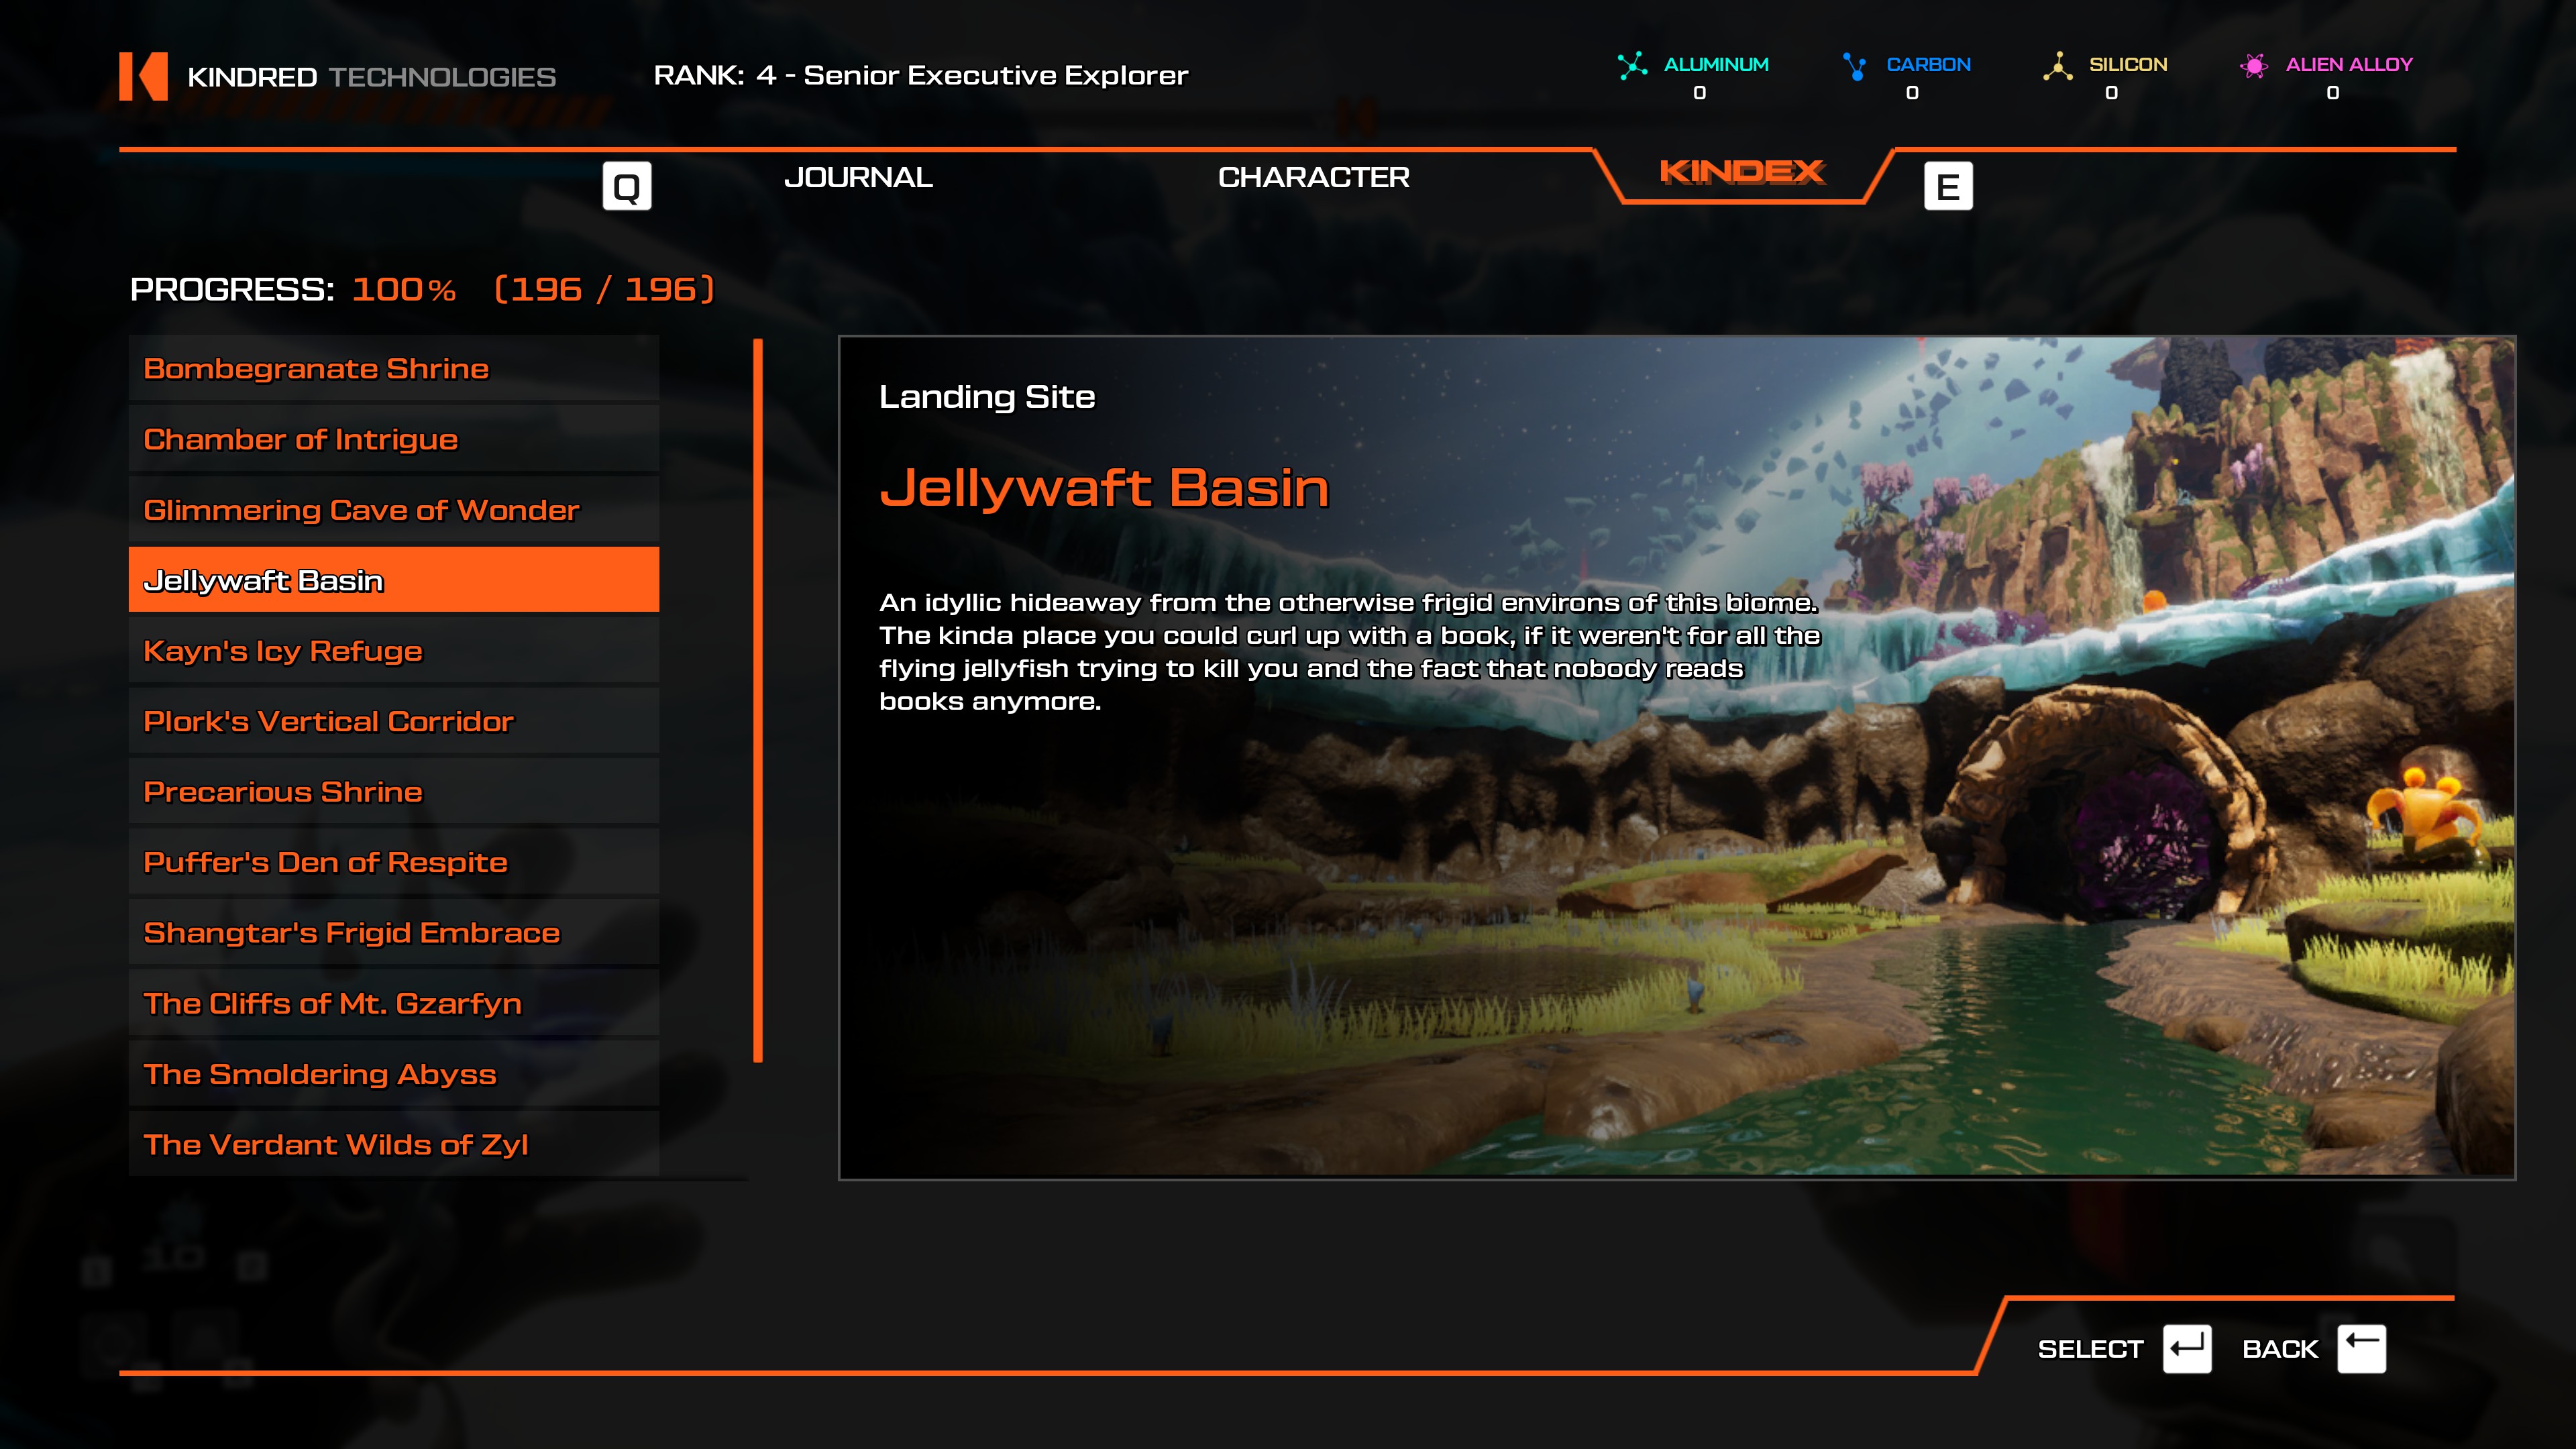
- This cave can be entered from The Verdant Wilds of Zyl. From the giant log through which you first enter the area, make a right and keep following the island edge until it starts wrapping around the ice. Keep going down this path and you'll find this cave, along with another small cave after it with an Alien Goo inside.
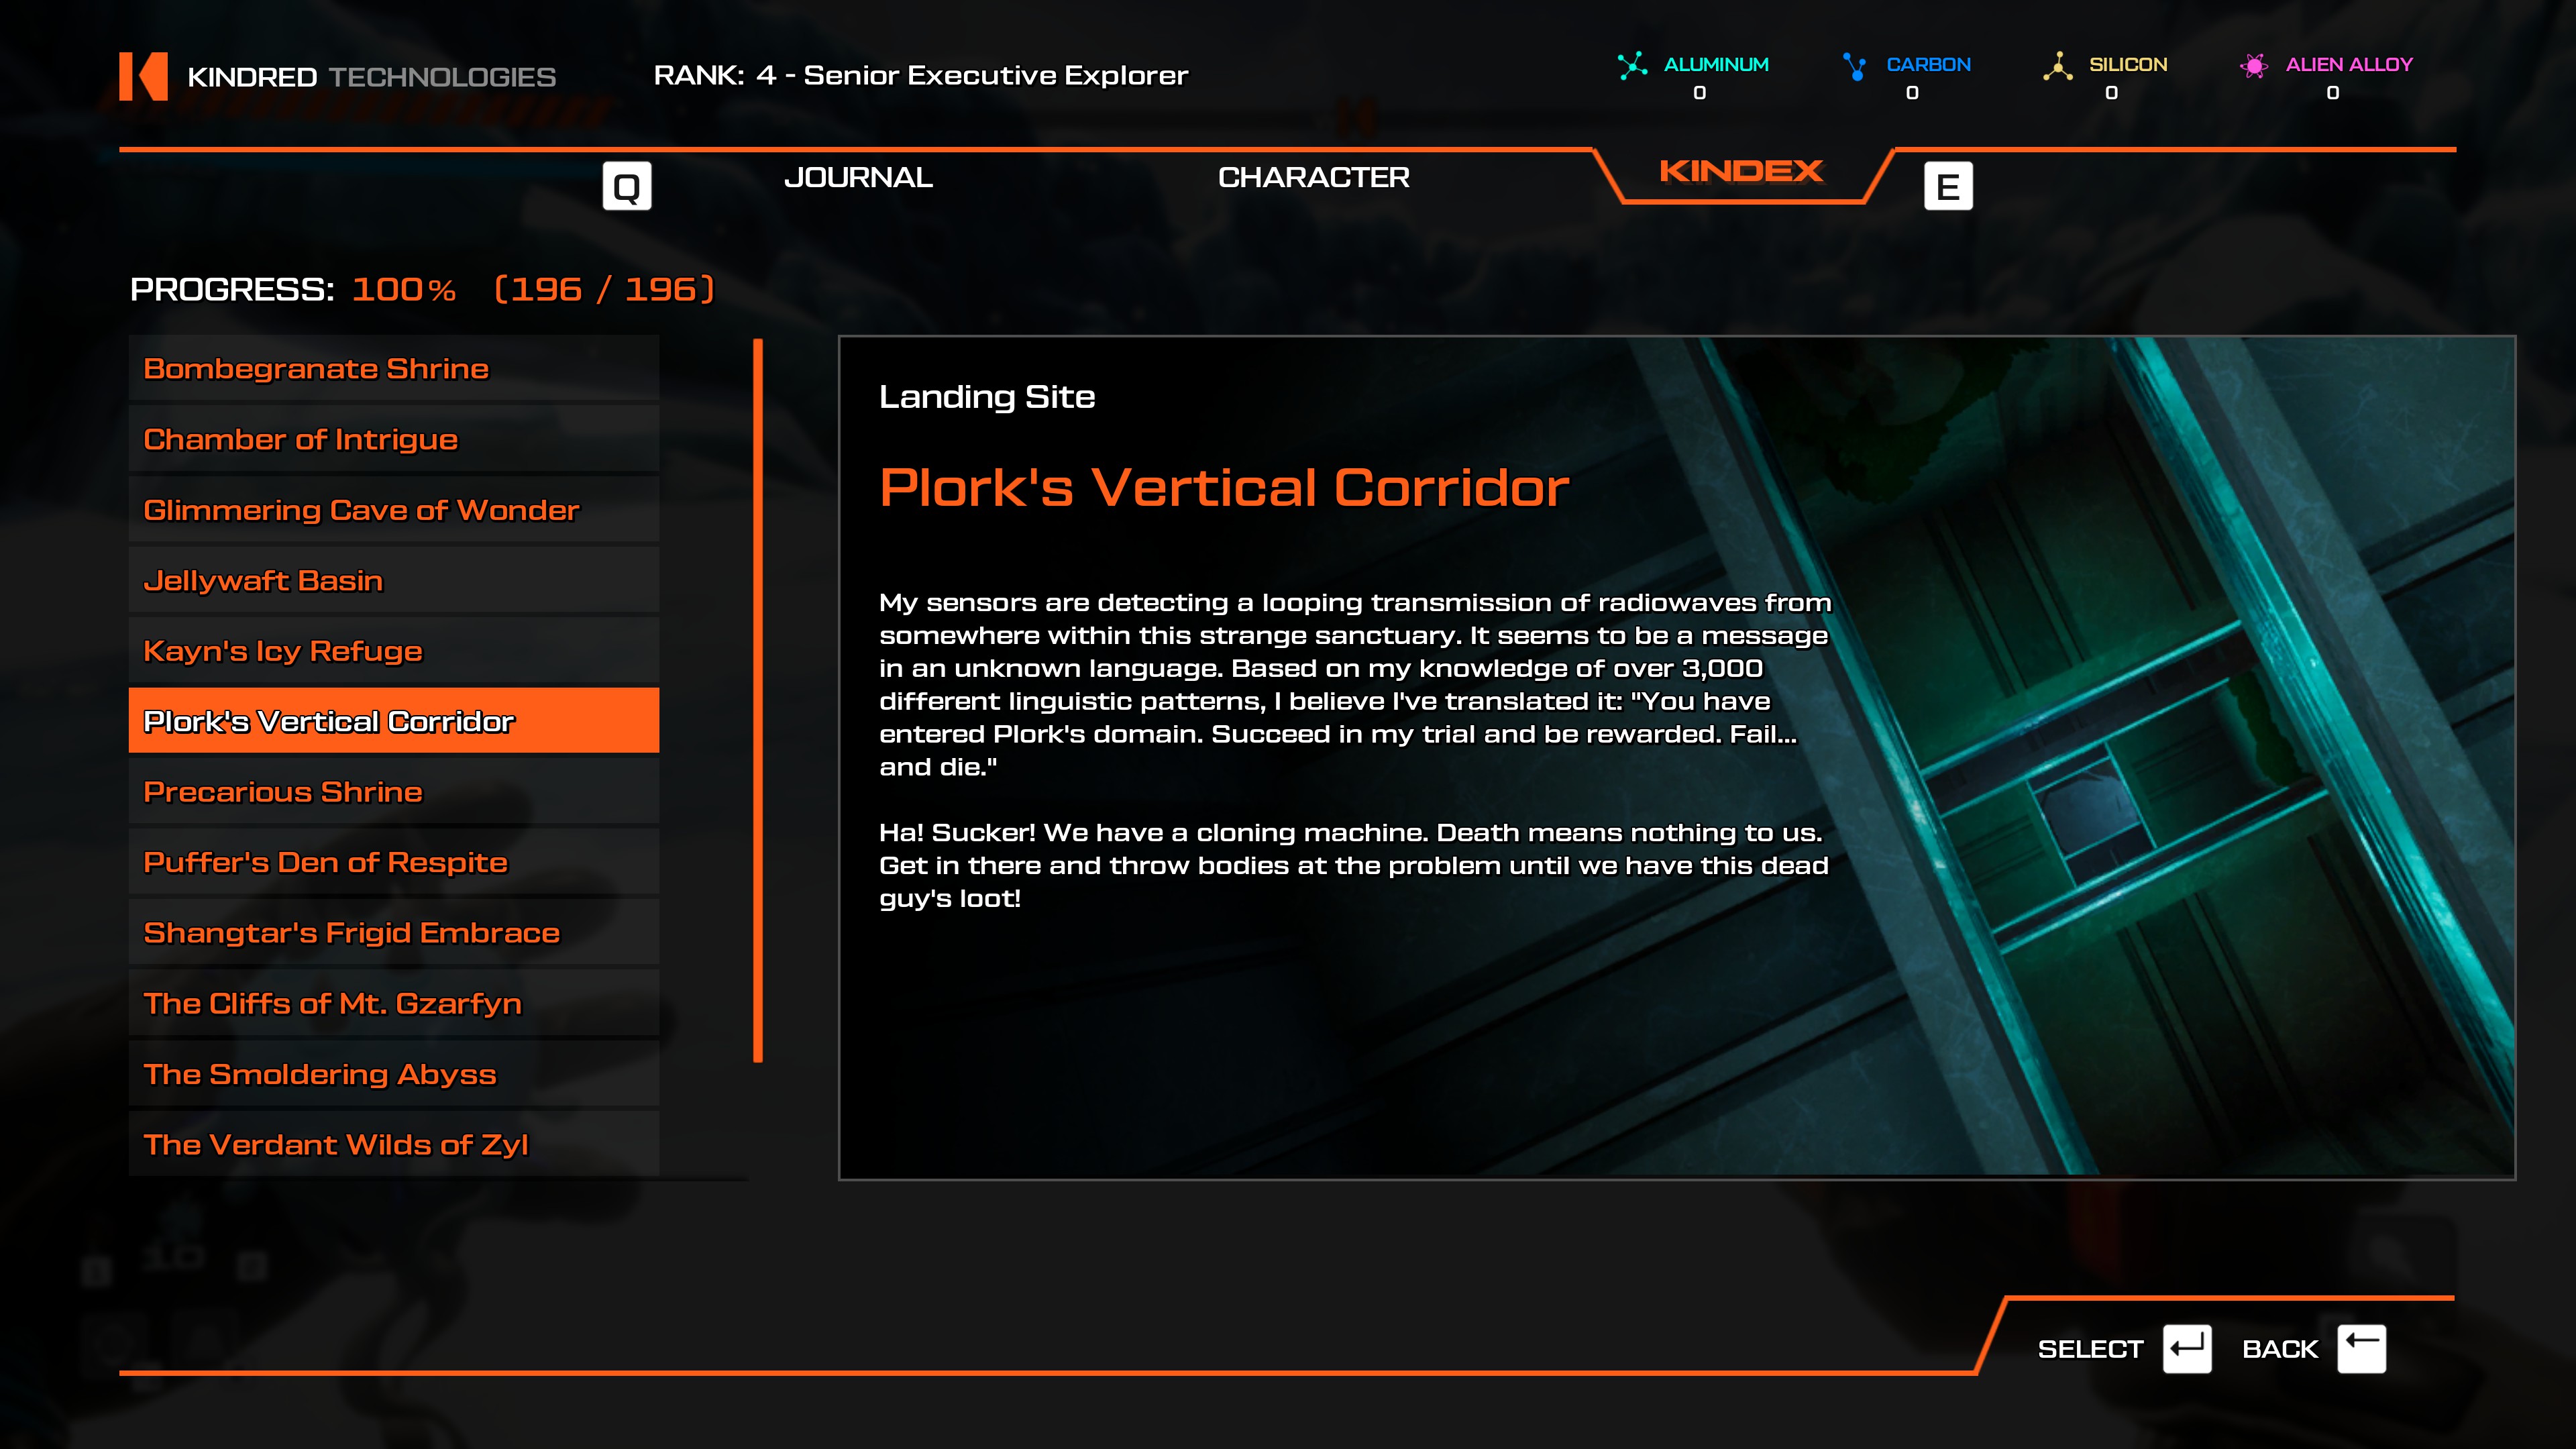
- You need Launch Boosters and Shock Fruit to access this location. From the Towering Crystals teleporter, scale the Towering Crystals of Madness. Once you do, follow the rock wall to the right. You'll come across an Osmotic Cube here. Once you do, keep going in the same direction and jump down onto the platform below. Keep following this path until you reach a small pond with a large waterfall pouring into it. Behind this waterfall is Plork's Vertical Corridor. It's a laser-filled gauntlet, I don't recommend trying it unless you have the health to spare.
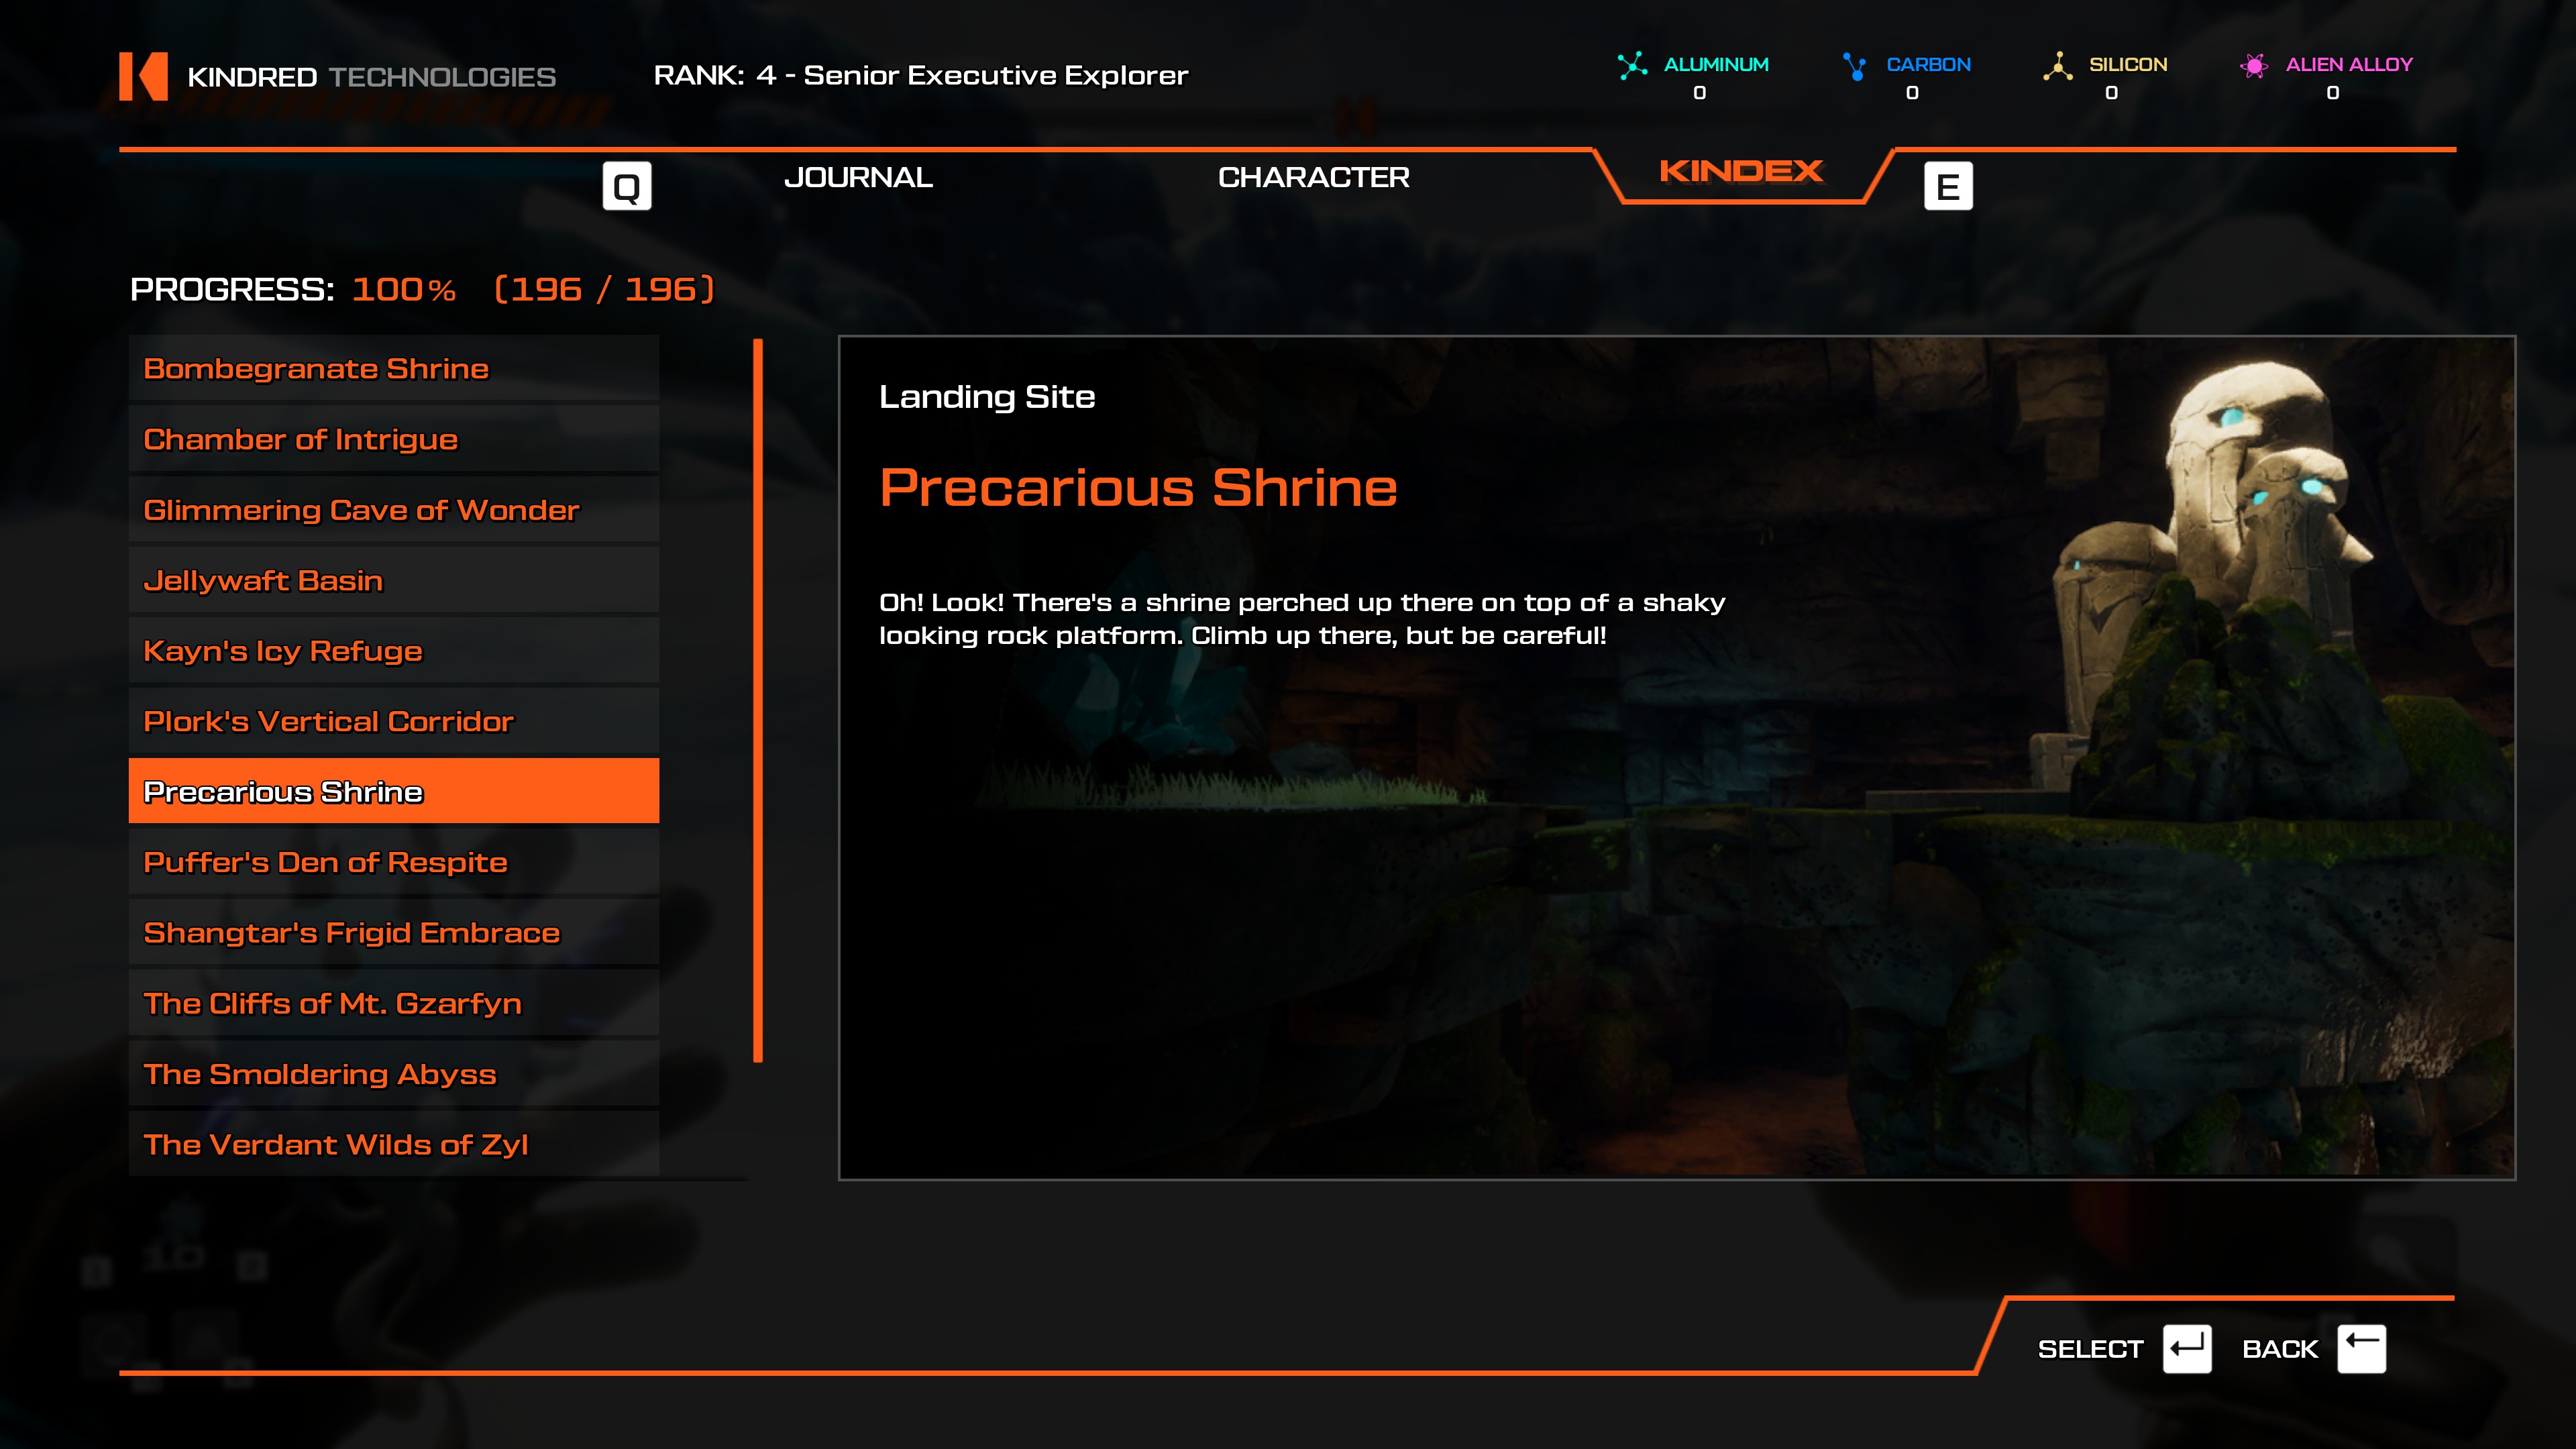
- This location is inside Kayn's Icy Refuge, the entrance to which is accessible from The Verdant Wilds of Zyl. When you enter the cave and come across a fork in the path, head left.

- You need Shock Fruit and Triple Thrusters to get through this. Teleport to the Fungi of Si'ned VII. From where you face when spawning, head in the opposite direction to access The Gaseous Underbelly, the cave with pools of water in it and grapple points near the top. Go to the first lowest area you can find where the Infected Pufferbirds walk around. You'll see a door needing a Shock Fruit to get in, with tons of lasers behind it. Like with the previous gauntlet, don't attempt this unless you've got health to spare. Friendly note, if you aren't confident with your platforming skills in this section, just fall down. The bottom area is empty, it just makes you go back to the start to try again. Consider saving a boost for the way down, just in case.
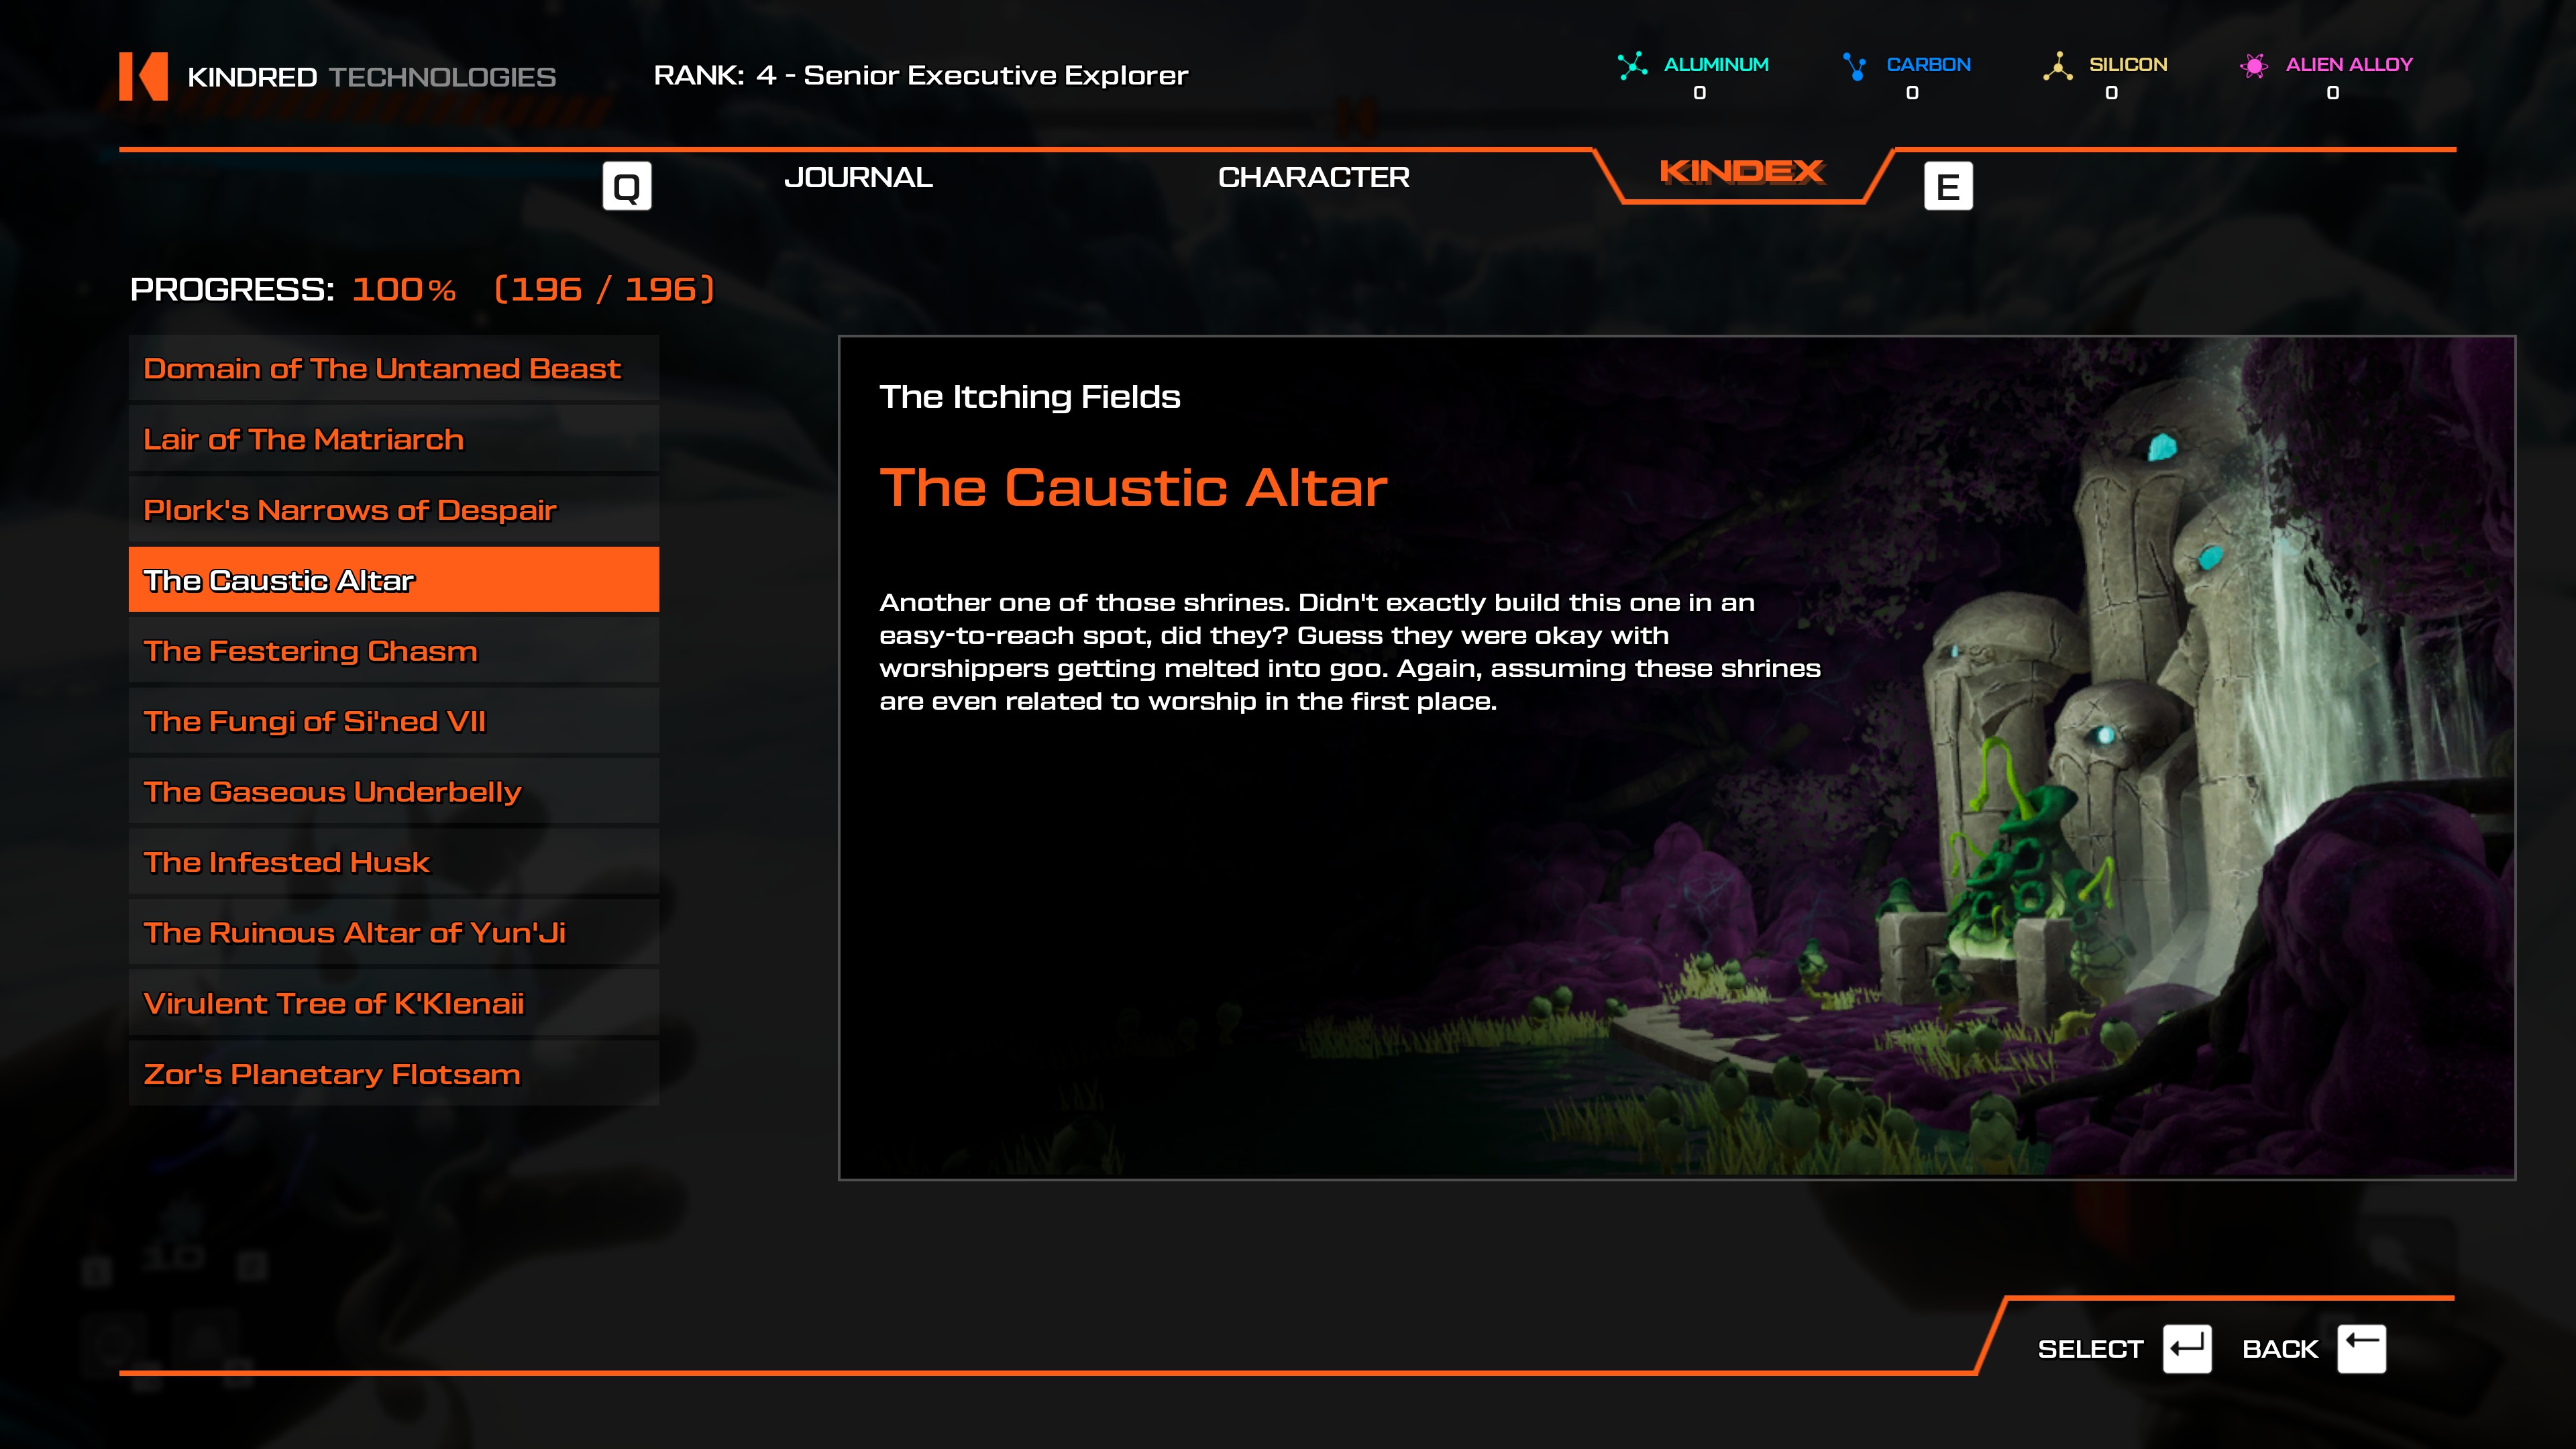
- You need Shock Fruit to access this area and to have the easiest time ever, have Quadruple Thrusters as well. Teleport to Xerophilous Landing. From there, head Northeast, to the edge of the island. You'll see grapple points leading somewhere underneath the island. You'll find a platform with a proximity door. Shock it and jump down the hole to begin the gauntlet. If you have Quadruple Thrusters, you can jump over most of the obstacle arena before it even begins. If you don't have Quad Thrusters, I hope you at least have decent health. Also, there is a laser ceiling slowly coming down as you make your way through the gauntlet. Don't dally for too long.
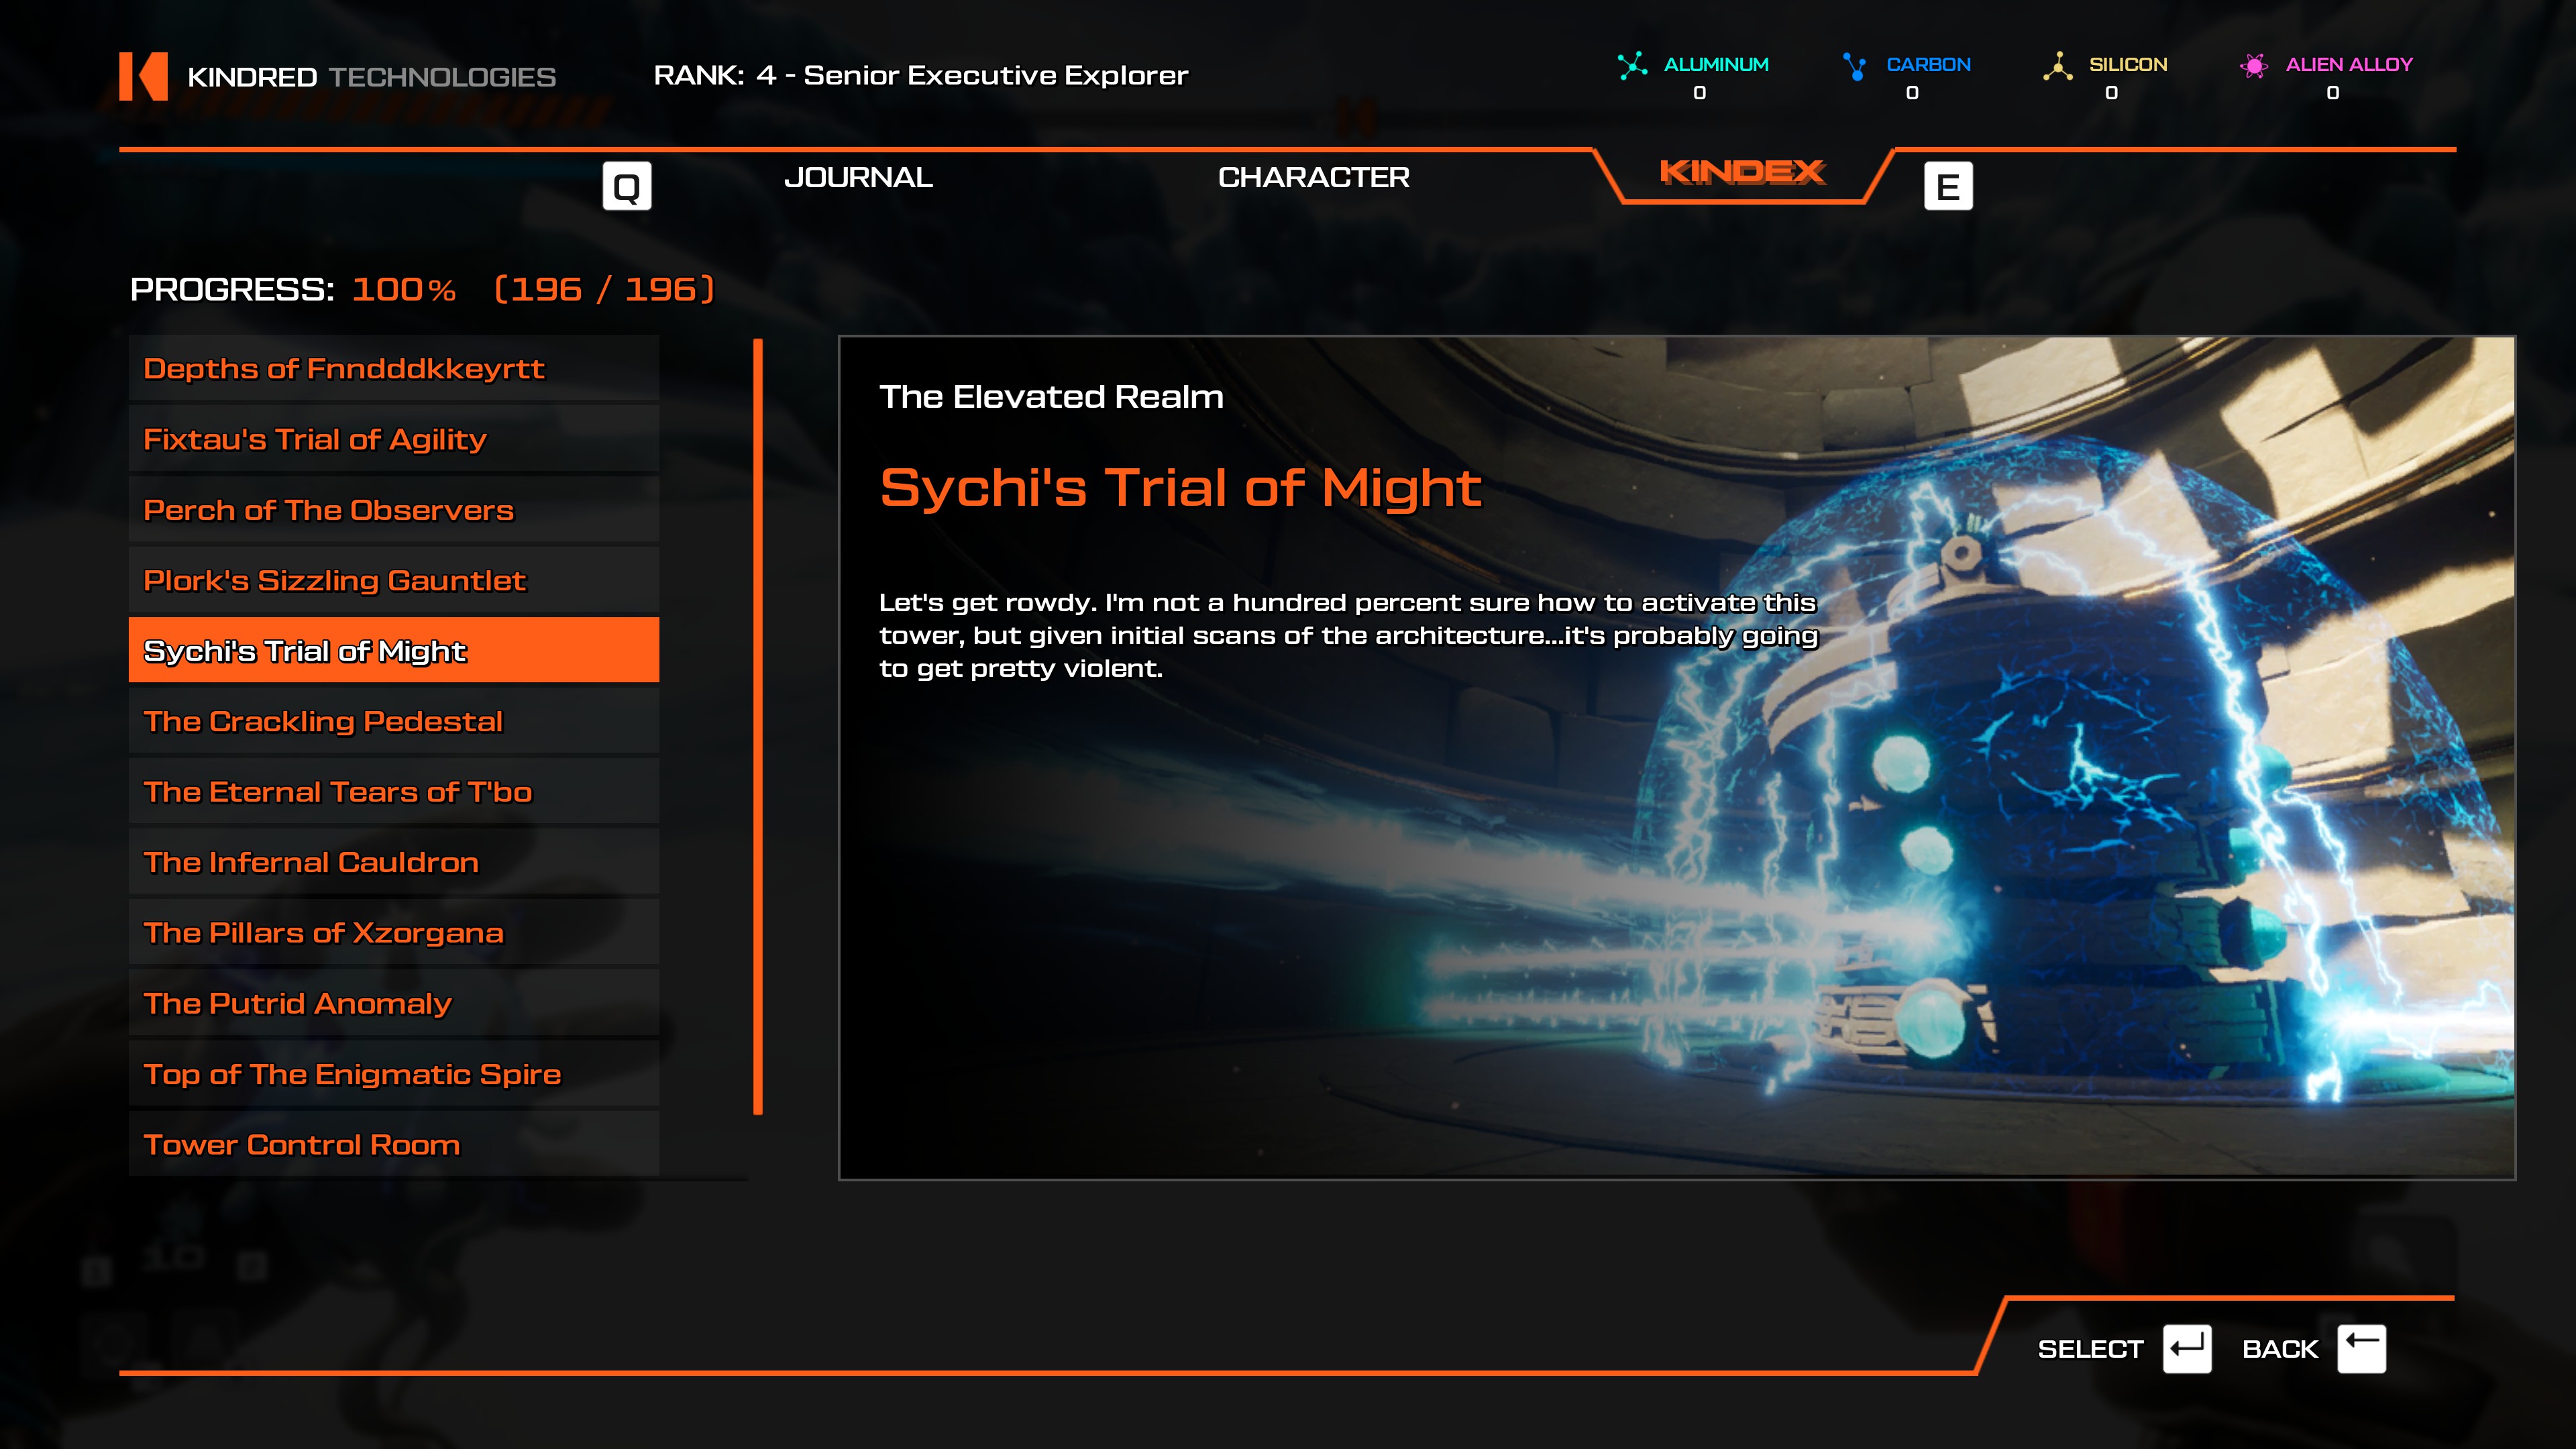
- Teleport to the Pillars of Xzorgana. Then, head East. At the edge of the island, you'll find darker stones leading to another island with Marshmallow-like trees (Mallowsaps) on them. The island this leads to is the Infernal Cauldron, which houses an Alien Alloy.
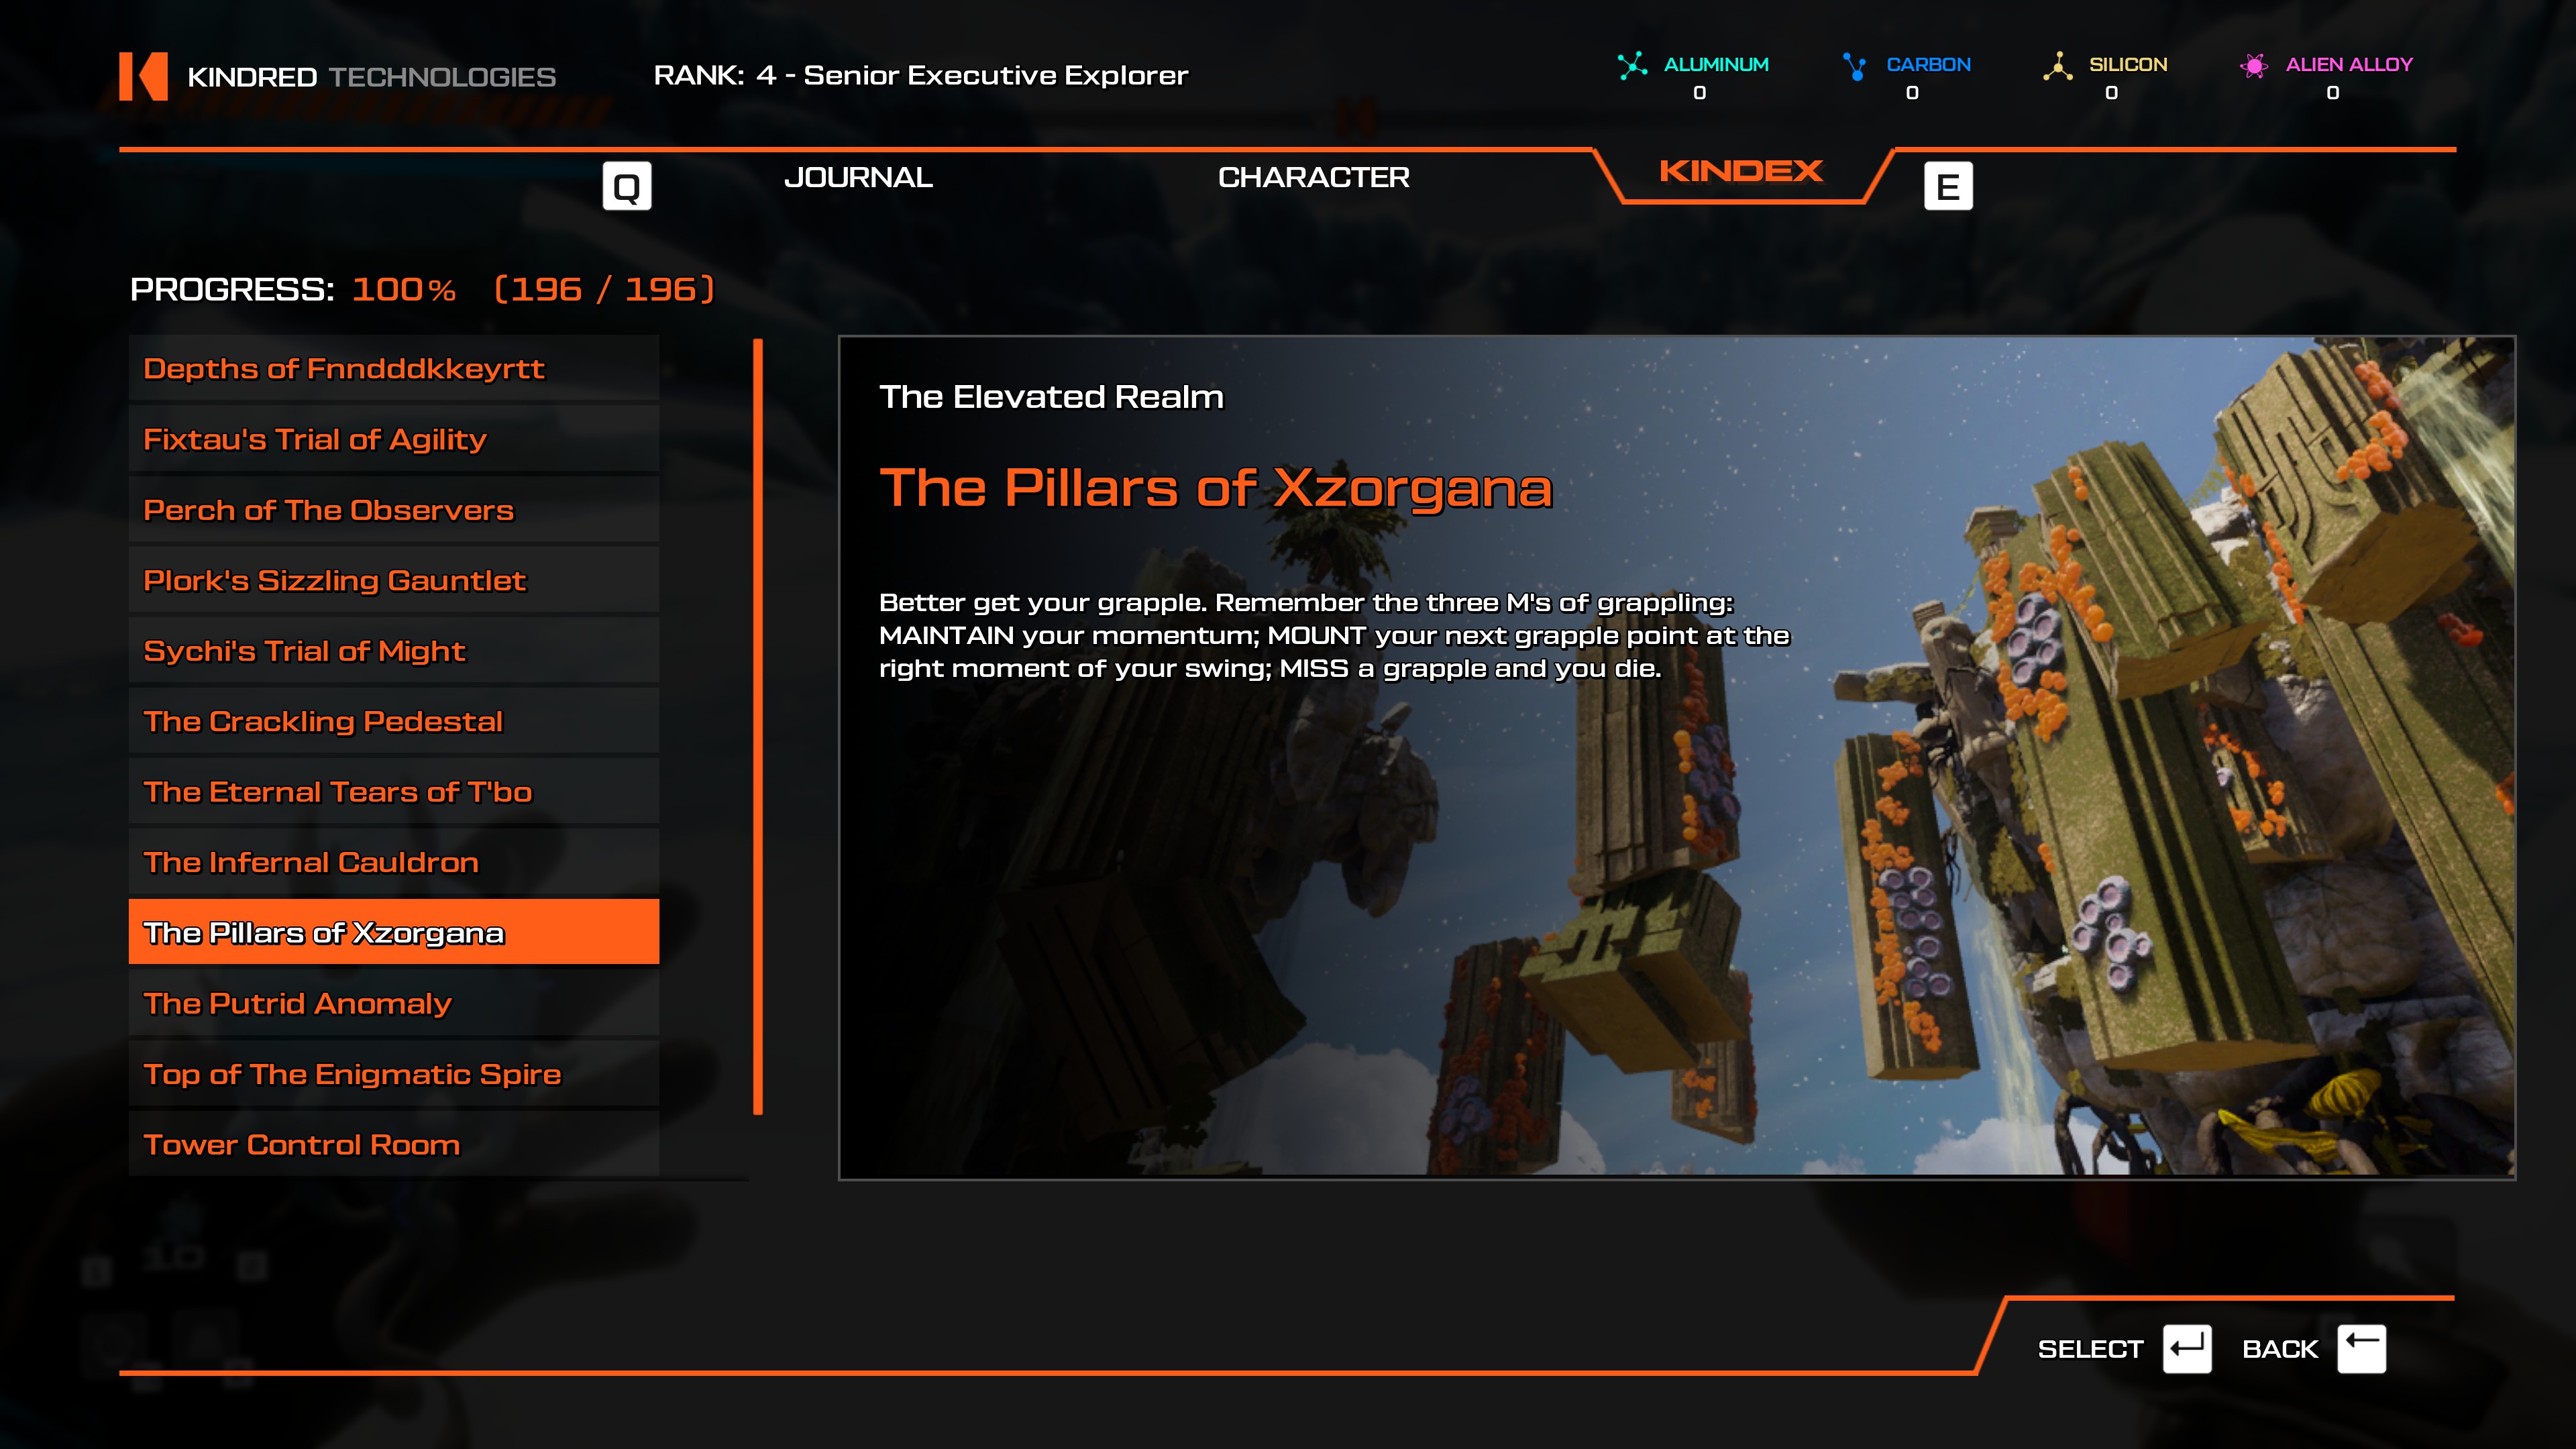
- This location is a weird one but not optional as far as I know- at some point EKO will let you know about this island and you will simply teleport over. There's an Alien Alloy on here so once you complete the trial on here, it's yours to take. After that, you won't be able to come back (not that you would need to either way) unless you cheat and give yourself infinite jumps just to see it again while making a Steam guide.

- Meteor Crater teleporter. You can see the Barfers spewing orange acid from there- they defend the giant purple crystals on the nearby rock wall. Take the stone bridge that's directly north of the teleporter to get to them. This is the only location where they can be found.
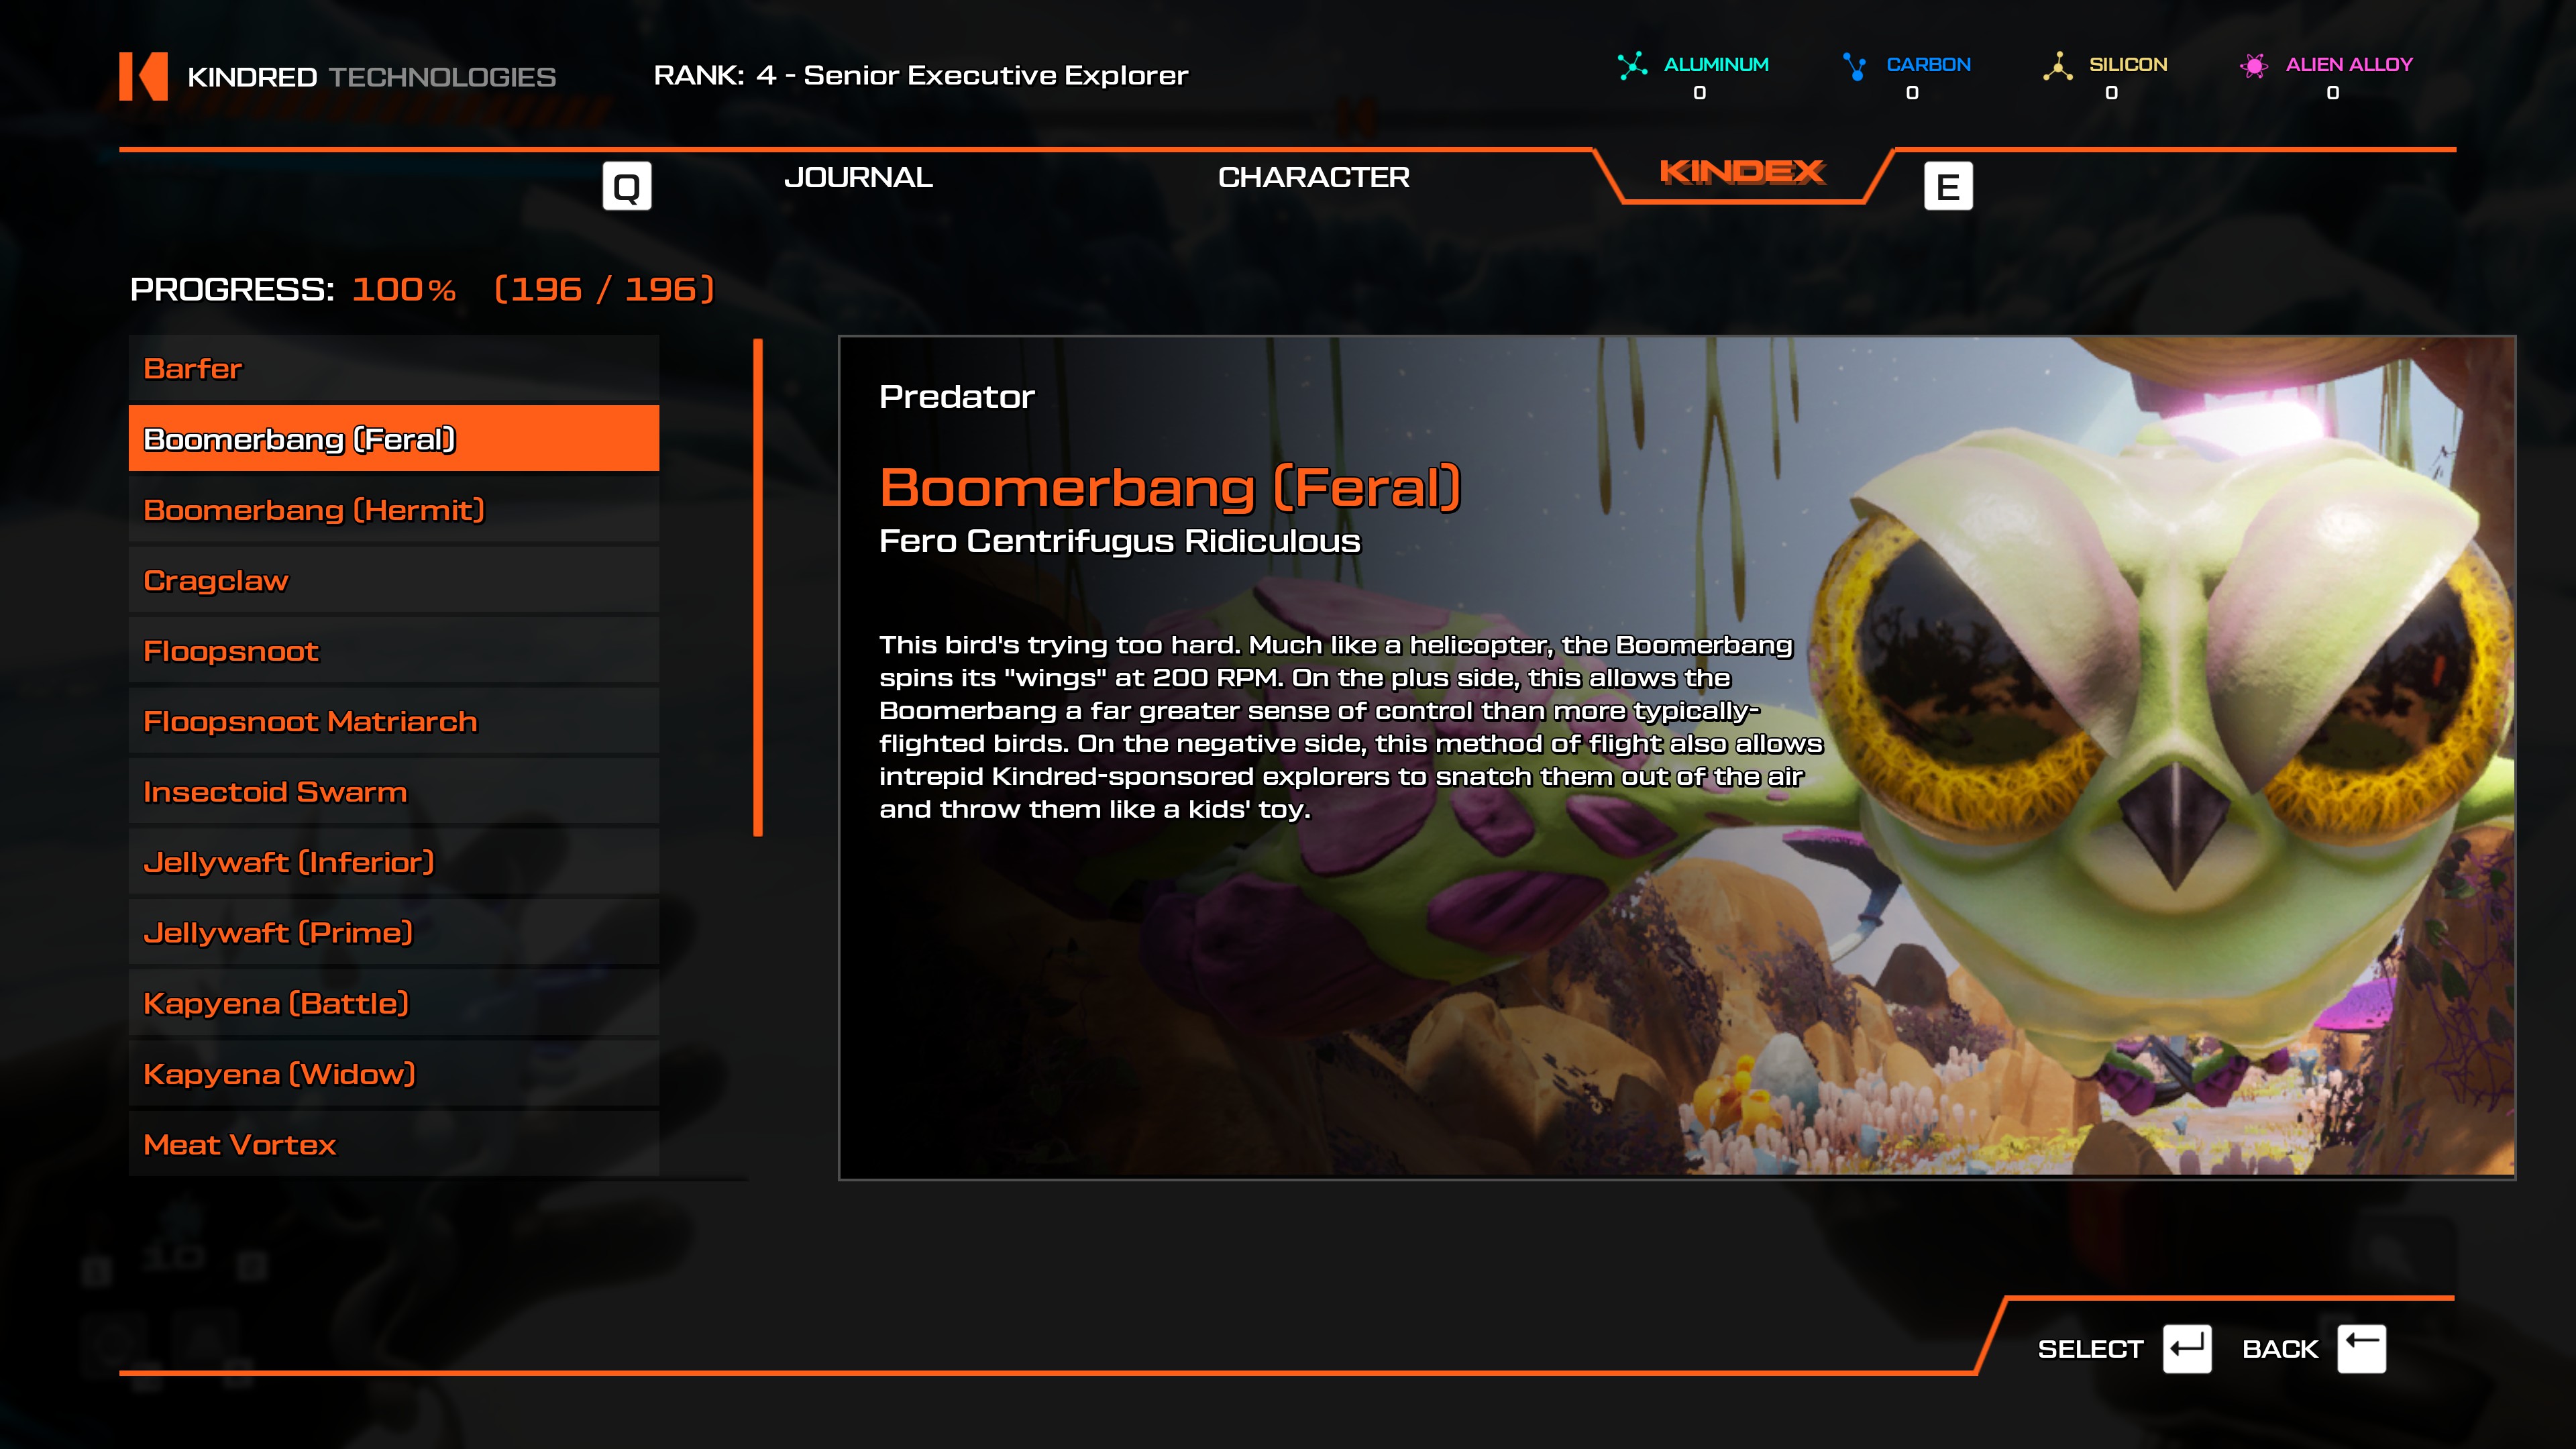
- Festering Chasm teleporter- there's a nearby area with Amber-armored Pufferbirds walking around, and there are also a few Feral Boomerangs flying around here as well.
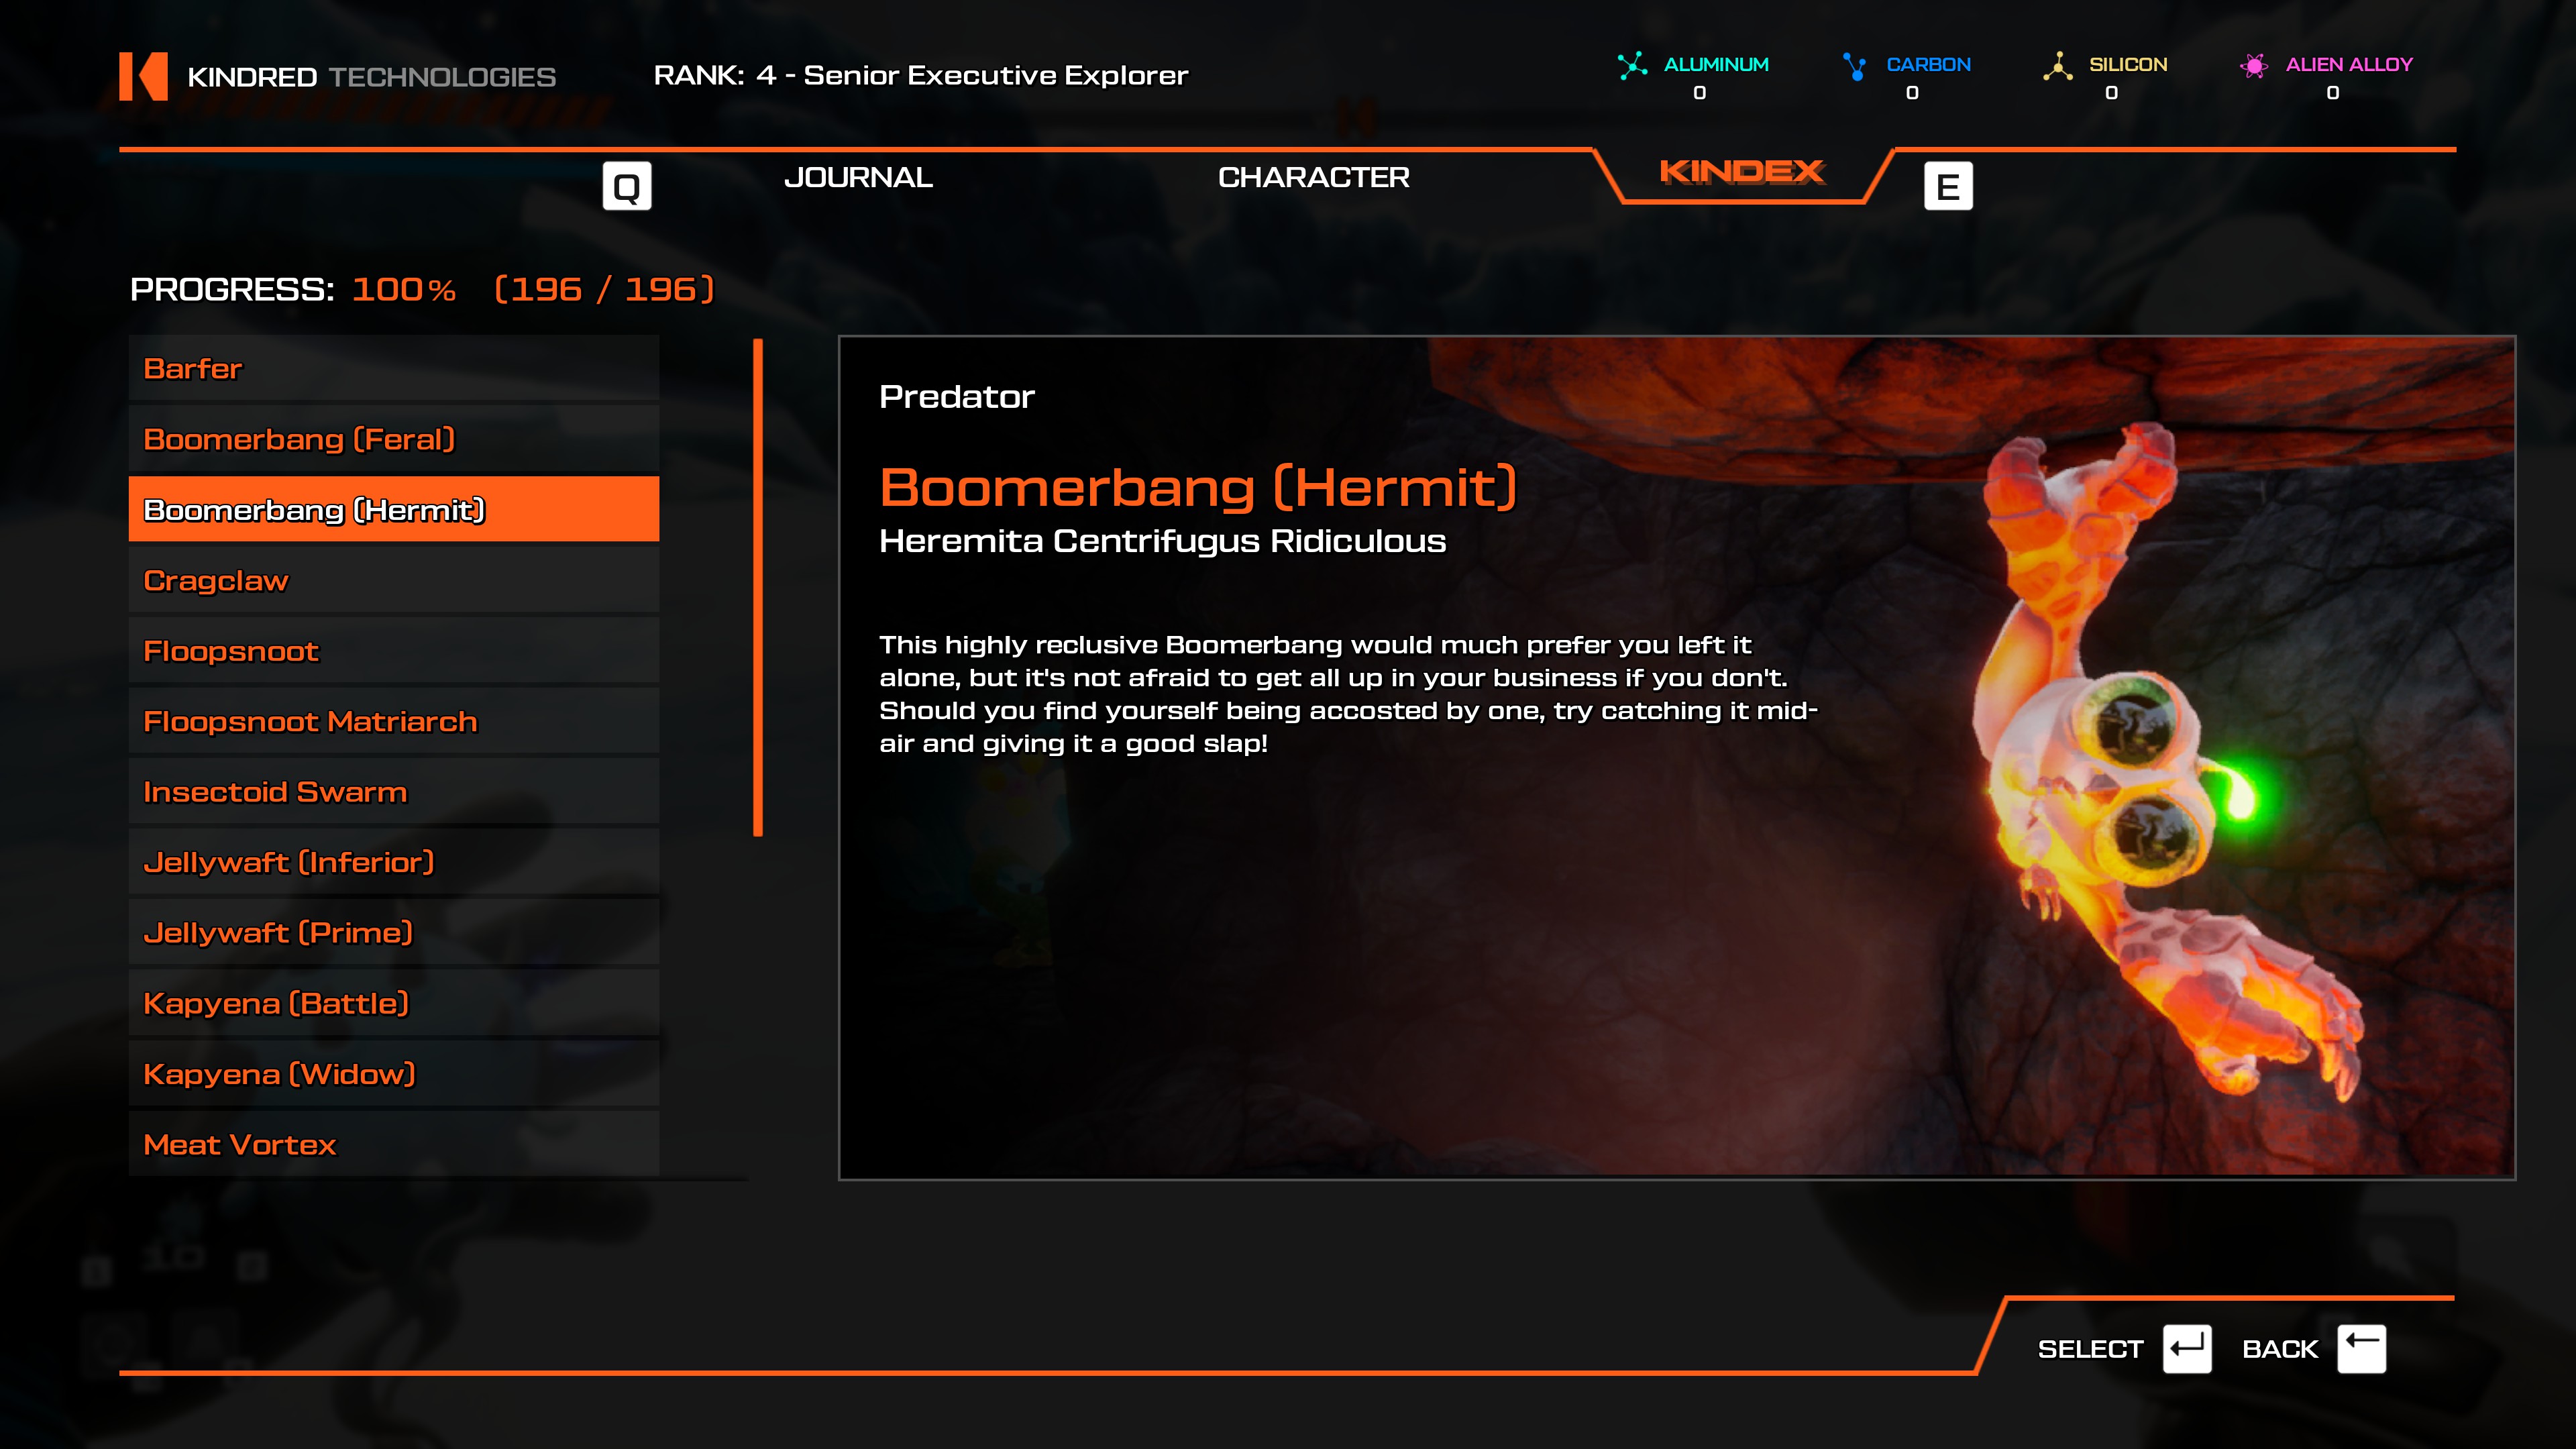
- Take the Meteor Crash teleporter. Go east into the Smouldering Abyss. There are a few flying around in the first area.
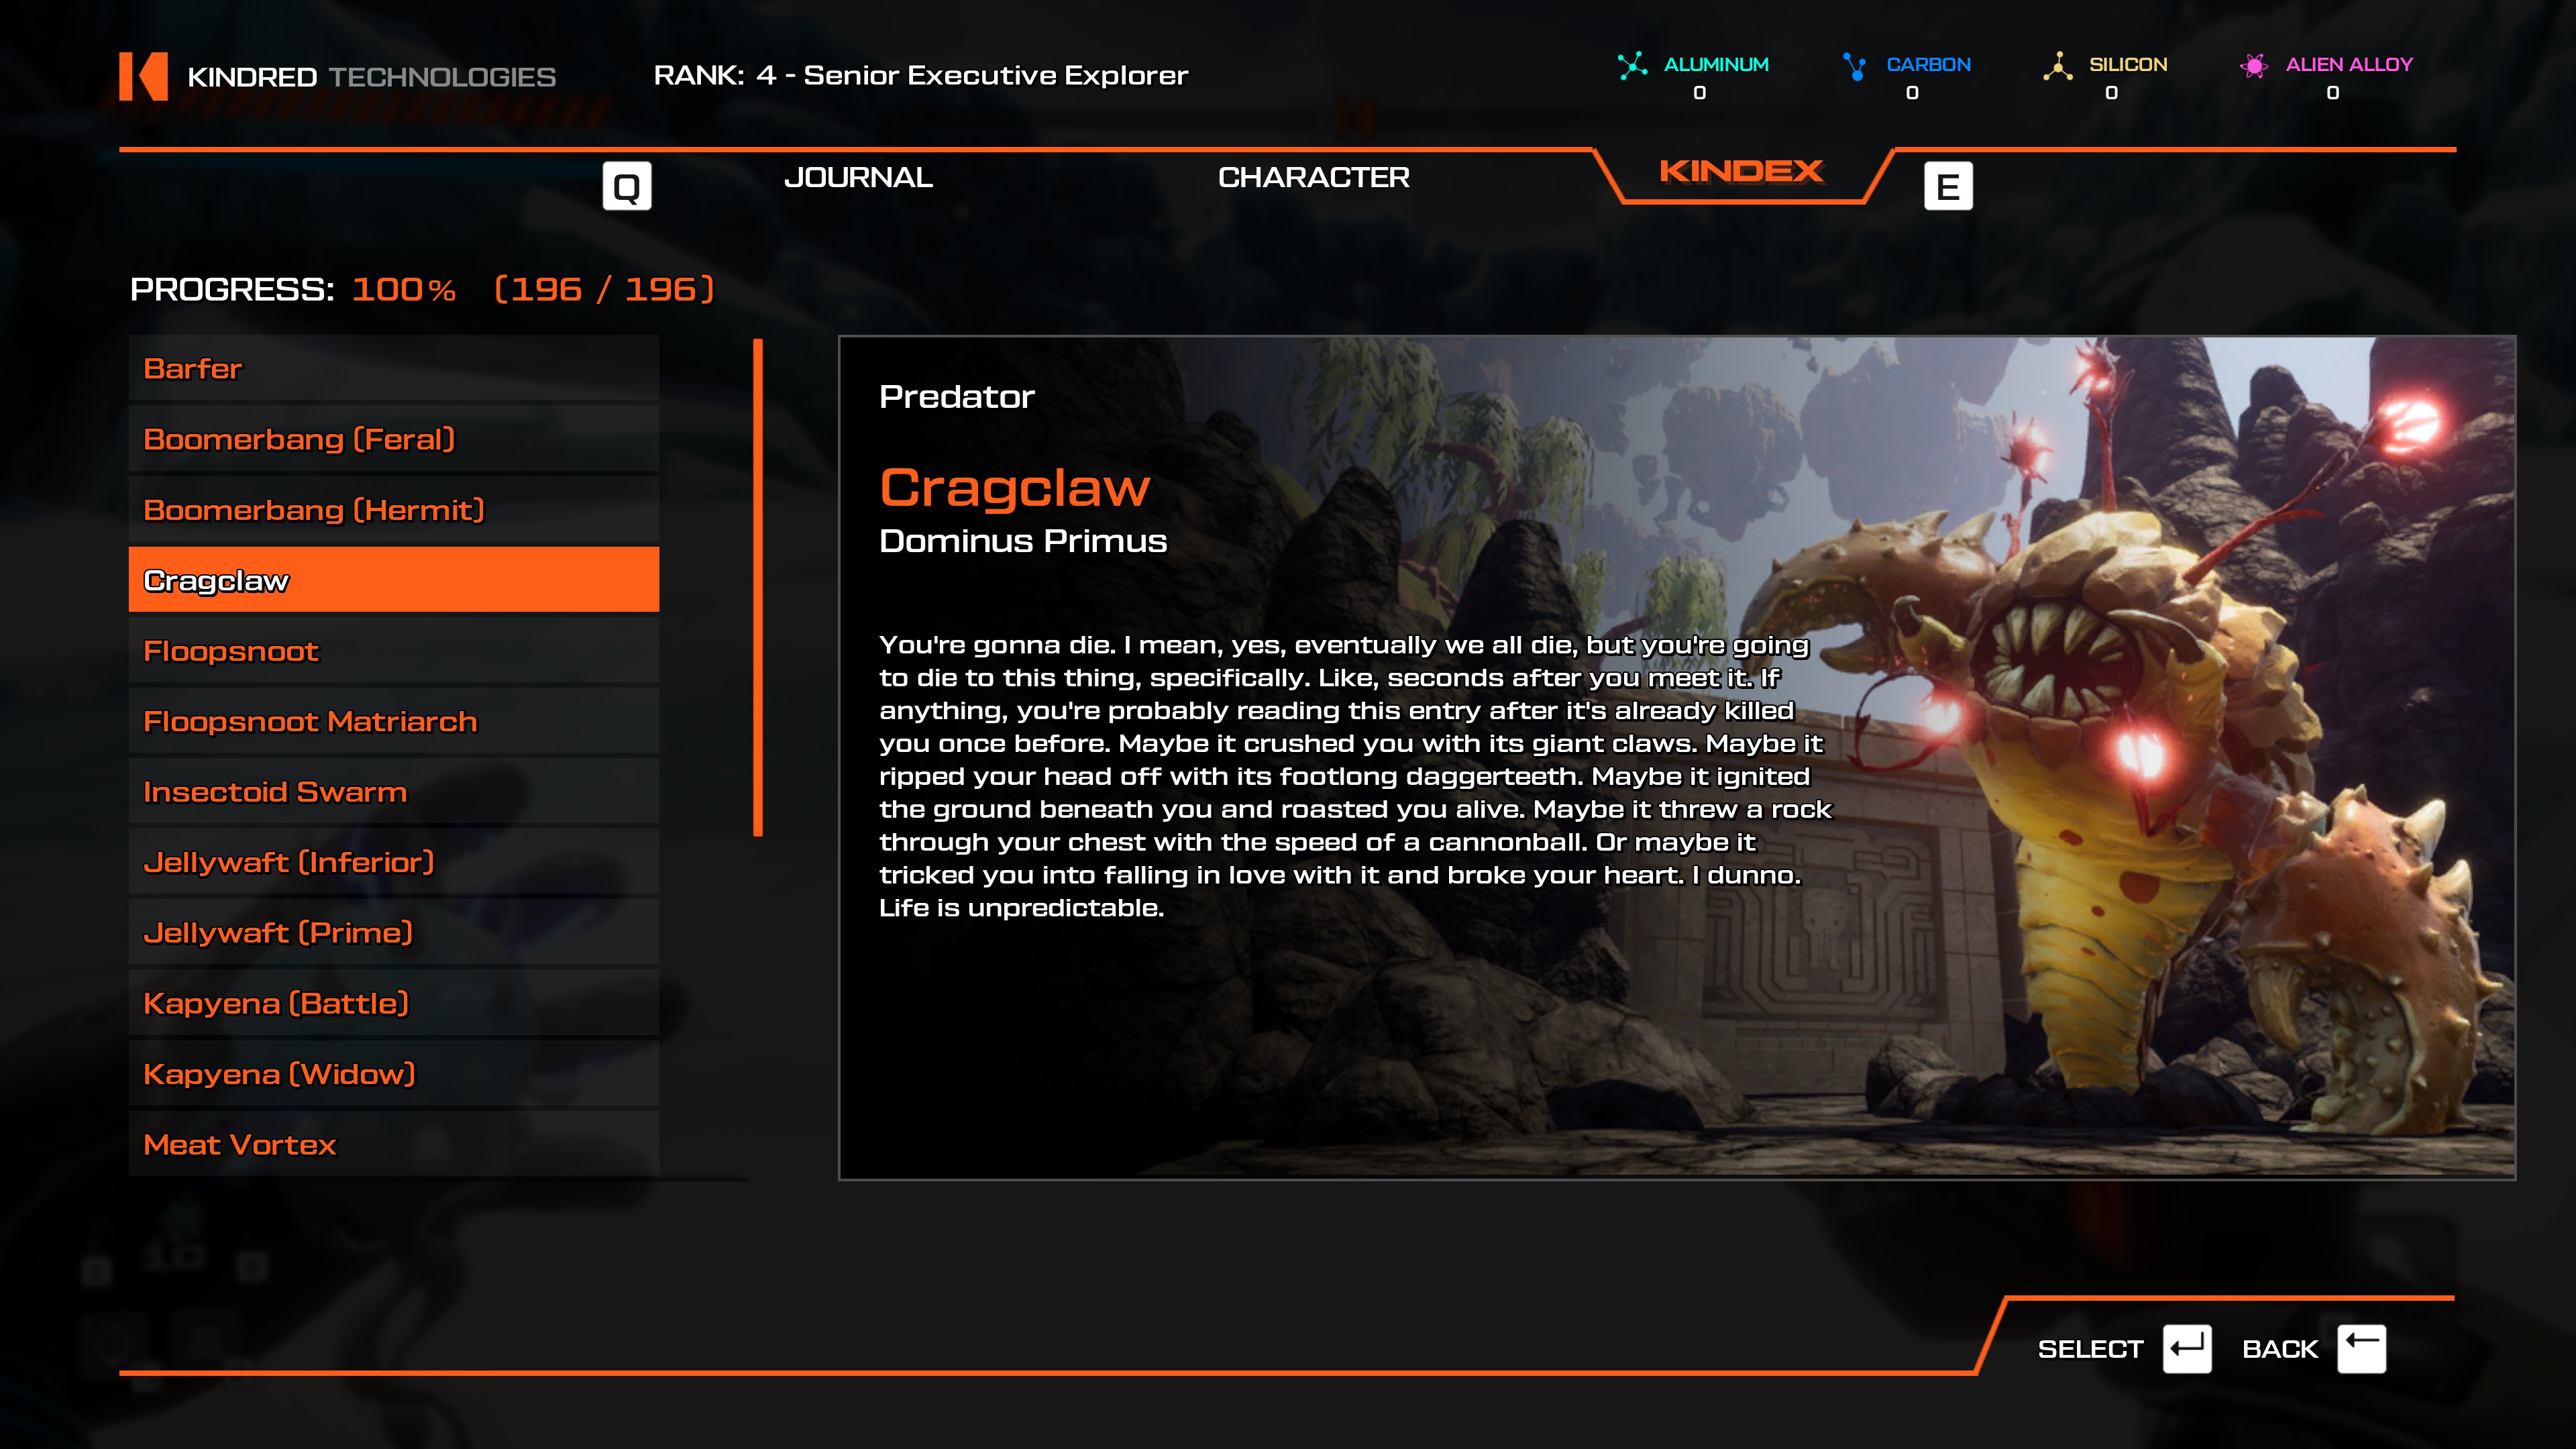
- This is the final boss of the first area, easily reached from the Cliffs of Mt. Gzarfyn teleporter.
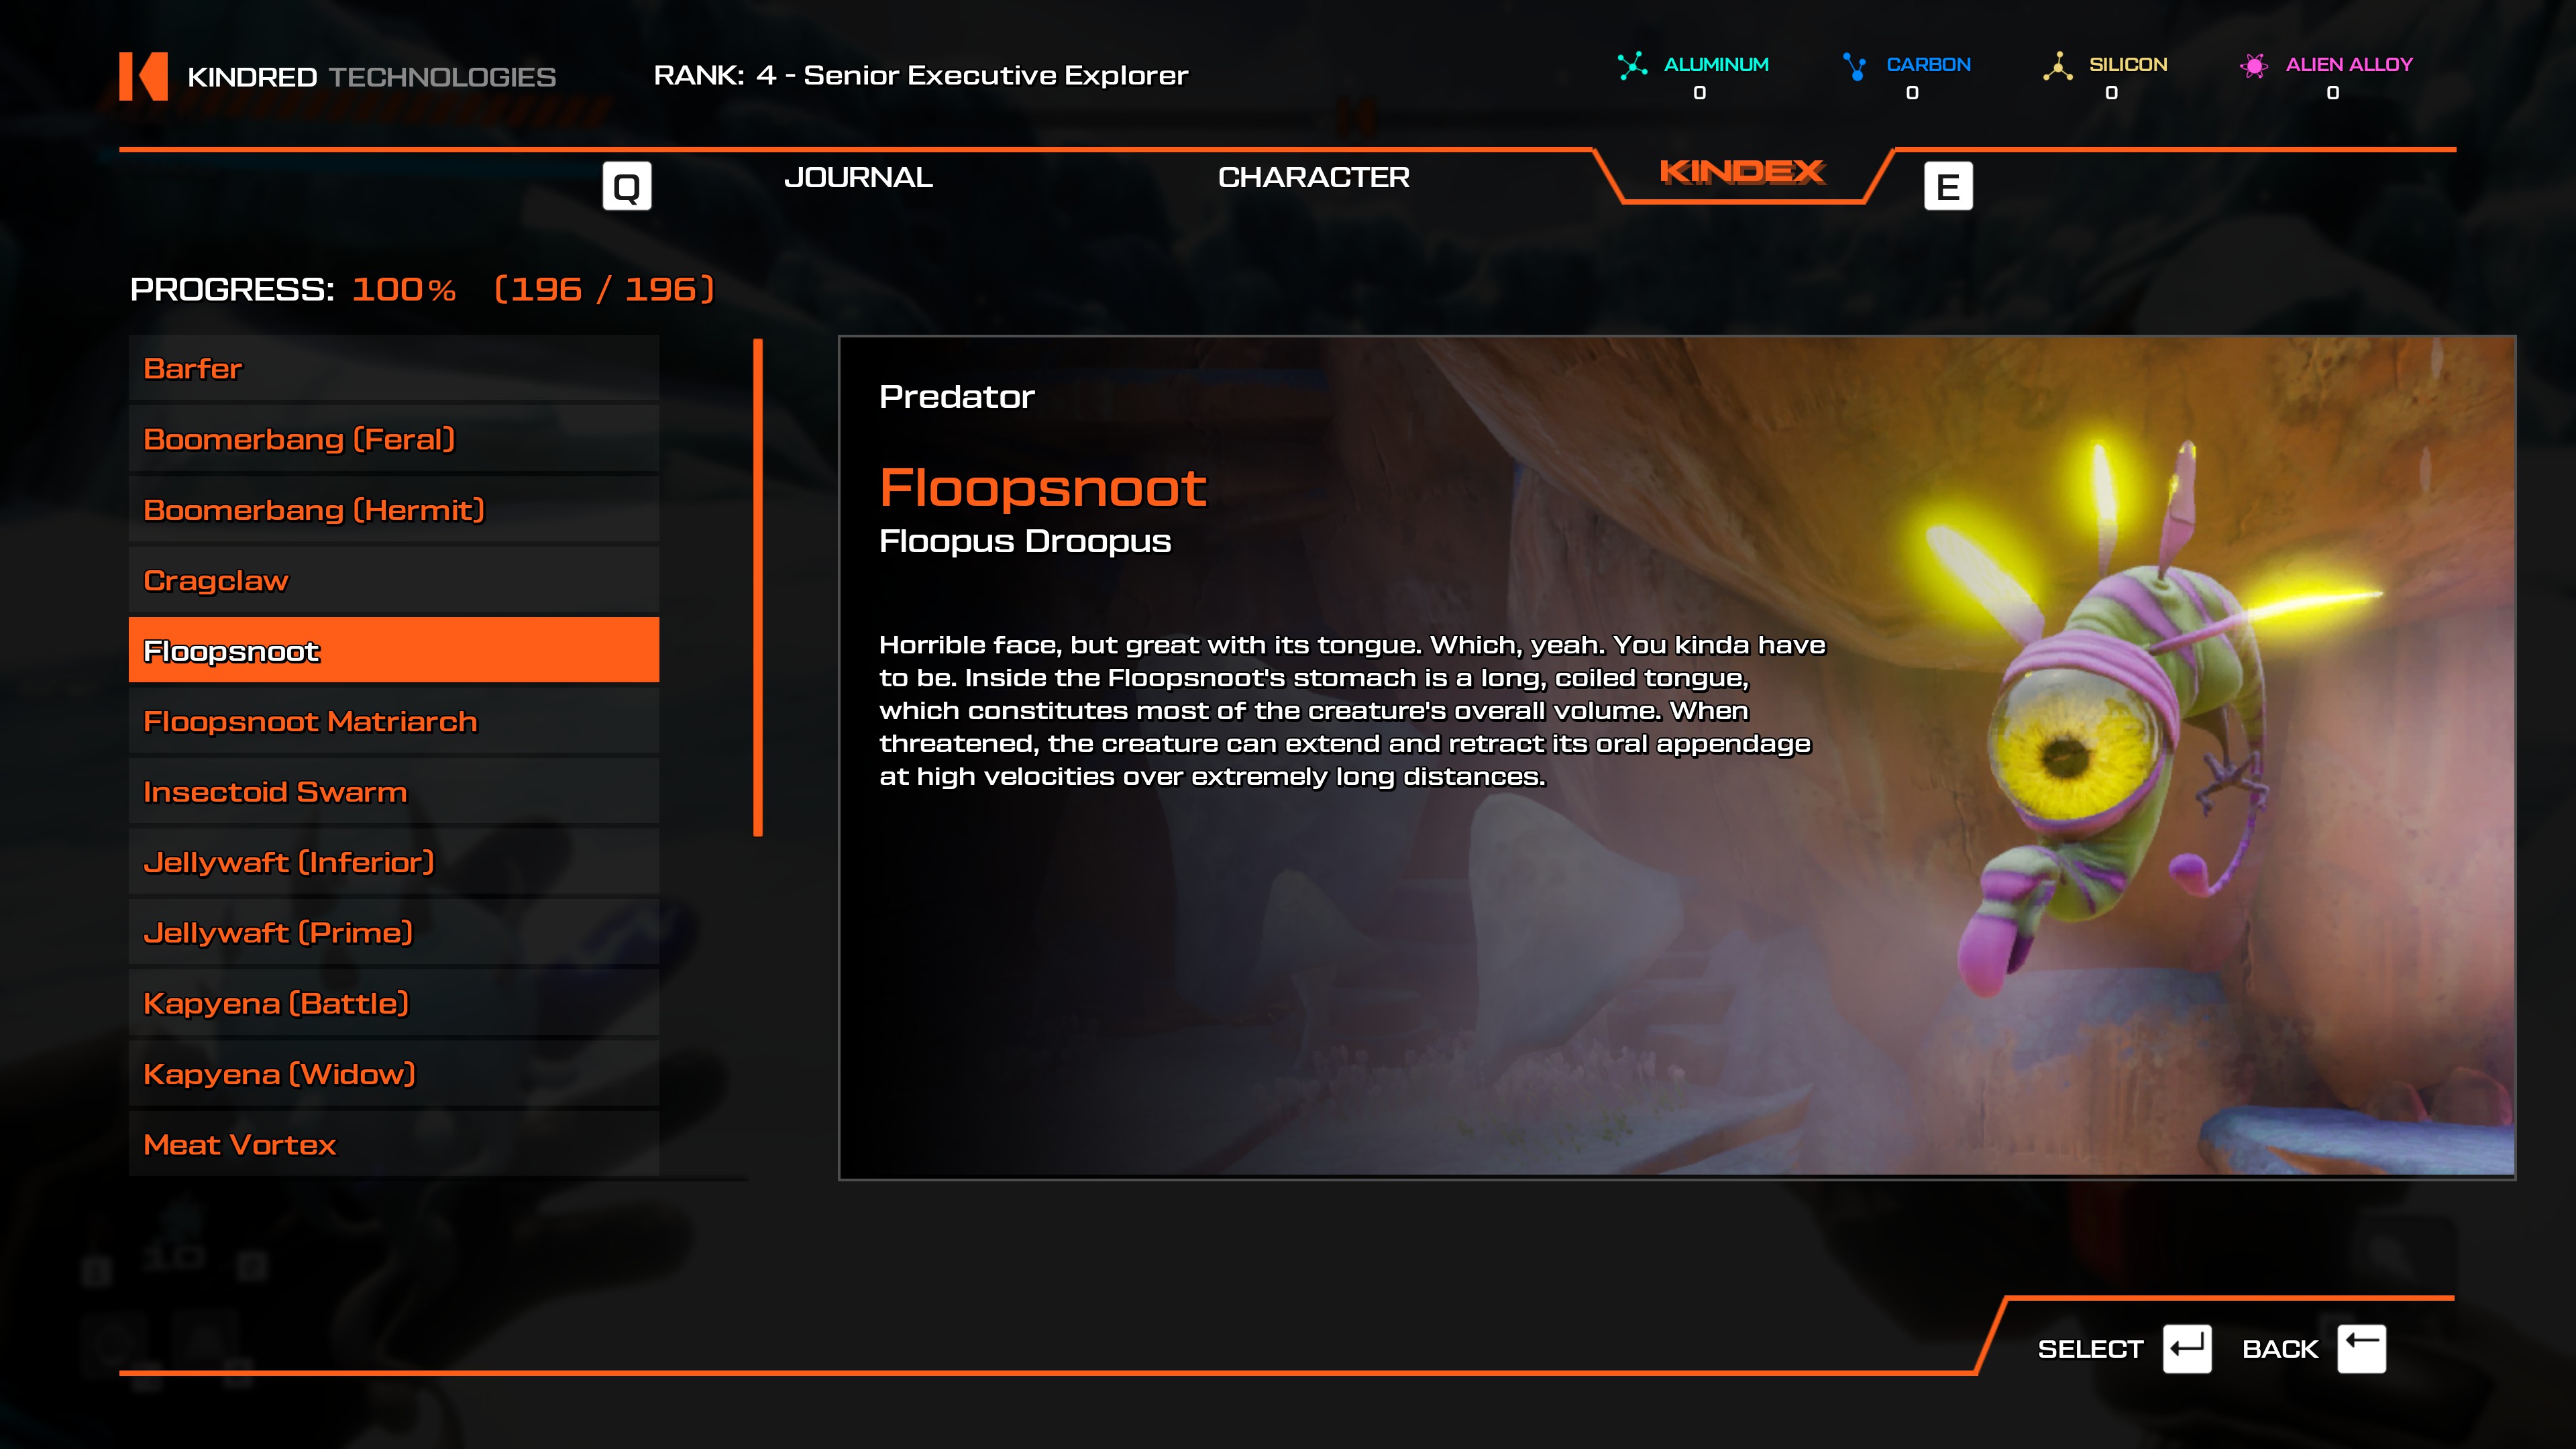
- Head to the Festering Overhang teleporter, several will spawn and attack you.
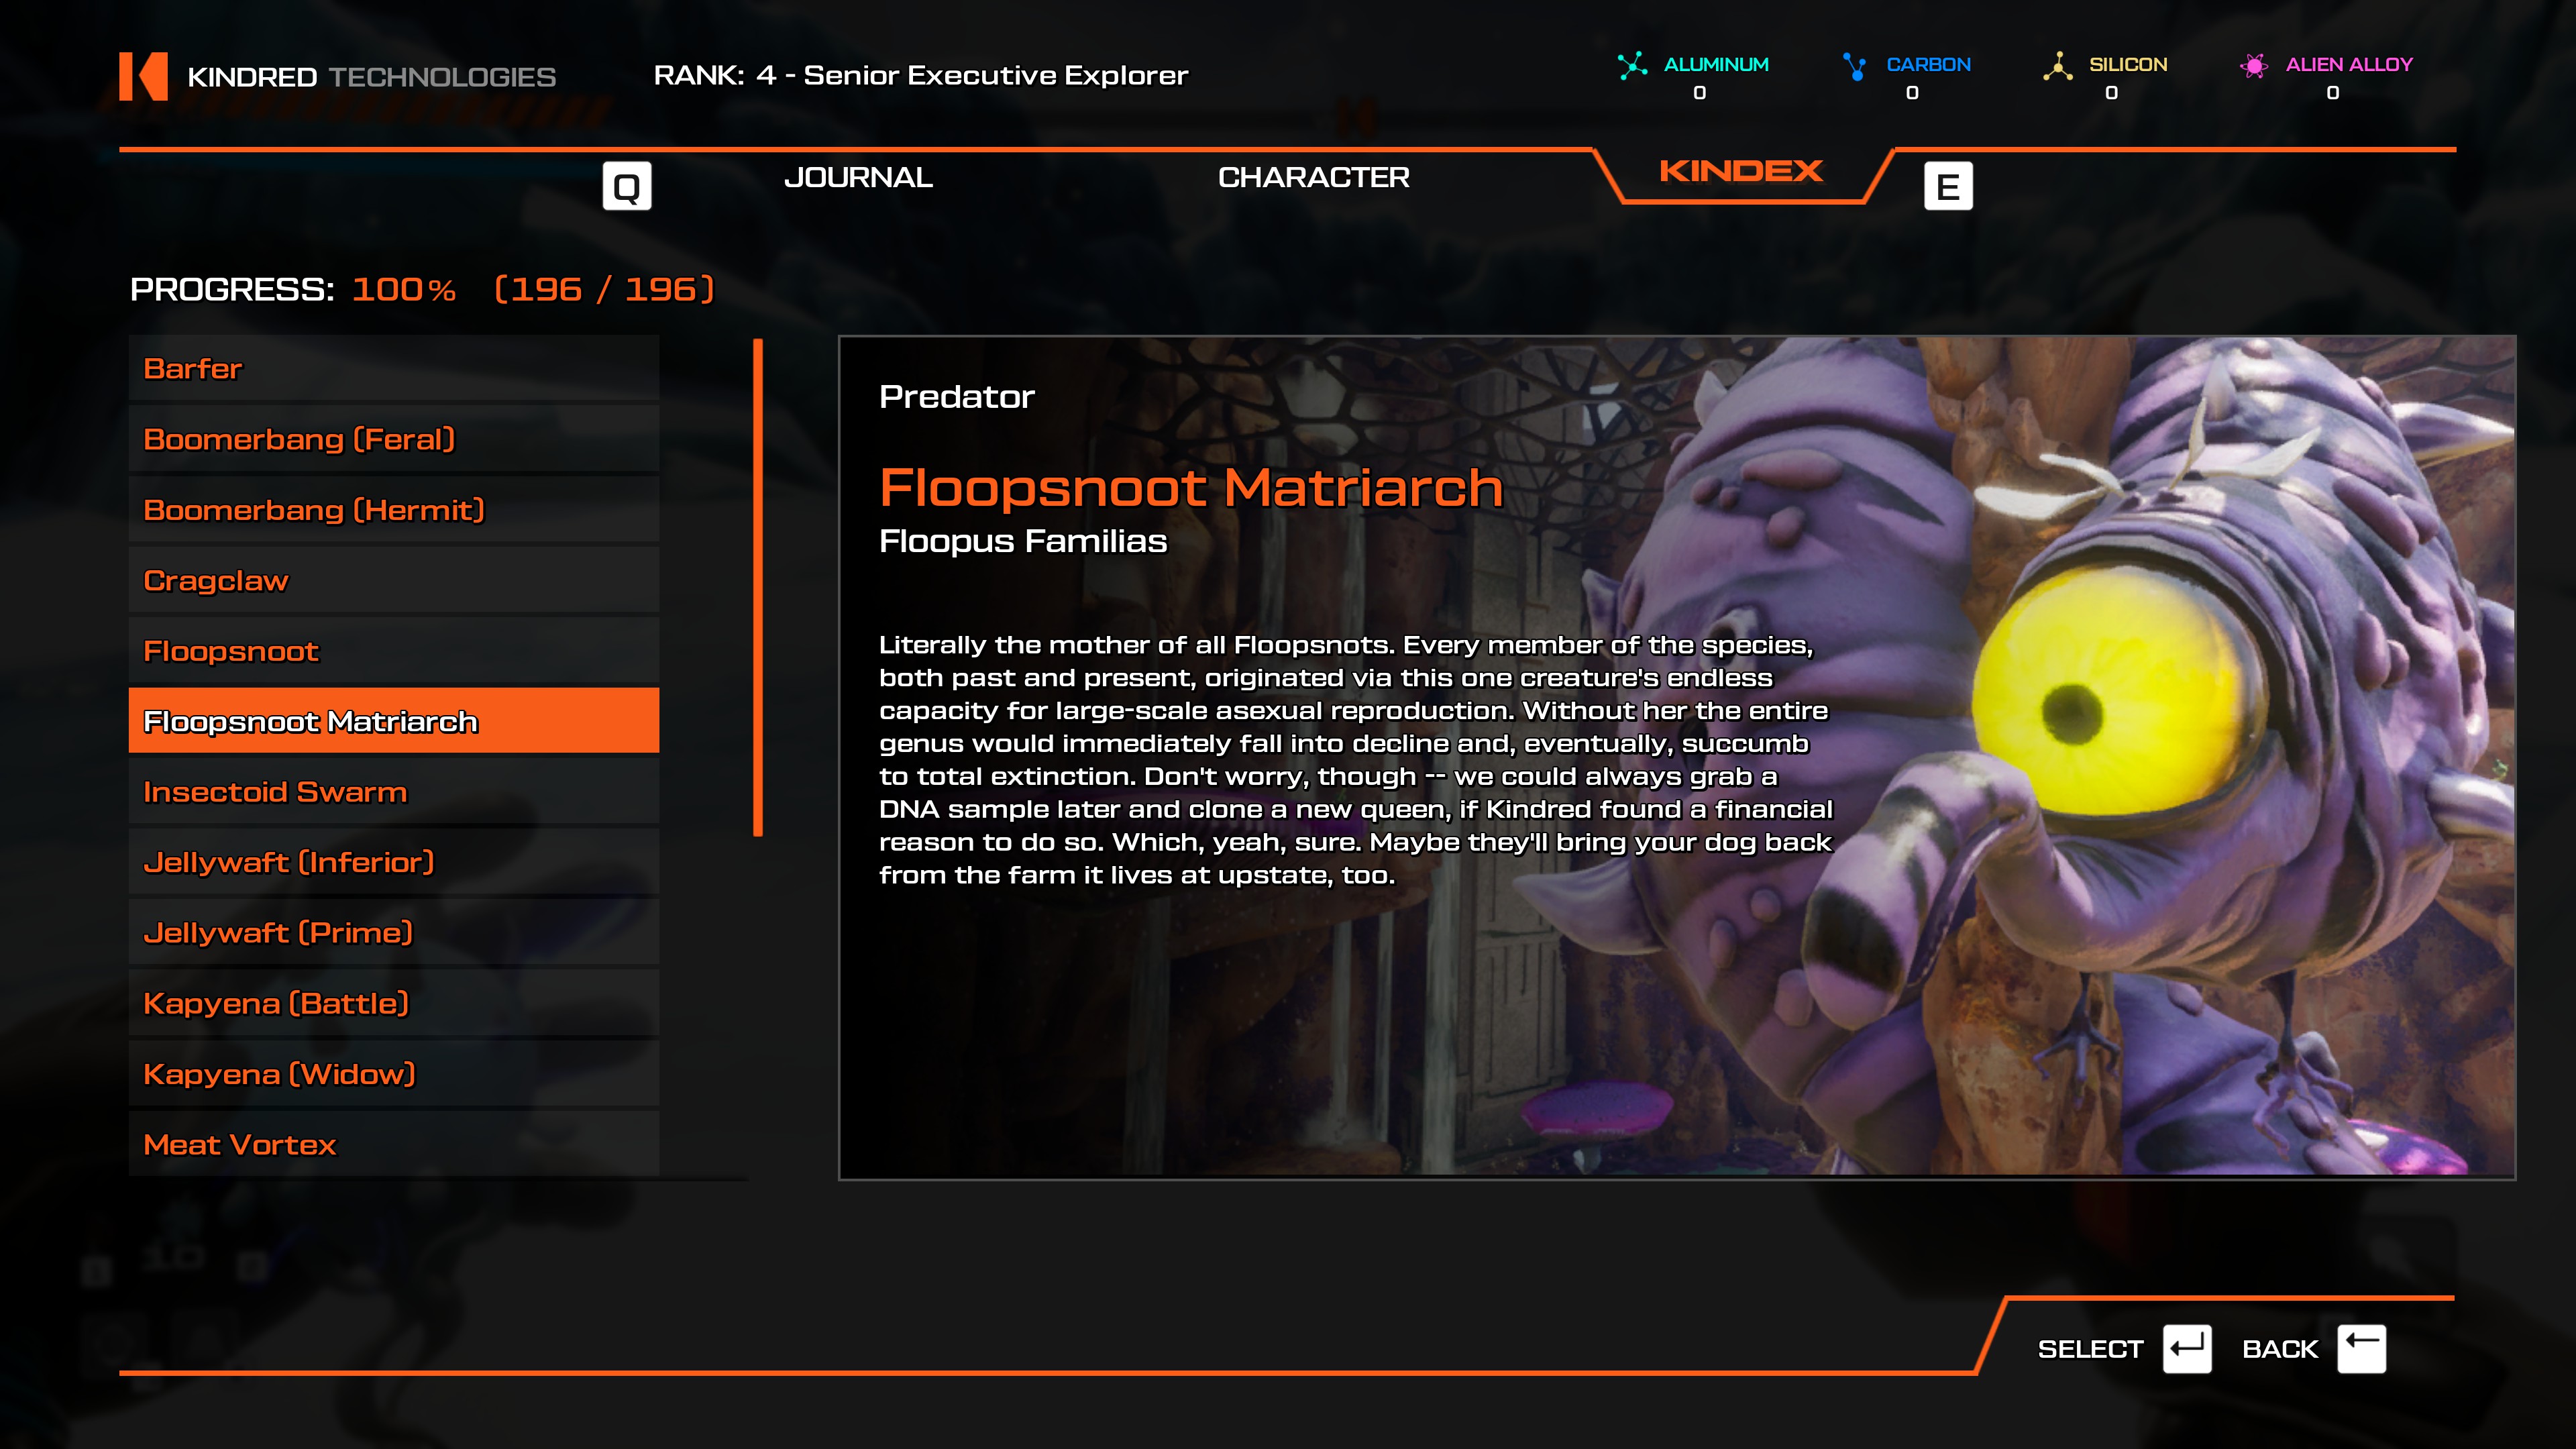
- The final boss of the second area, can be easily reached from the Matriarch's Lair teleporter.
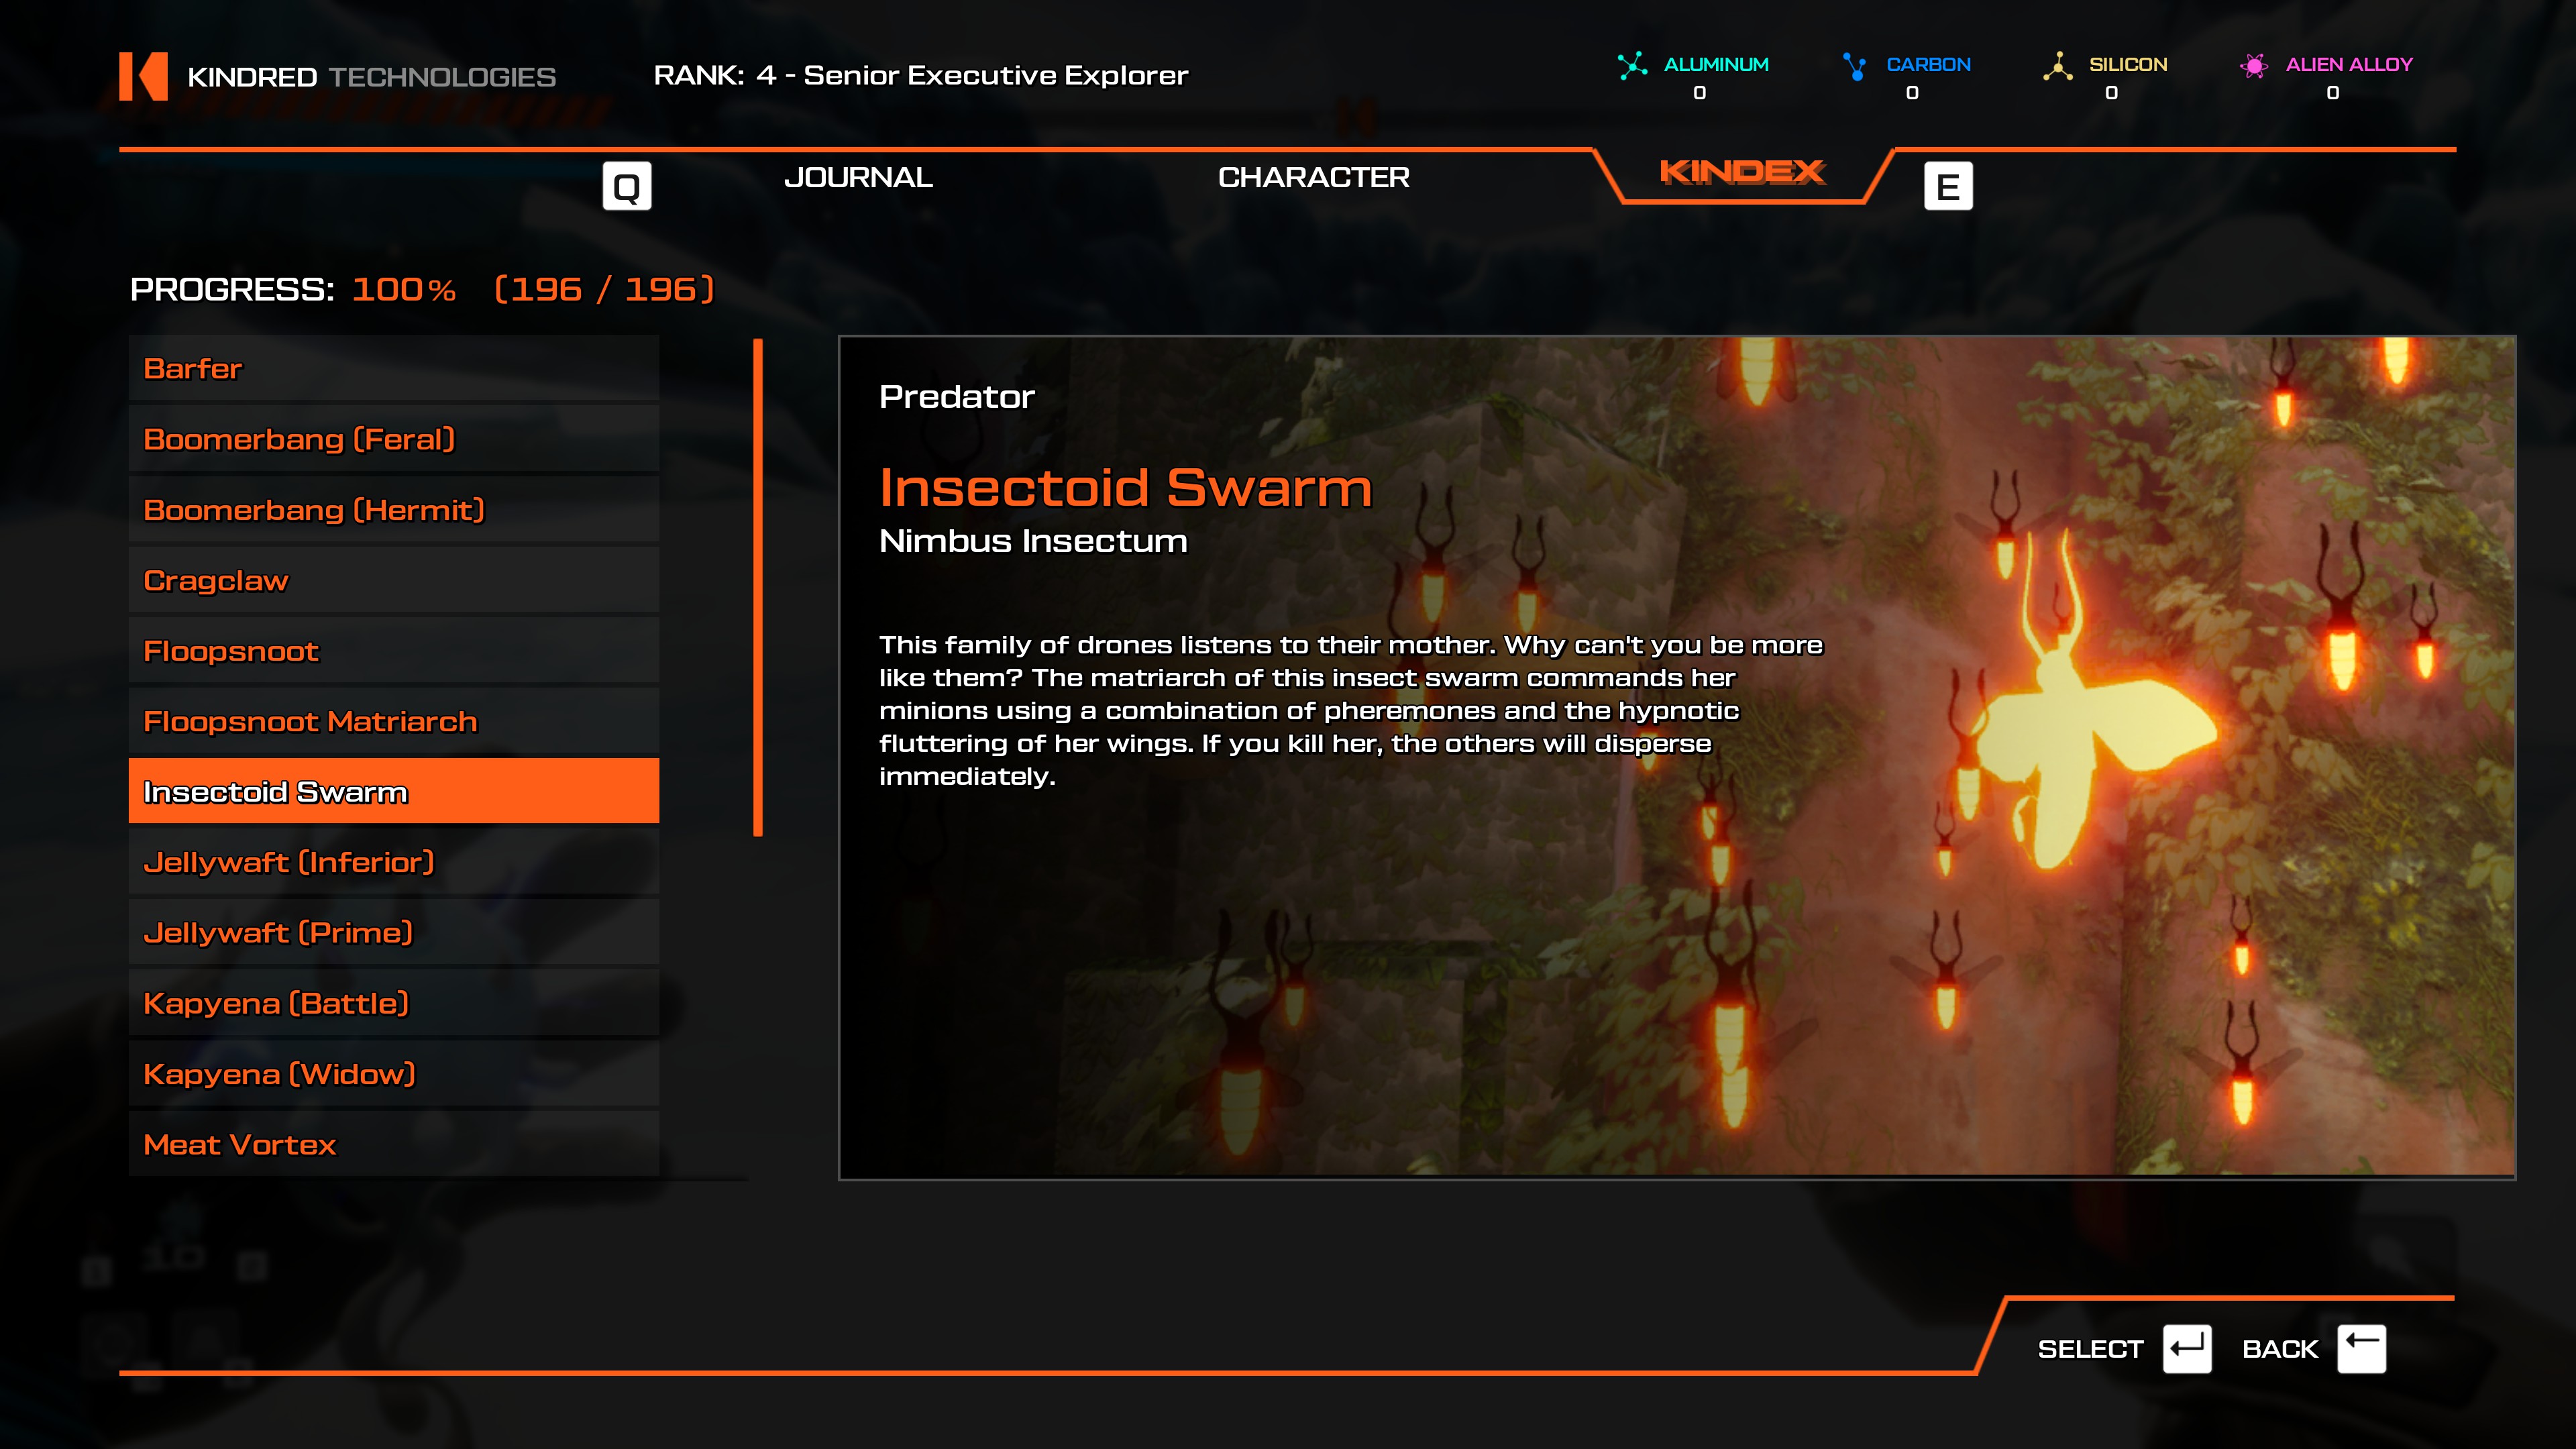
- Use the Fungi of Si'ned VII teleporter and head northwest, to the Advanced Proton Tether Shrine. If you stand directly in front of it, you can actually see a Swarm Hive nearby. Approach it and it should spawn an insectoid swarm.
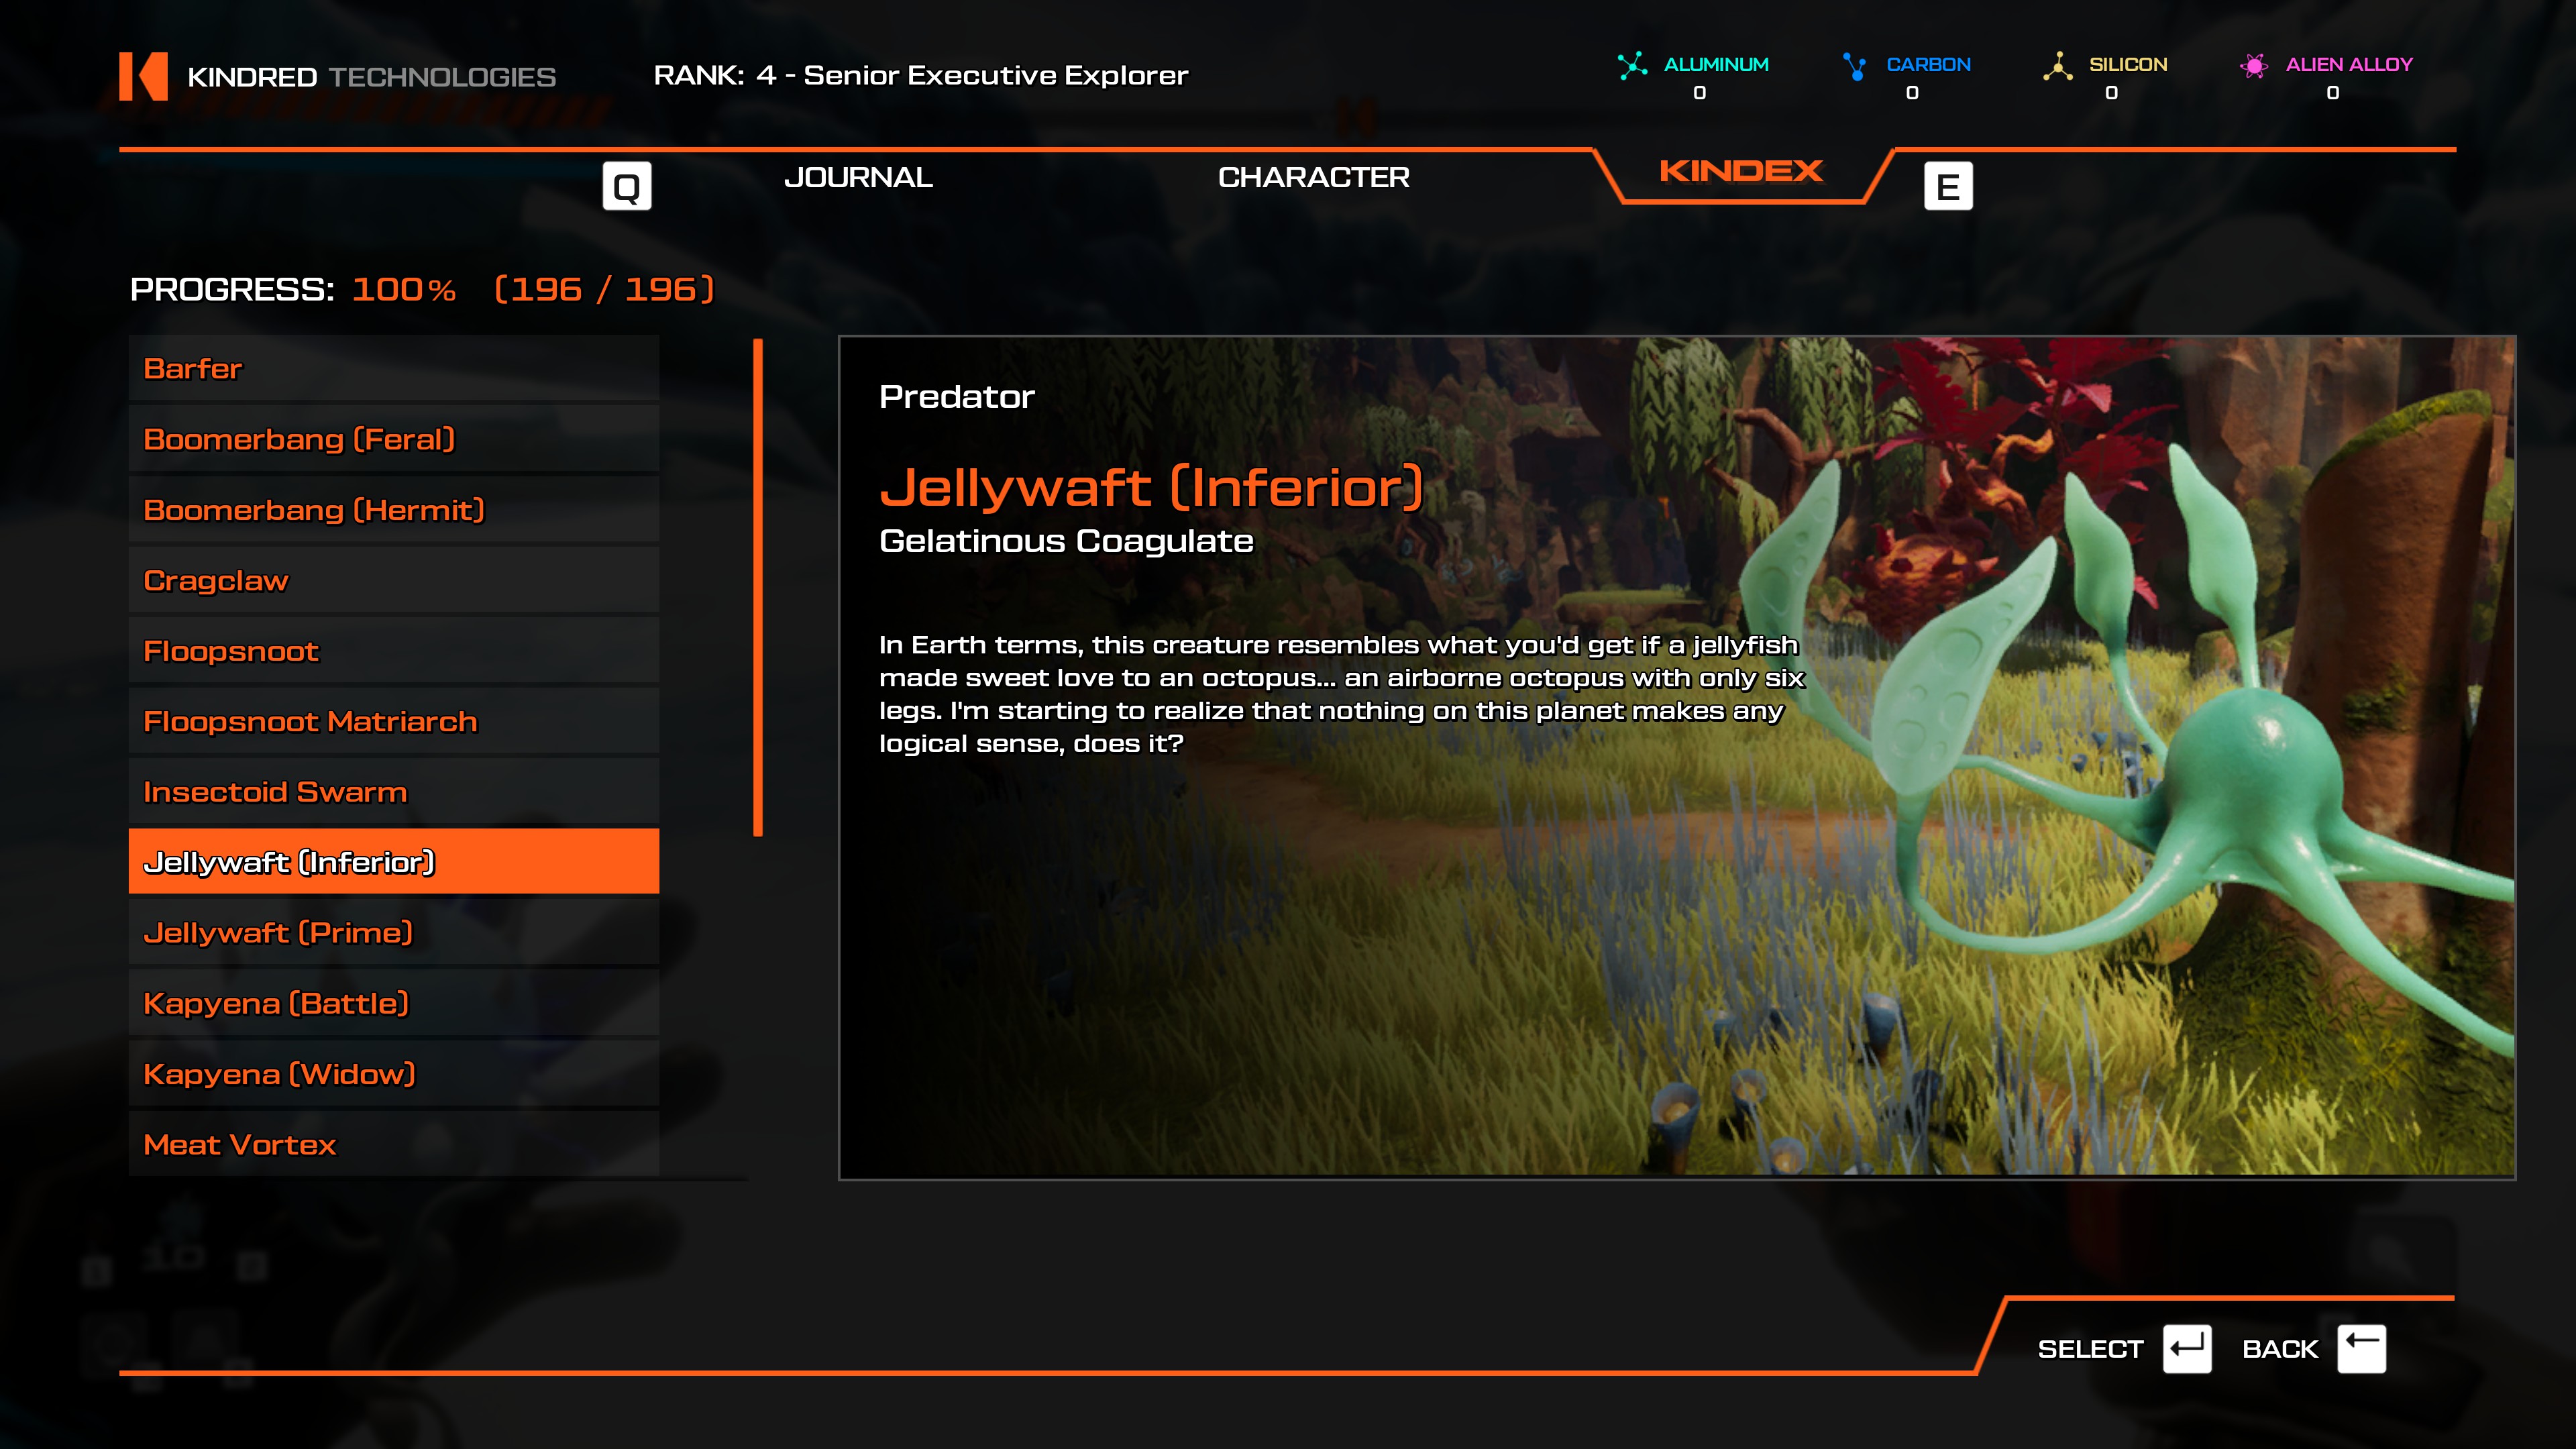
- Take the Cliffs of Mt. Gzarfyn teleporter, you can scan some from there.
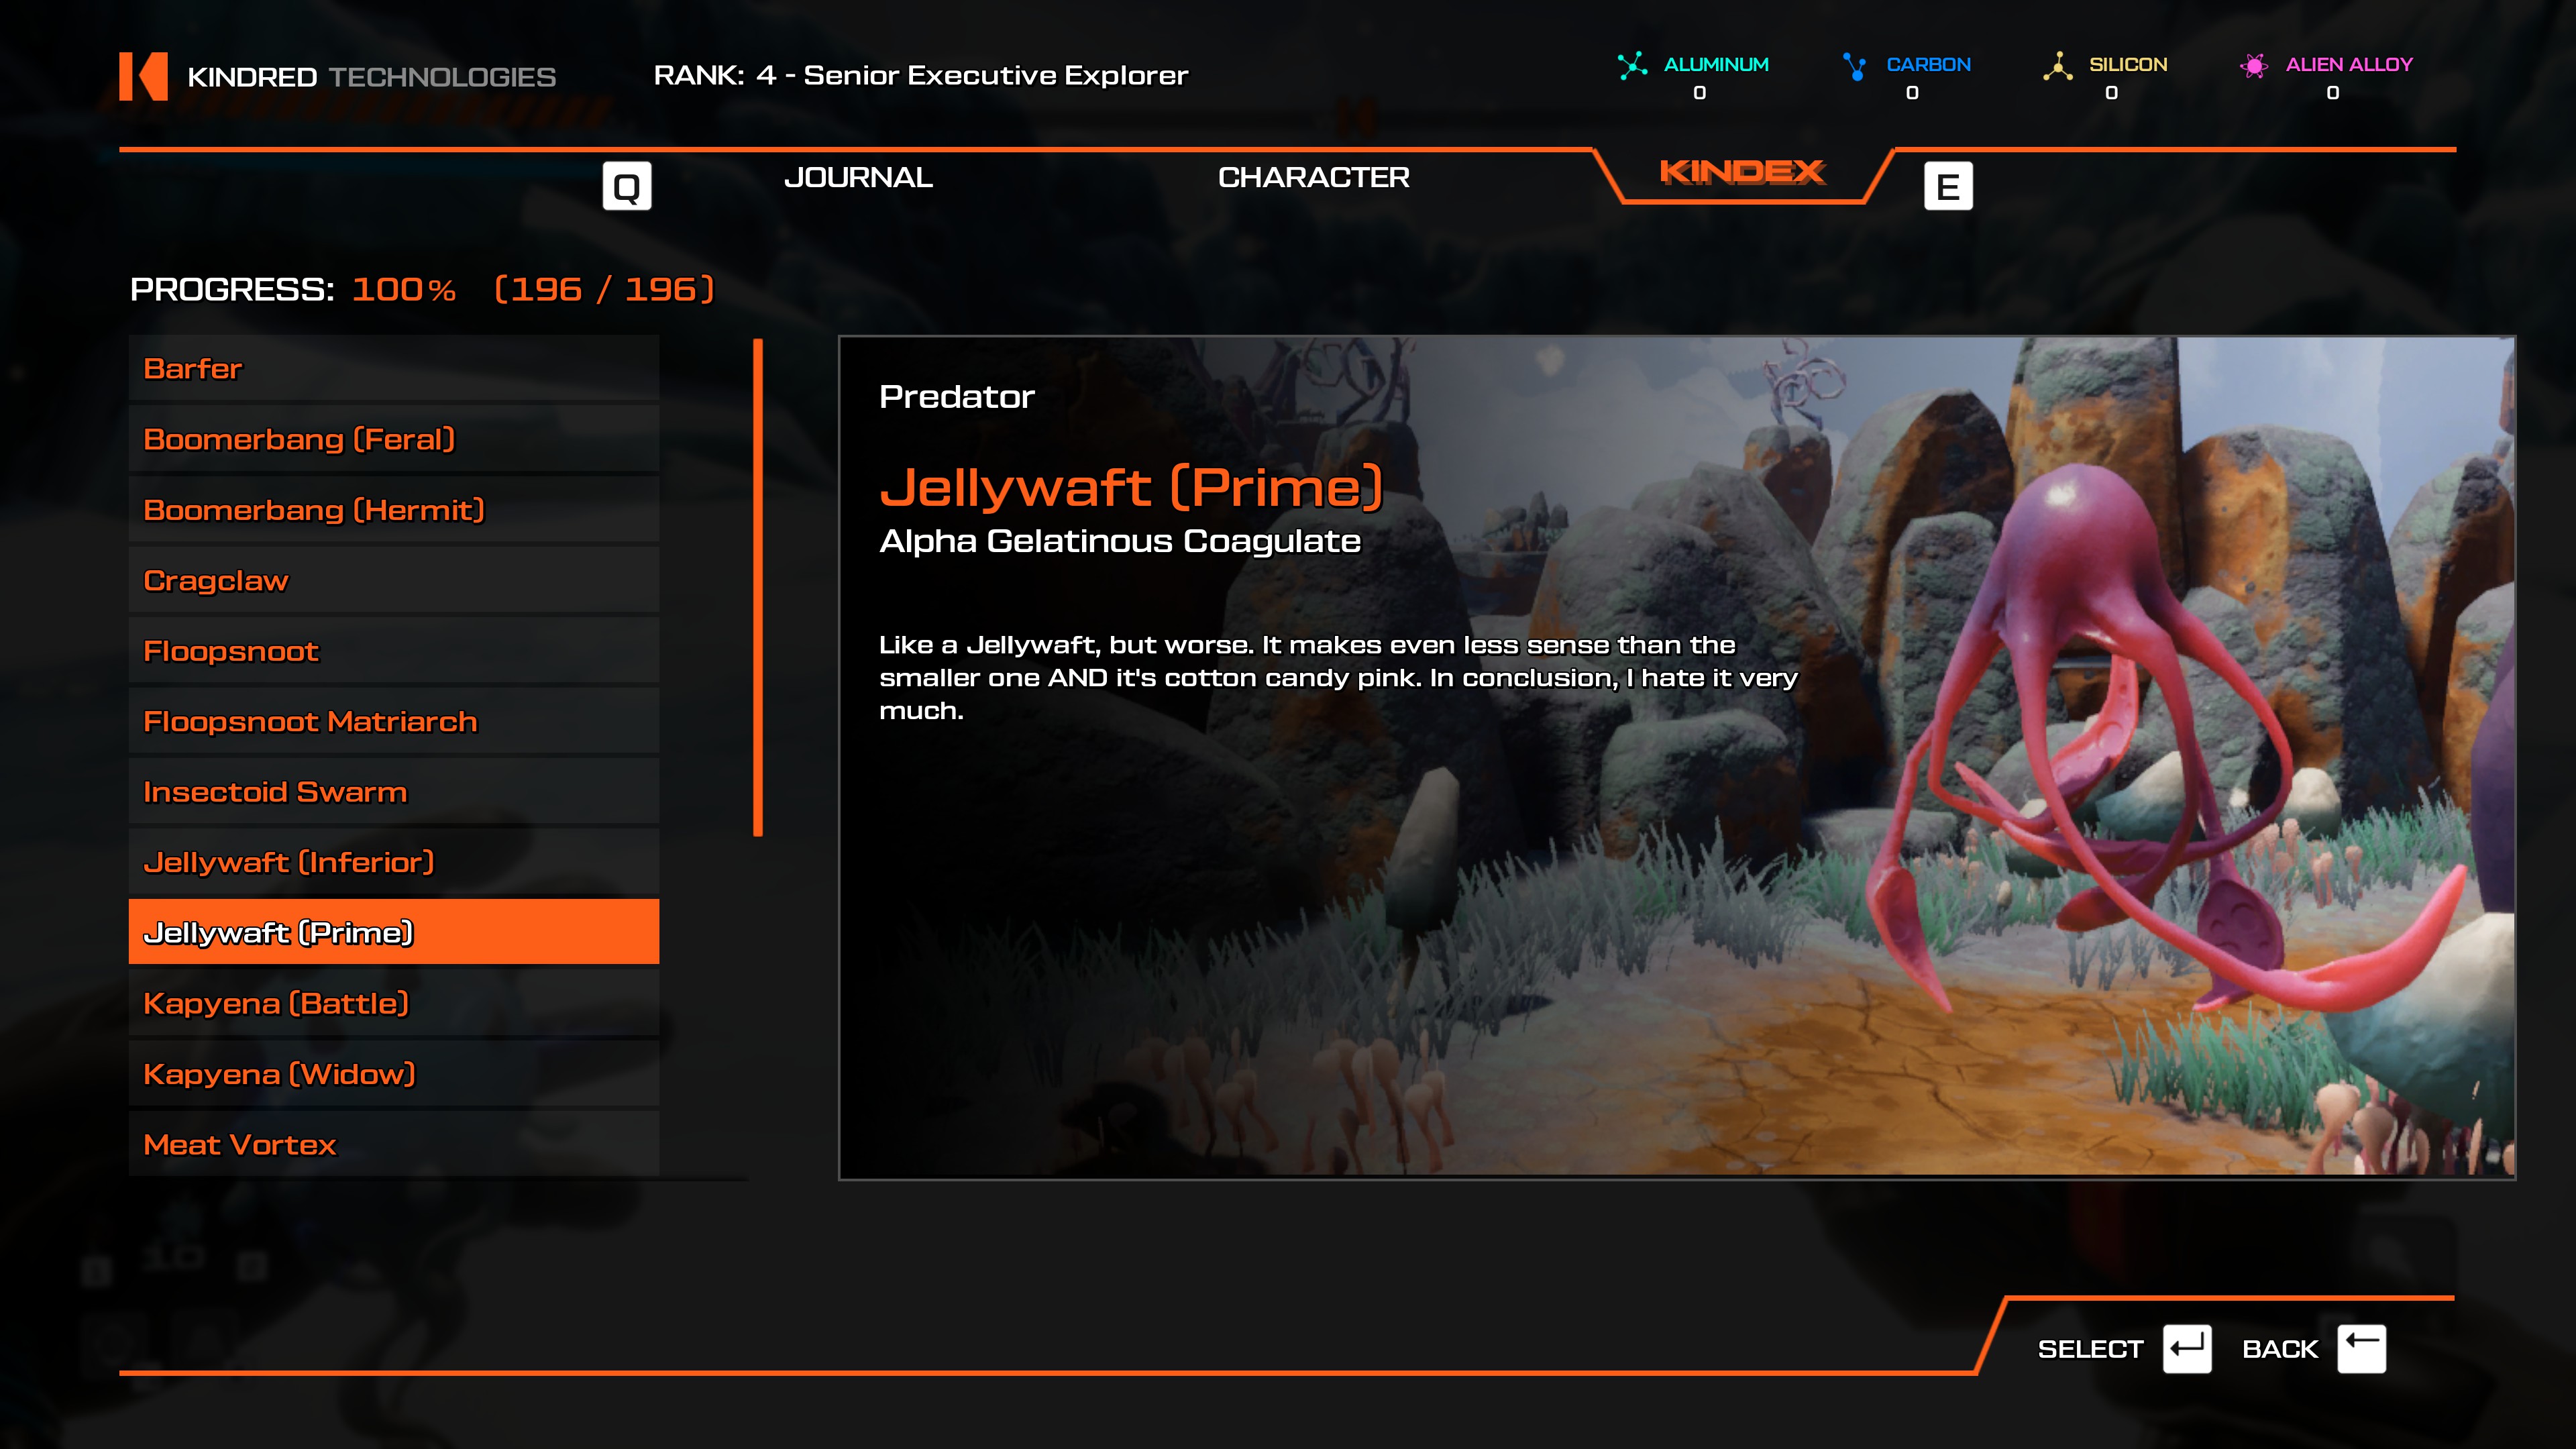
- Fungi of Si'ned VII teleporter, there's one flying within scanning range there.
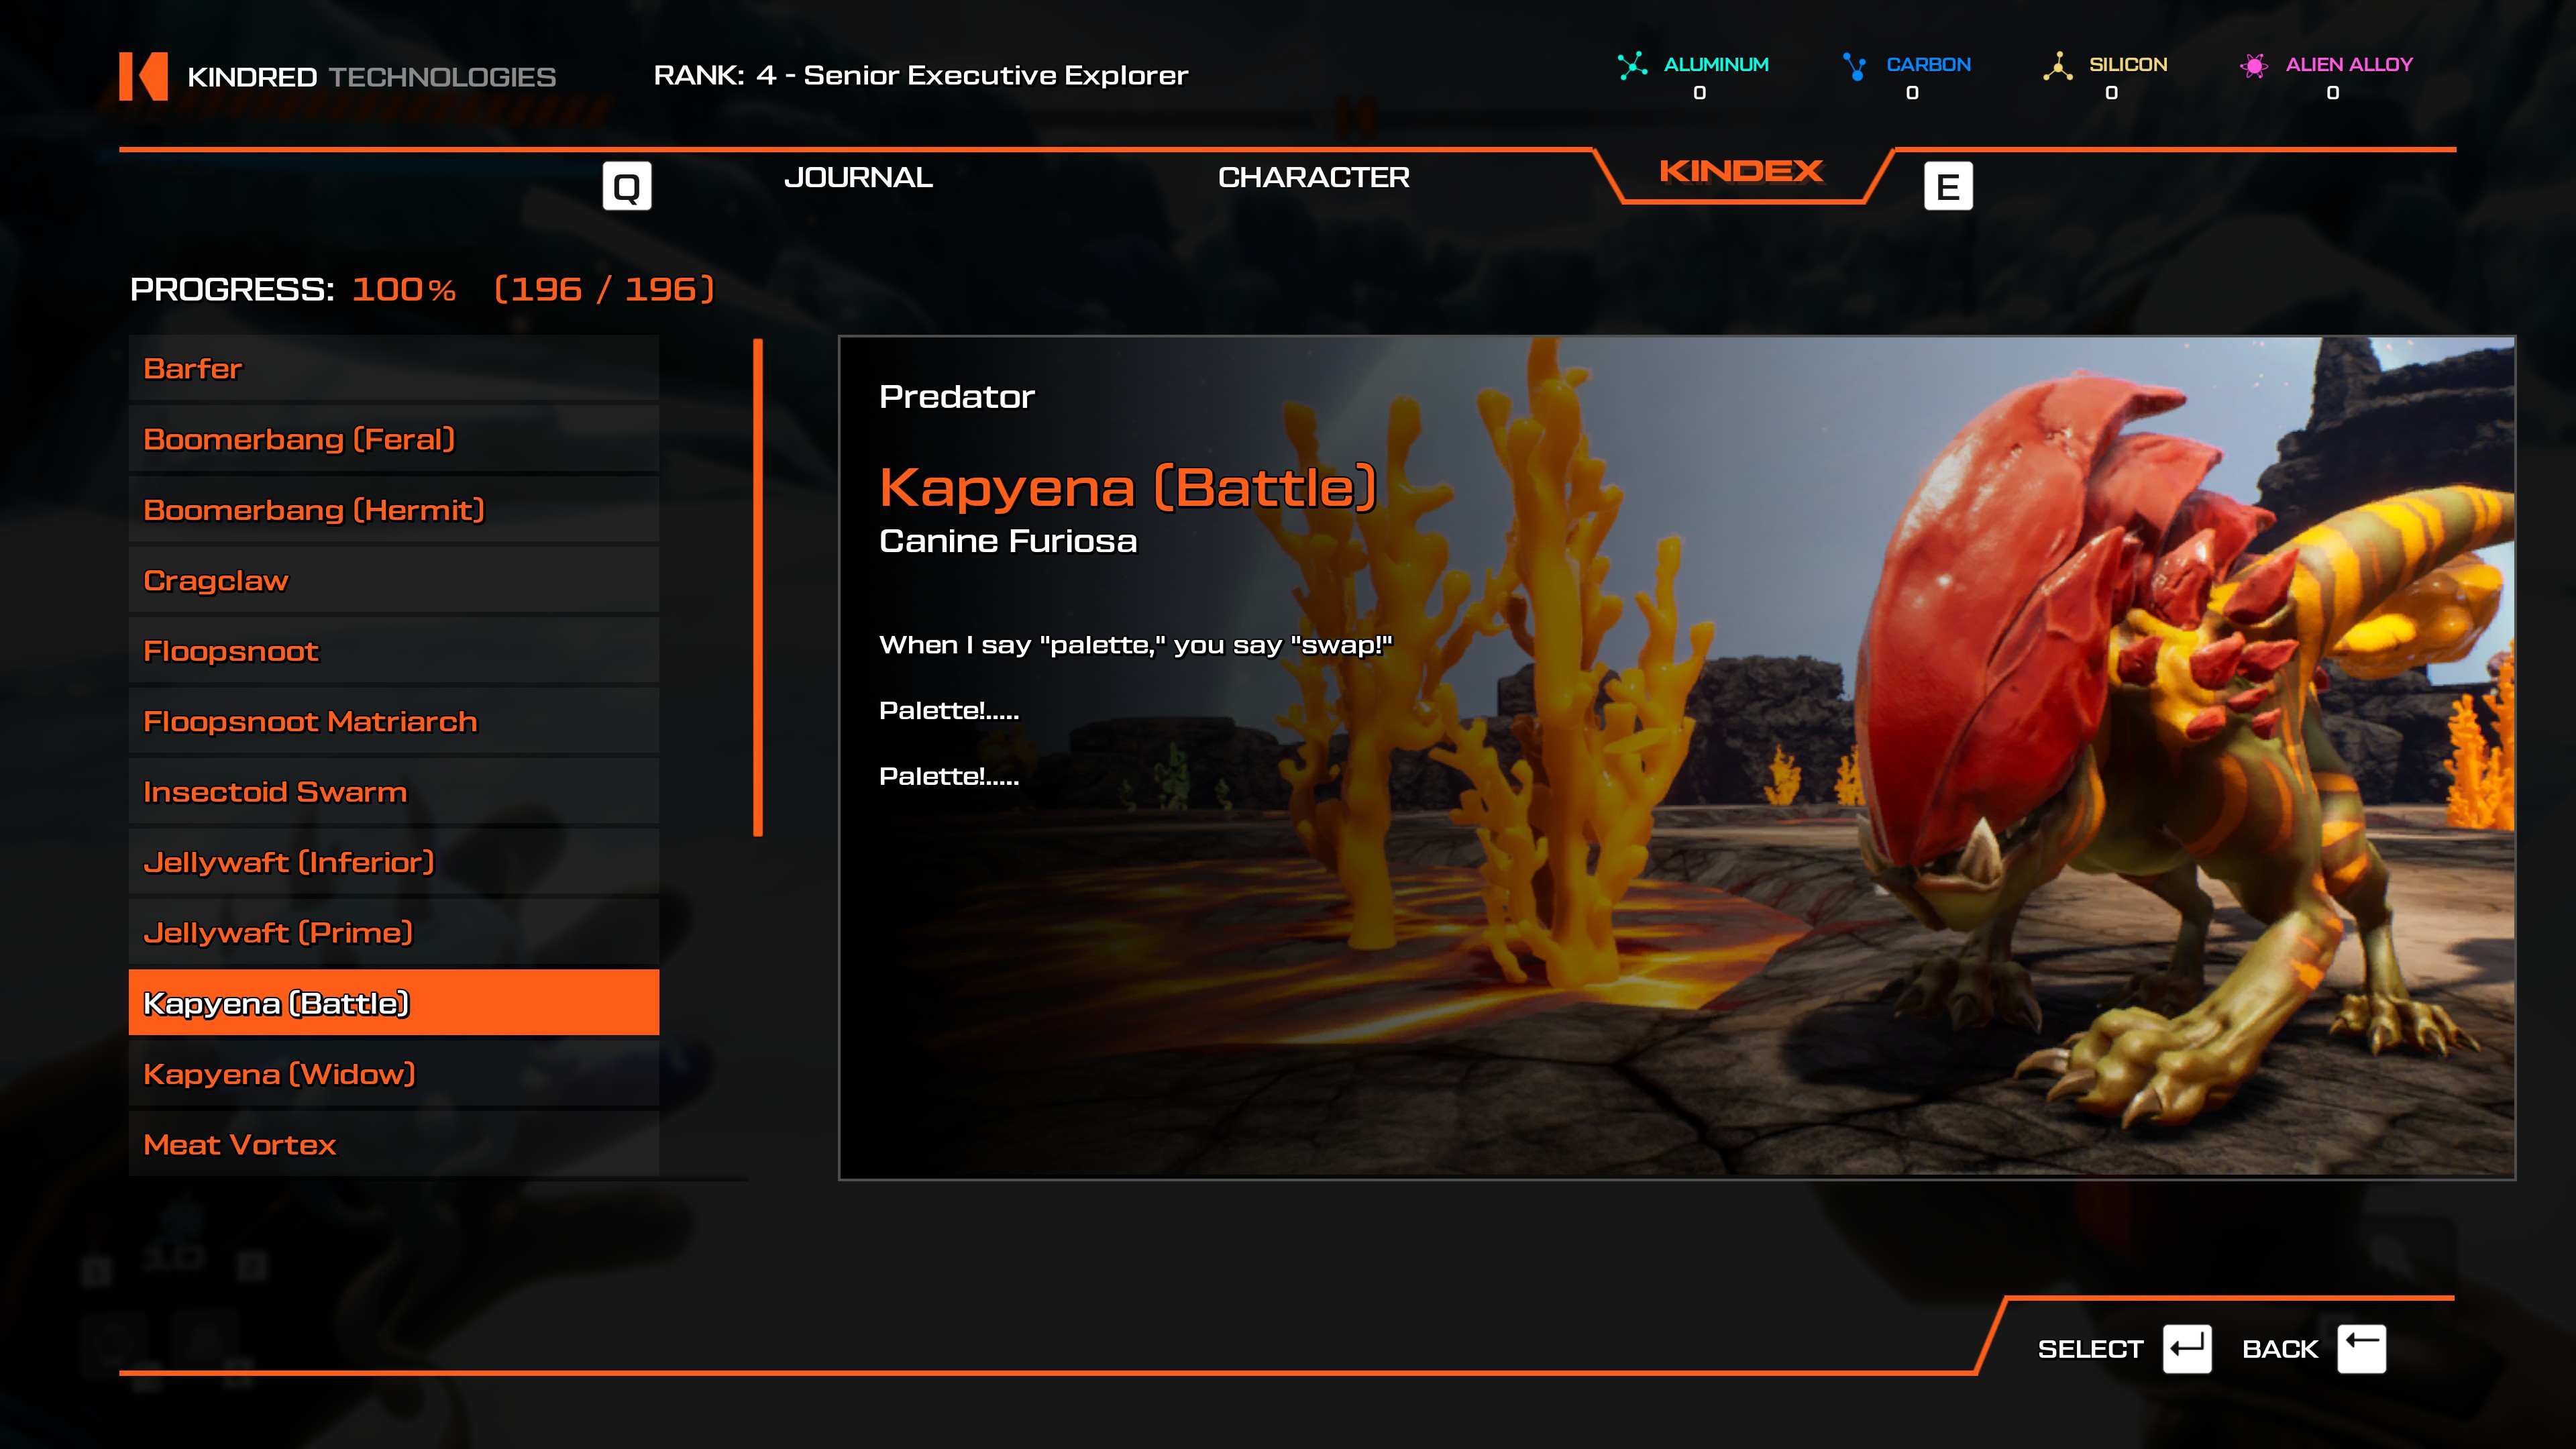
- Use the Infernal Cauldron teleporter. There's a nearby battle arena with both Battle and Widow Kapyenas.
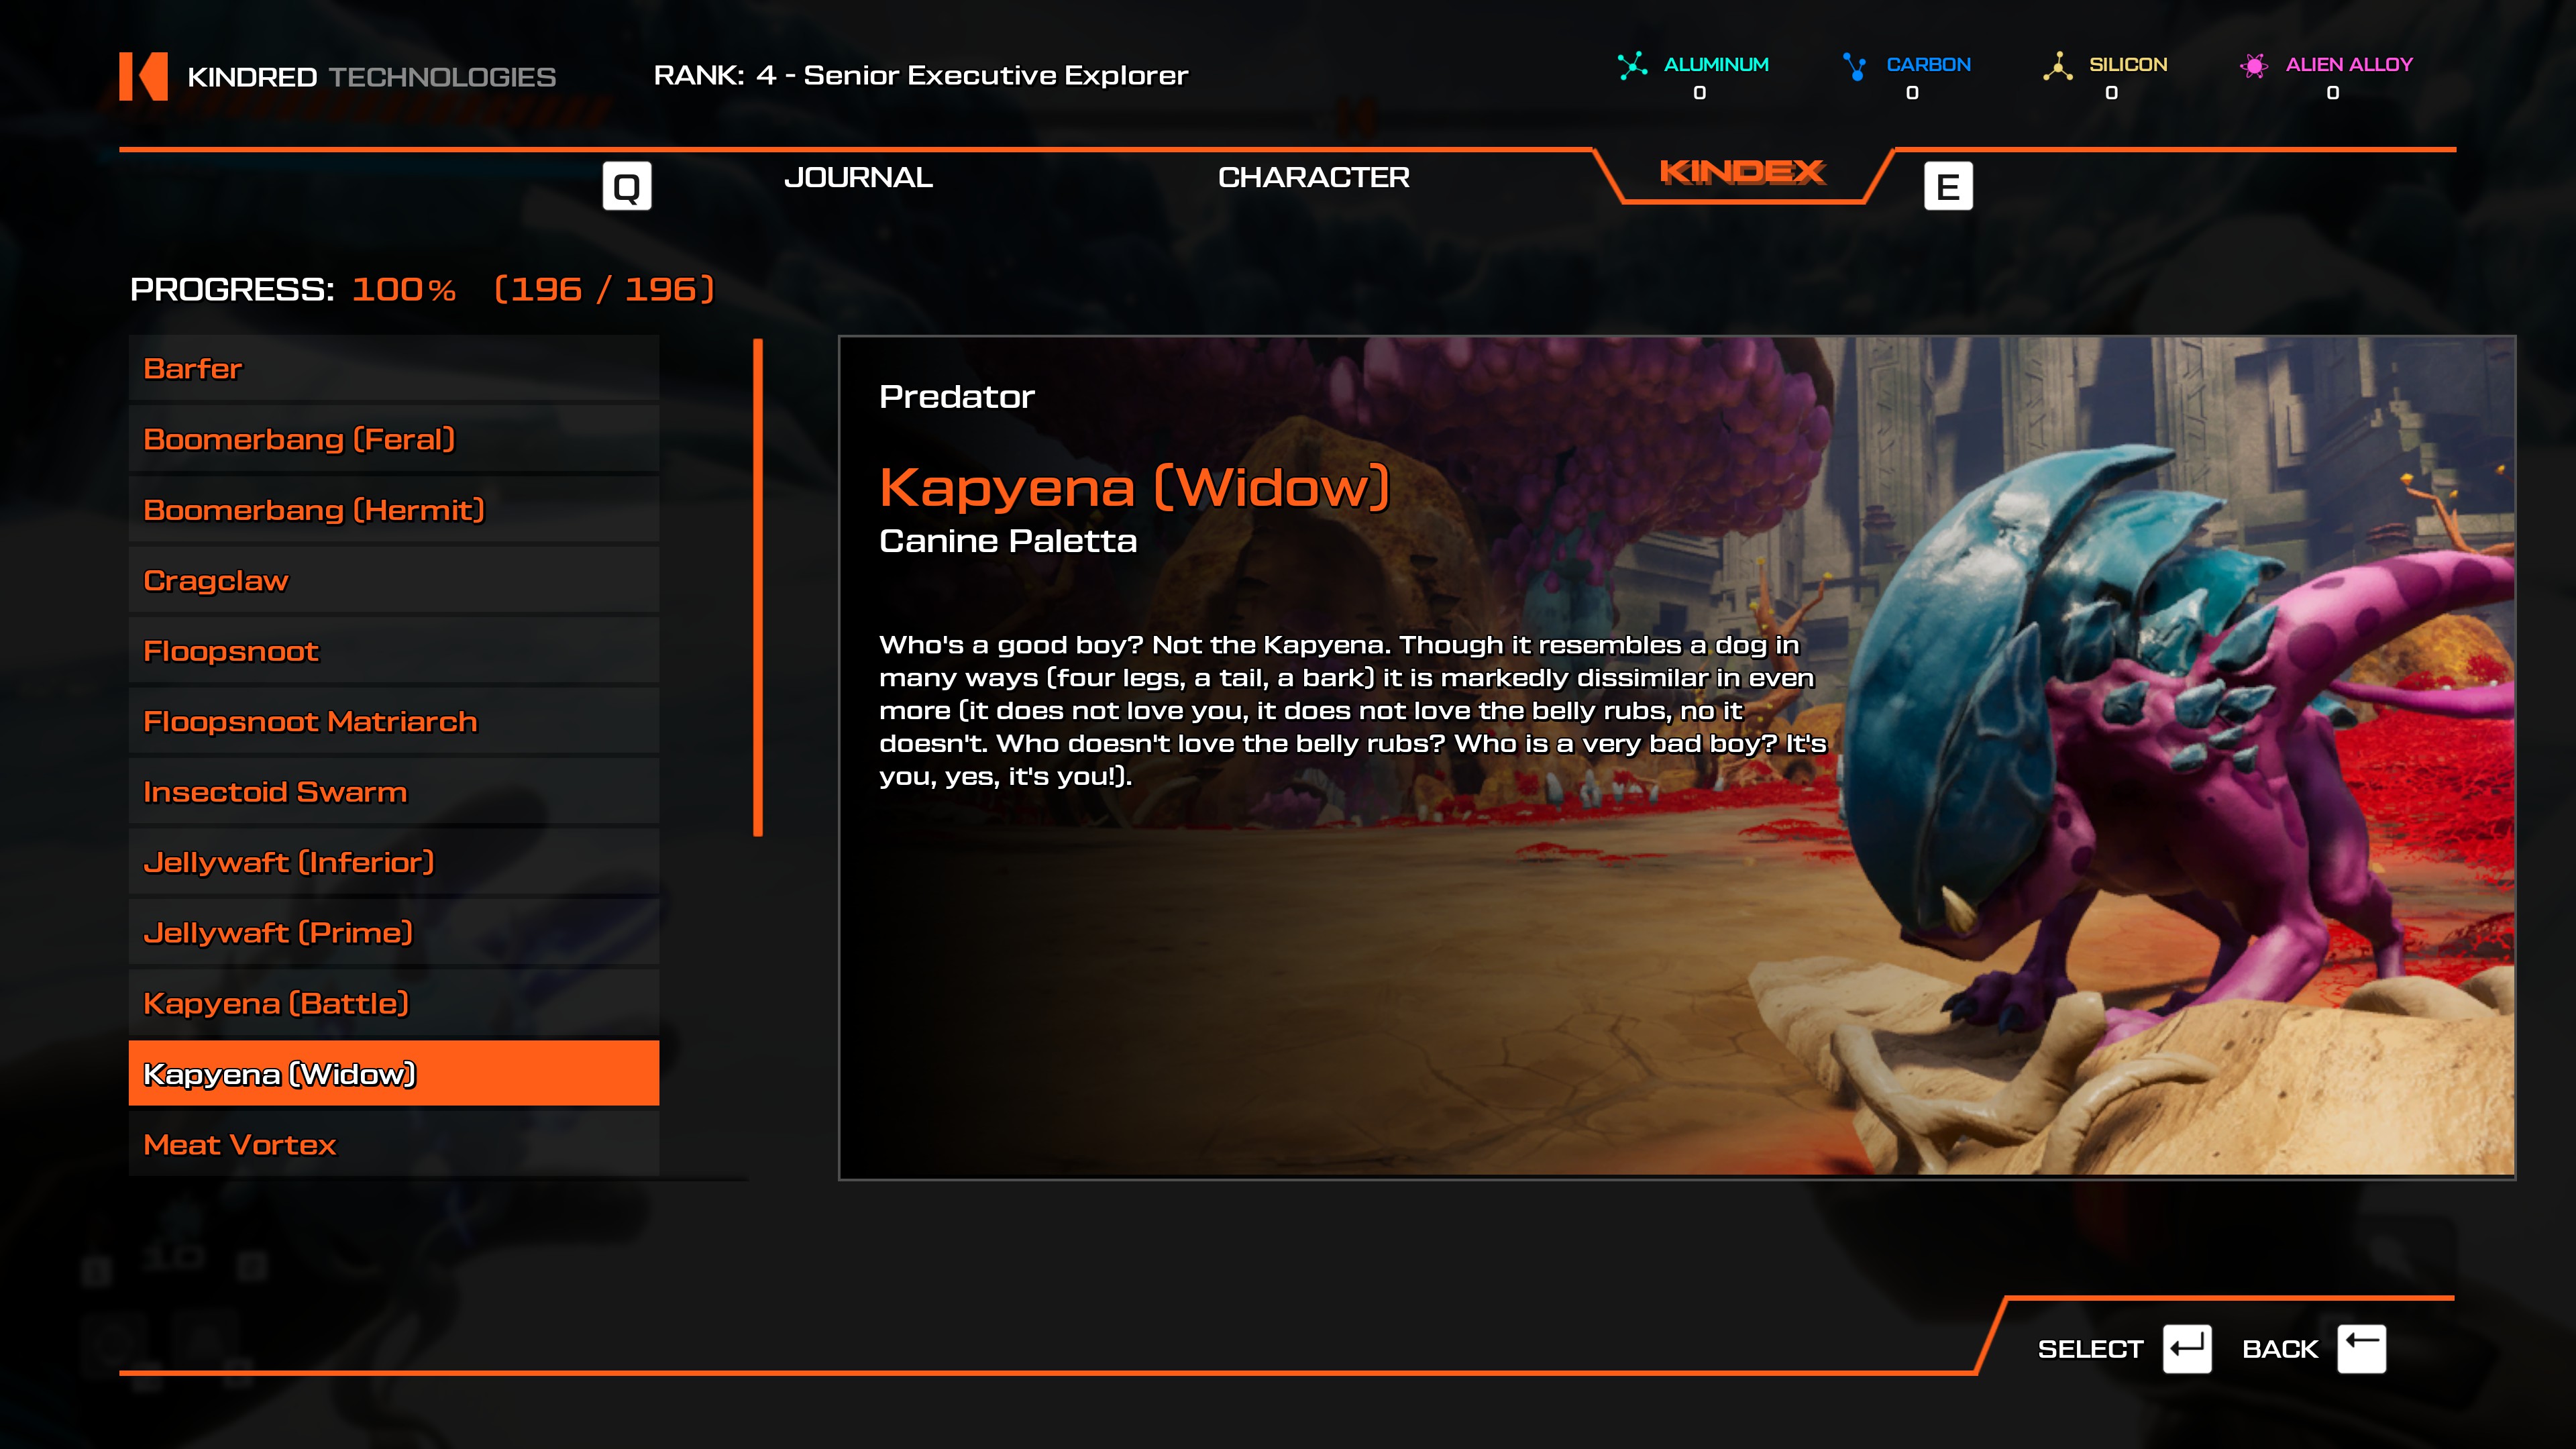
- Use the Infernal Cauldron teleporter. There's a nearby battle arena with both Widow and Battle Kapyenas.
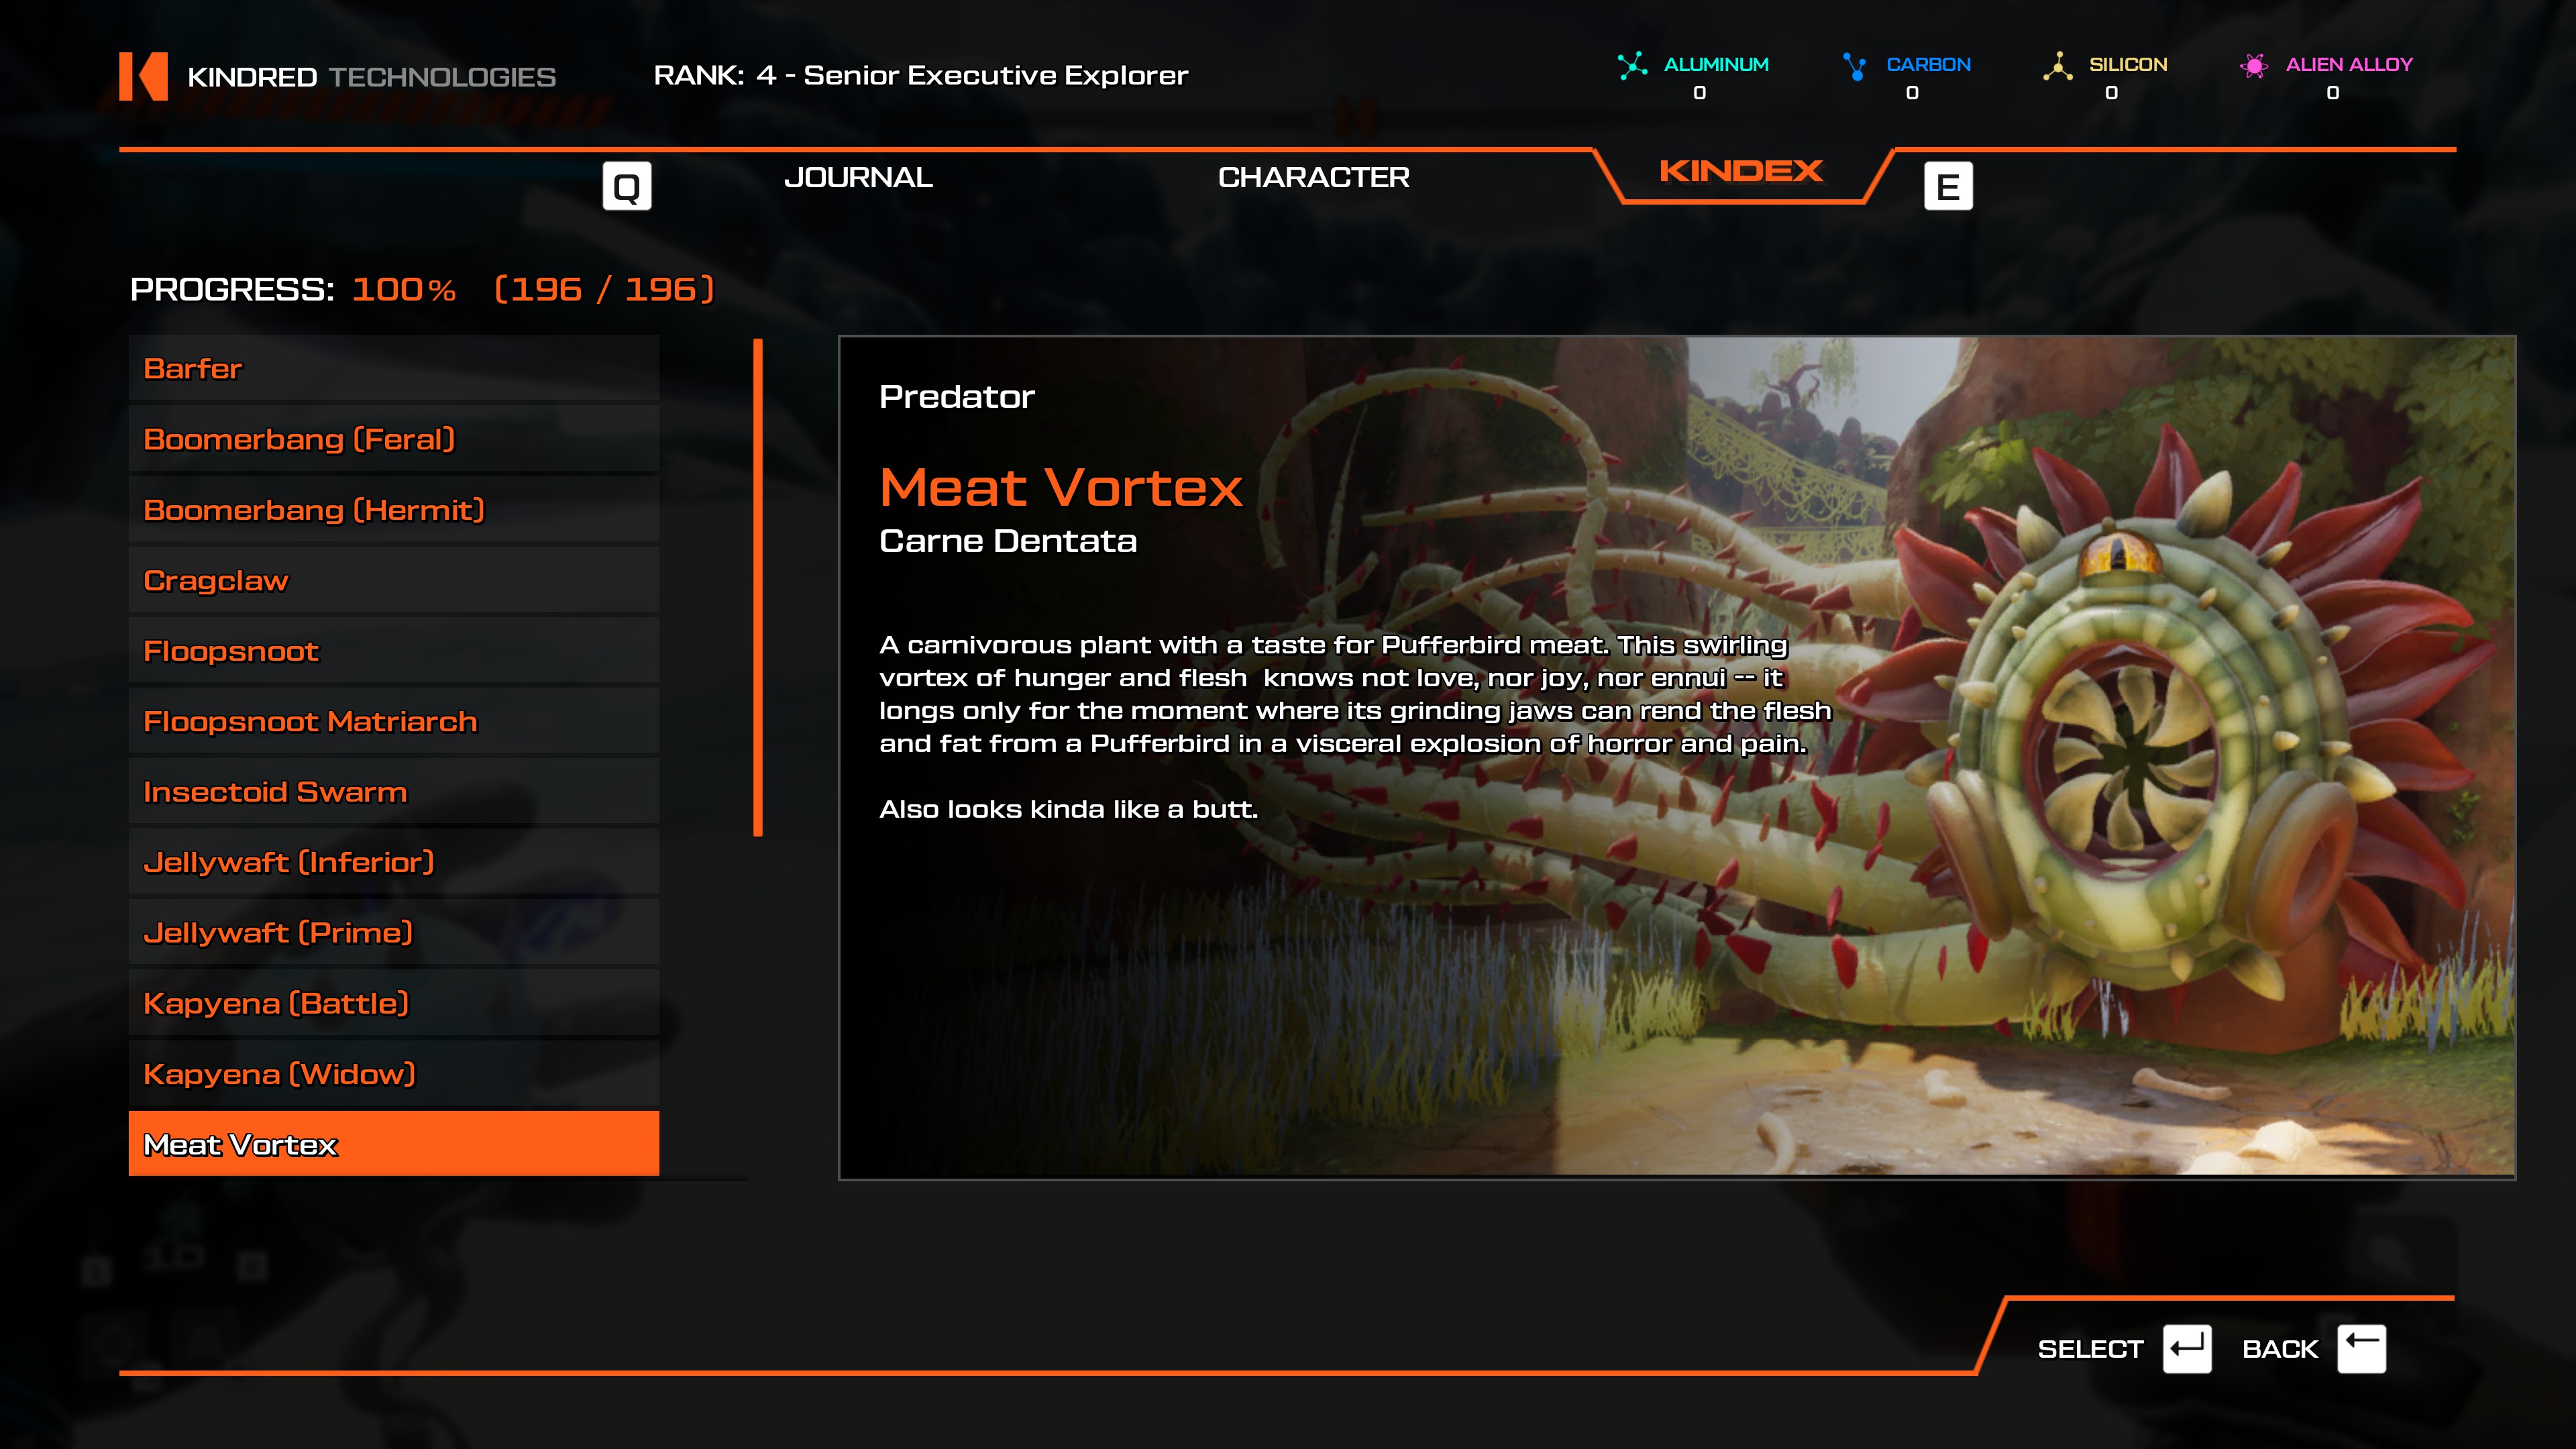
- Meteor crash teleporter. Head northwest, jump off the cliff. There's a Meat Vortex around every corner here.
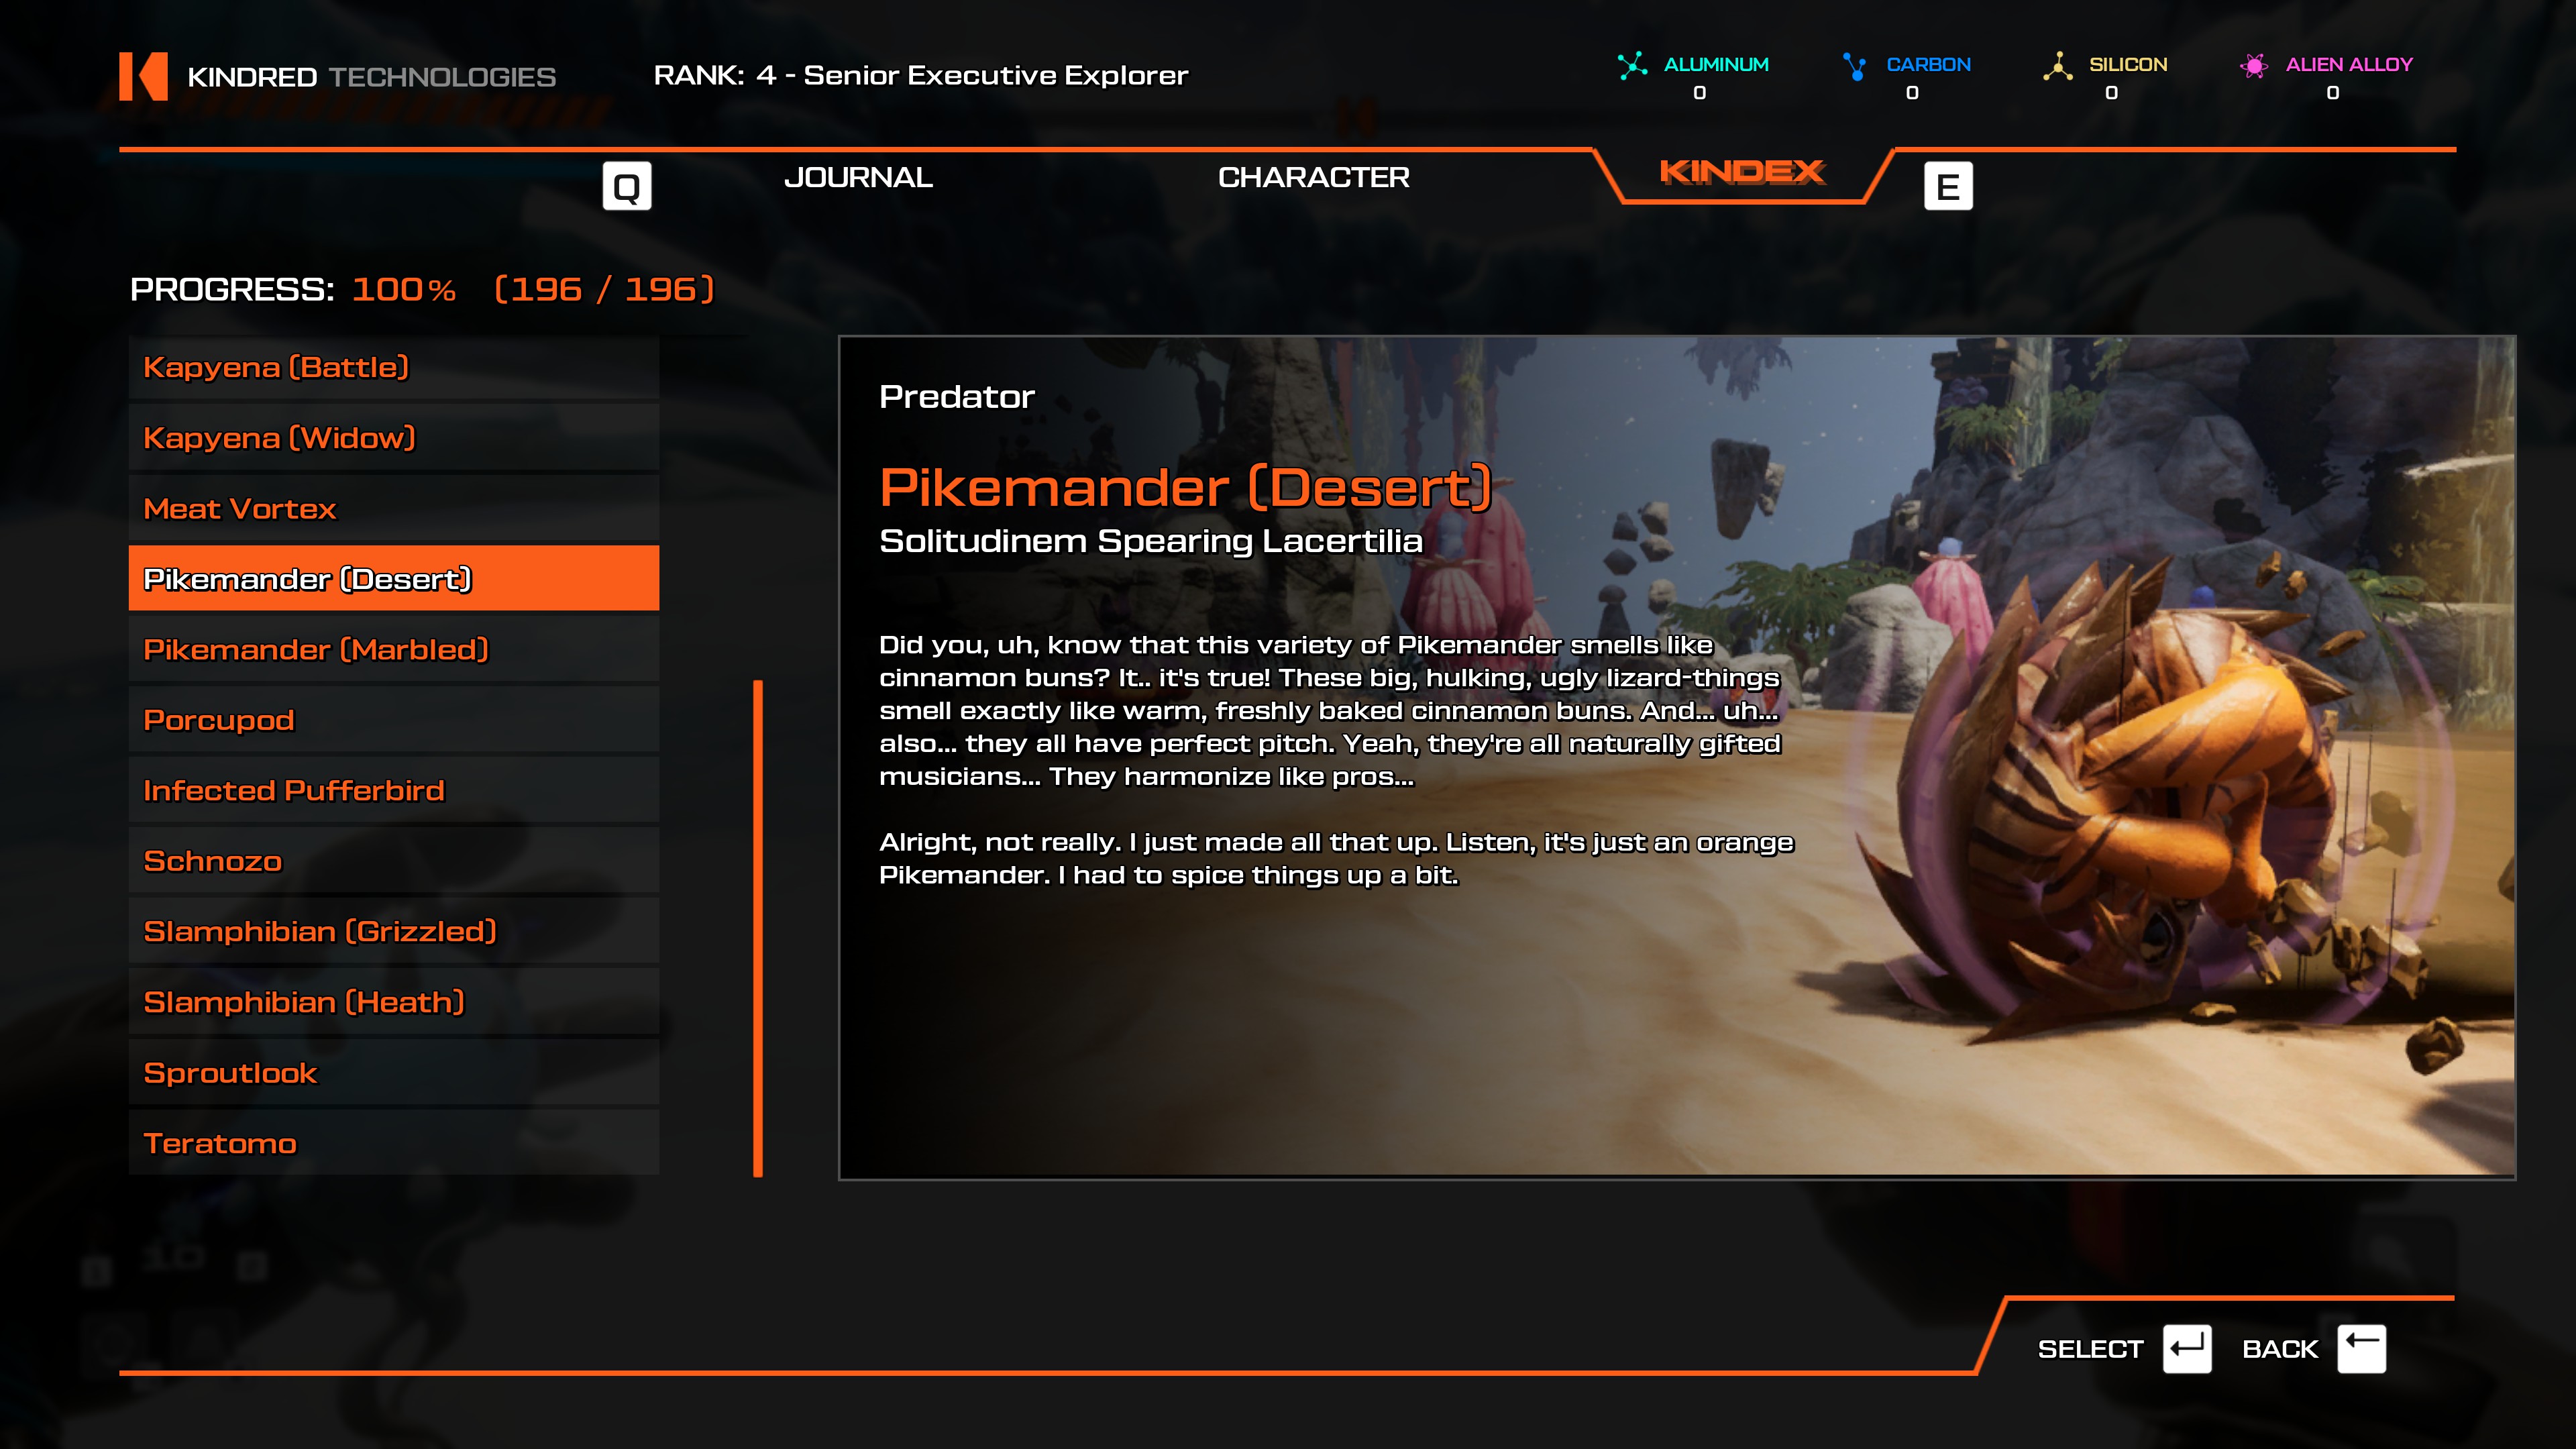
- Take the Repaired Teleporter. There's a Desert Pikemander waiting to murder stuff to the southeast.
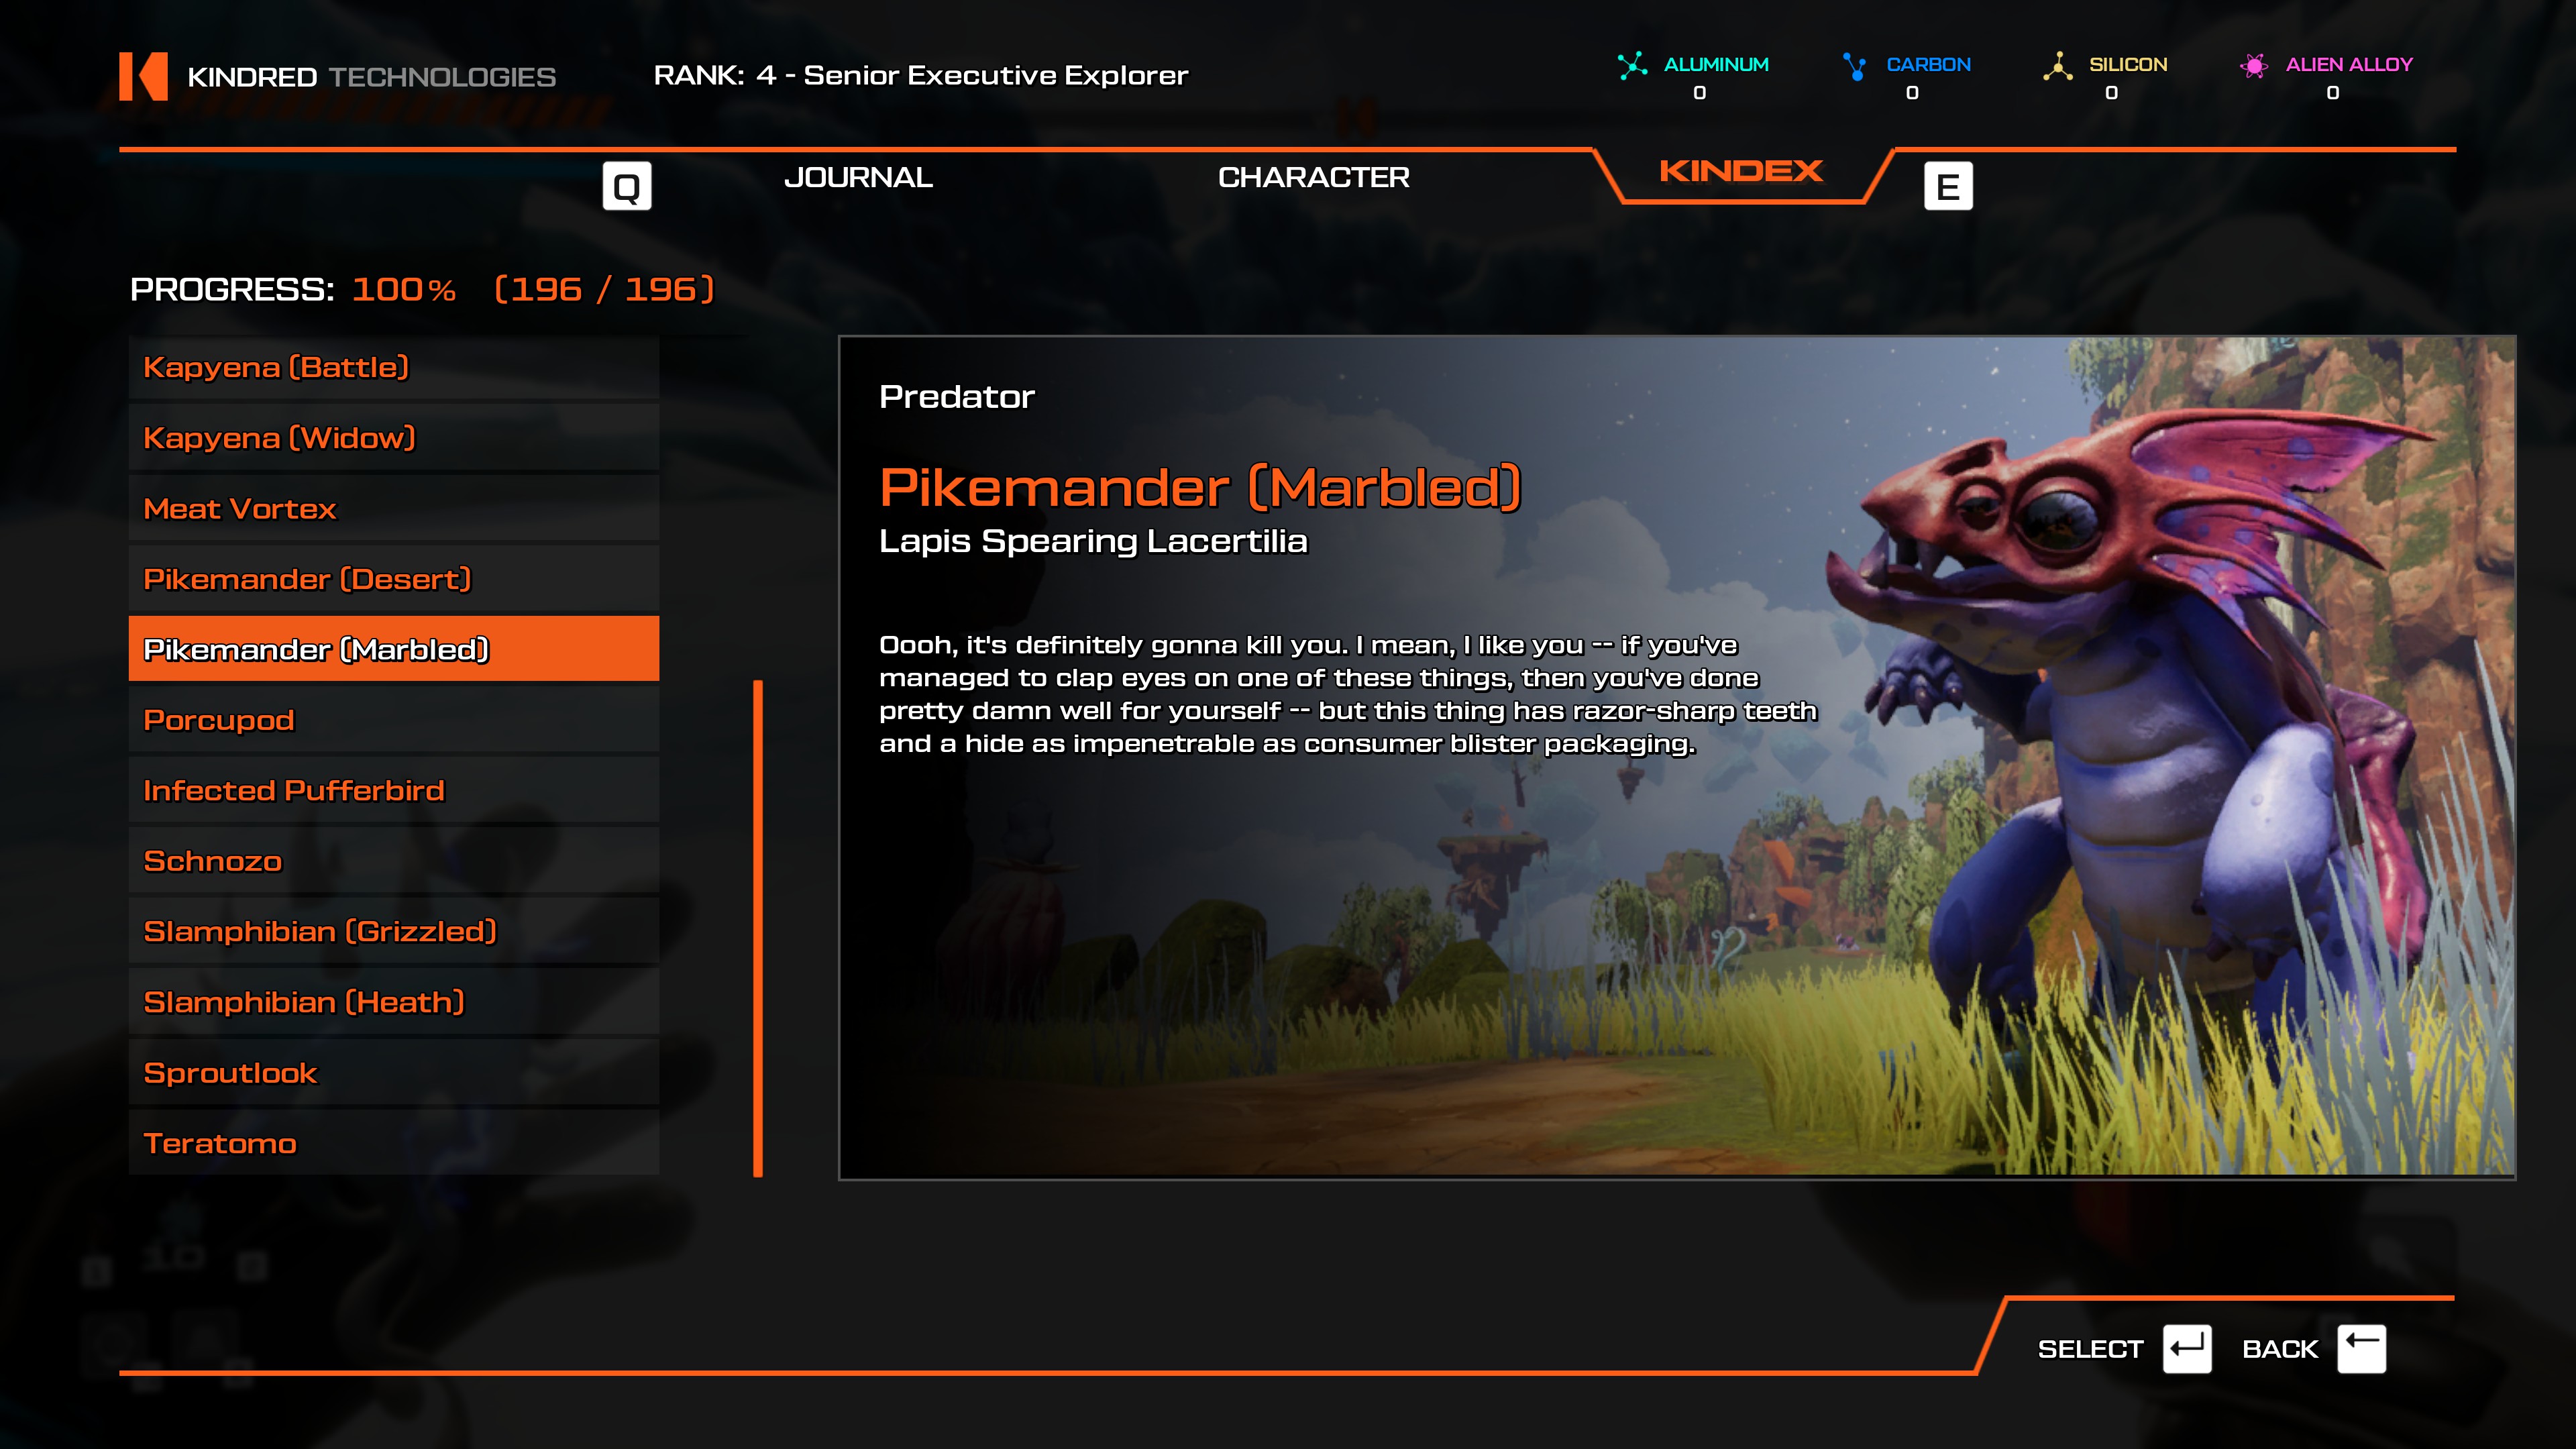
- Take the Meteor Crash teleporter and head to the path that is directly in front of you in the northwest. There are two Marbled Pikemanders over there.
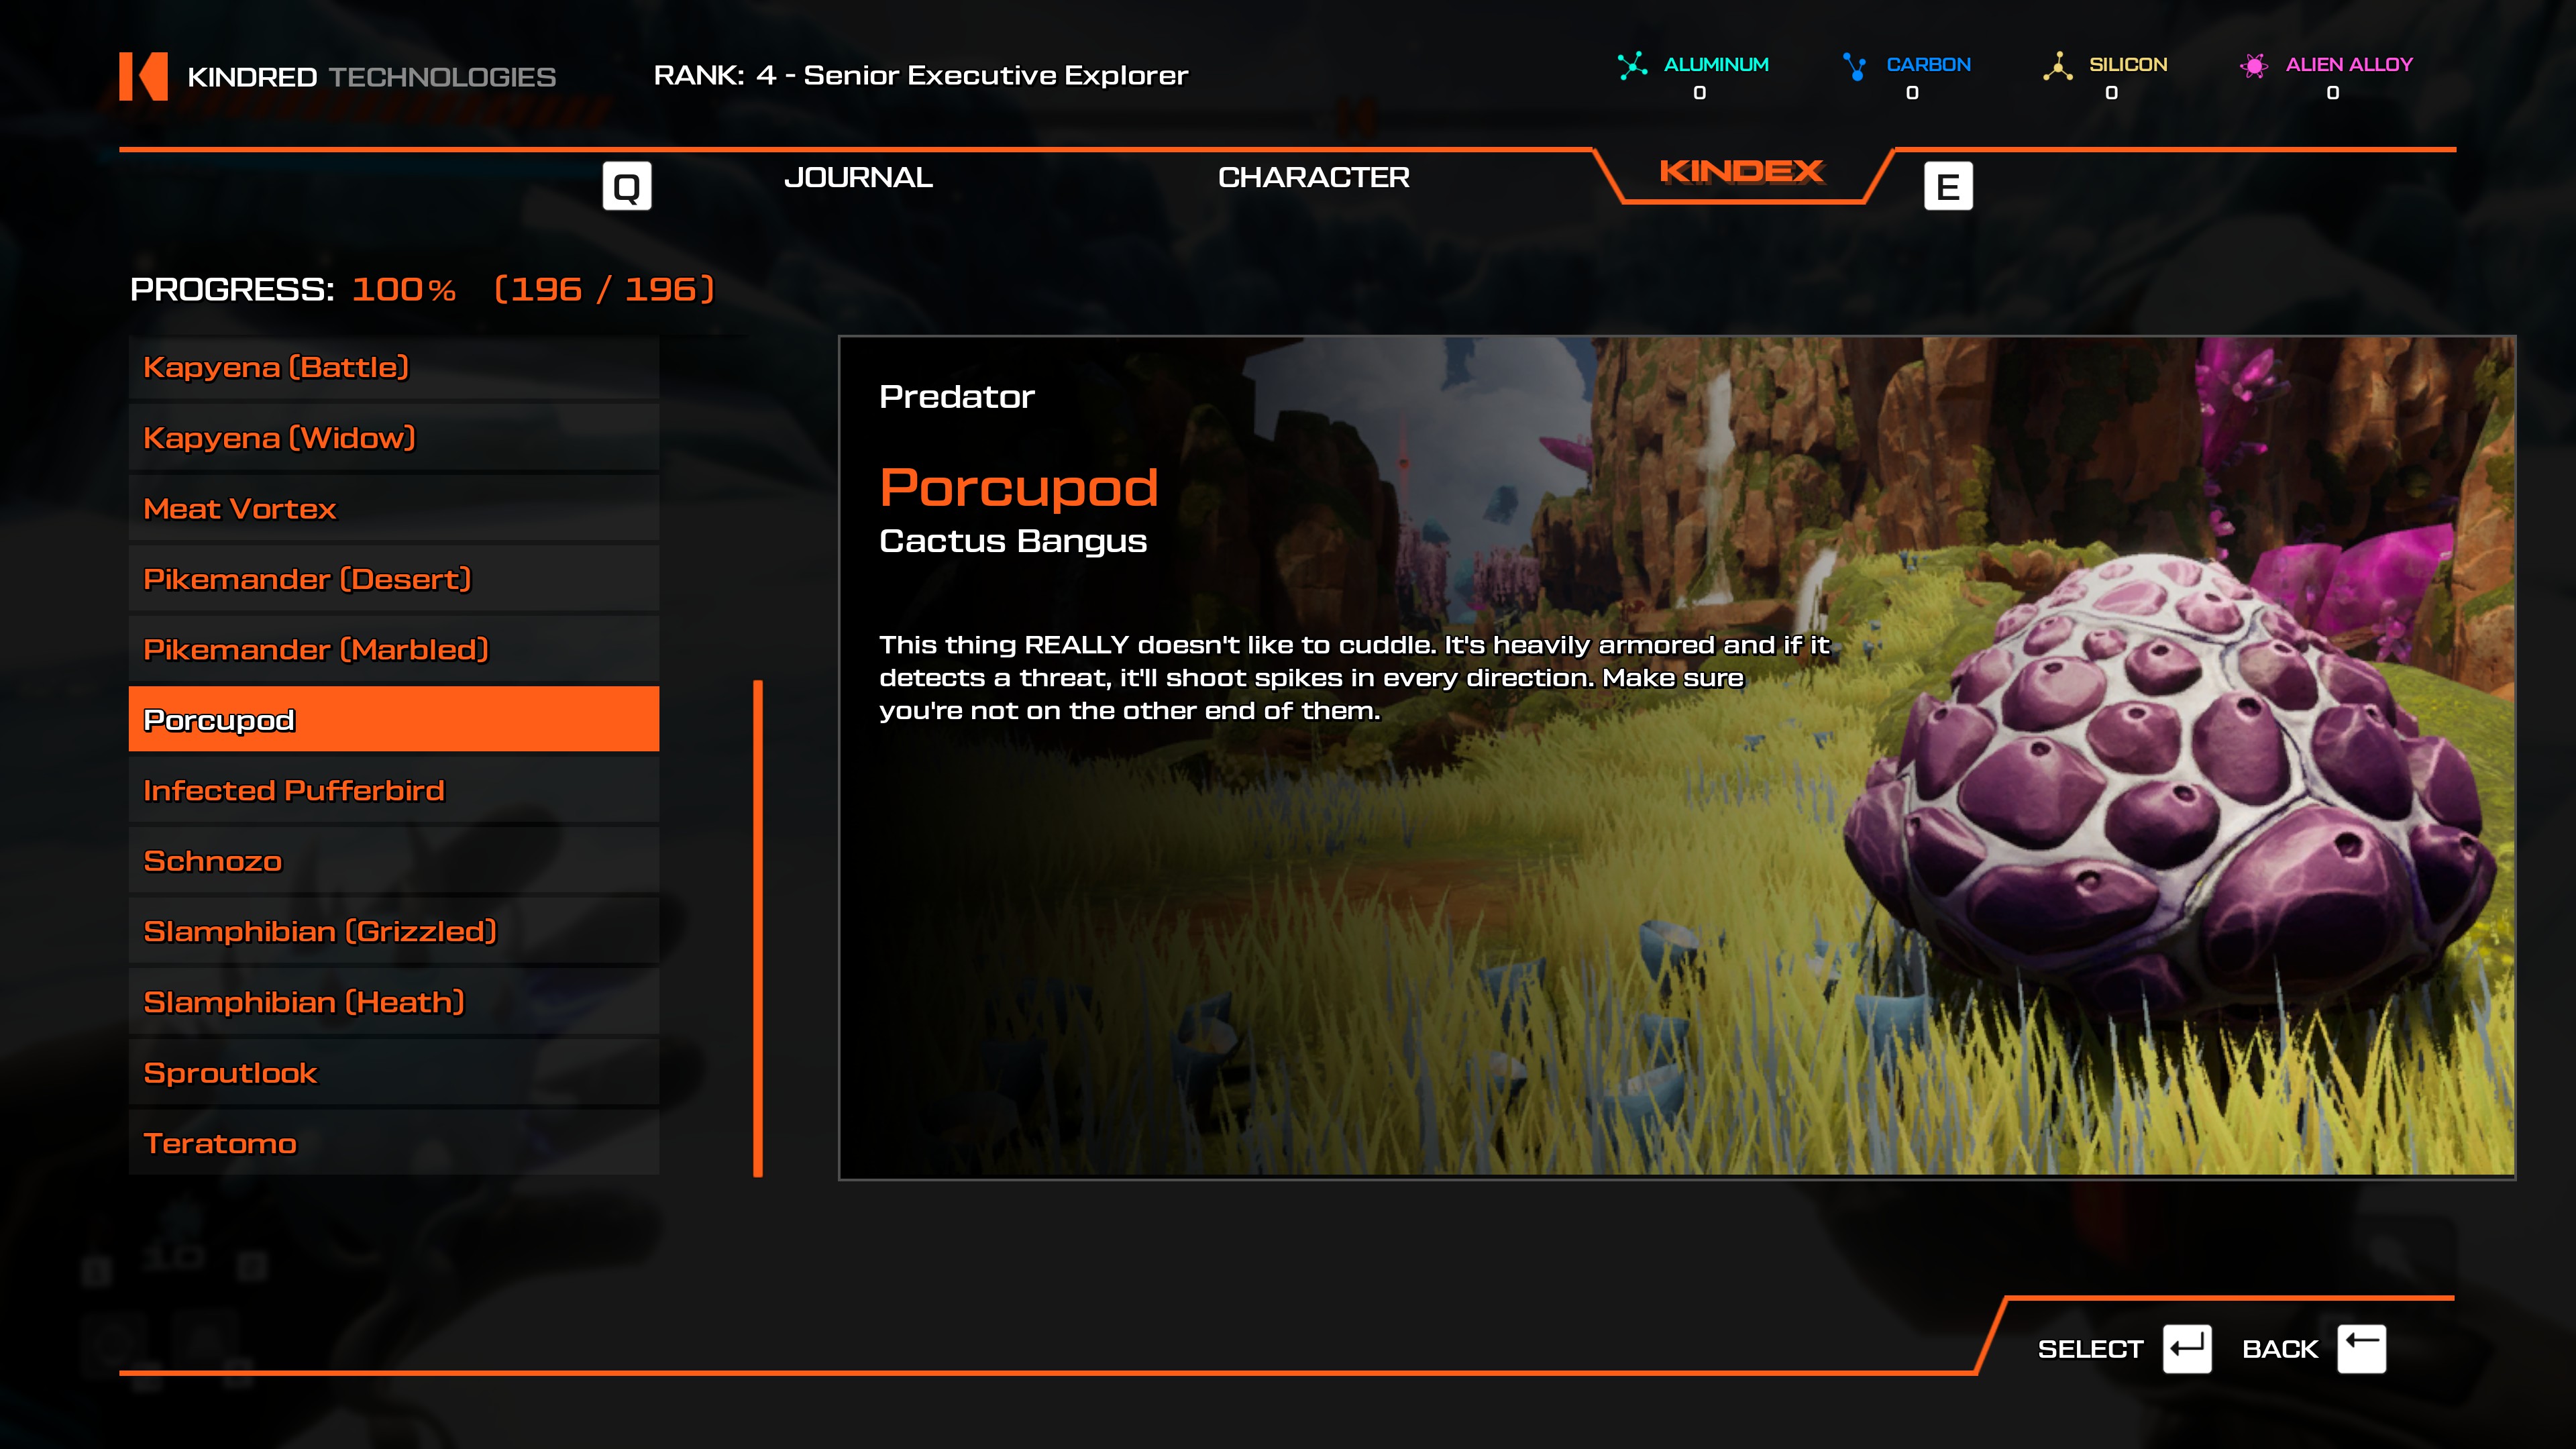
- Meteor Crater teleporter, the whole area is litered with them.
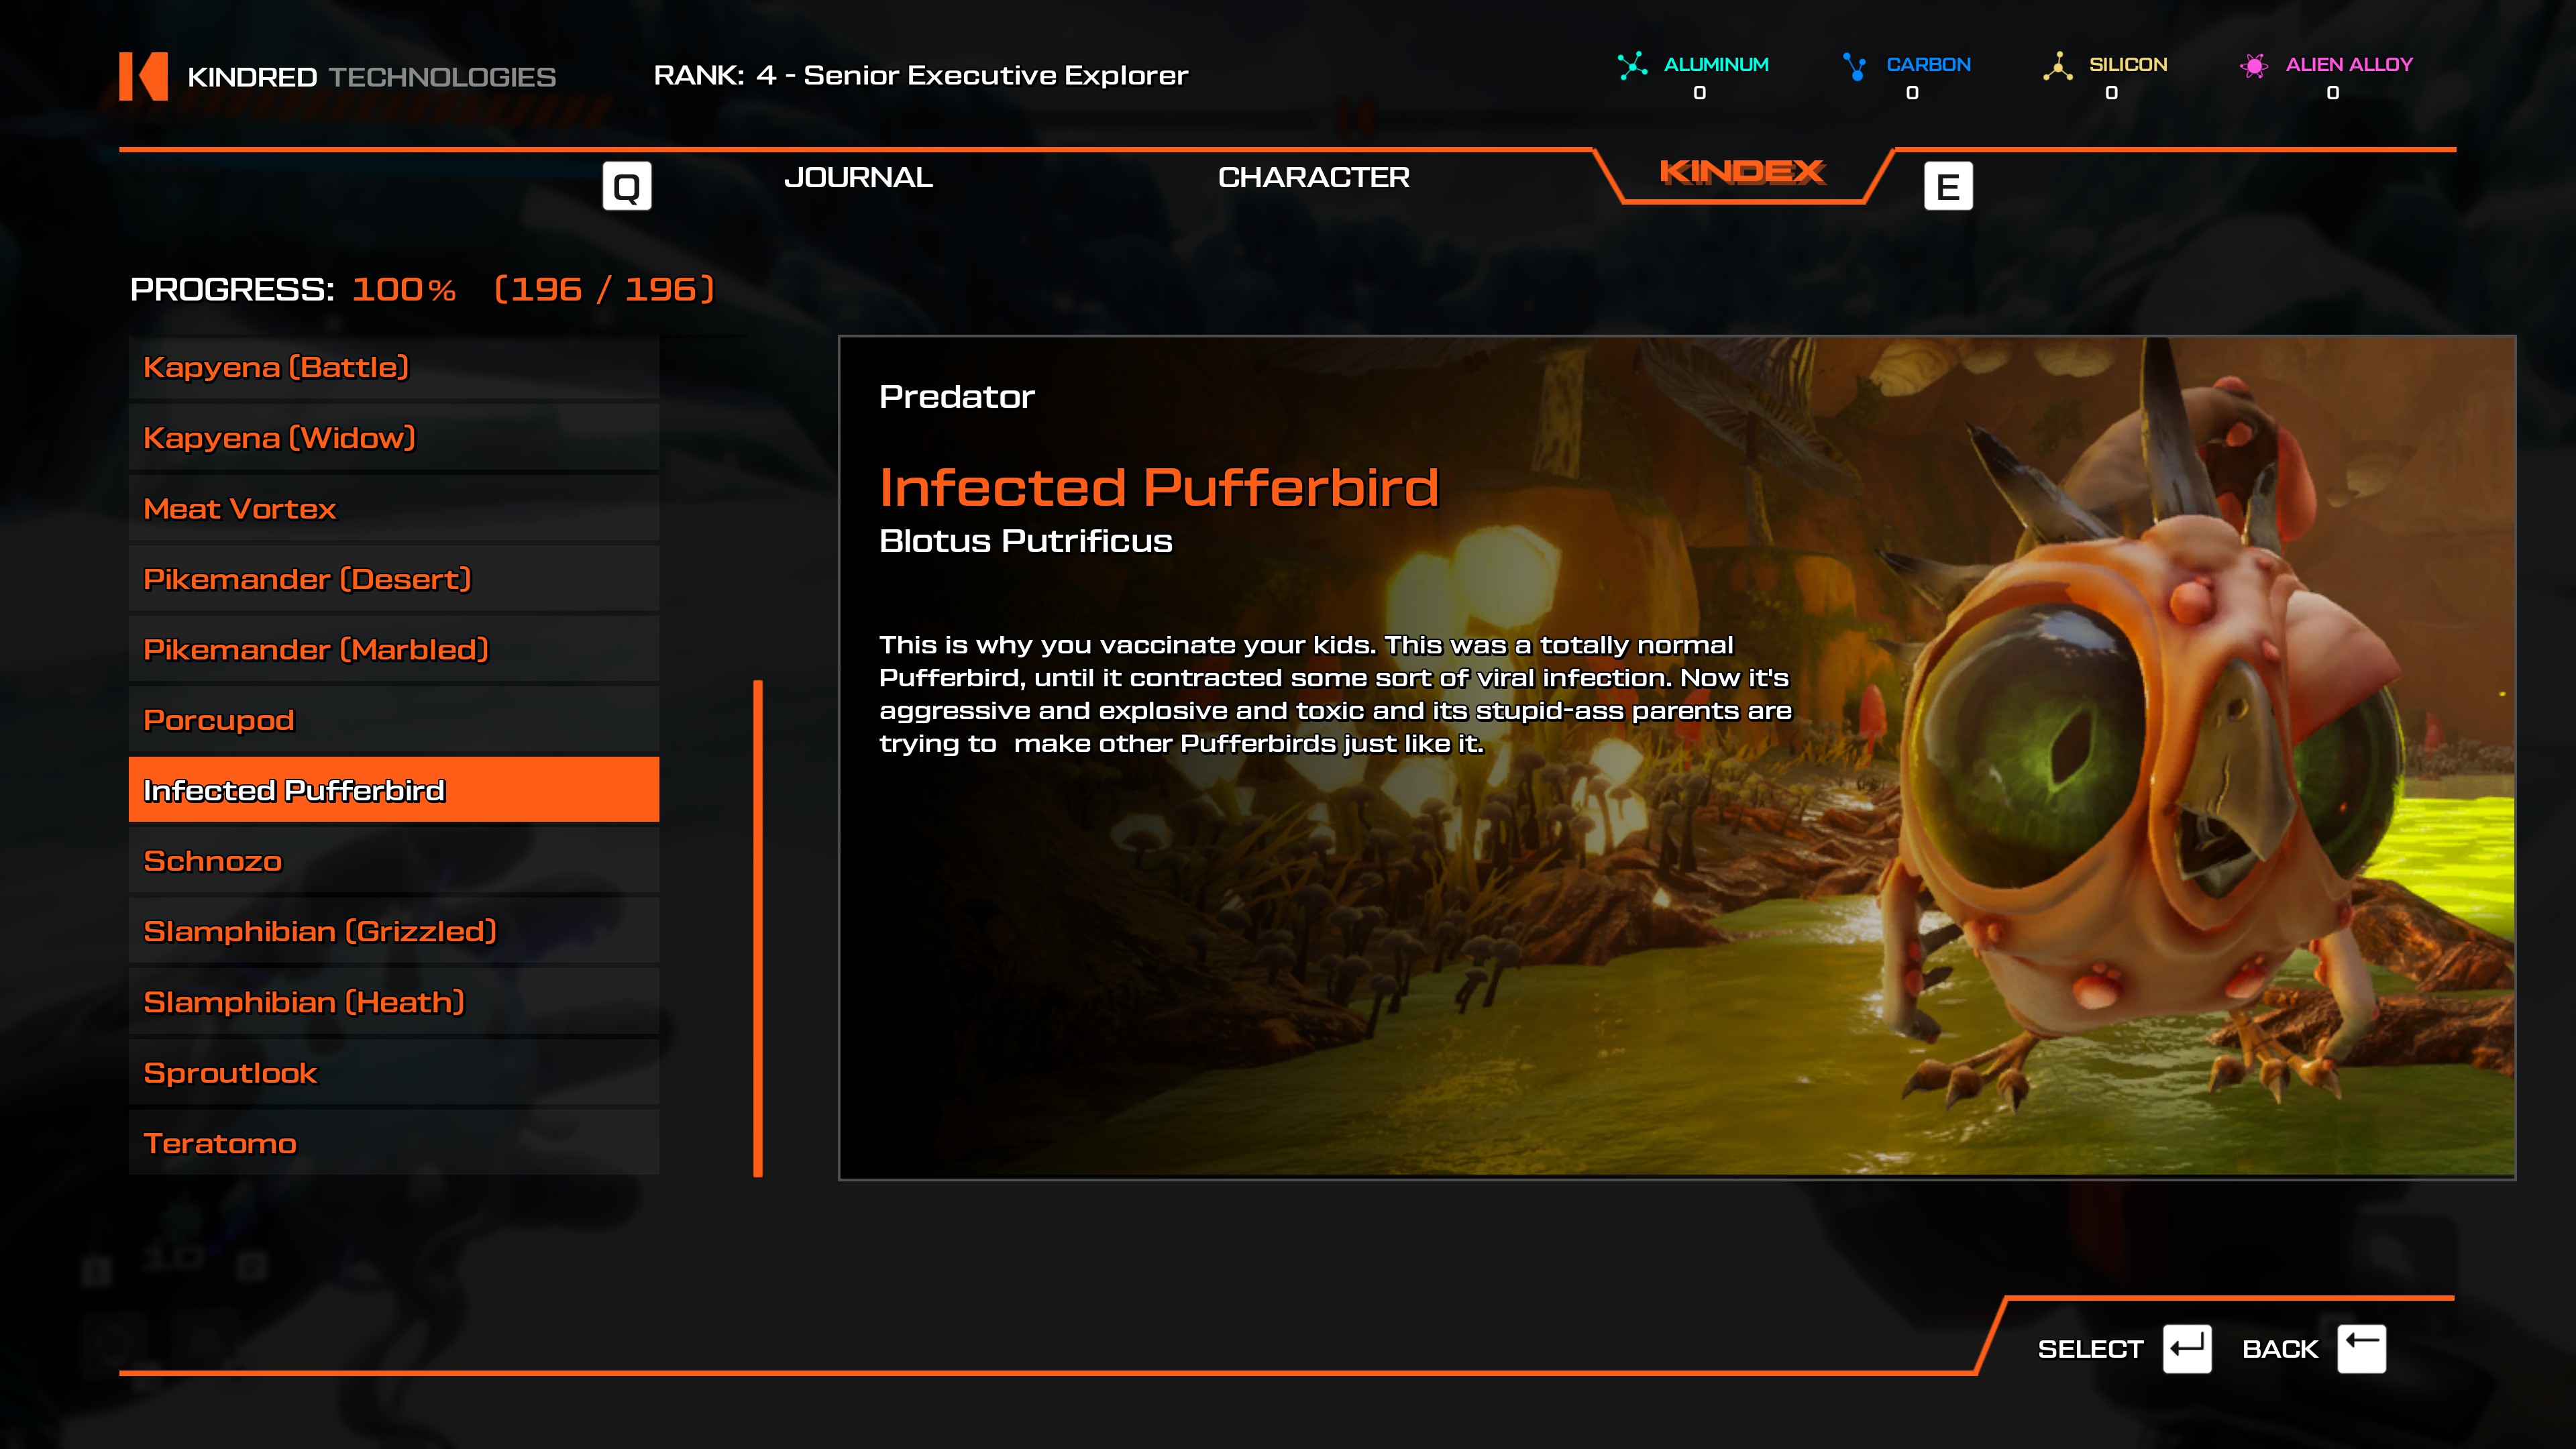
- Take the Fungi of Si'ned VII teleporter and head south and into the Gaseous Underbelly. They can be found on the bottom level of the cave.
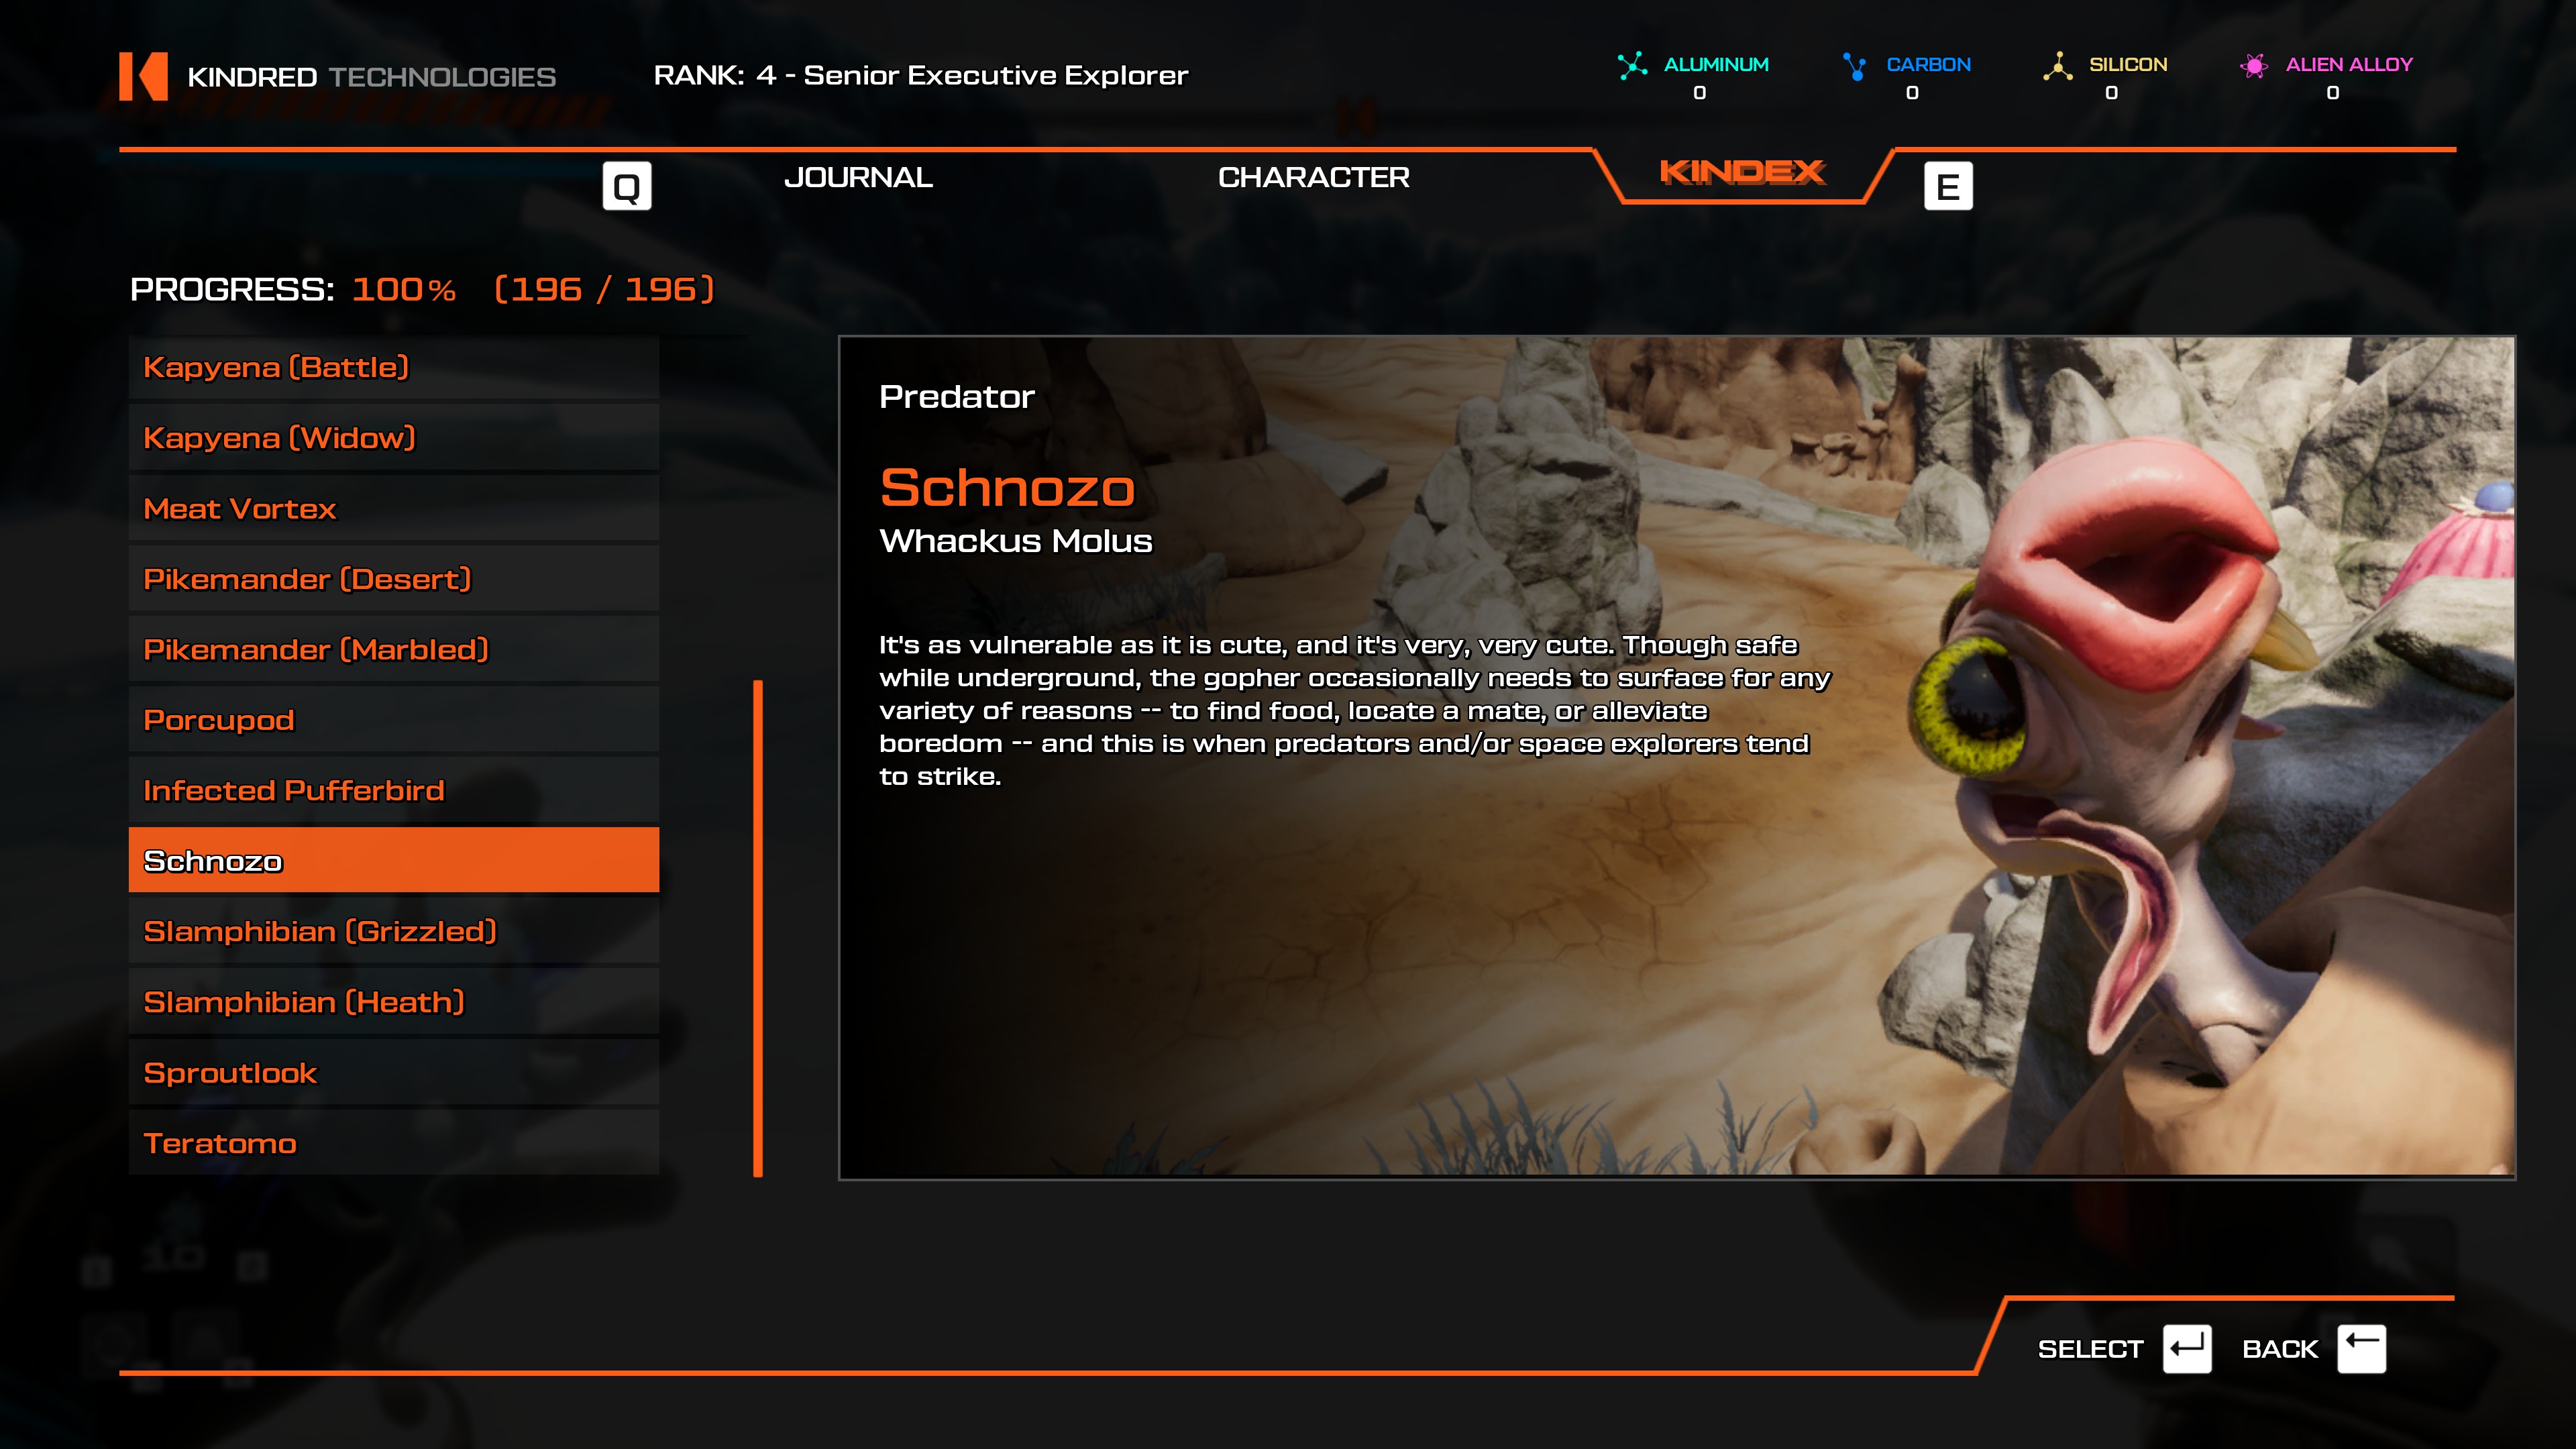
- Head to the Tears of T'bo. There's a nearby Smoke Spout with Schnozos popping in and out that you can scan right from the teleporter.
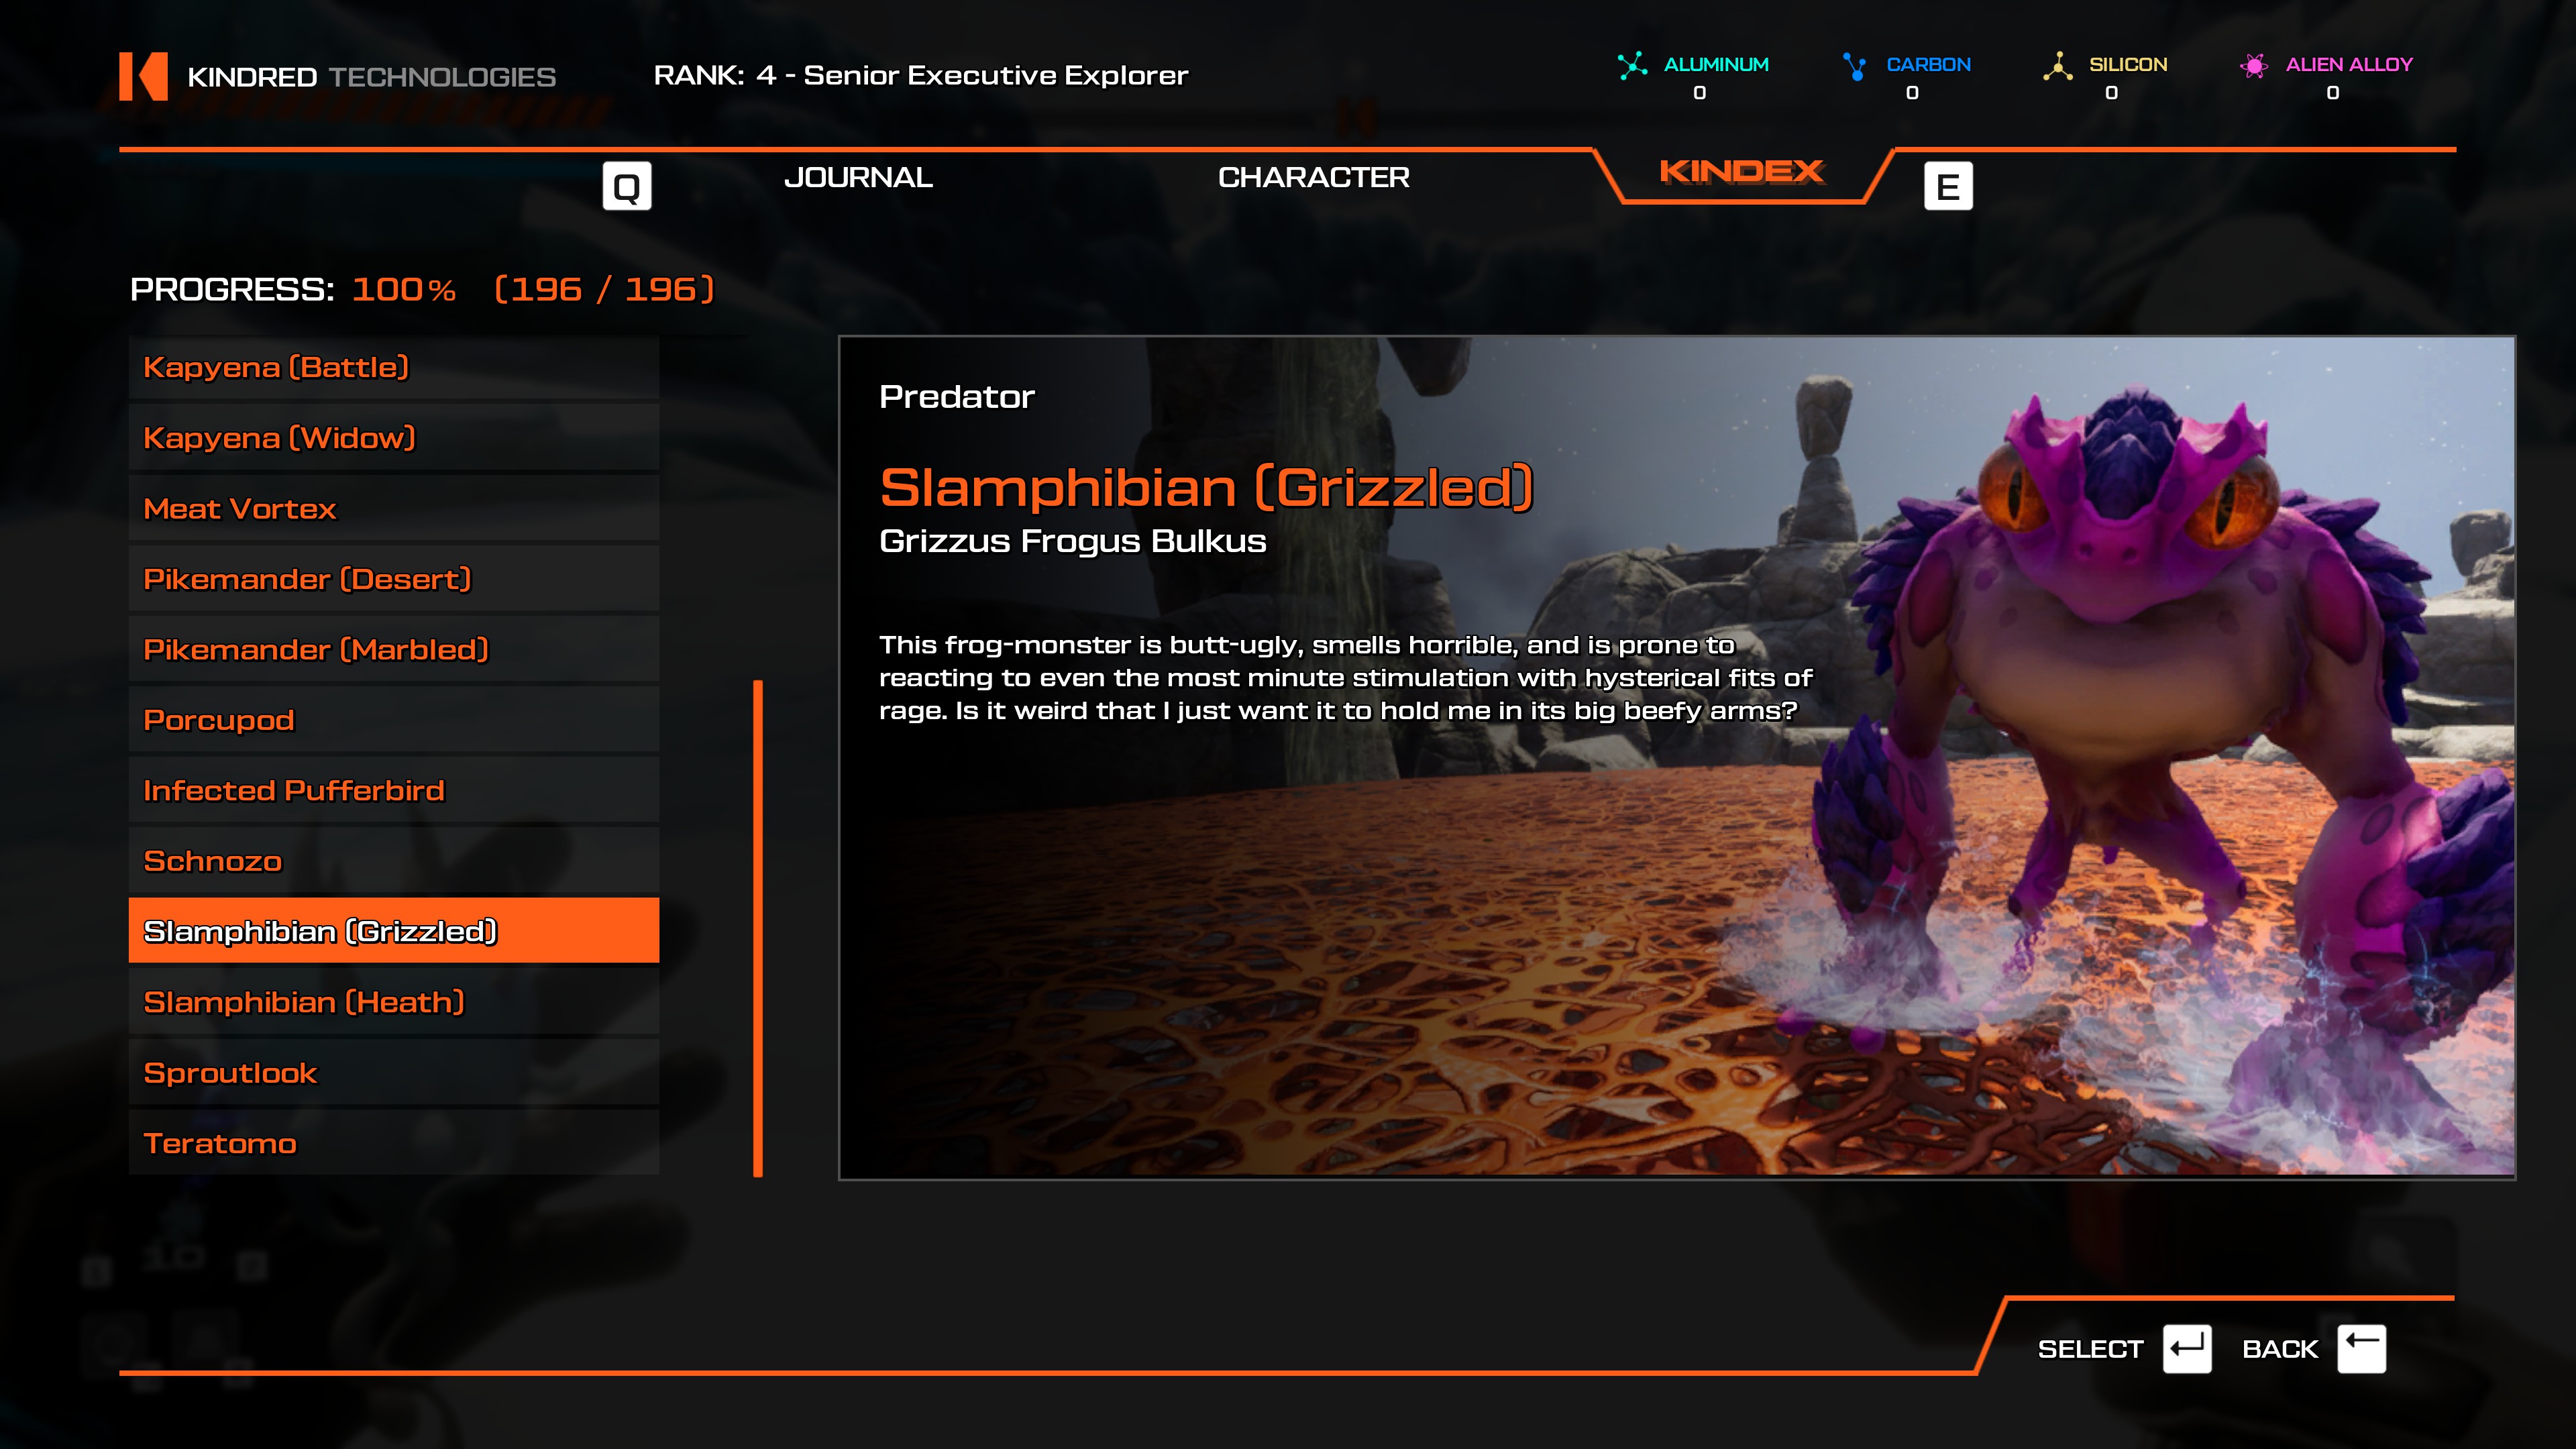
- Teleport to the Slamphibian Pit.There should be a two Slamphibians walking around, one of them being Grizzled.
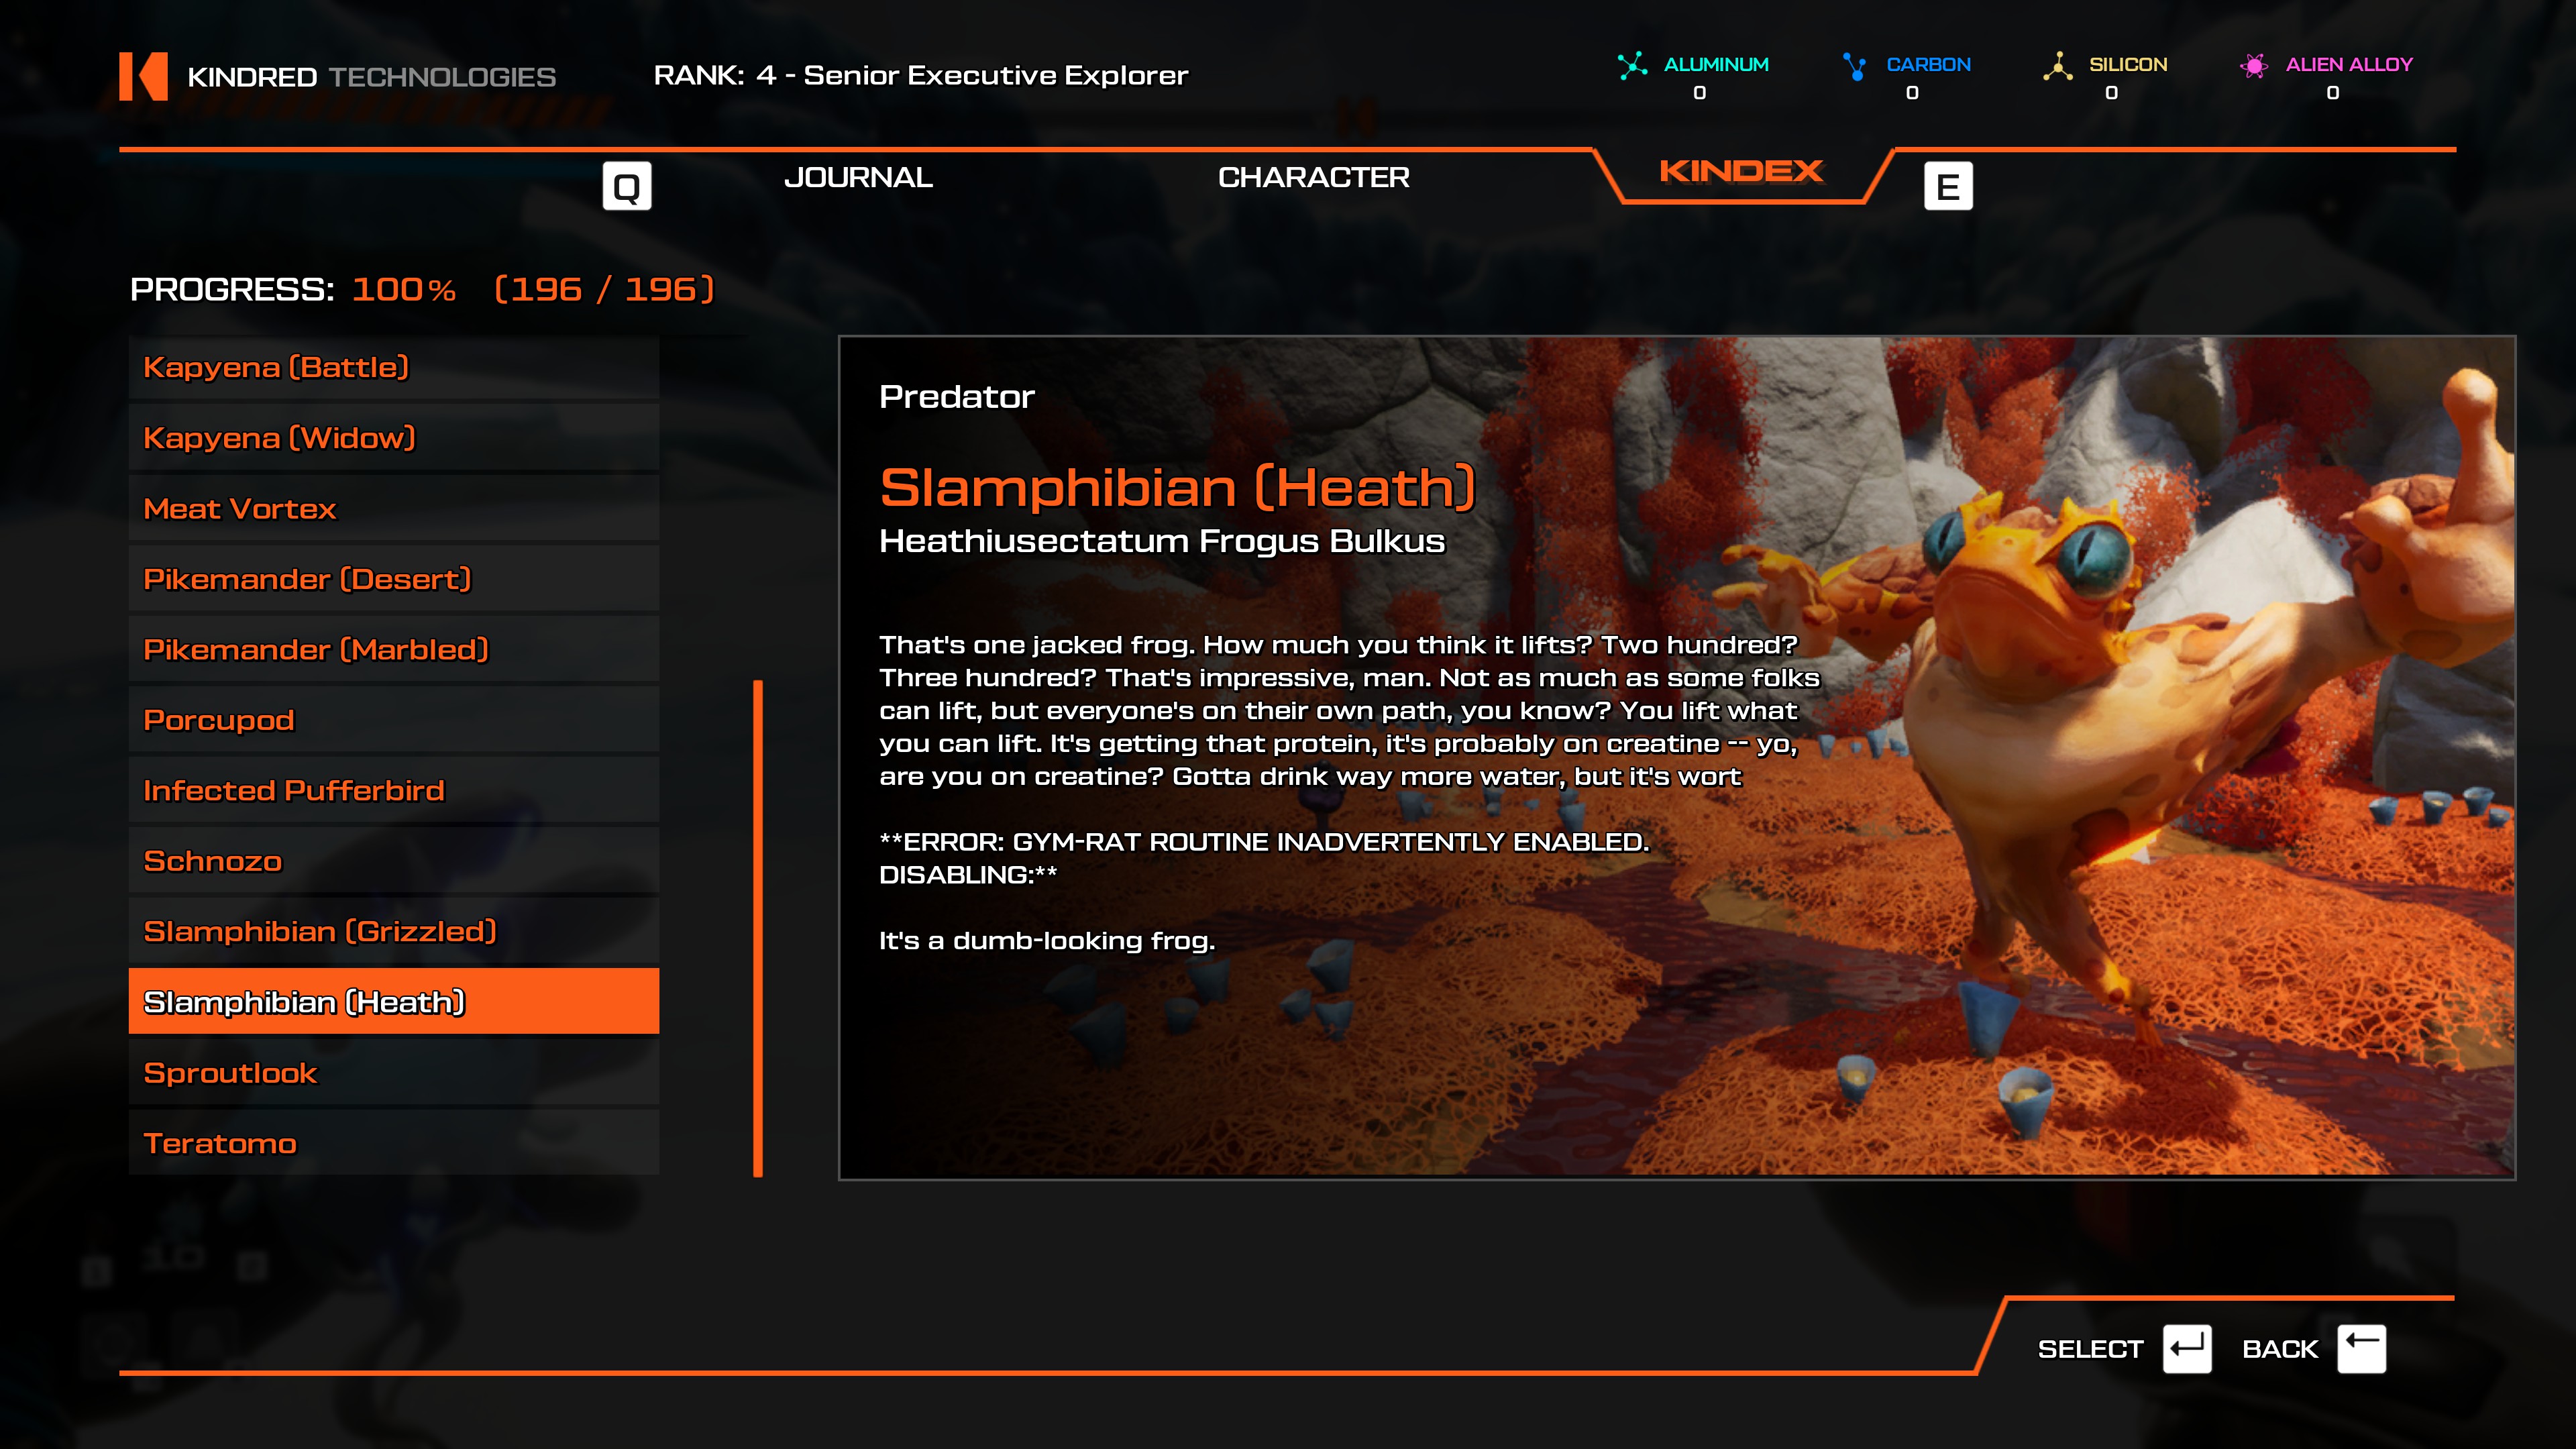
- Teleport to the Slamphibian Pit. There should be a two Slamphibians walking around, one of them being Heath.
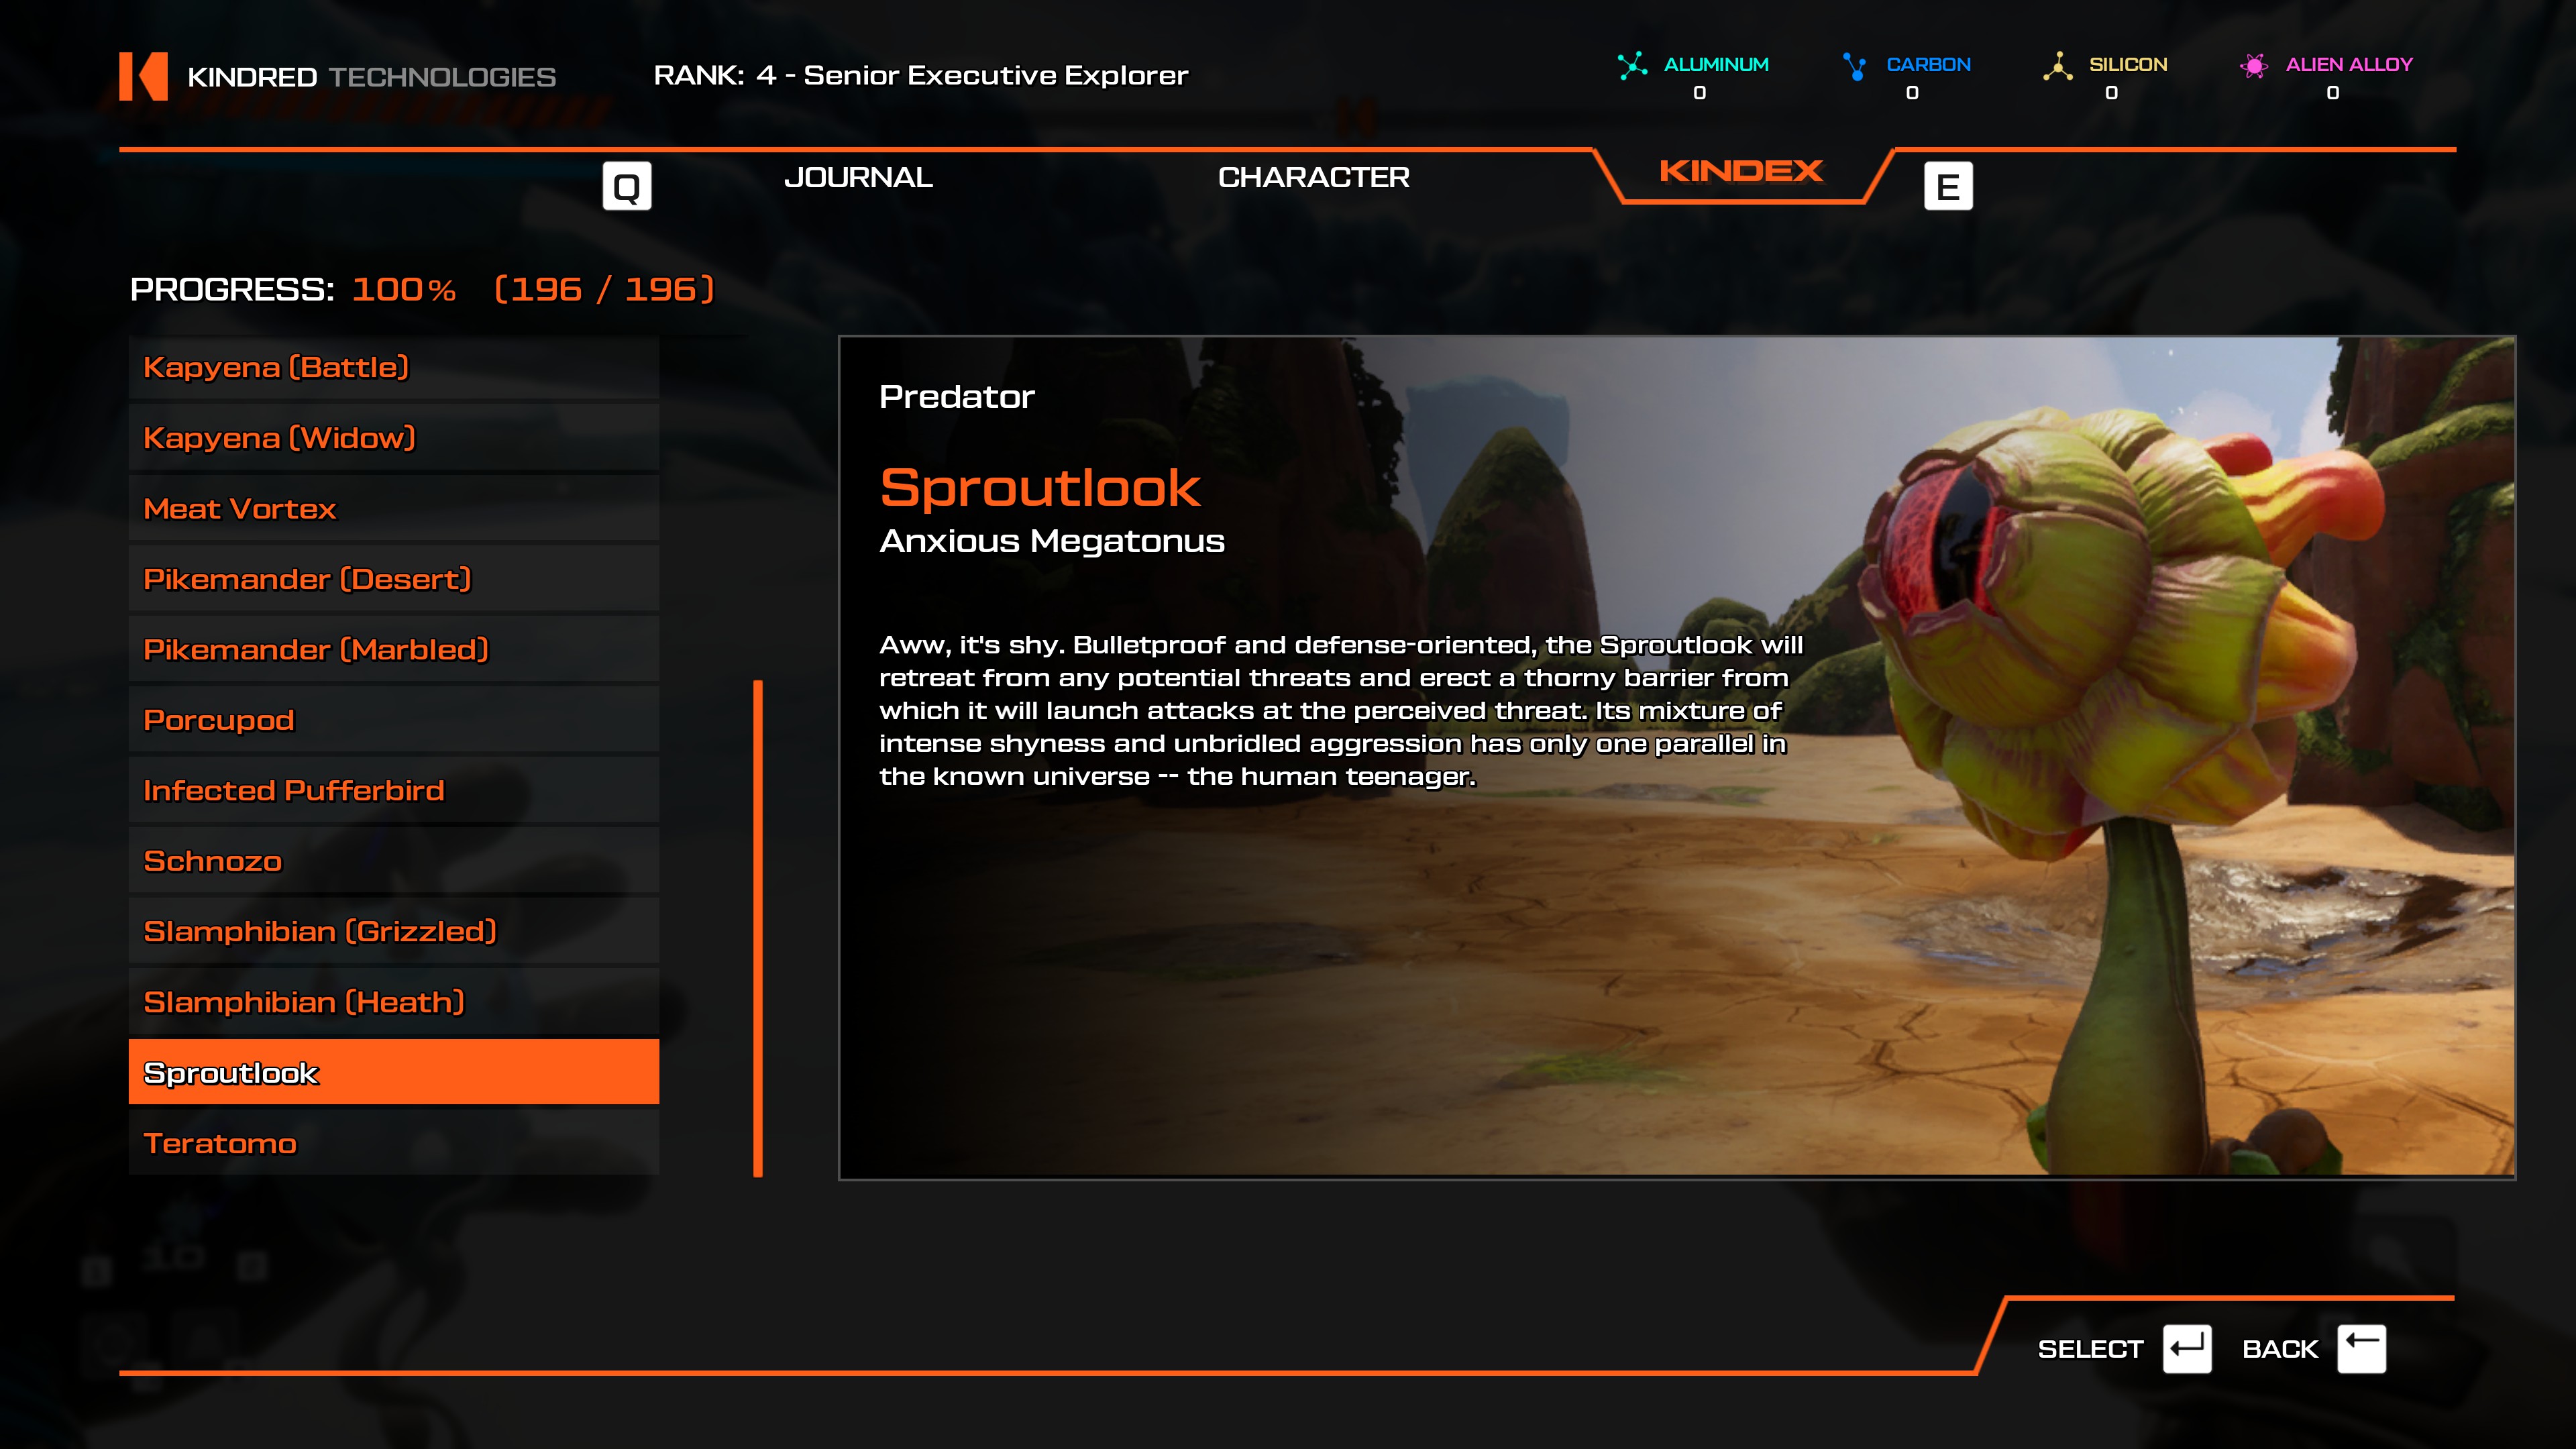
- Meteor Crater teleporter, look to your right. It's the plant with a visible red line of sight that you need to avoid. If you have a good enough scanner, you can scan it without entering its range. Otherwise, you can stealth or just aggro it and scan it when it contracts into itself.
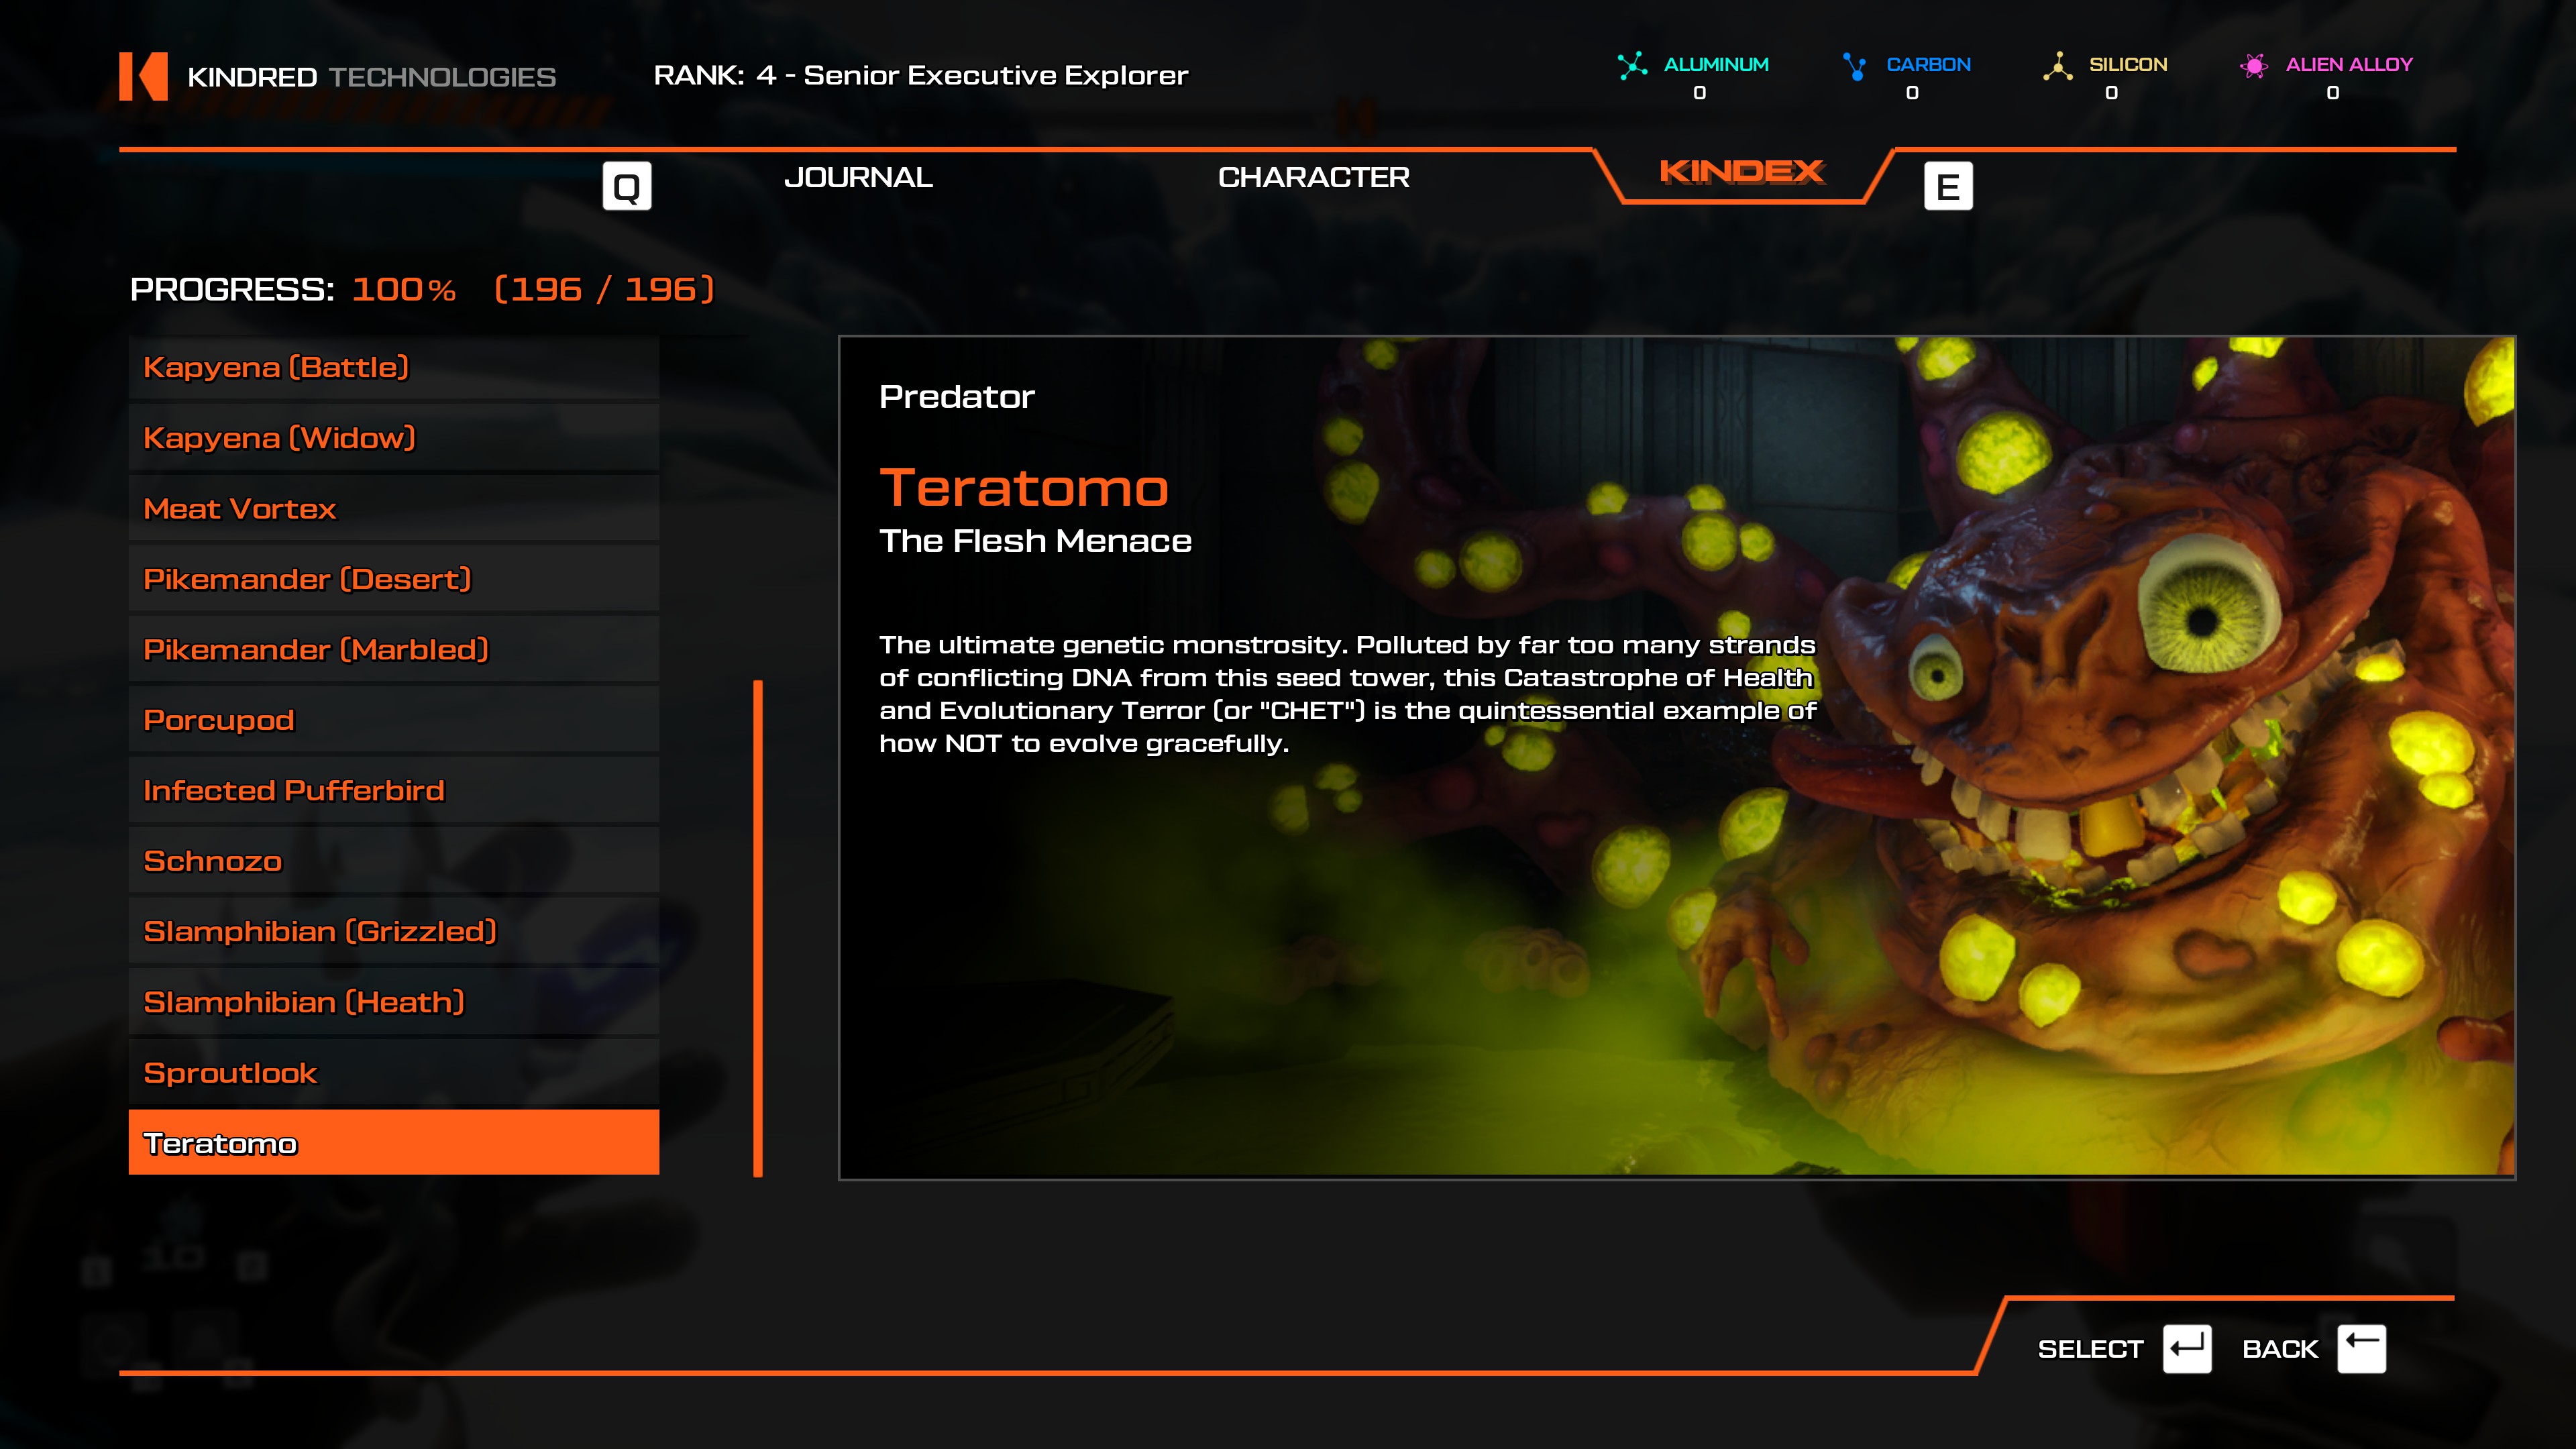
- This is the final boss of the game, kind of hard to miss but if you did, you can go back there using the Vault Floor 4 teleporter.
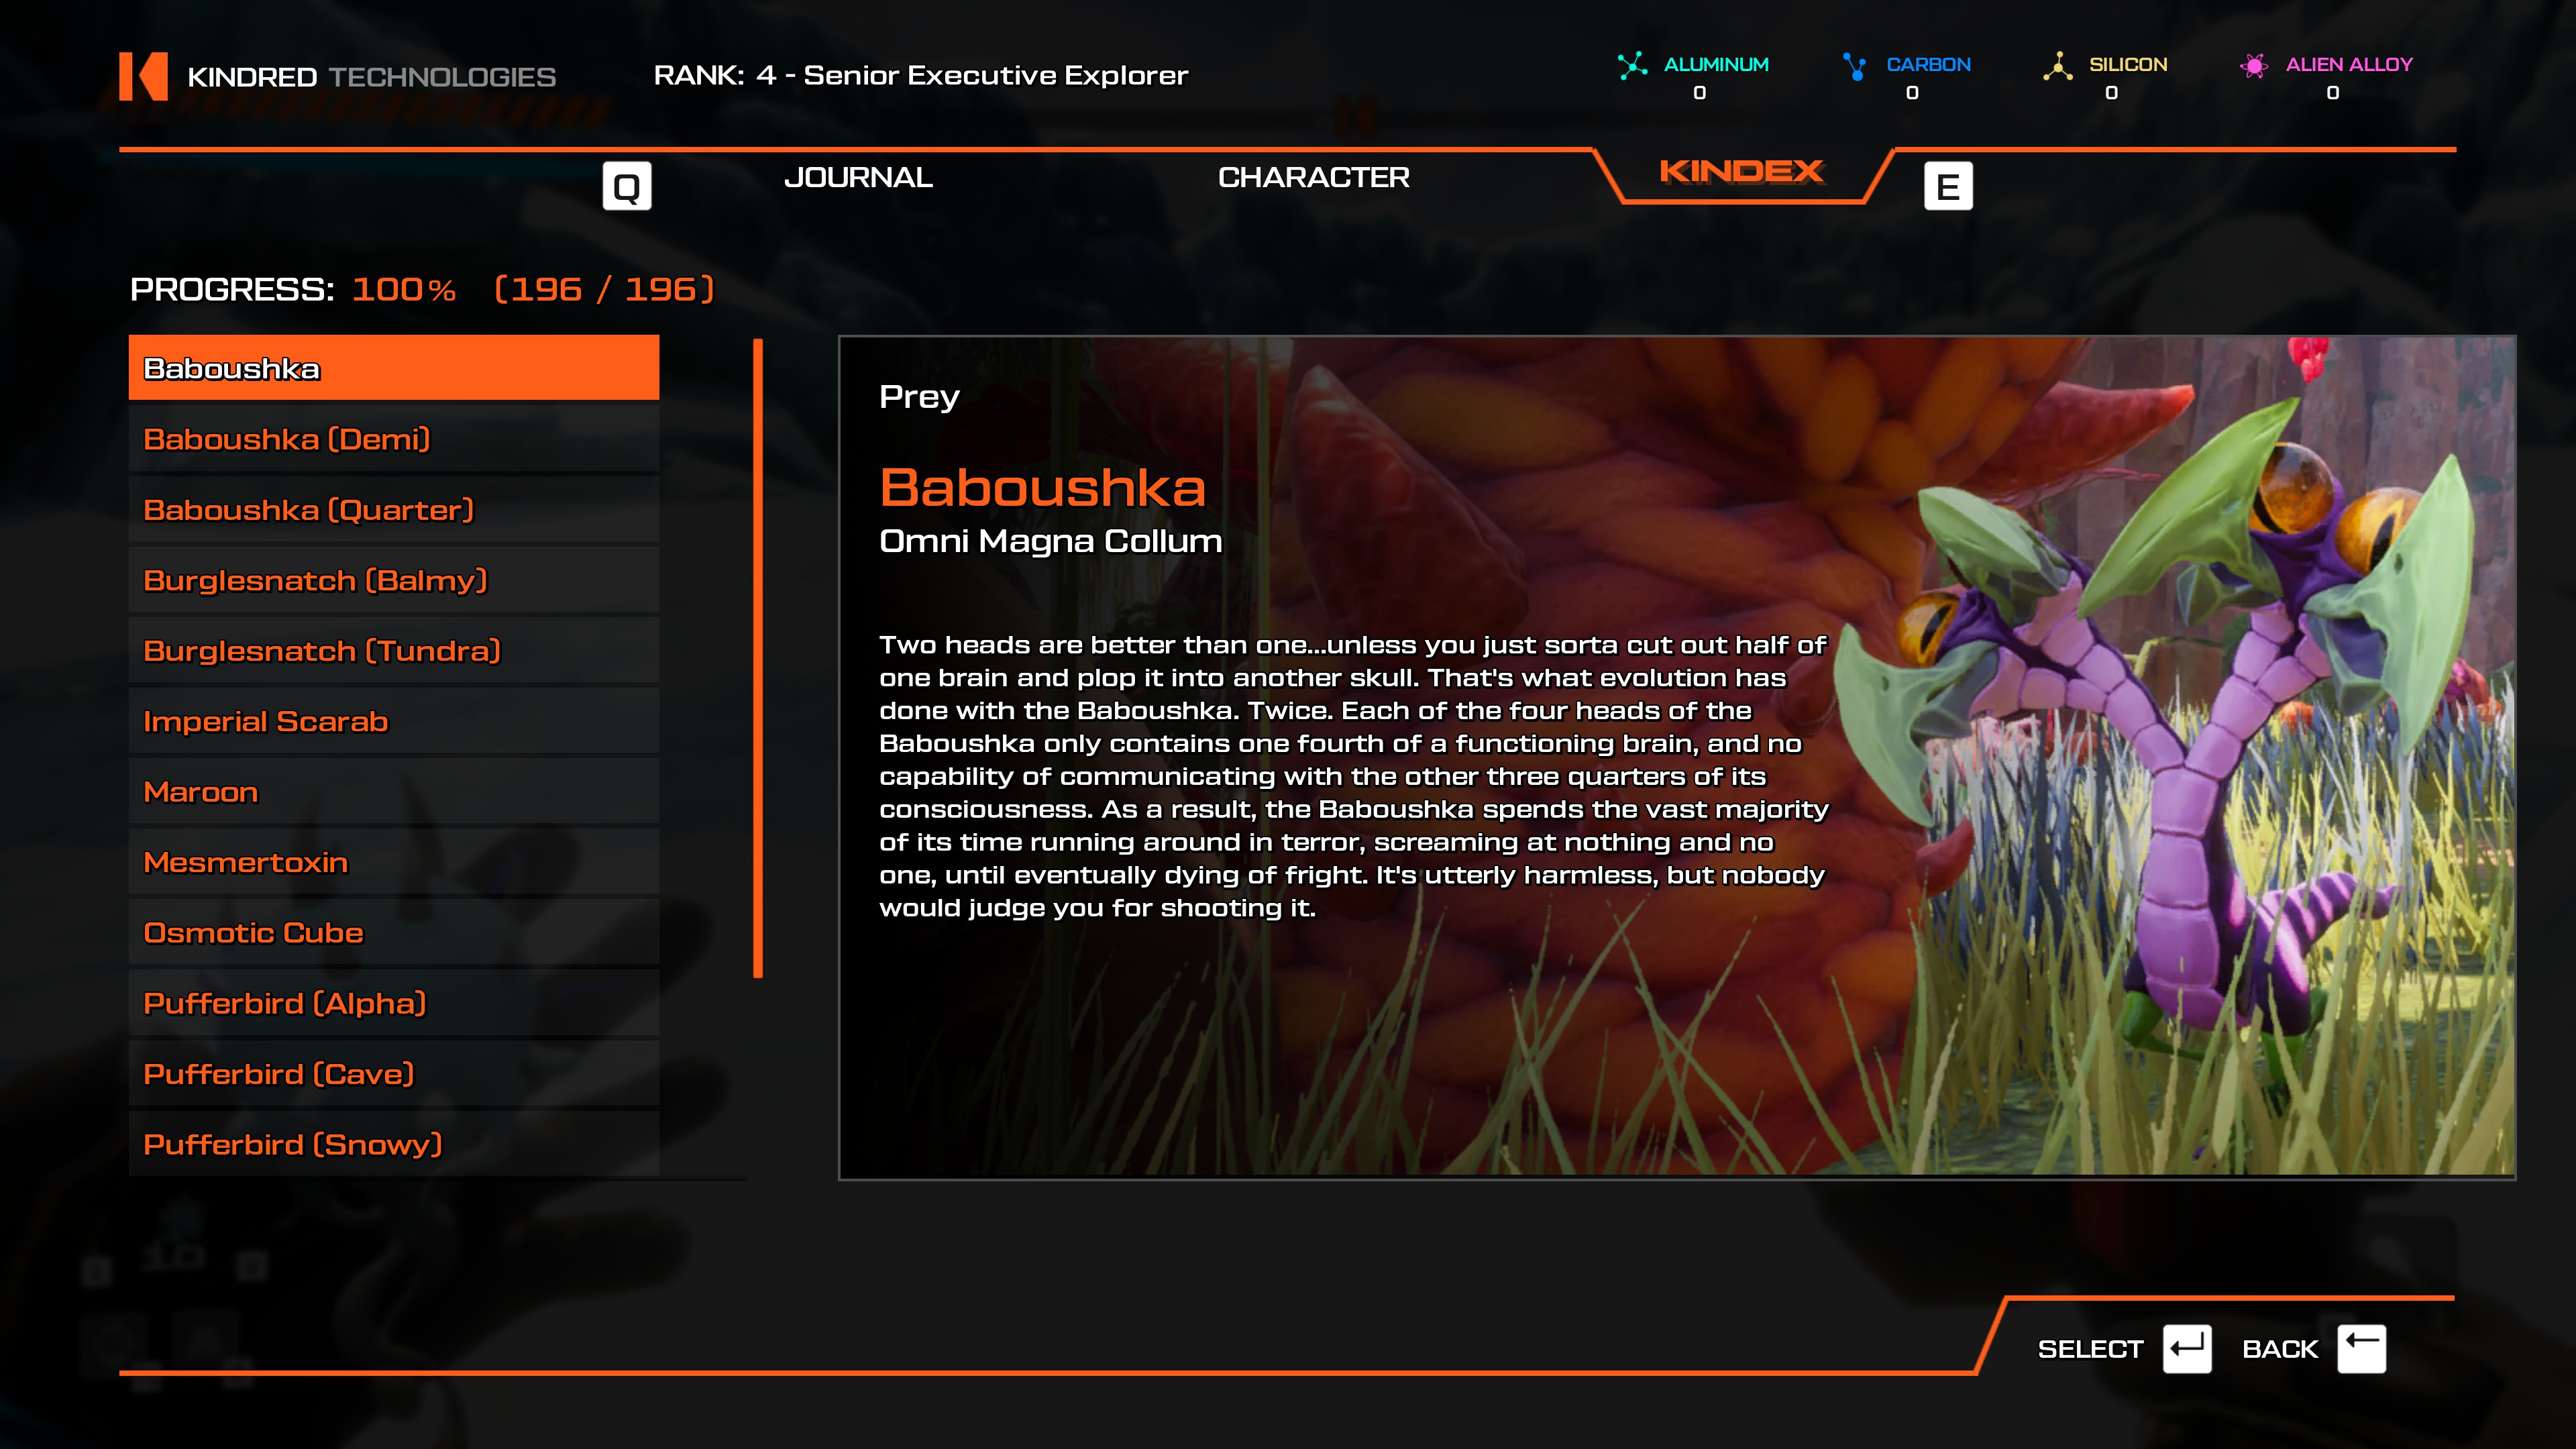
- While you'll see plenty of these in The Verdant Wilds of Zyl, I recommend another area that isn't filled with tall grass in order to scan these guys. Head to the Festering Chasm, there should've one walking around near the Pufferbirds.
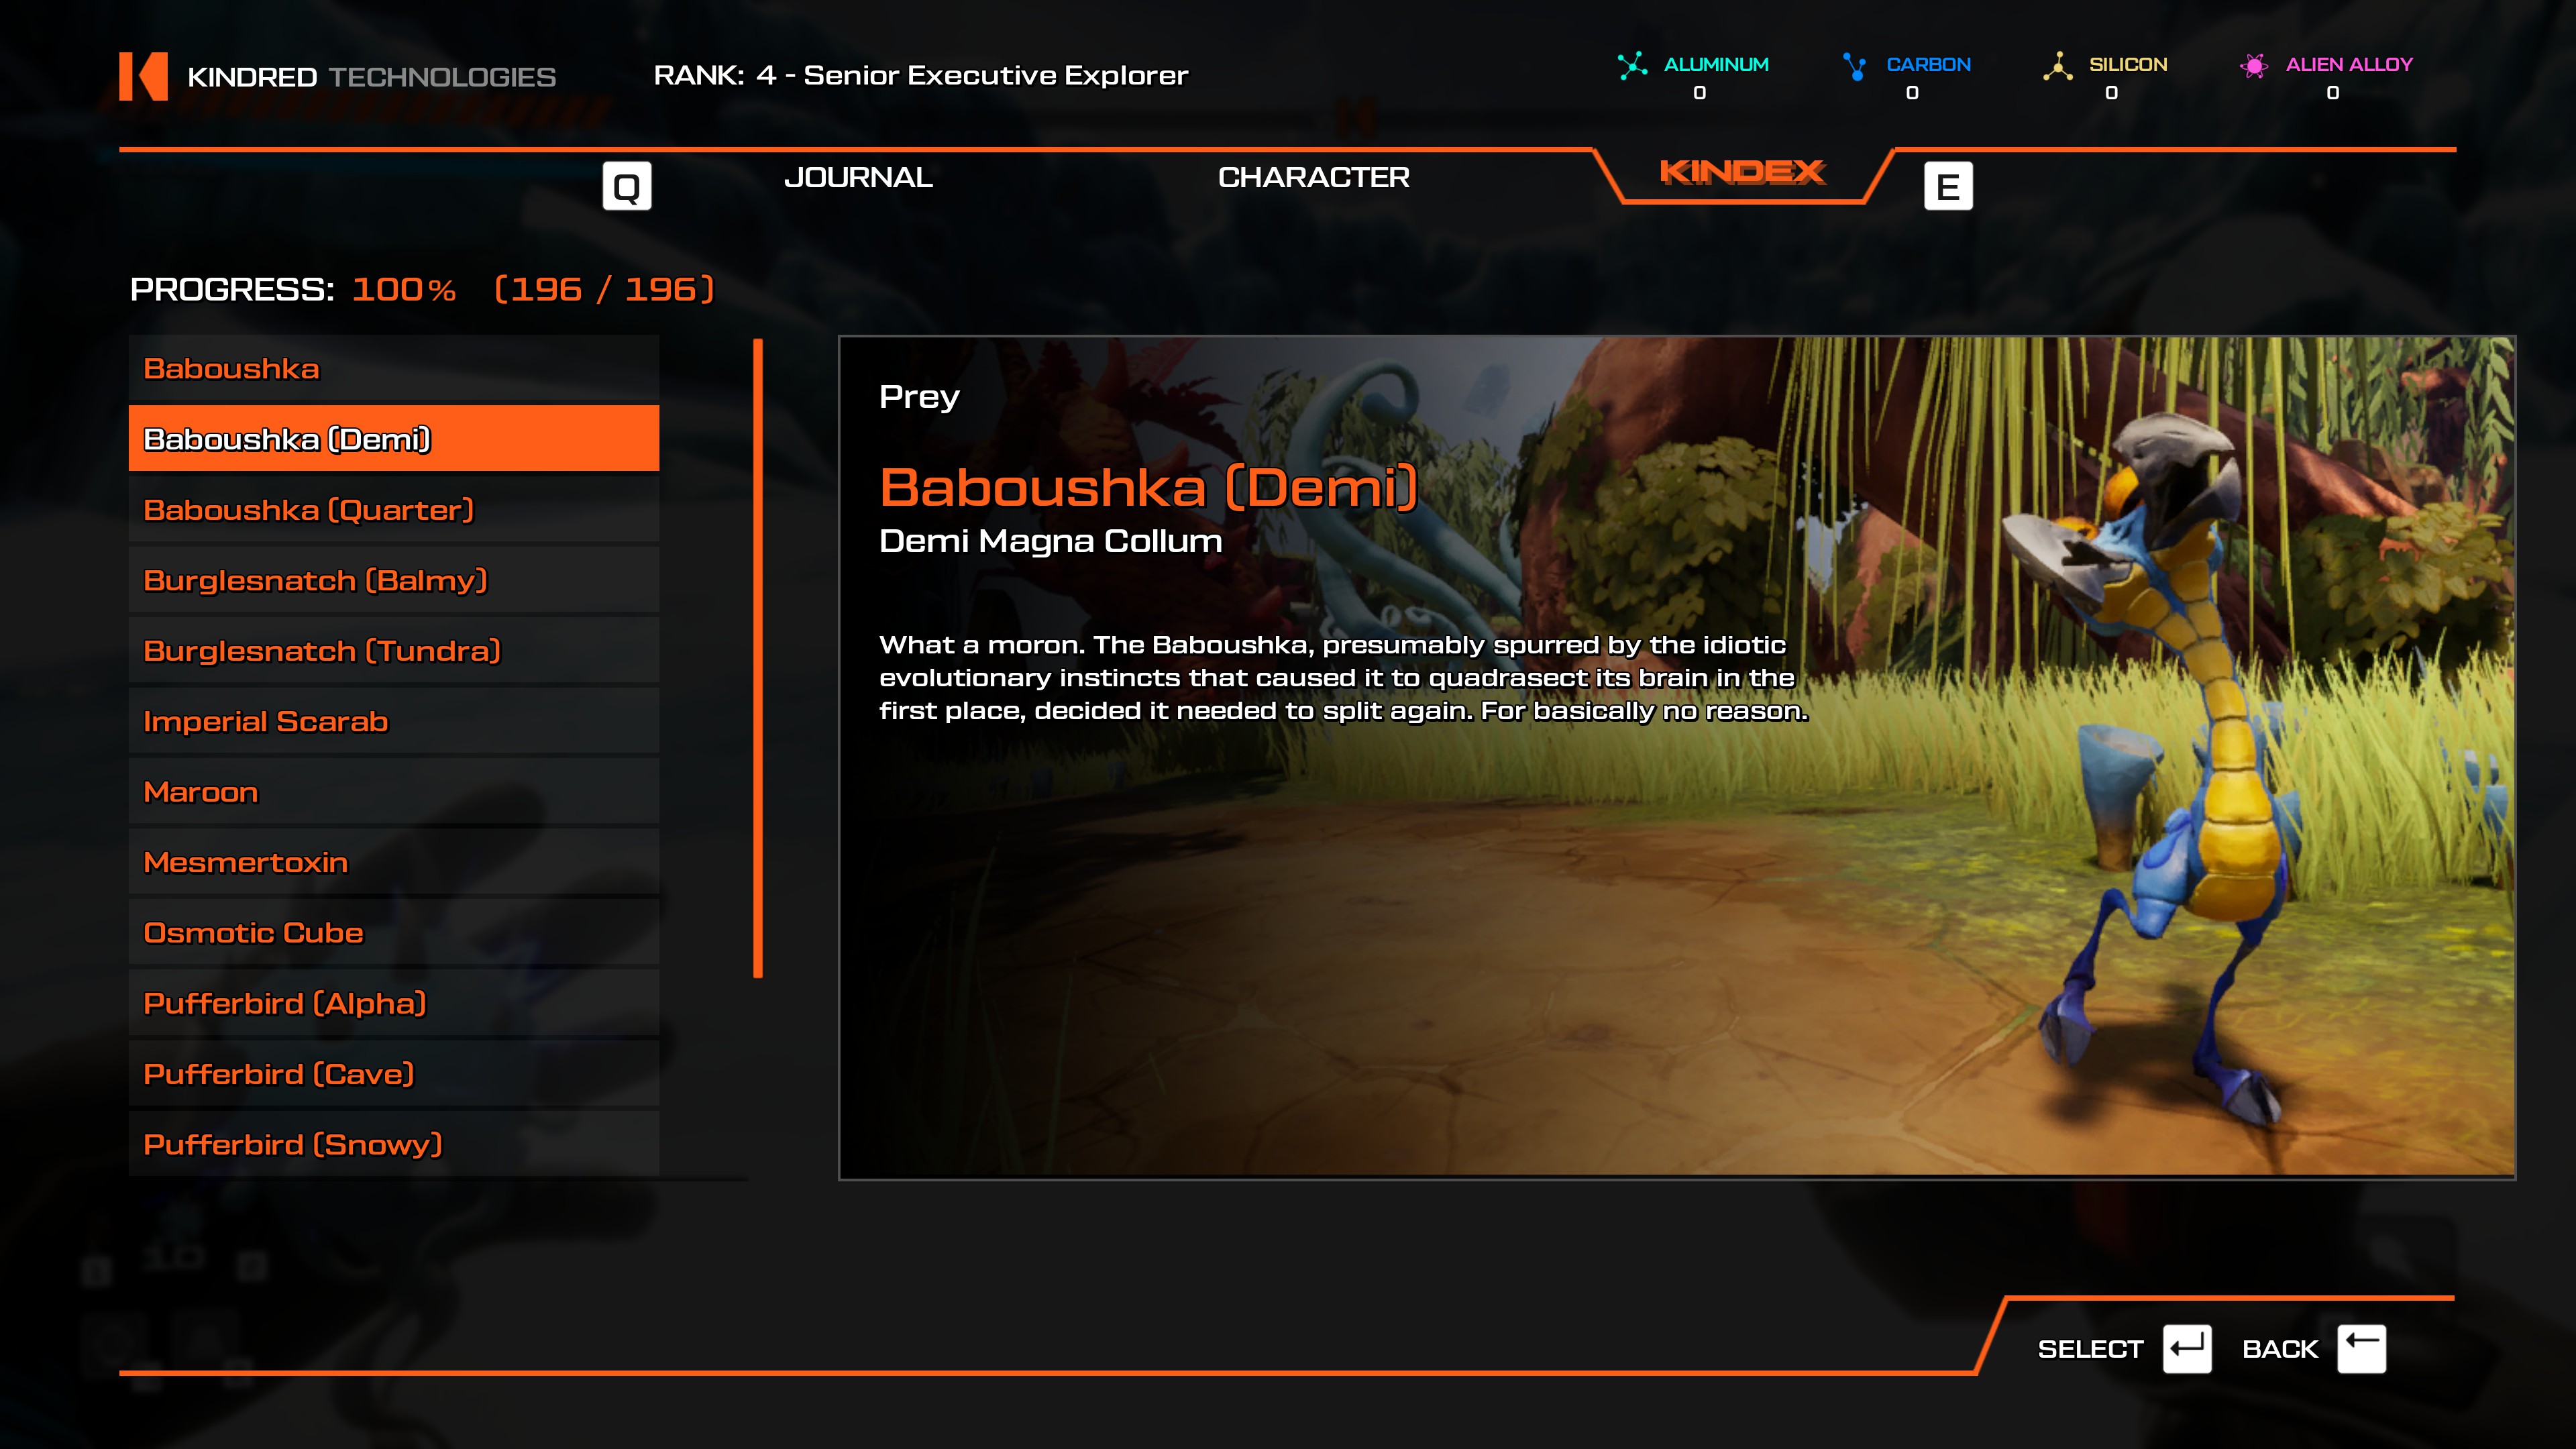
- When you shoot a Baboushka, it splits into two- when it first does this, it splits into blue creatures called Demi Baboushkas. You won't see these walking around in the wild on their own, you need to find a normal Baboushka in order to get these.
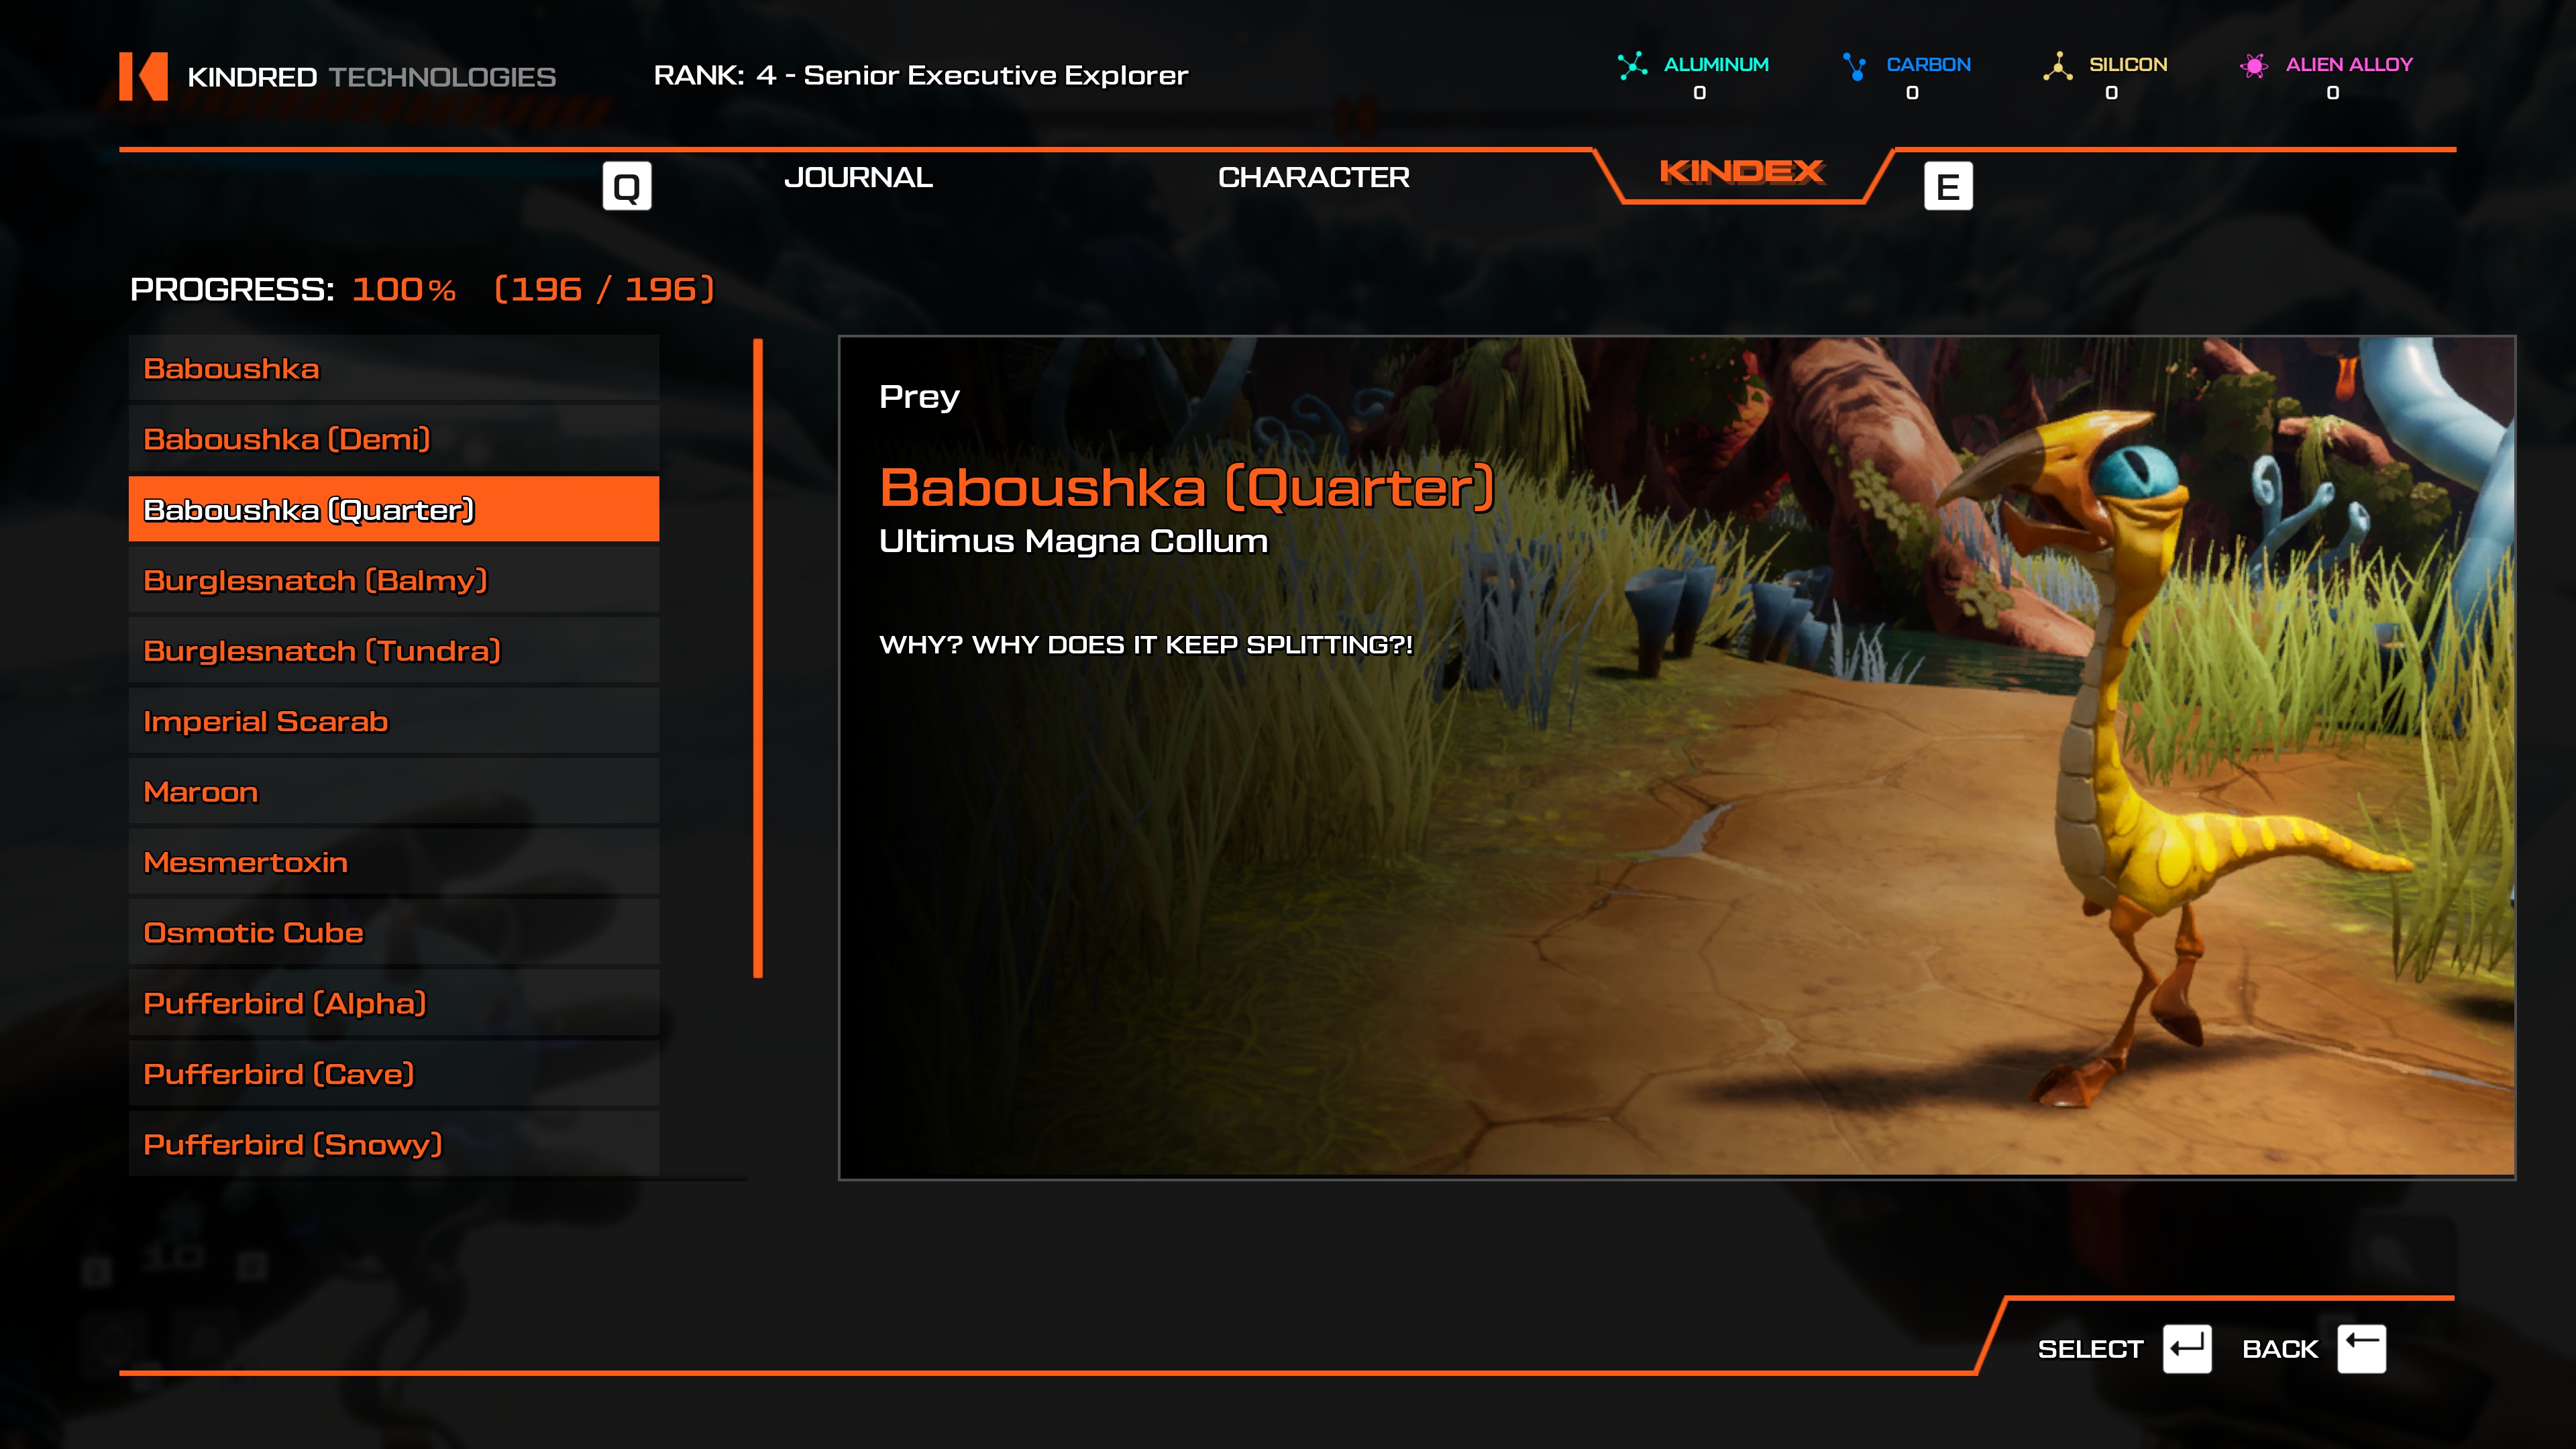
- When you shoot a Baboushka it splits into two parts called Demi Baboushkas. Shoot Demi Baboushkas, and you get Quarter Baboushkas. You will not find Quarter Baboushkas walking around in the wild.
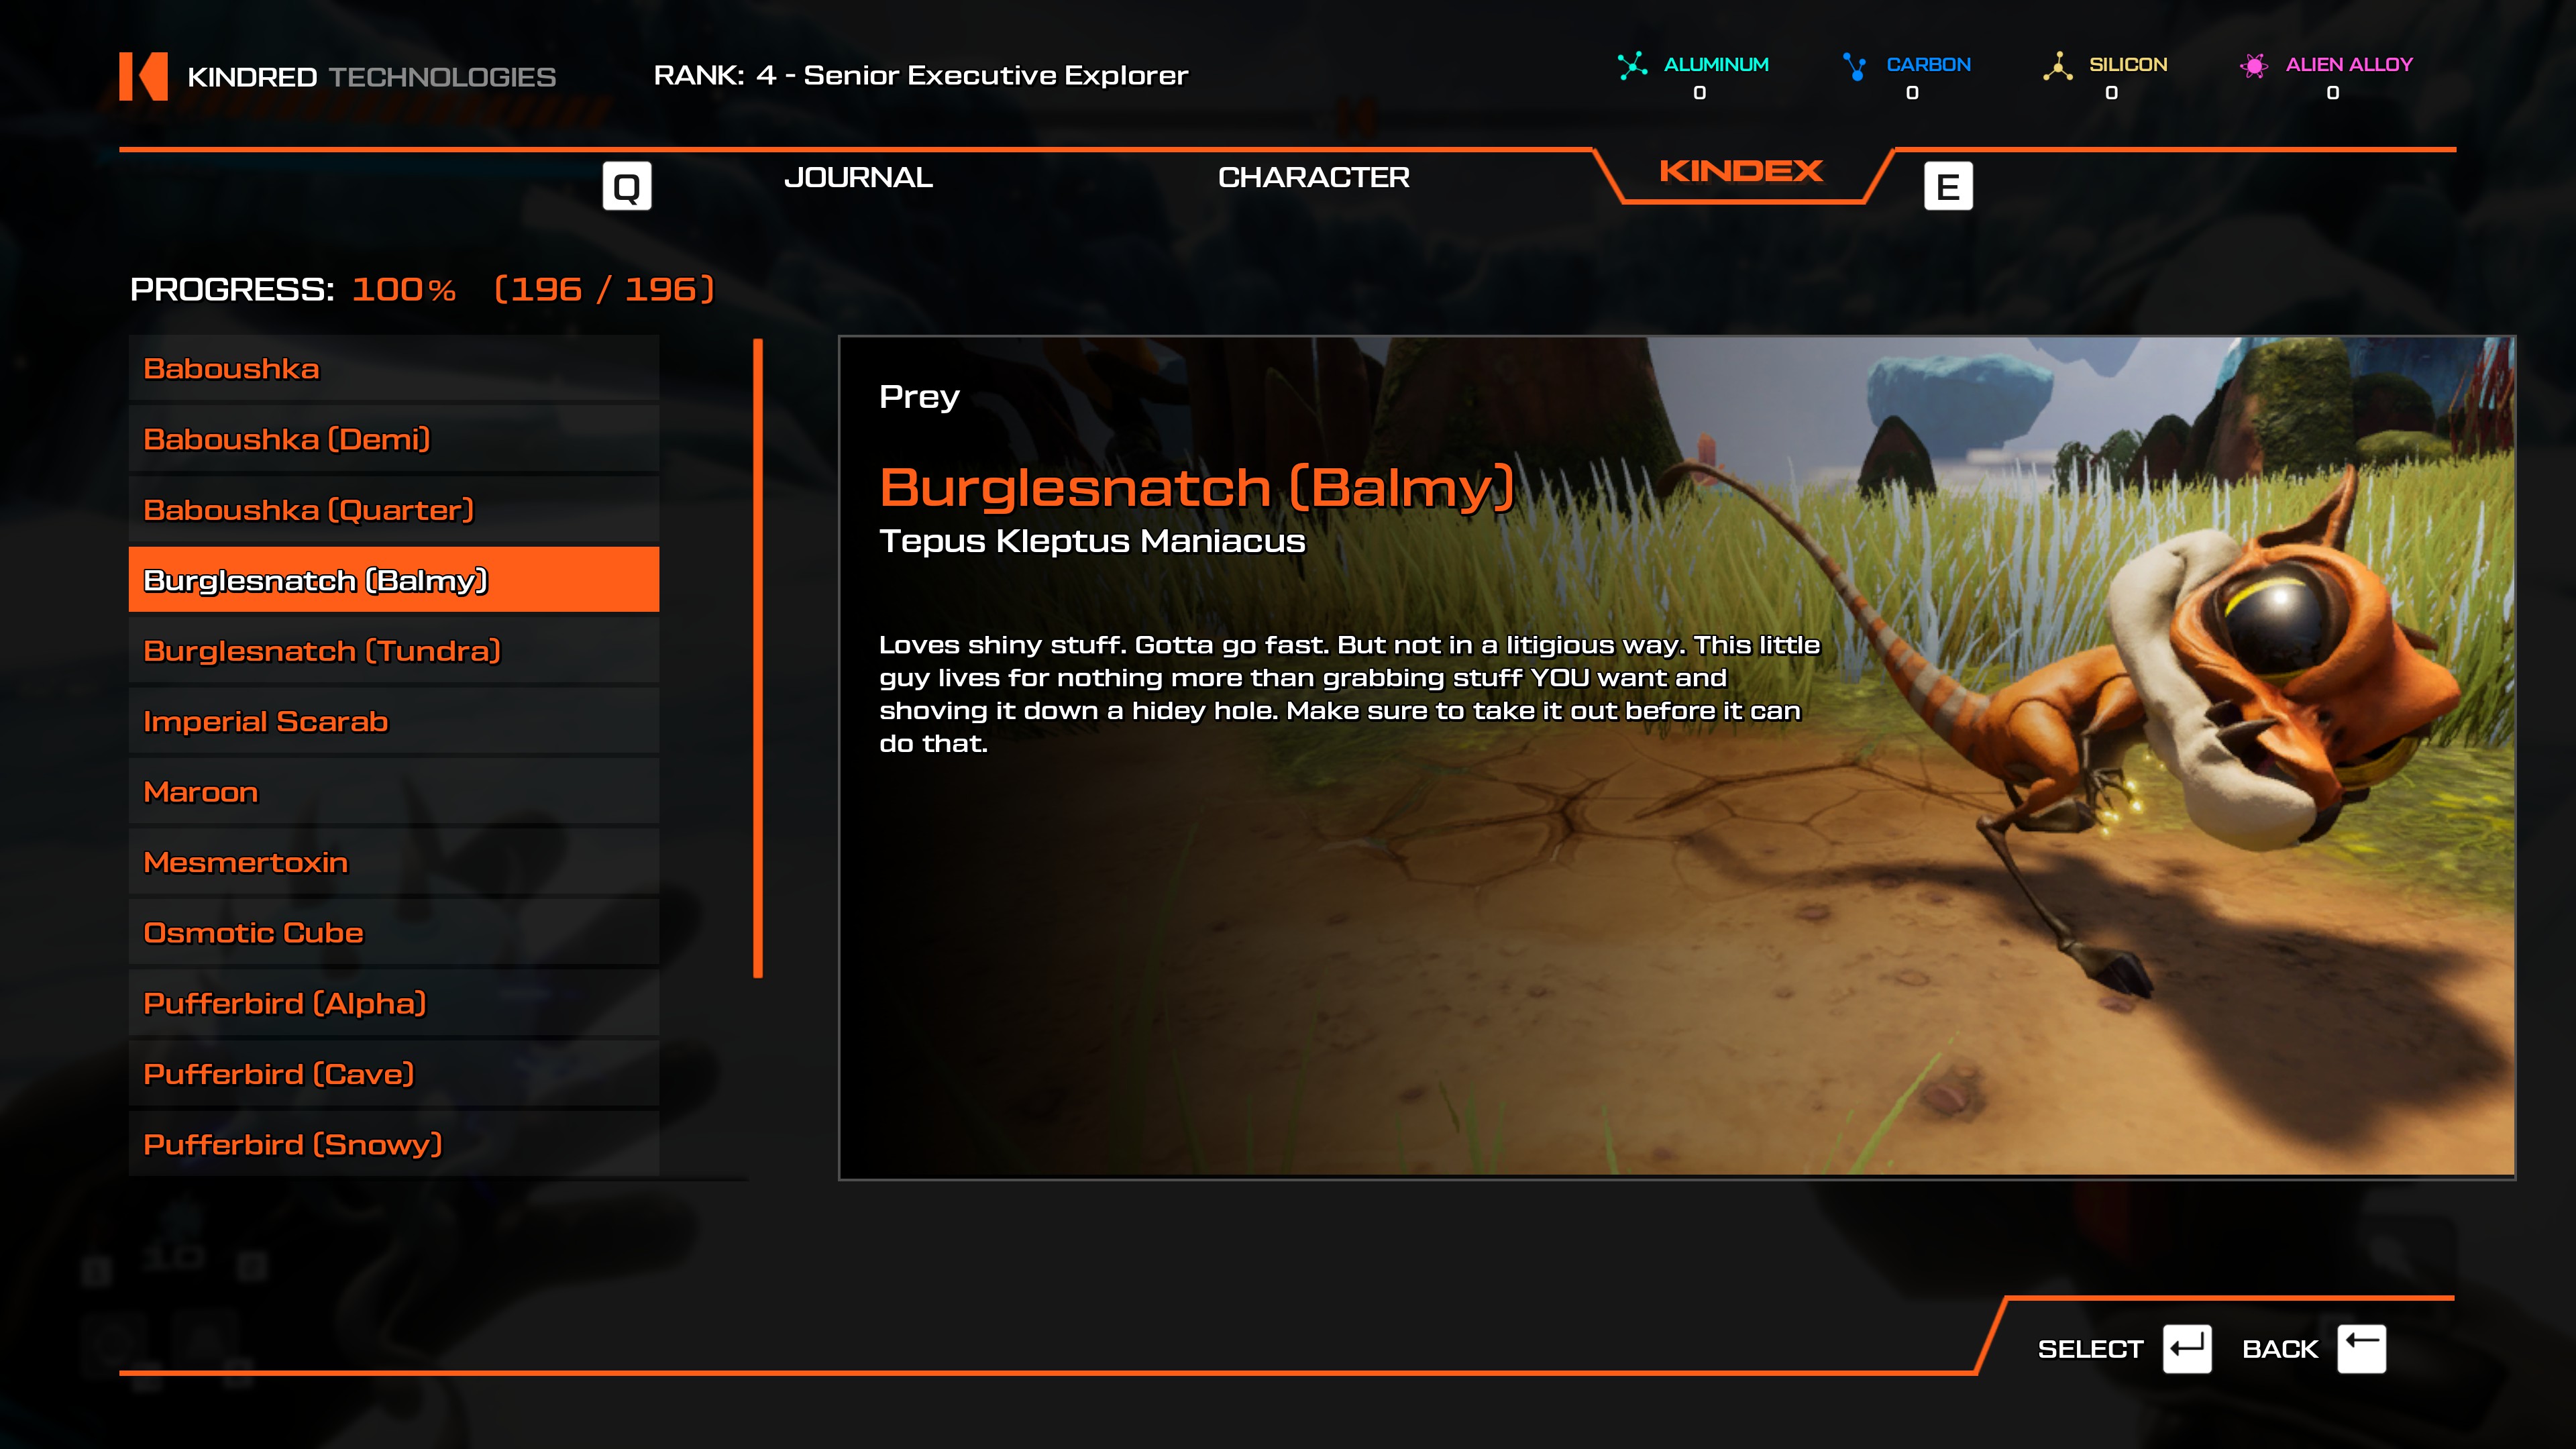
- Meteor Crater teleporter, look to your left. There's a stone bridge heading off into an area with Pufferbirds and their nests. Kill a Pufferbird but don't pick up its drops, and a Burglesnatch will run out to take it.
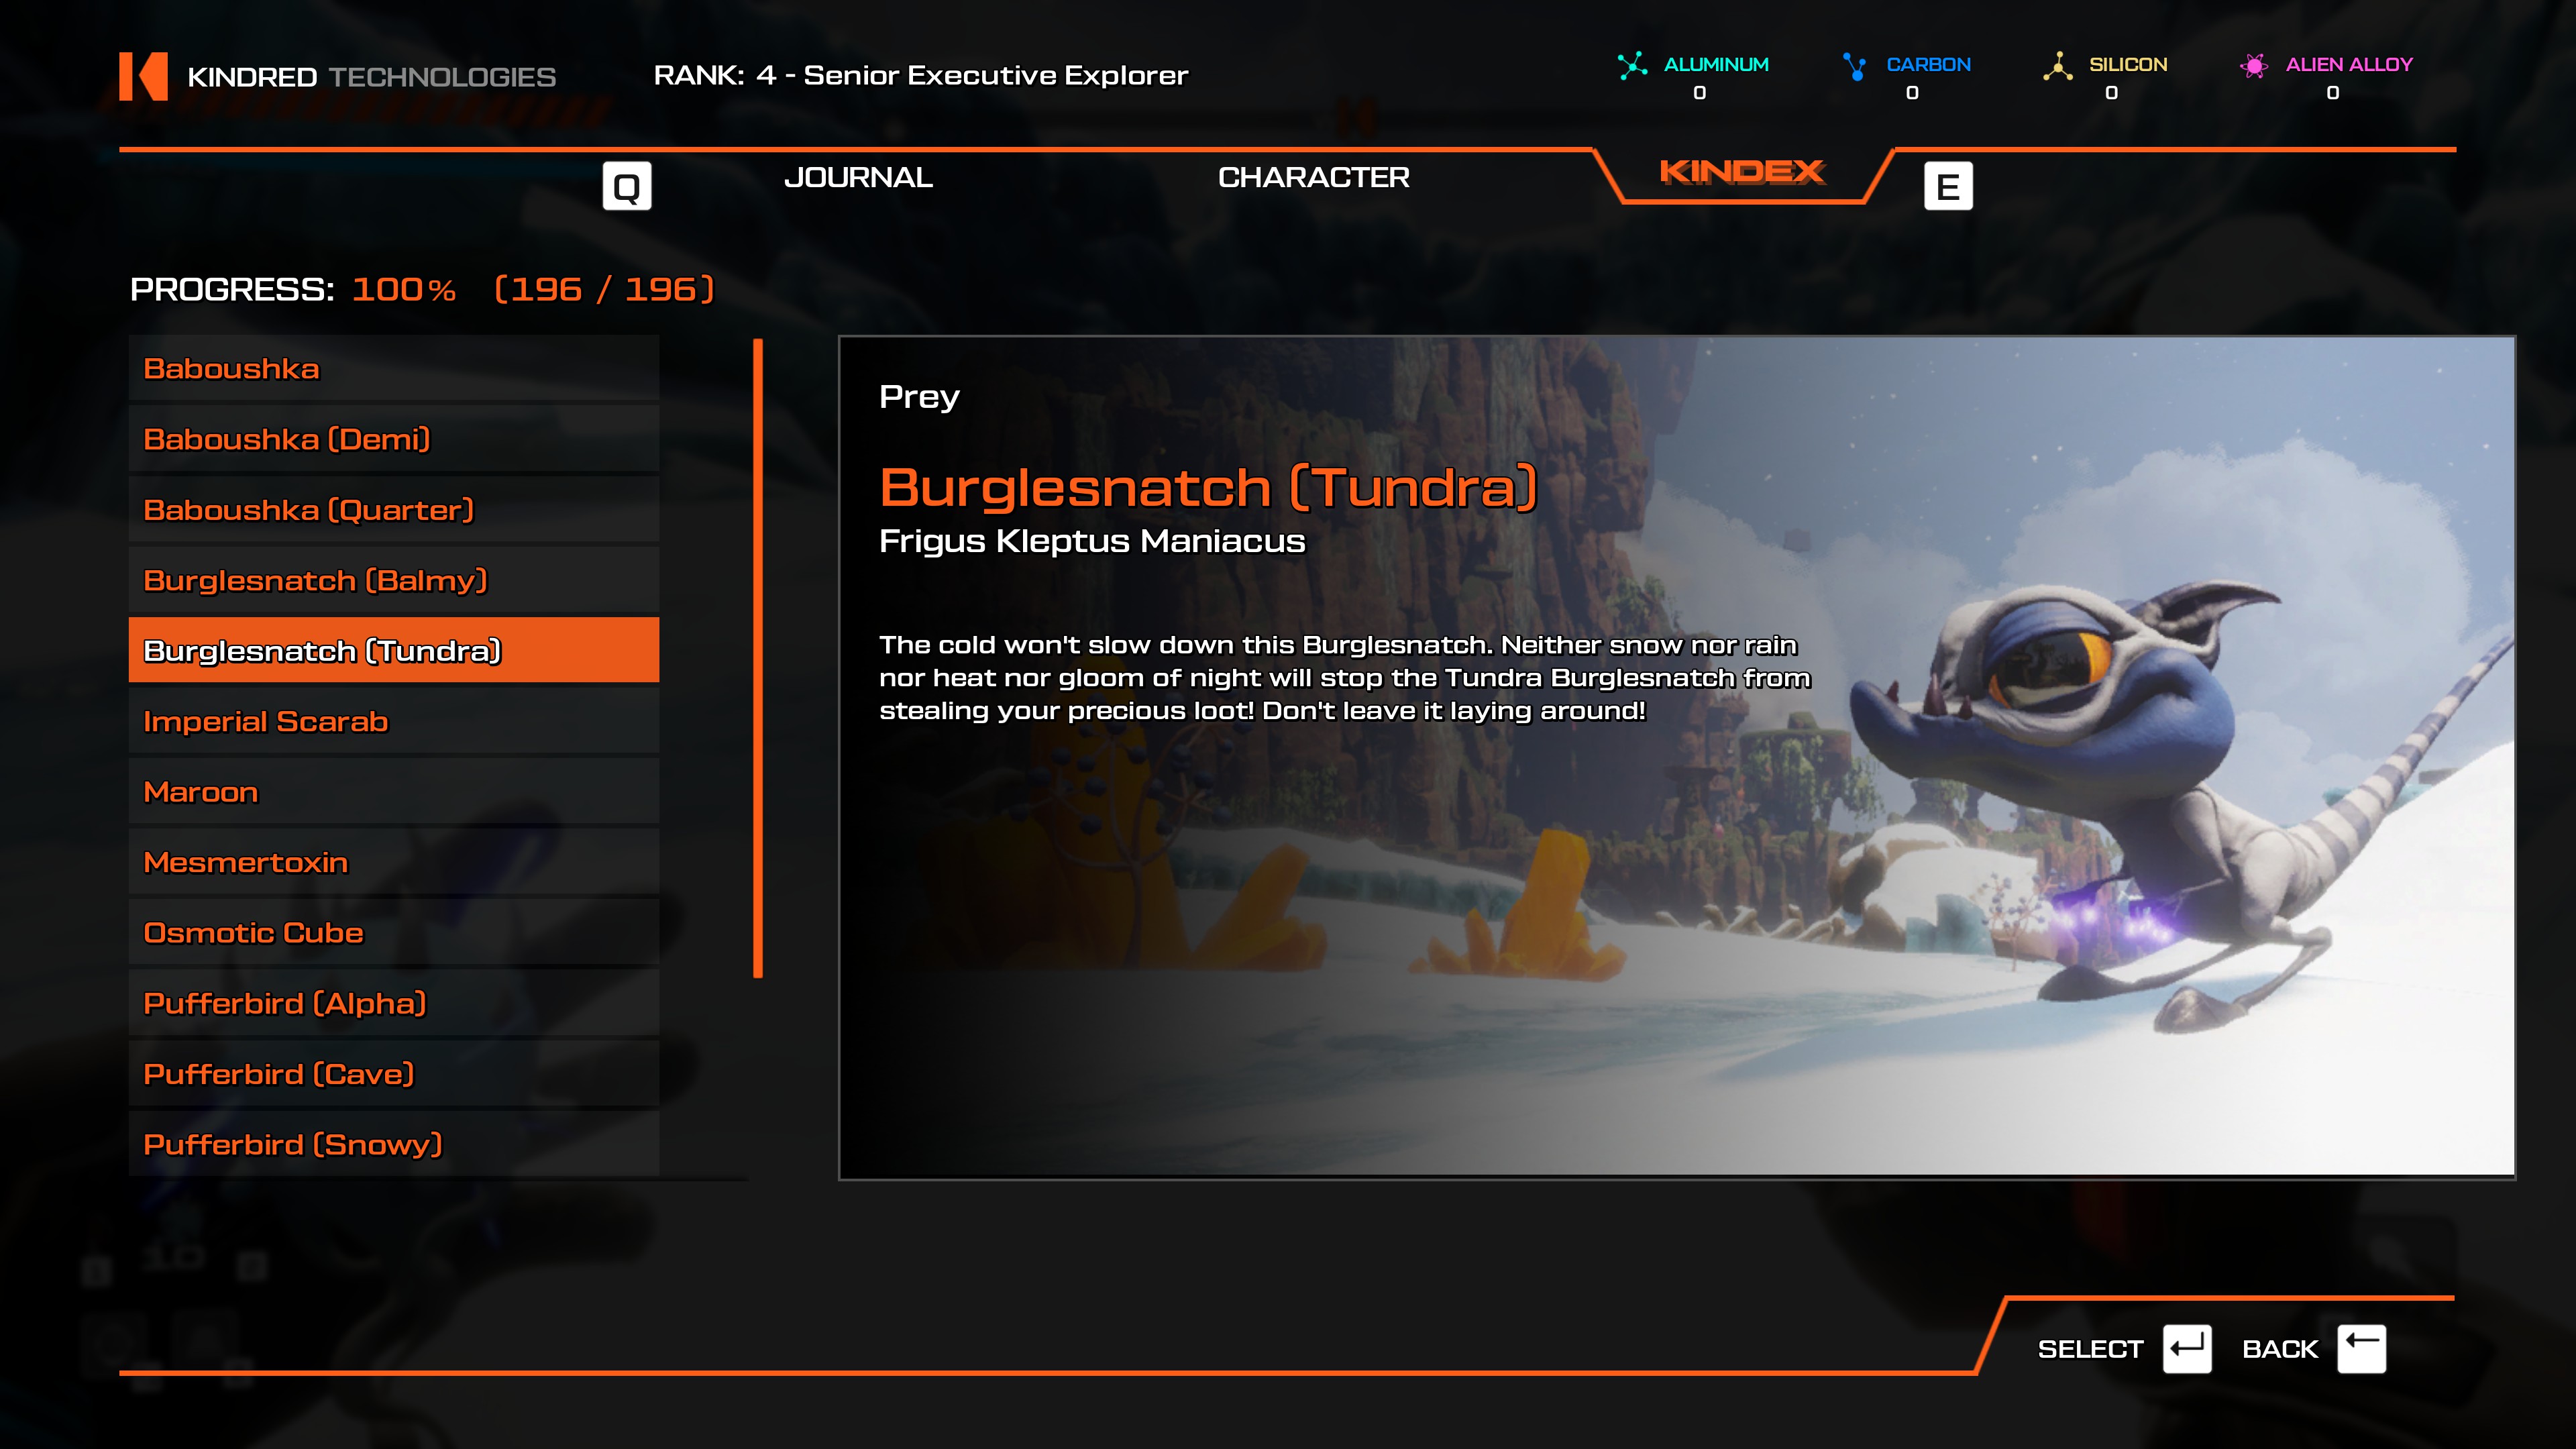
- Go into the tunnel running underneath the massive skeleton. There's a path that leads out into the open with a single Pufferbird in it. Kill the Pufferbird but don't collect the resources, and the Tundra Burglesnatch should run out of its Burgle Haven. This is the only location to have this creature.
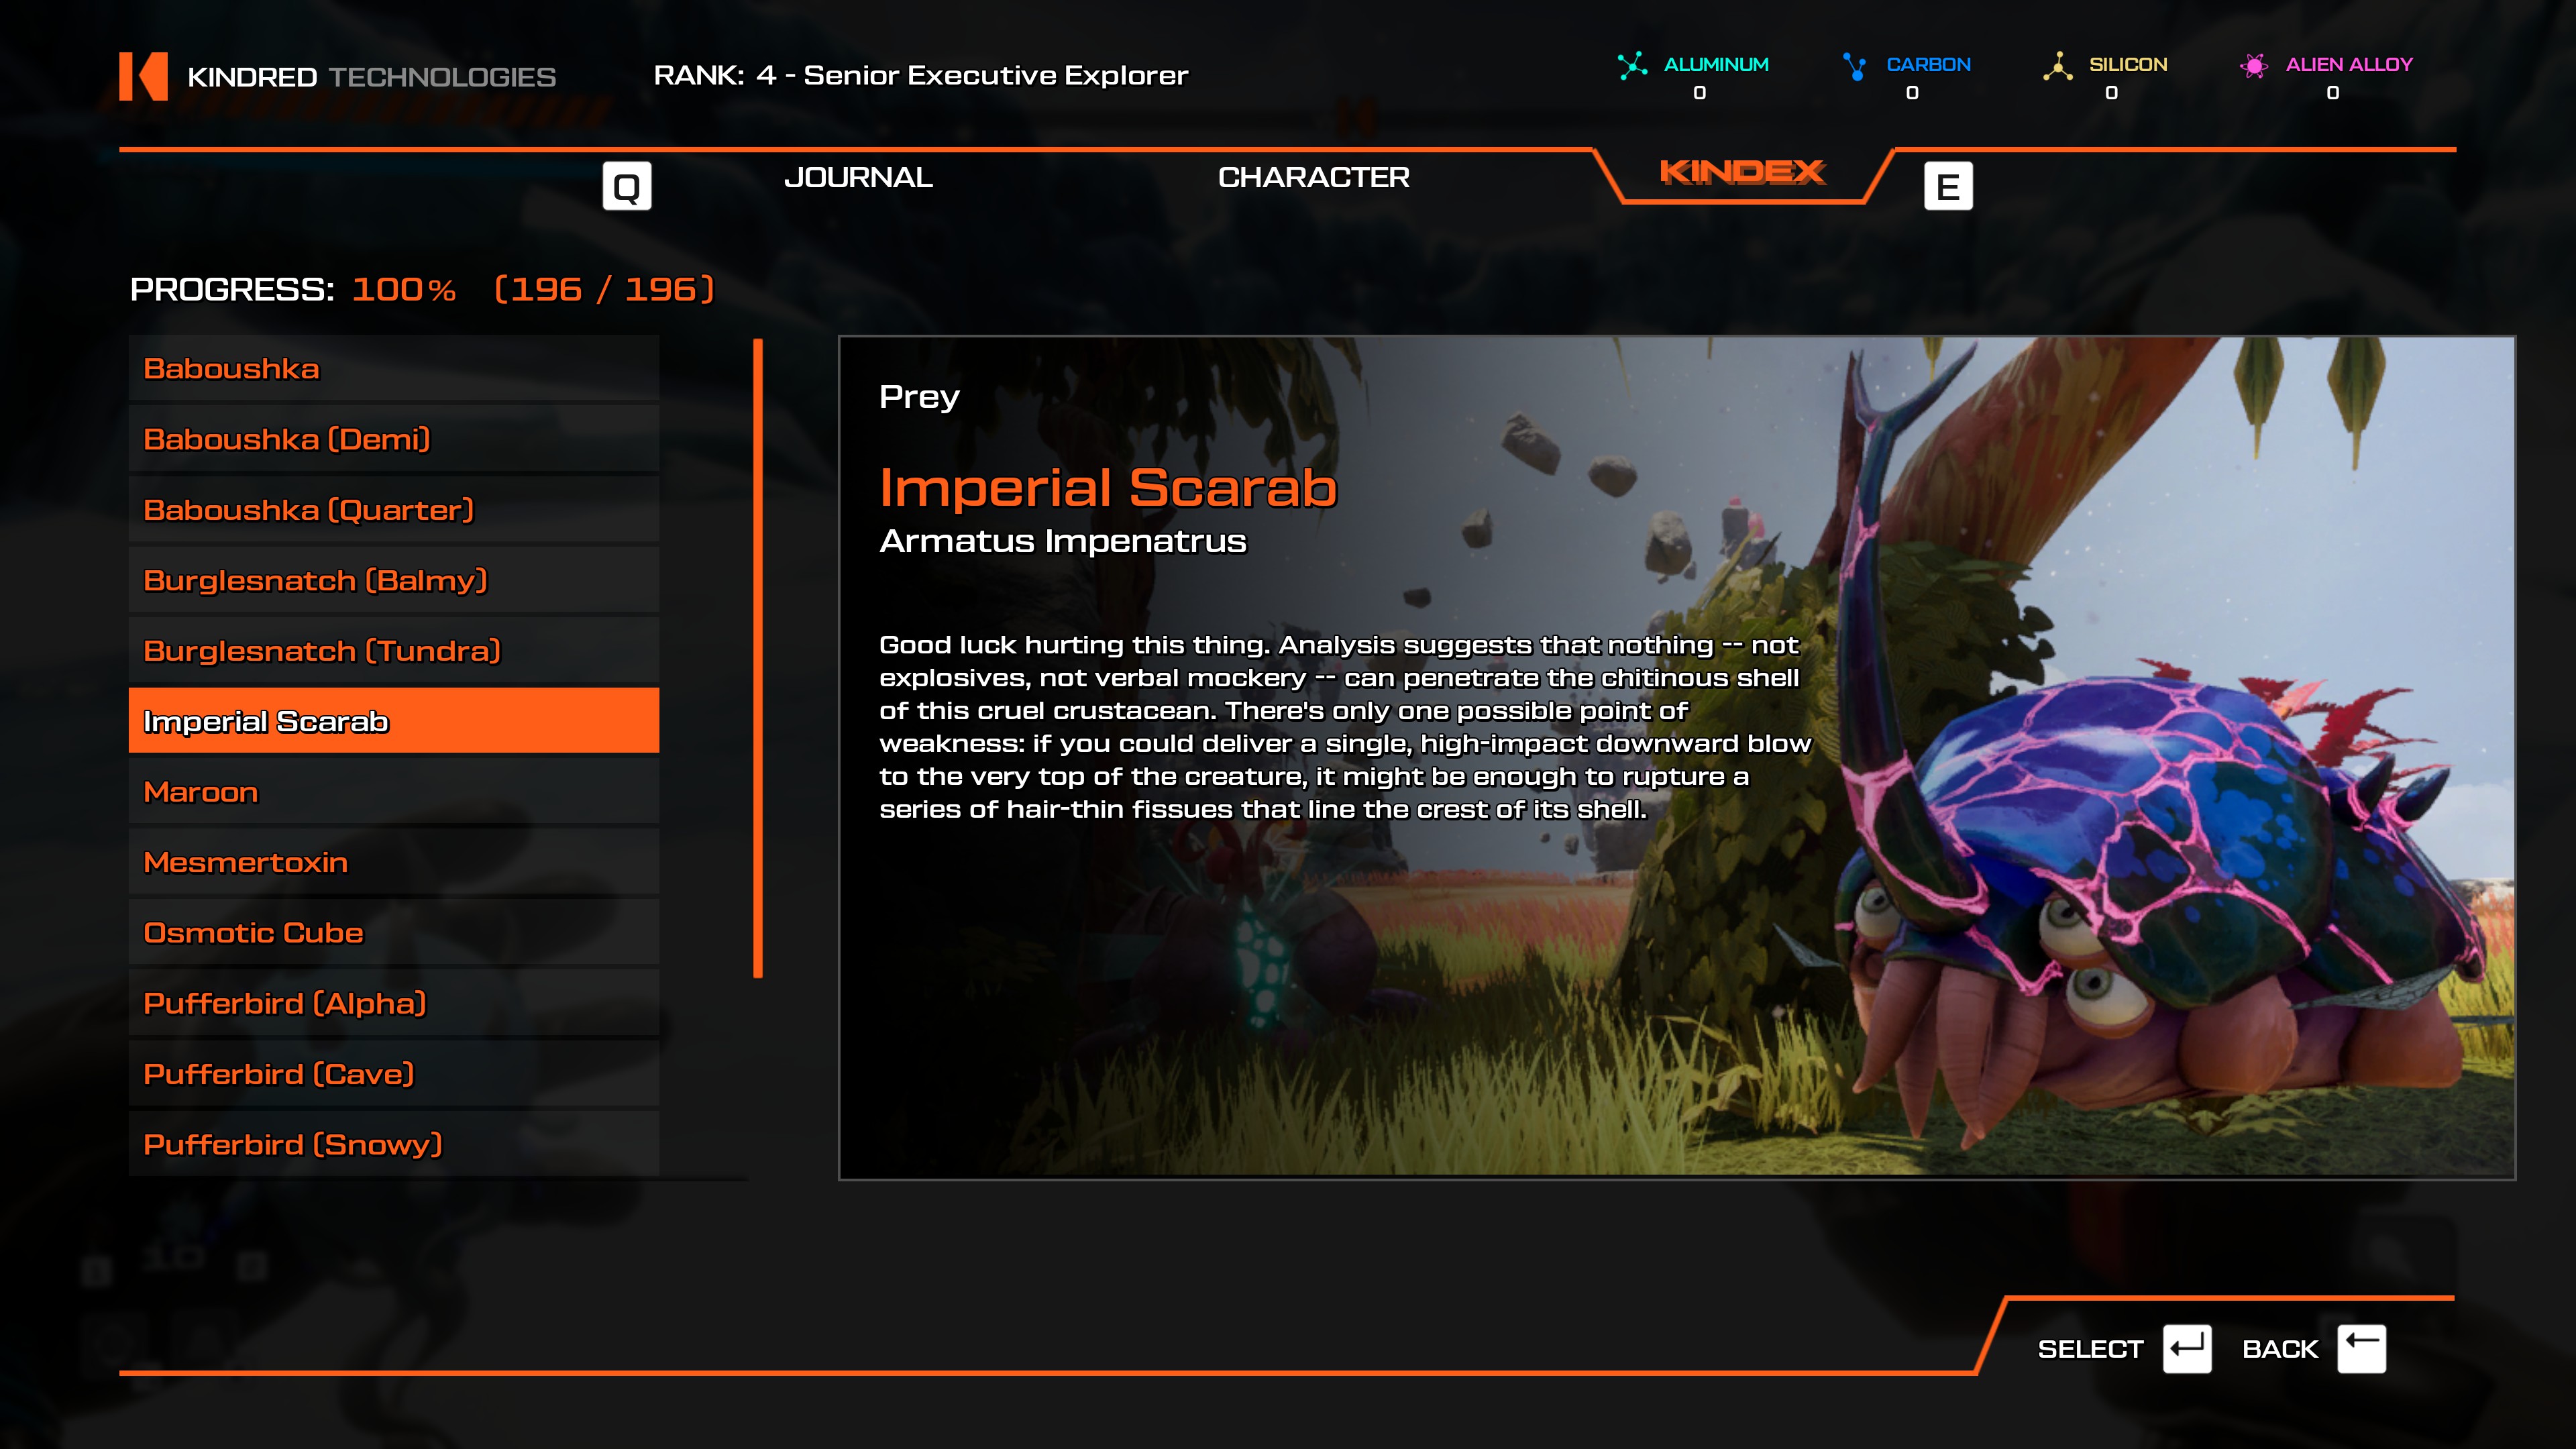
- Teleport to Xerophilous Landing, there's a bunch right next to the teleporter.
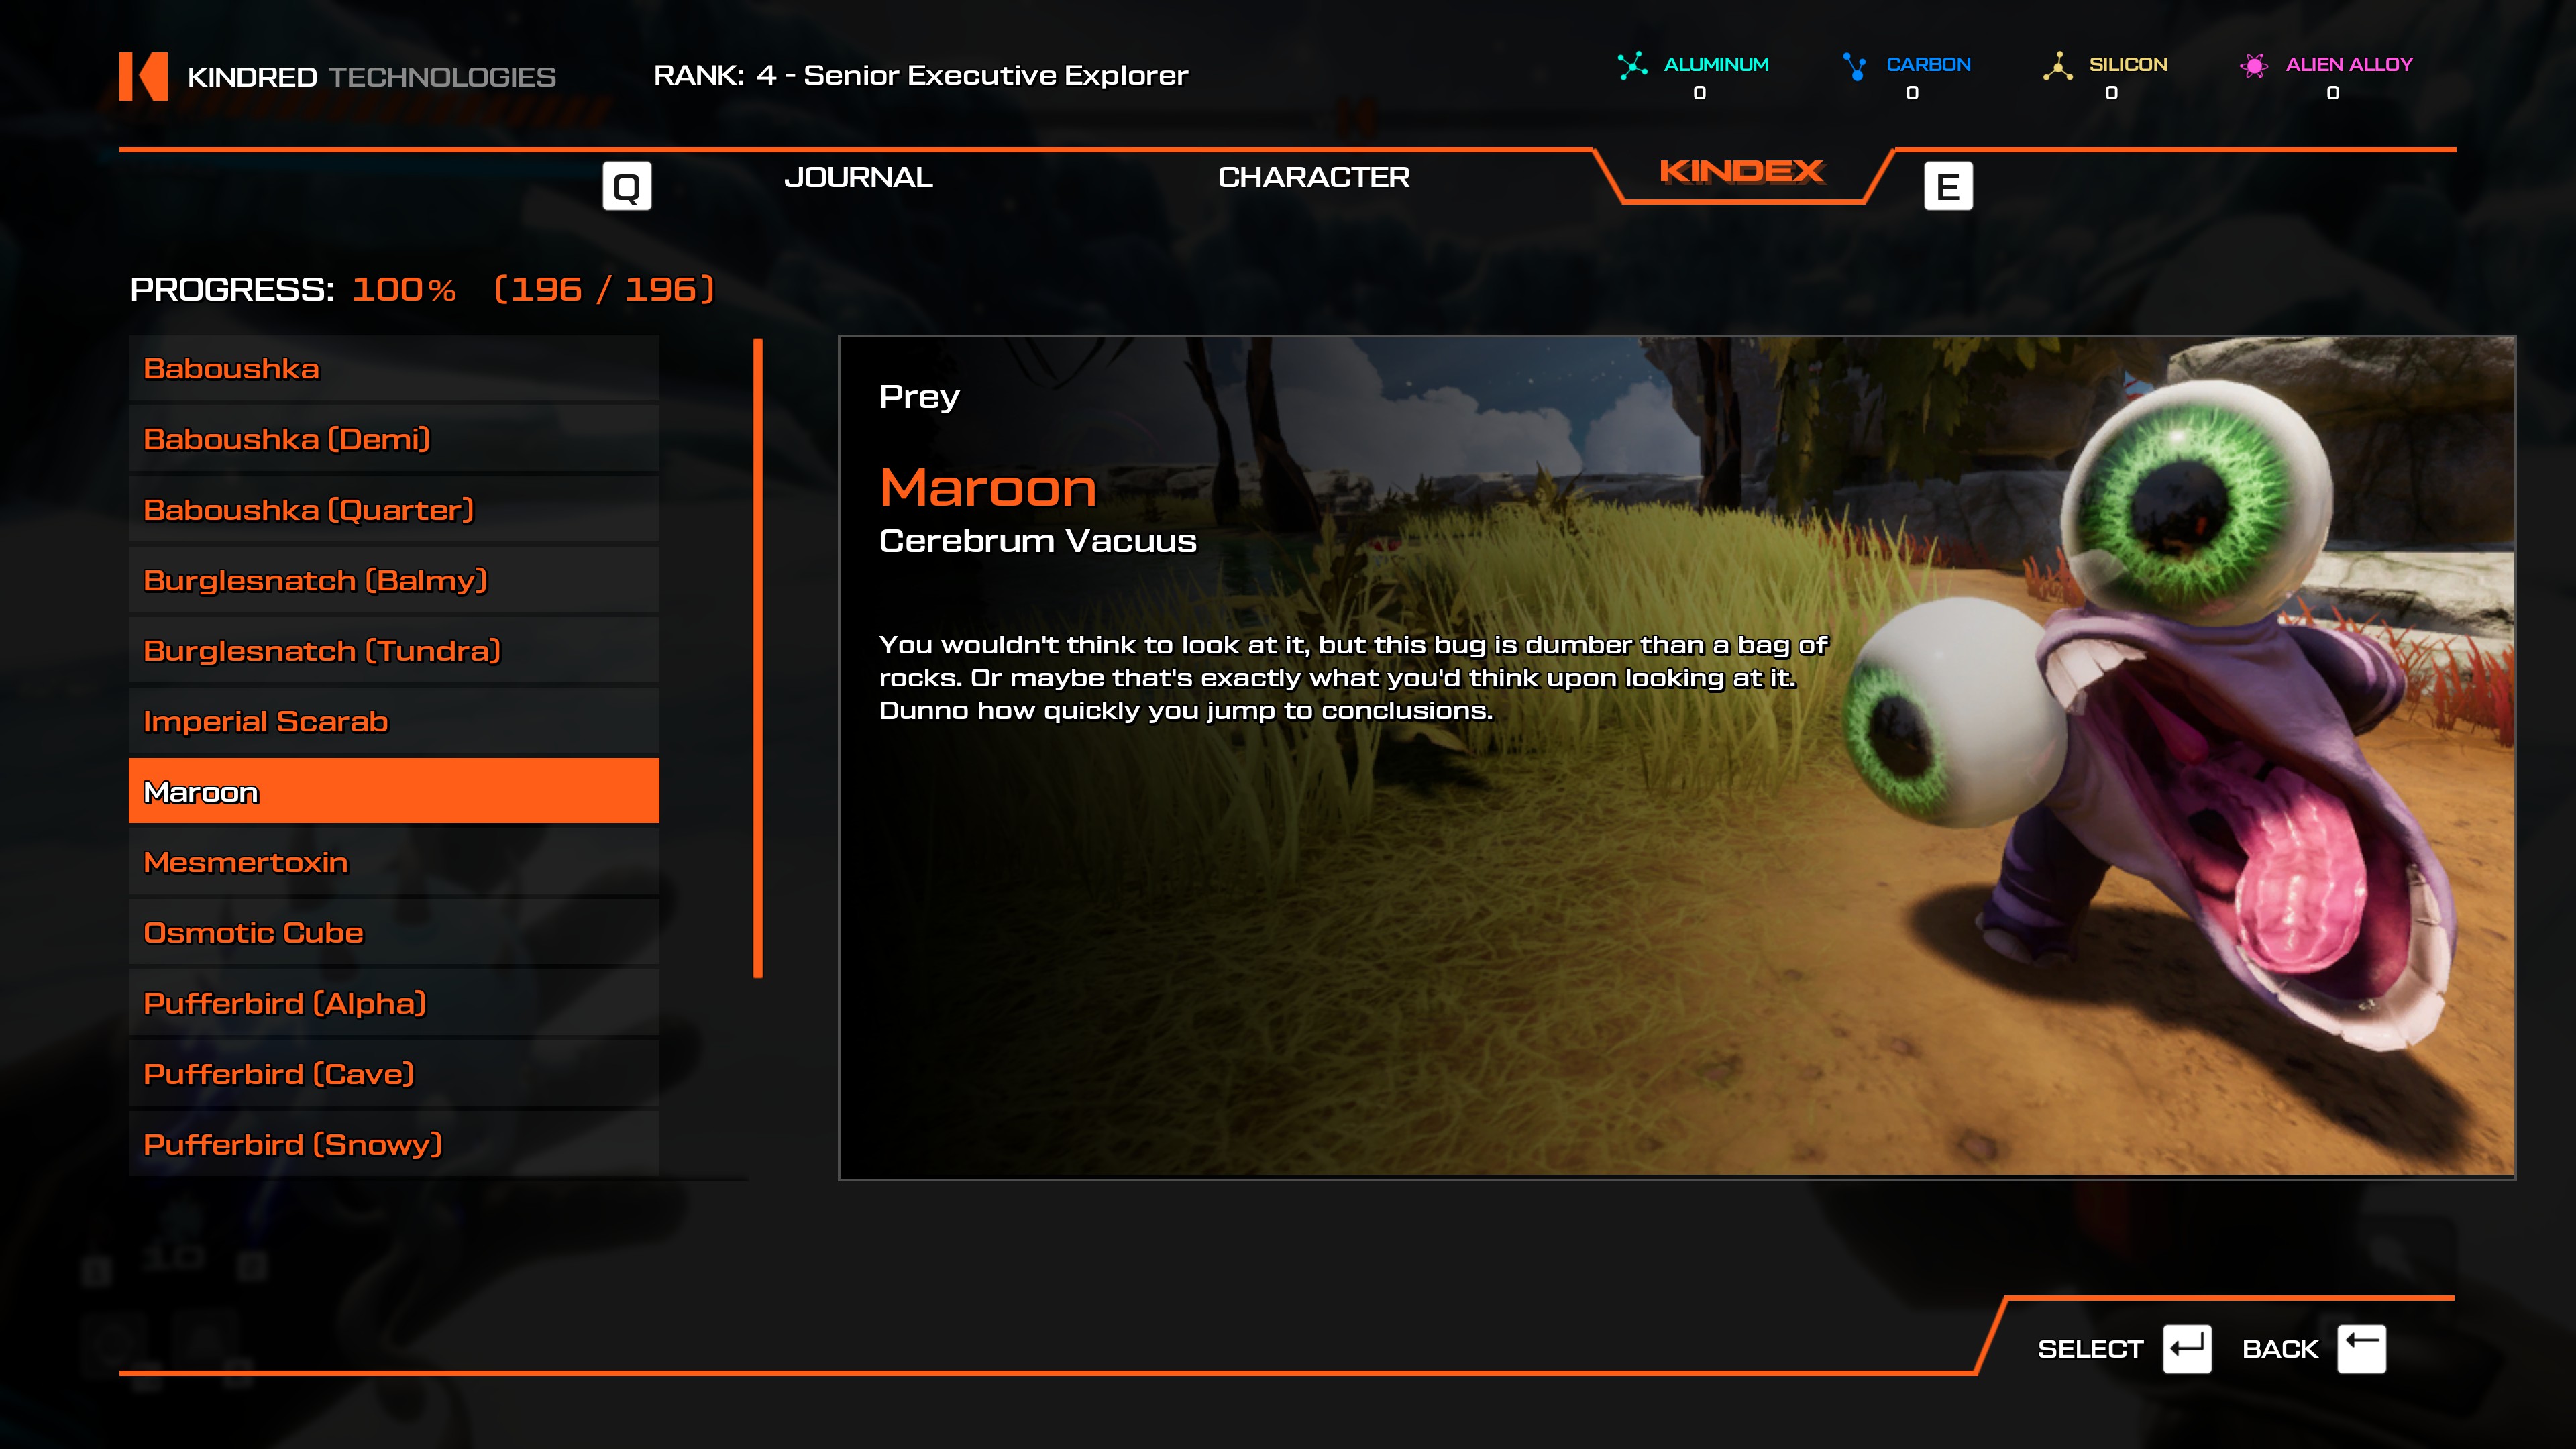
- Use the Outside the Javelin teleporter and head to Shangtar's Frigid Embrace, they can be found all around the area.
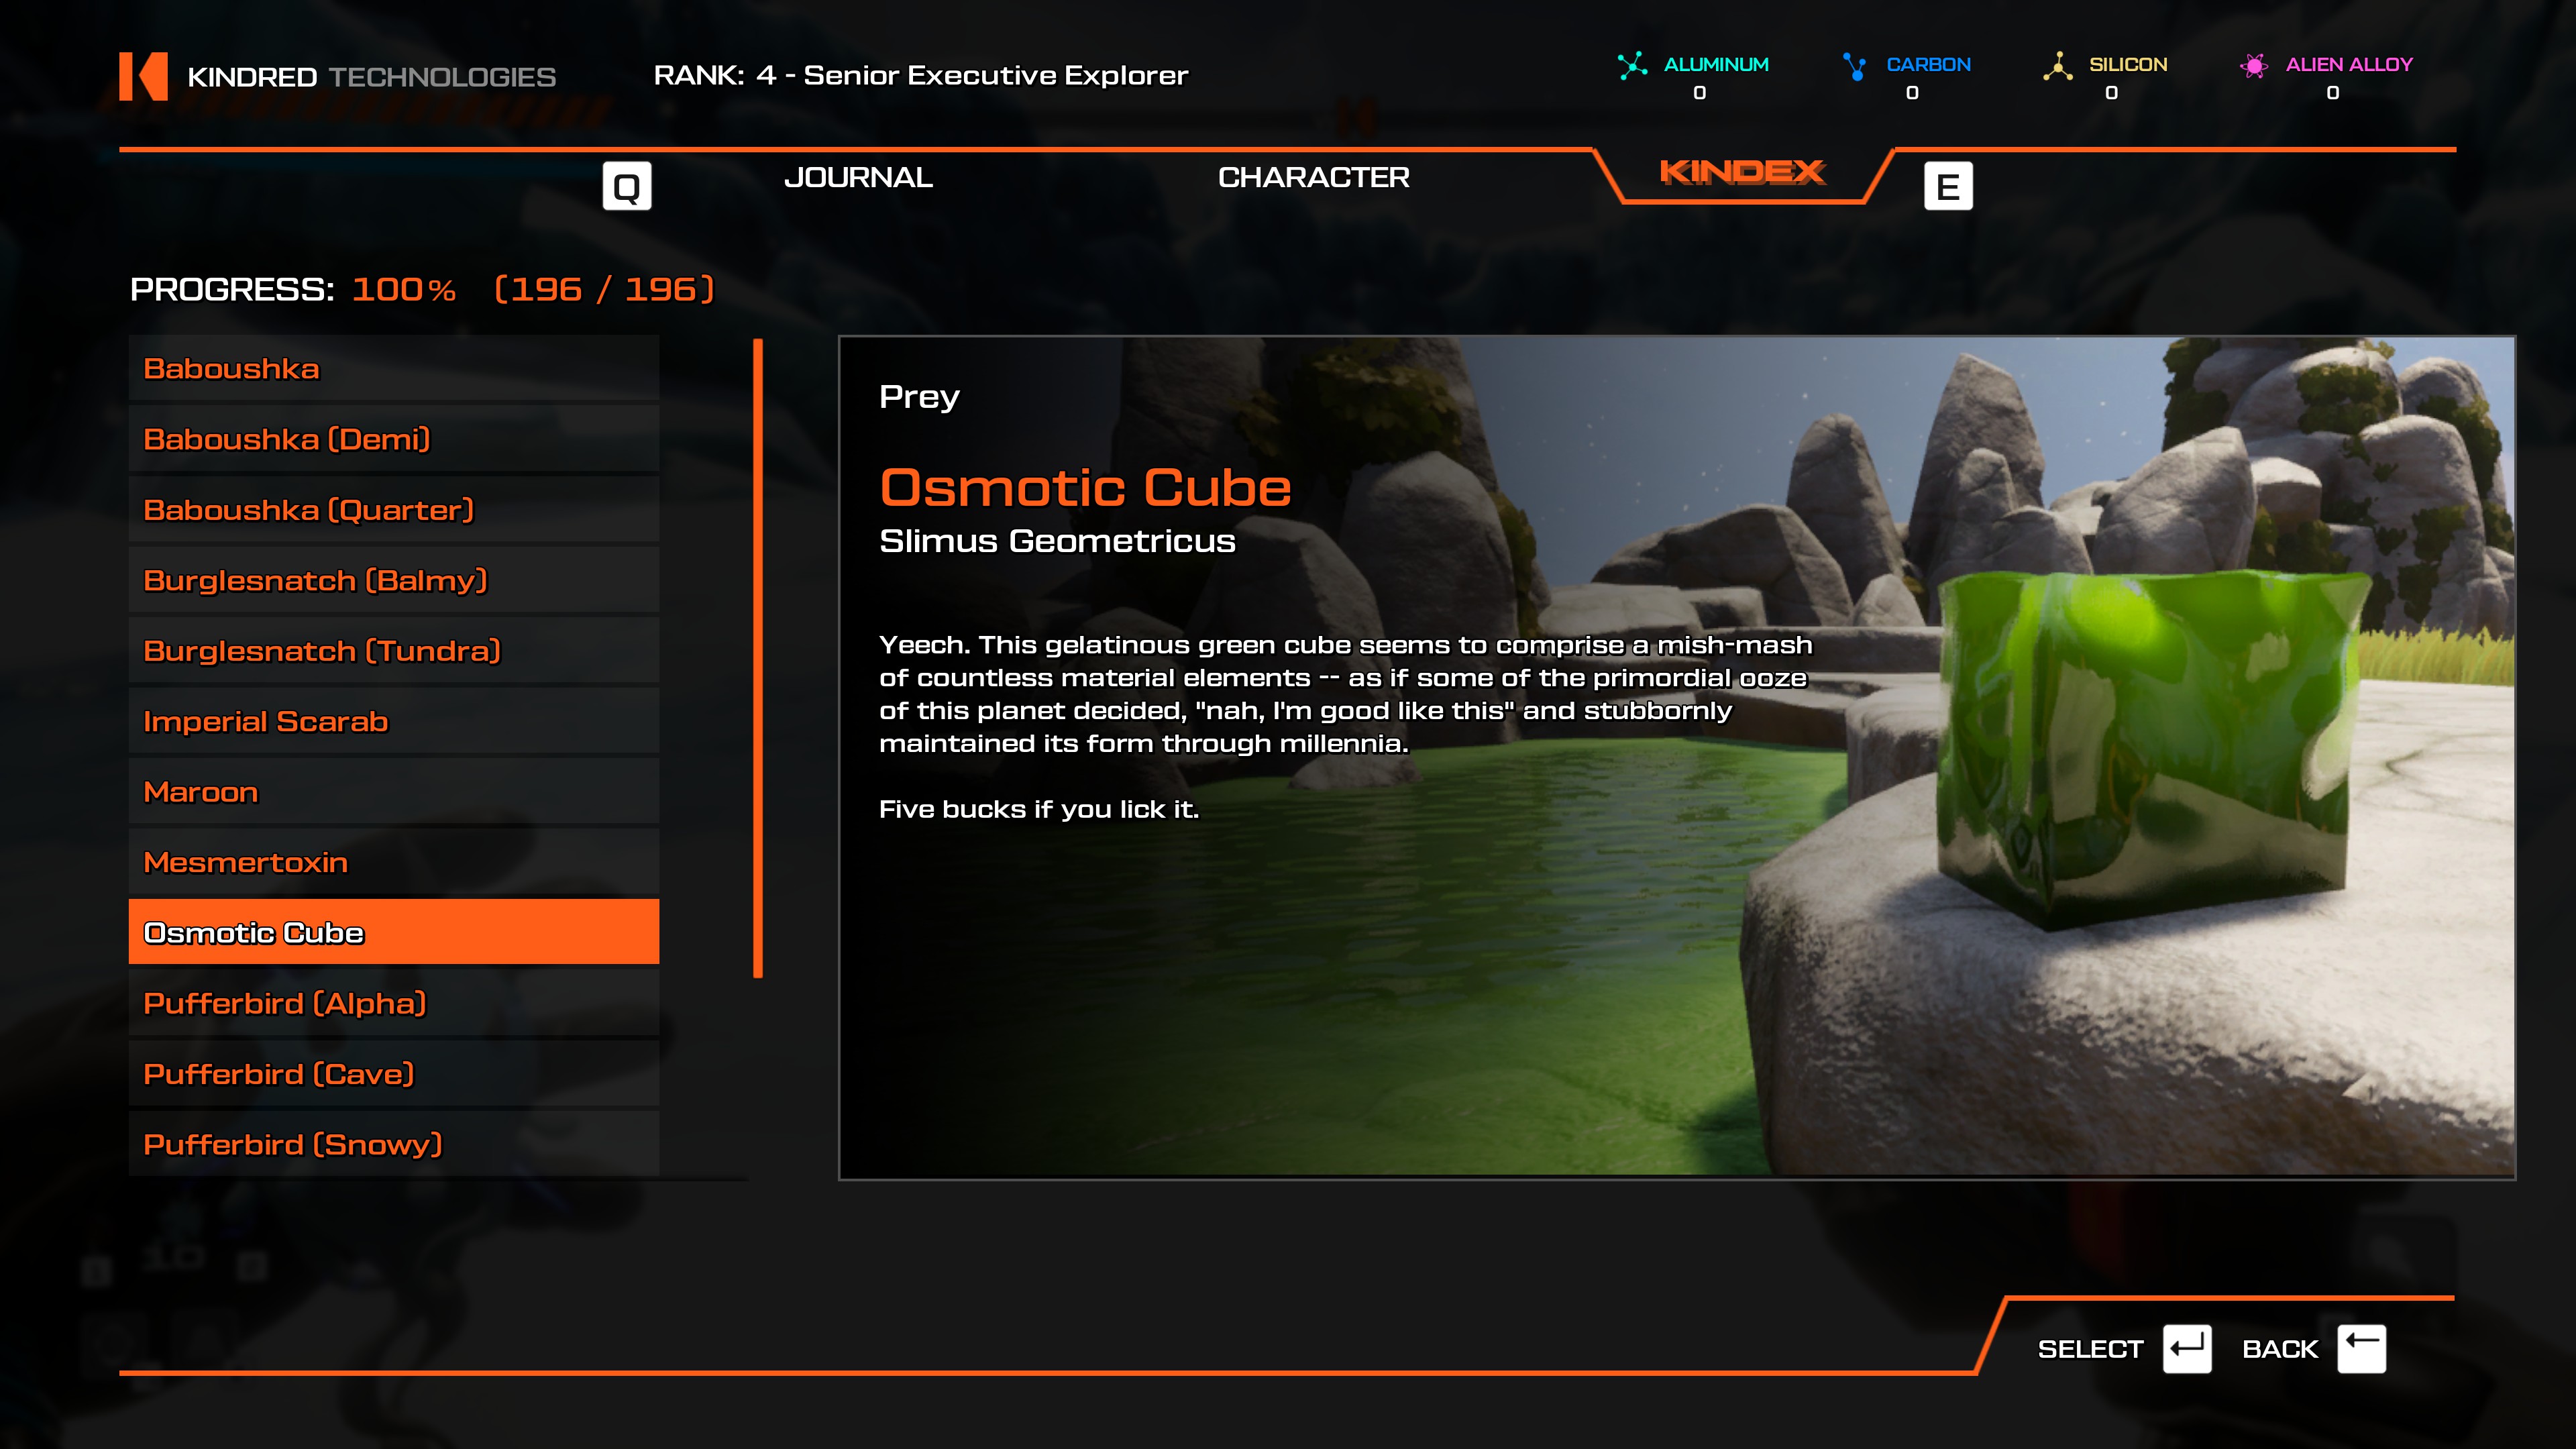
- From the Towering Crystals teleporter, scale the Towering Crystals of Madness. Once you do, follow the rock wall to the right. You'll come across an Osmotic Cube here. Alternatively, you can jump down to it from the Cliffs of Mt. Gzarfyn teleporter. There are many cubes that you can find throughout the game, and they show up on the scanner once you are able to scan for Alien Alloys. You feed them materials by killing things near them and smacking them onto the remains!
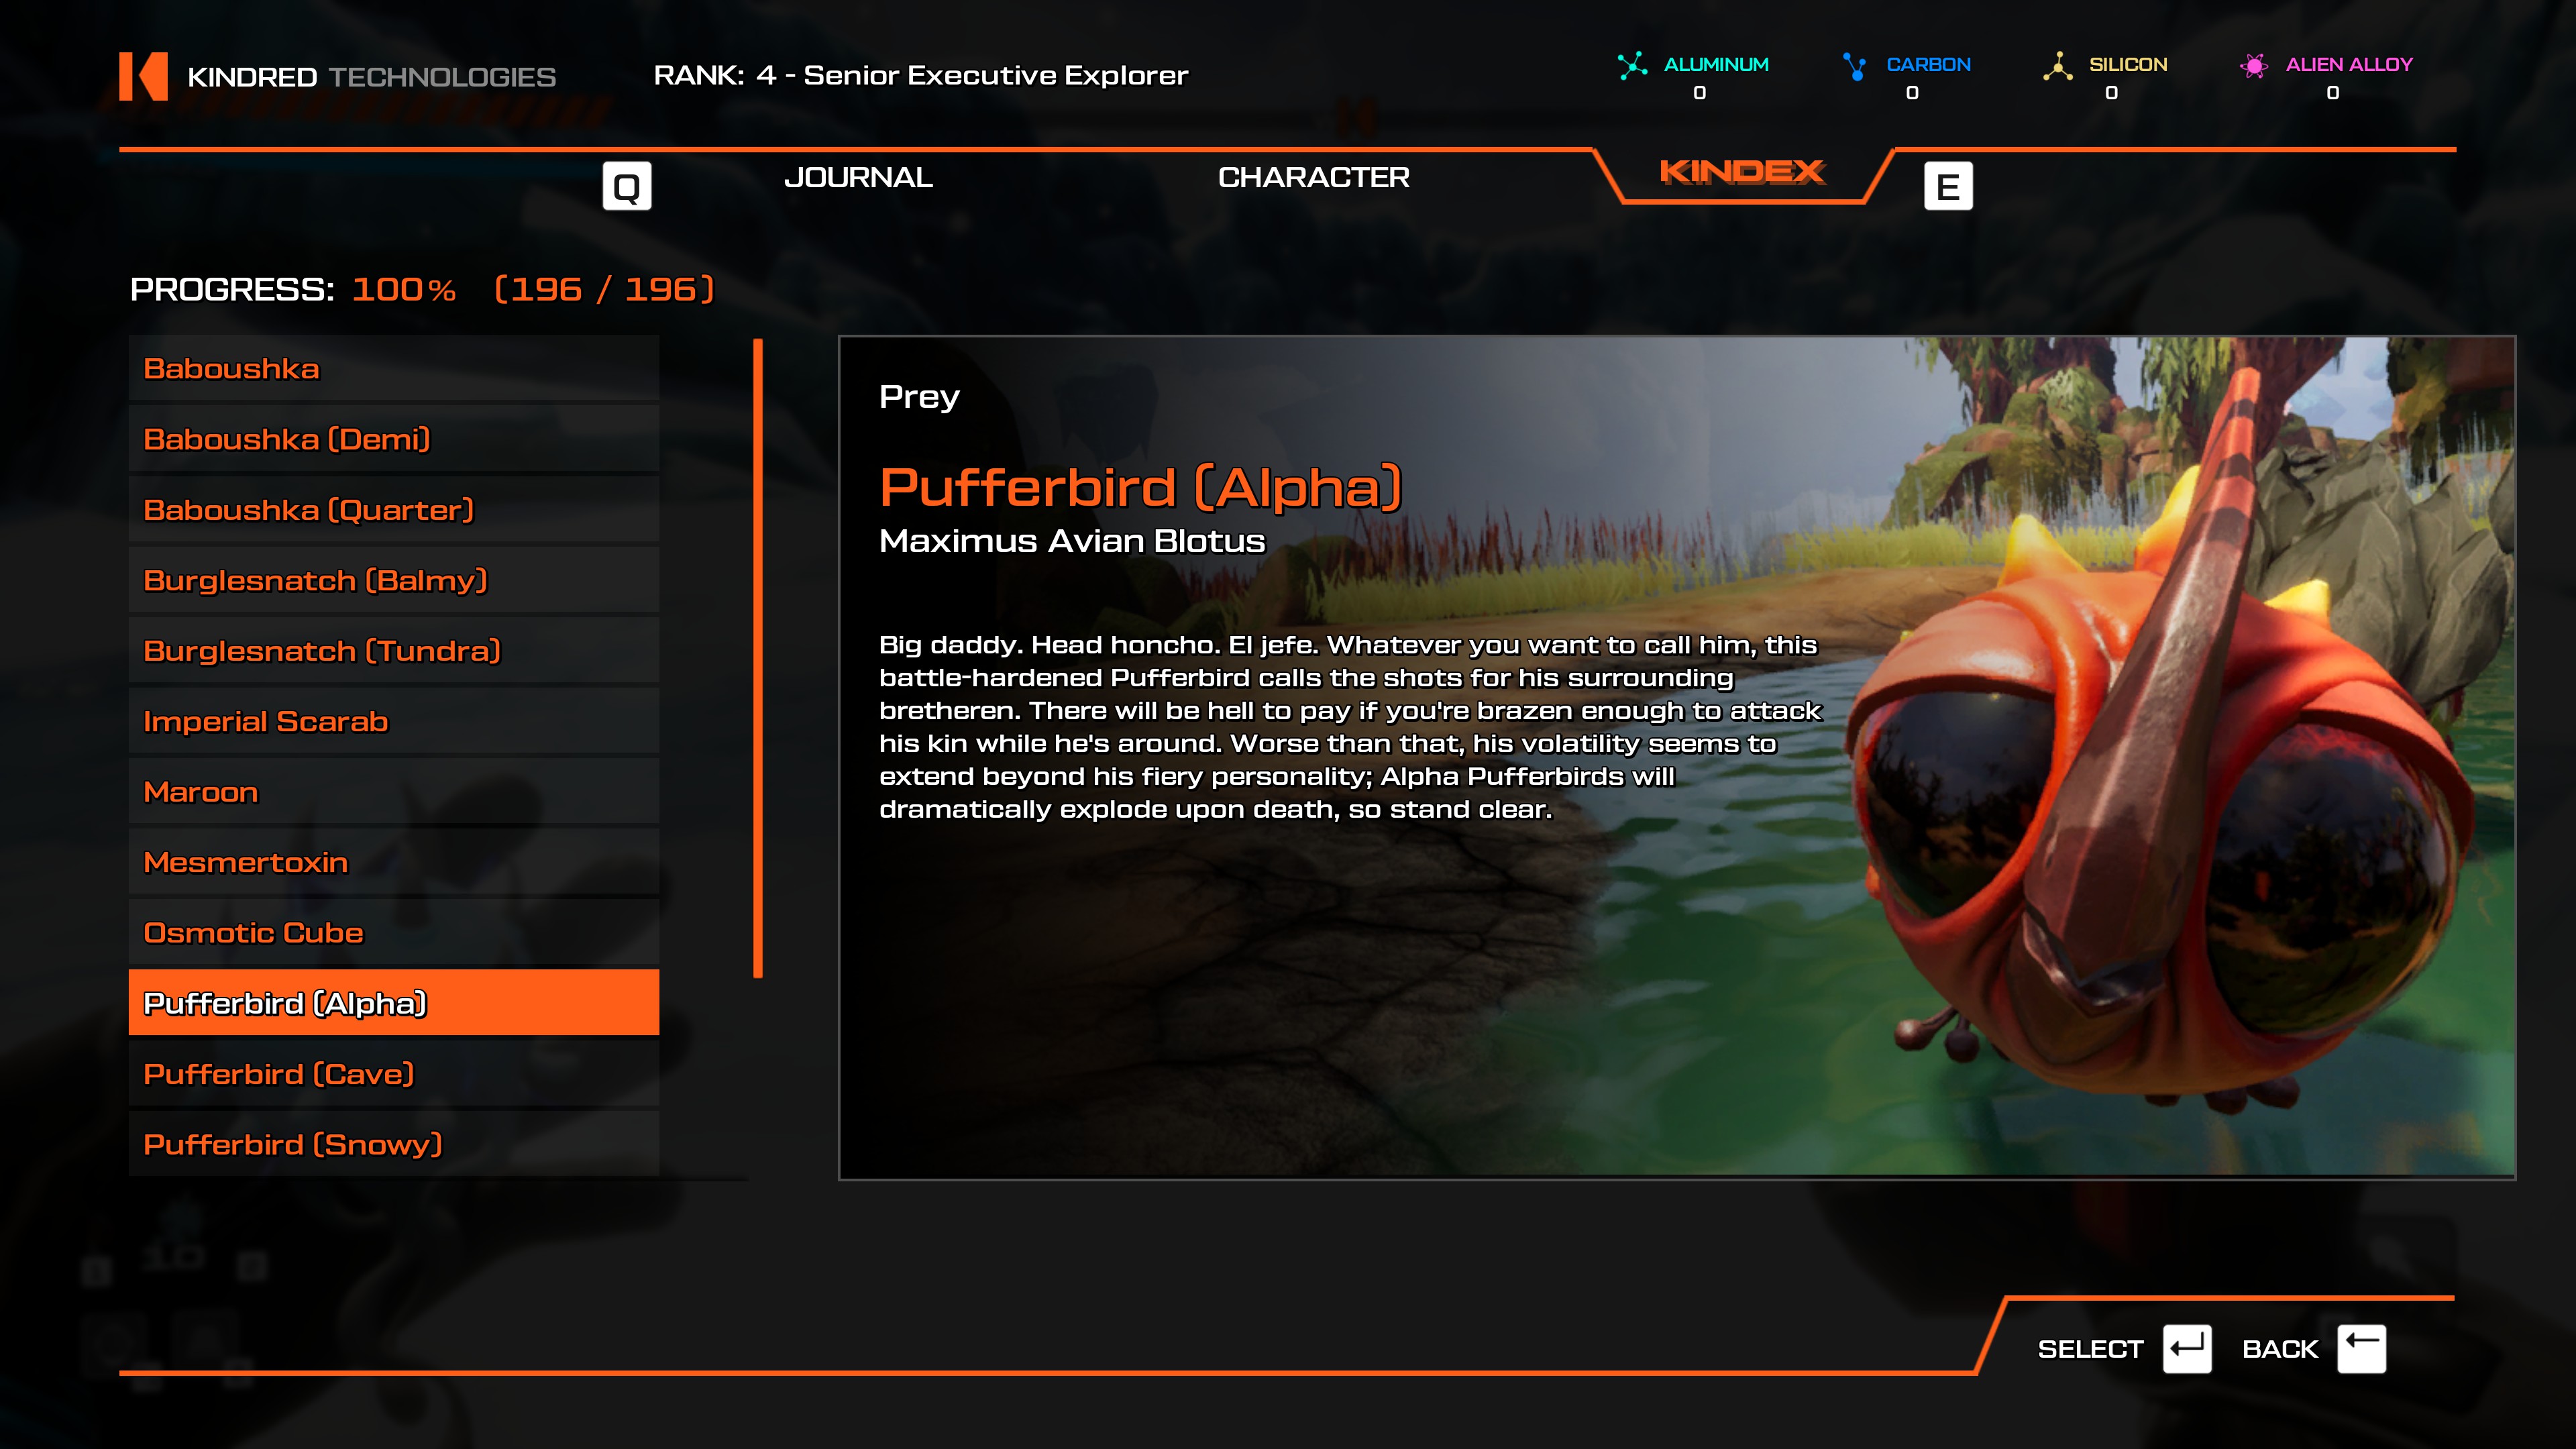
- Take Cliffs of Mt. Gzarfyn teleporter, there's a few right next to it.
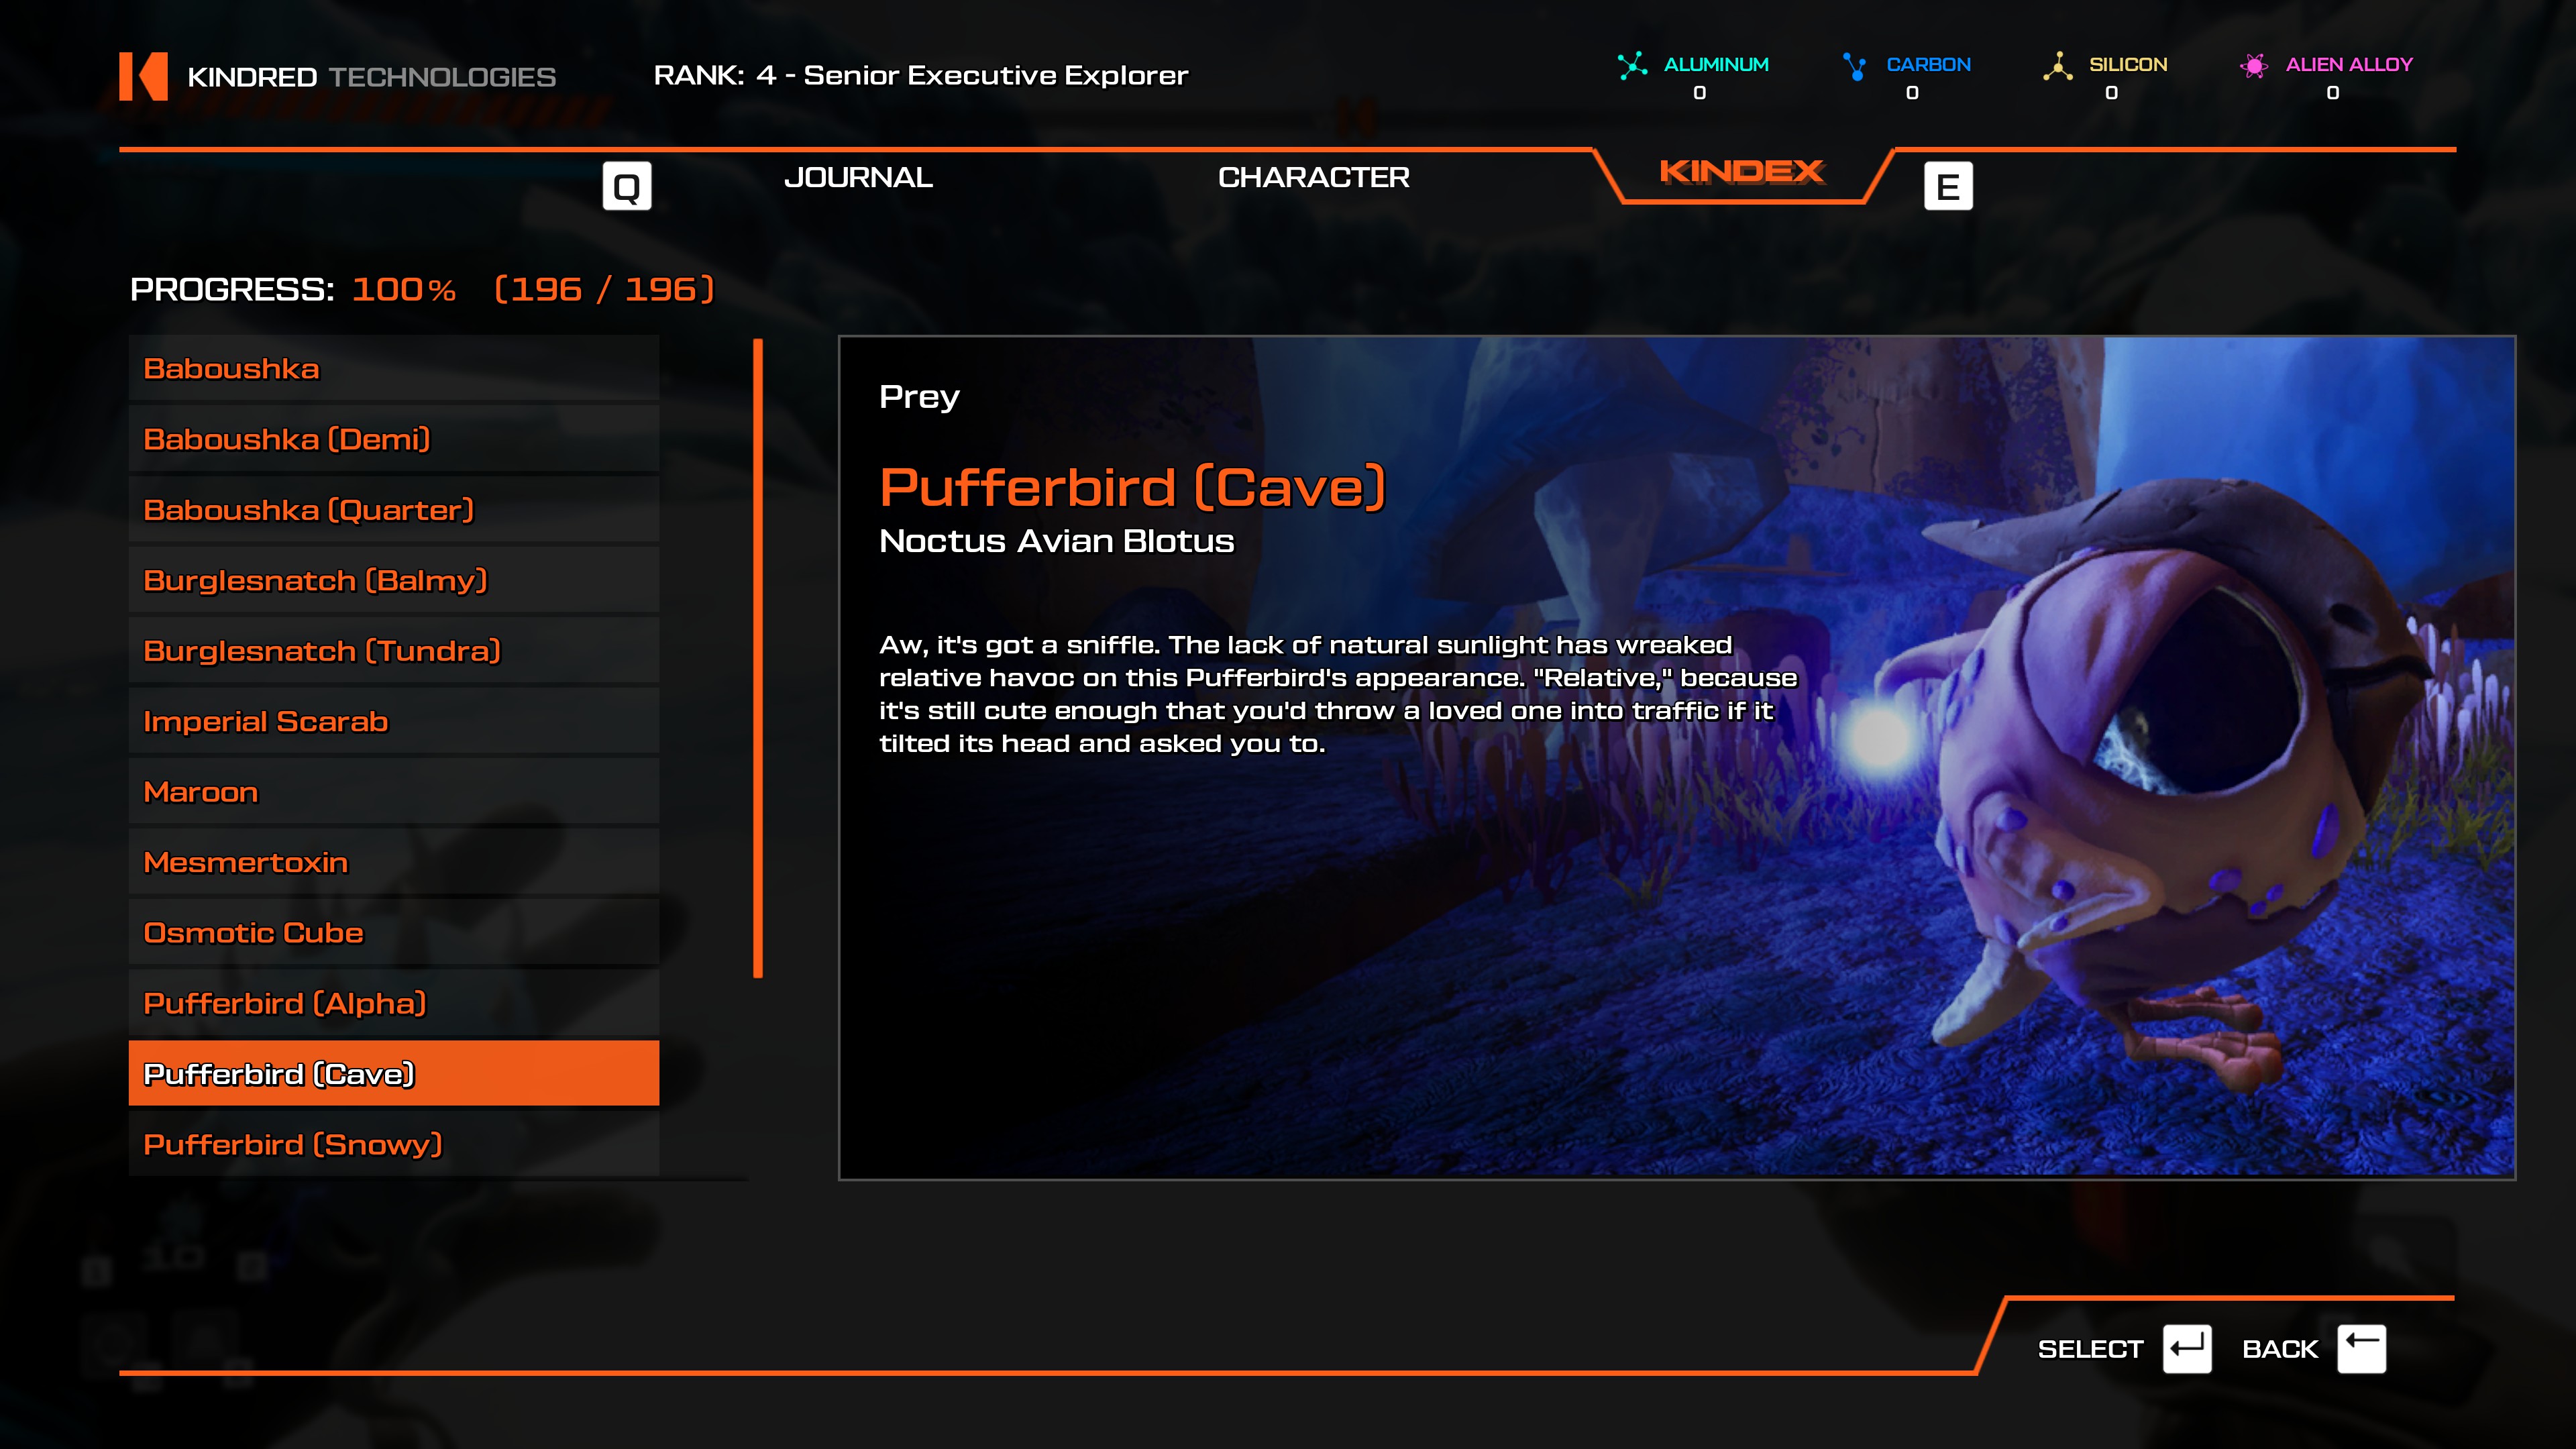
- Use the Repaired Teleporter, there are five right next to it.
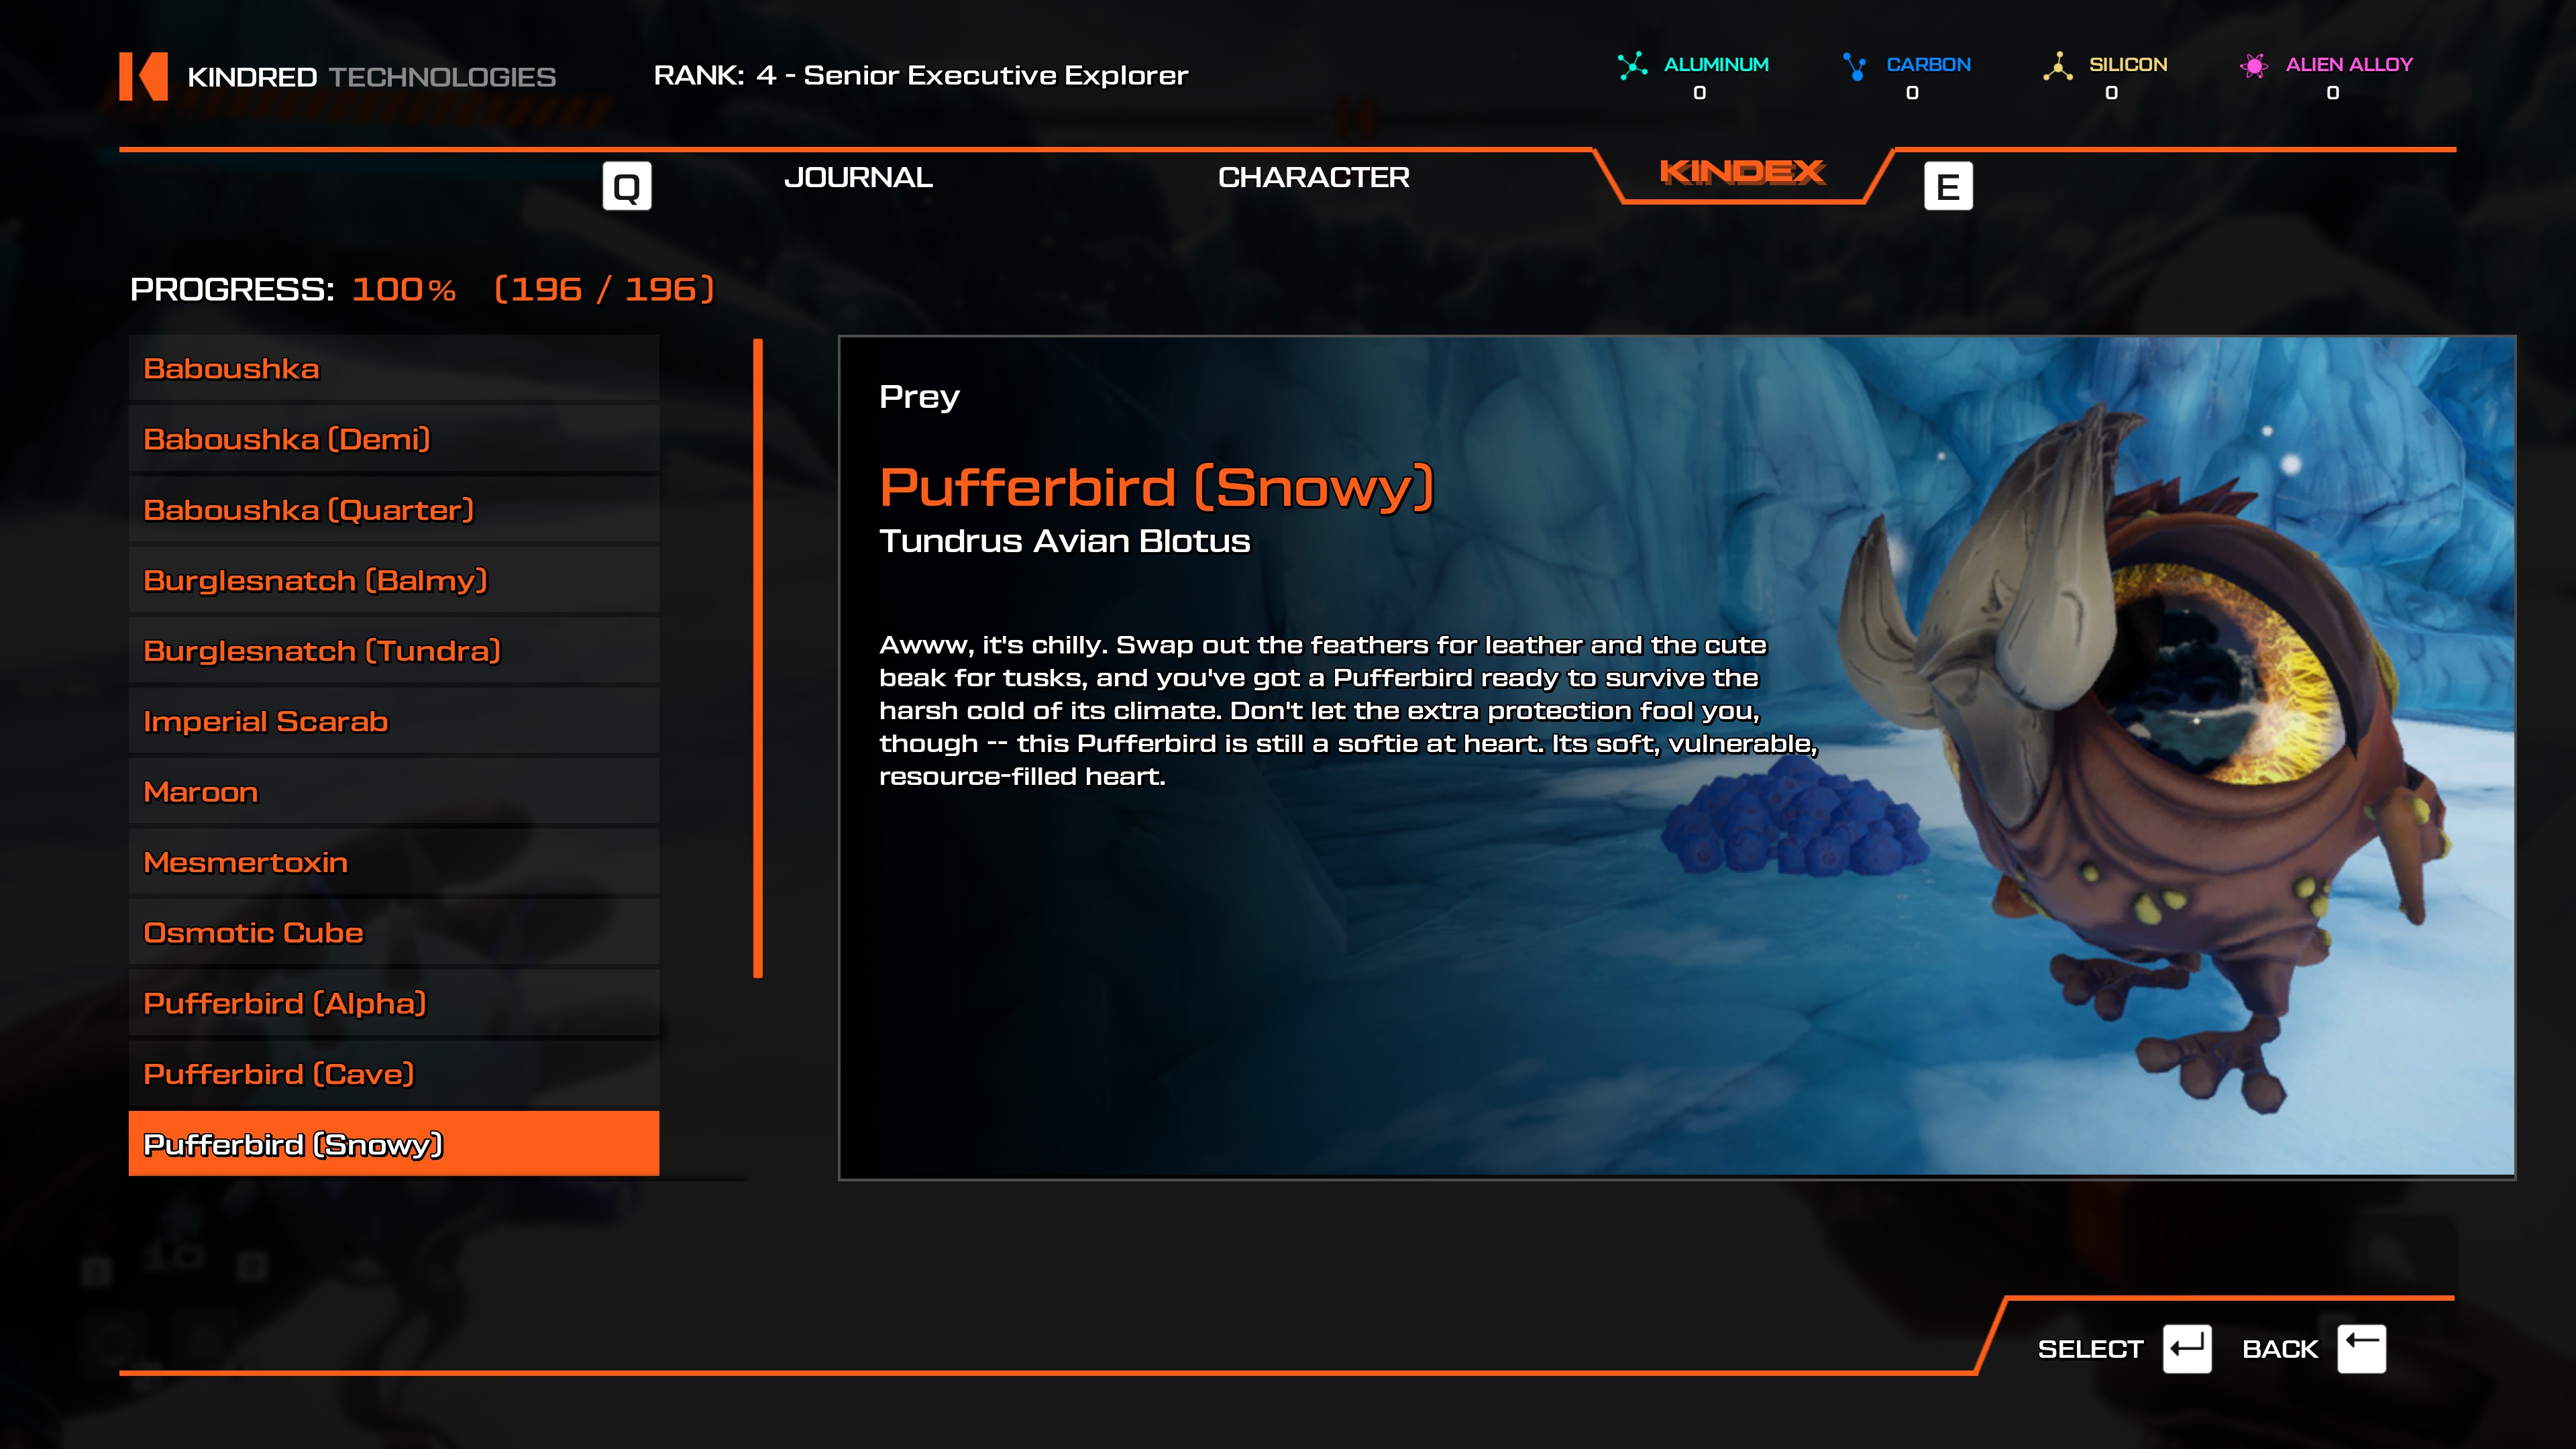
- Outside the Javelin, in a small cave.
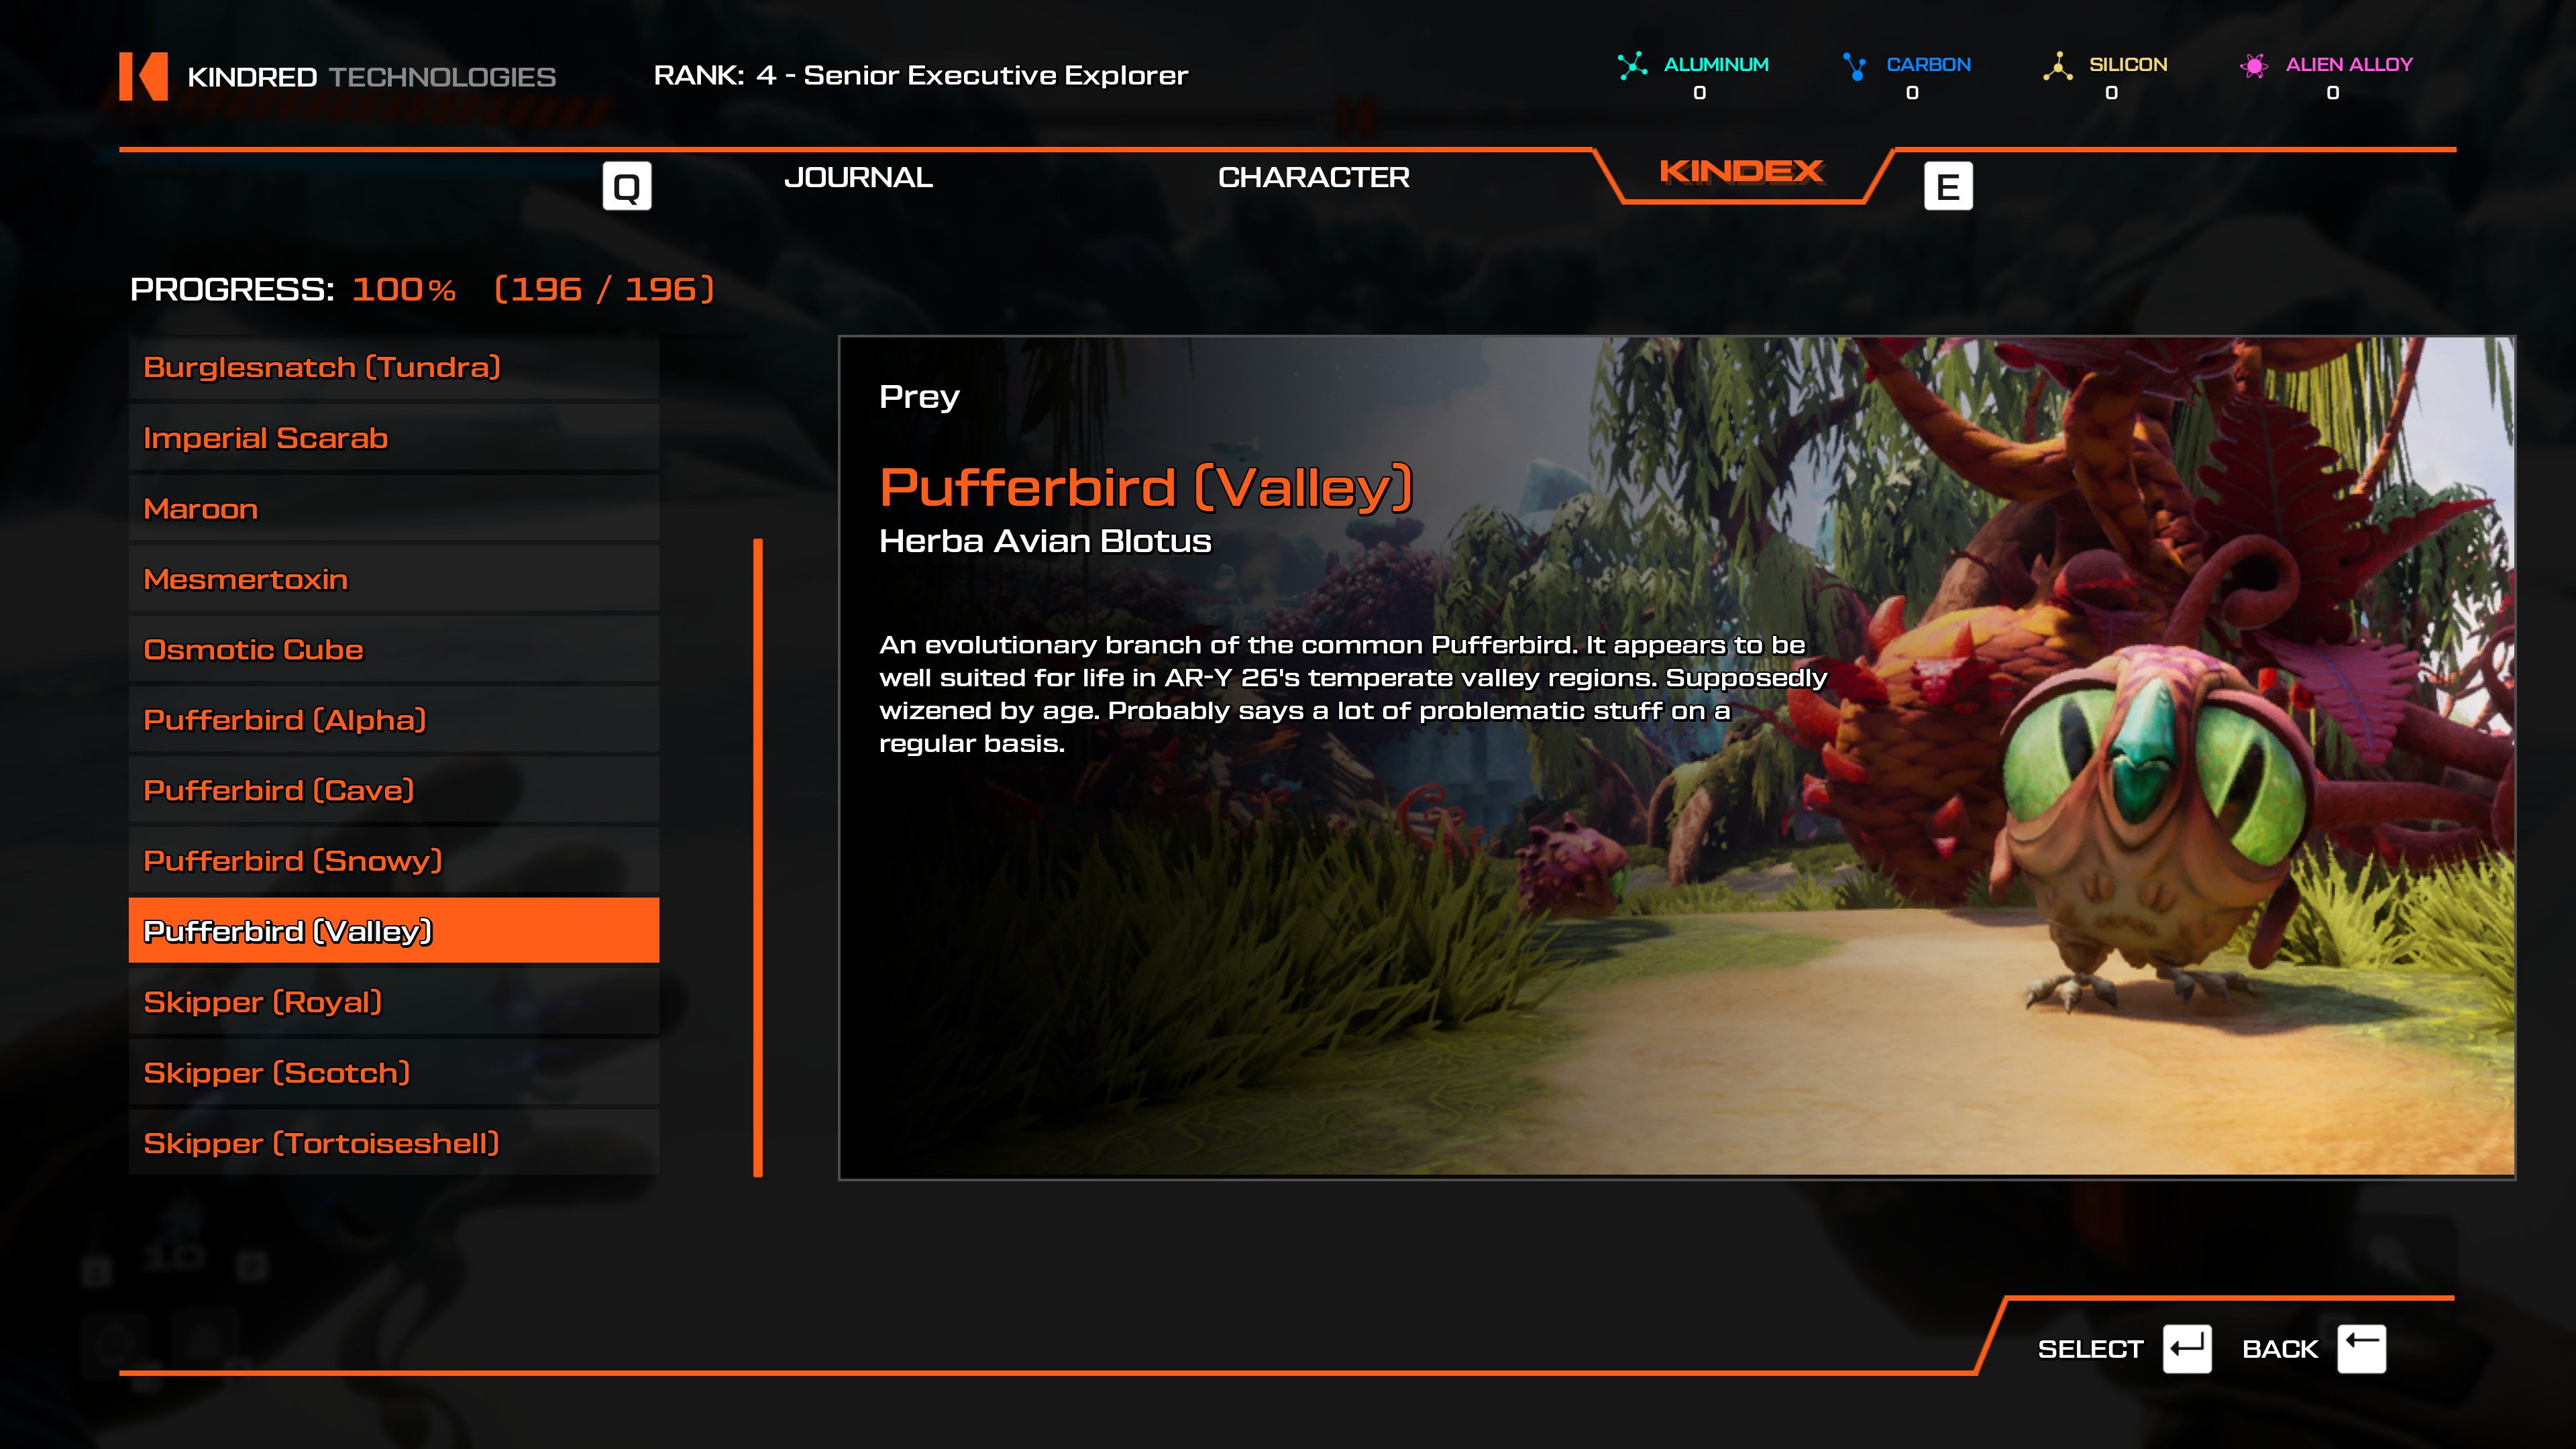
- Take the Cliffs of Mt. Gzarfyn or the Tears of T'bo teleporter, there's a bunch walking around next to it.
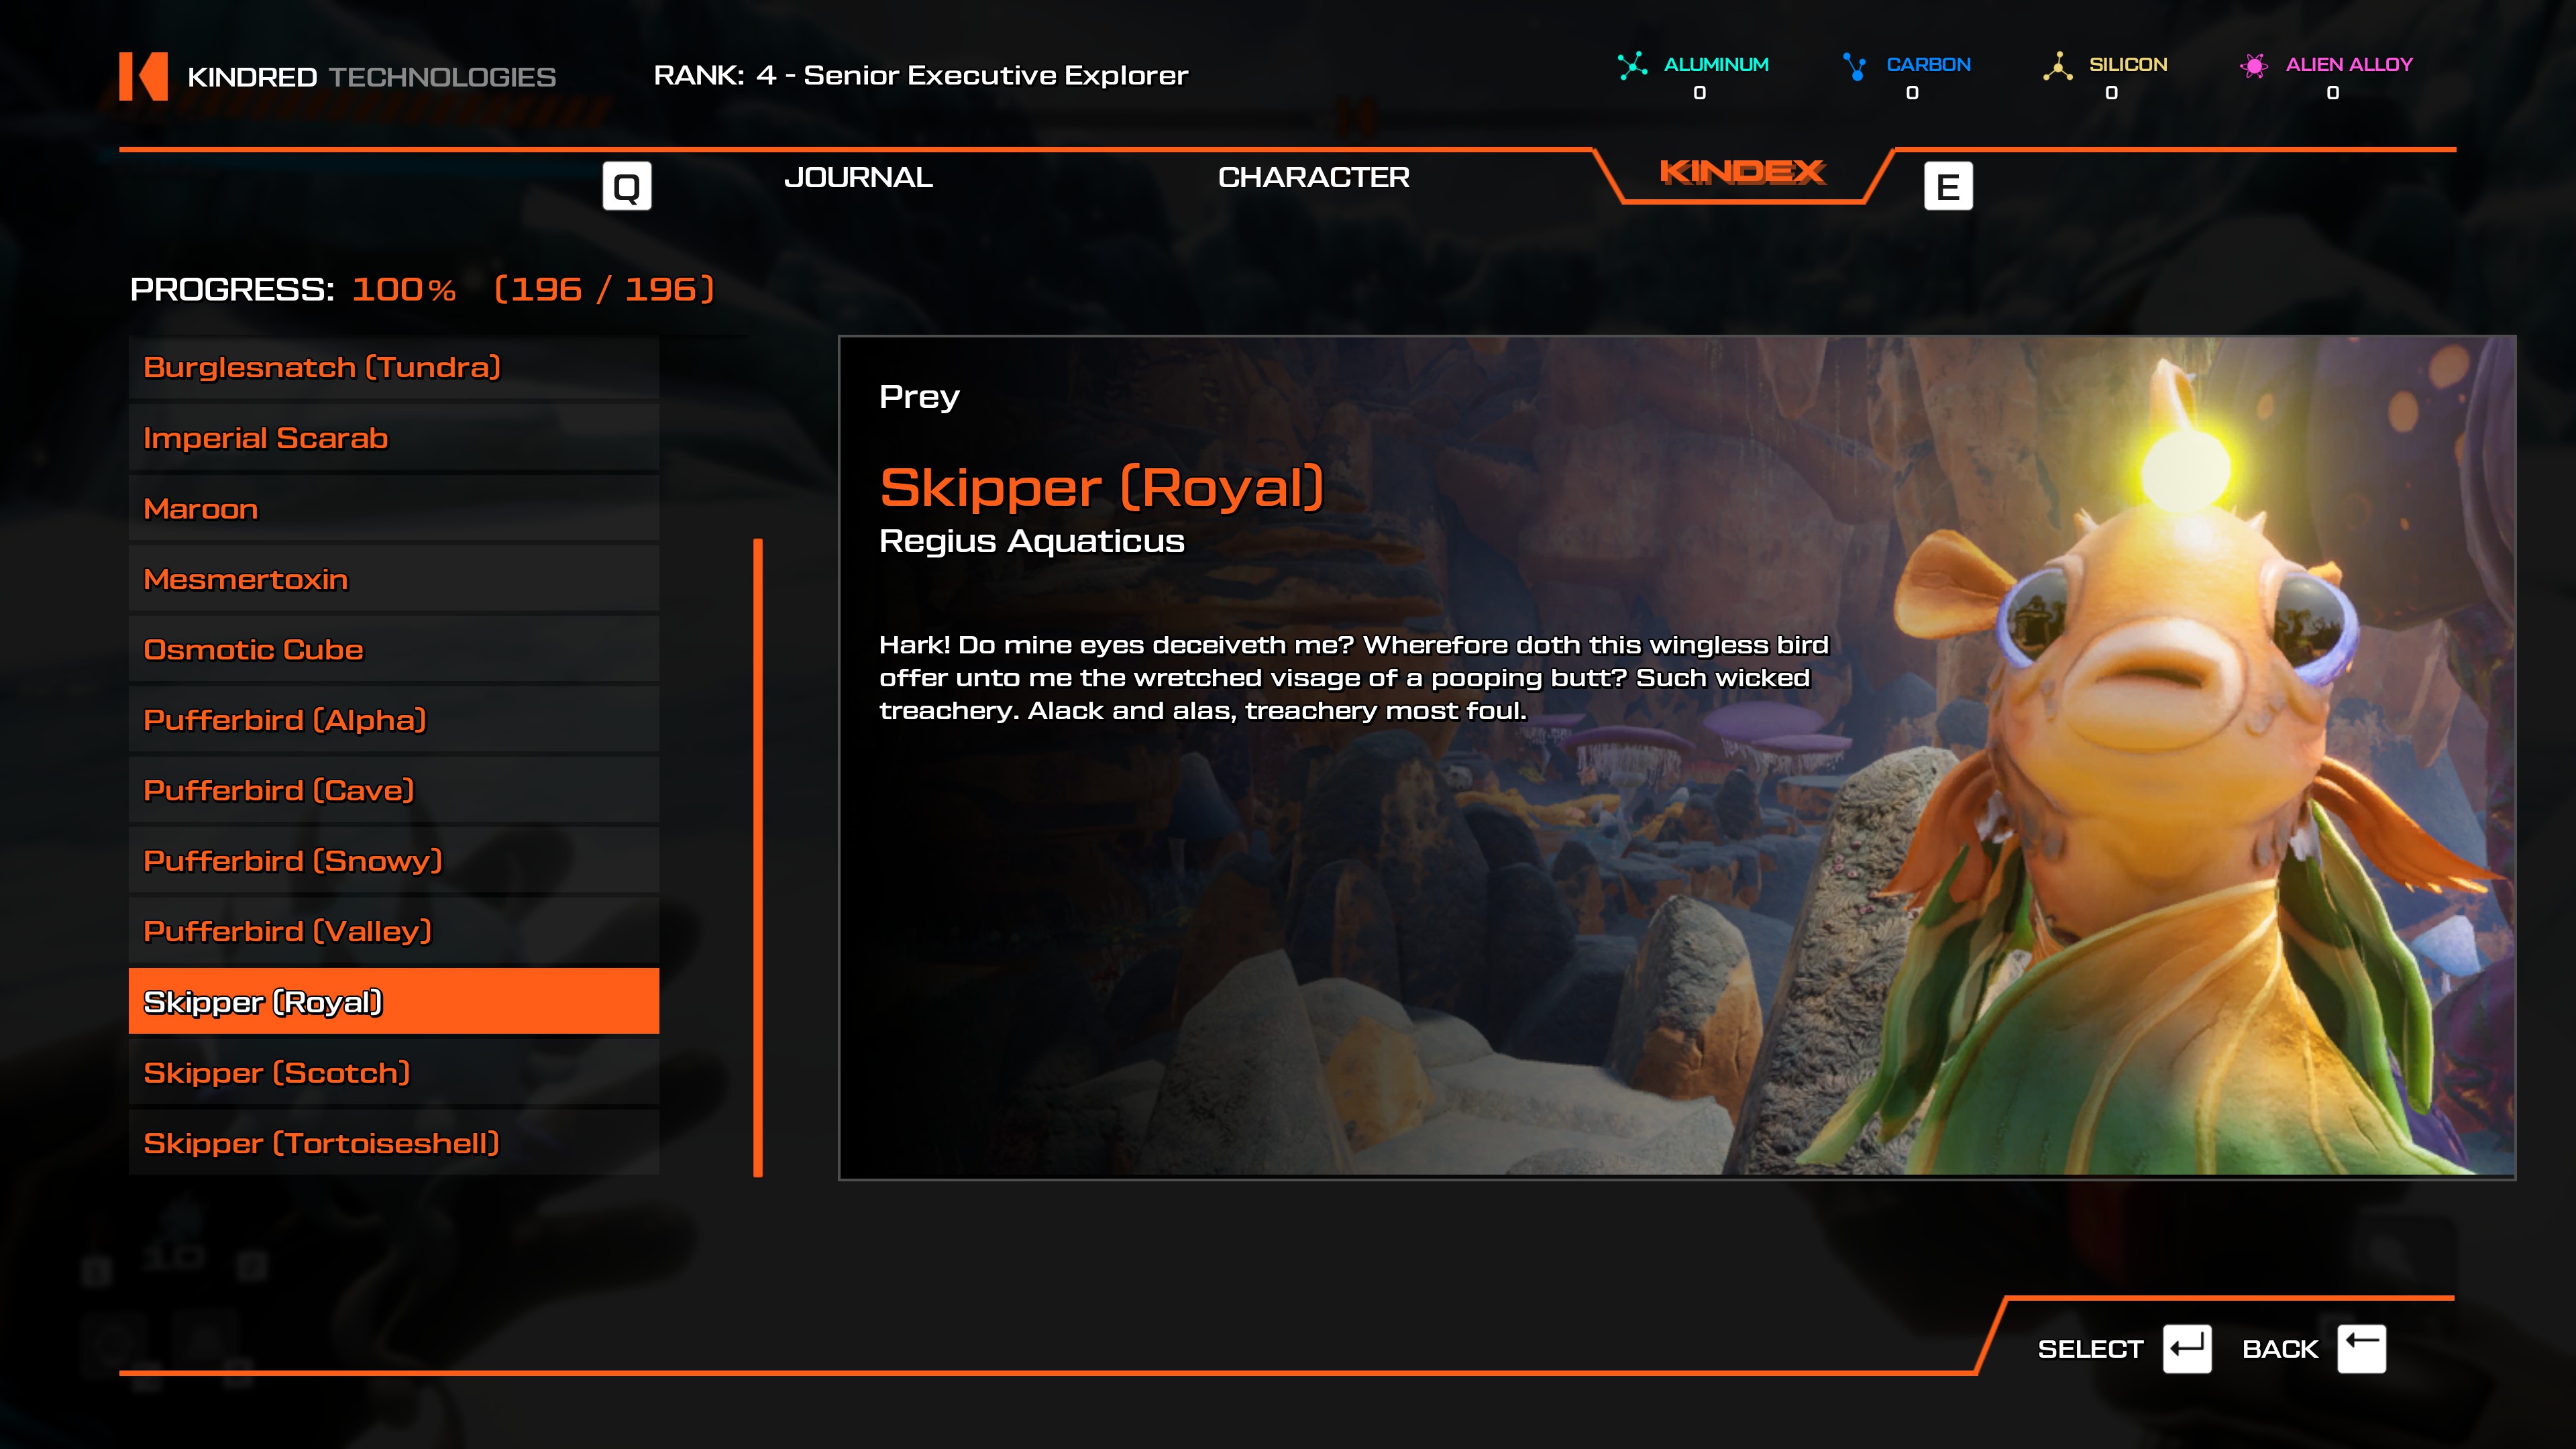
- Head to the Festering Chasm and go north, past the Virulent Tree of K'klenaii. There are two Royal Skippers hanging out on the rocks.
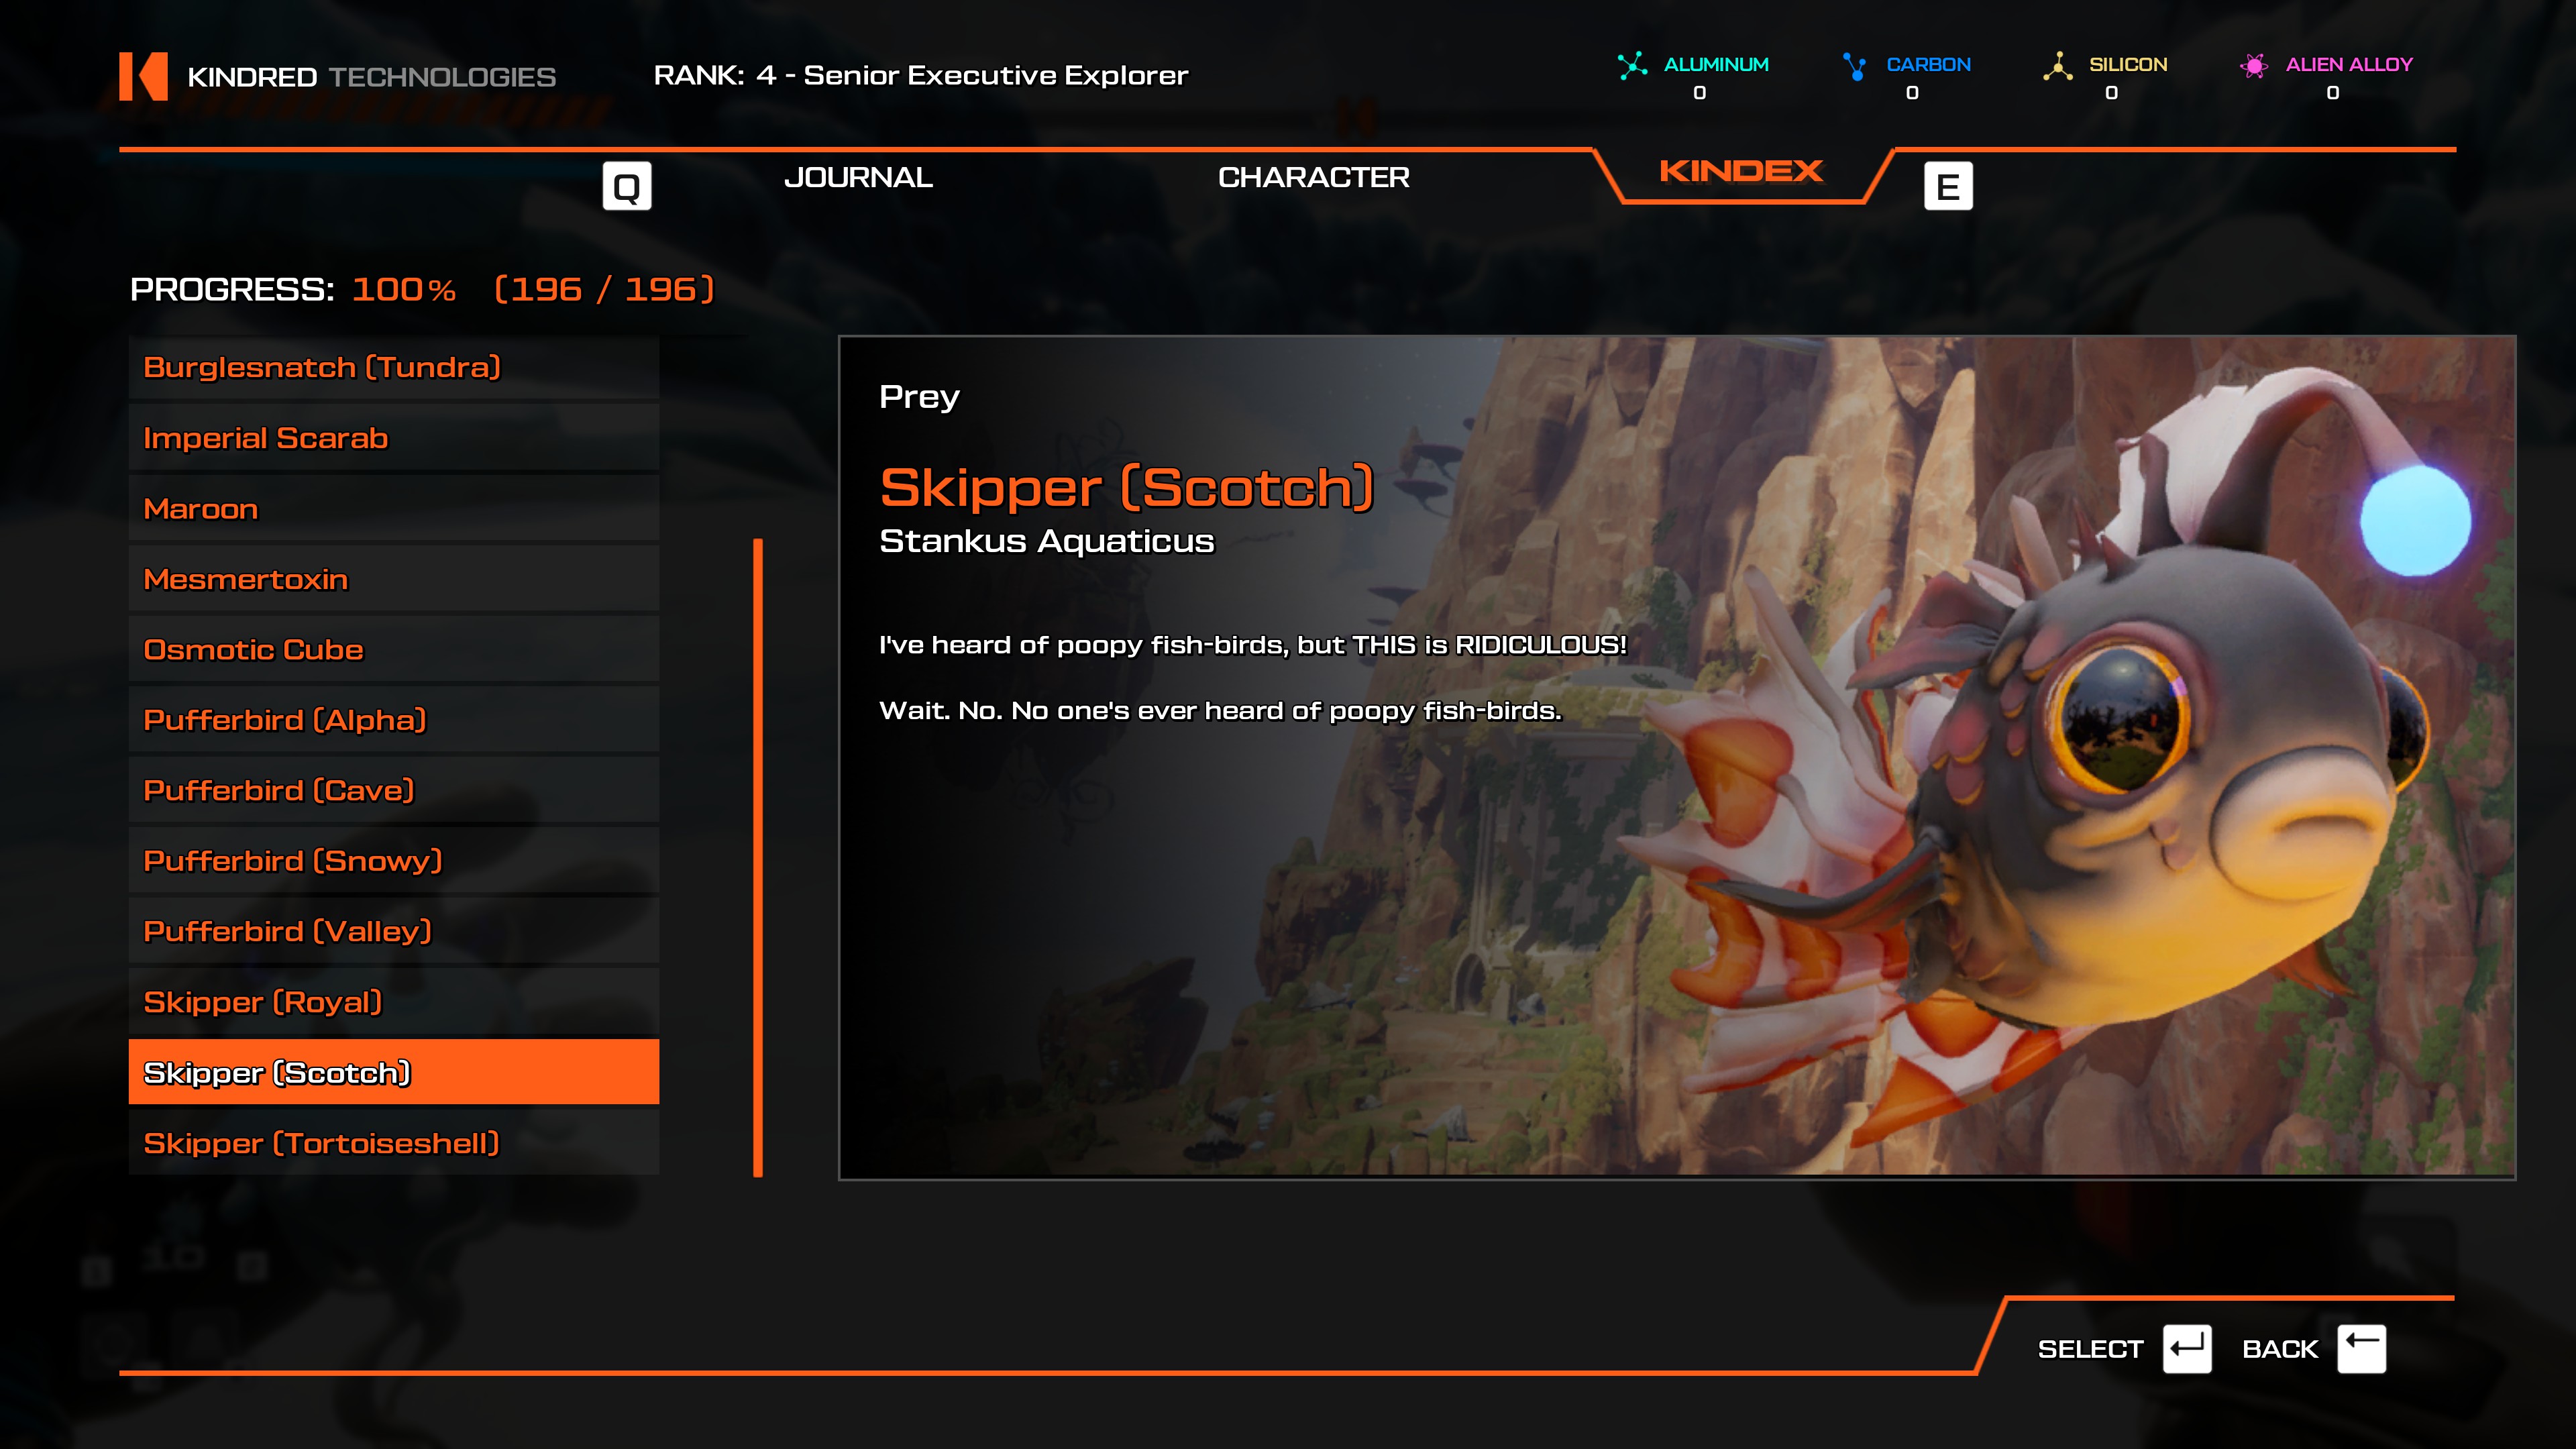
- Go to the Pillars of Xzorgana and head southwest. There are two Skippers here, one Scotch and the other Tortoiseshell.
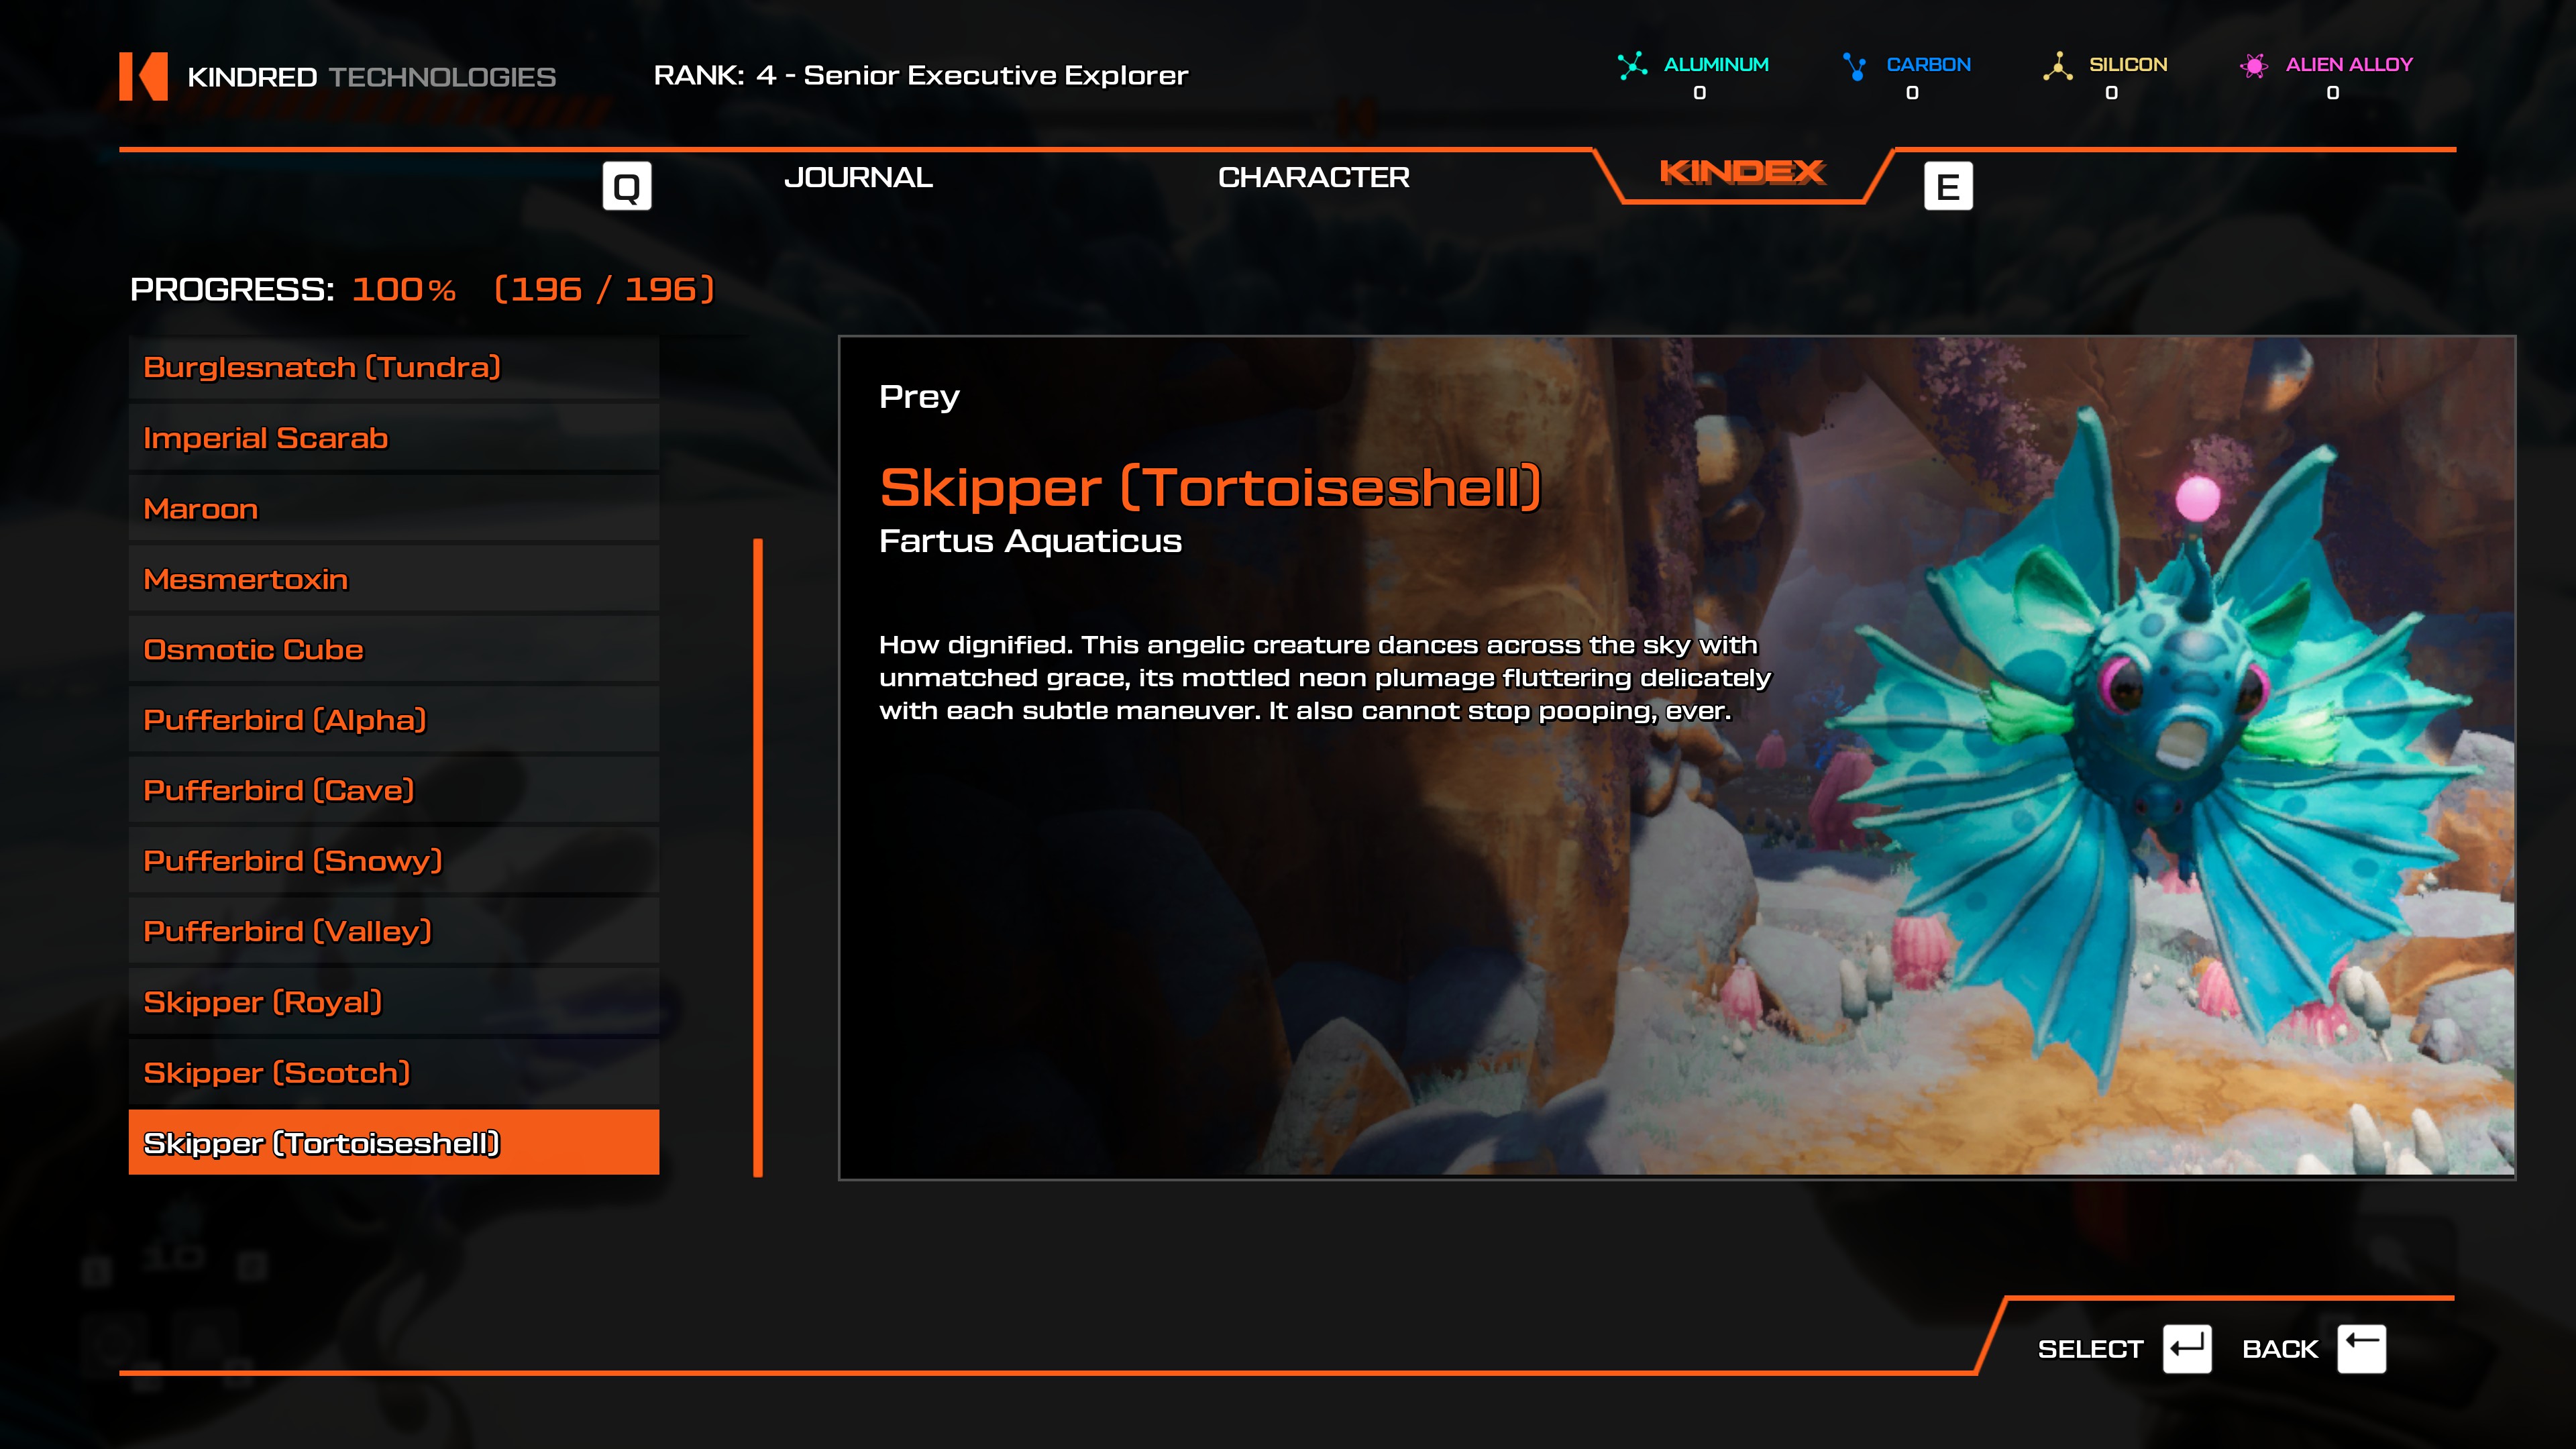
- Go to the Pillars of Xzorgana and head southwest. There are two Skippers here, one Tortoiseshell and the other Scotch.
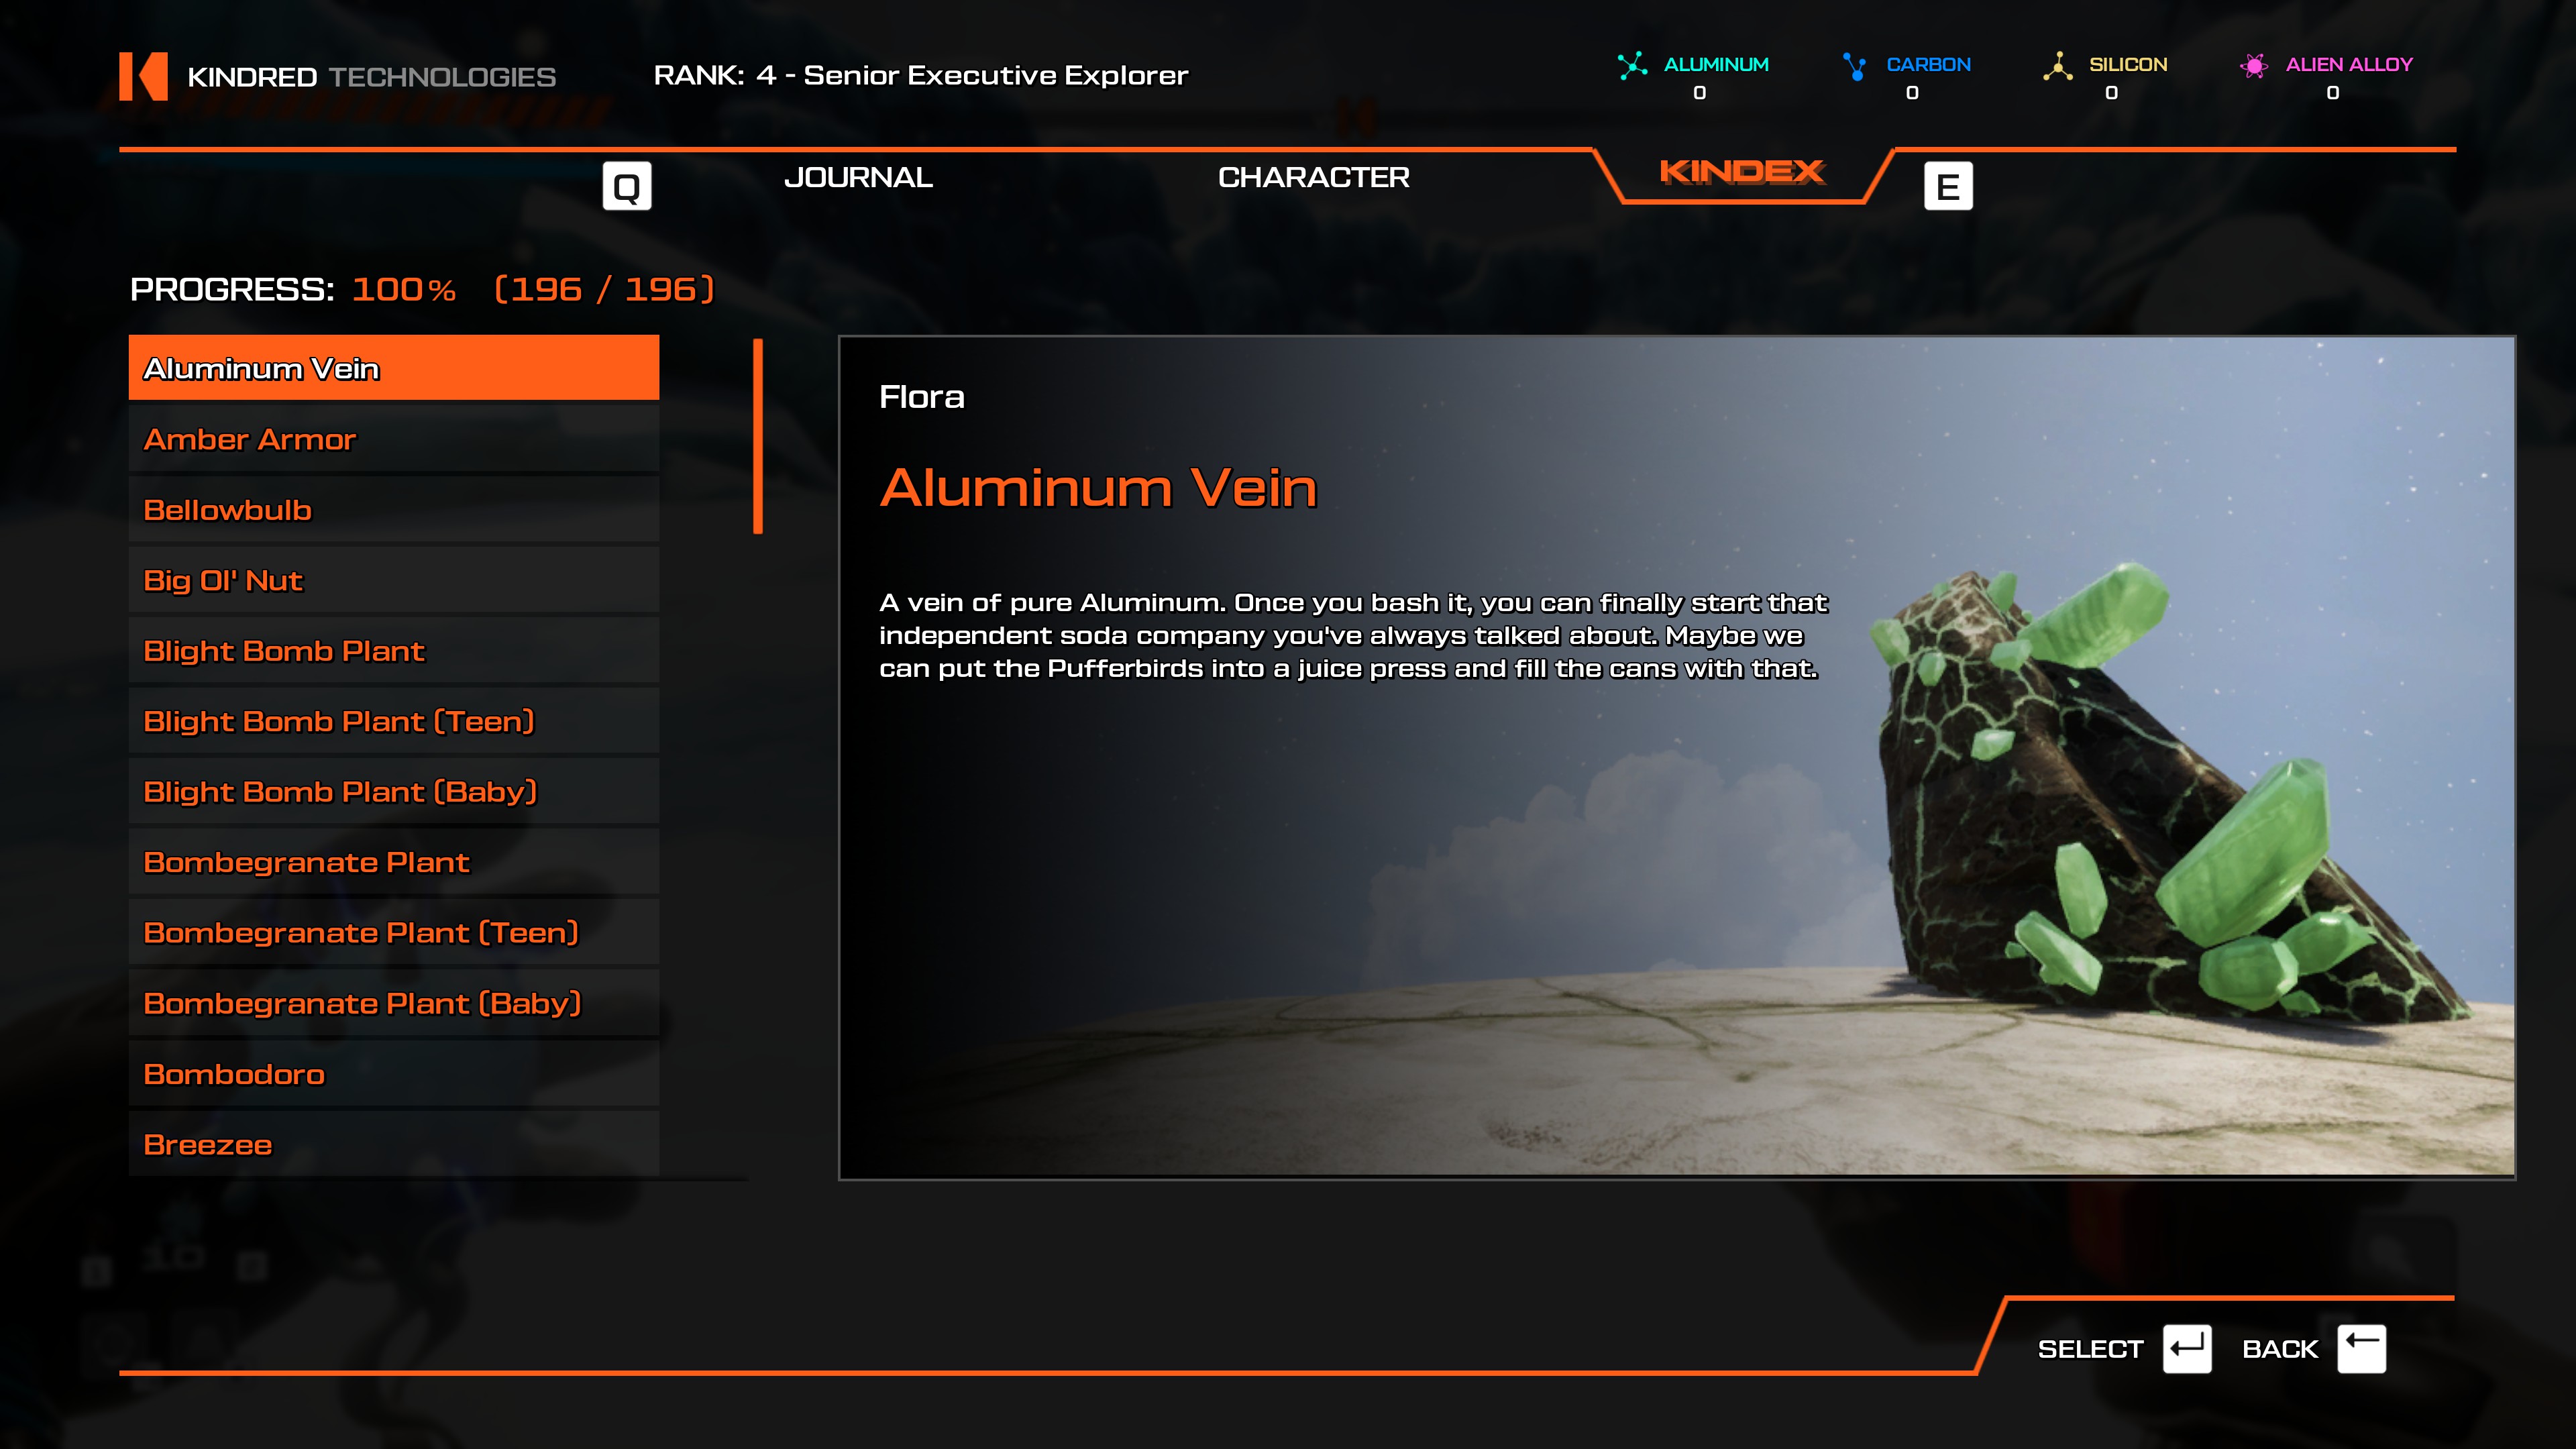
- Easily scannable from the Festering Chasm or Fungi of Si'ned VII teleporter.
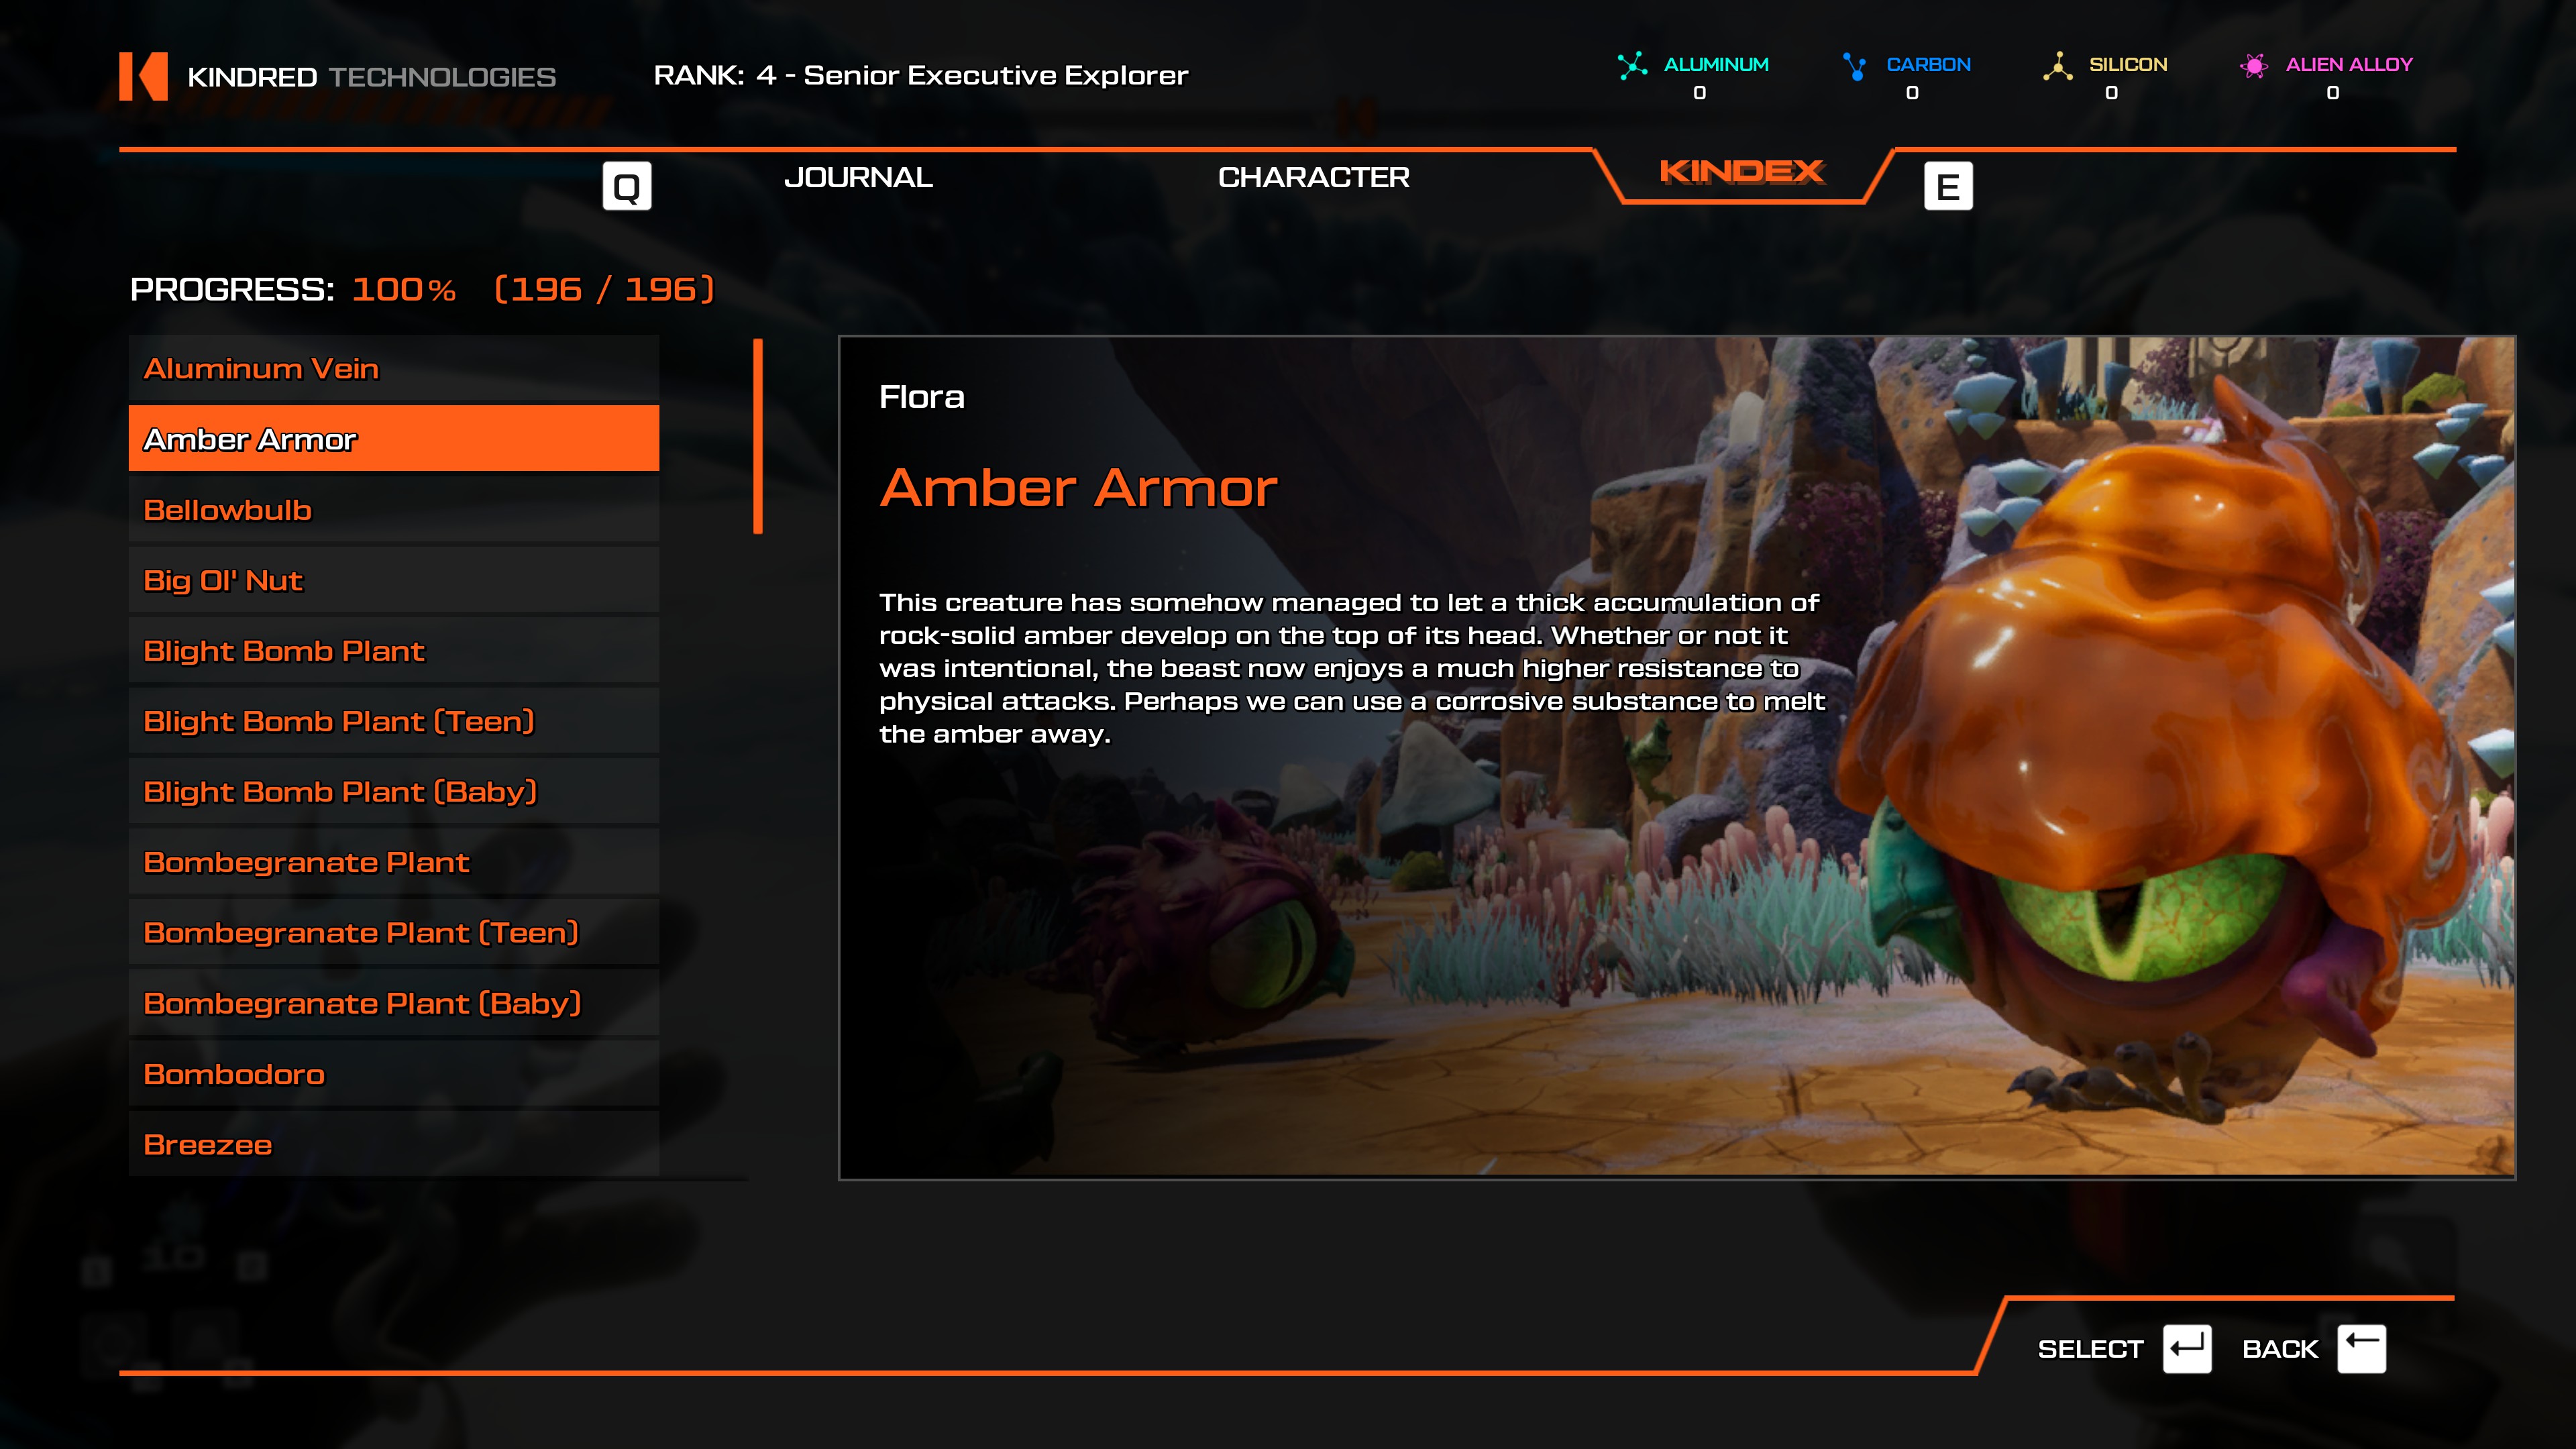
- Easily scannable from the Planetary Flotsam, Festering Chasm, or Fungi of Si'ned VII teleporter.
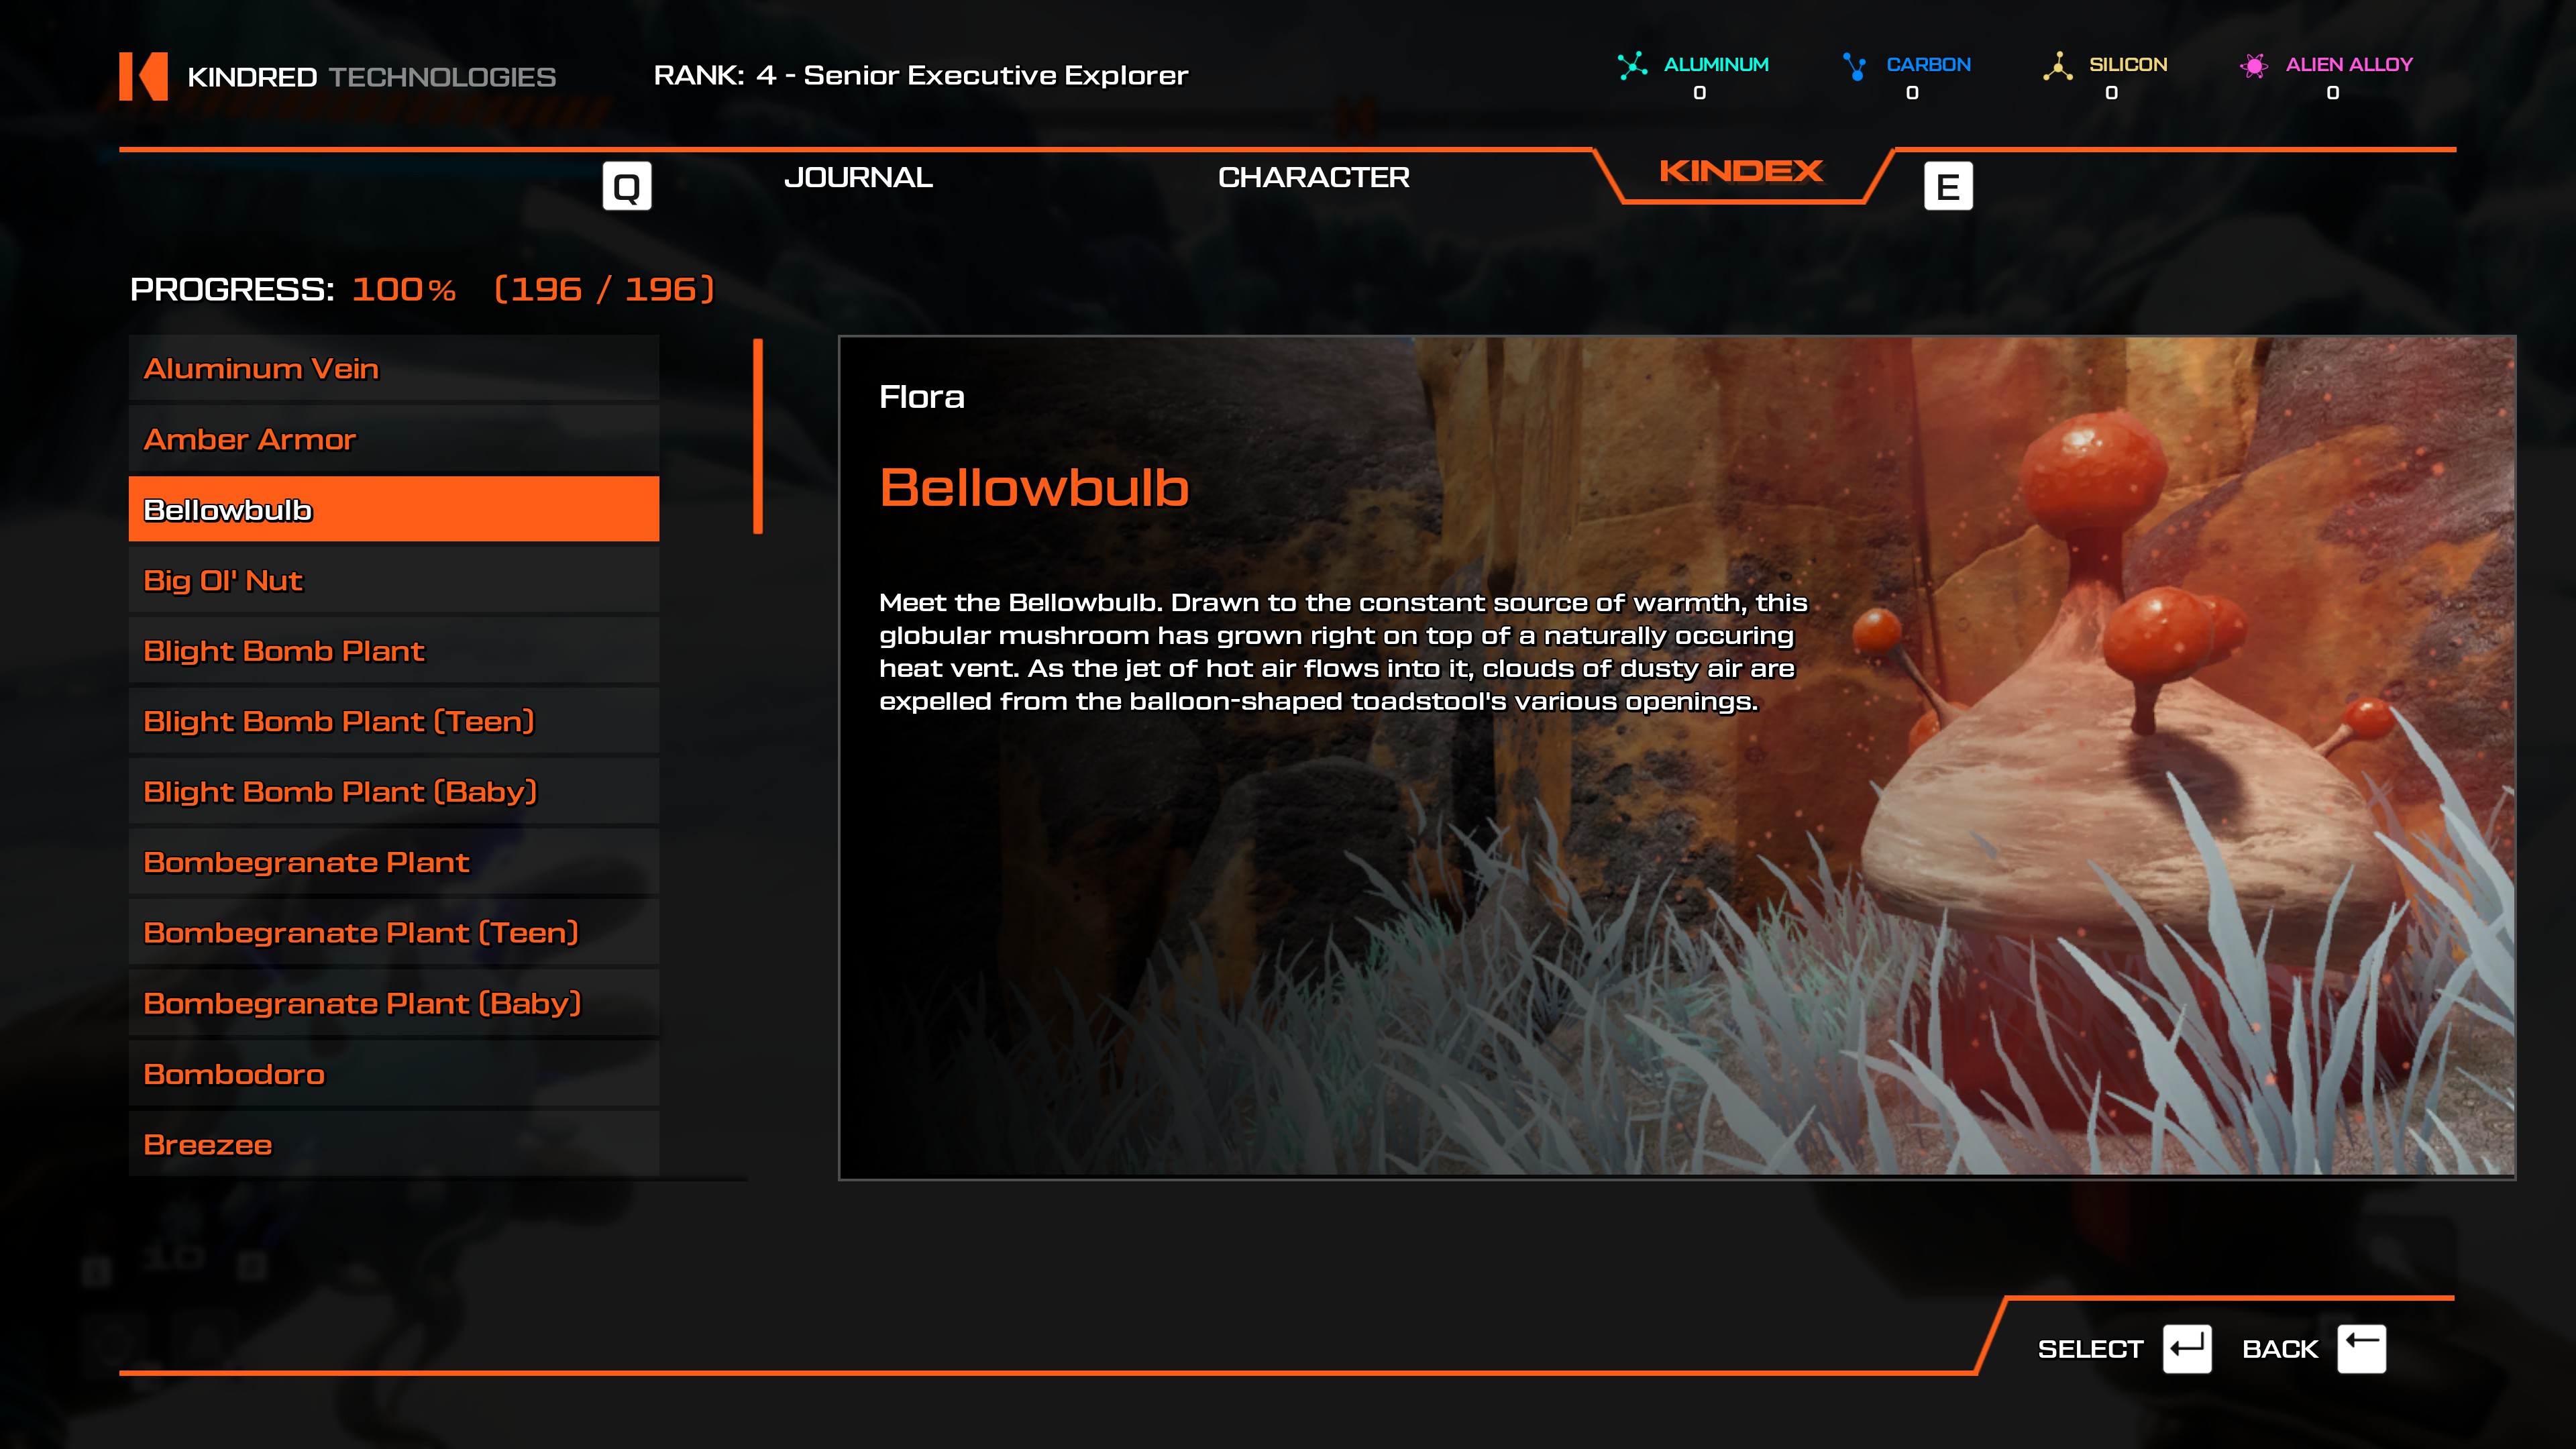
- Easily scannable from the Festering Chasm teleporter.
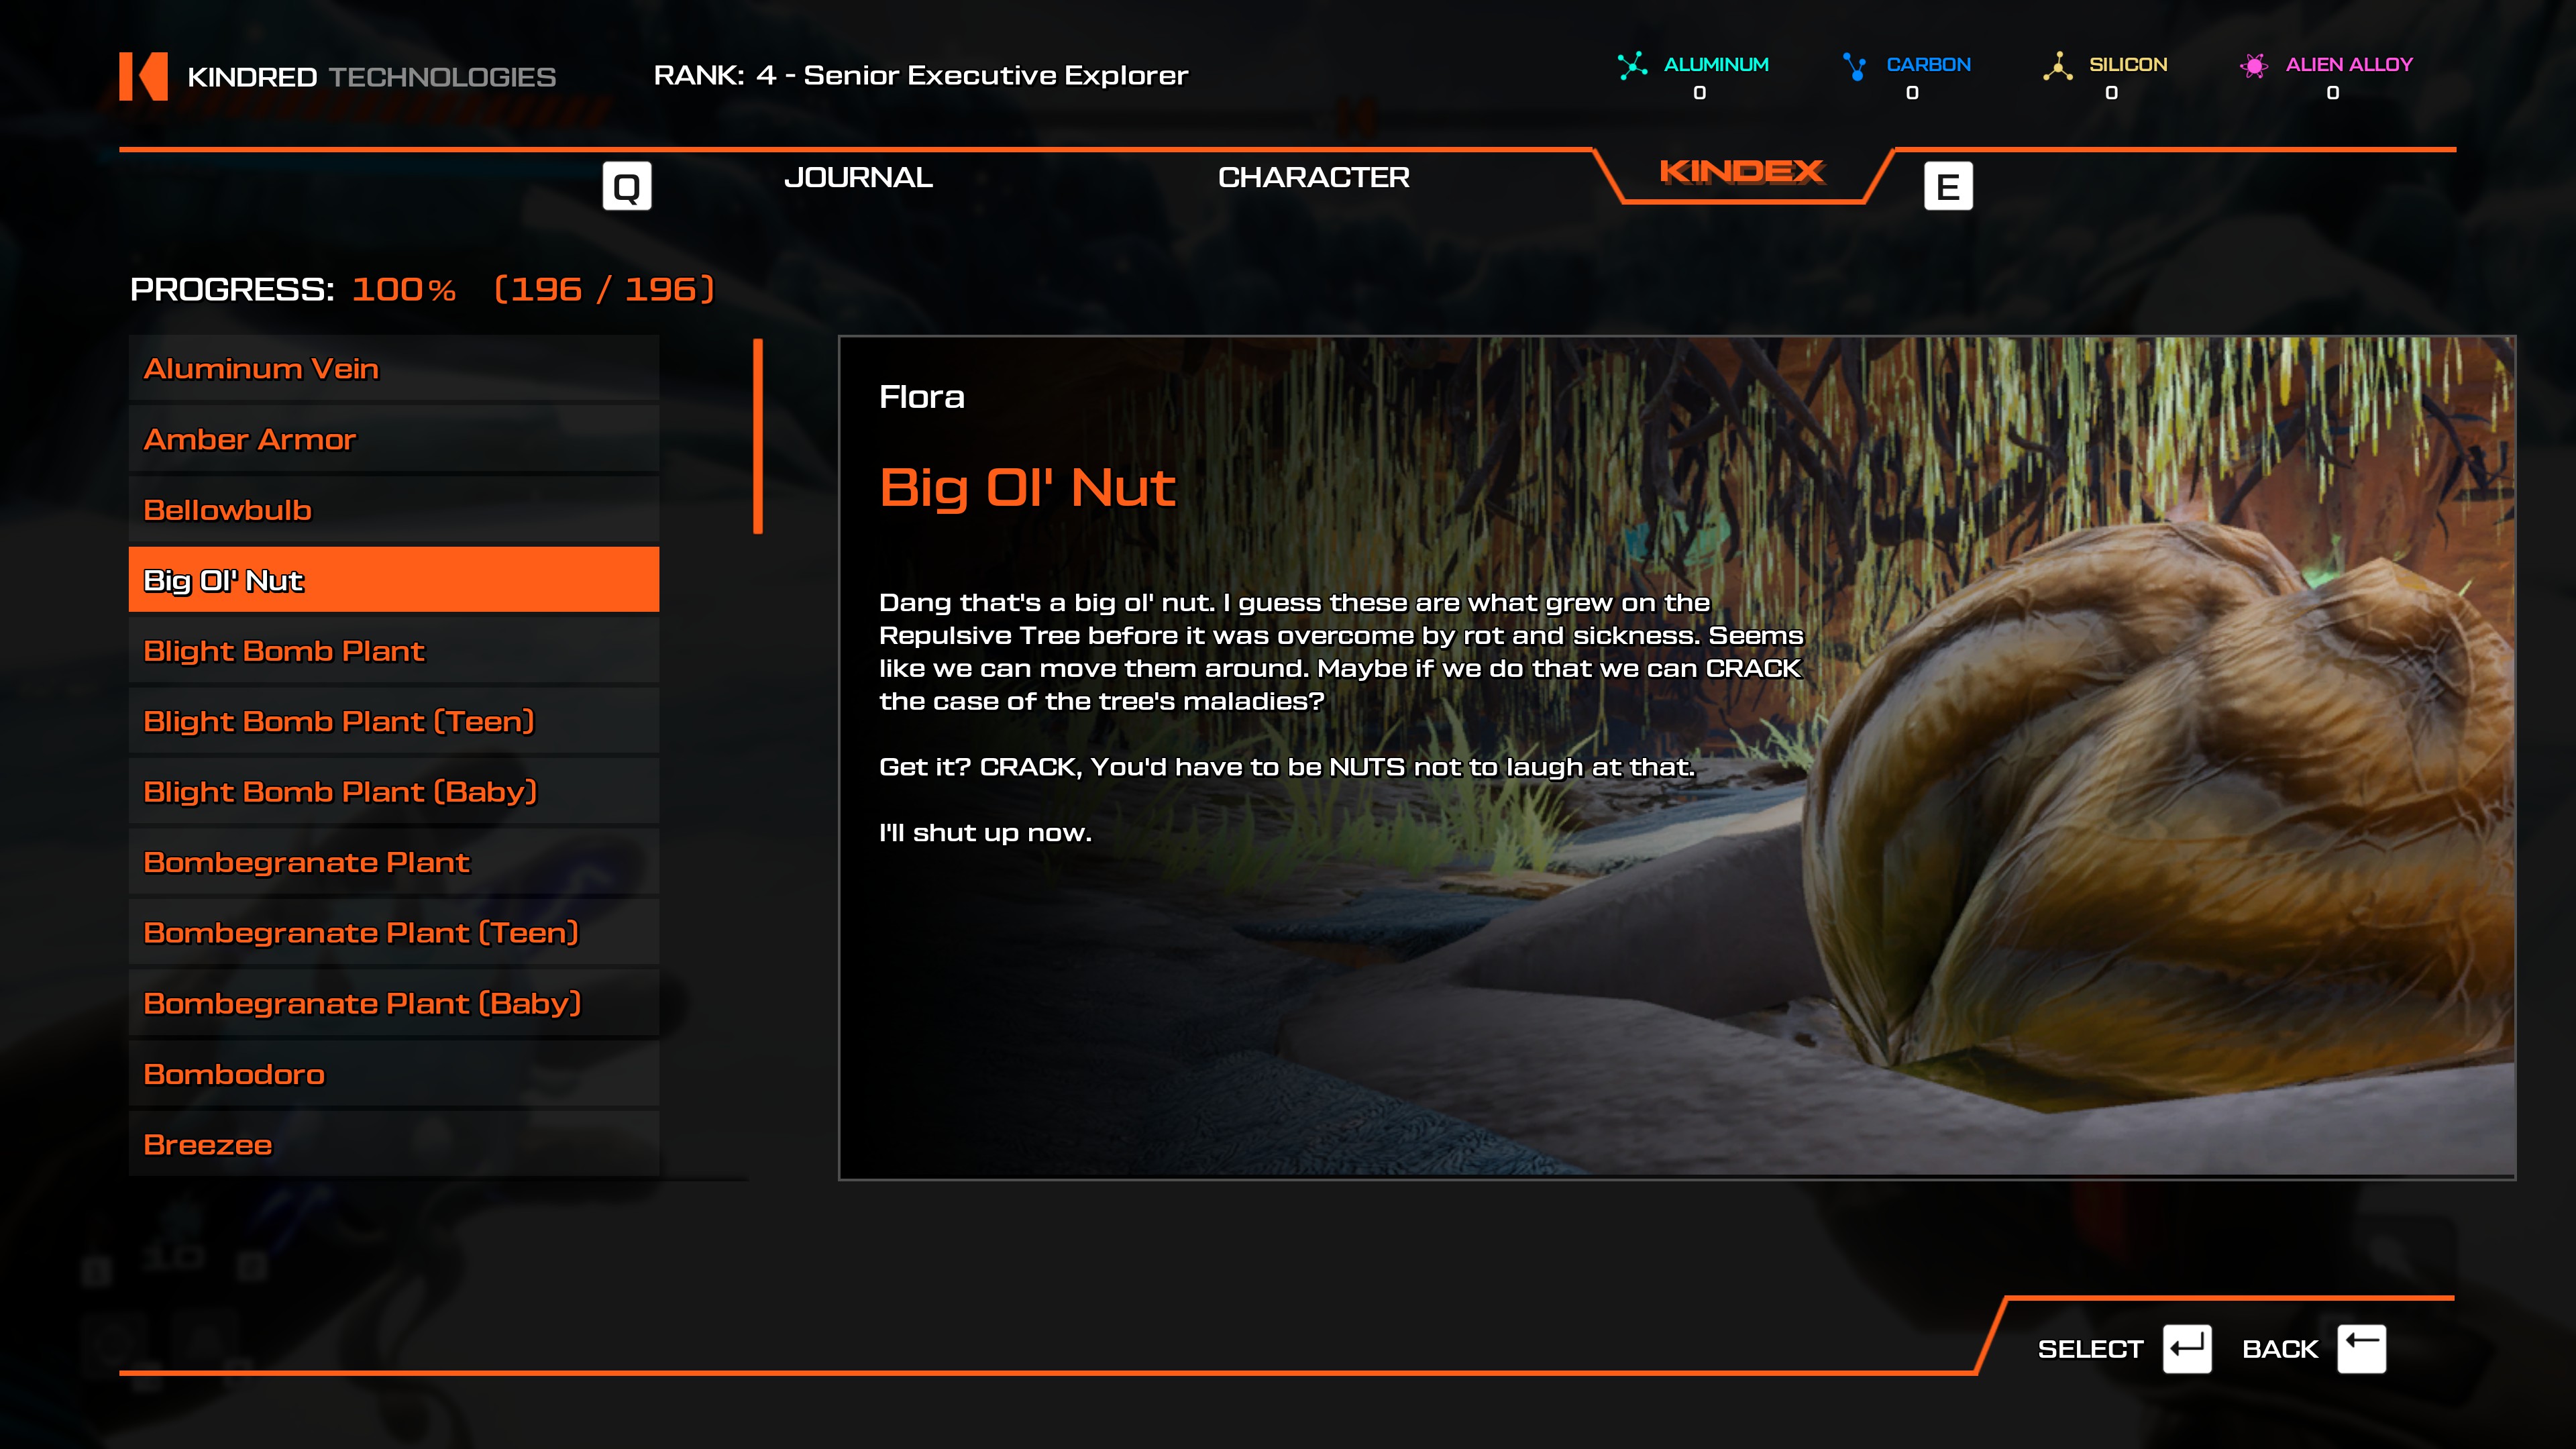
- From the Festering Chasm teleporter, head north to the Virulent Tree of K'Klenaii. The giant nuts inside are only found in this area.
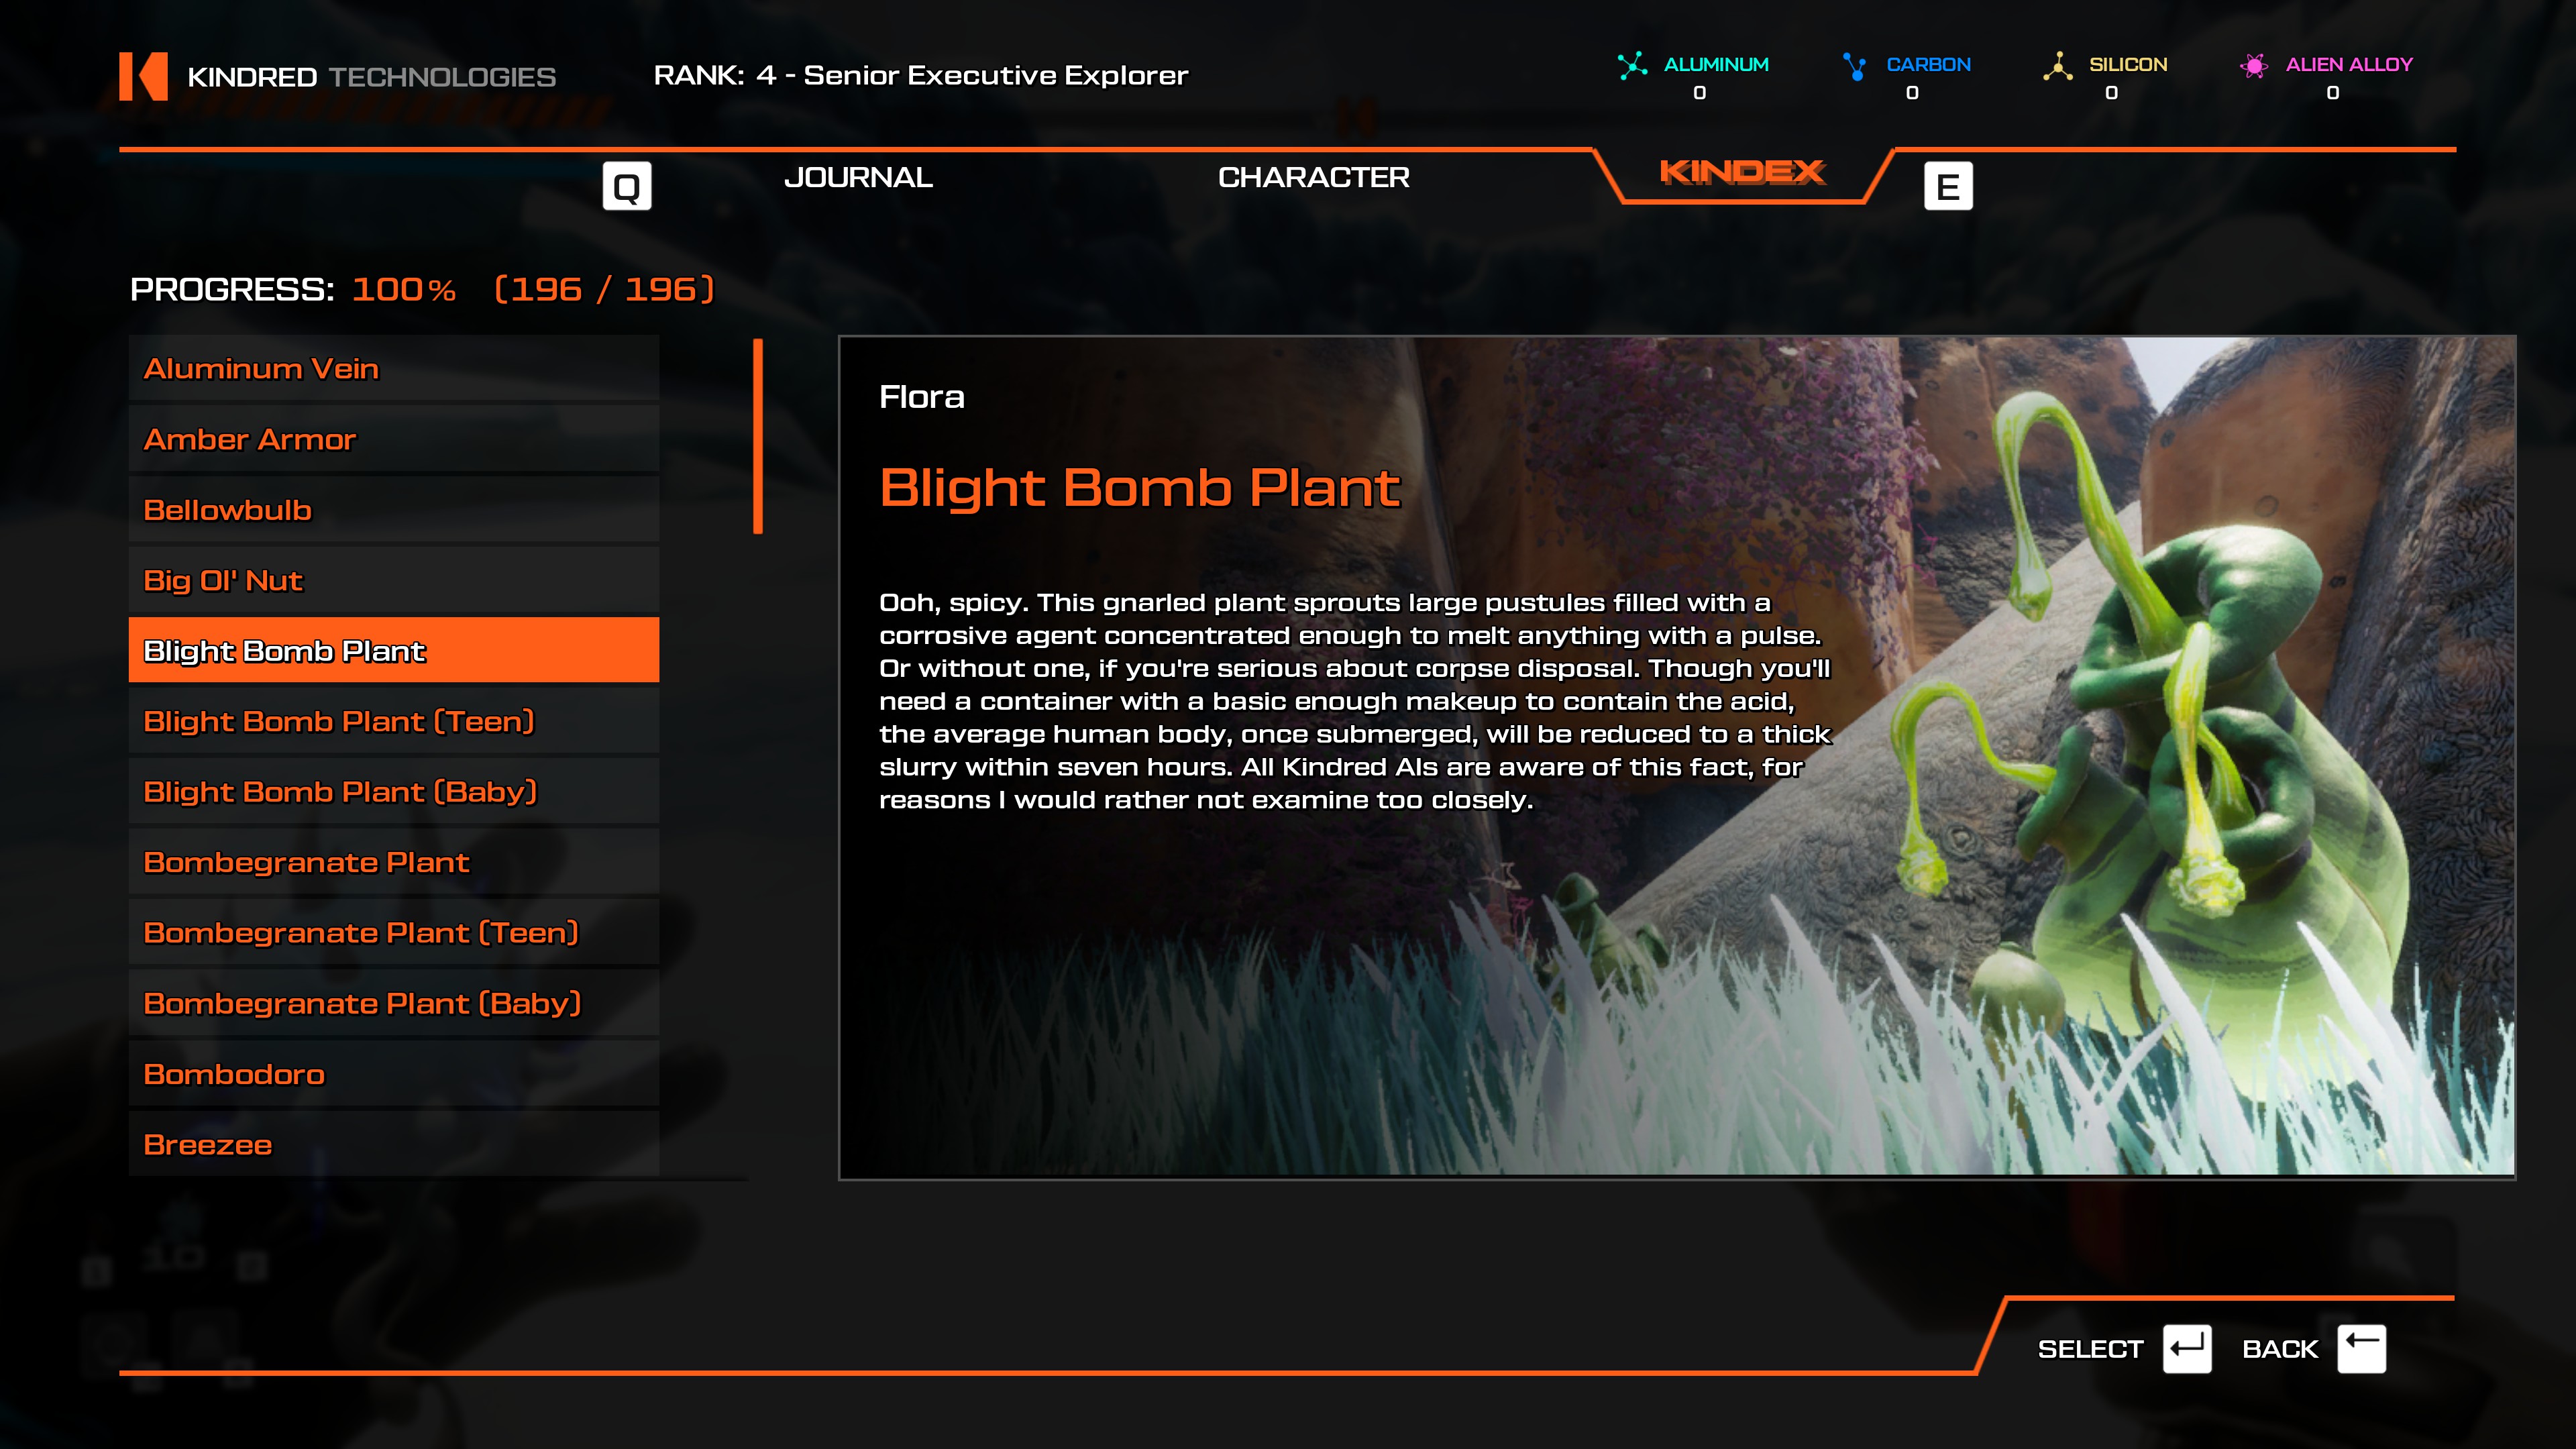
- Easily scannable from the Planetary Flotsam, Festering Chasm, or Matriarch's Lair teleporter.
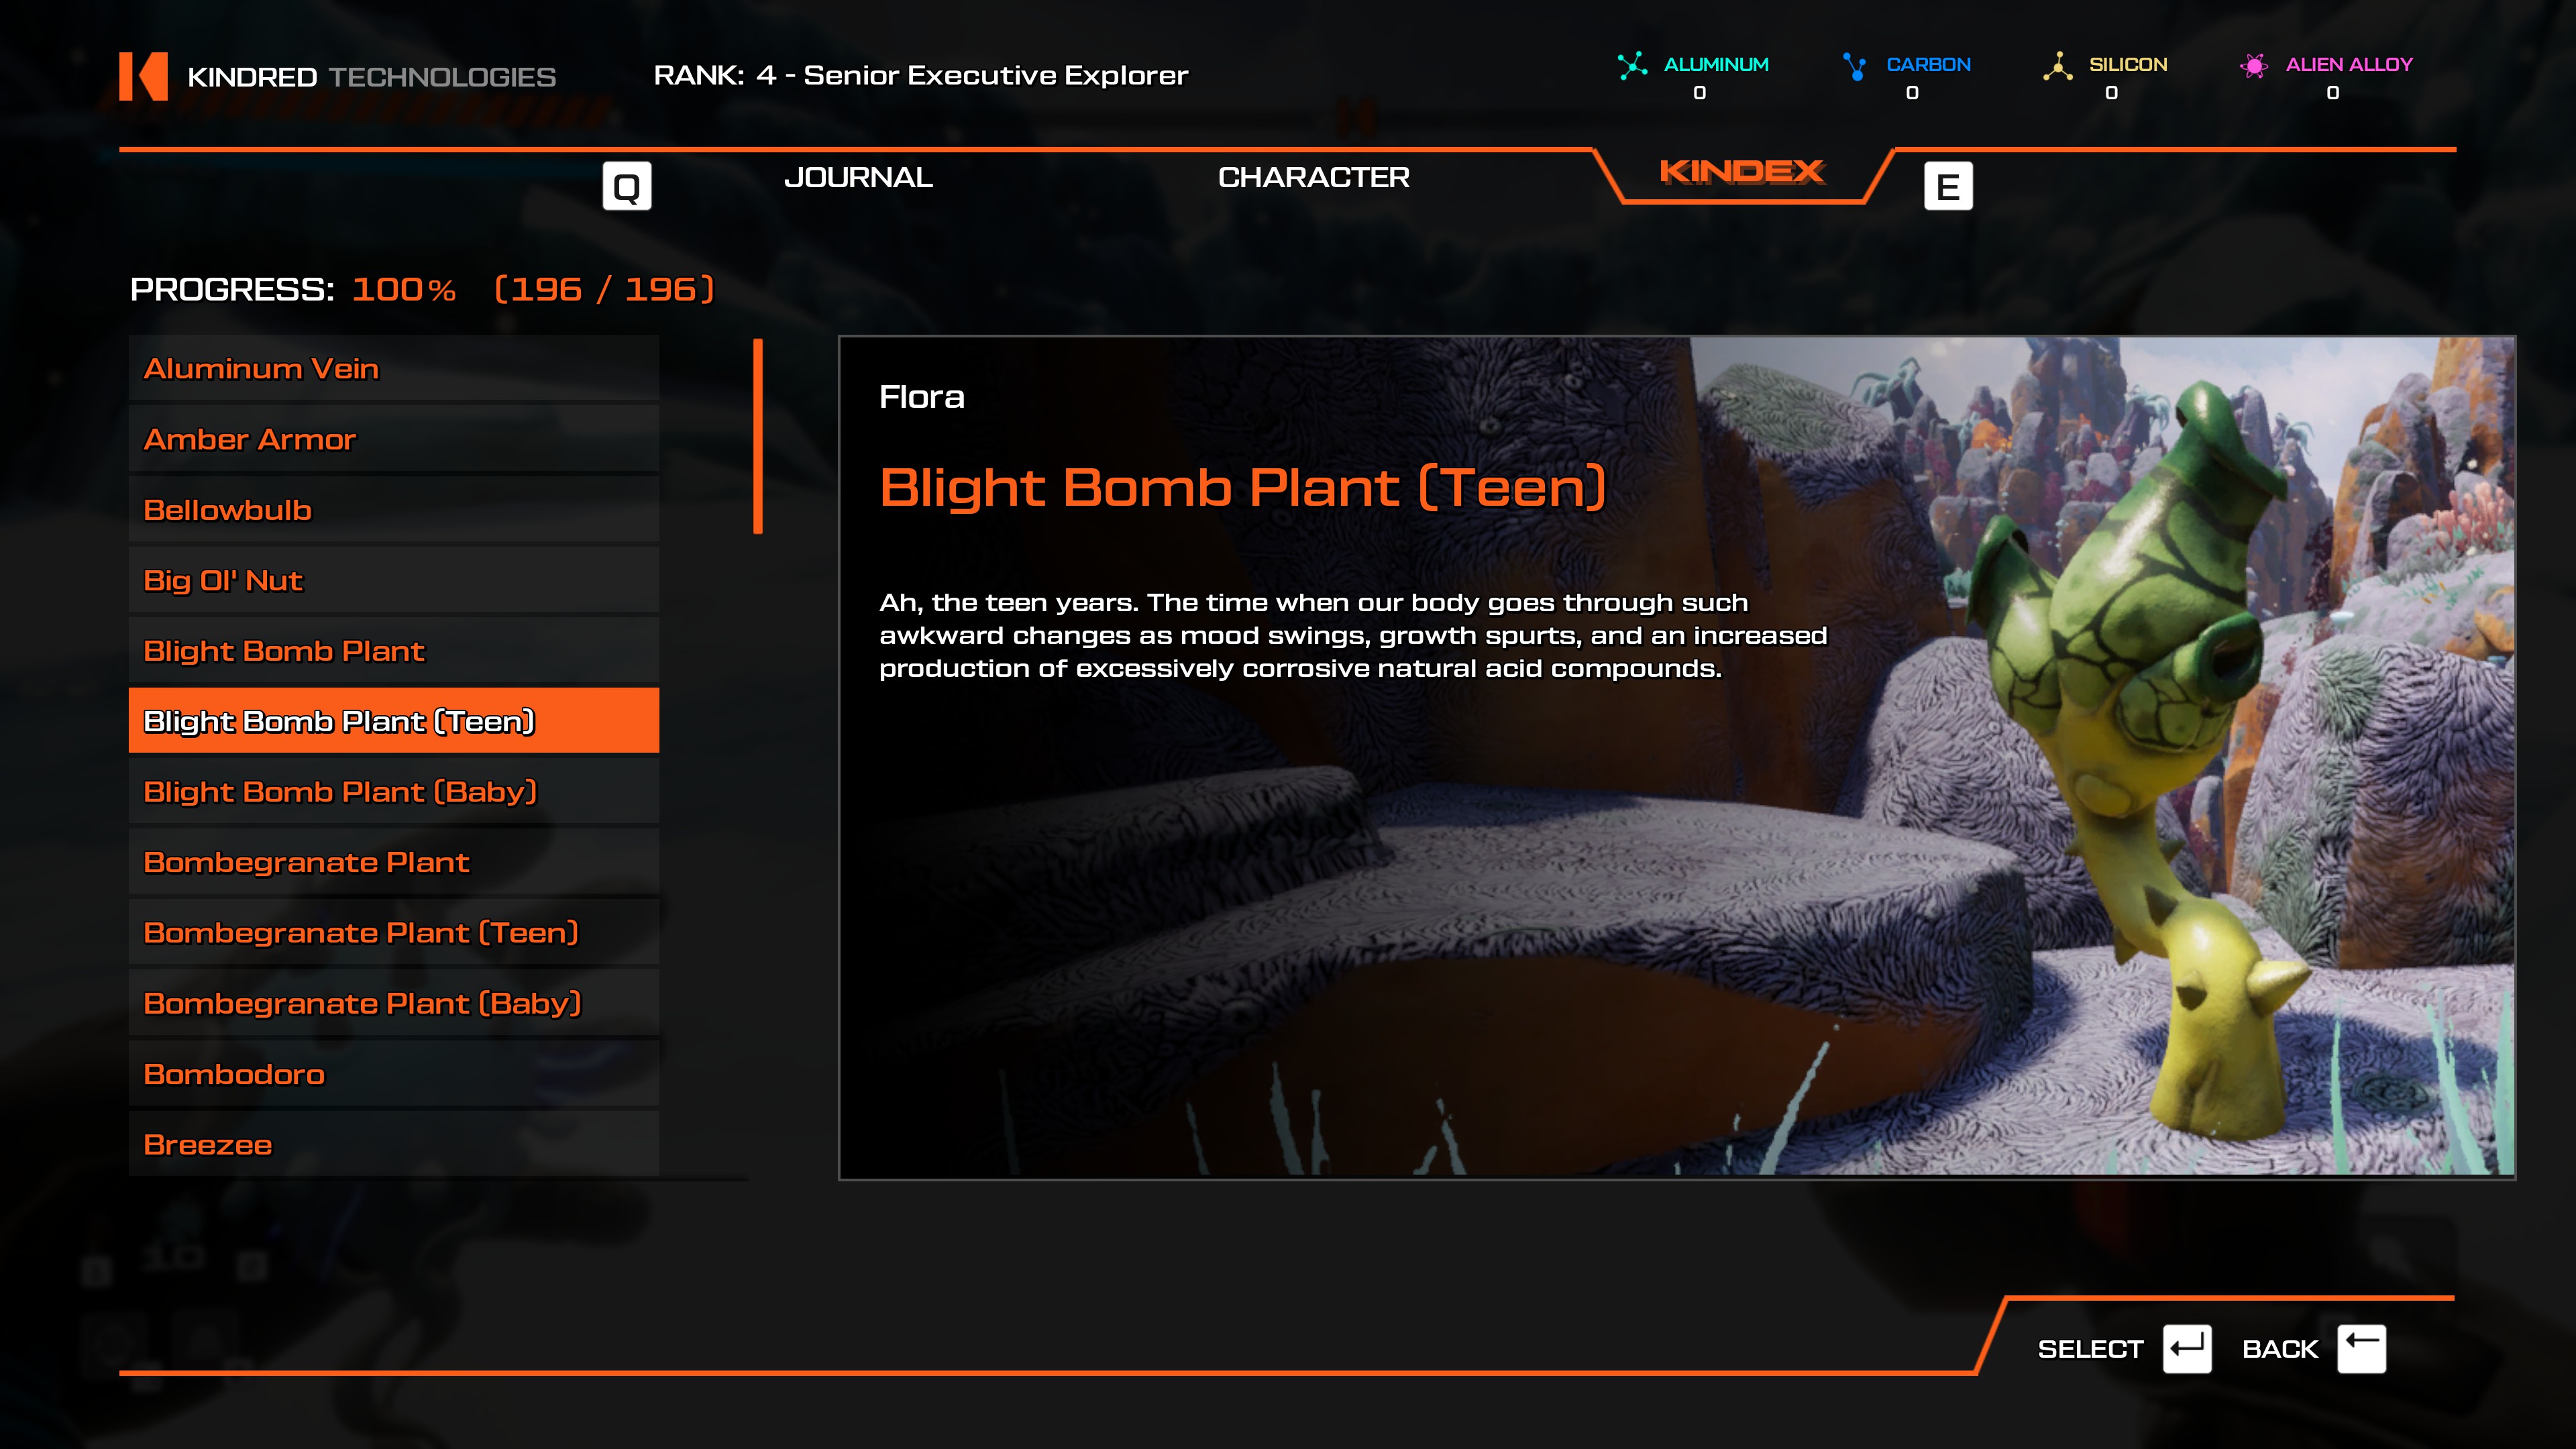
- All locations, easily scannable from the Meteor Crater or Festering Chasm teleporter.
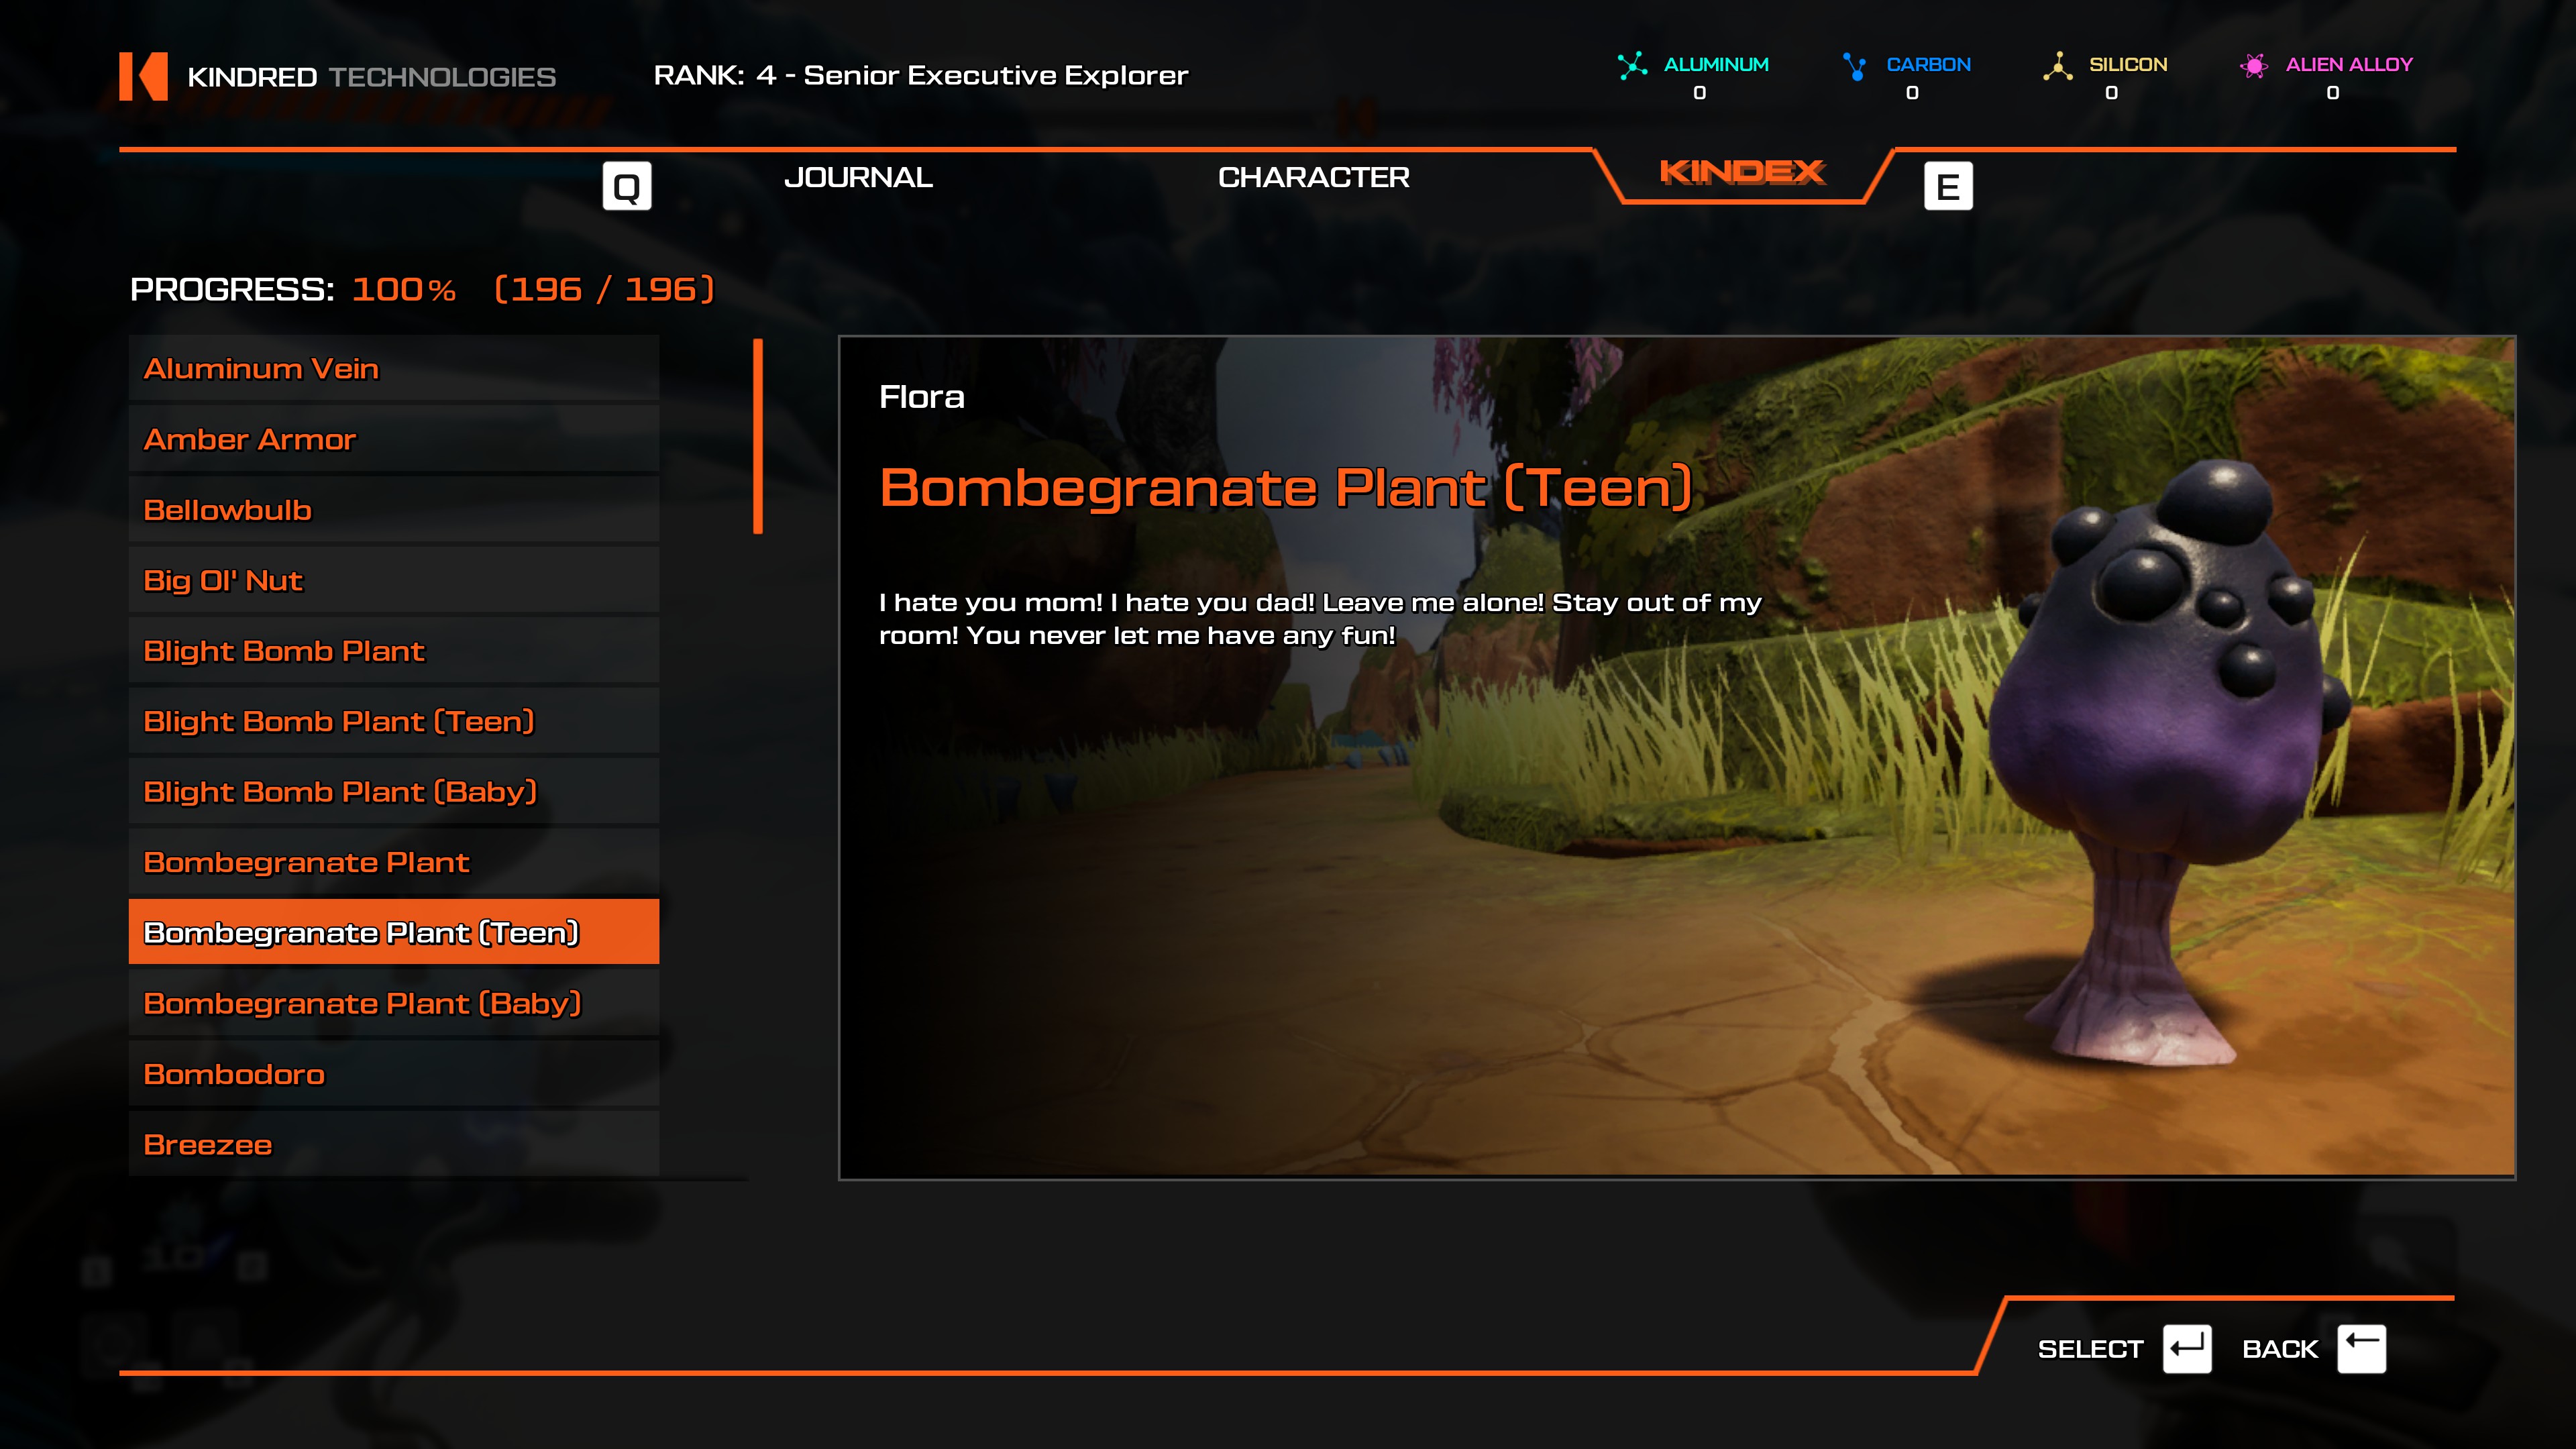
- Use the Tears of T'bo teleporter, and walk southwest, onto the rocks at the edge. Don't jump off. Just stand at the edge and look to your right. There's a Bombodoro on the wall, which you can scan and return to the teleporter right after.
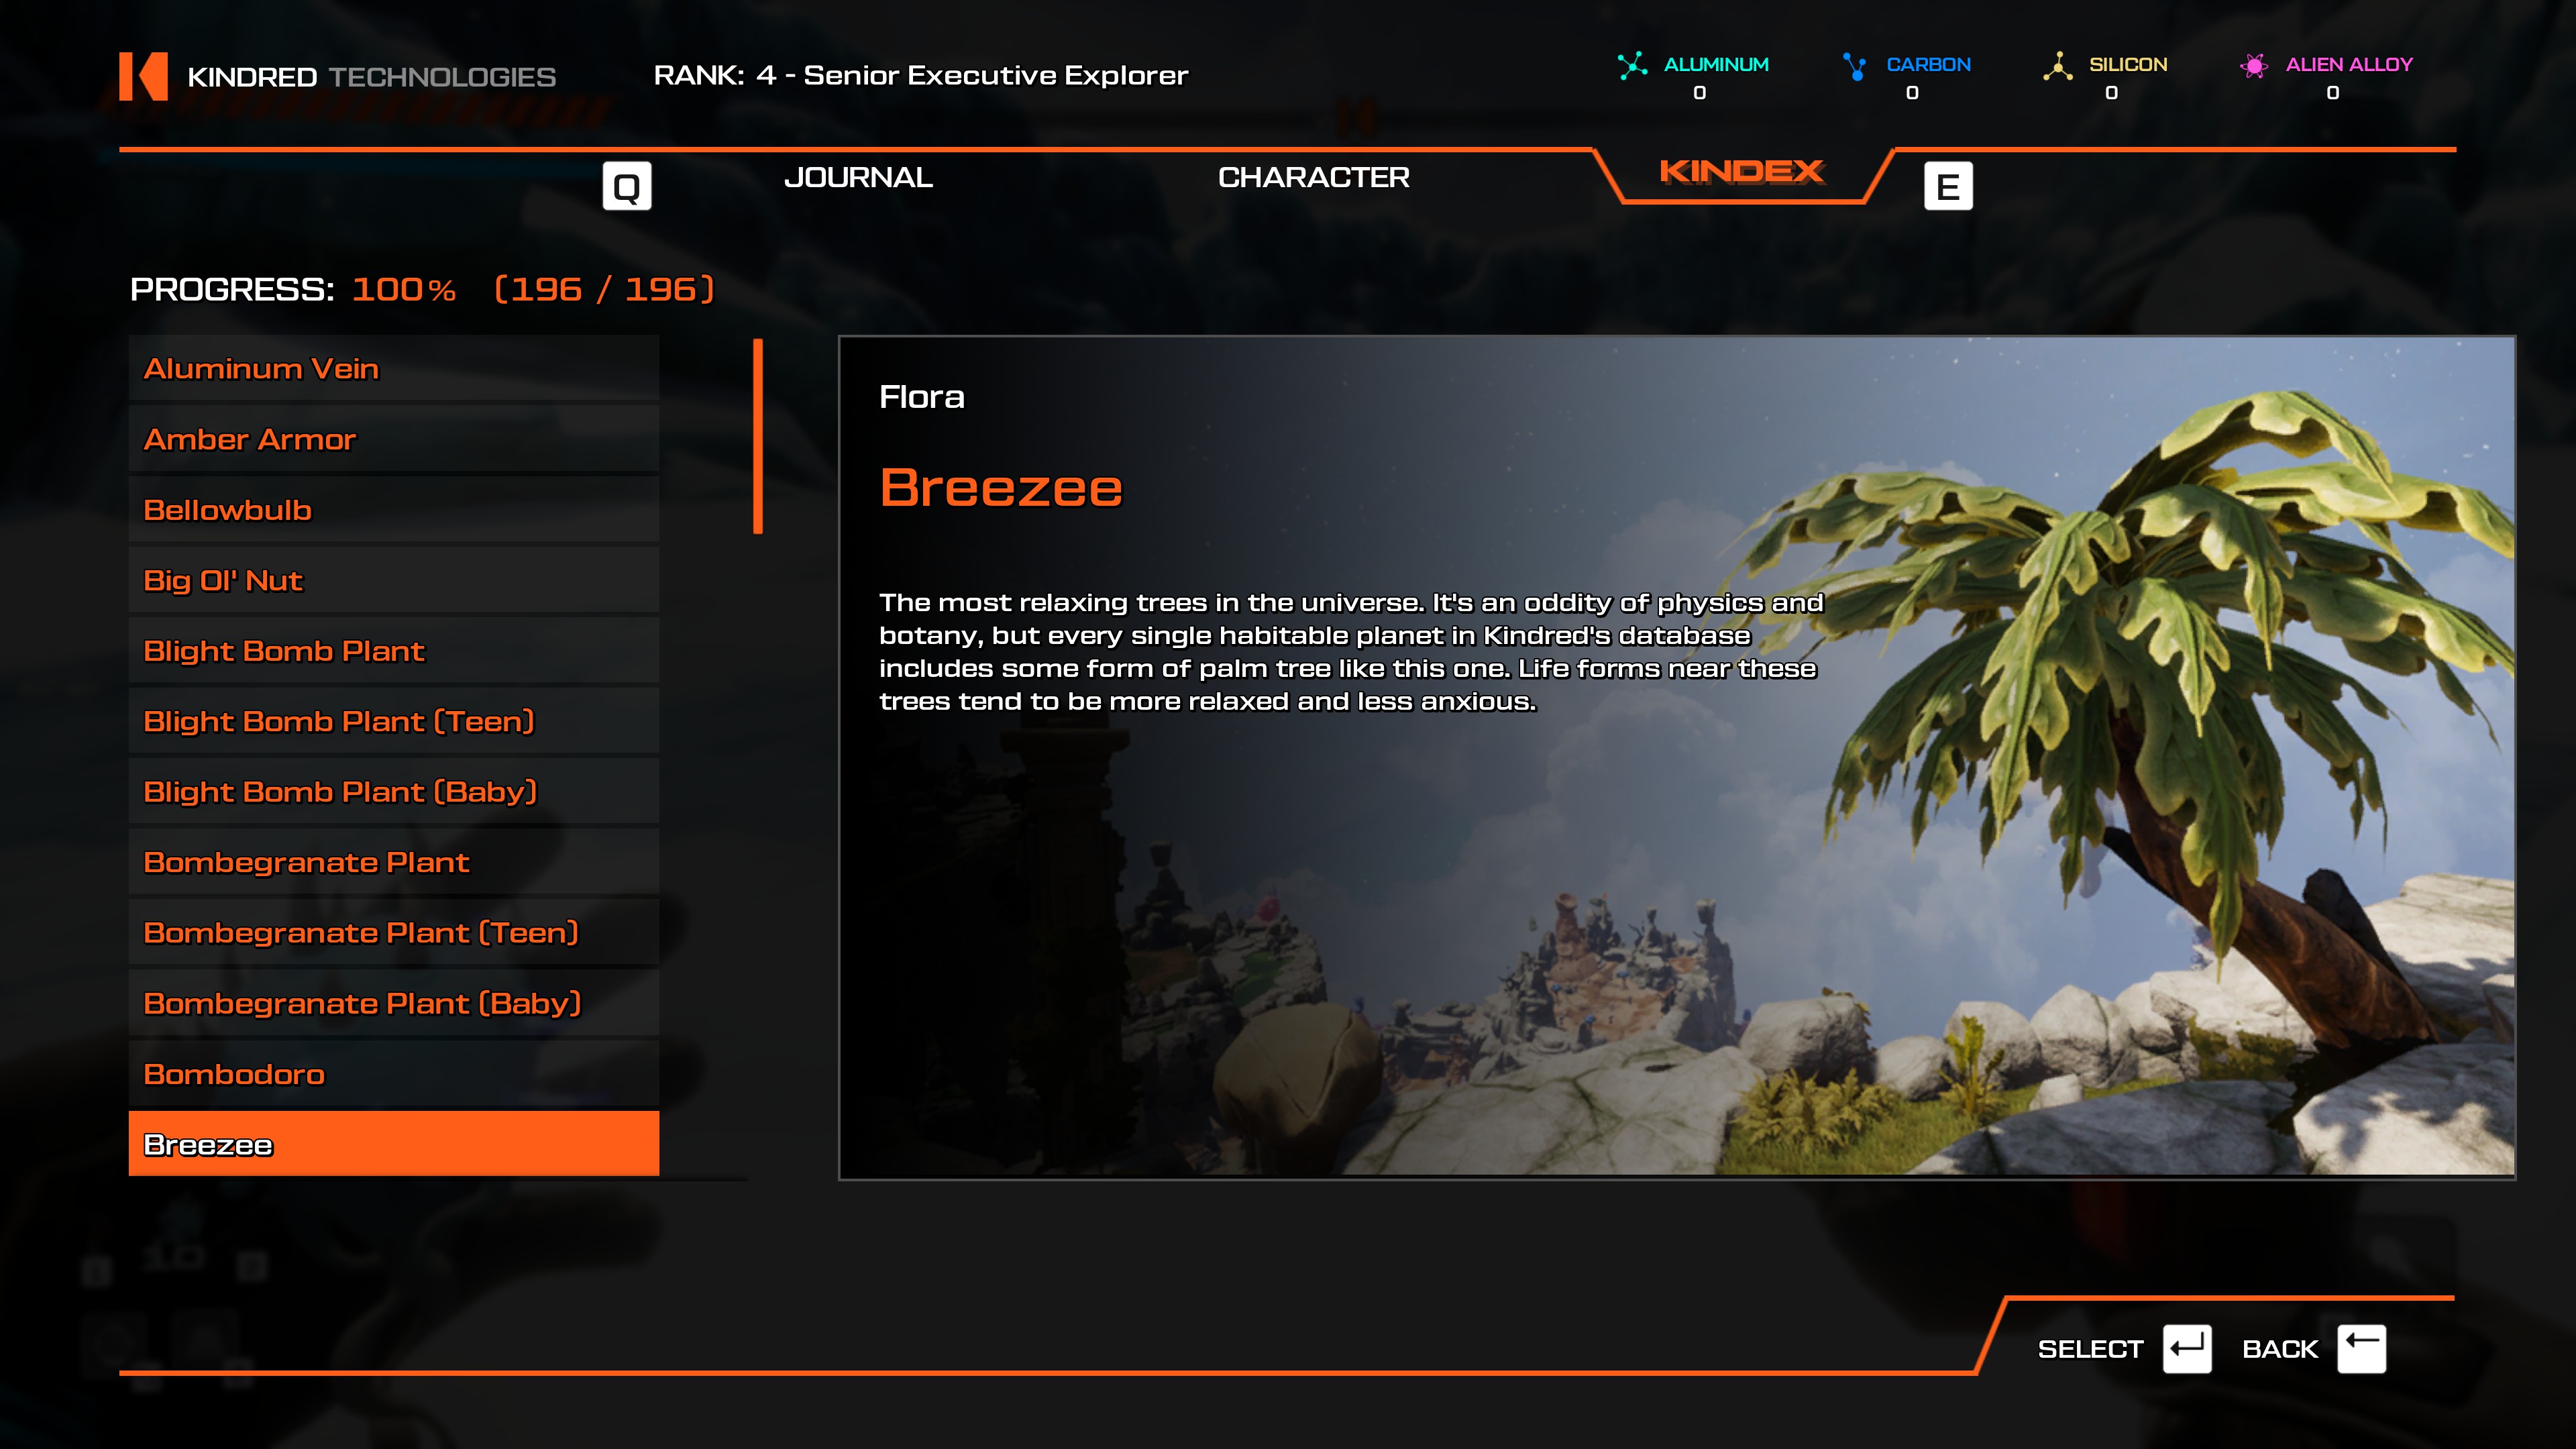
- Easily scannable from the Xerohilous Landing or Pillars of Xzorgana teleporter.
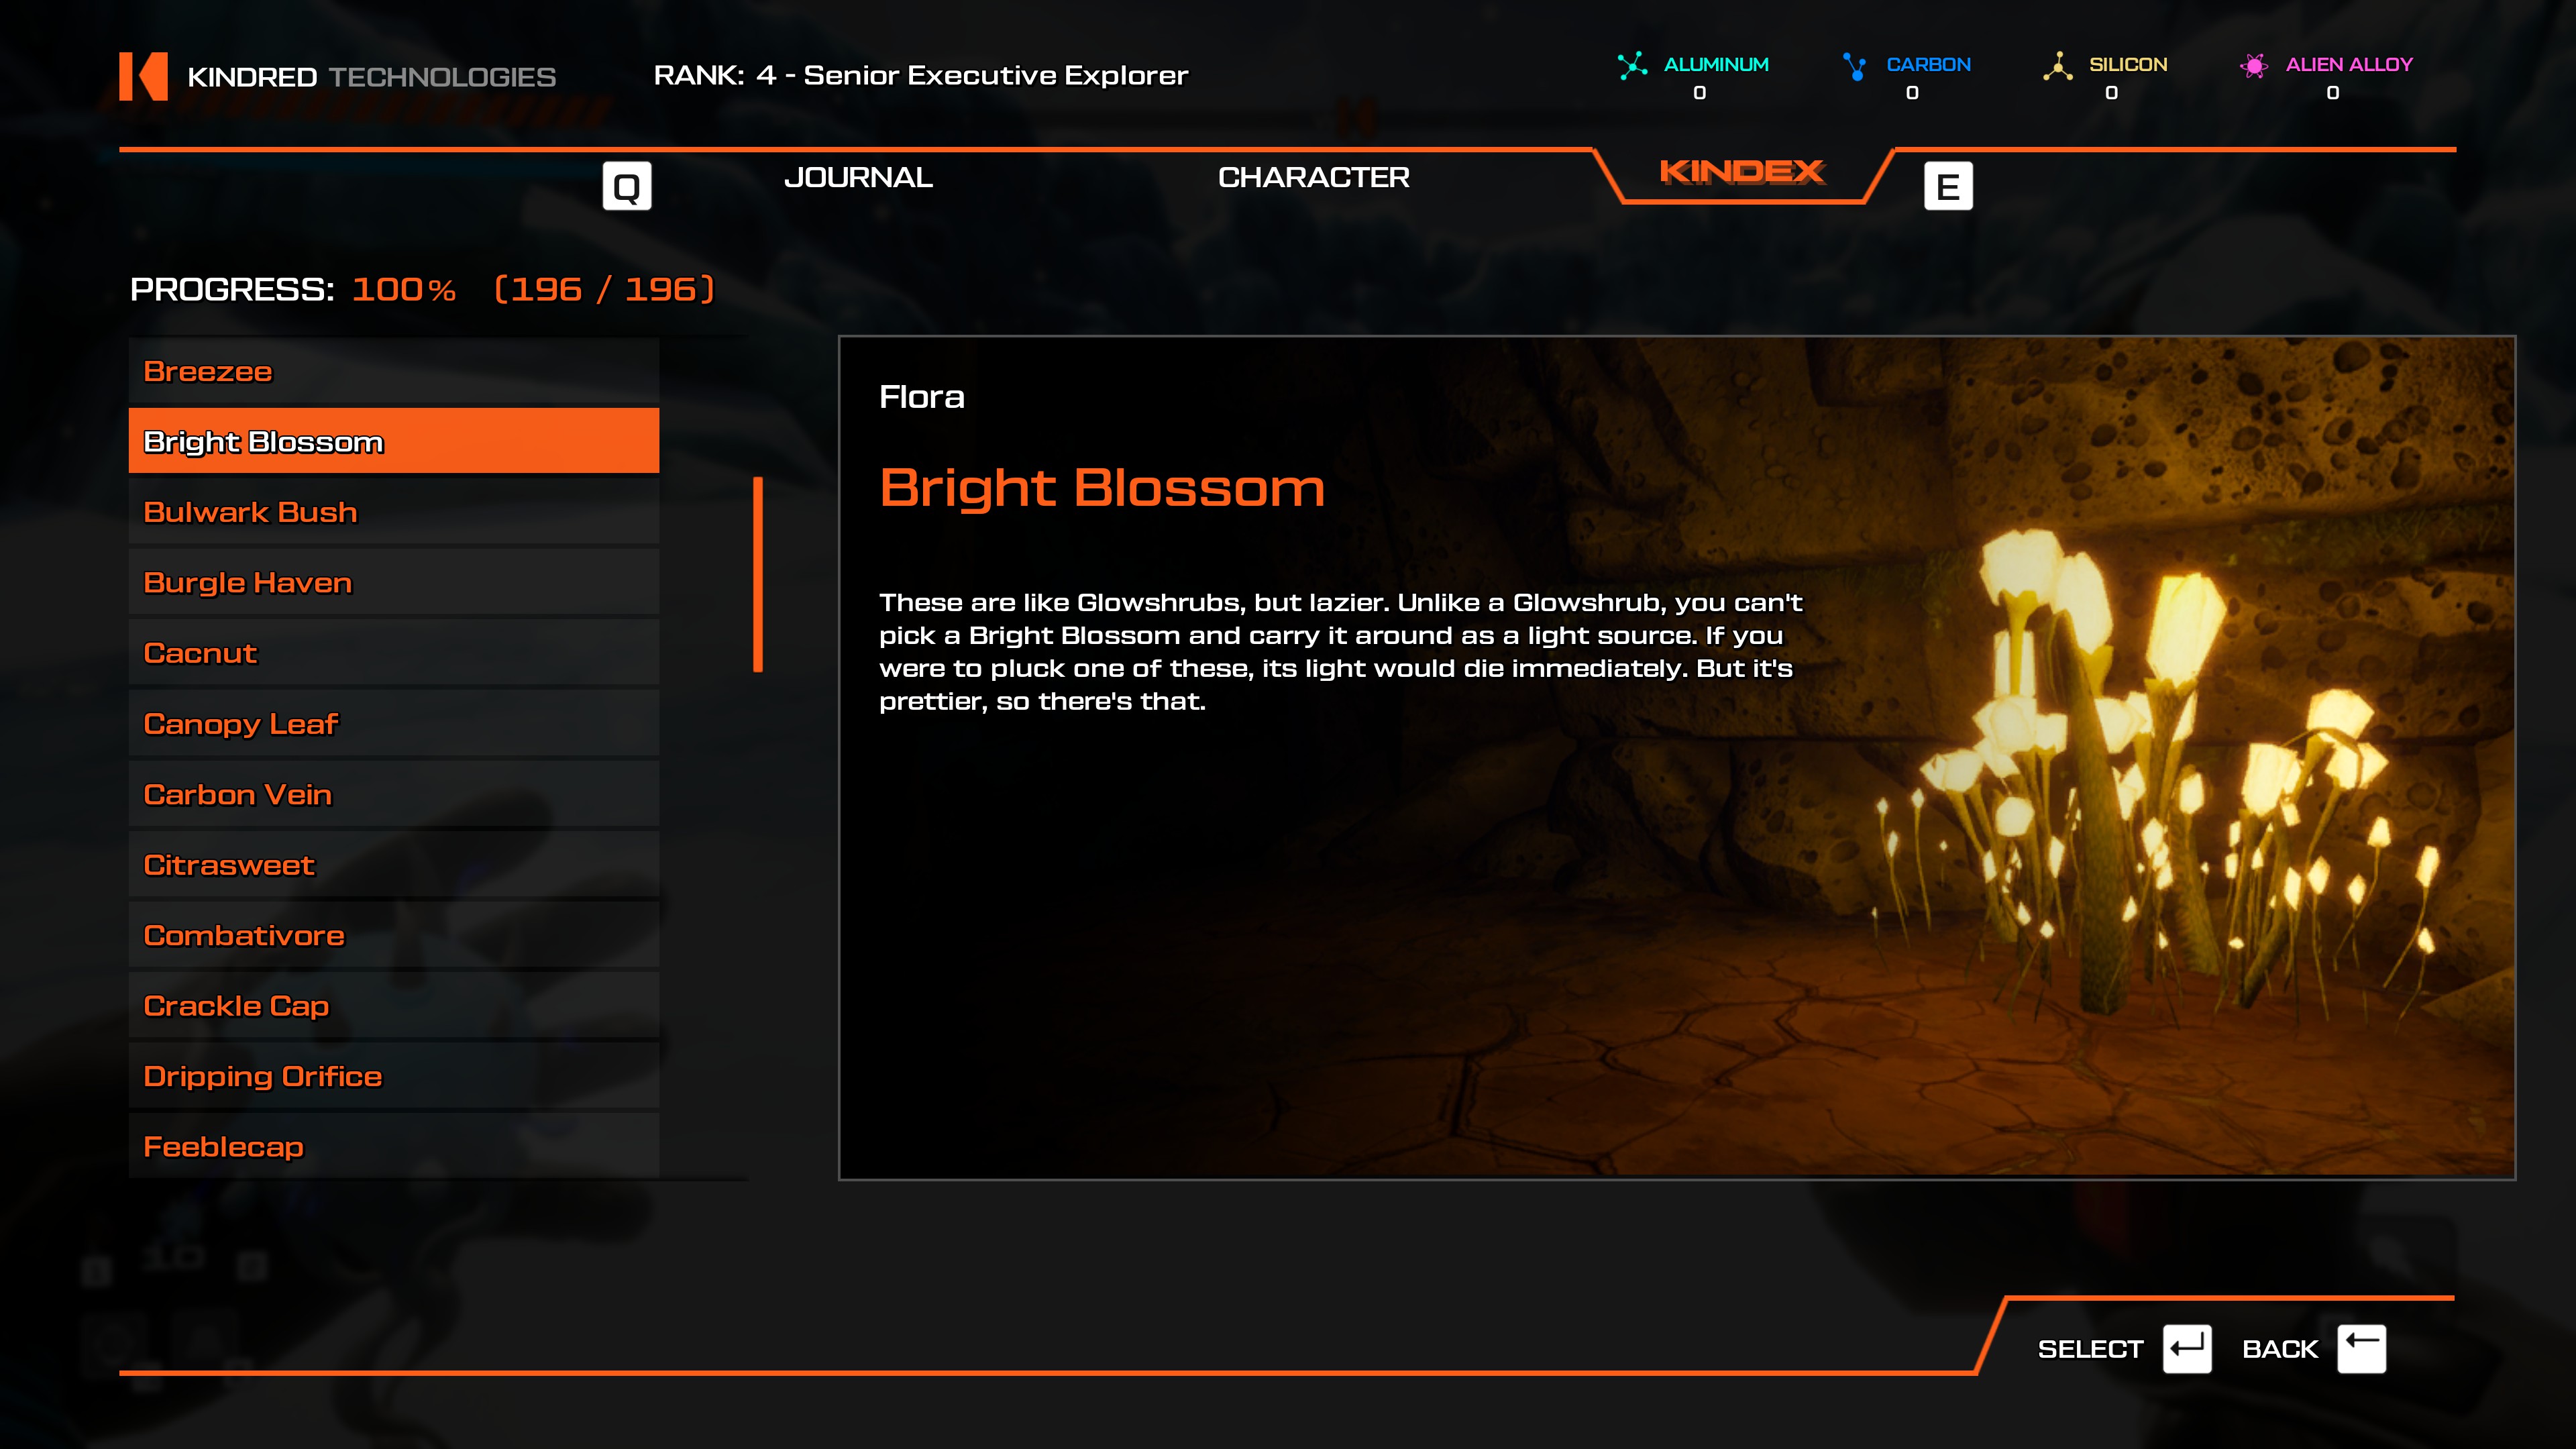
- From the Towering Crystals teleporter, head East toward the Glimmering Cave of Wonders. The plants are at the entrance.
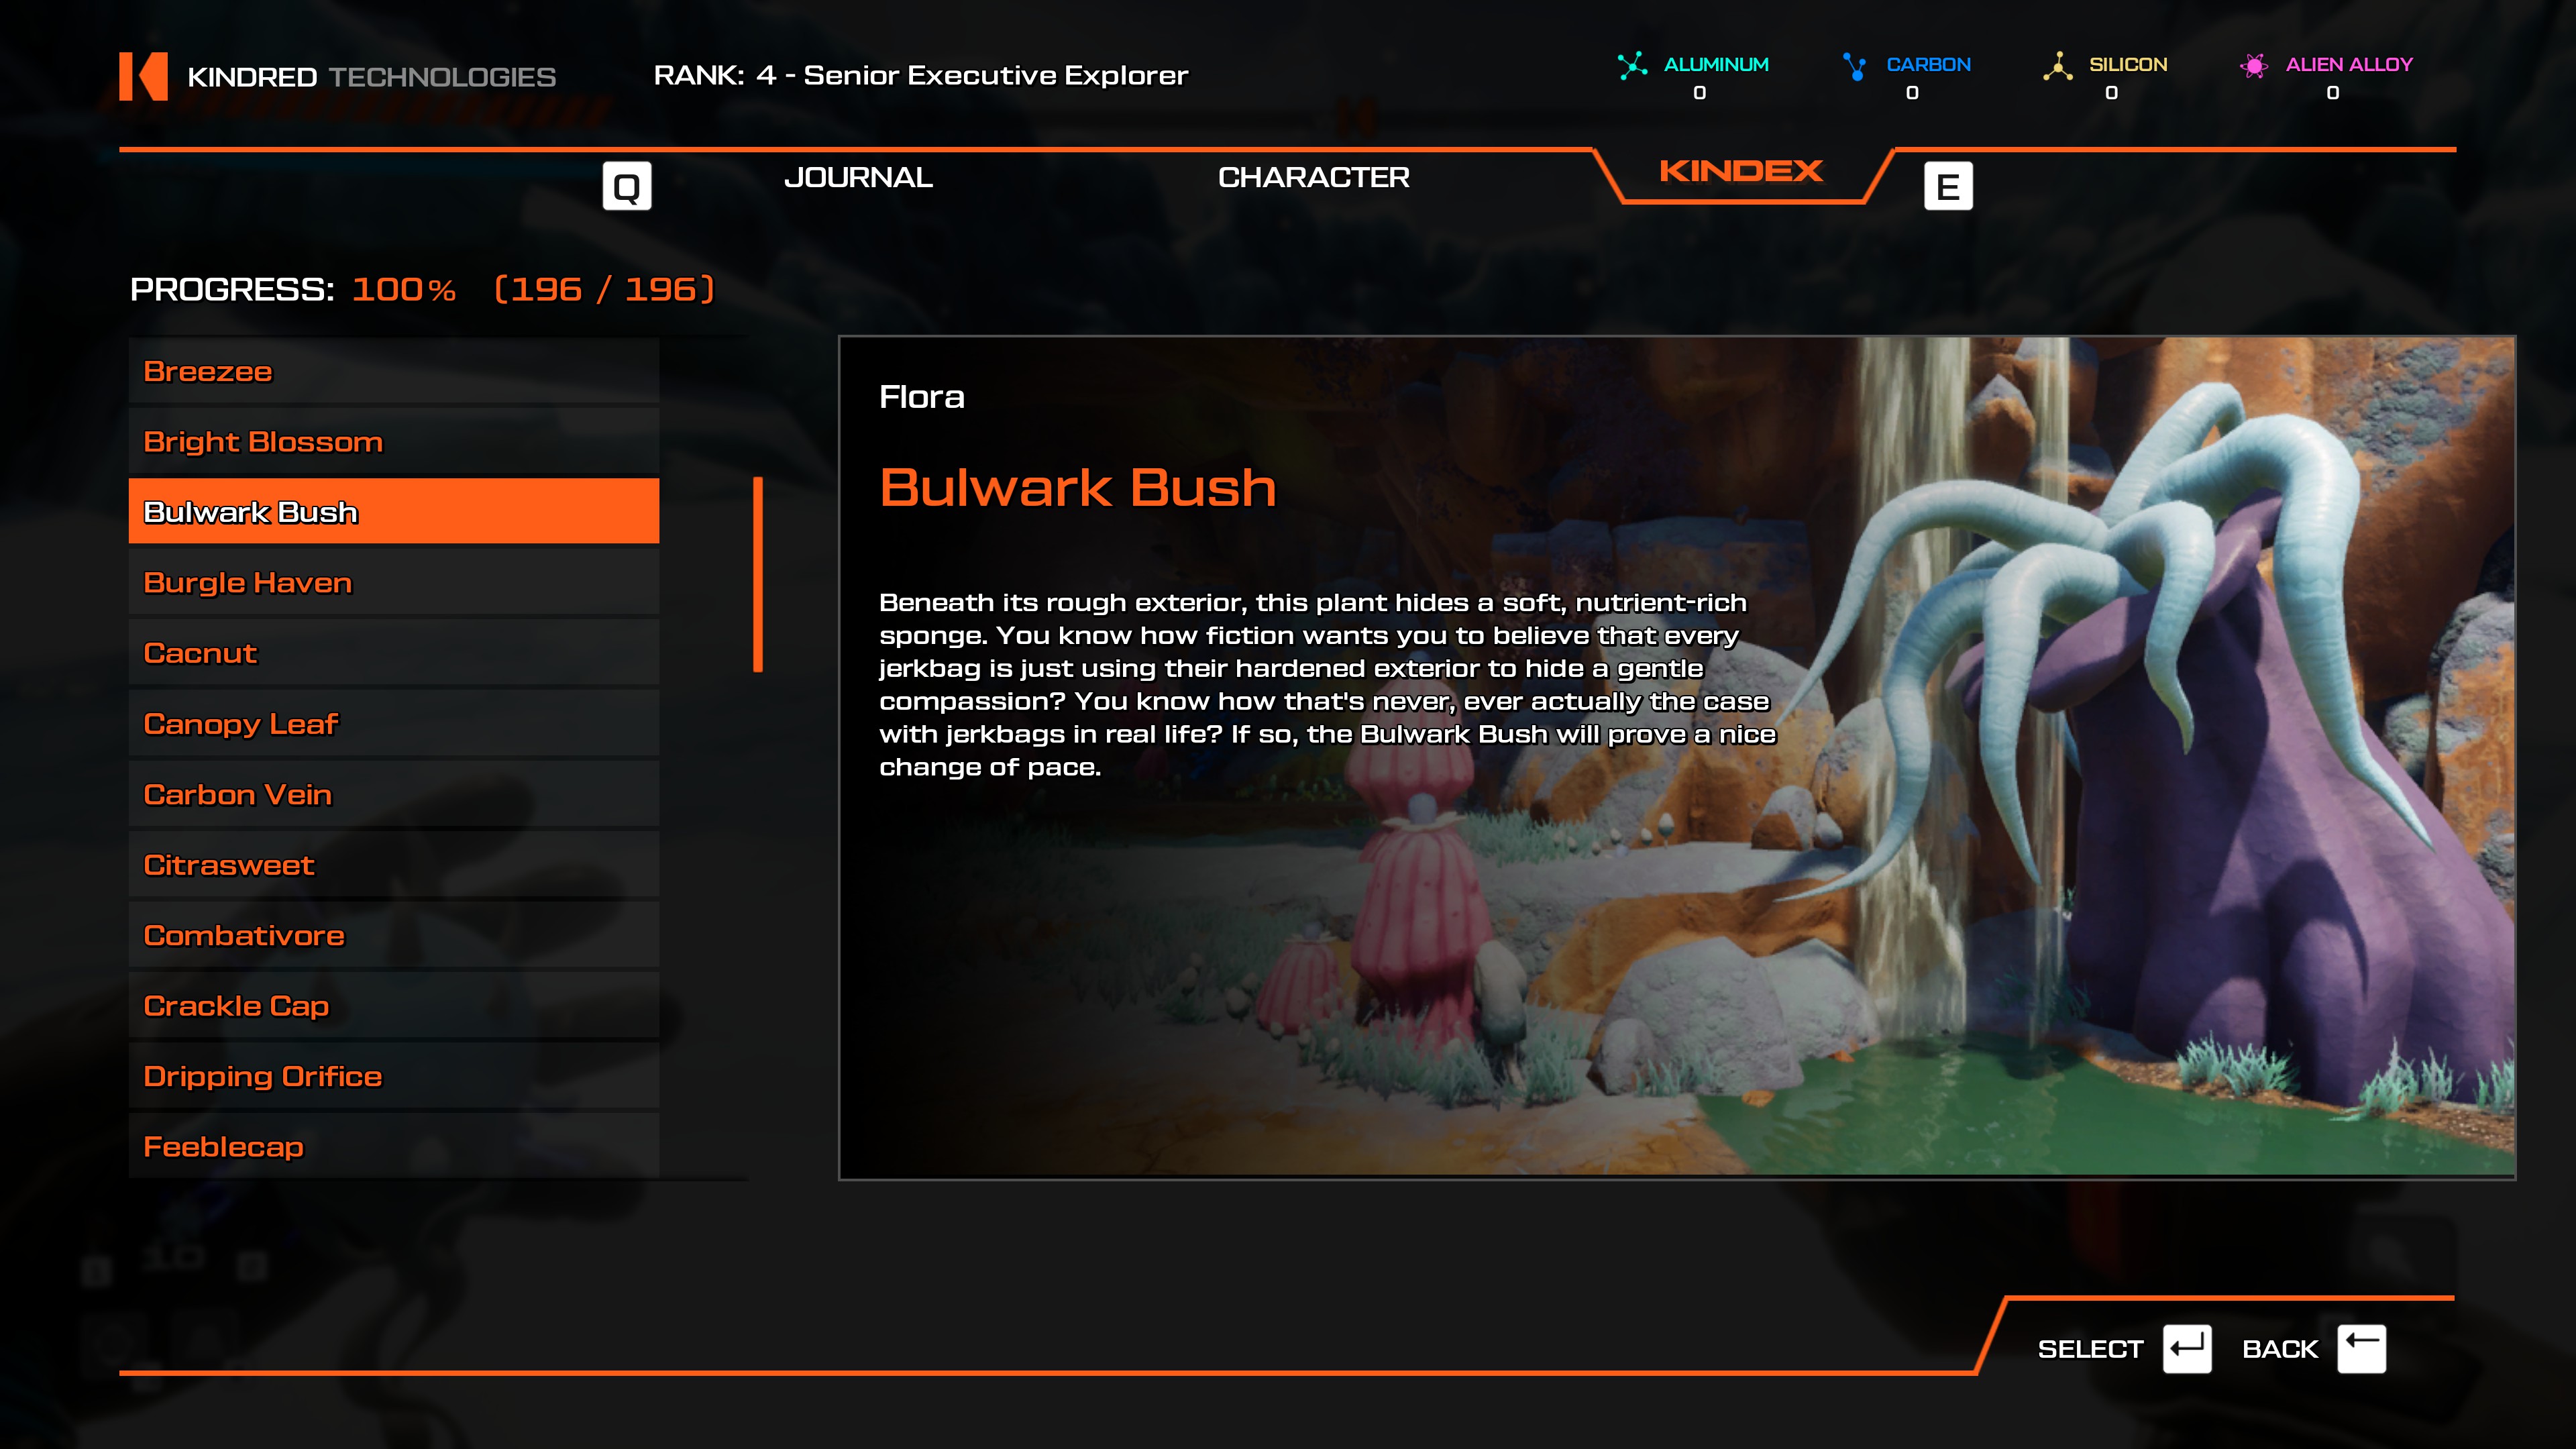
- Easily scannable from the Planetary Flotsam teleporter.
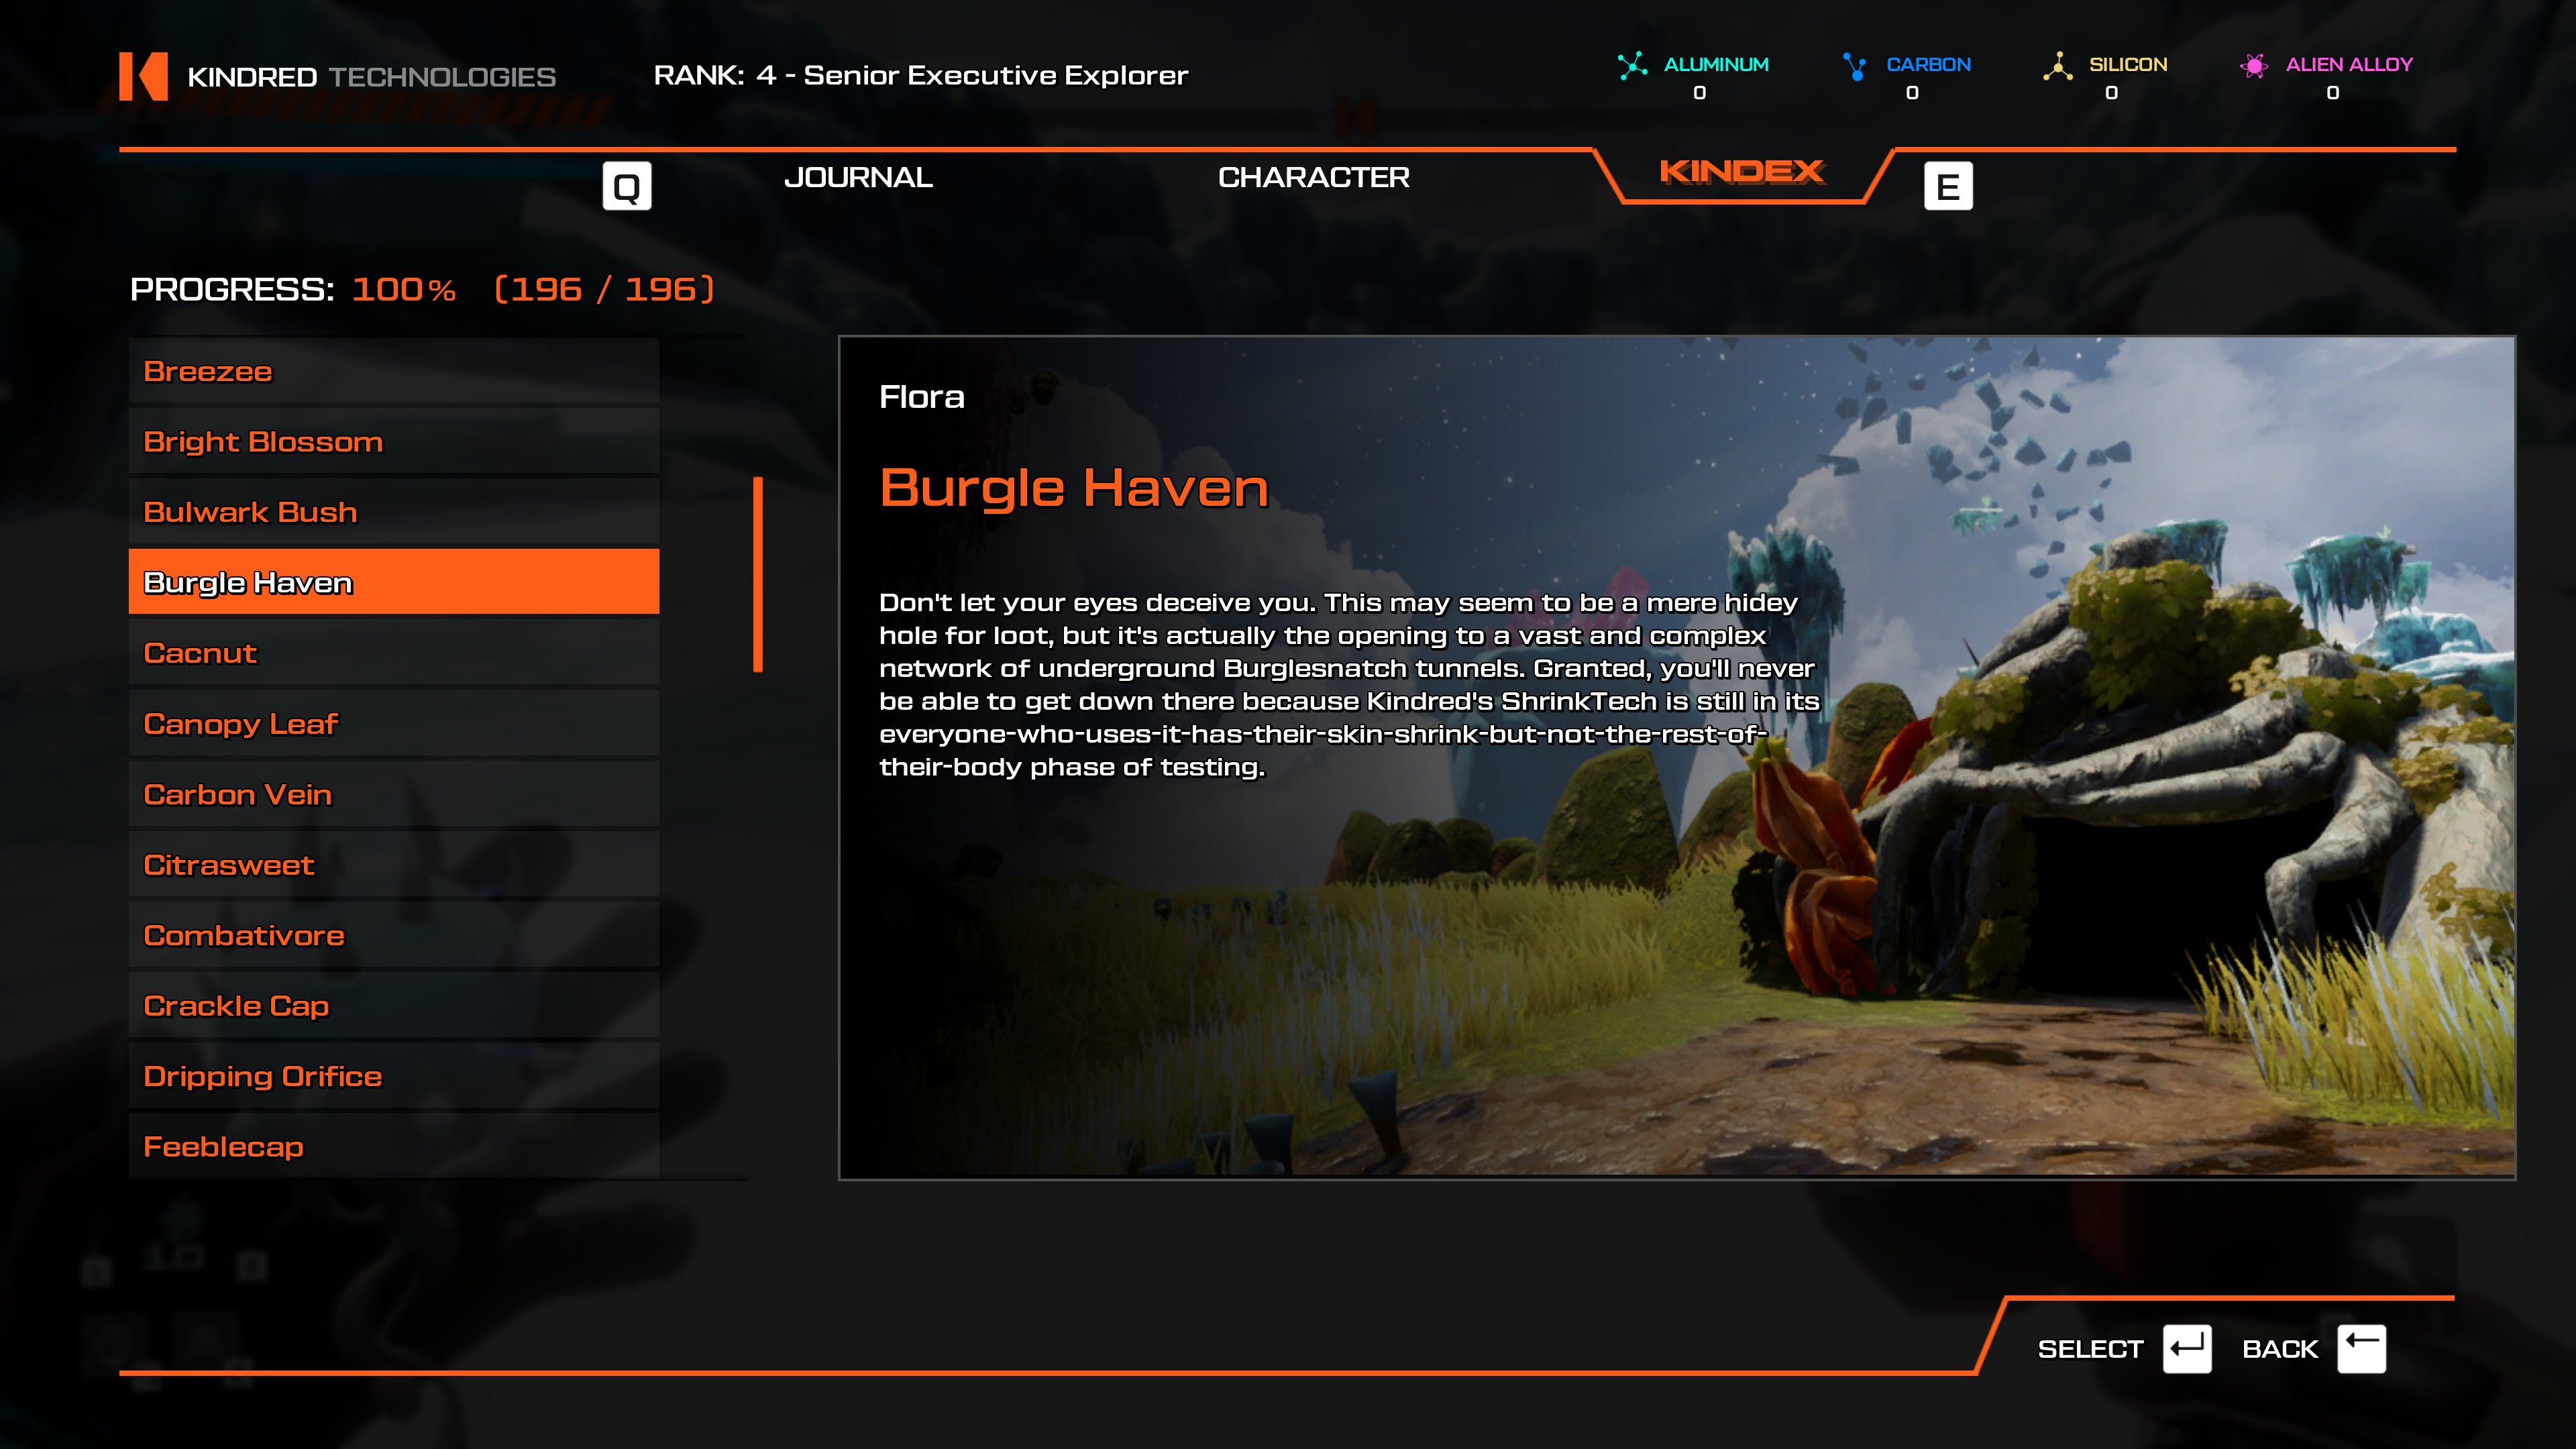
- Shangtar's Frigid Embrace (through the tunnel that goes under the spine).
- From Meteor Crater teleporter, head west and cross the stone bridge. There's an area with Pufferbirds here, along with a few Burgle Havens.
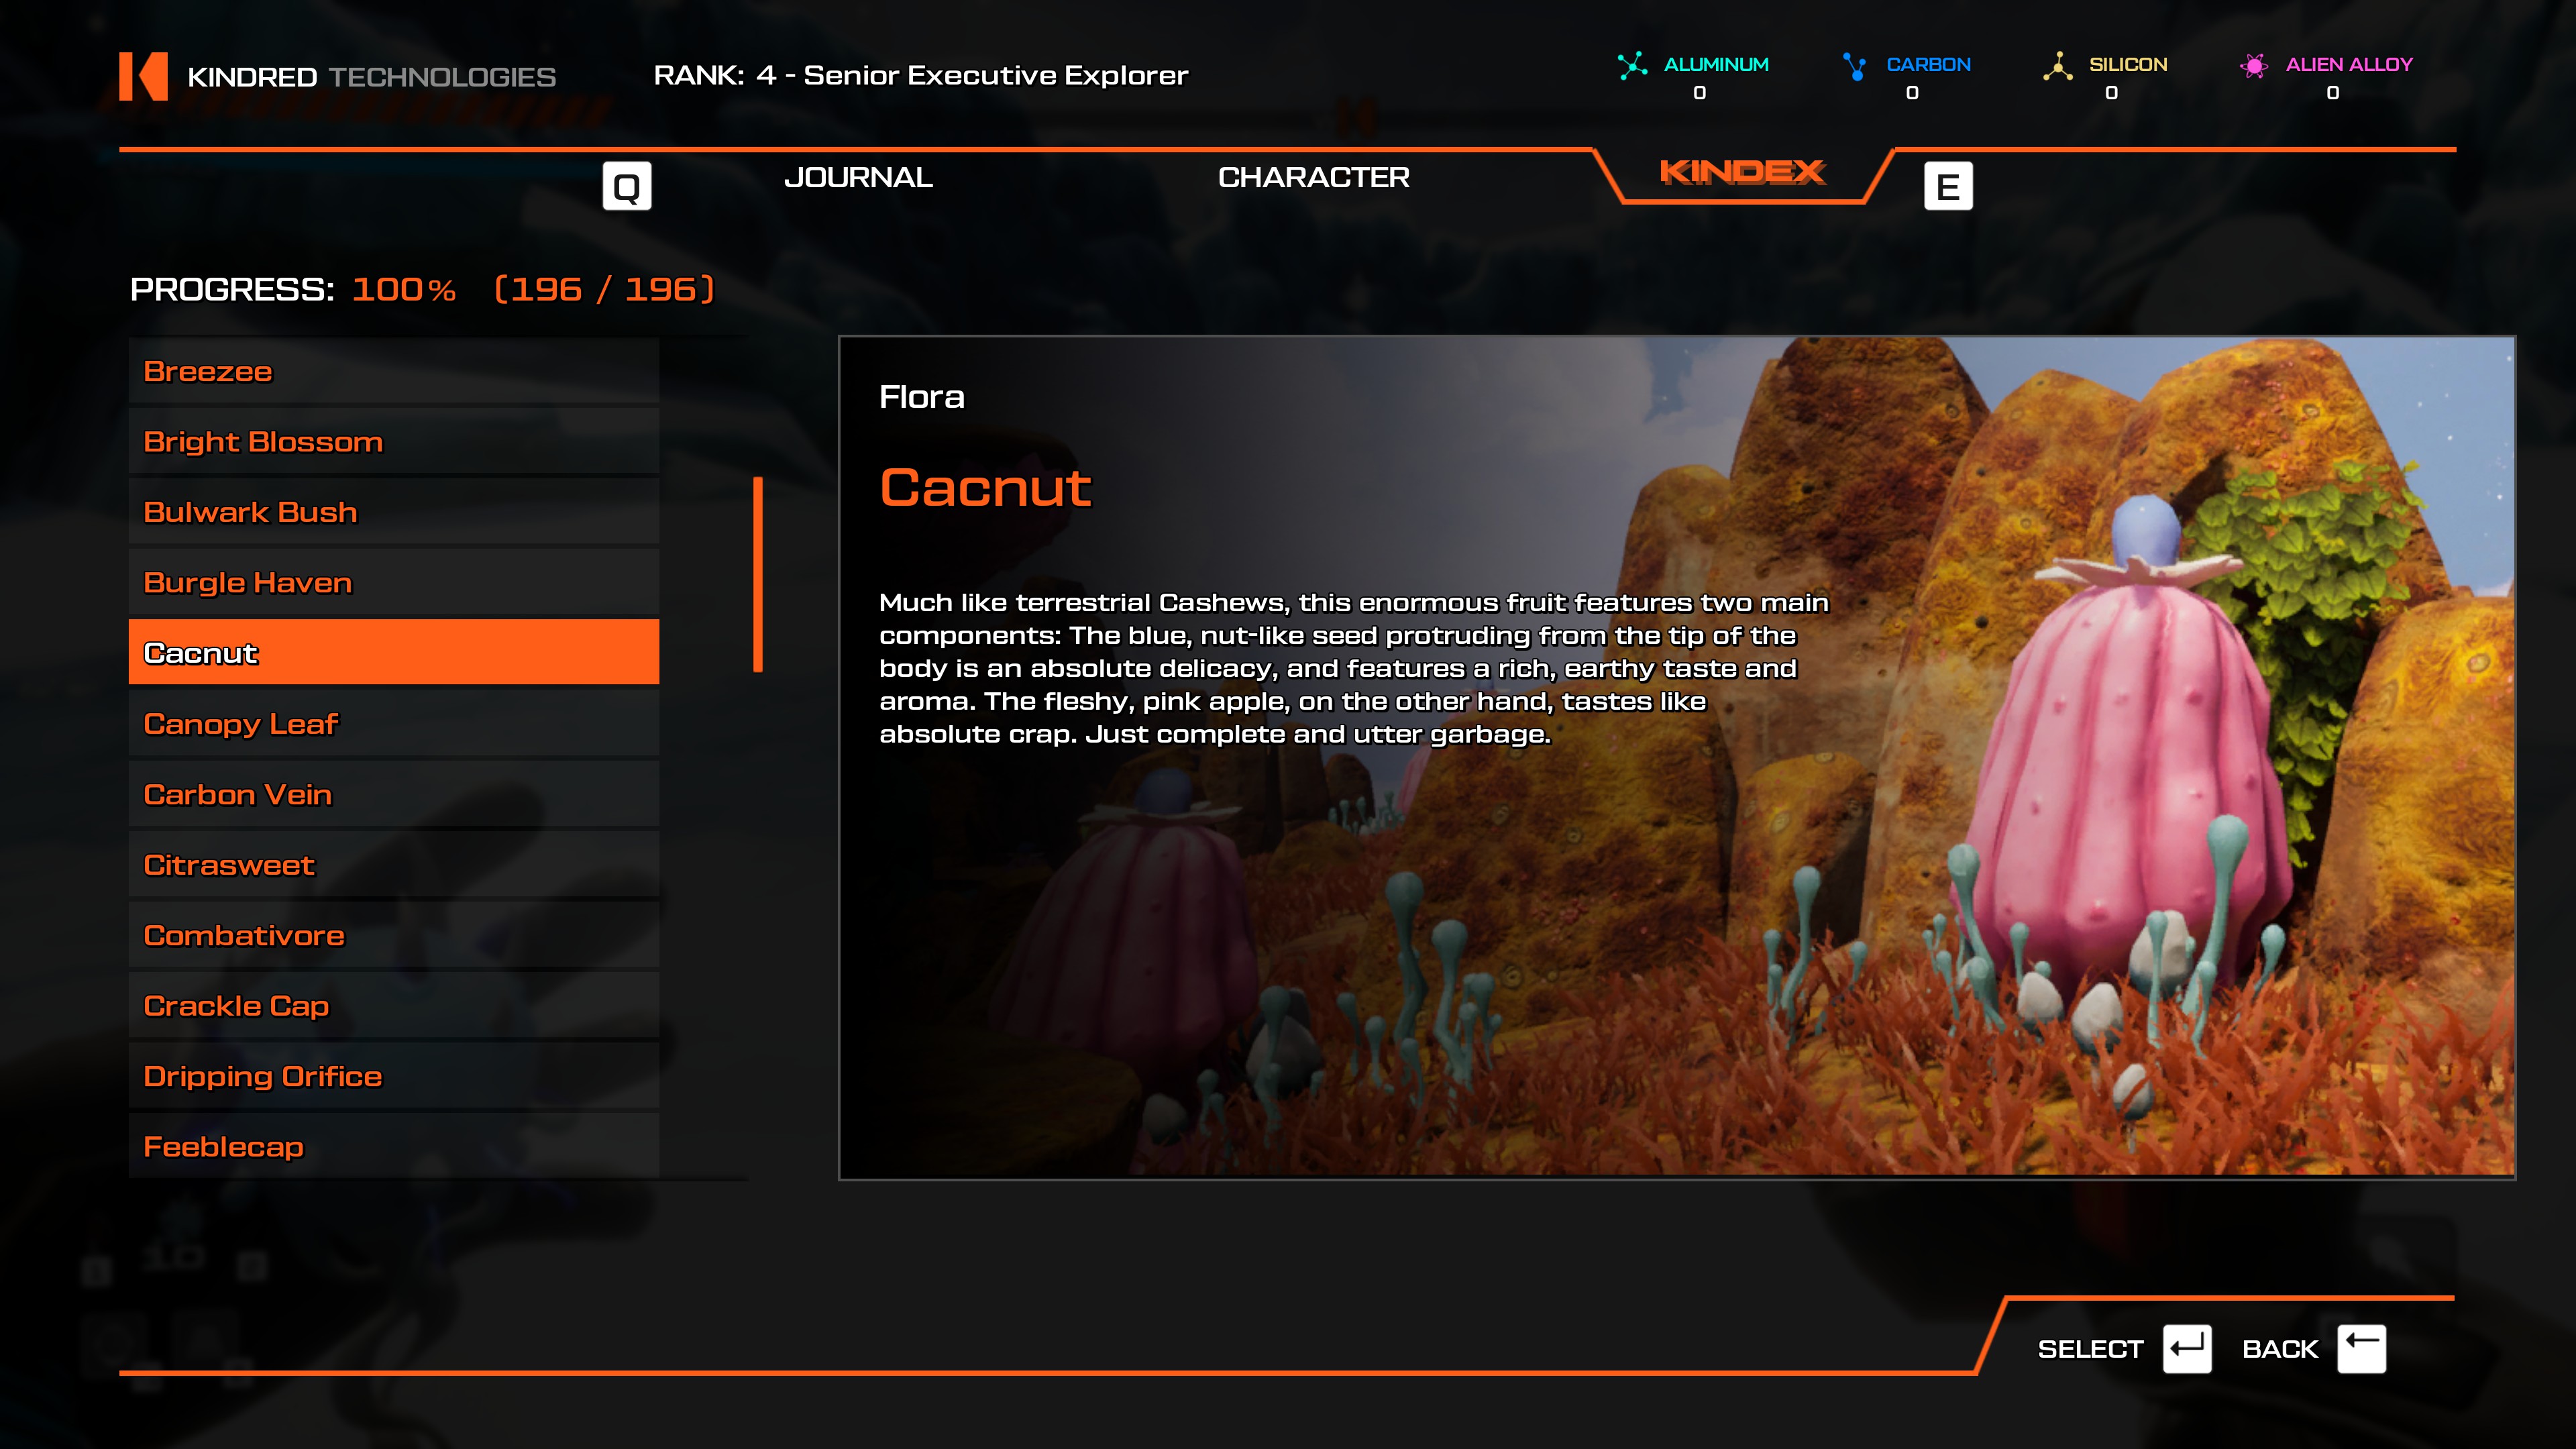
- Easily scannable from the Fungi of Si'ned VII teleporter.
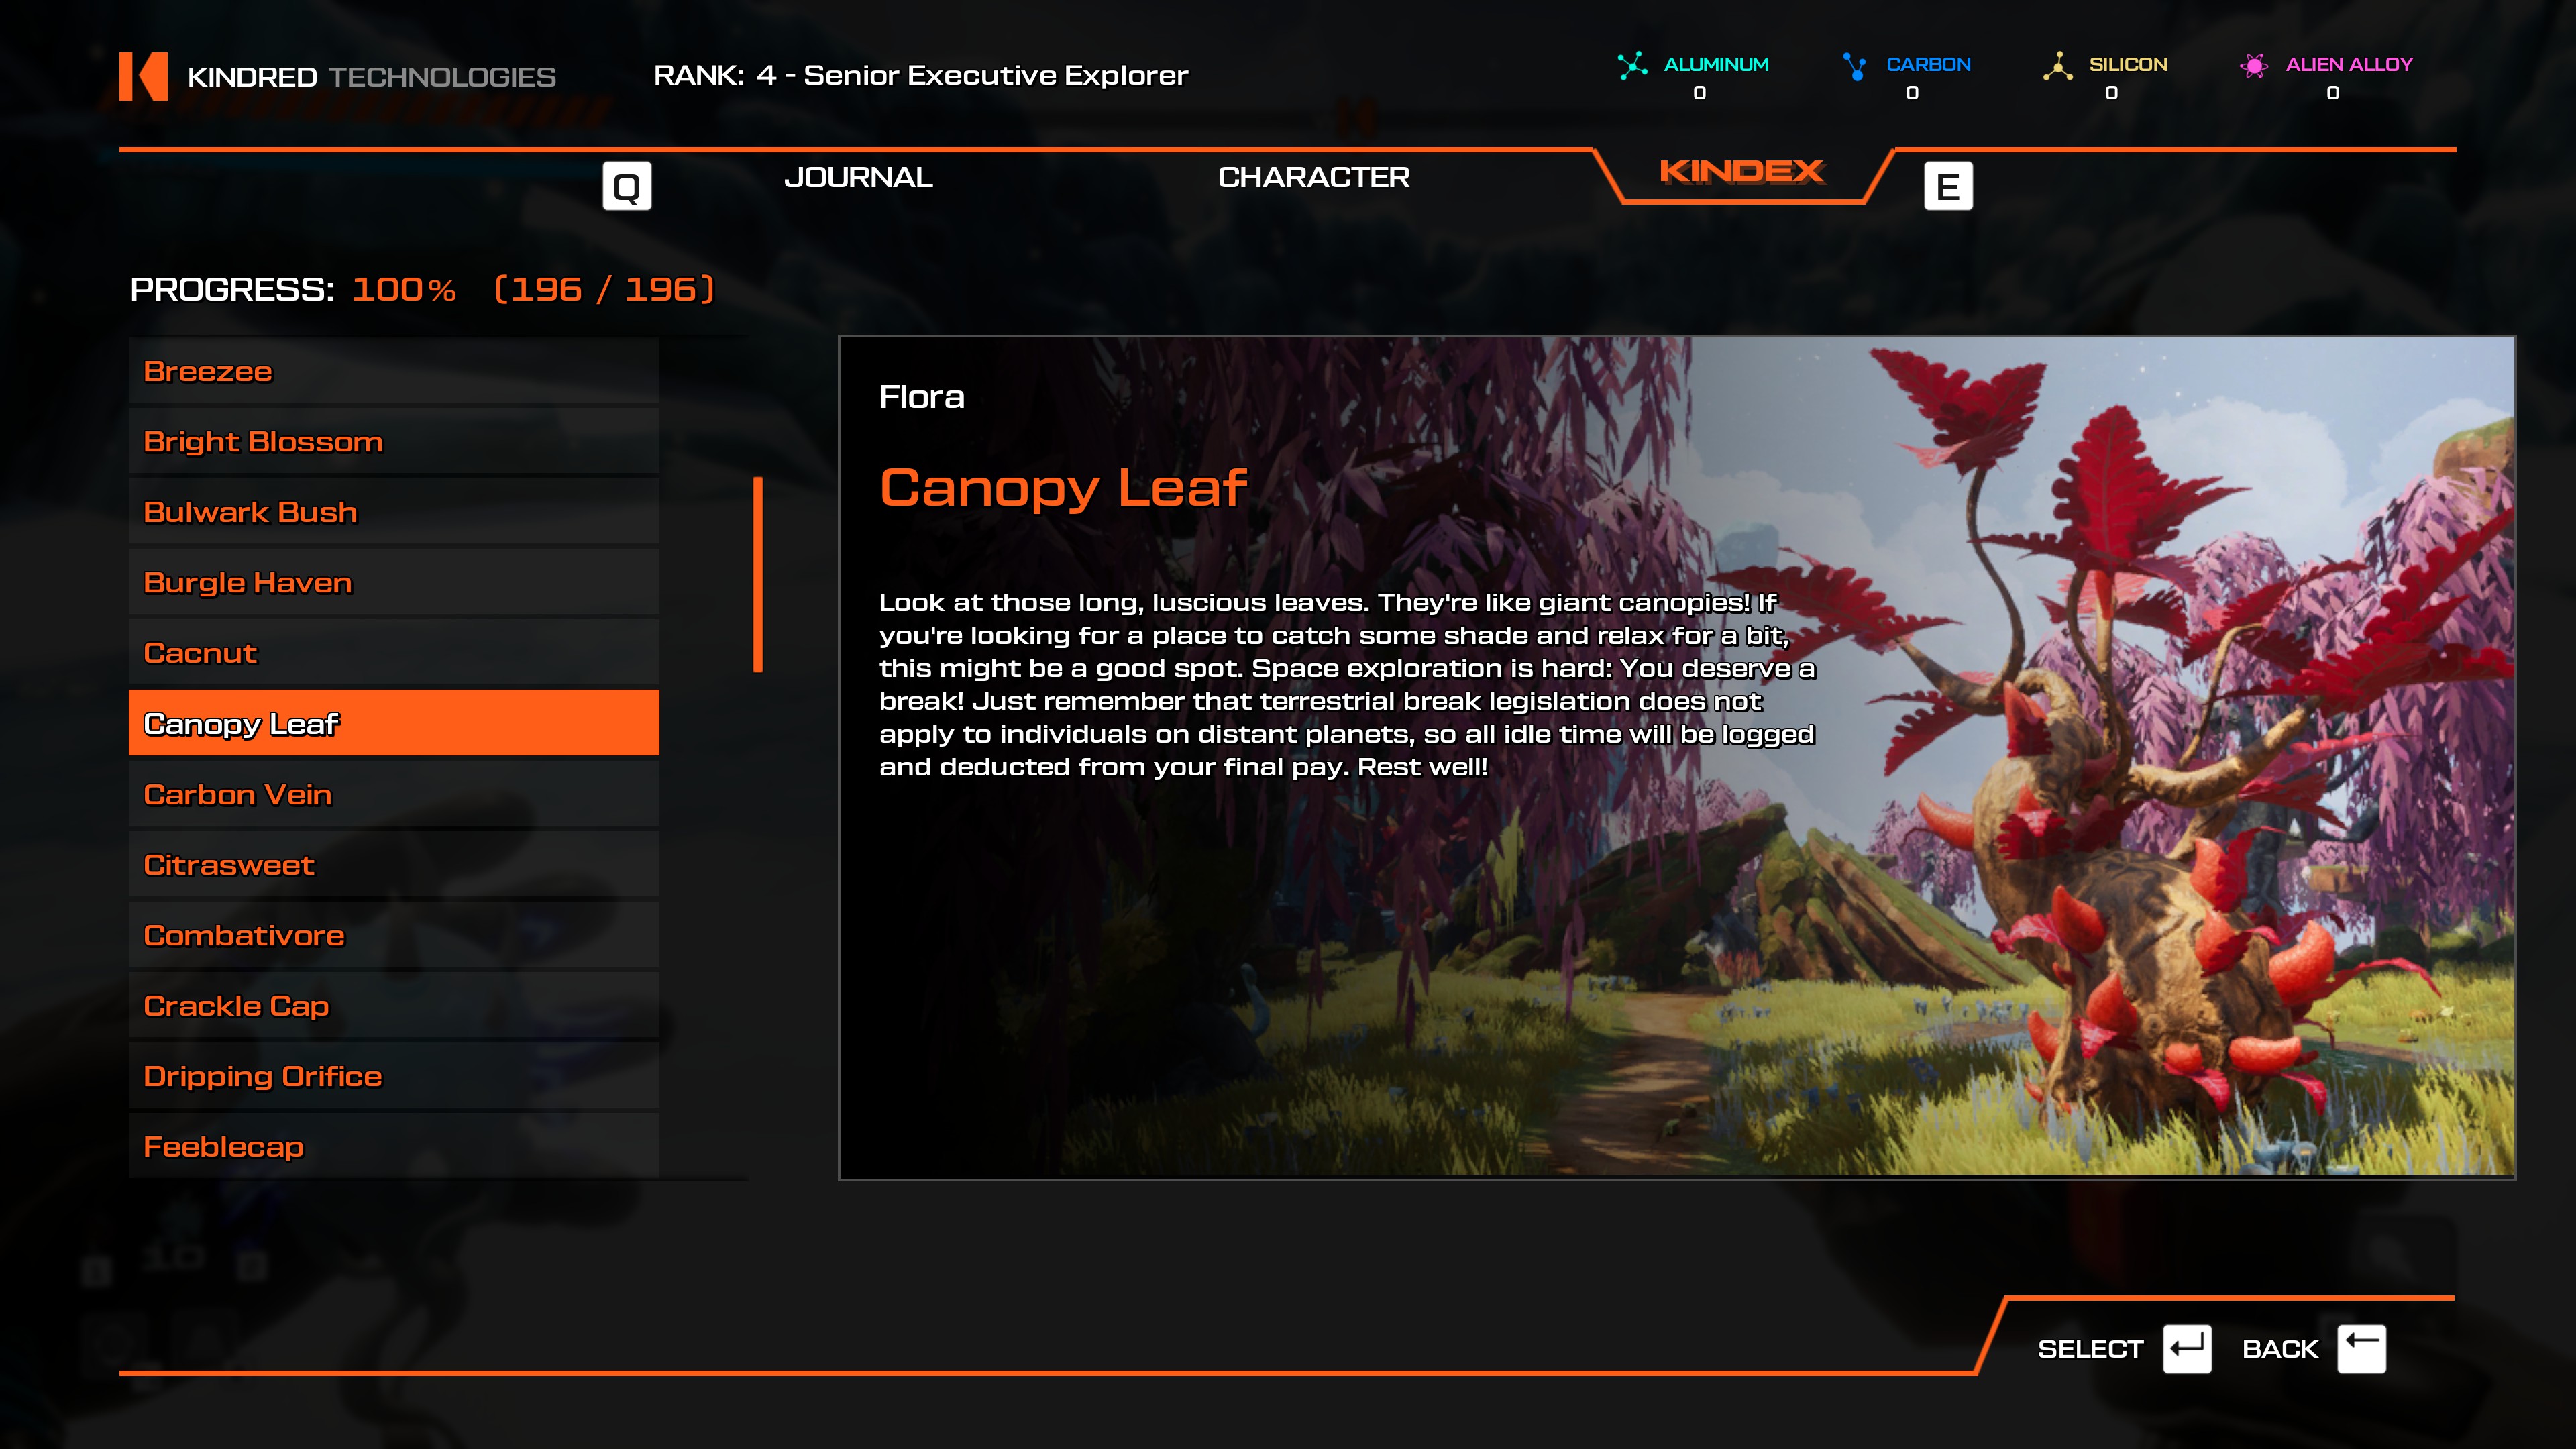
- Easily scannable from the Xerohilous Landing or Tears of T'bo teleporter.
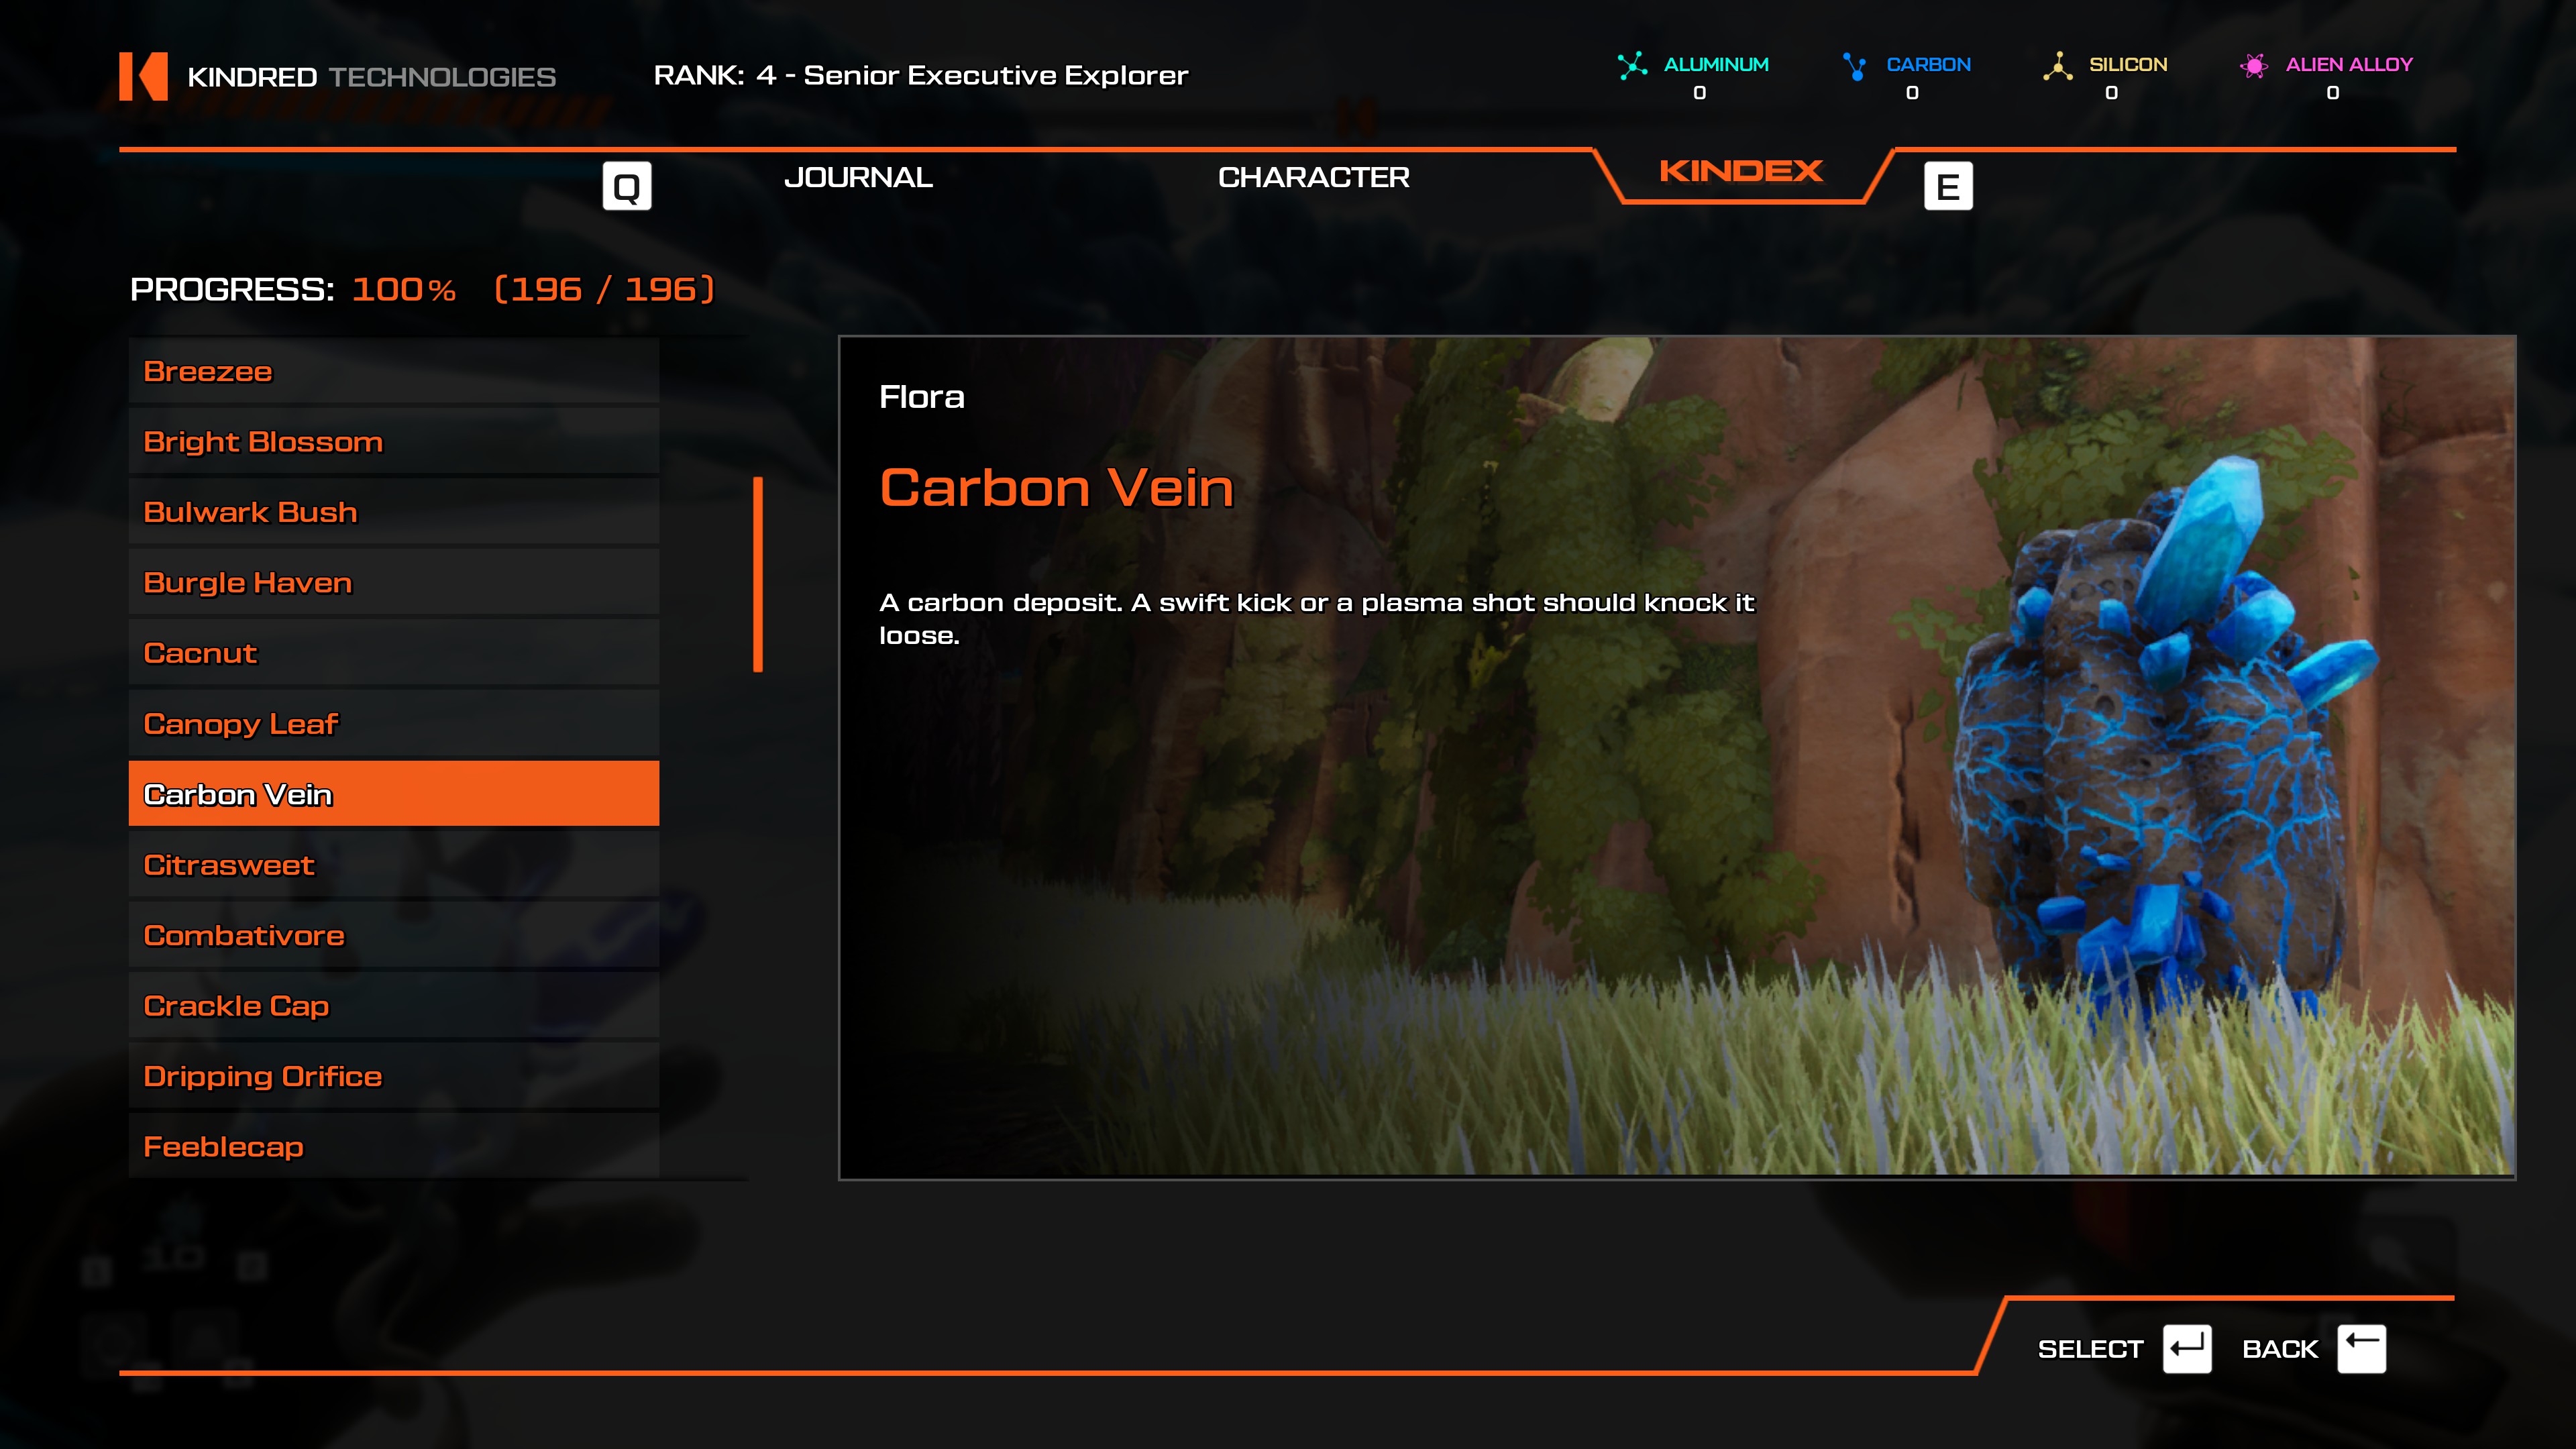
- Easily scannable from the Infernal Cauldron teleporter, to the south.
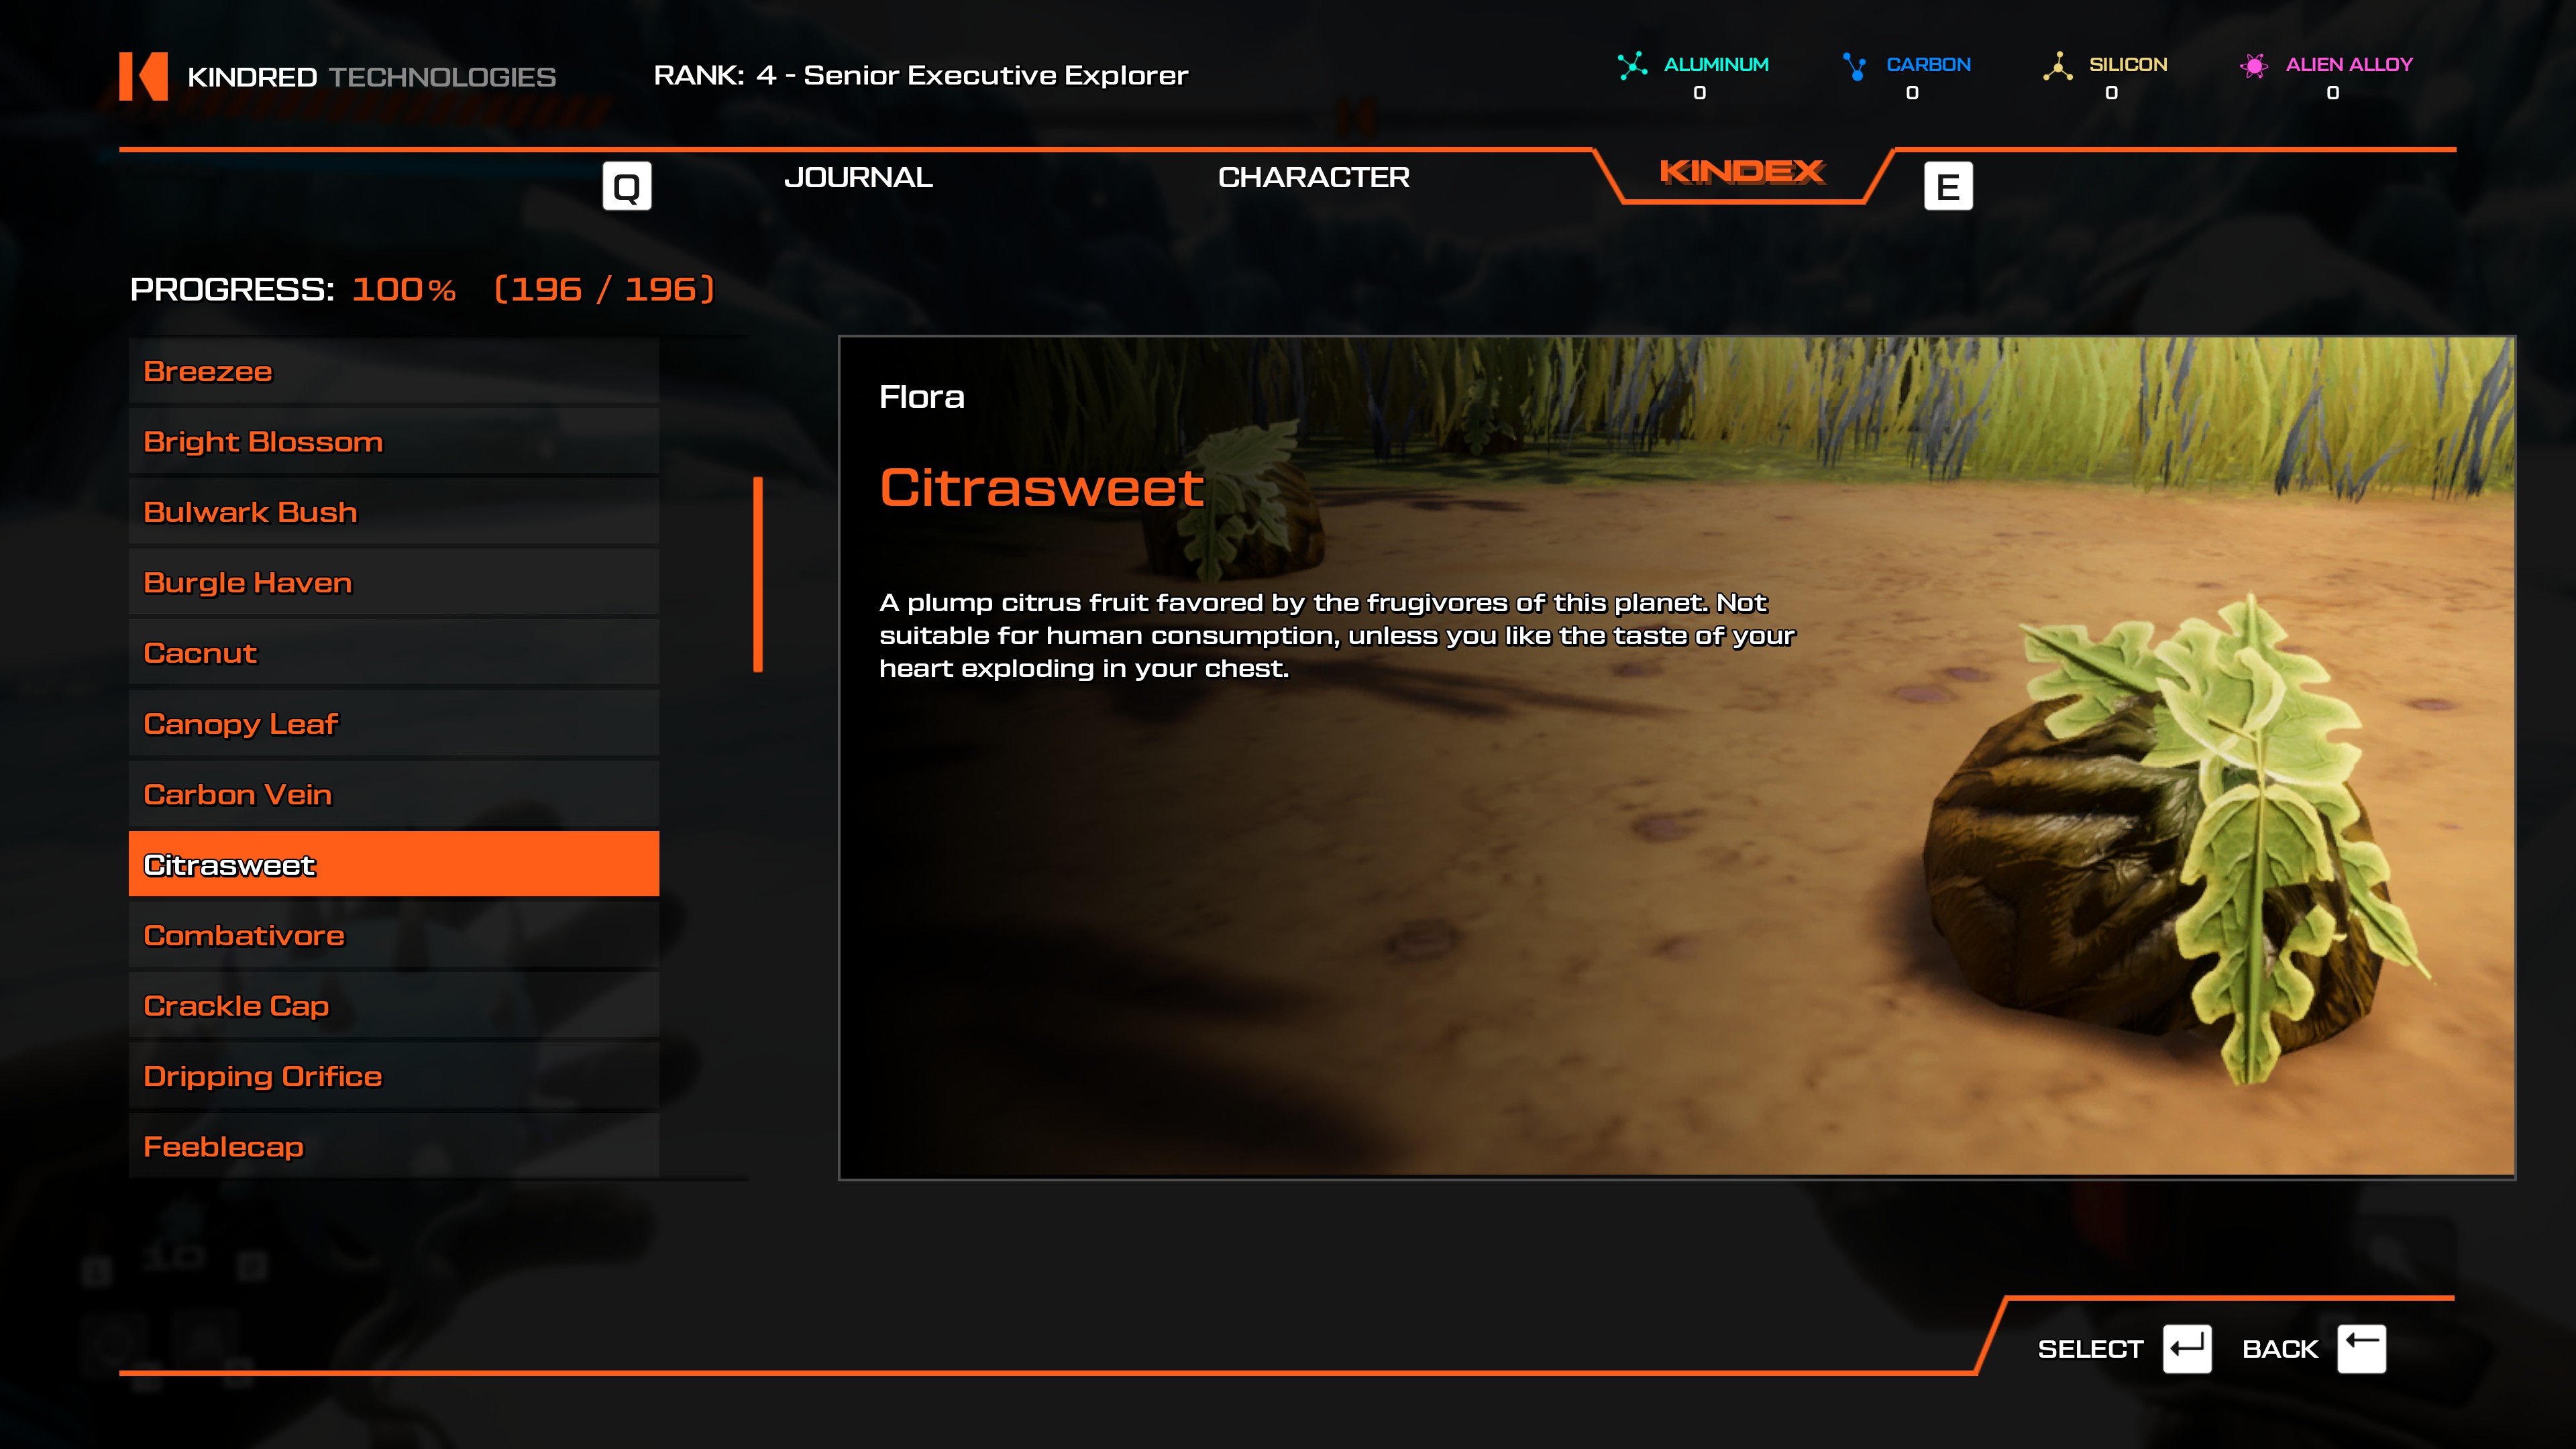
- Go to the Infernal Cauldron teleporter and go into the Kapyena pit, The Vaultivore is at the end, it held an Alien Alloy.
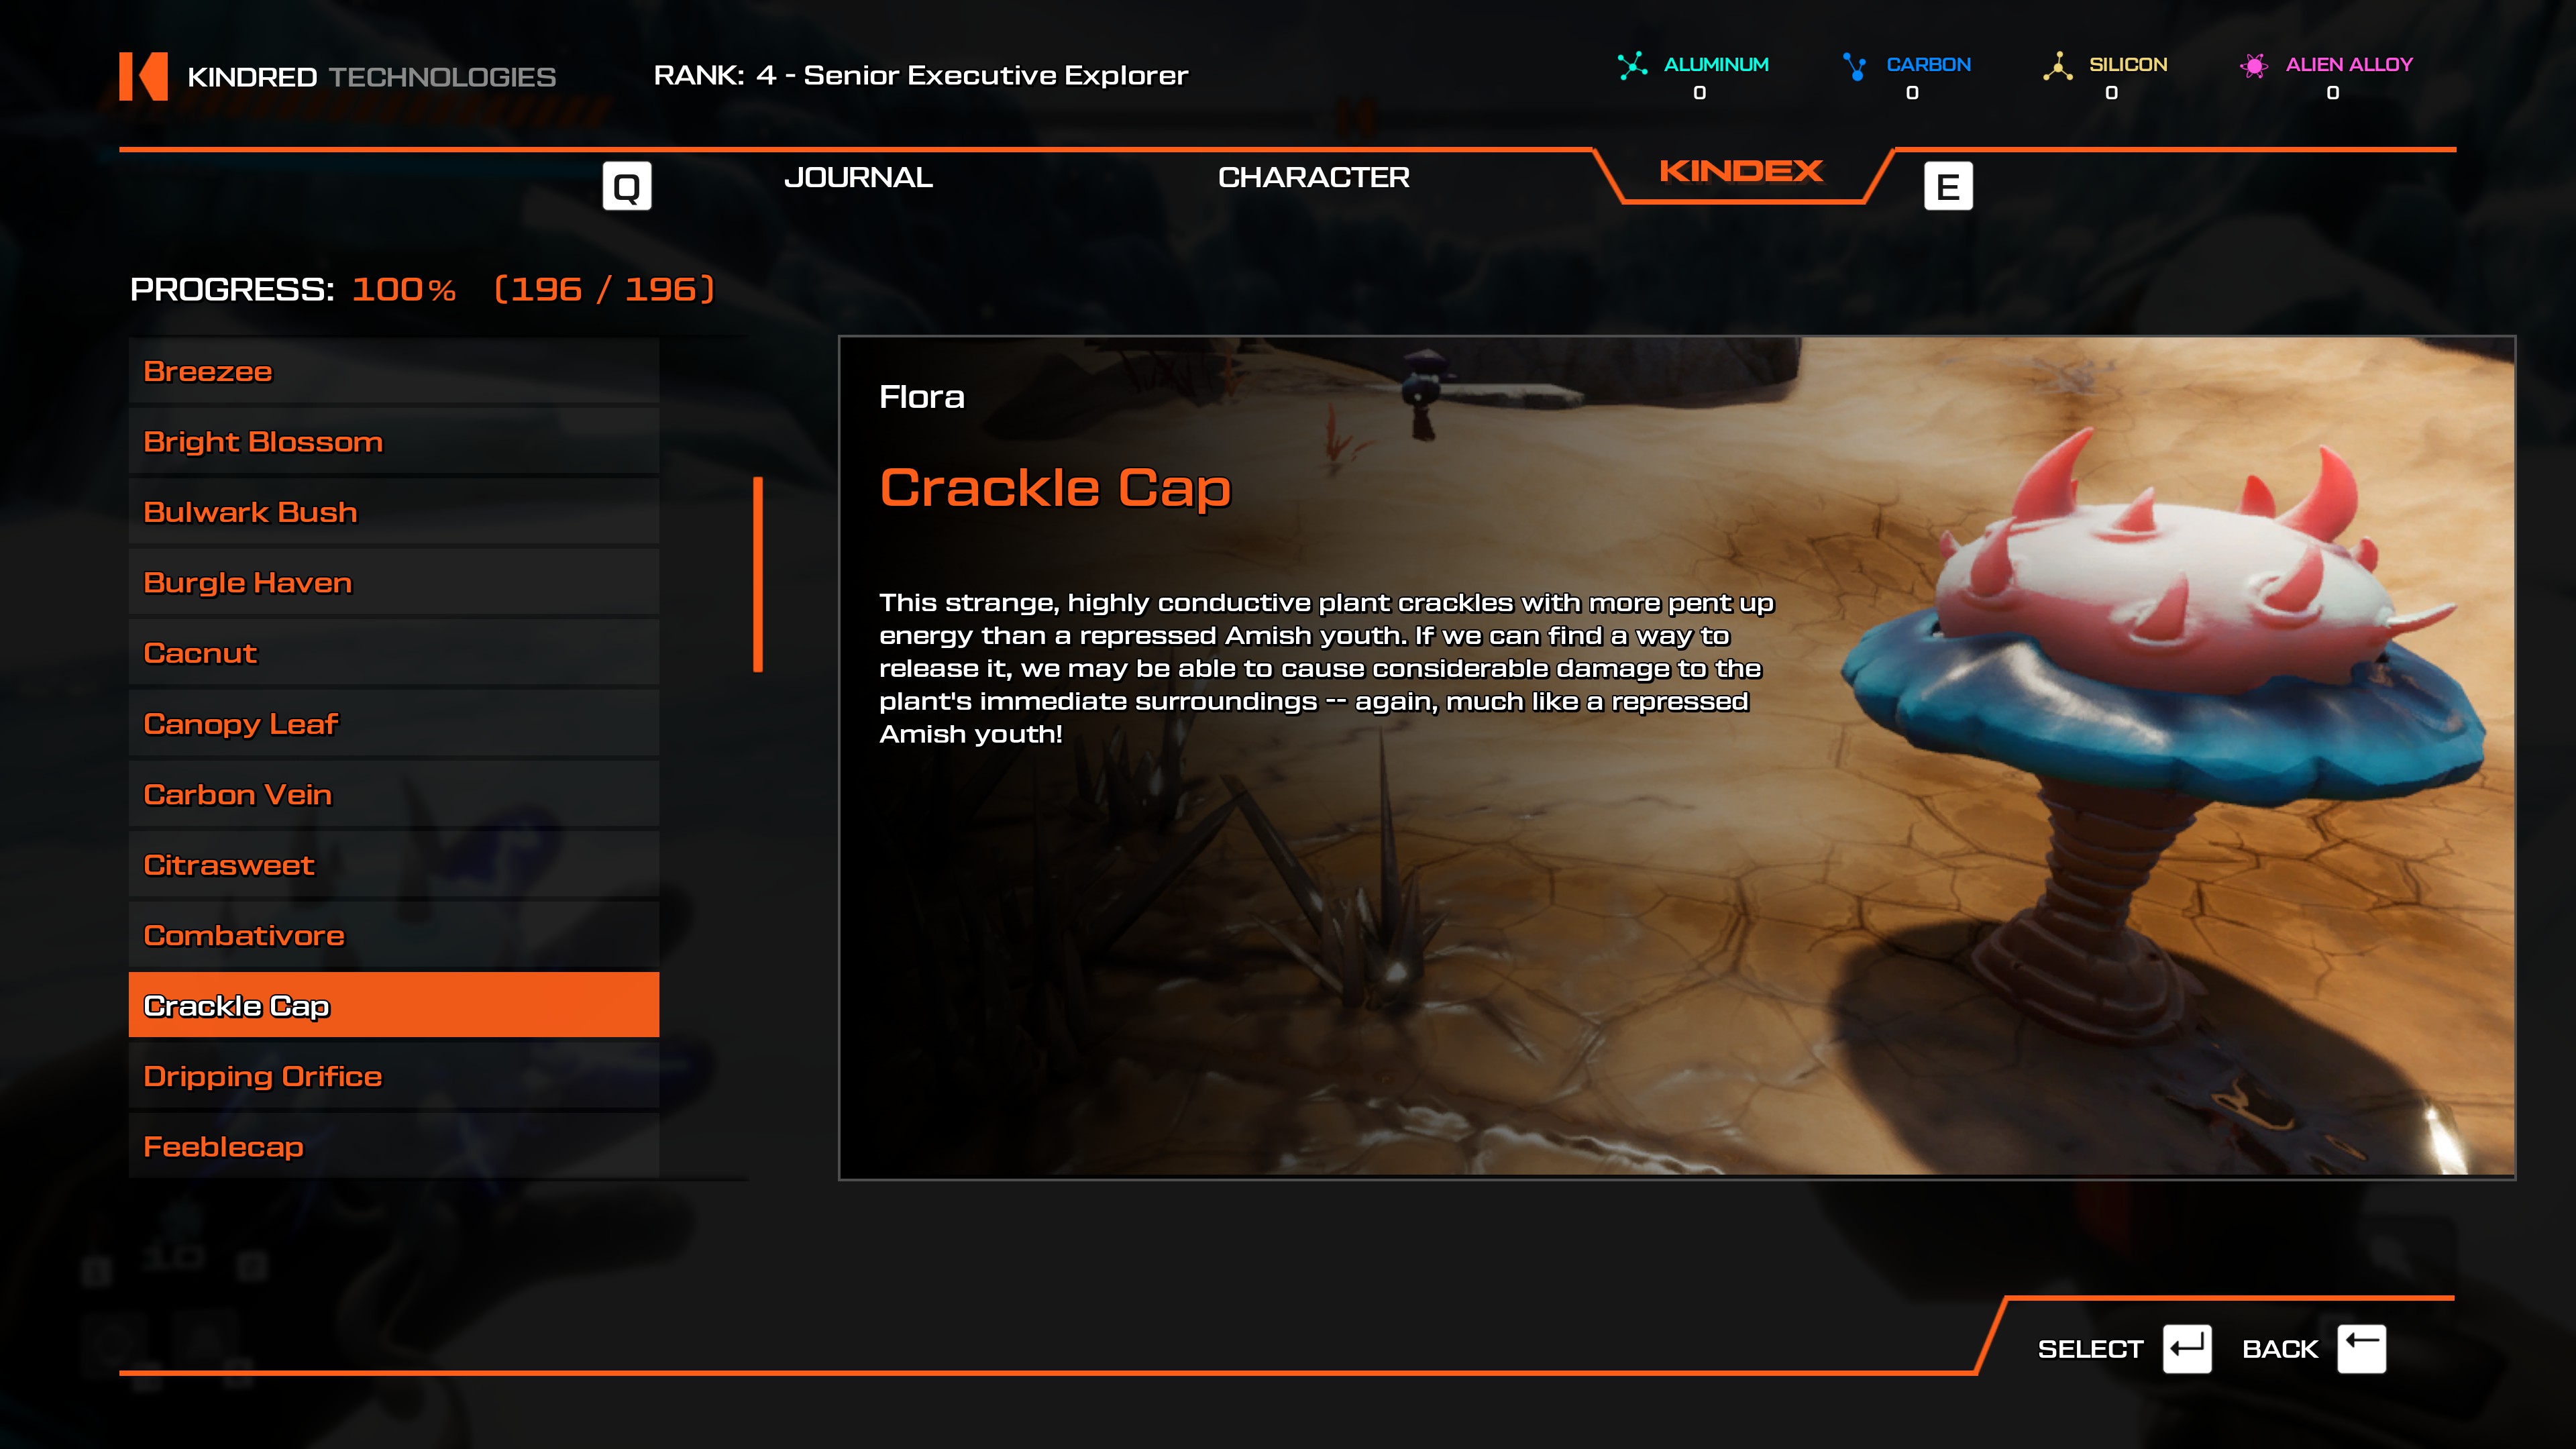
- Use the Crackling Pedestal teleporter, then head southeast. Plenty of them here.
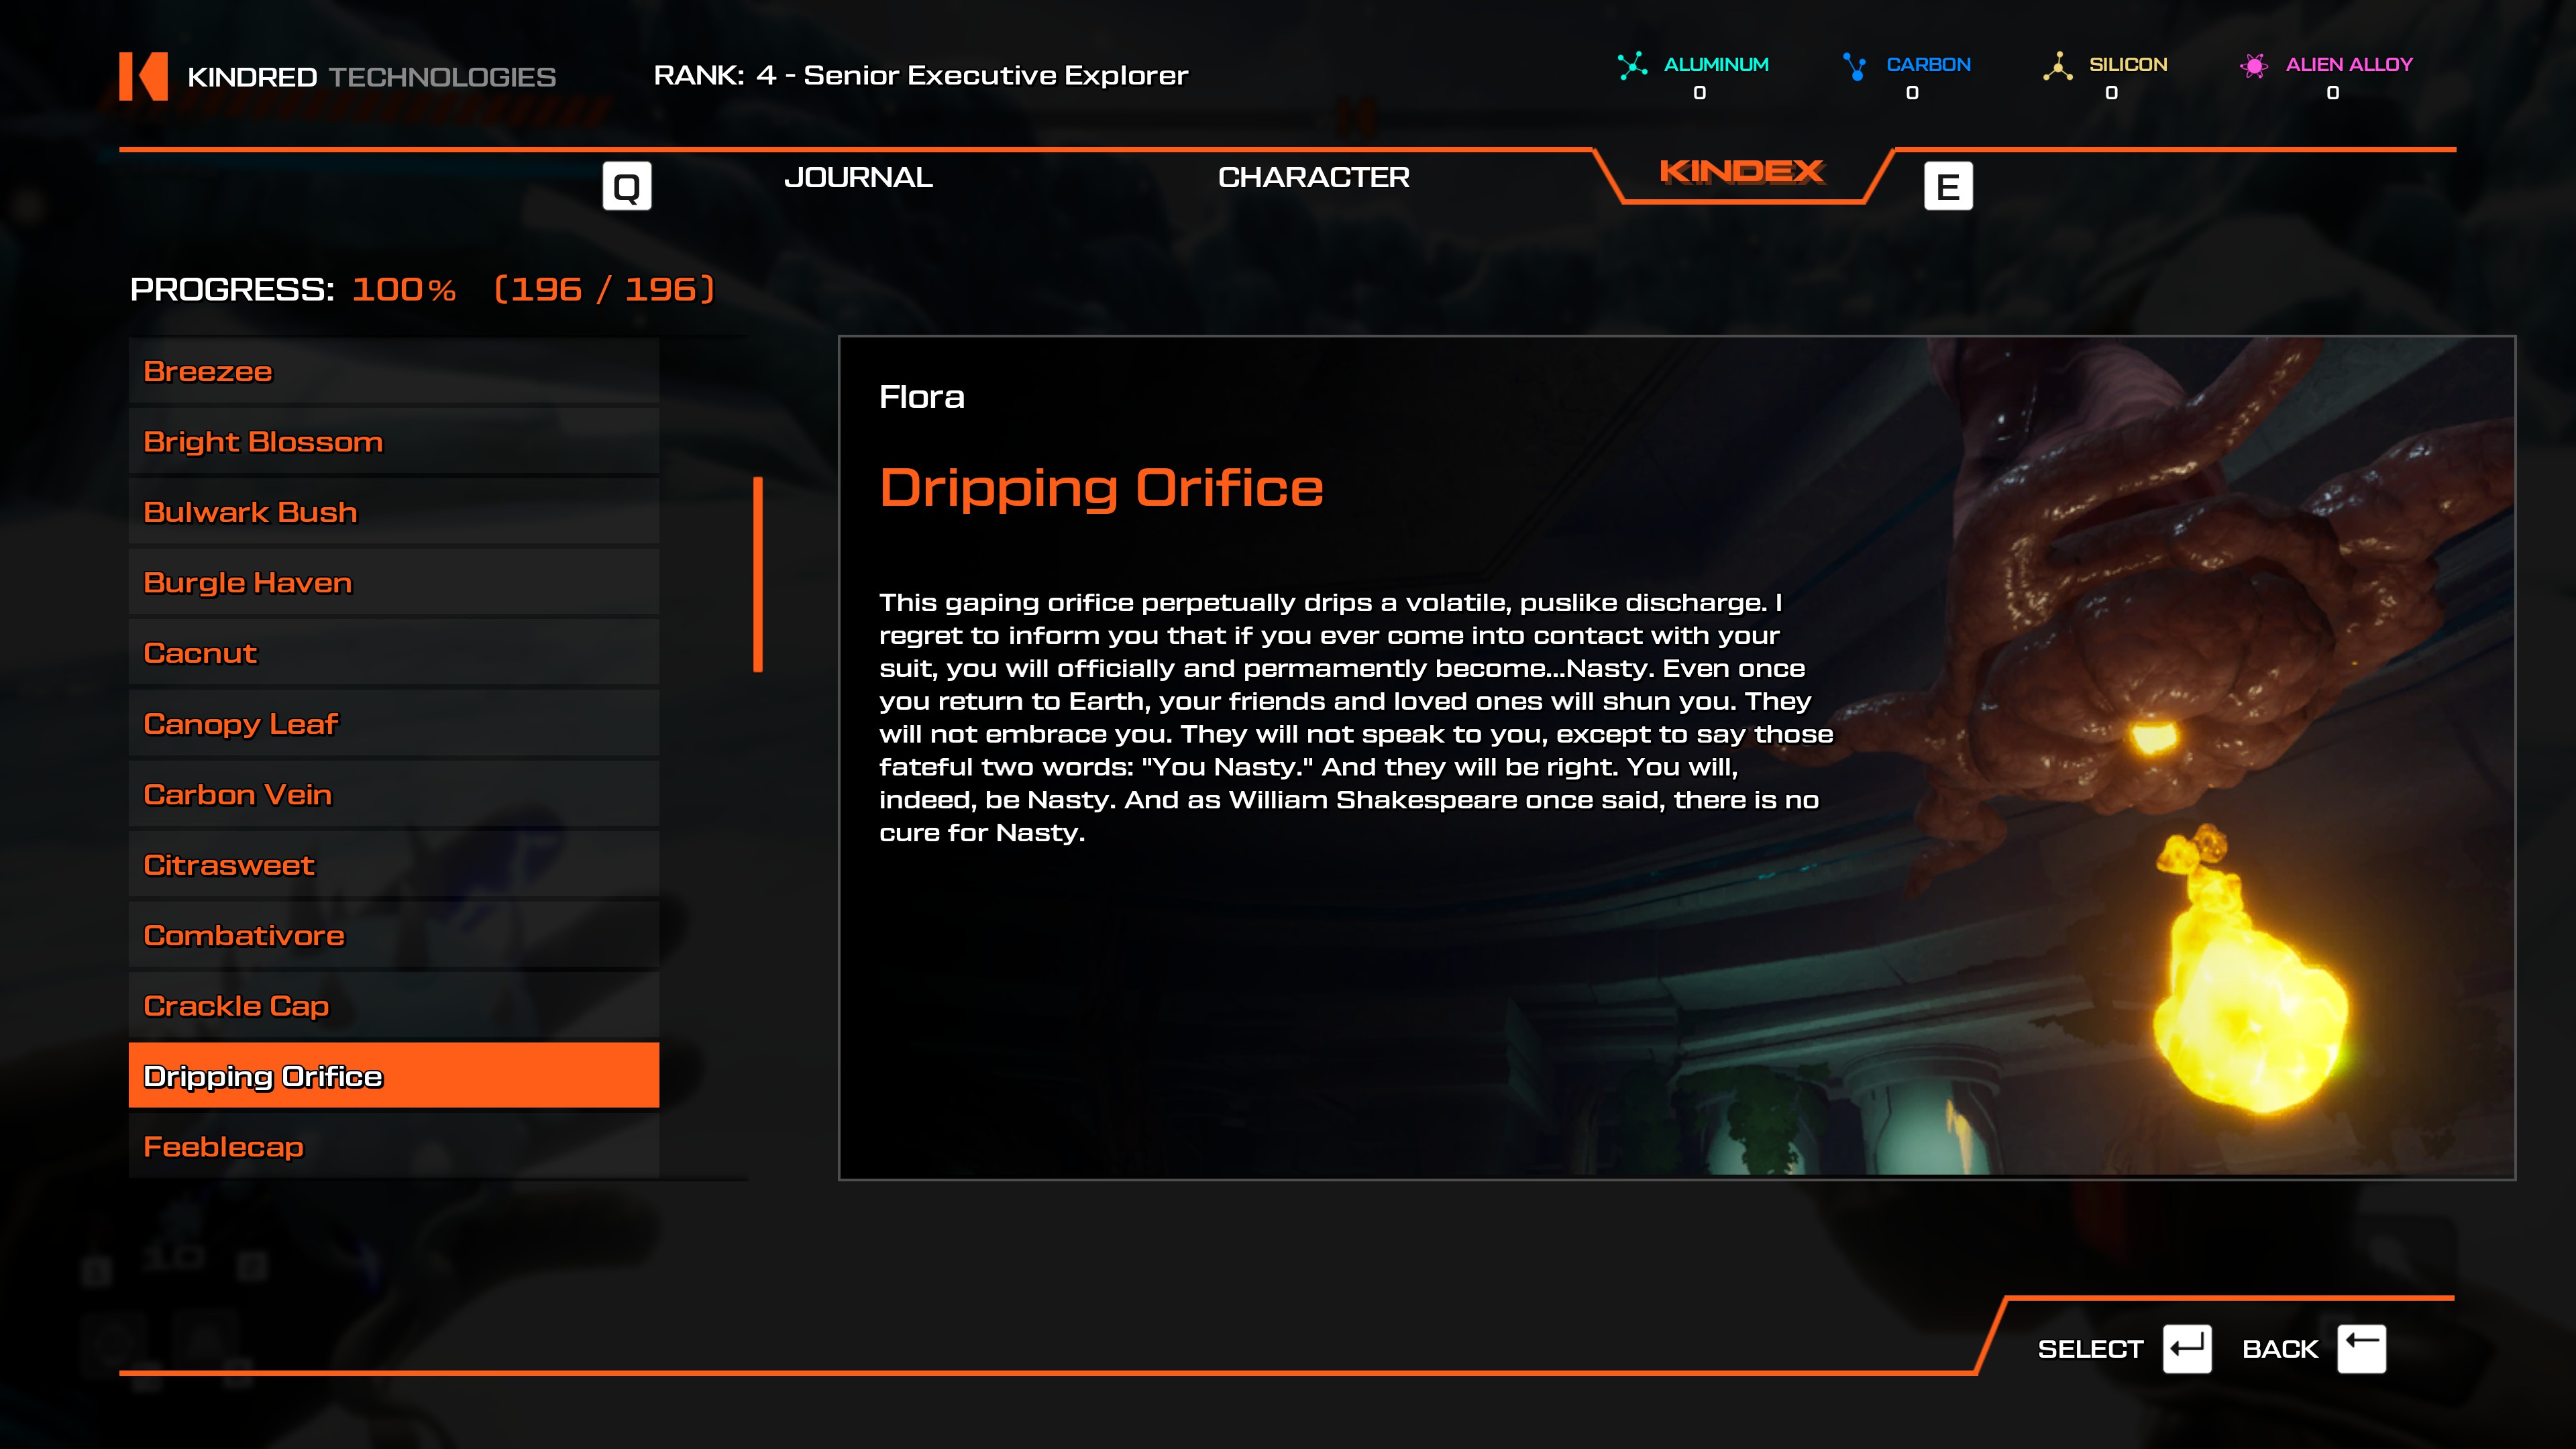
- Use the Vault Floor 4 teleporter where Teratomo sits. The Dripping Orifices will be behind you, hanging above the platforms.
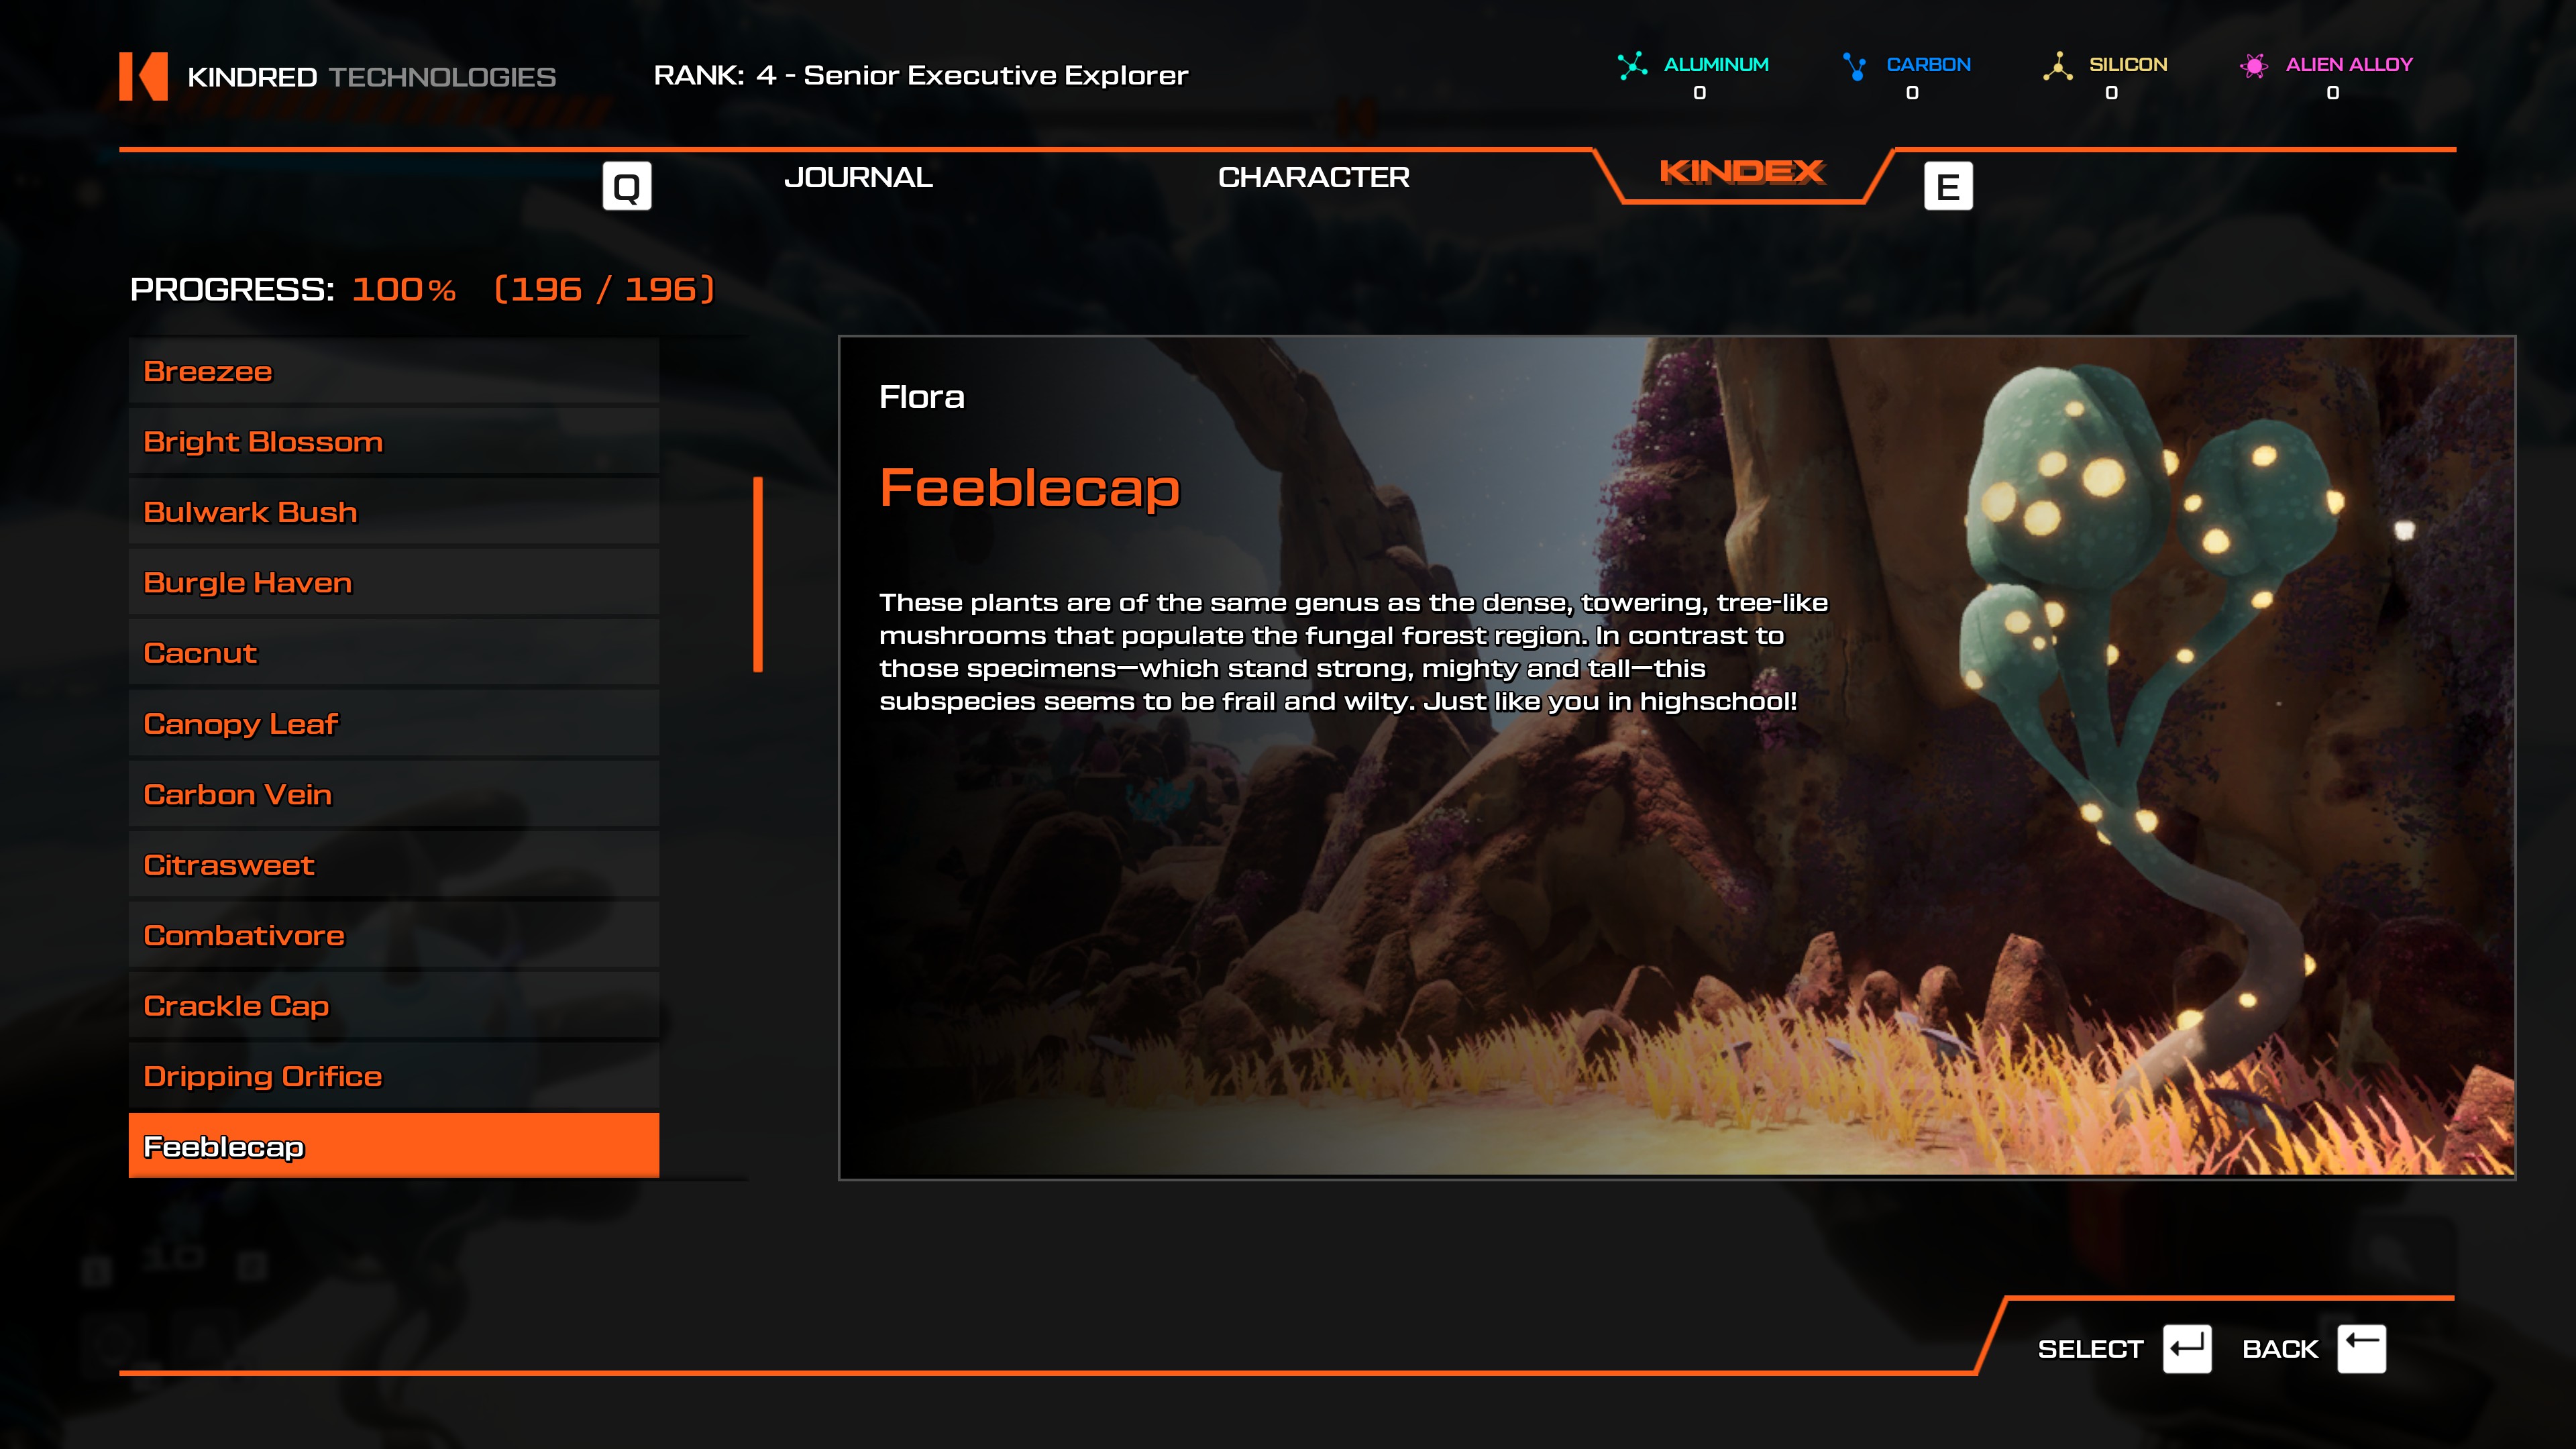
- Use the Festering Chasm teleporter, then head west. These shrooms are floating off the edge of the island.
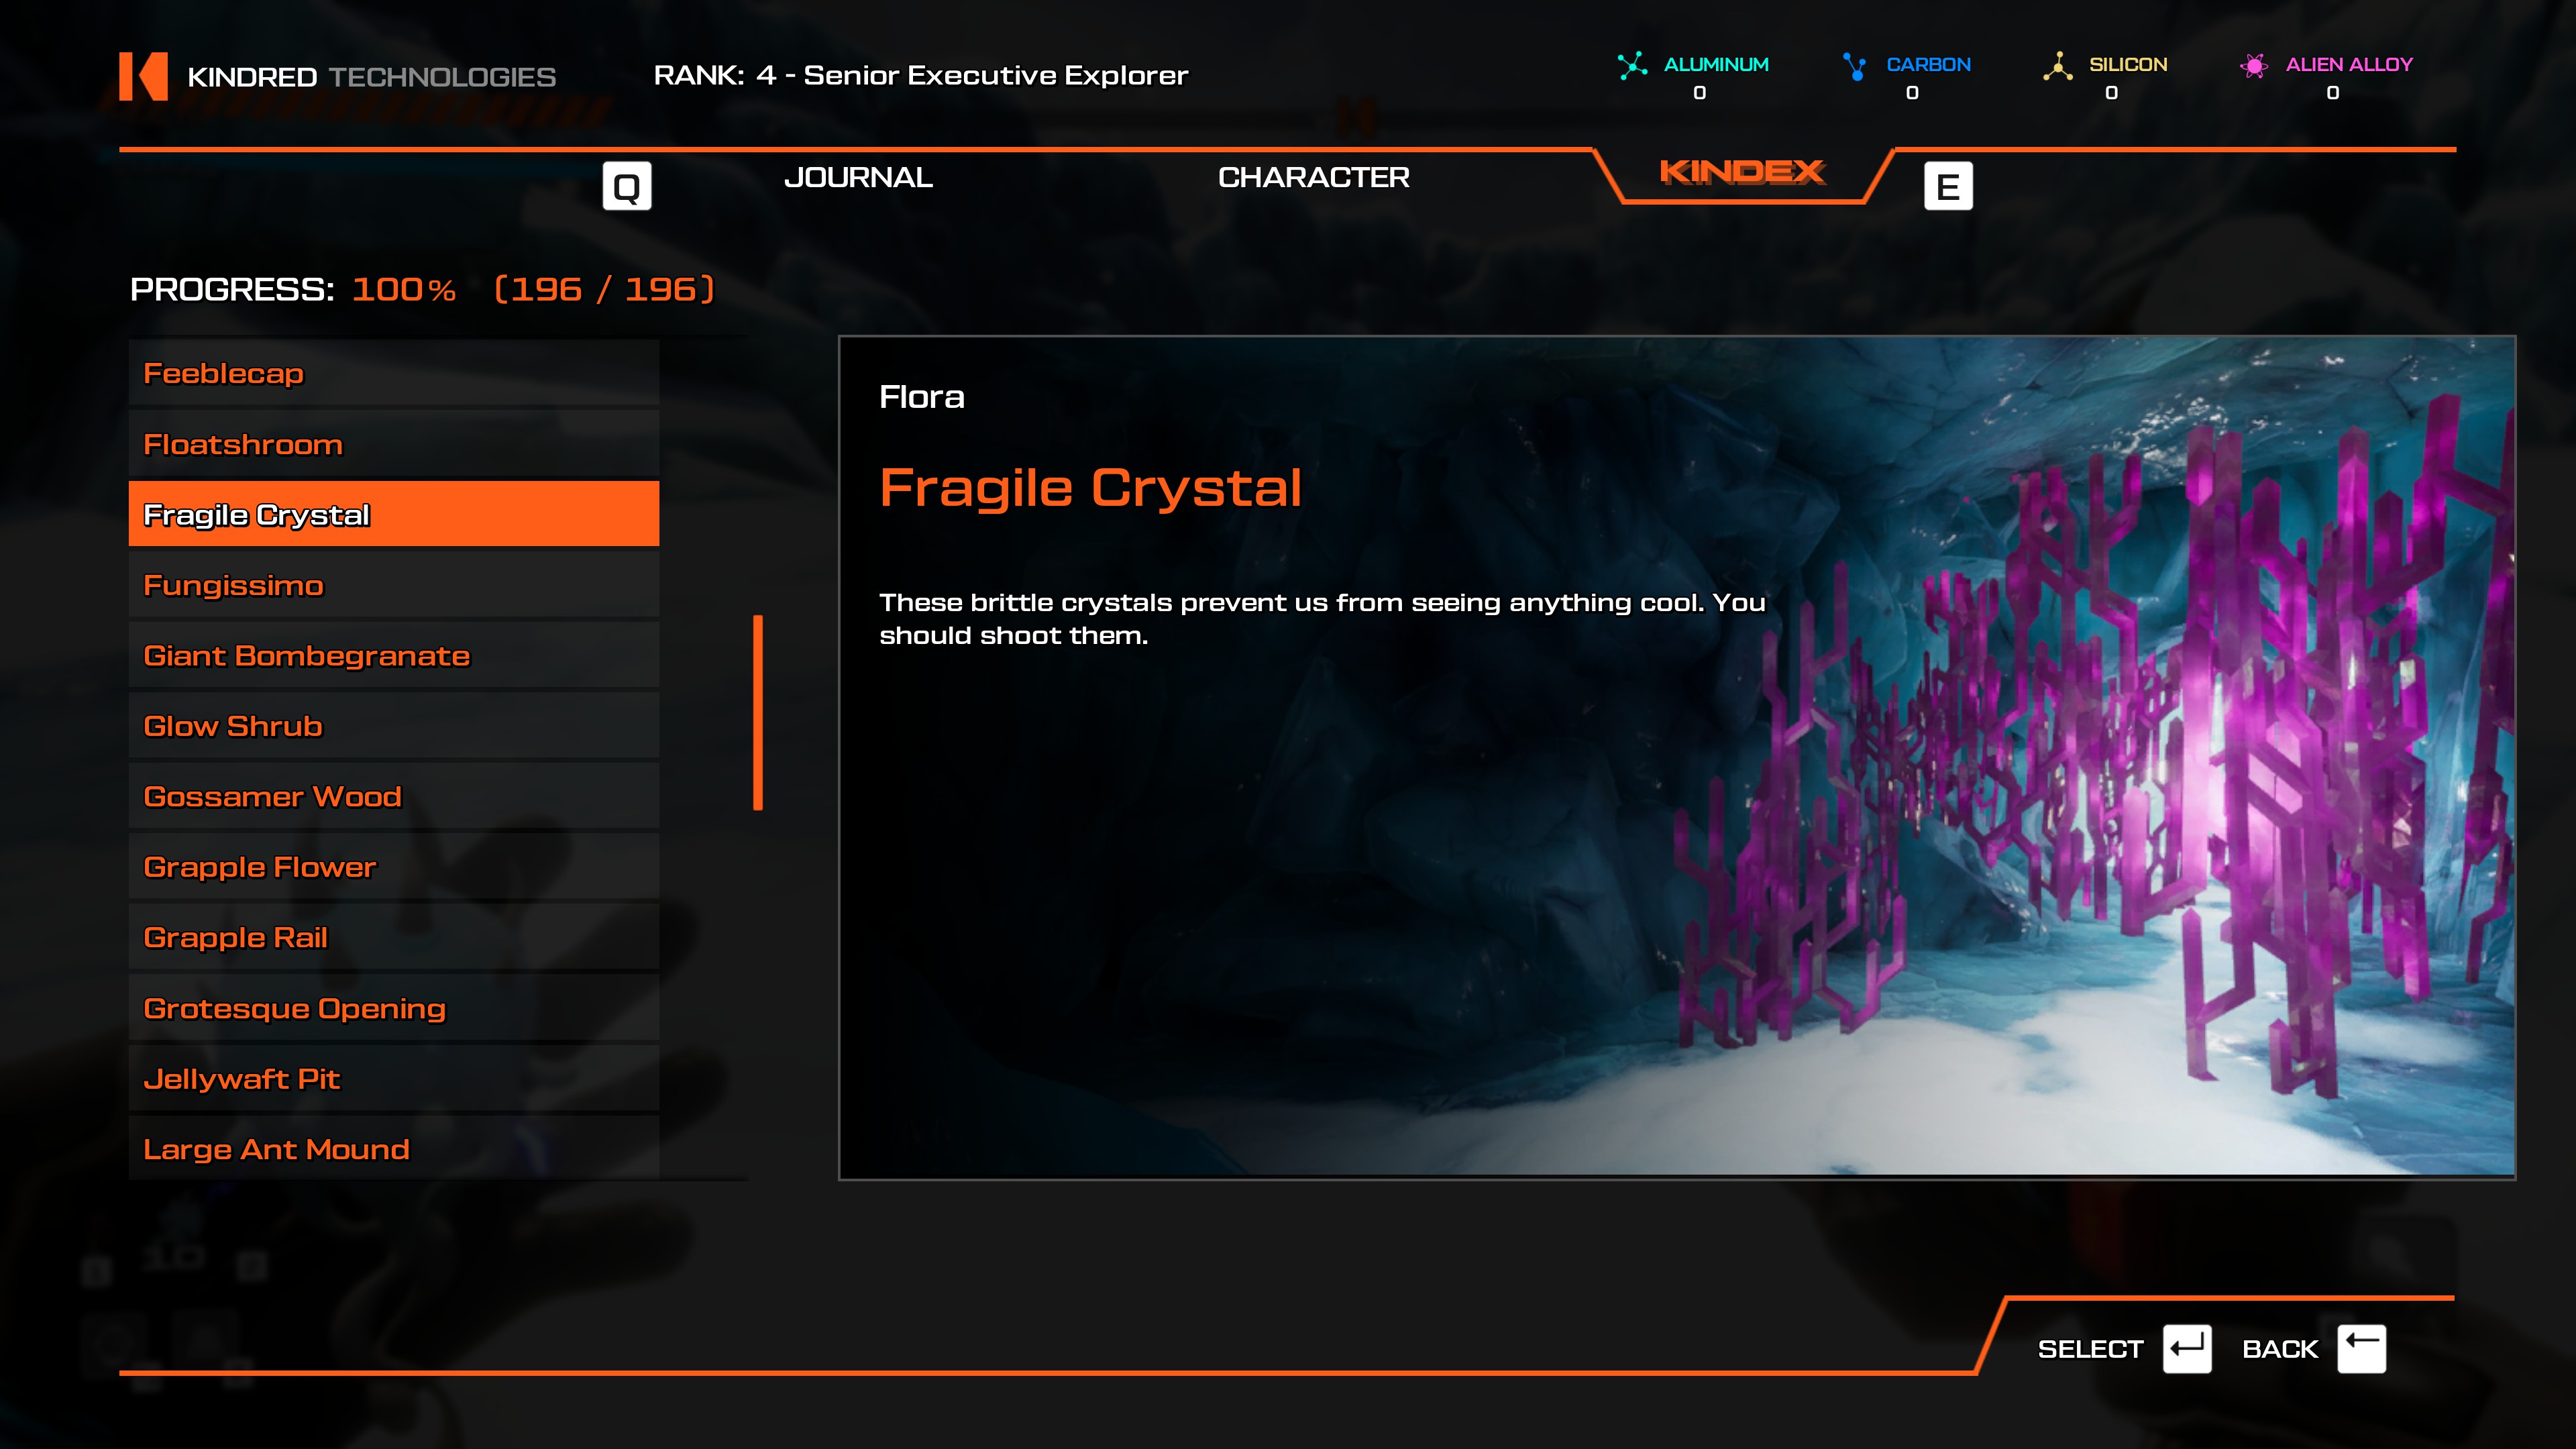
- Starting area outside the Javelin.
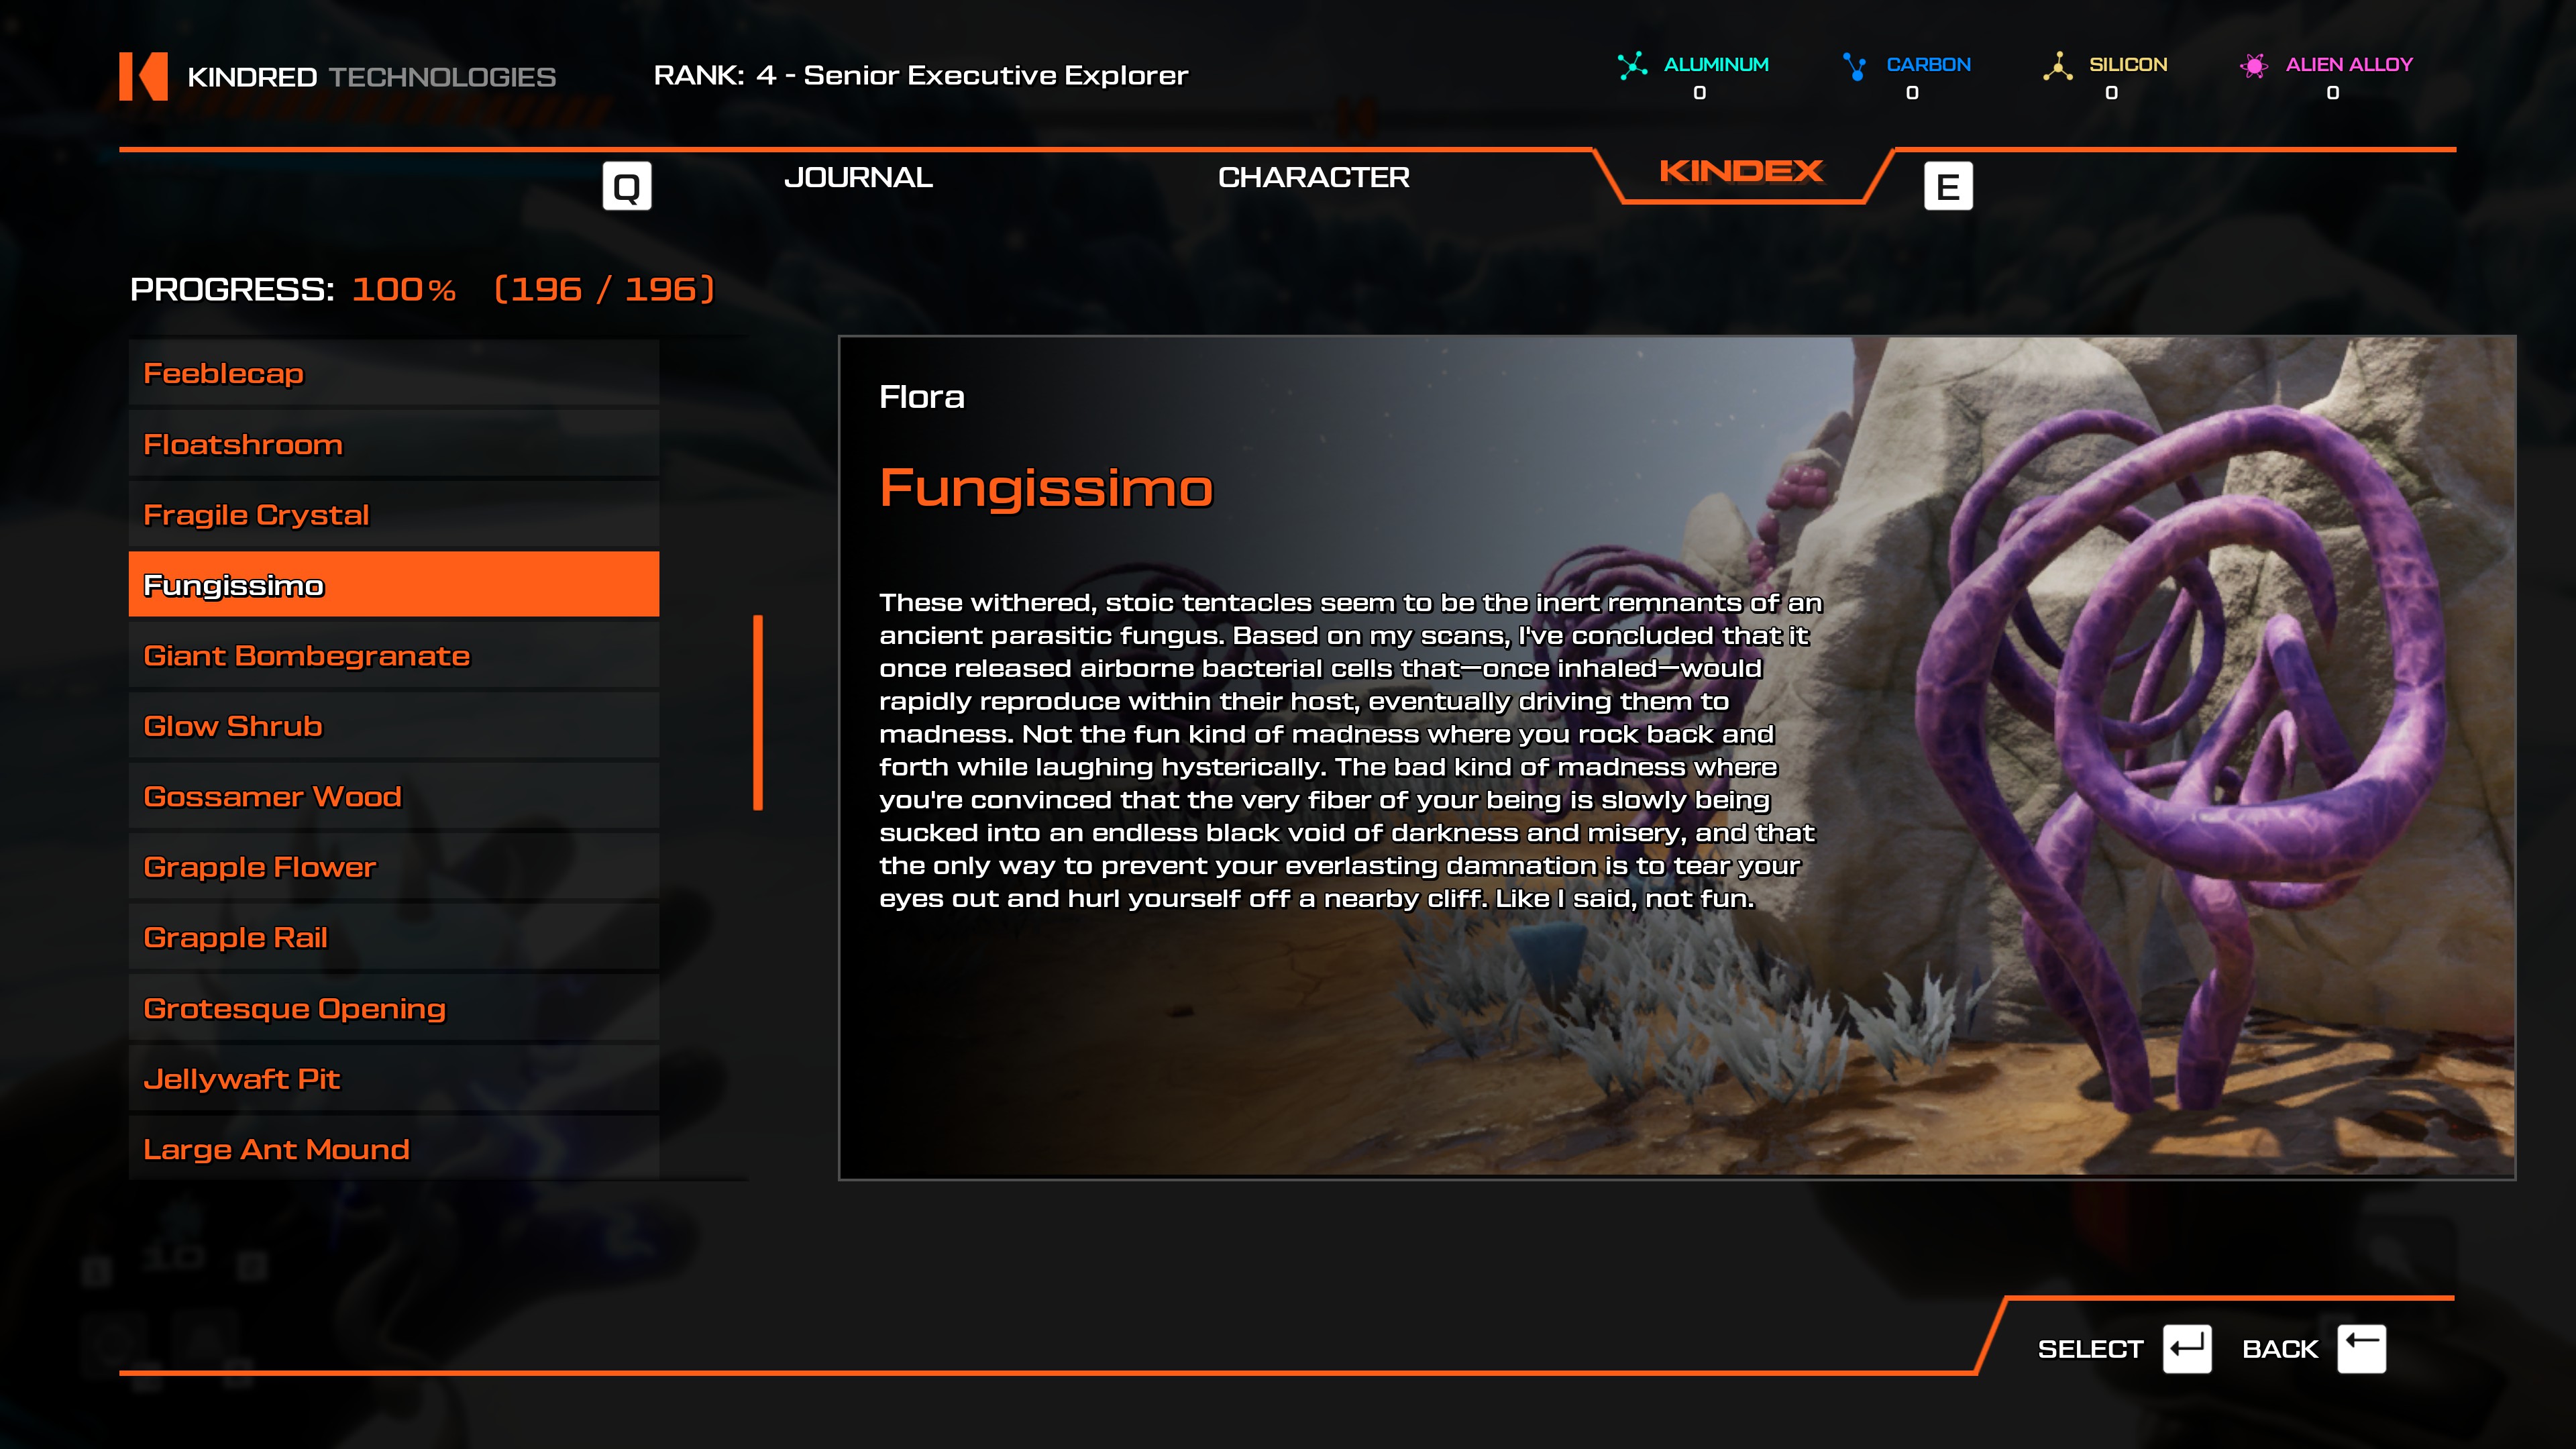
- Easily scannable from the Enigmatic Spire teleporter.
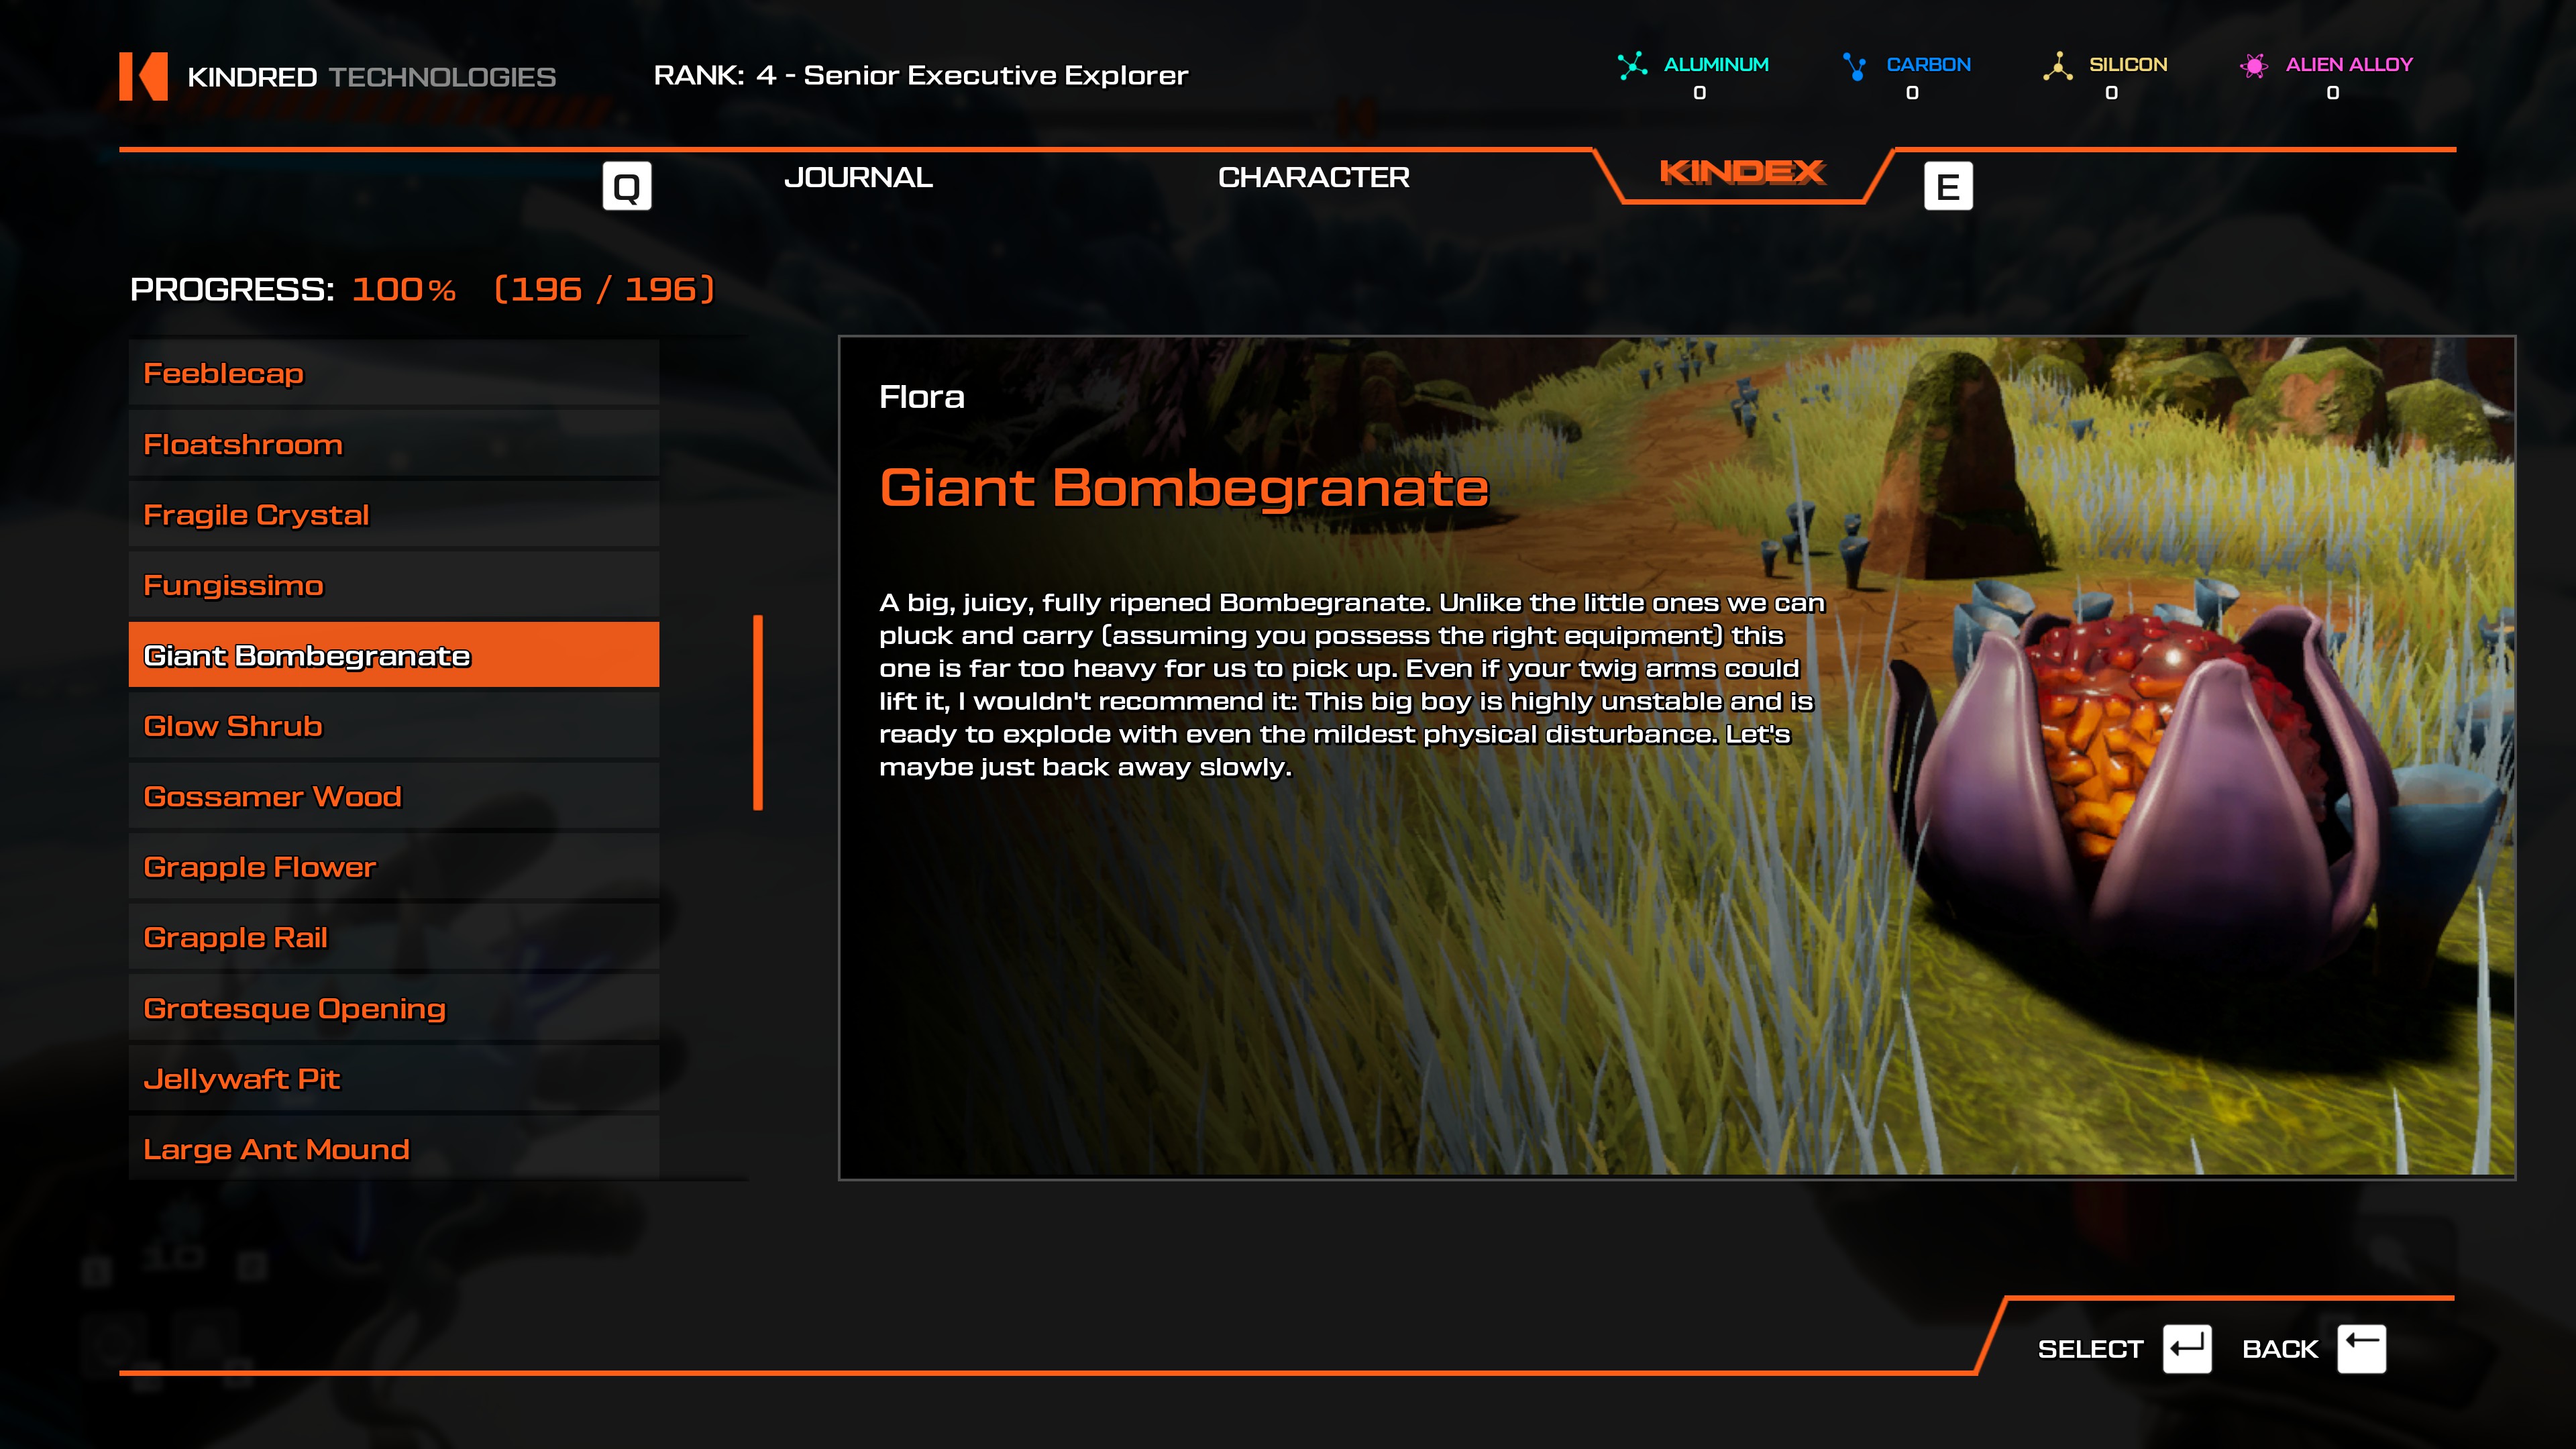
- All locations, easily scannable from Meteor Crater teleporter.
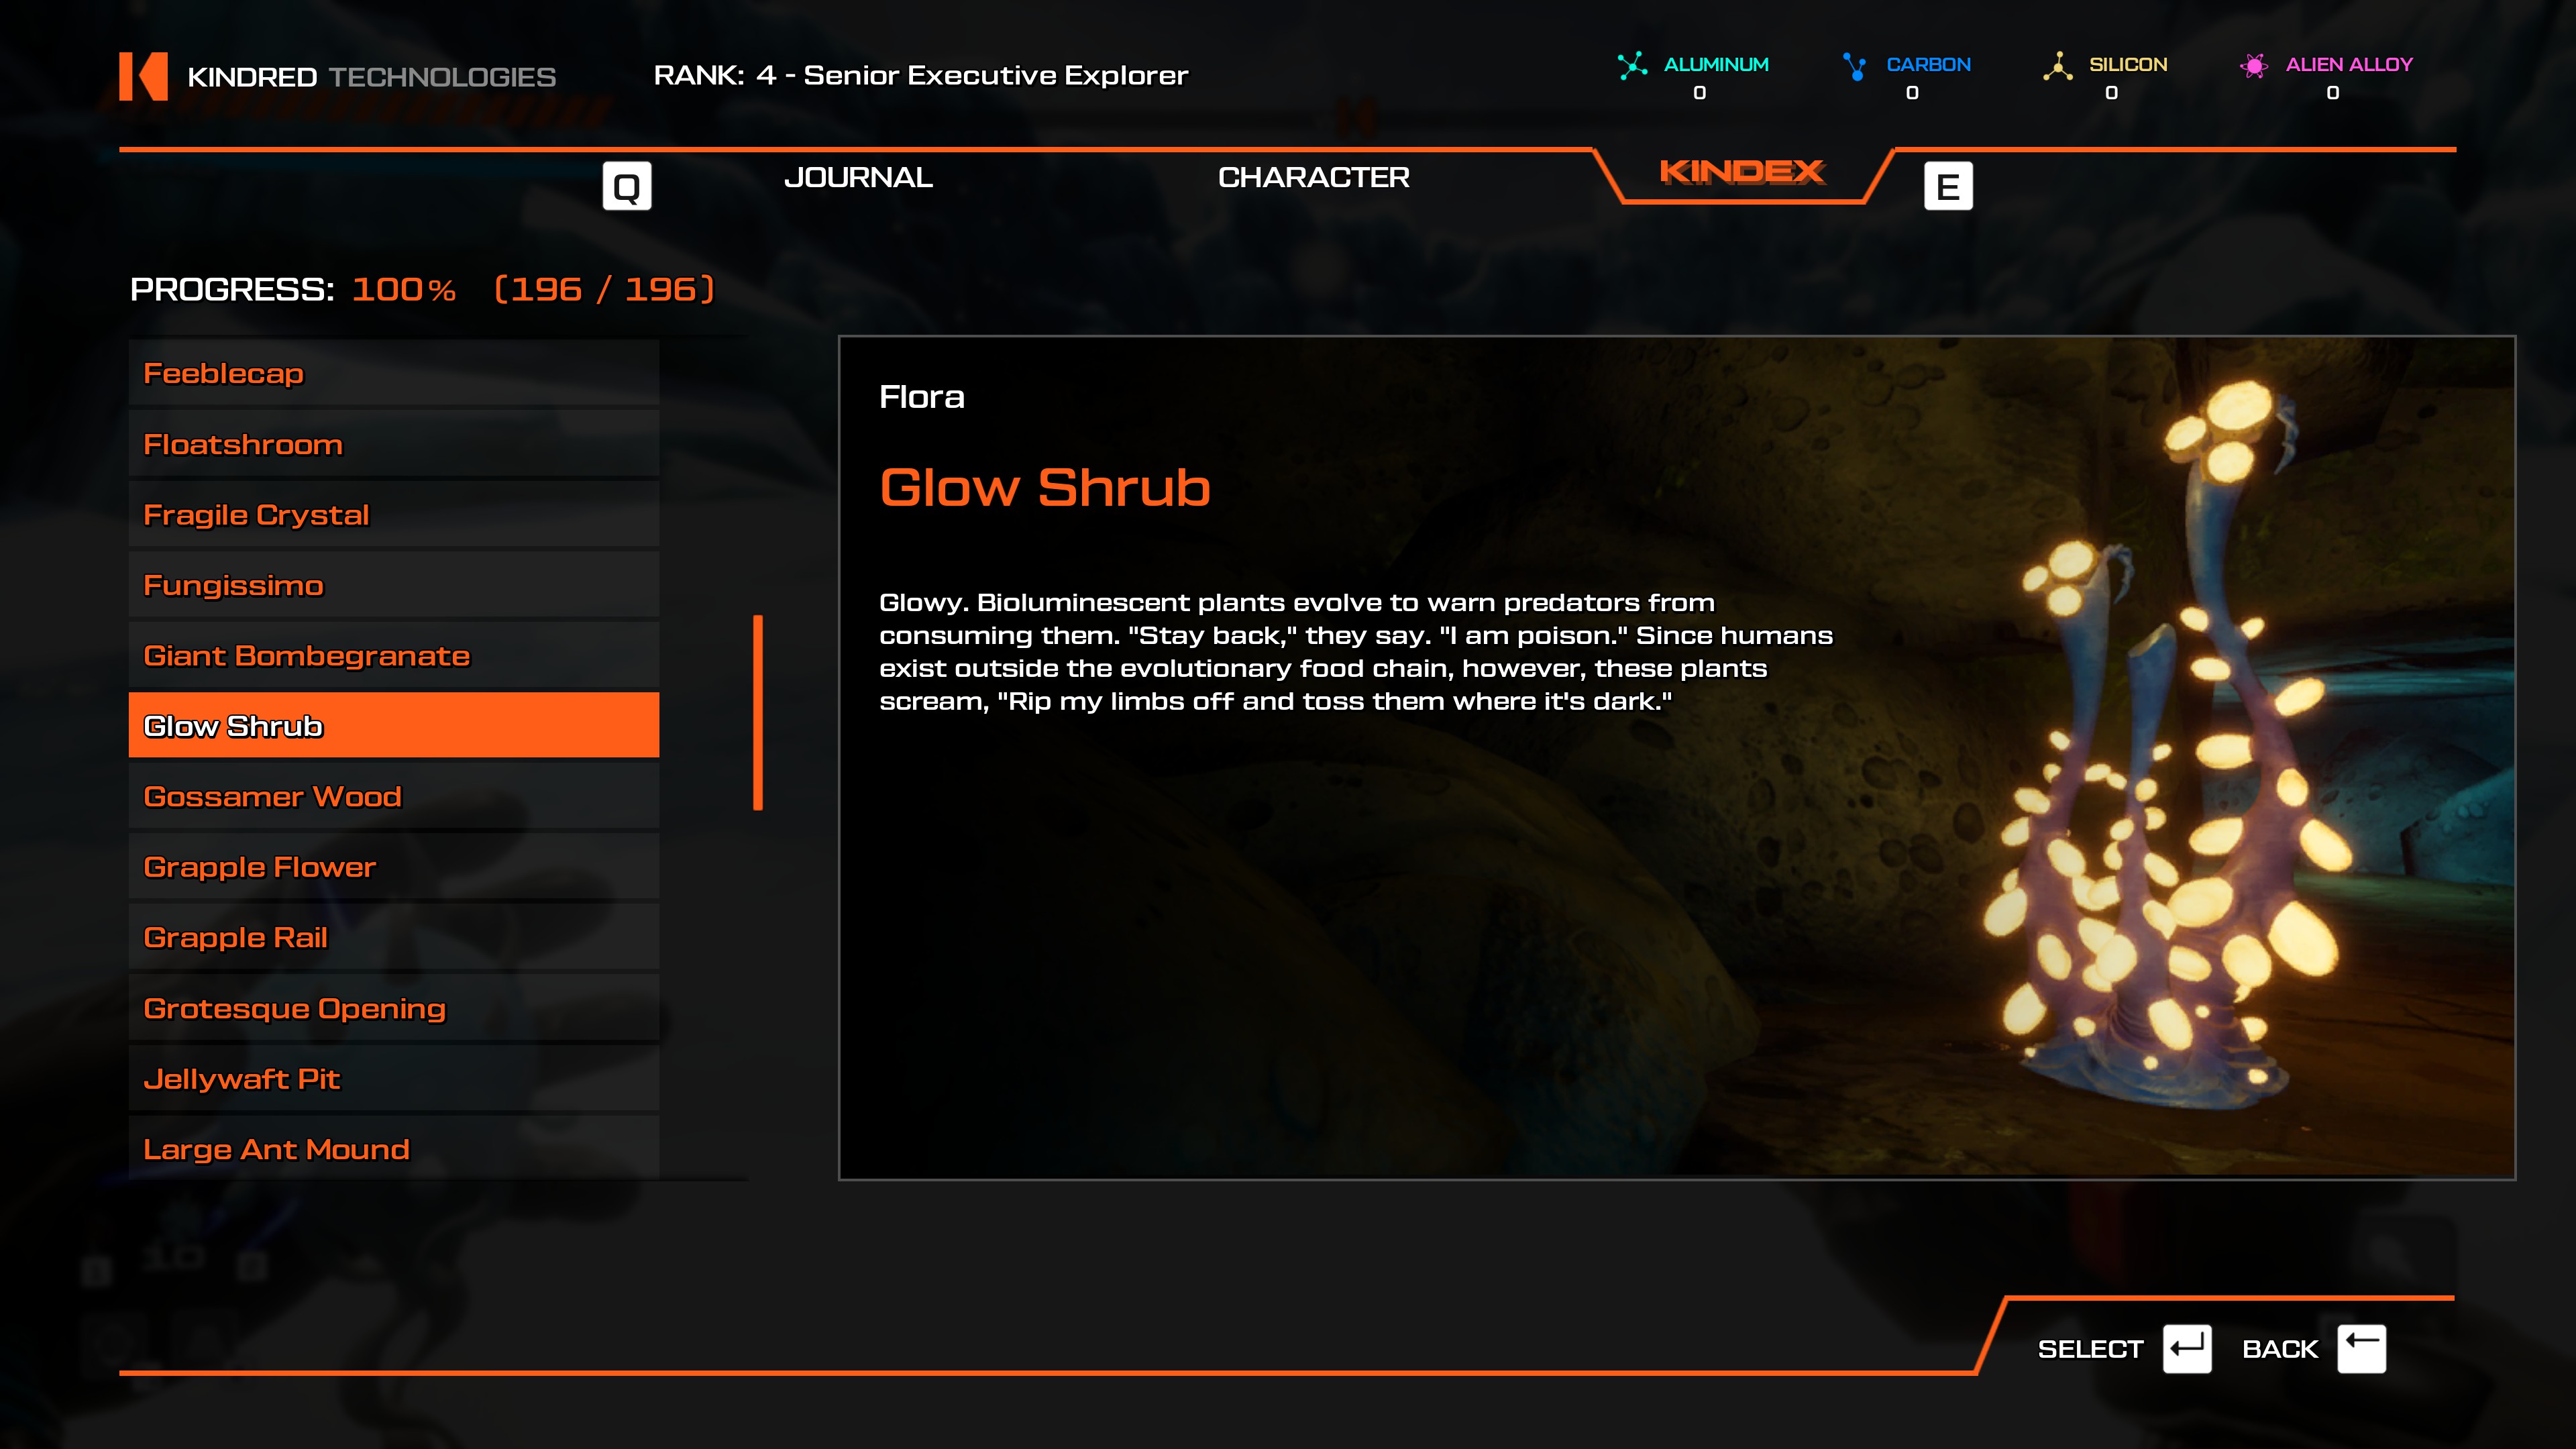
- Head to the Cliffs of Gzarfyn teleporter and head southeast to the nearest cave, the Glimmering Cave of Wonder. Head inside and travel some way until you find a completely dark section- there is a Glow Shrub there.
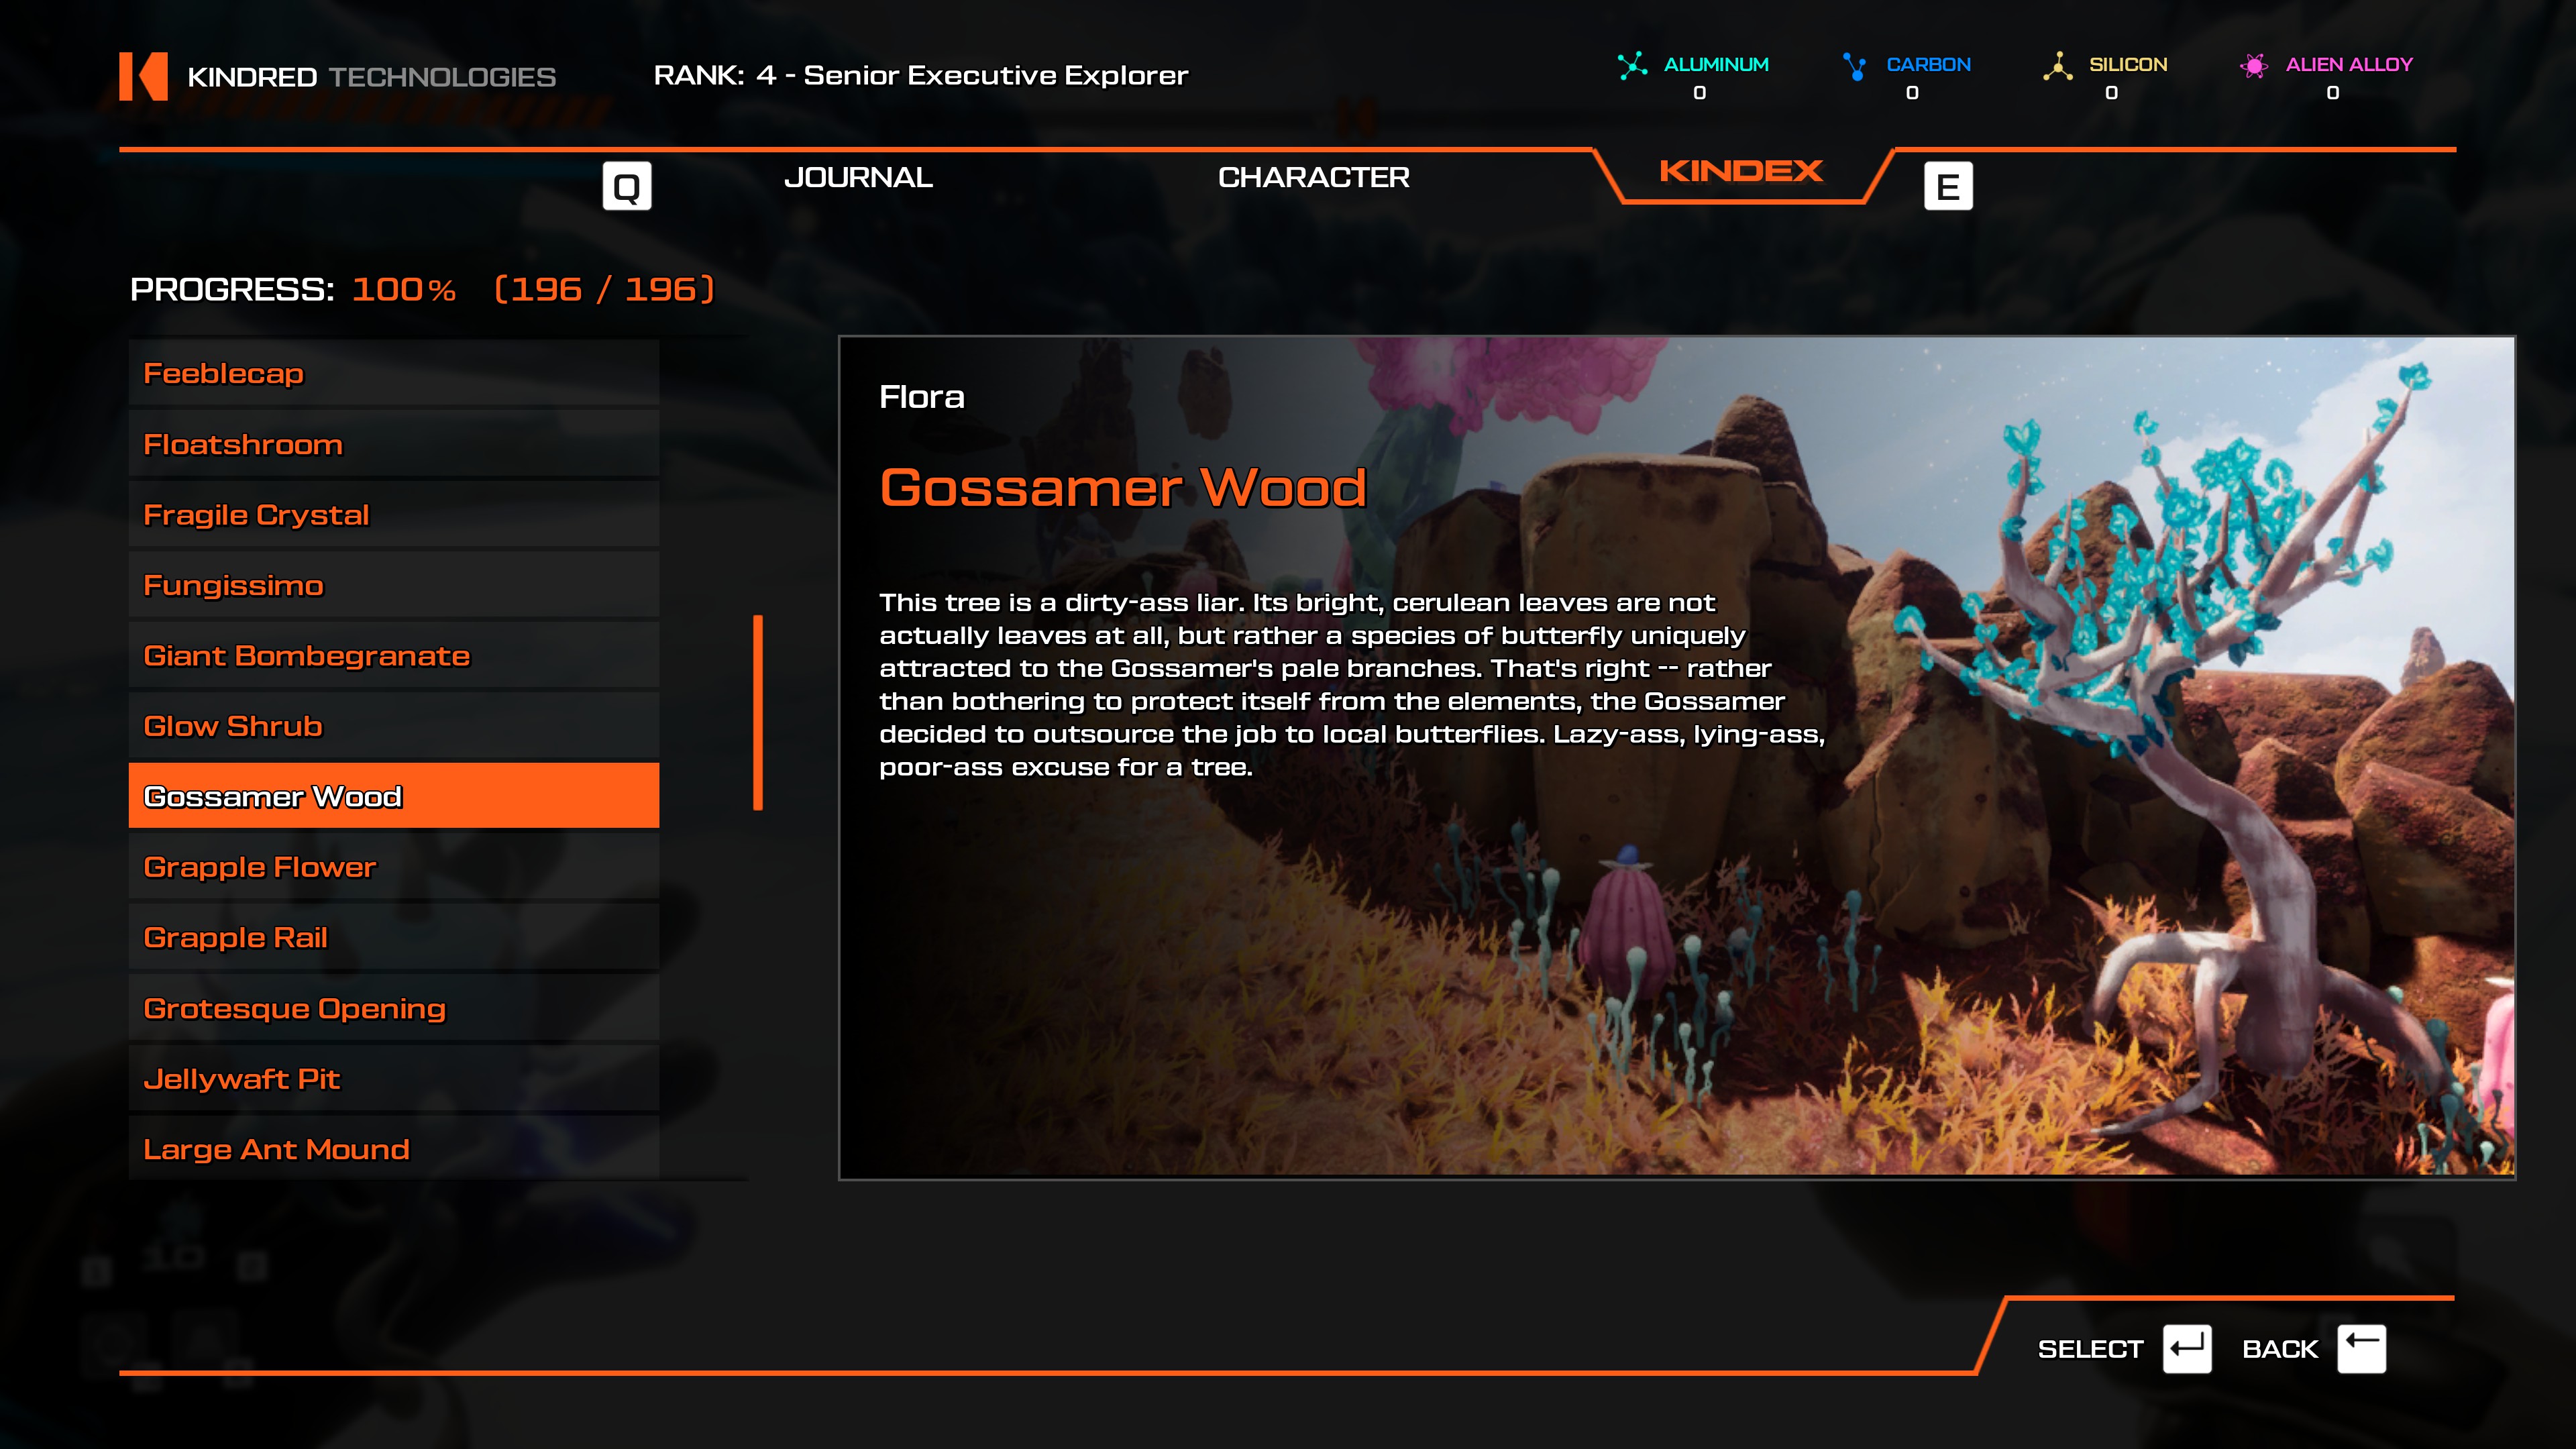
- Easily scannable from the Fungi of Si'ned VII teleporter. As noted by Soultaker in the comments, approaching it will scare the "leaves" off it, and it cannot be scanned in this state. Scan it while it's undisturbed and from a distance, otherwise you'll have to come back later.
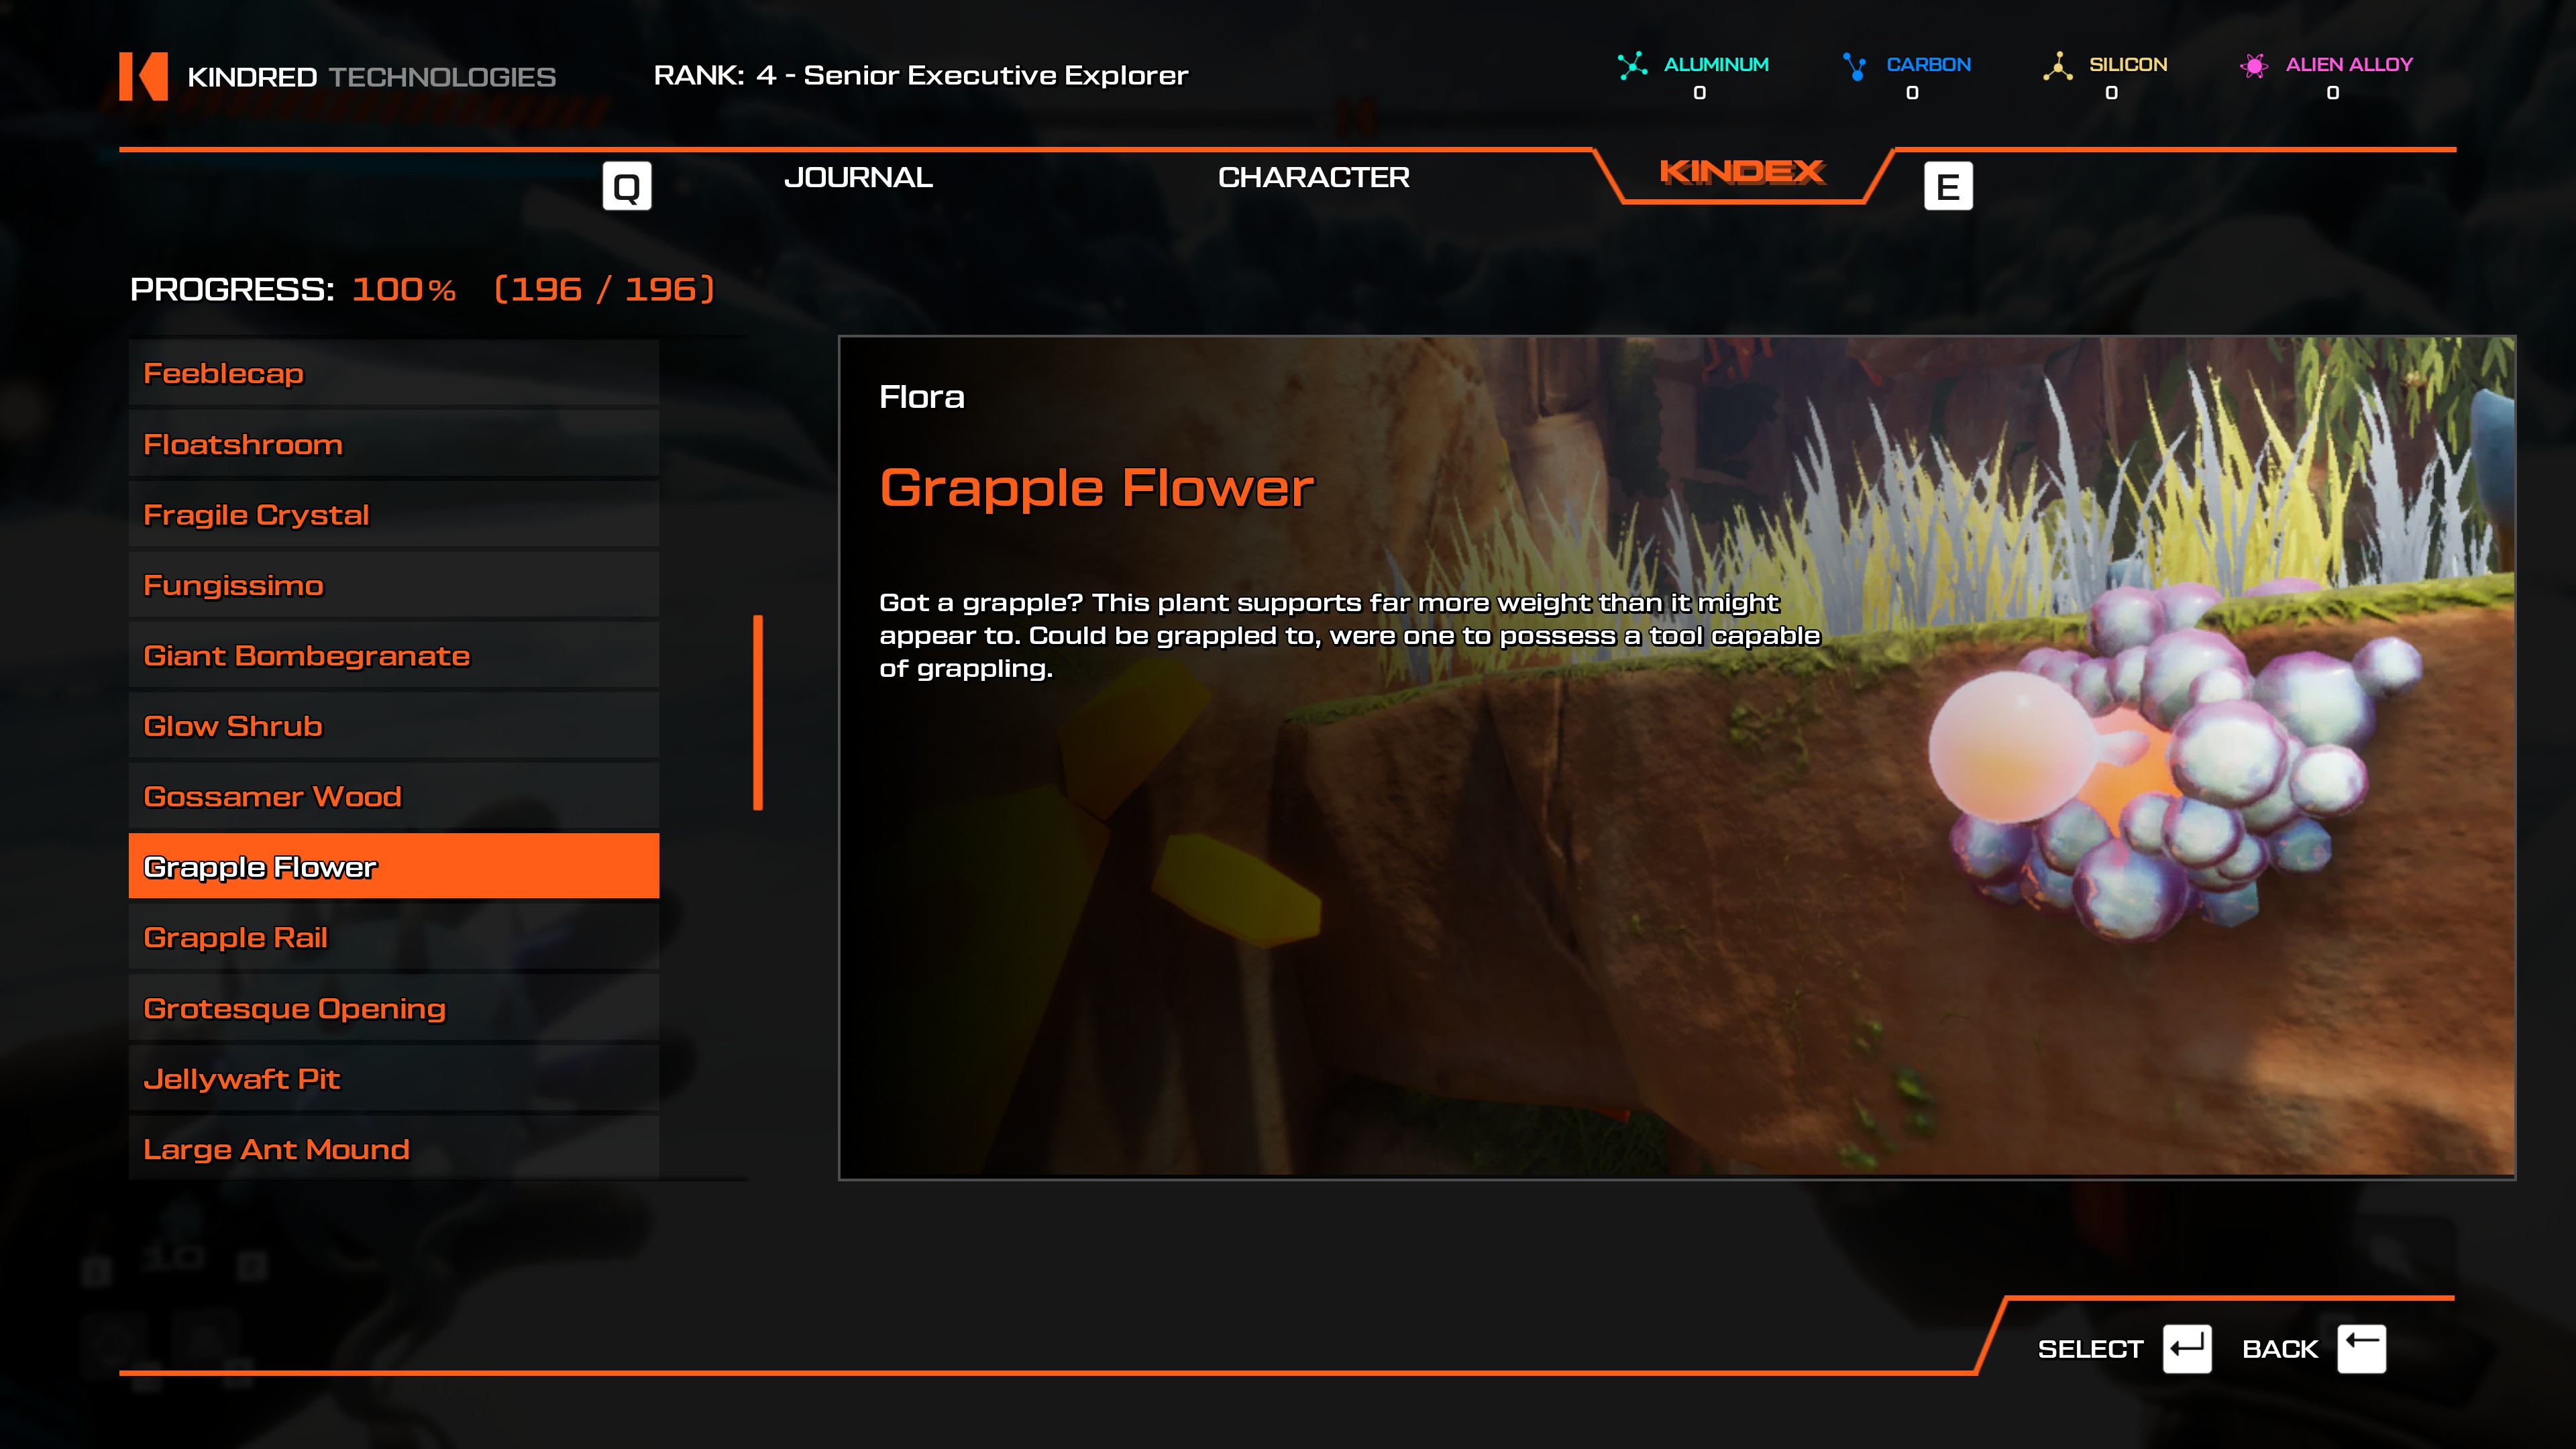
- All locations, easily scannable from Towering Crystals teleporter.
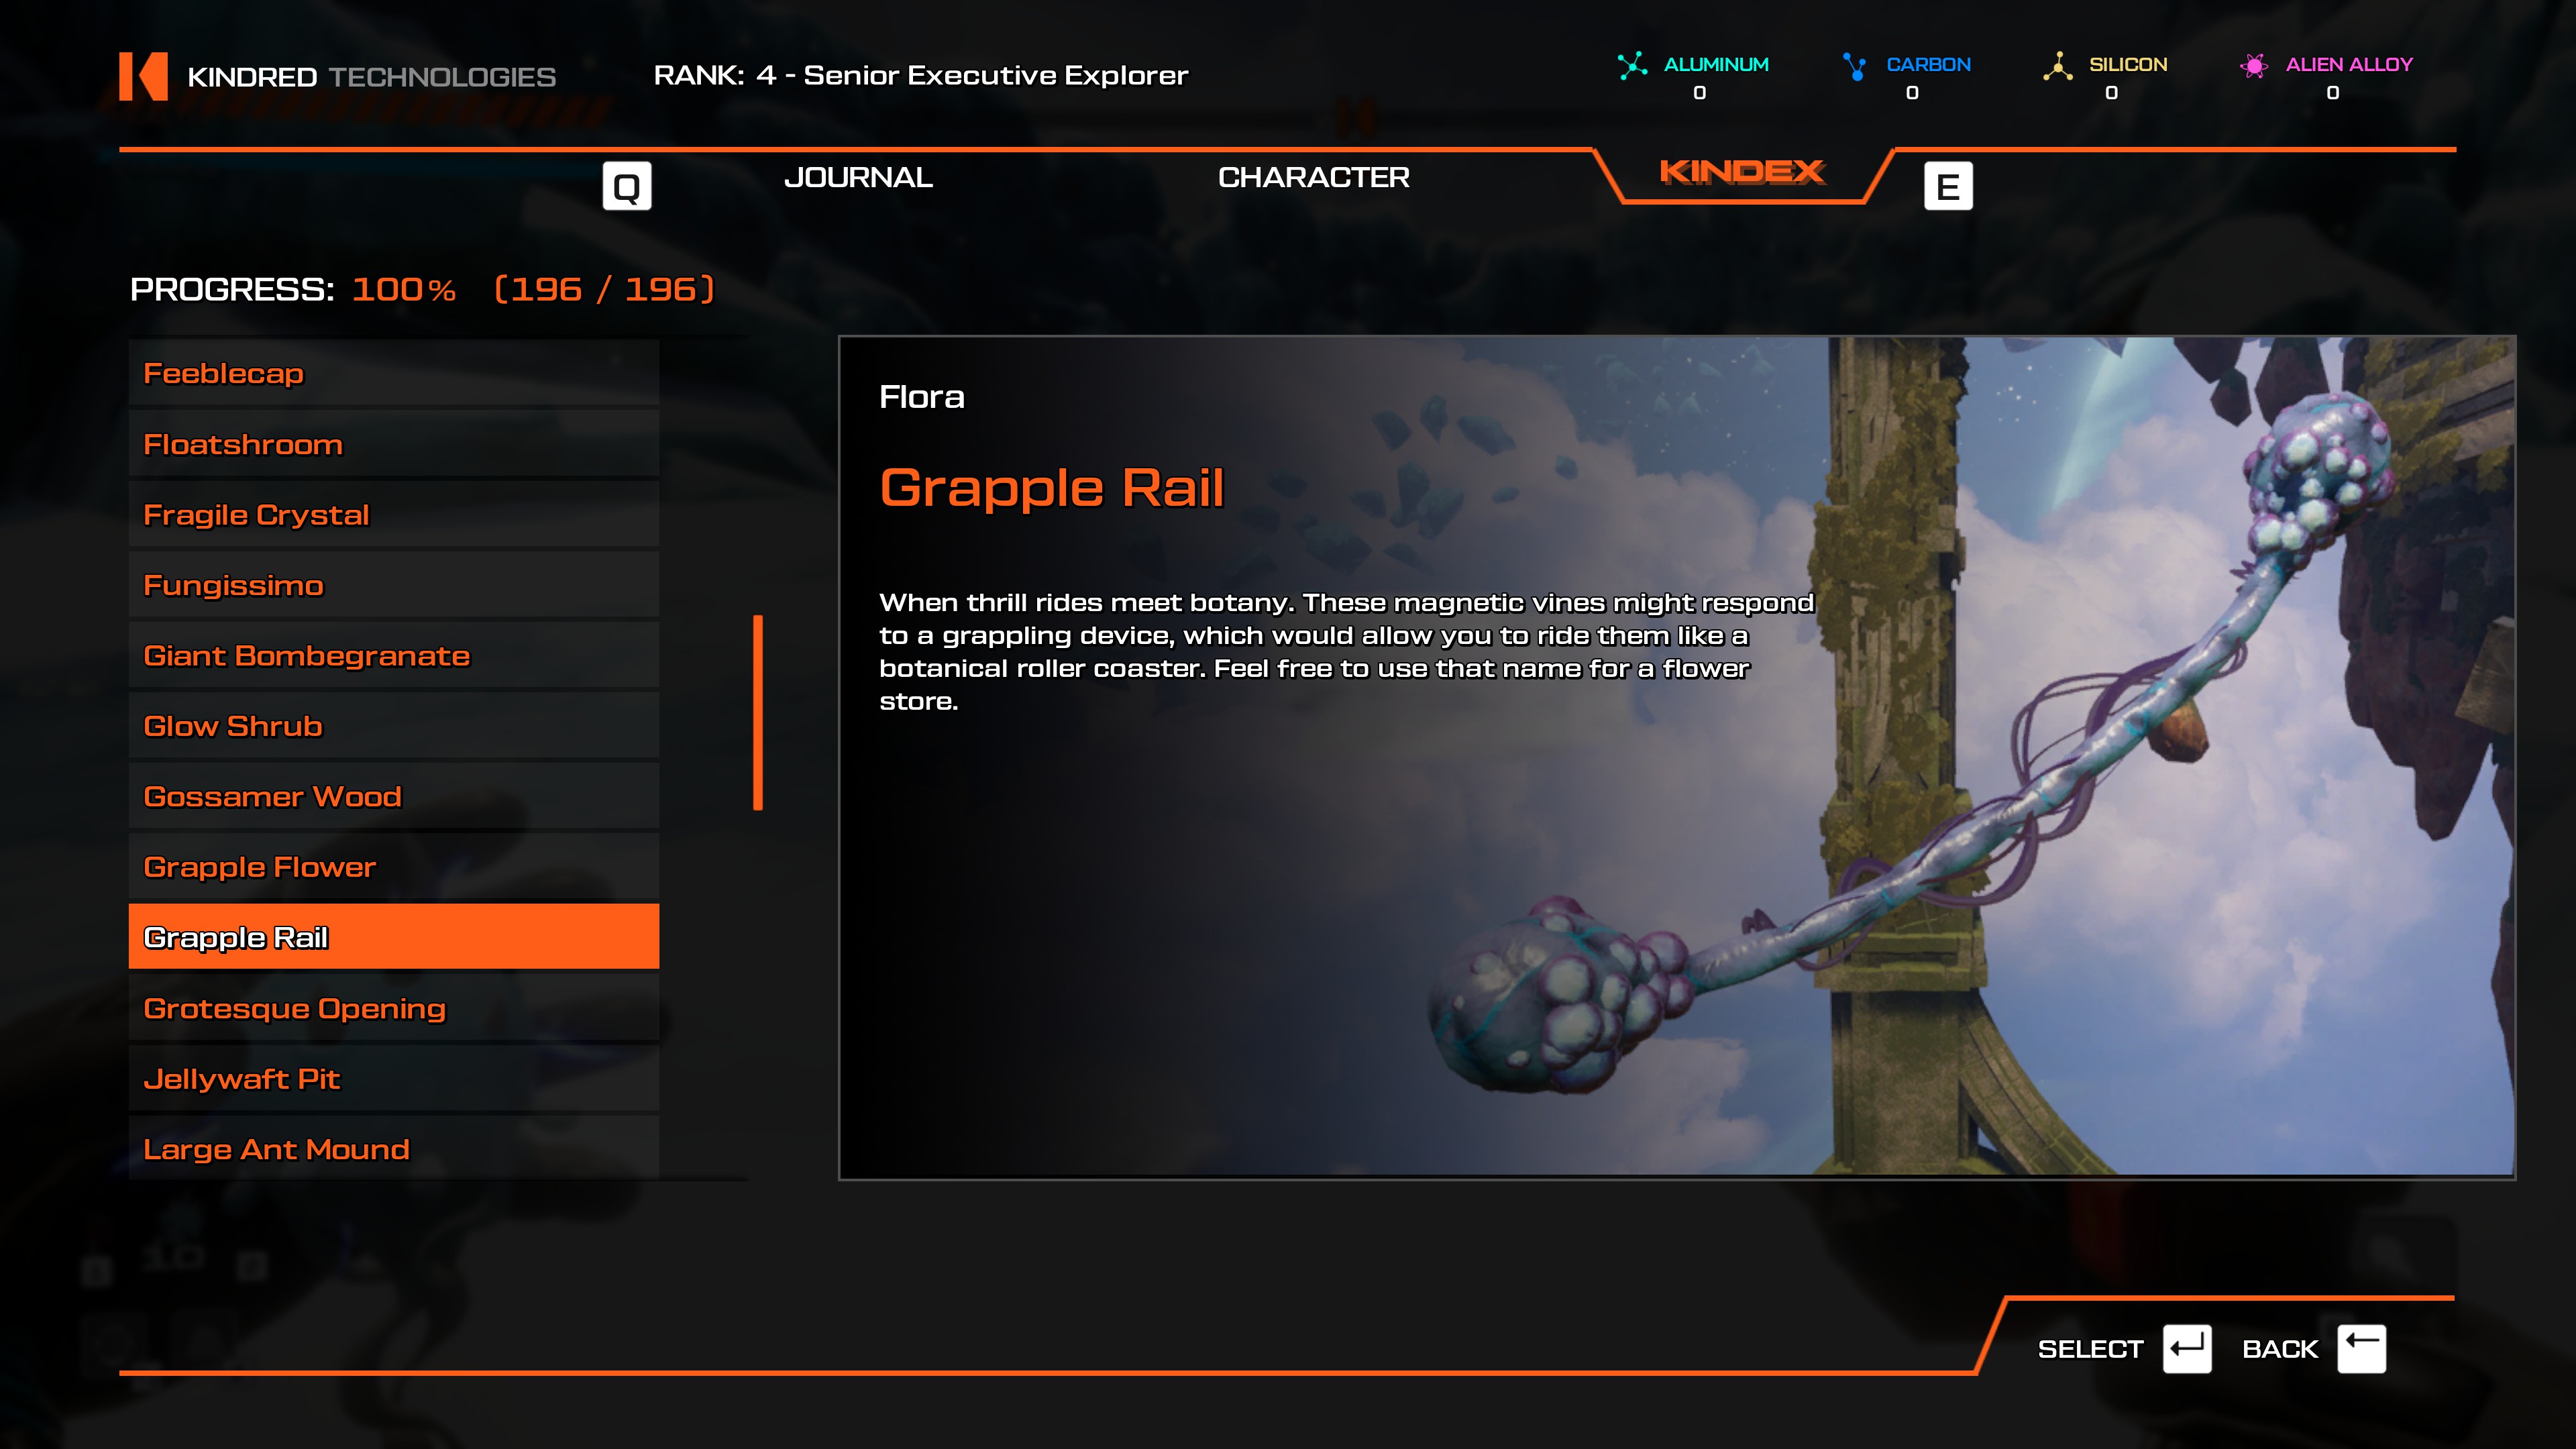
- Easily scannable from the Festering Overhang or The Enigmatic Spire teleporter.
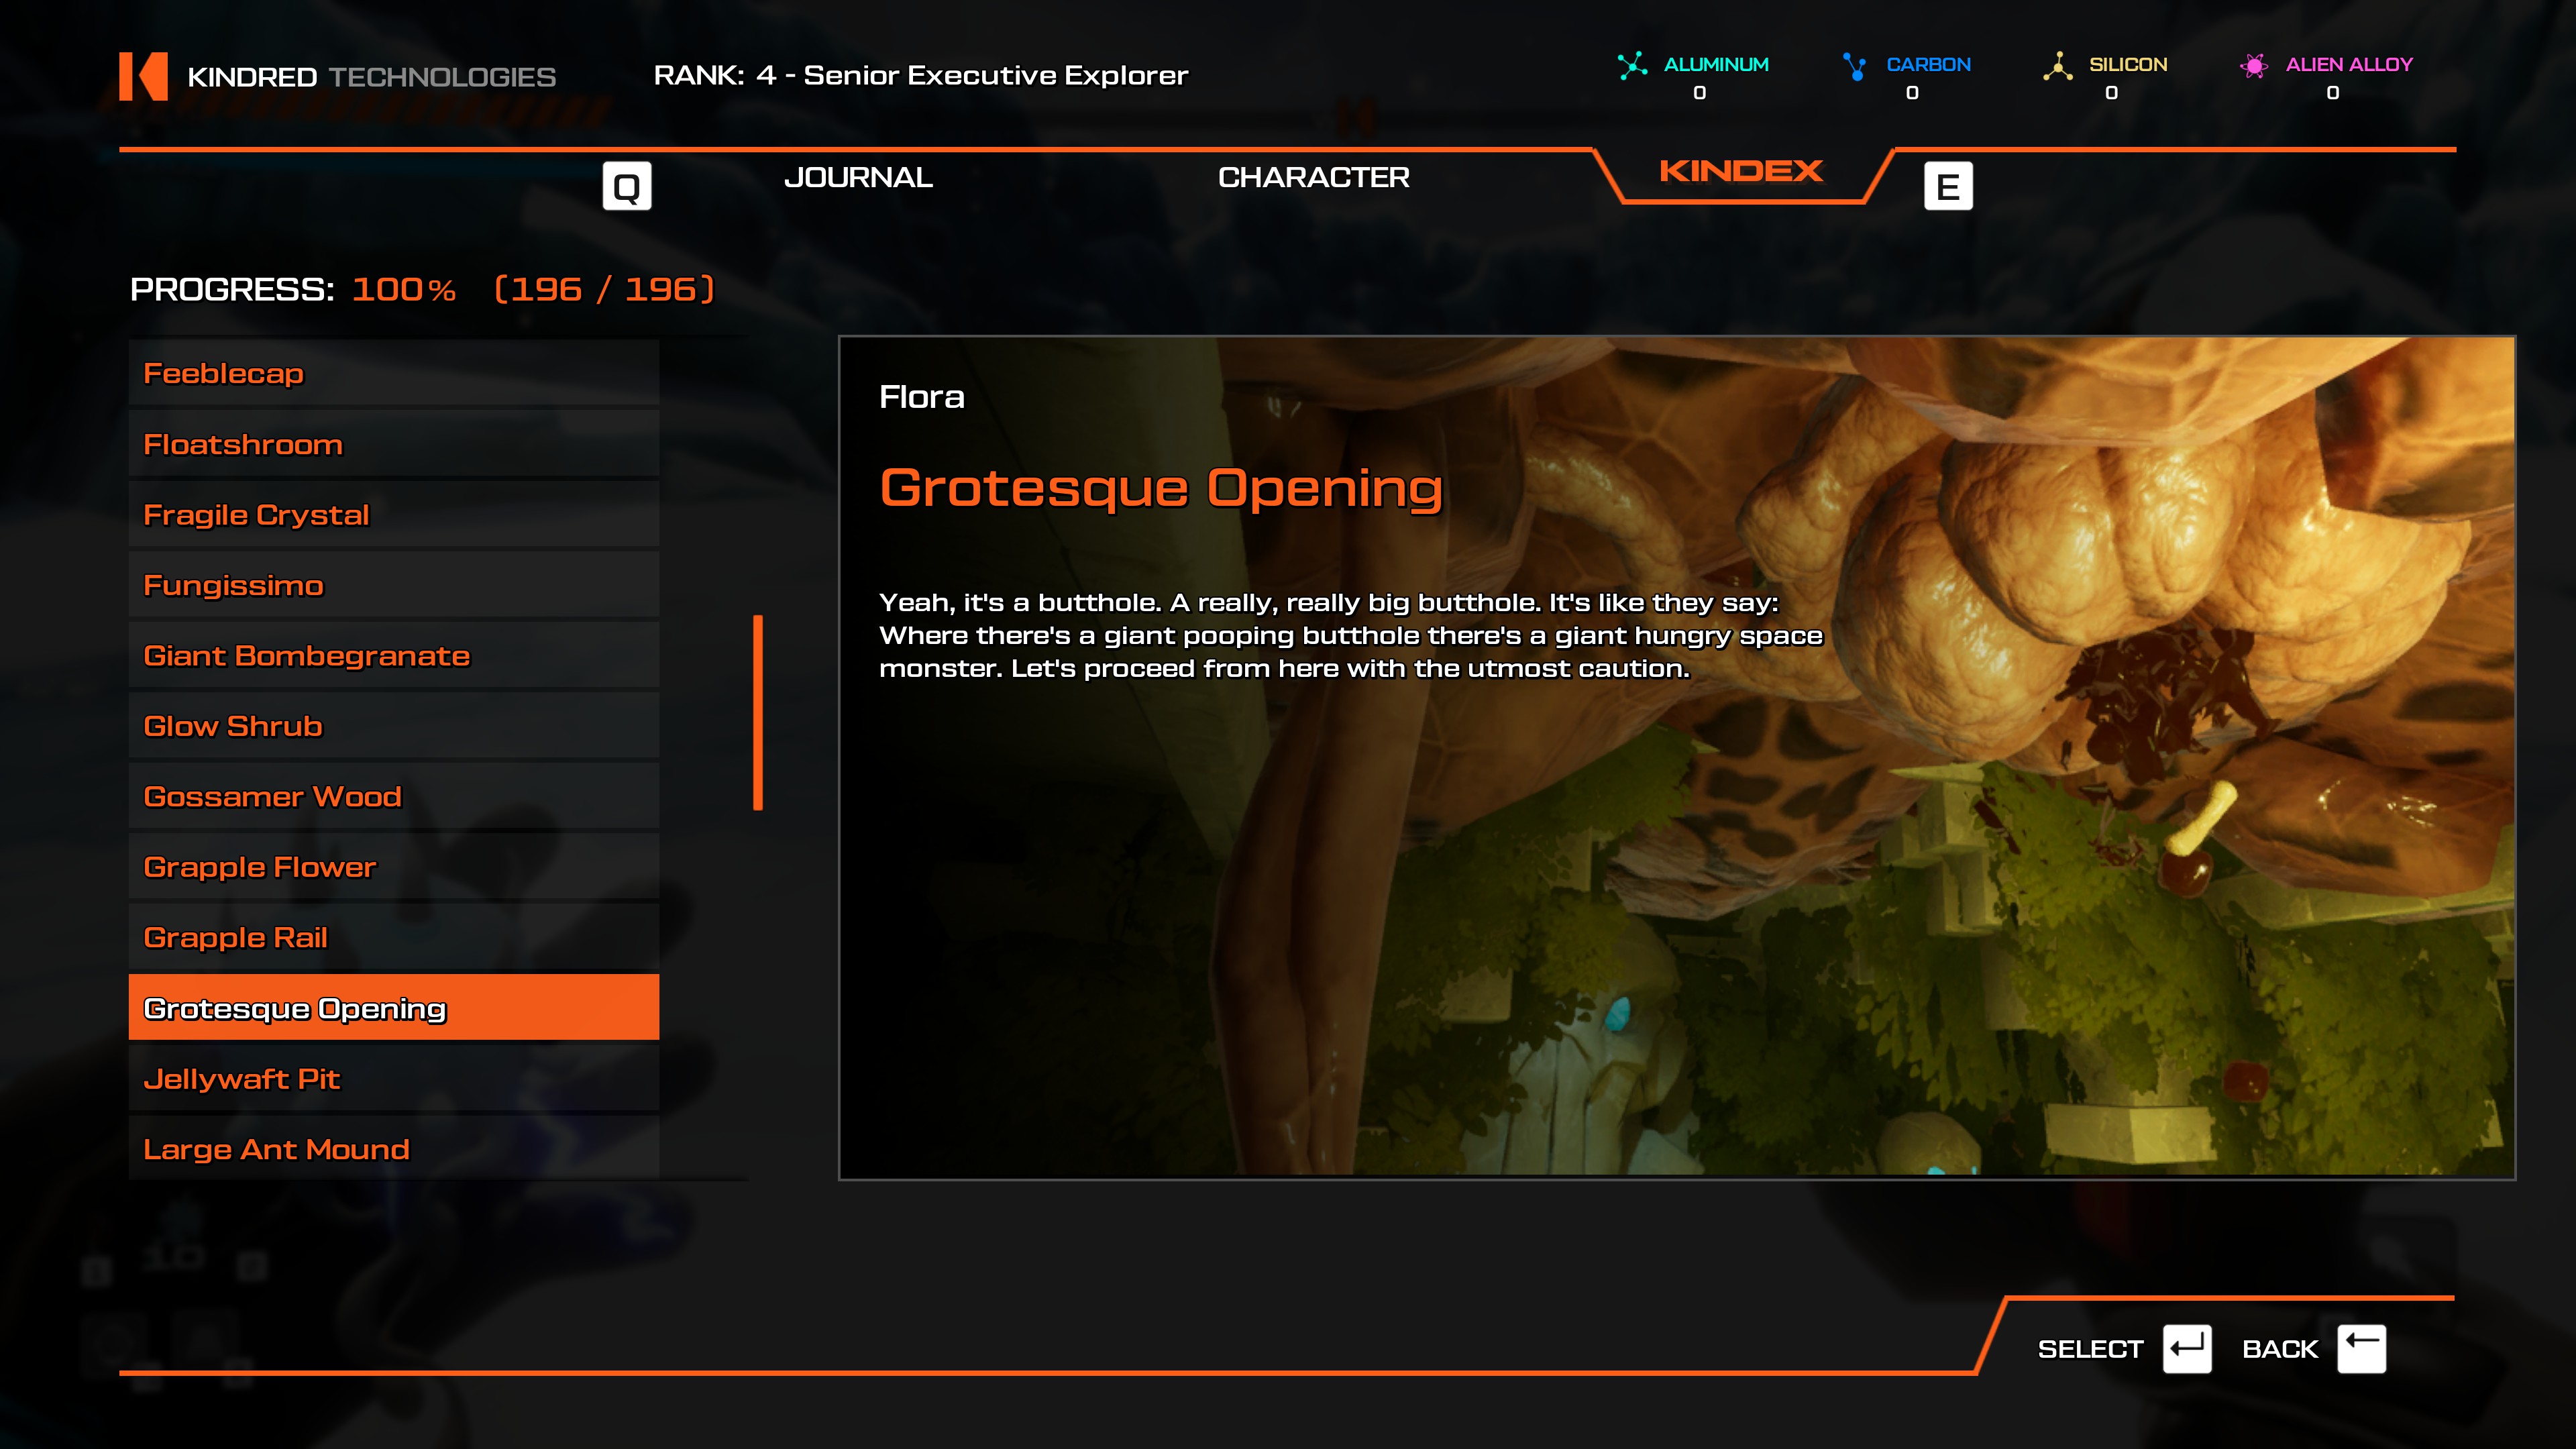
- Easily scannable from the Moist Vestibule teleporter.
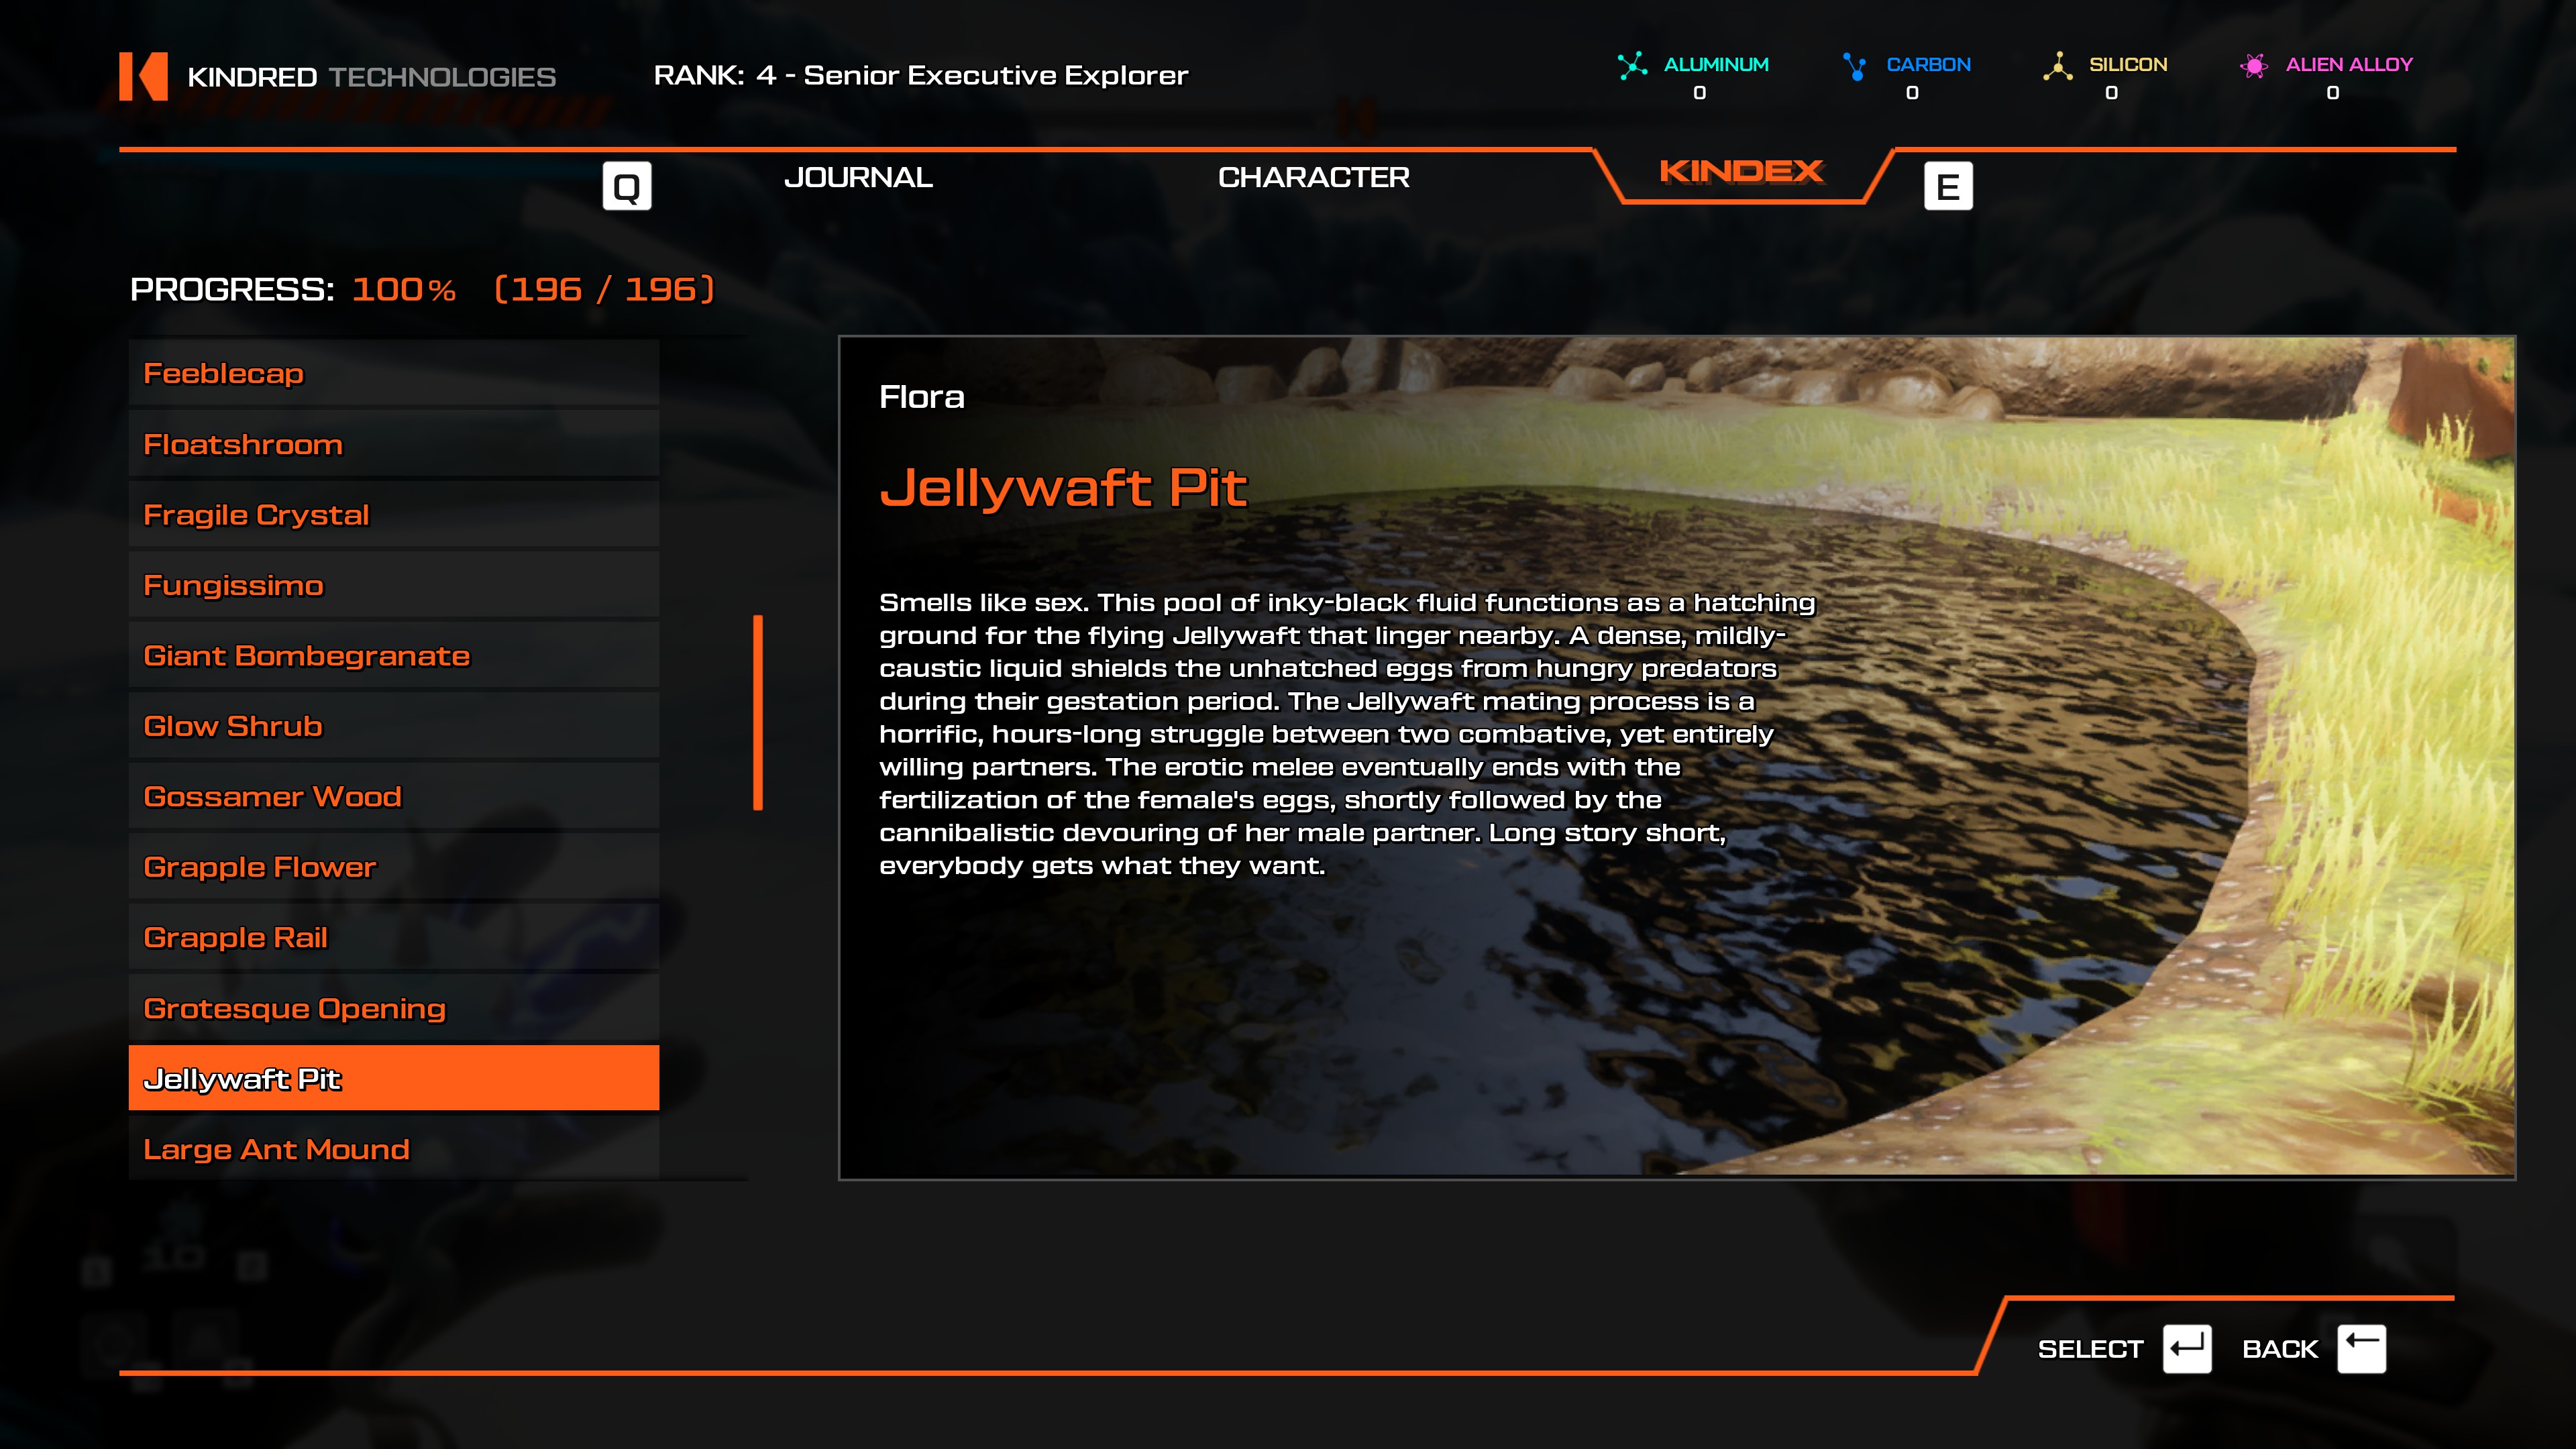
- The Jellywaft Pit is the giant black fluid-filled pit that sits pretty much in the middle between three teleporters- Outside the Javelin, Towering Crystals, and Meteor Crash. Pick either one and head to the passage between the snowy area and the Verdant Wilds.
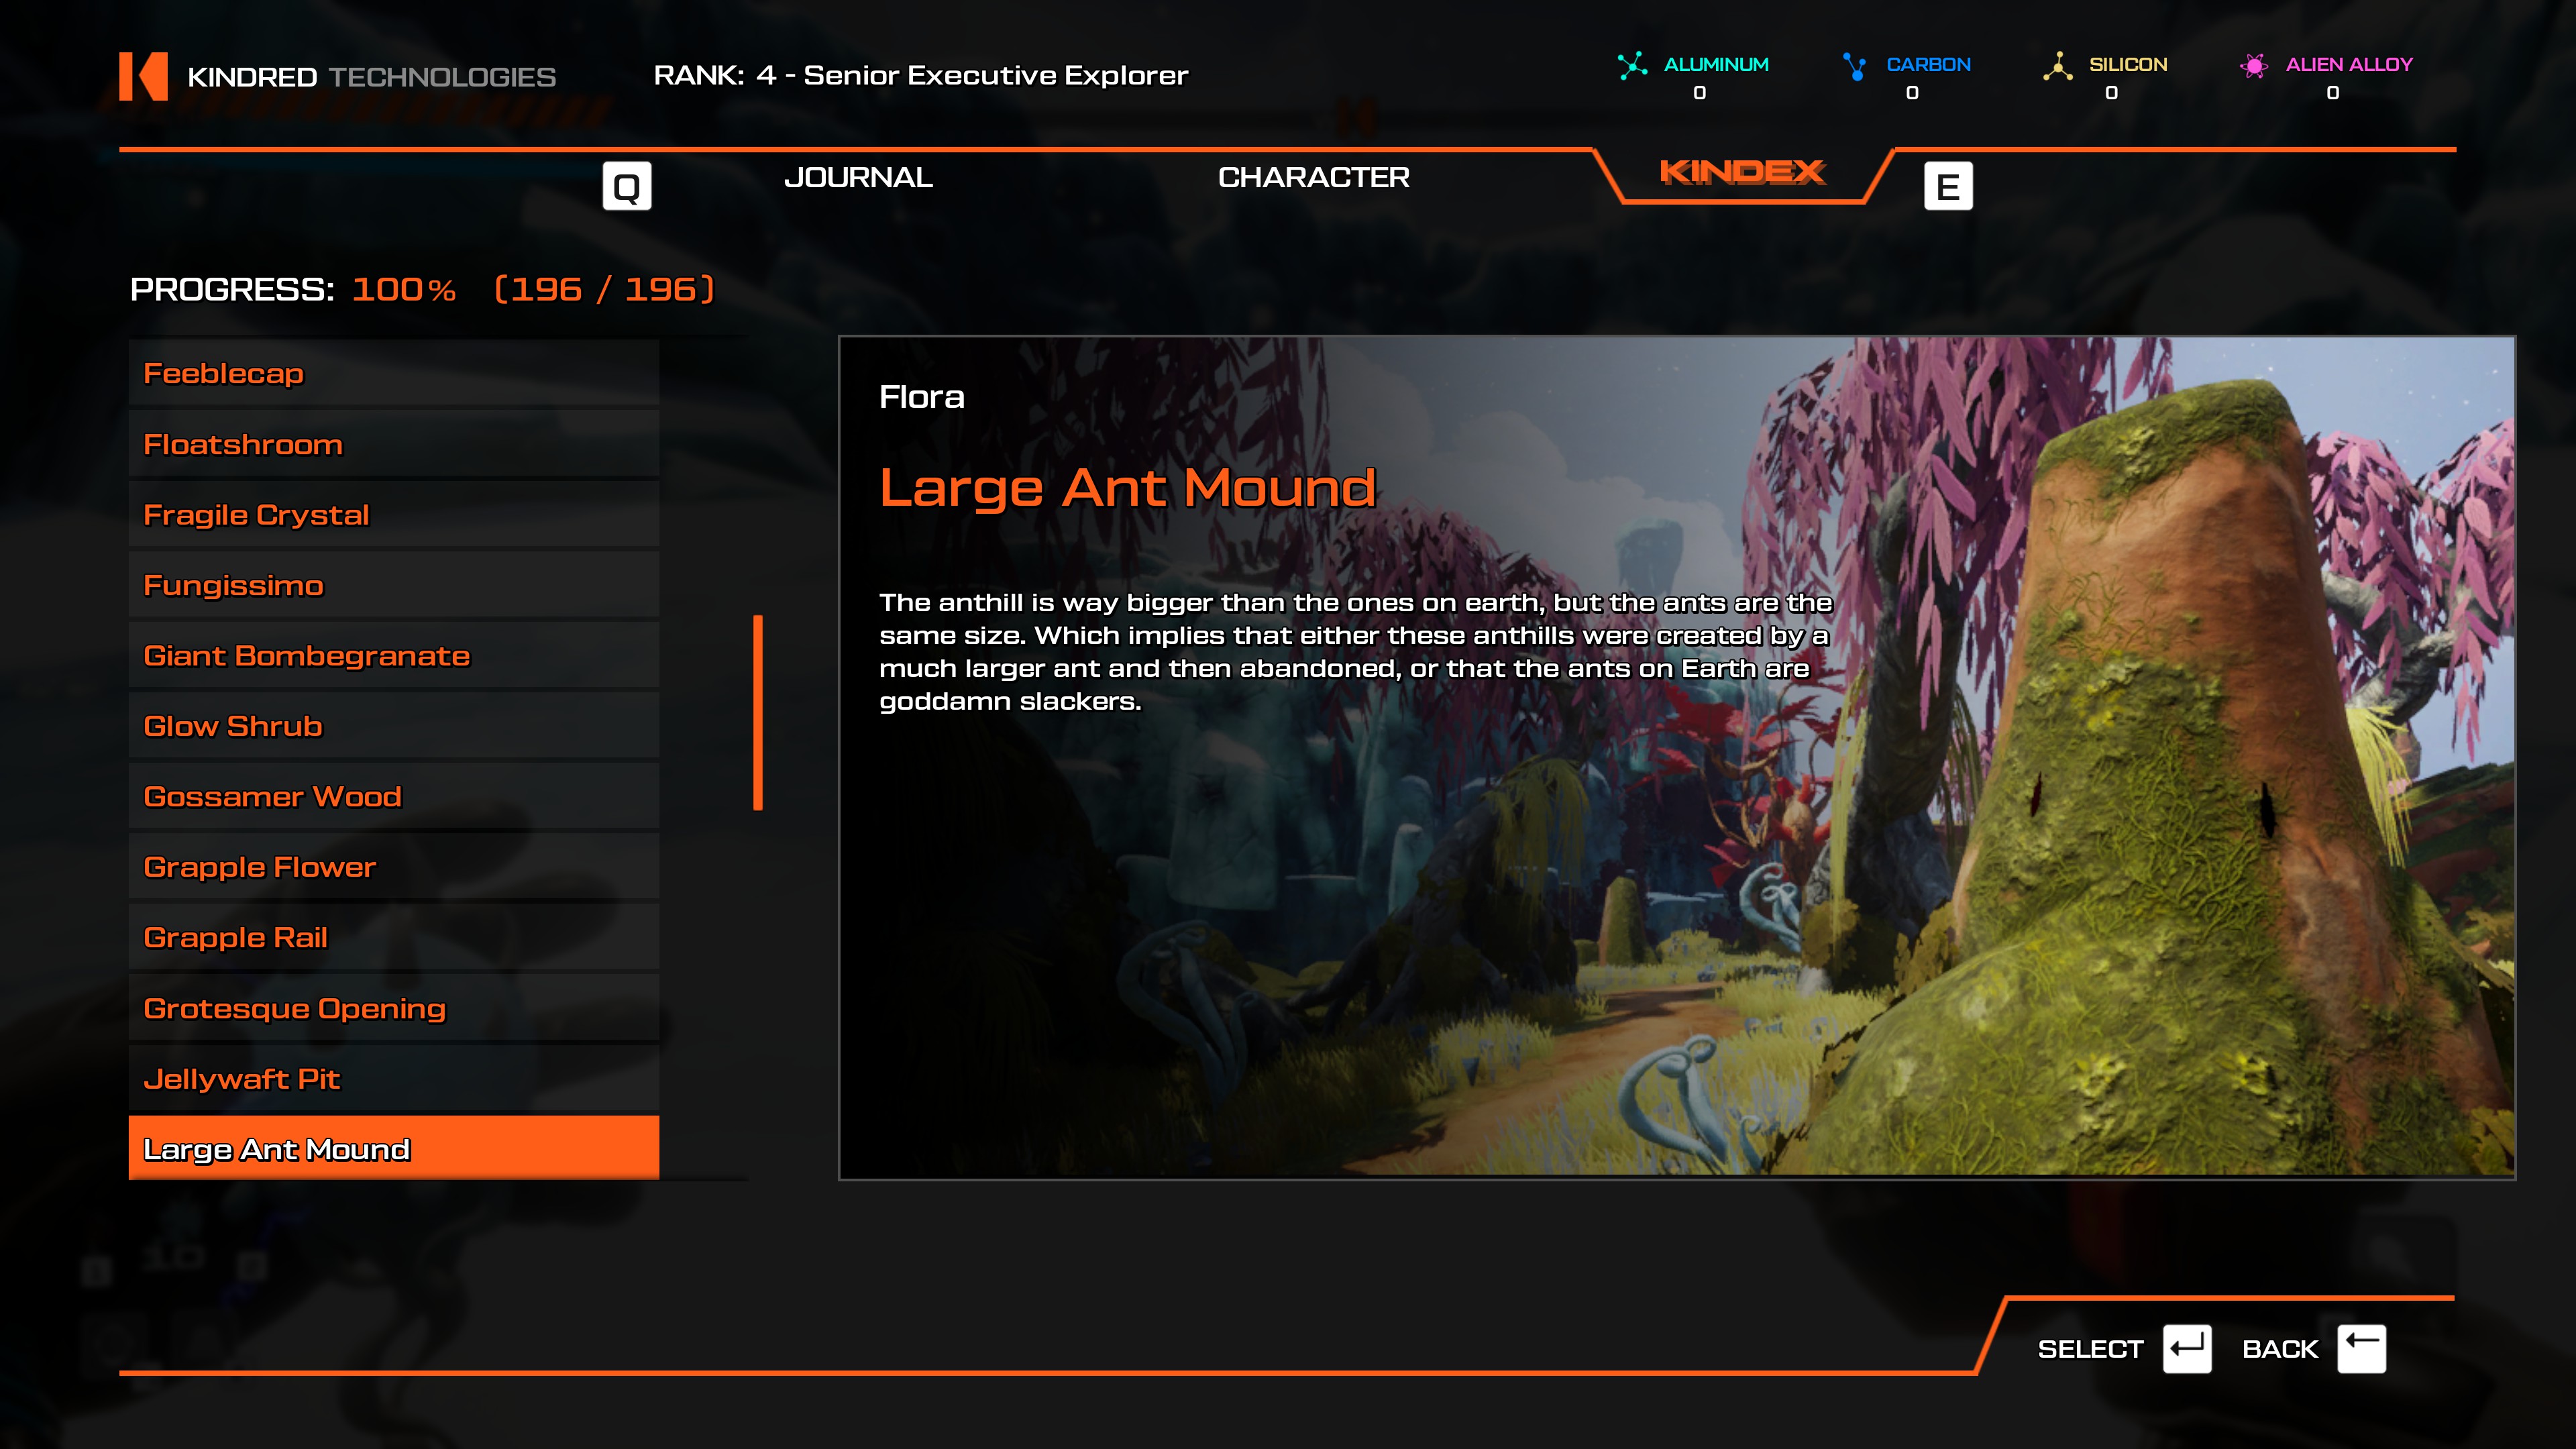
- The Verdant Wilds of Zyl
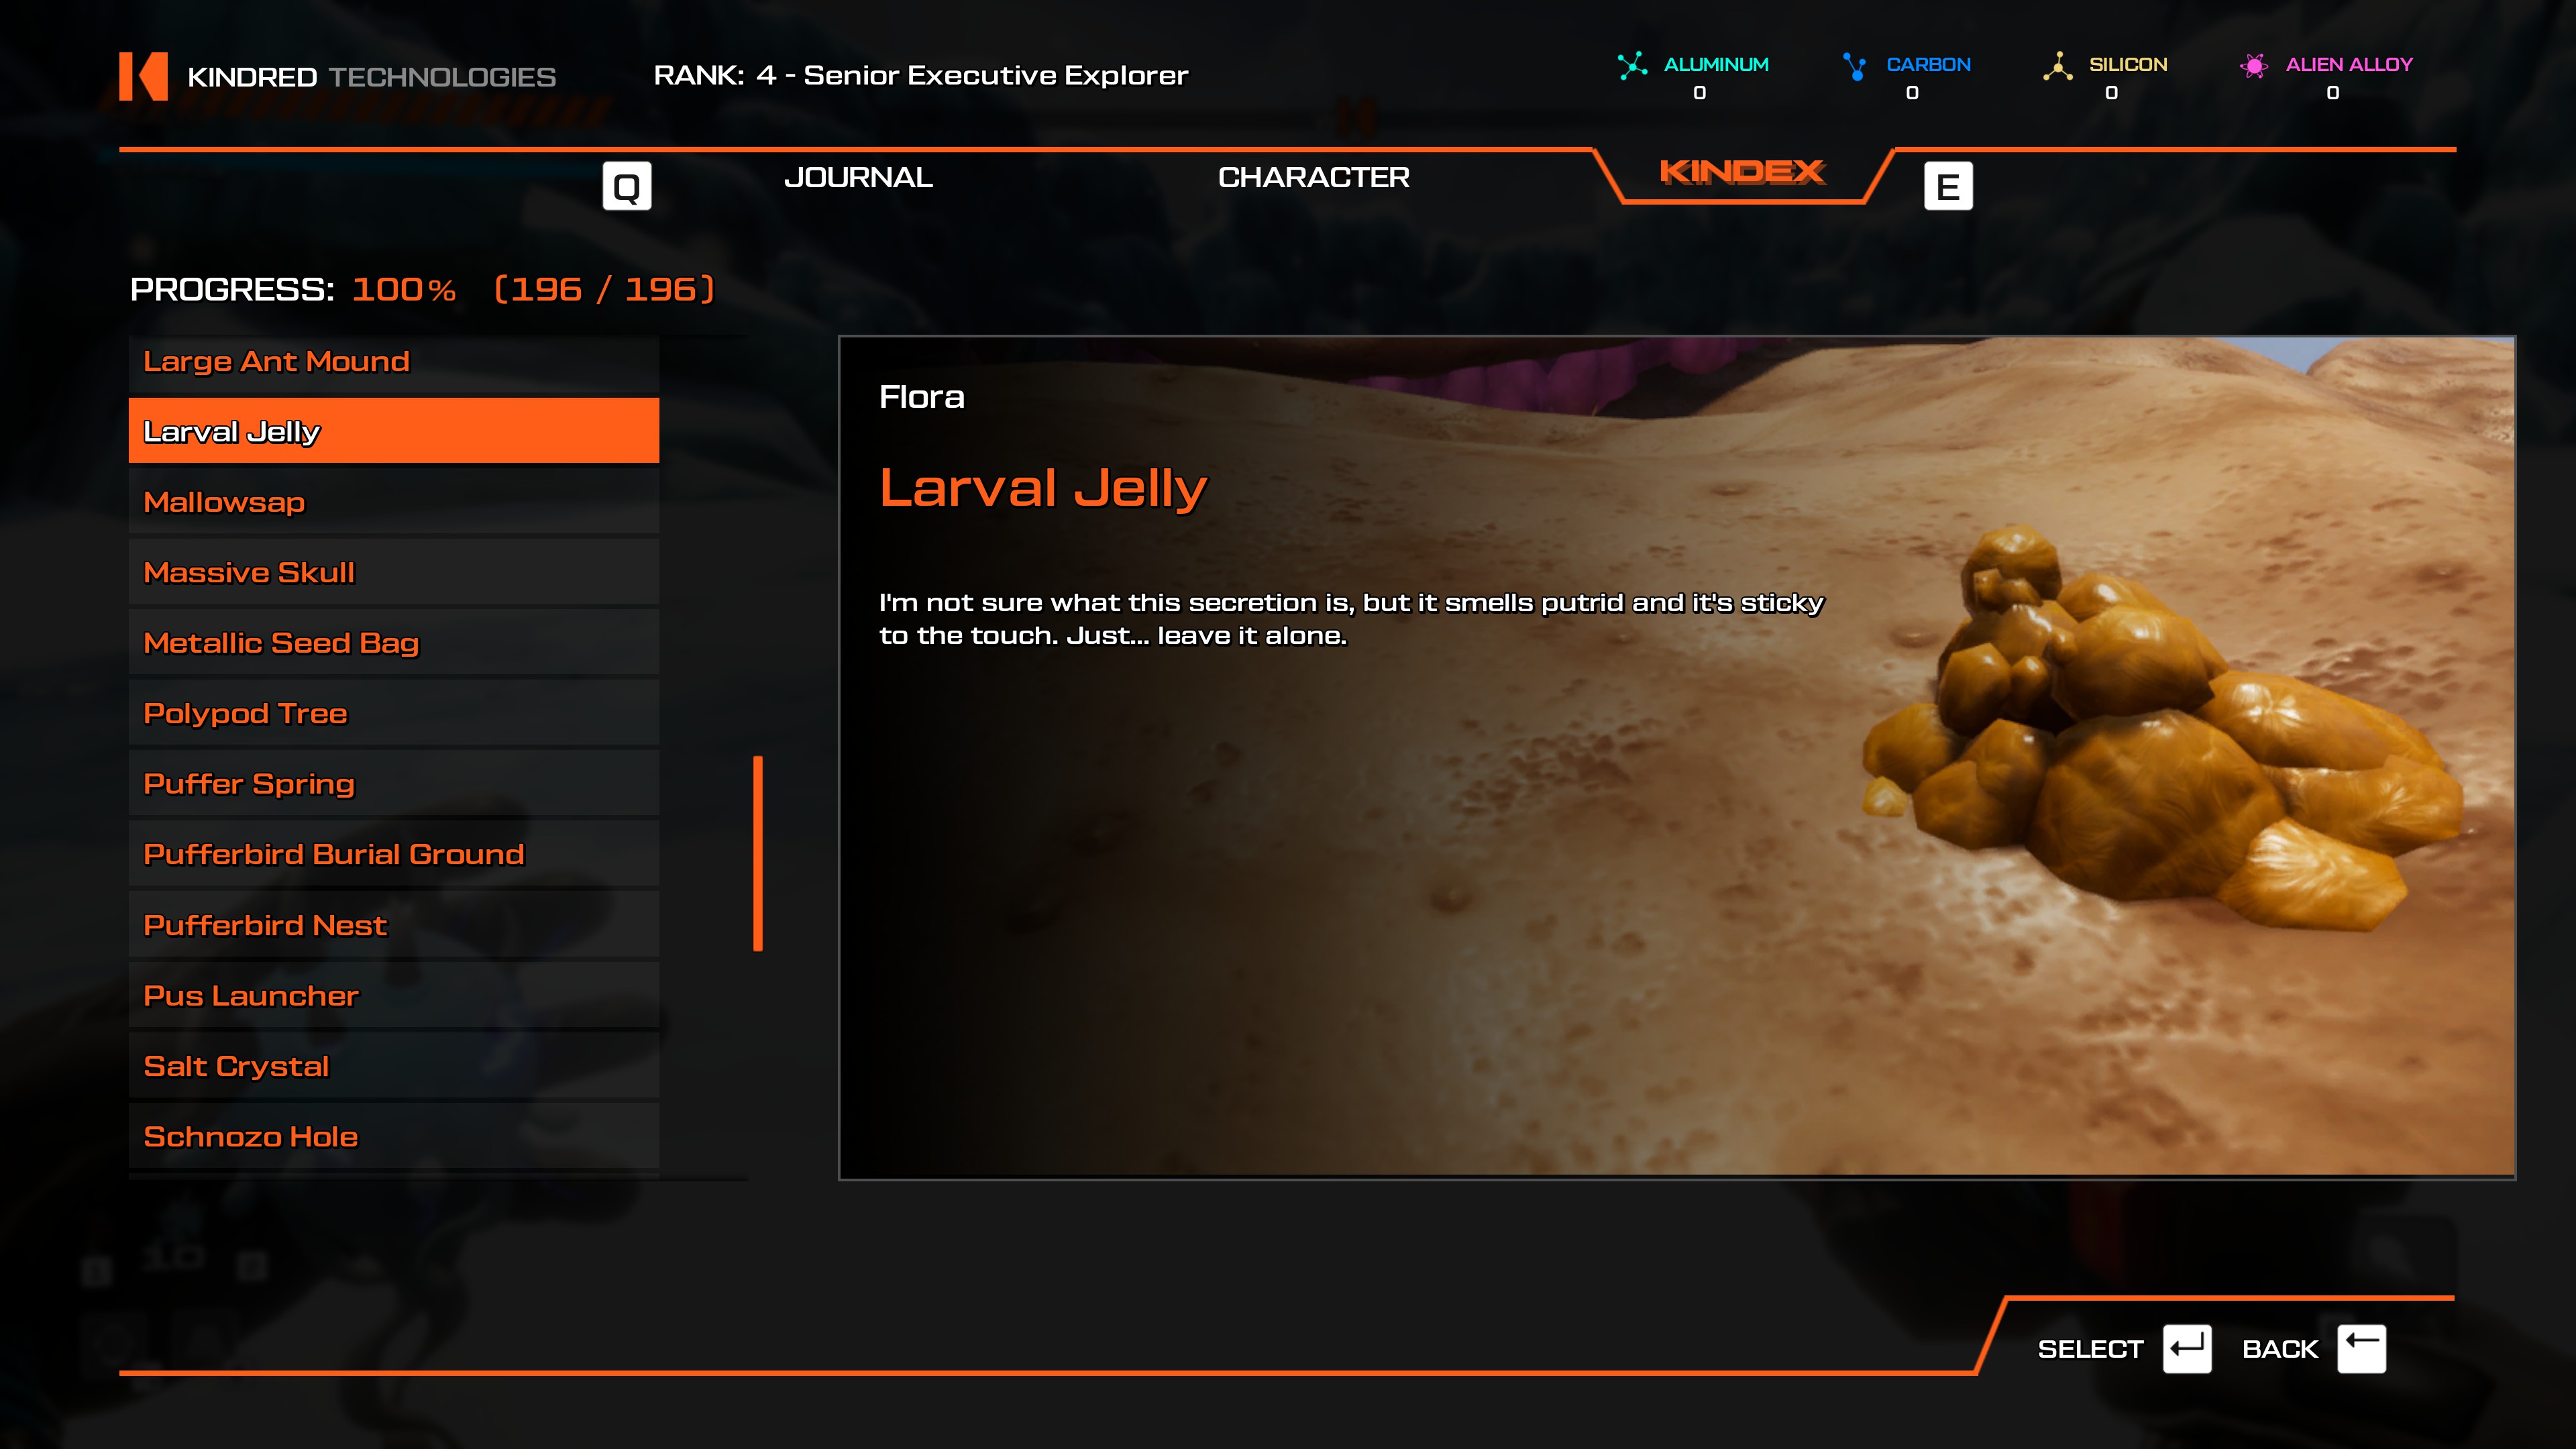
- Easily scannable from the Festering Overhang teleporter.
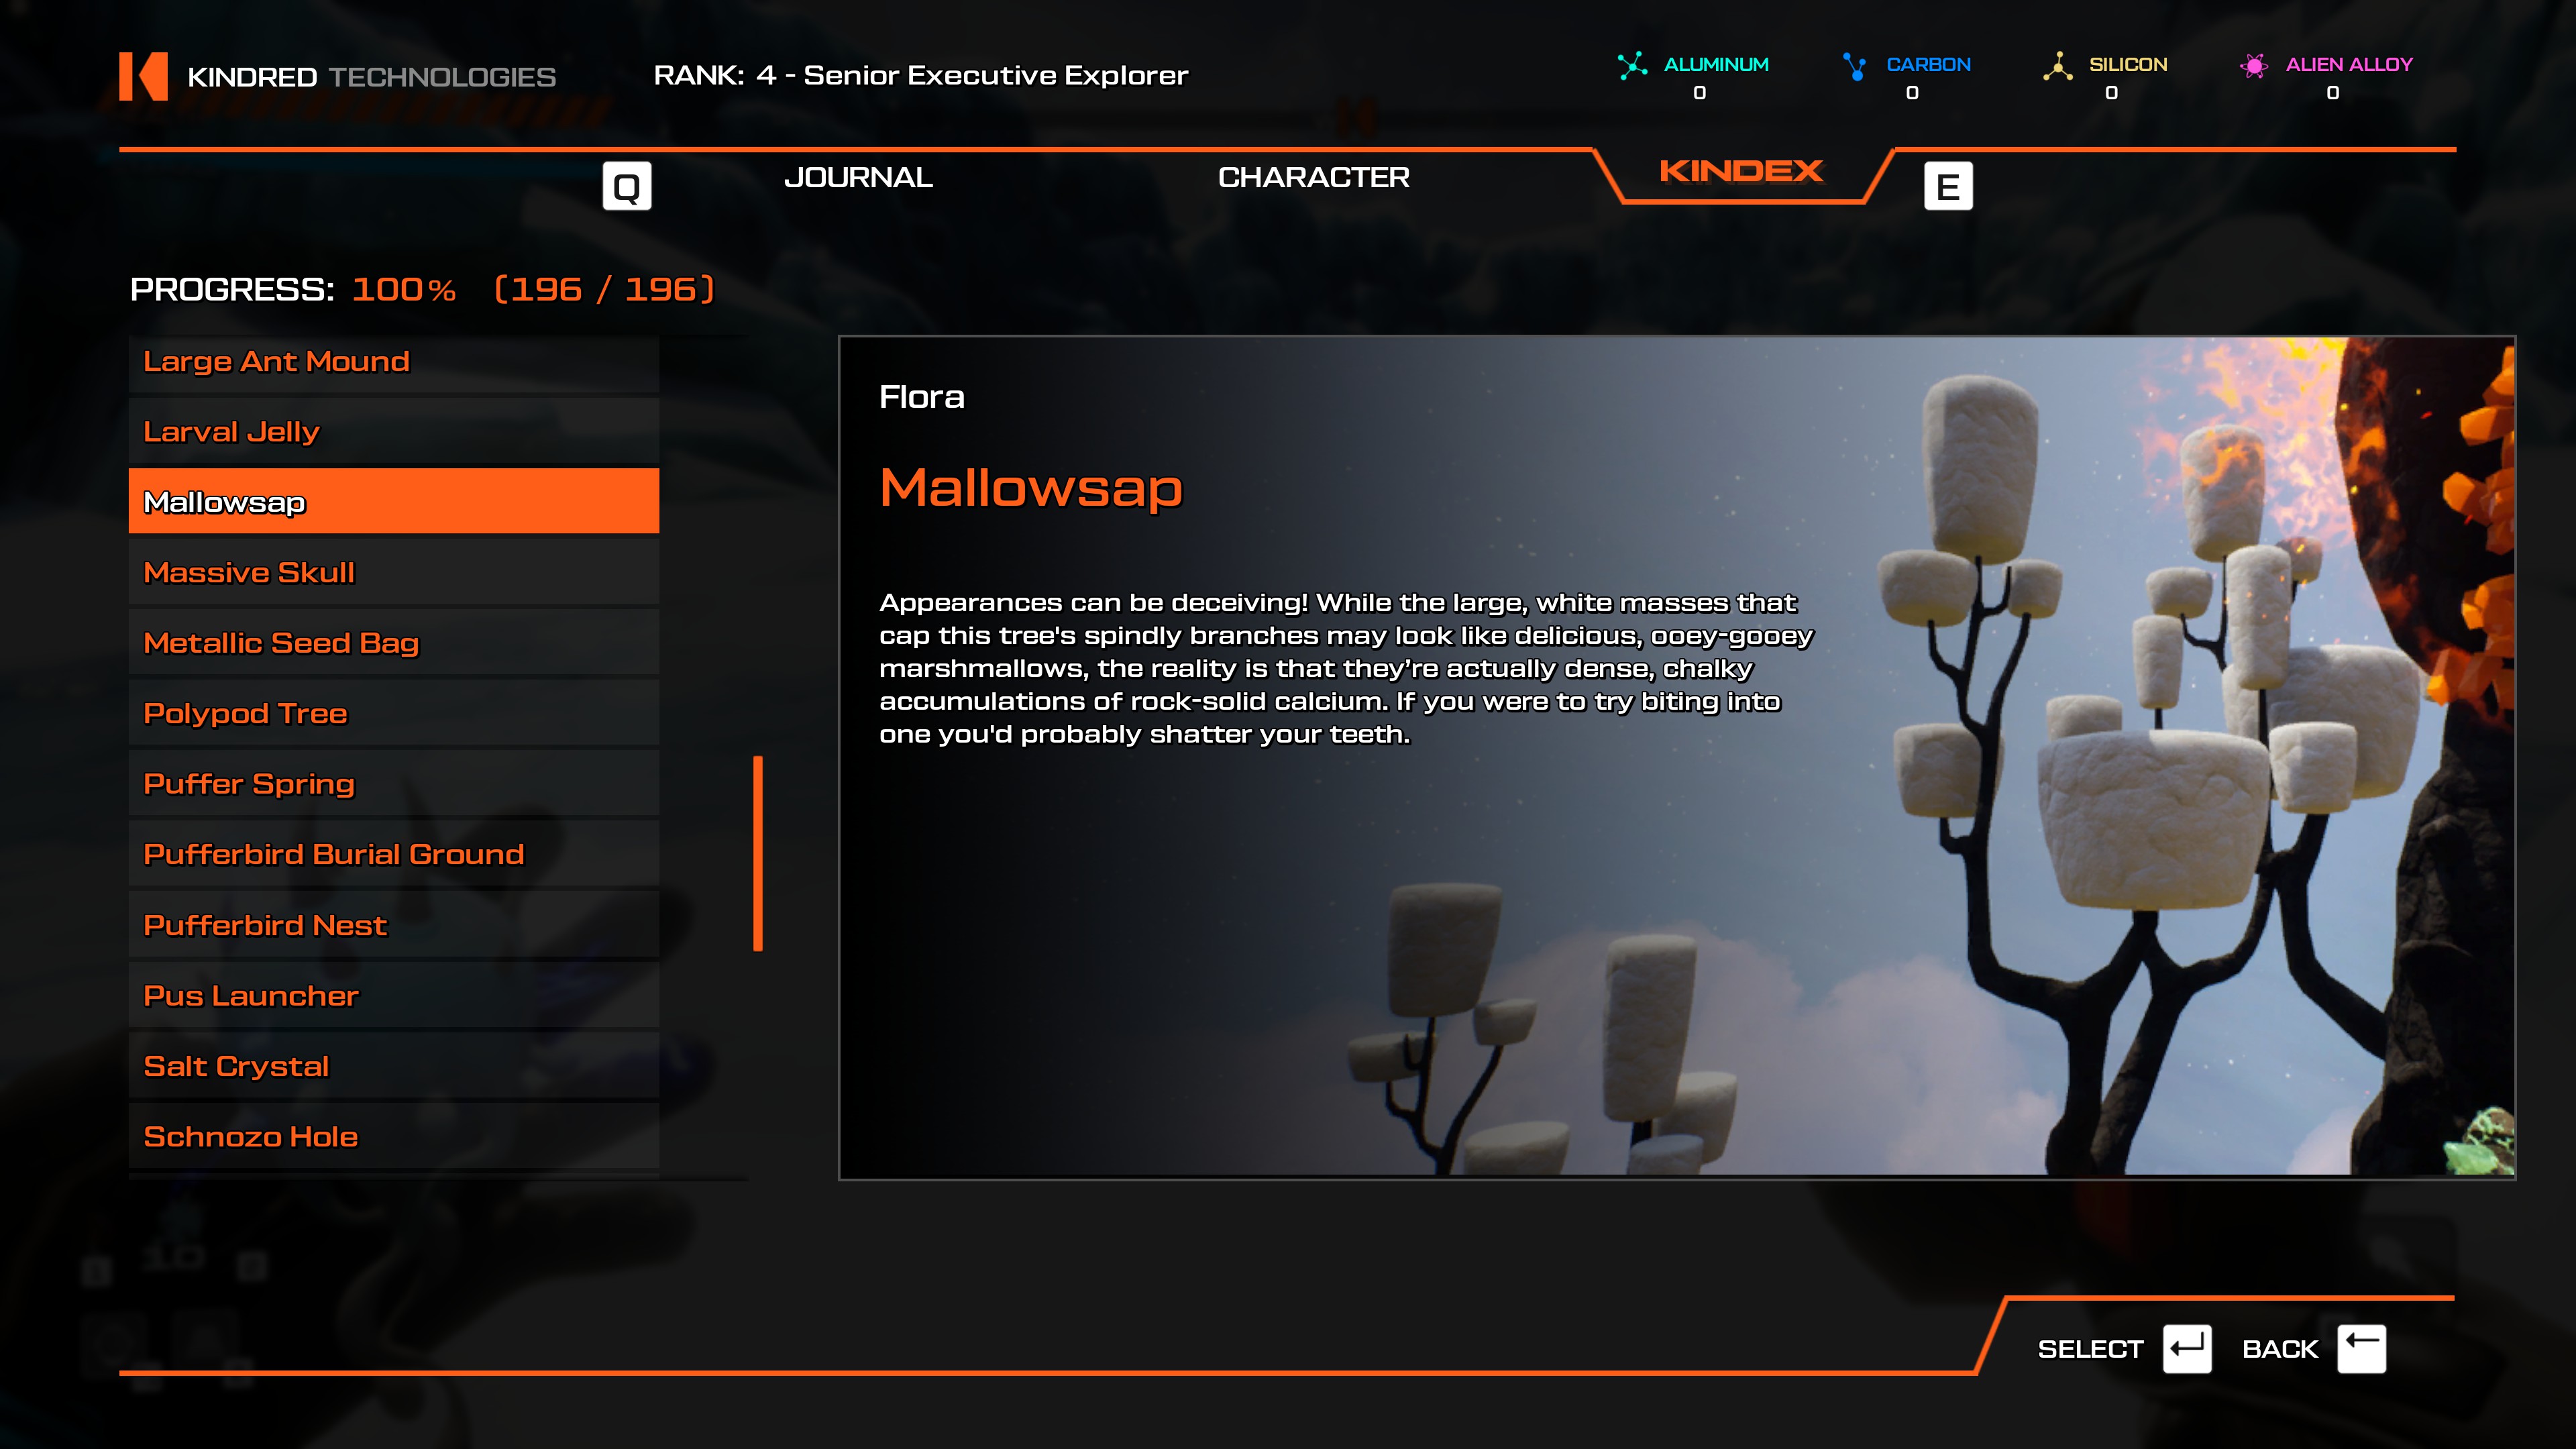
- Use the Pillars of Xzorgana teleporter and head east.
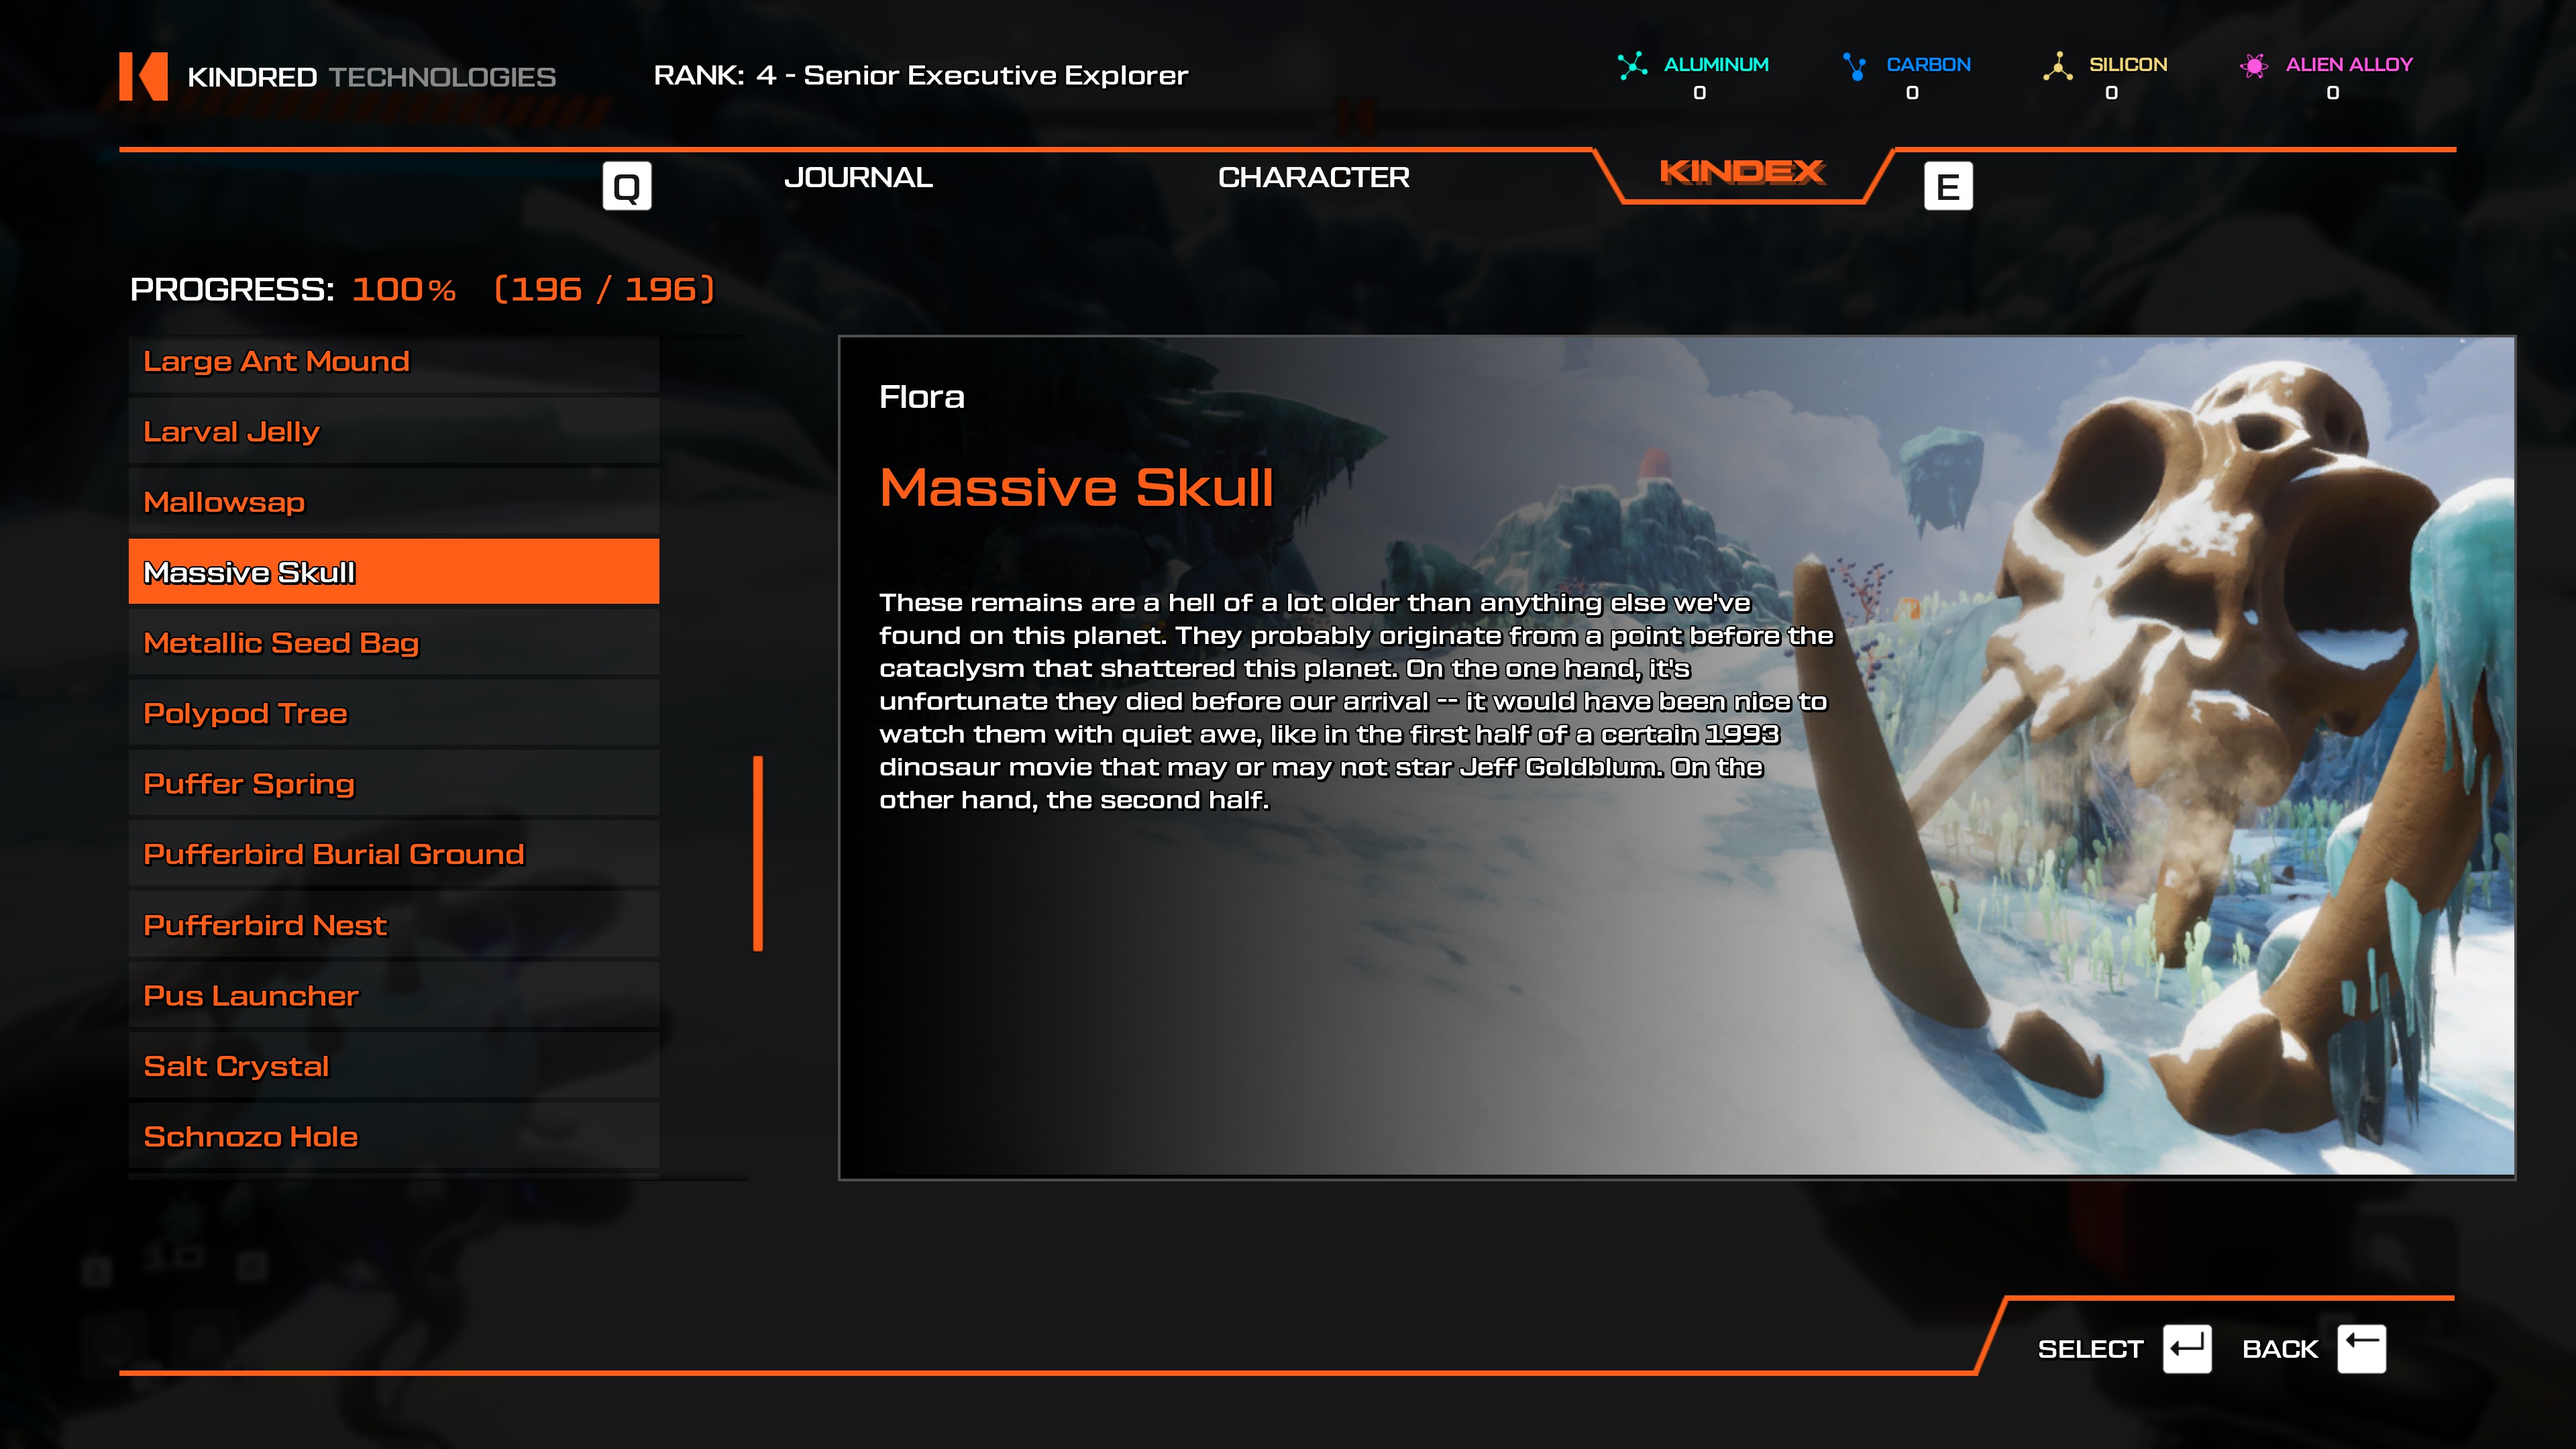
- ONLY in Shangtar's Frigid Embrace.
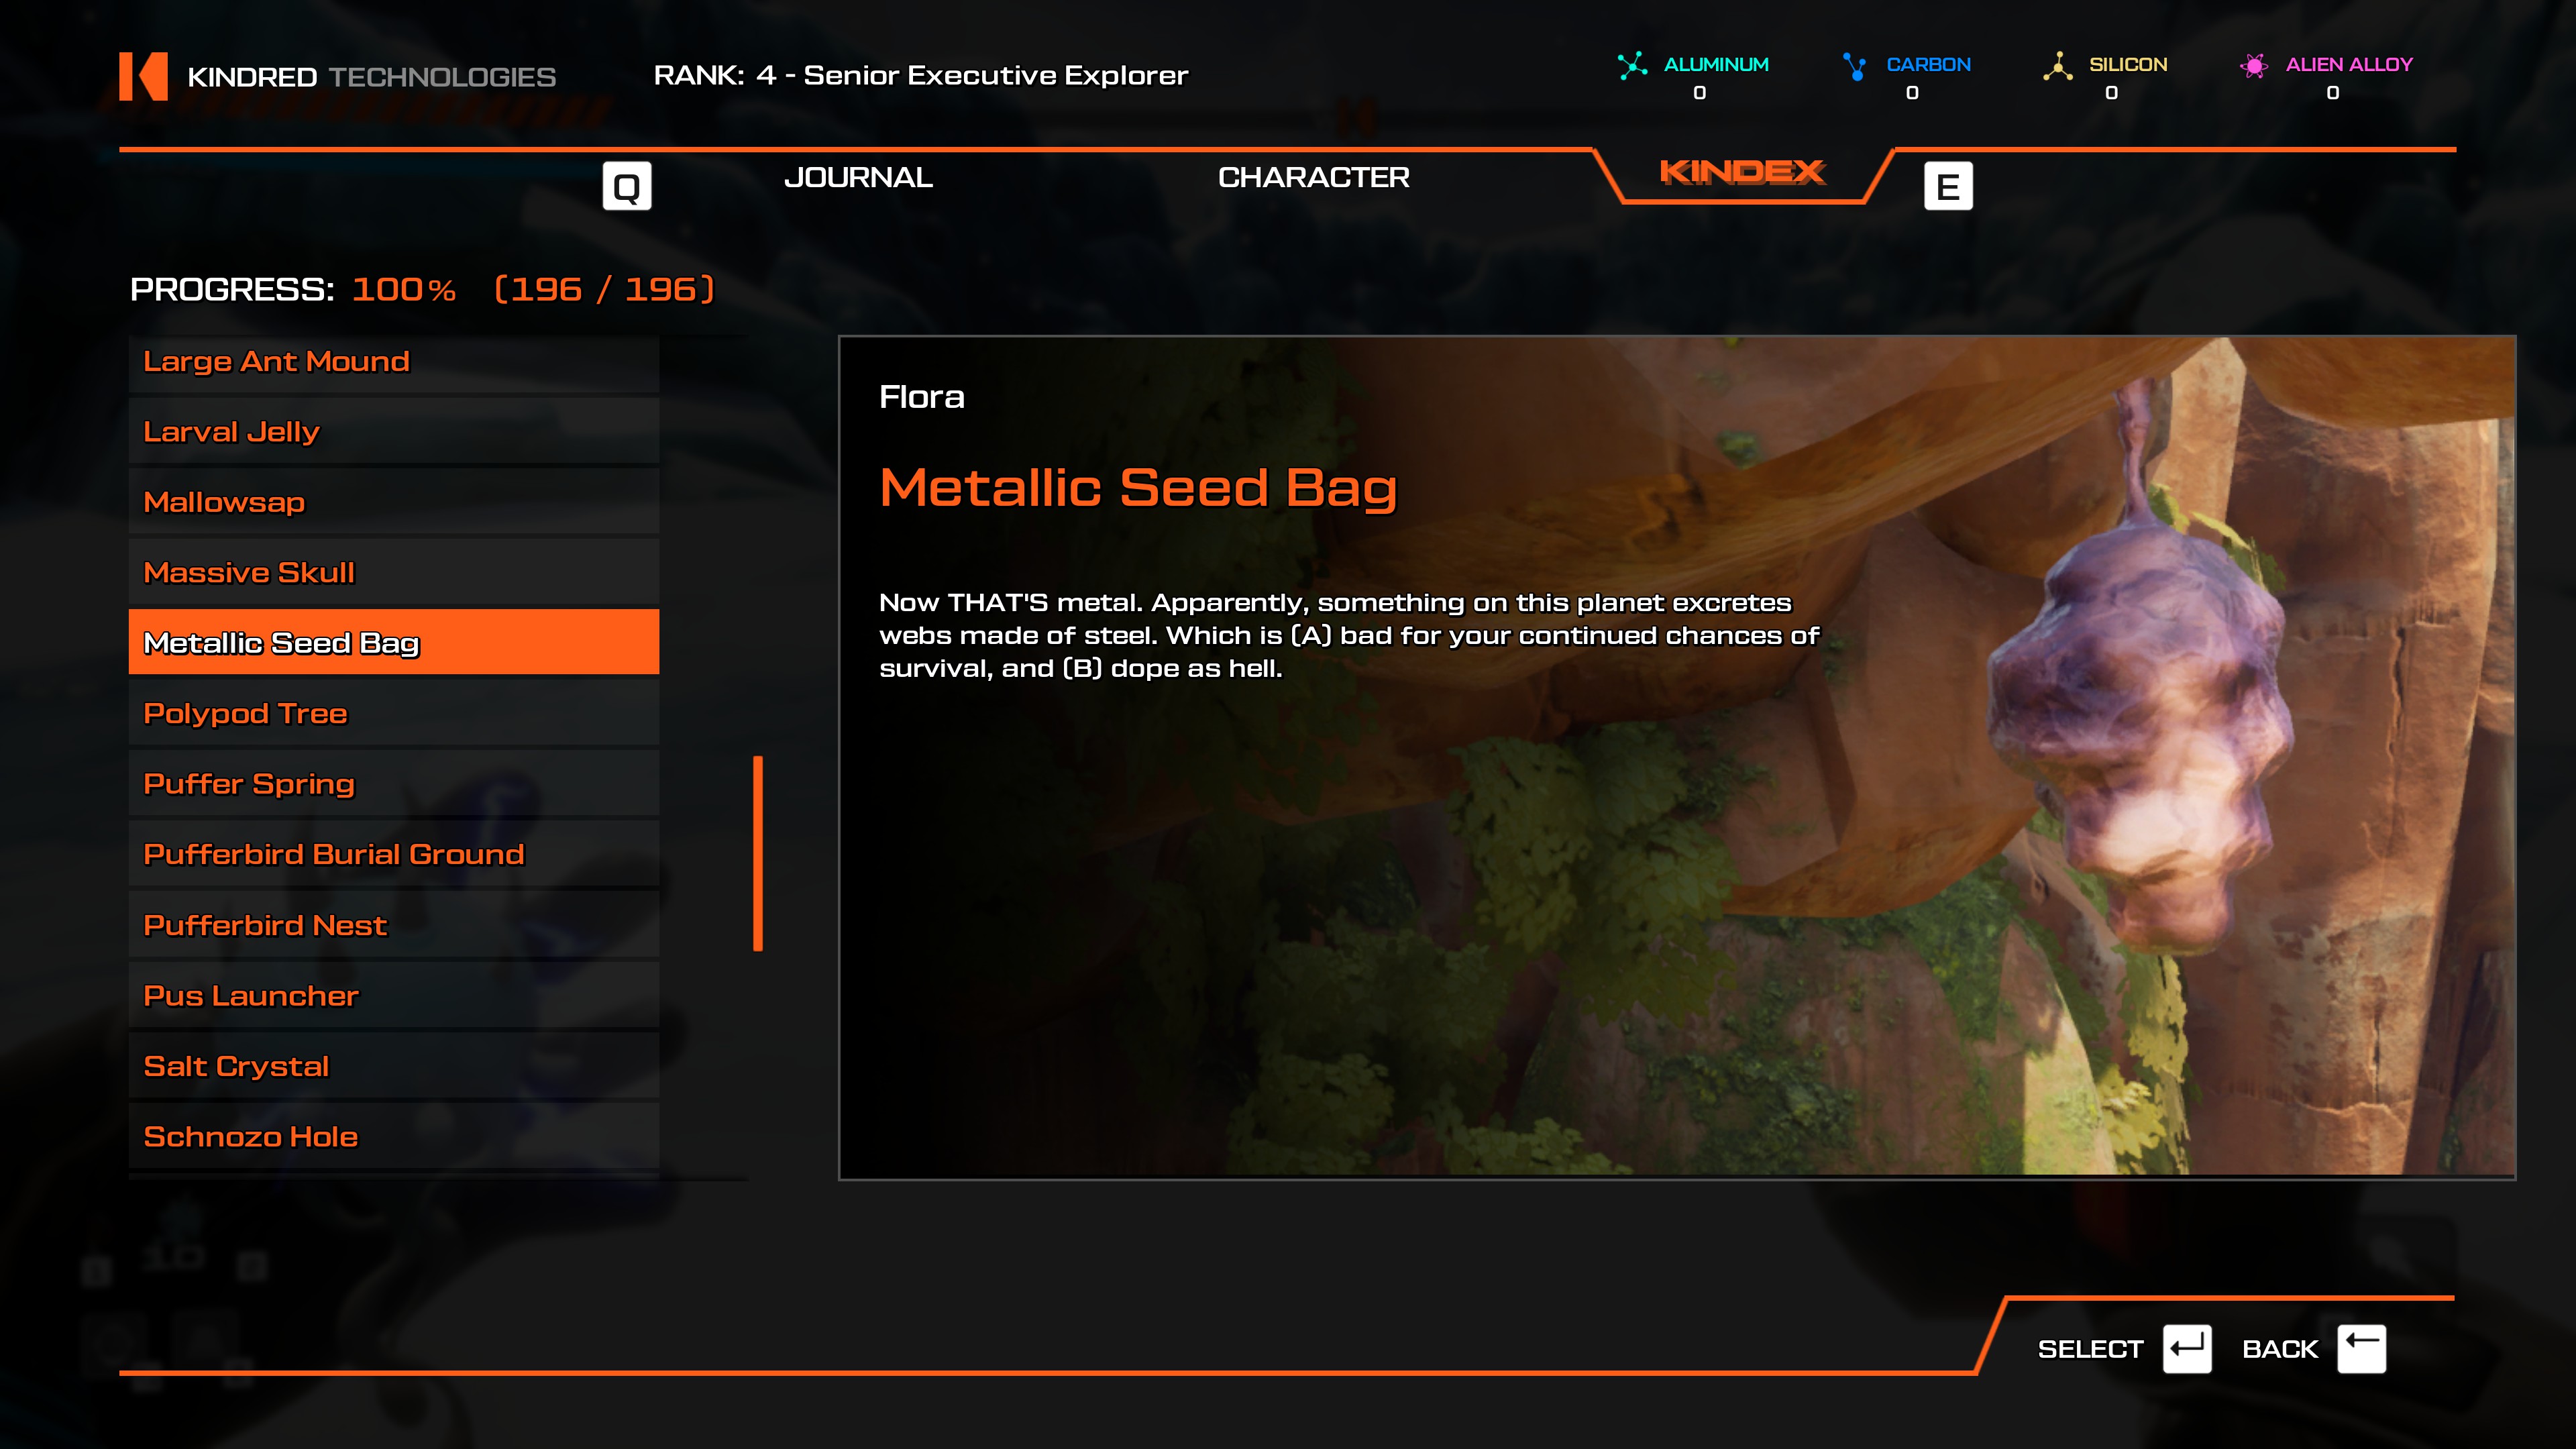
- Easily scannable from Towering Crystals or Festering Overhang teleporter.
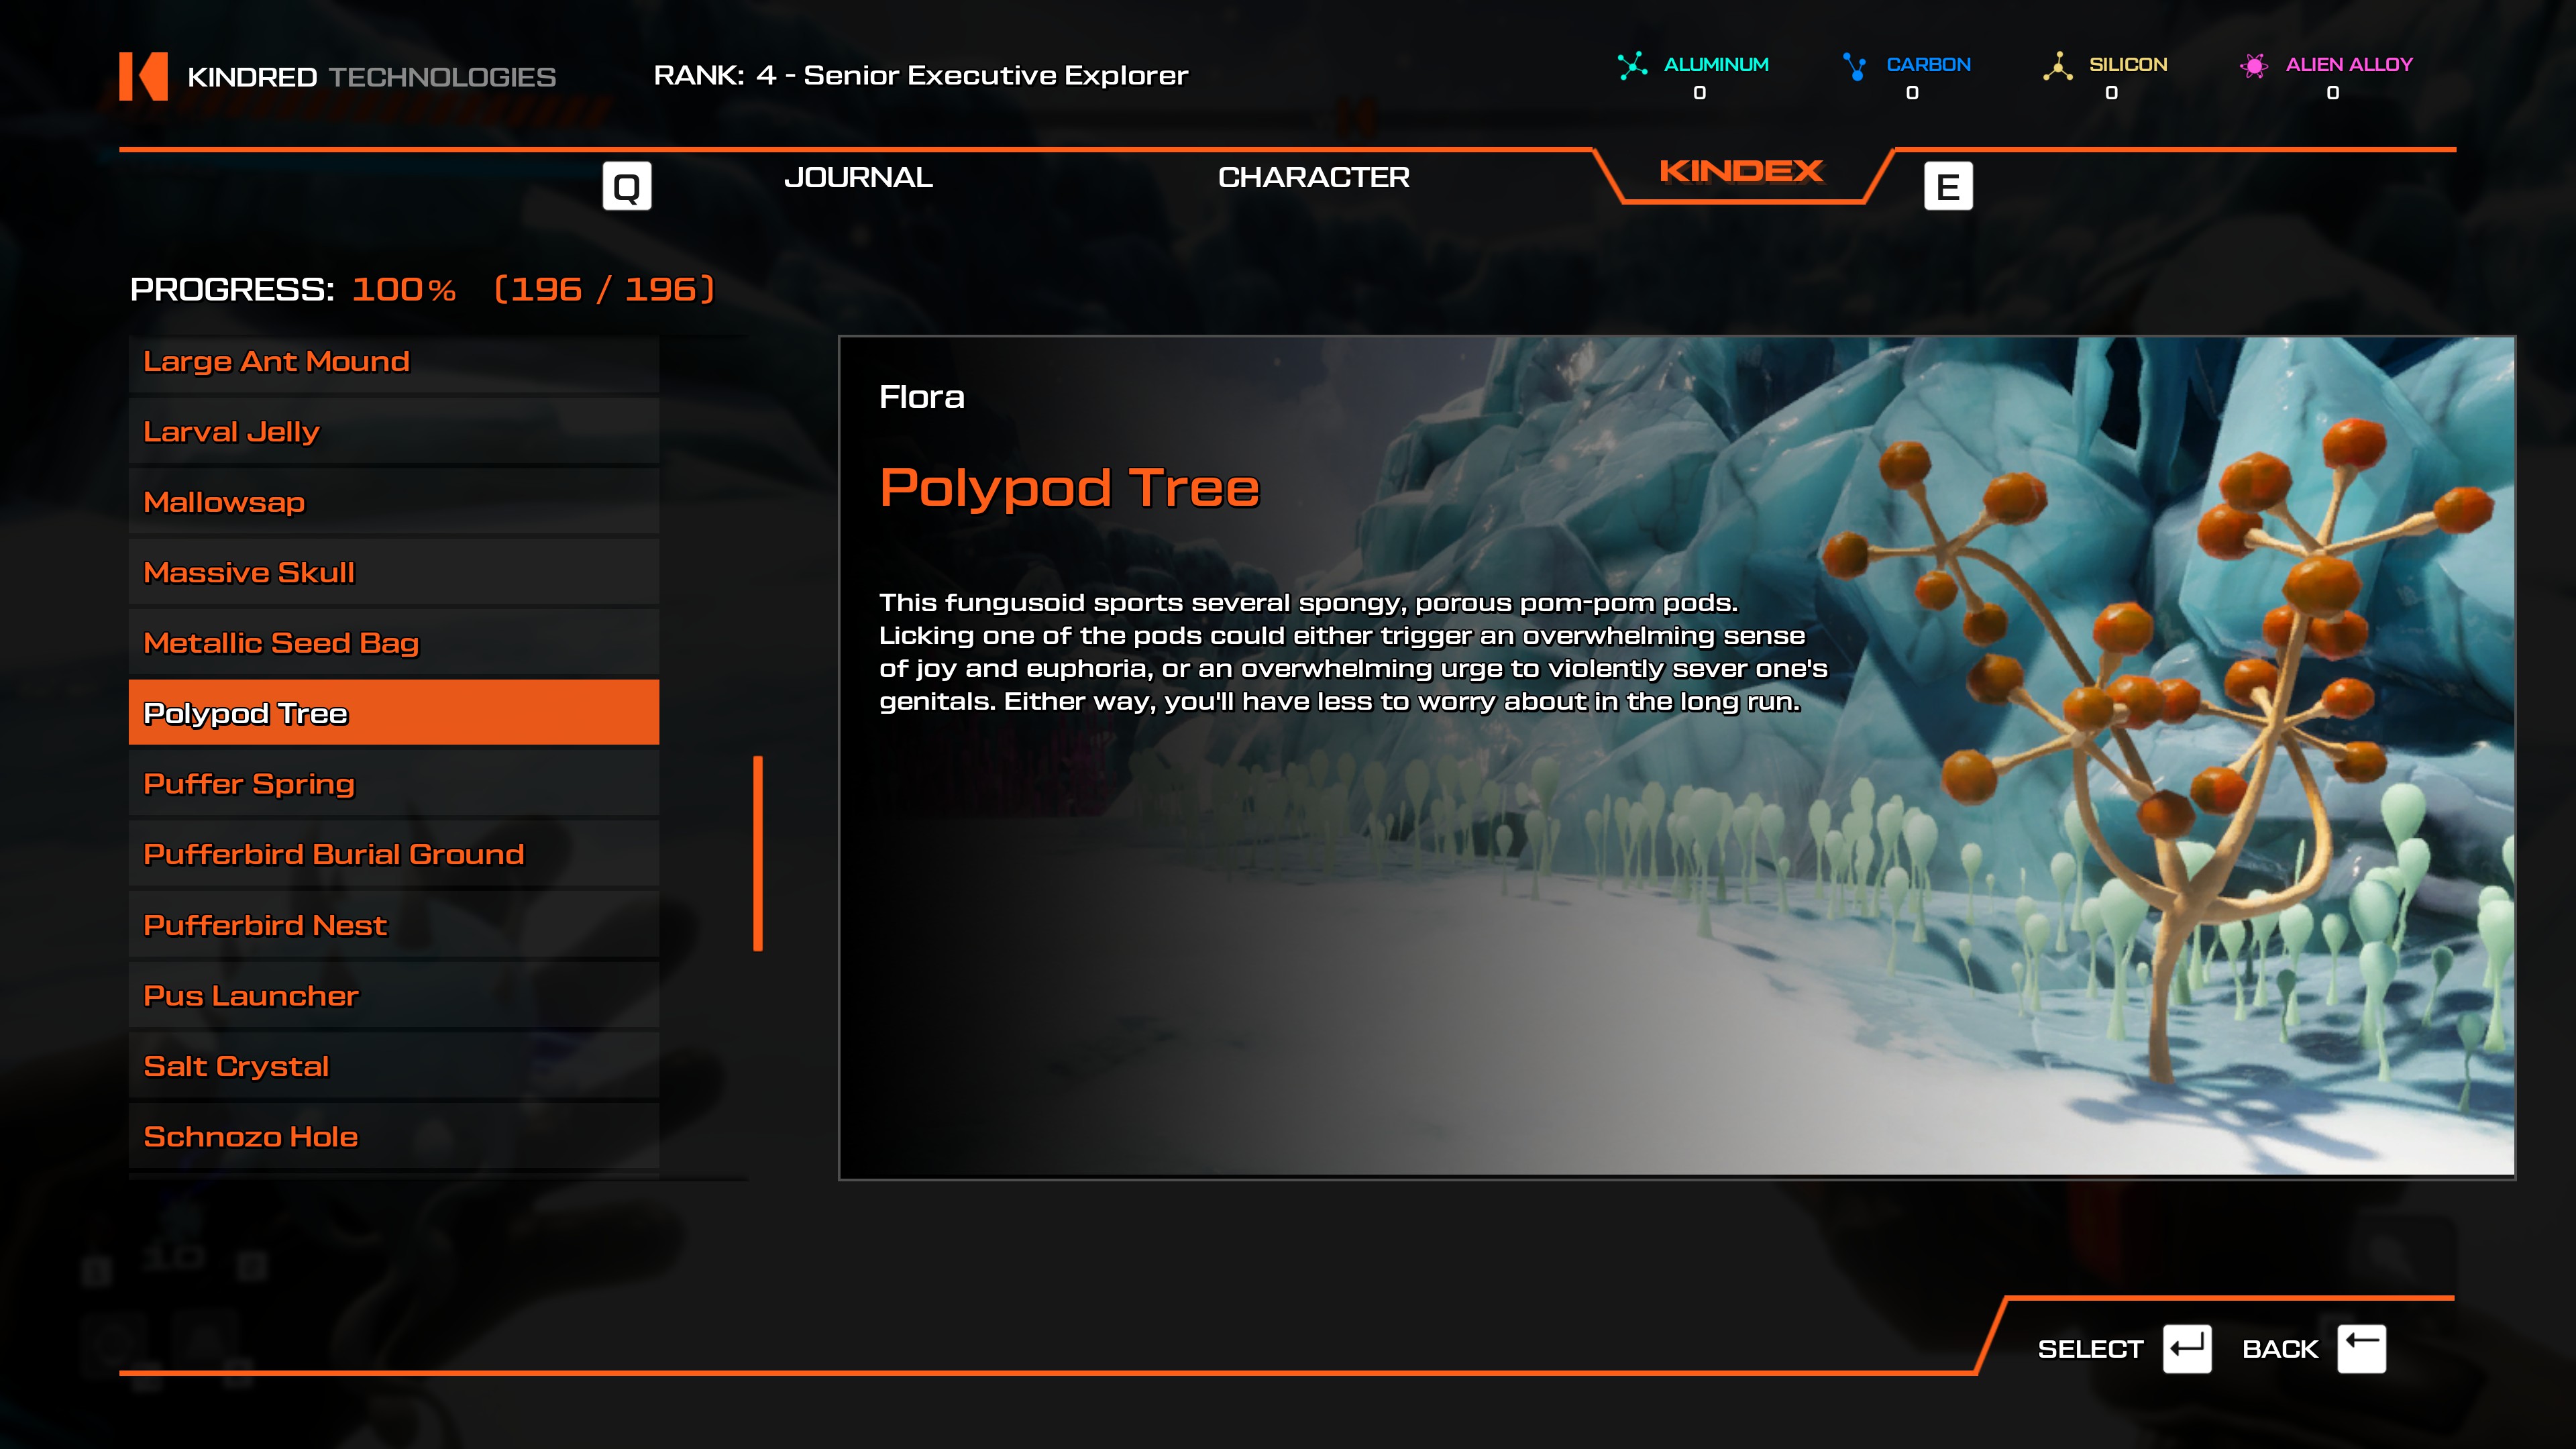
- Shangtar's Frigid Embrace.
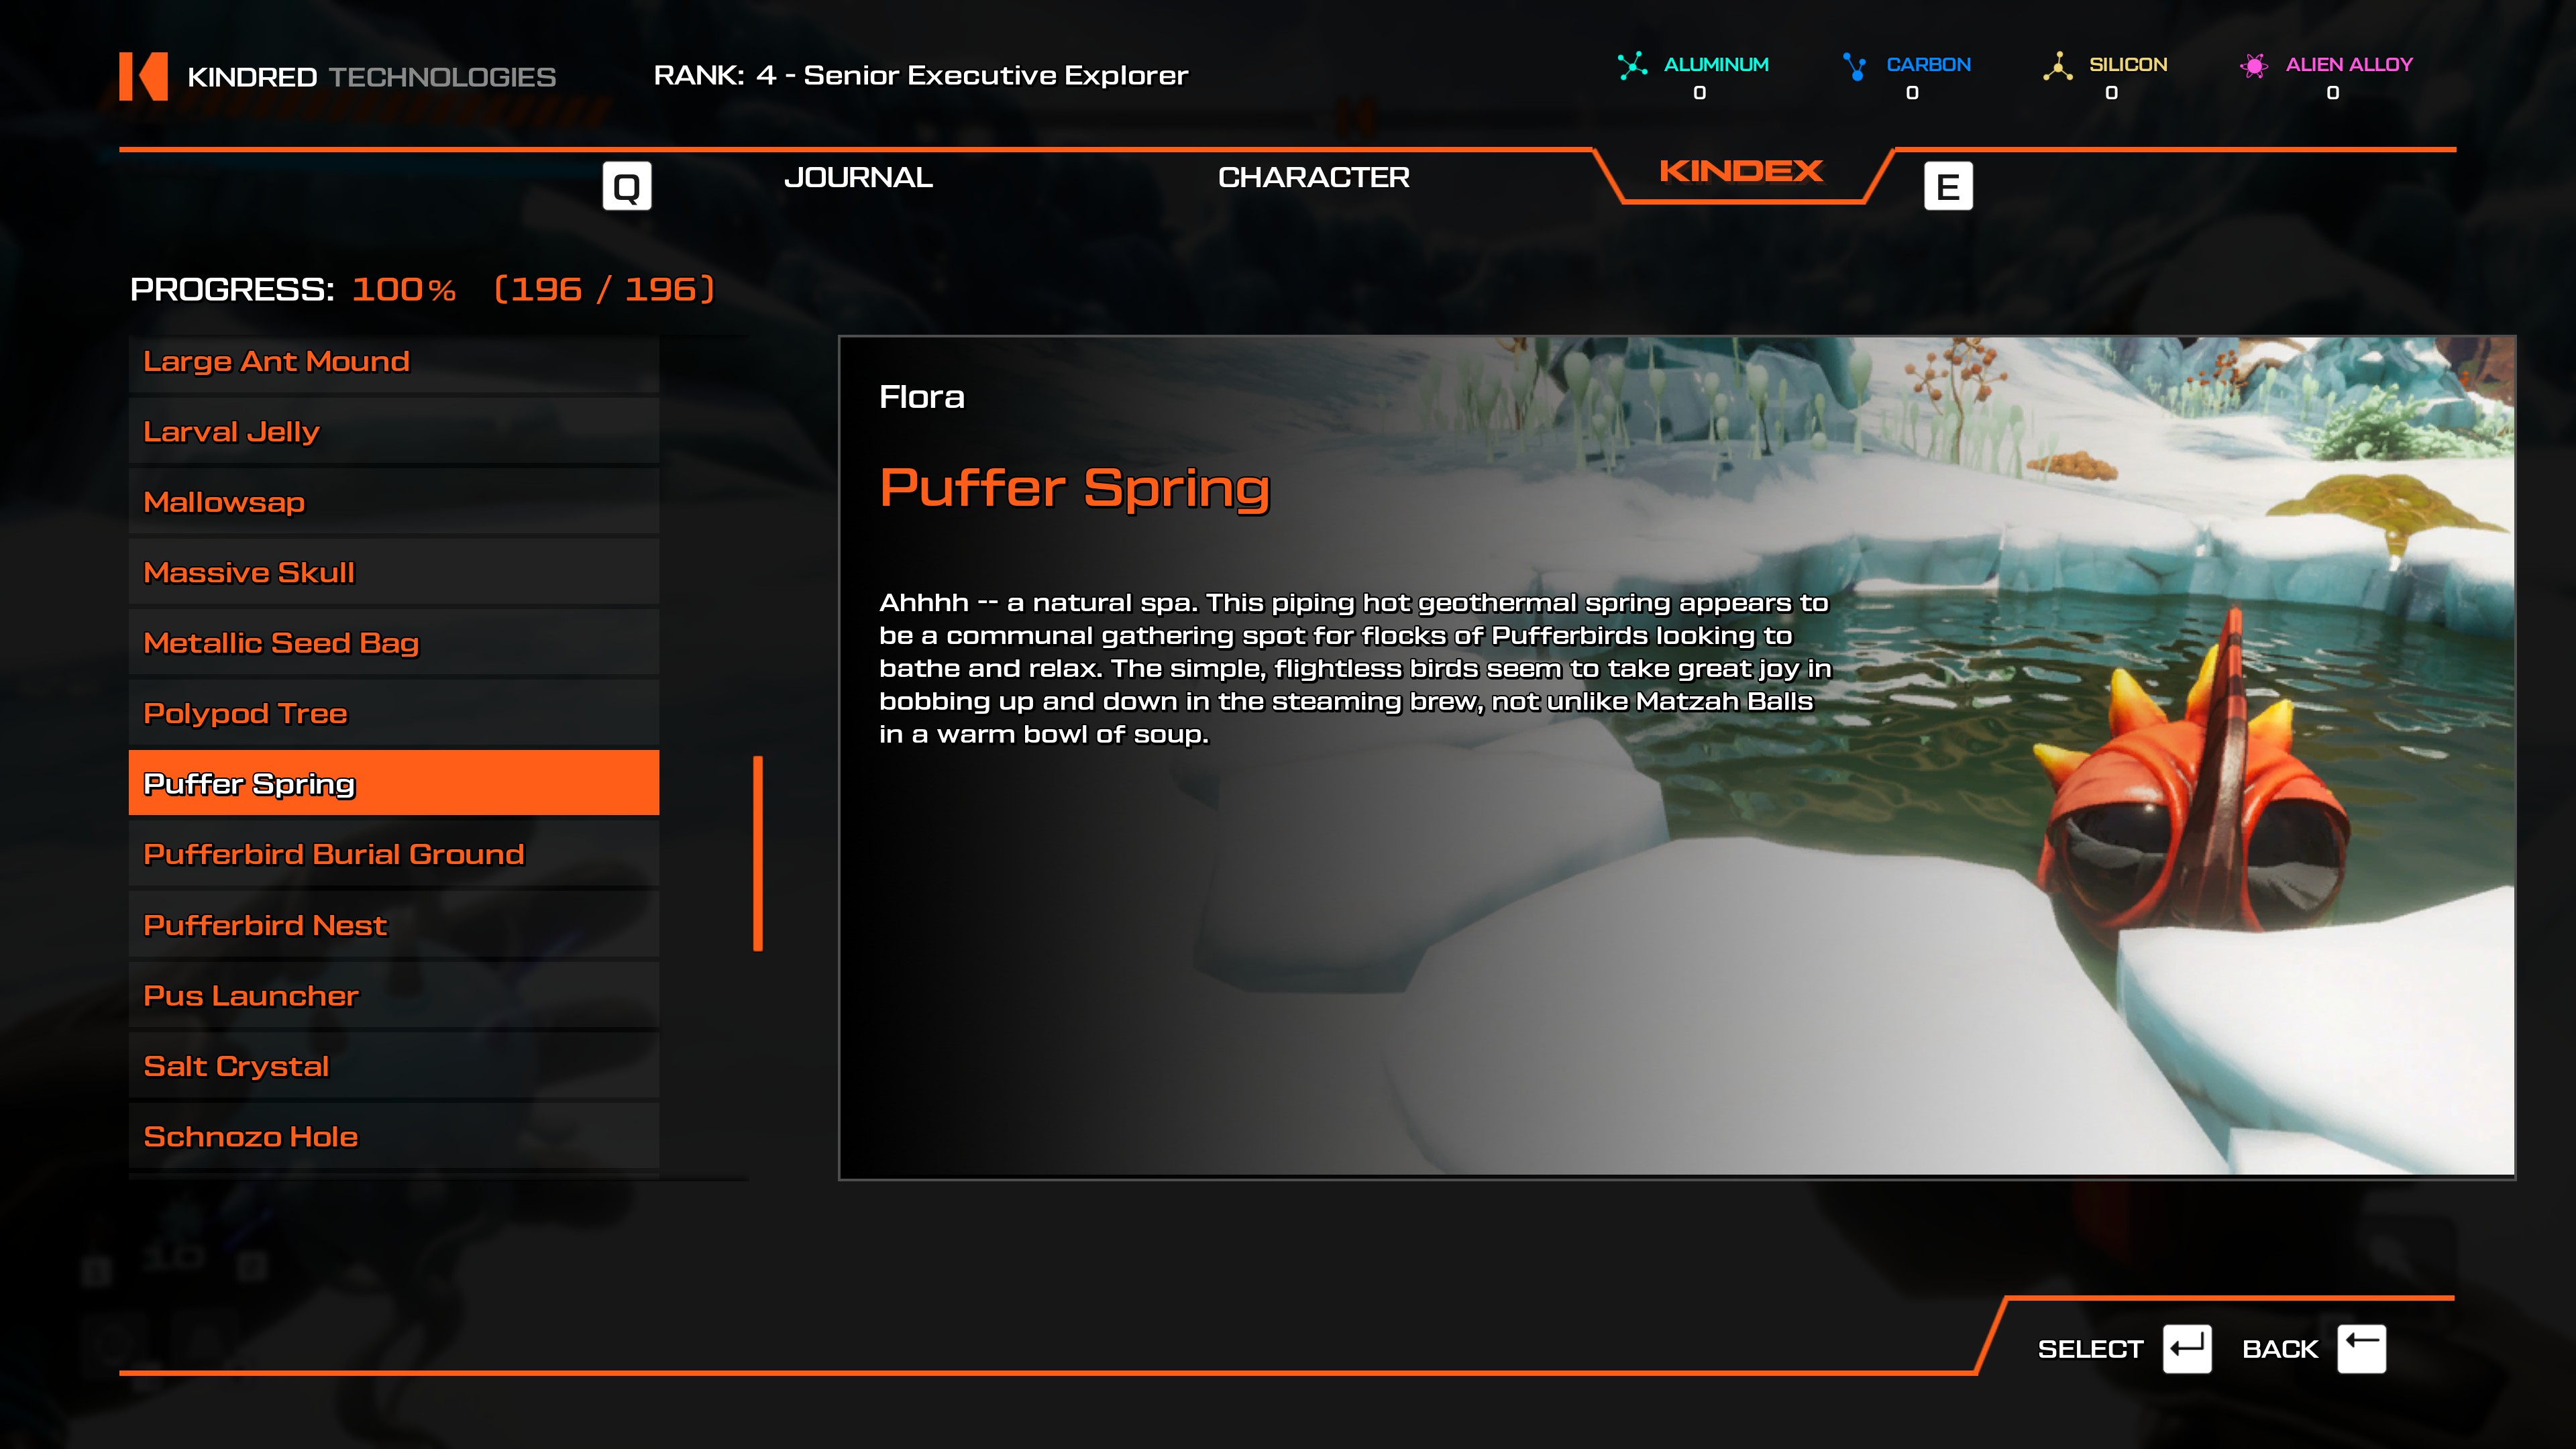
- From Meteor Crater teleporter, head west and cross the stone bridge. There's an area with Pufferbirds here, and a nest nearby.
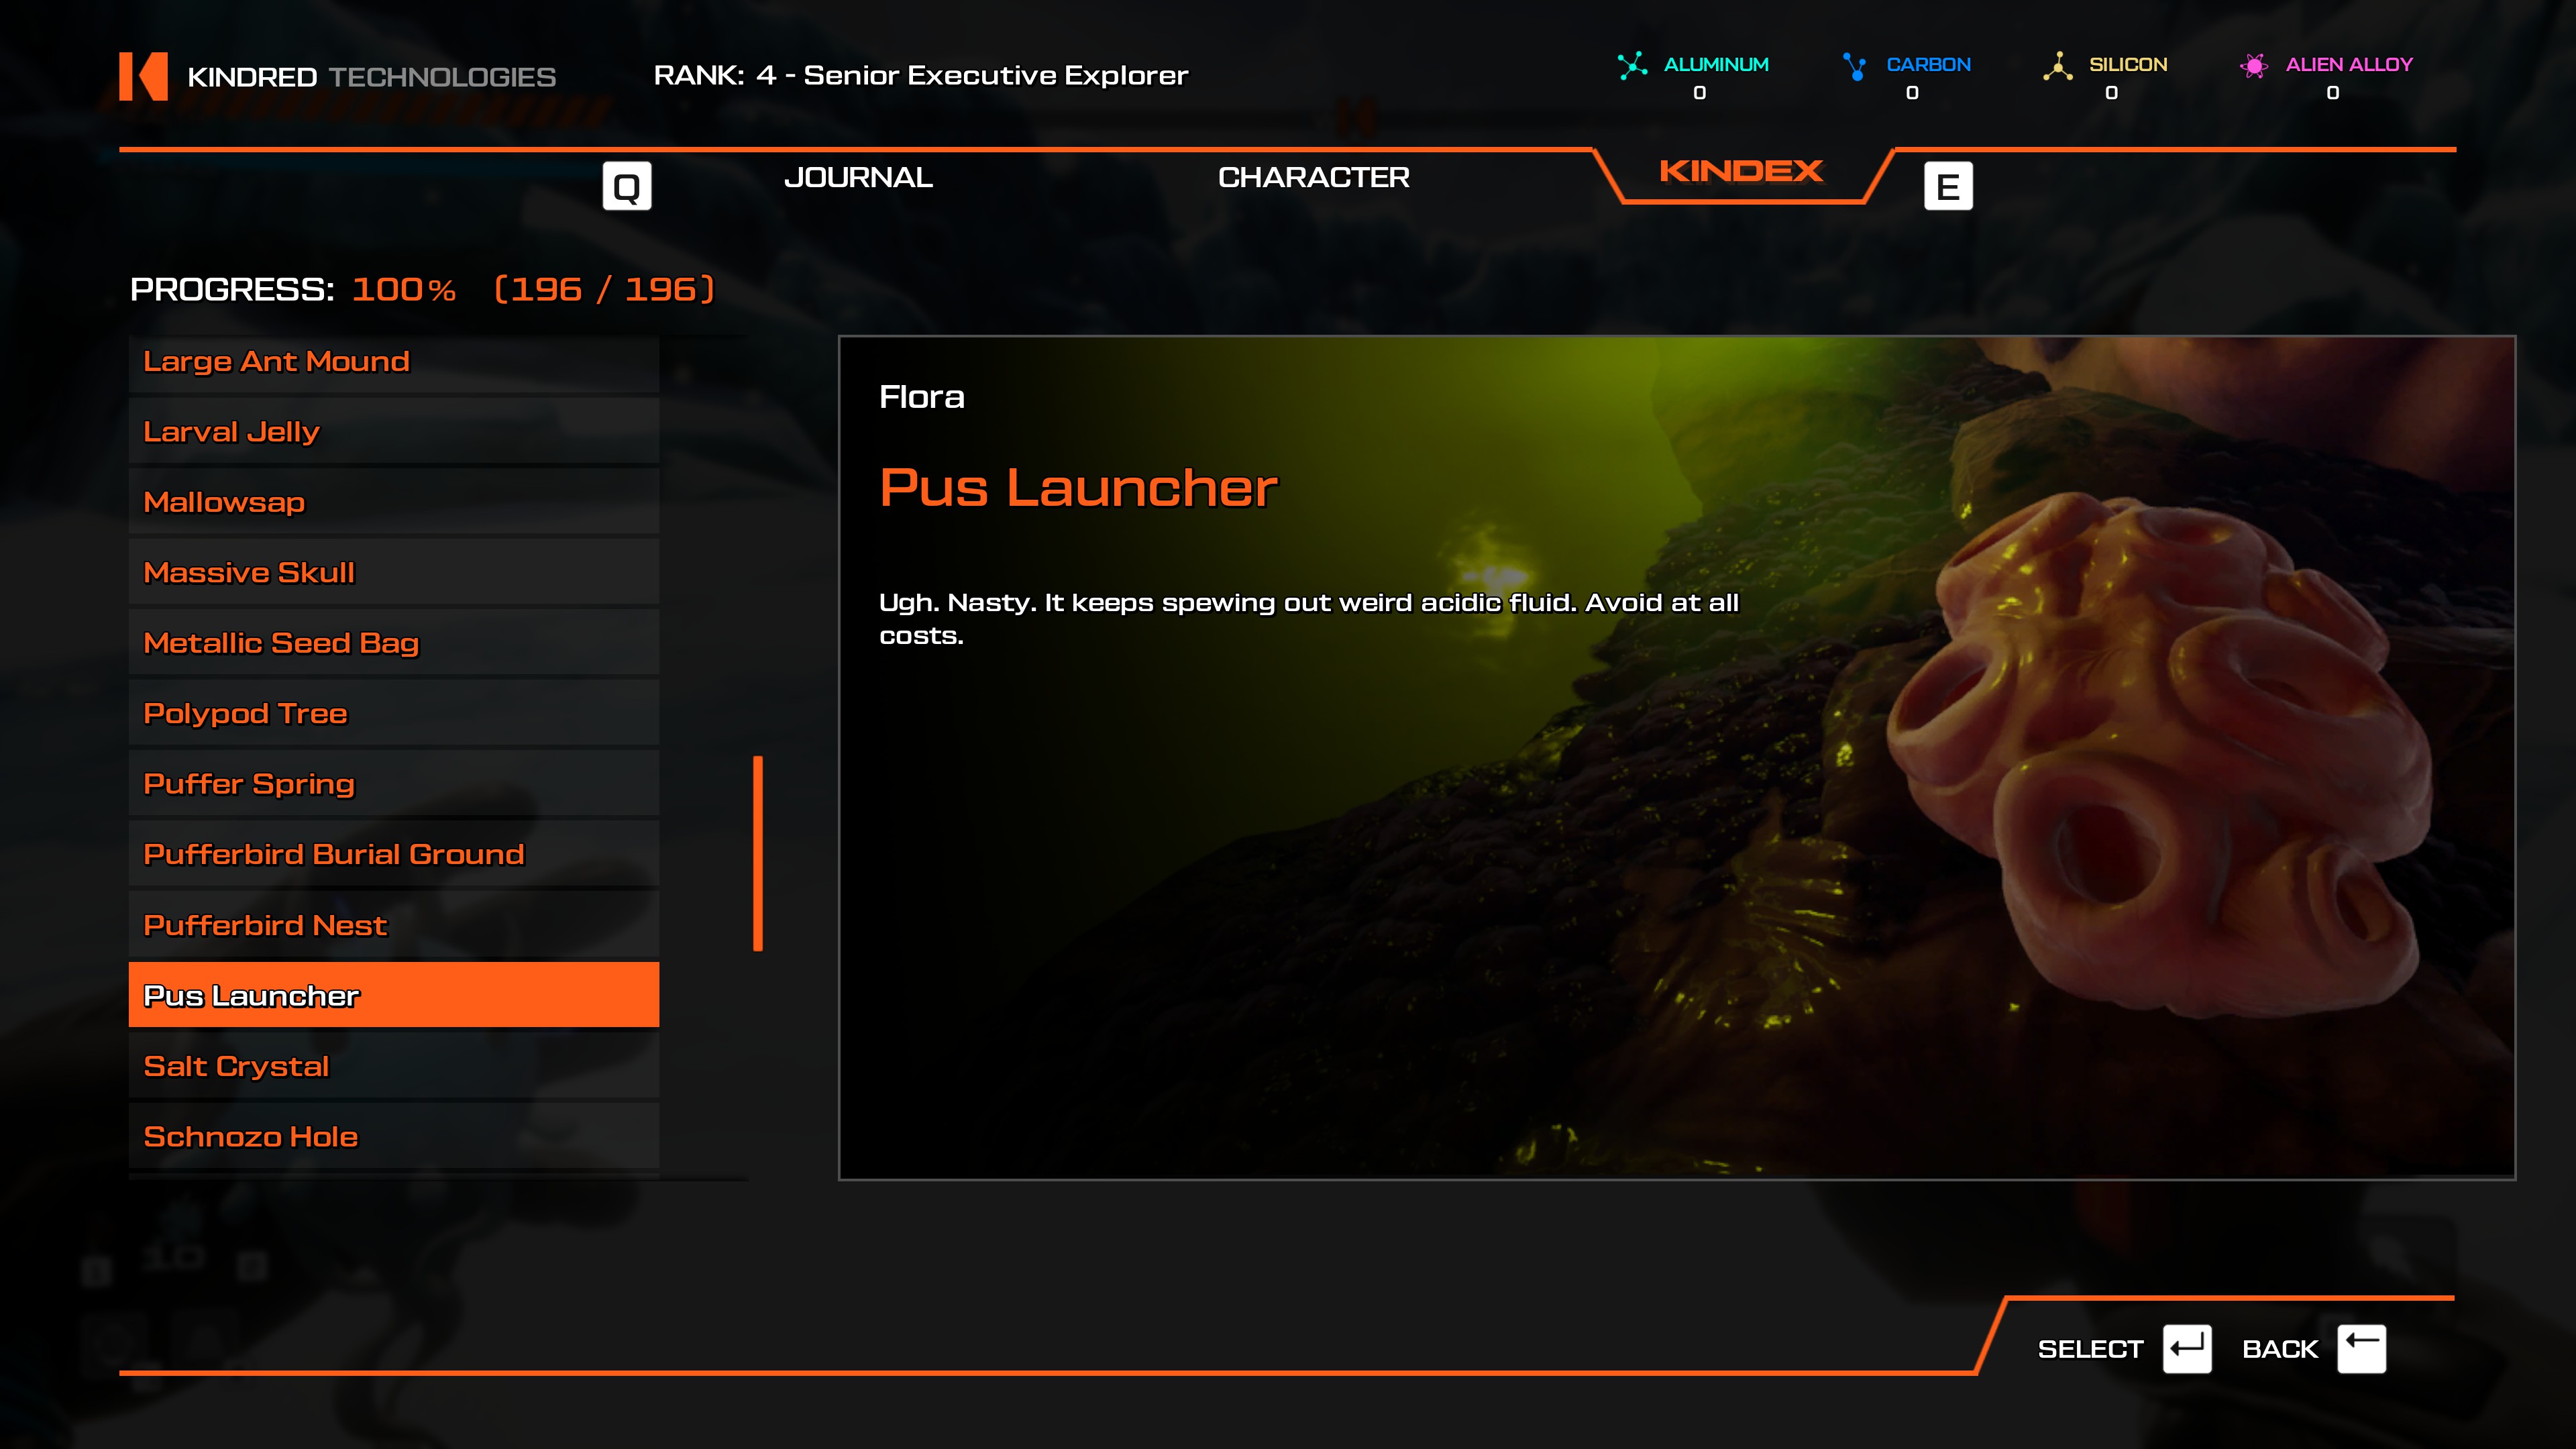
- Use the Vault Floor 4 teleporter where Teratomo sits. Pus Launchers are only found in this area, on either side of him.
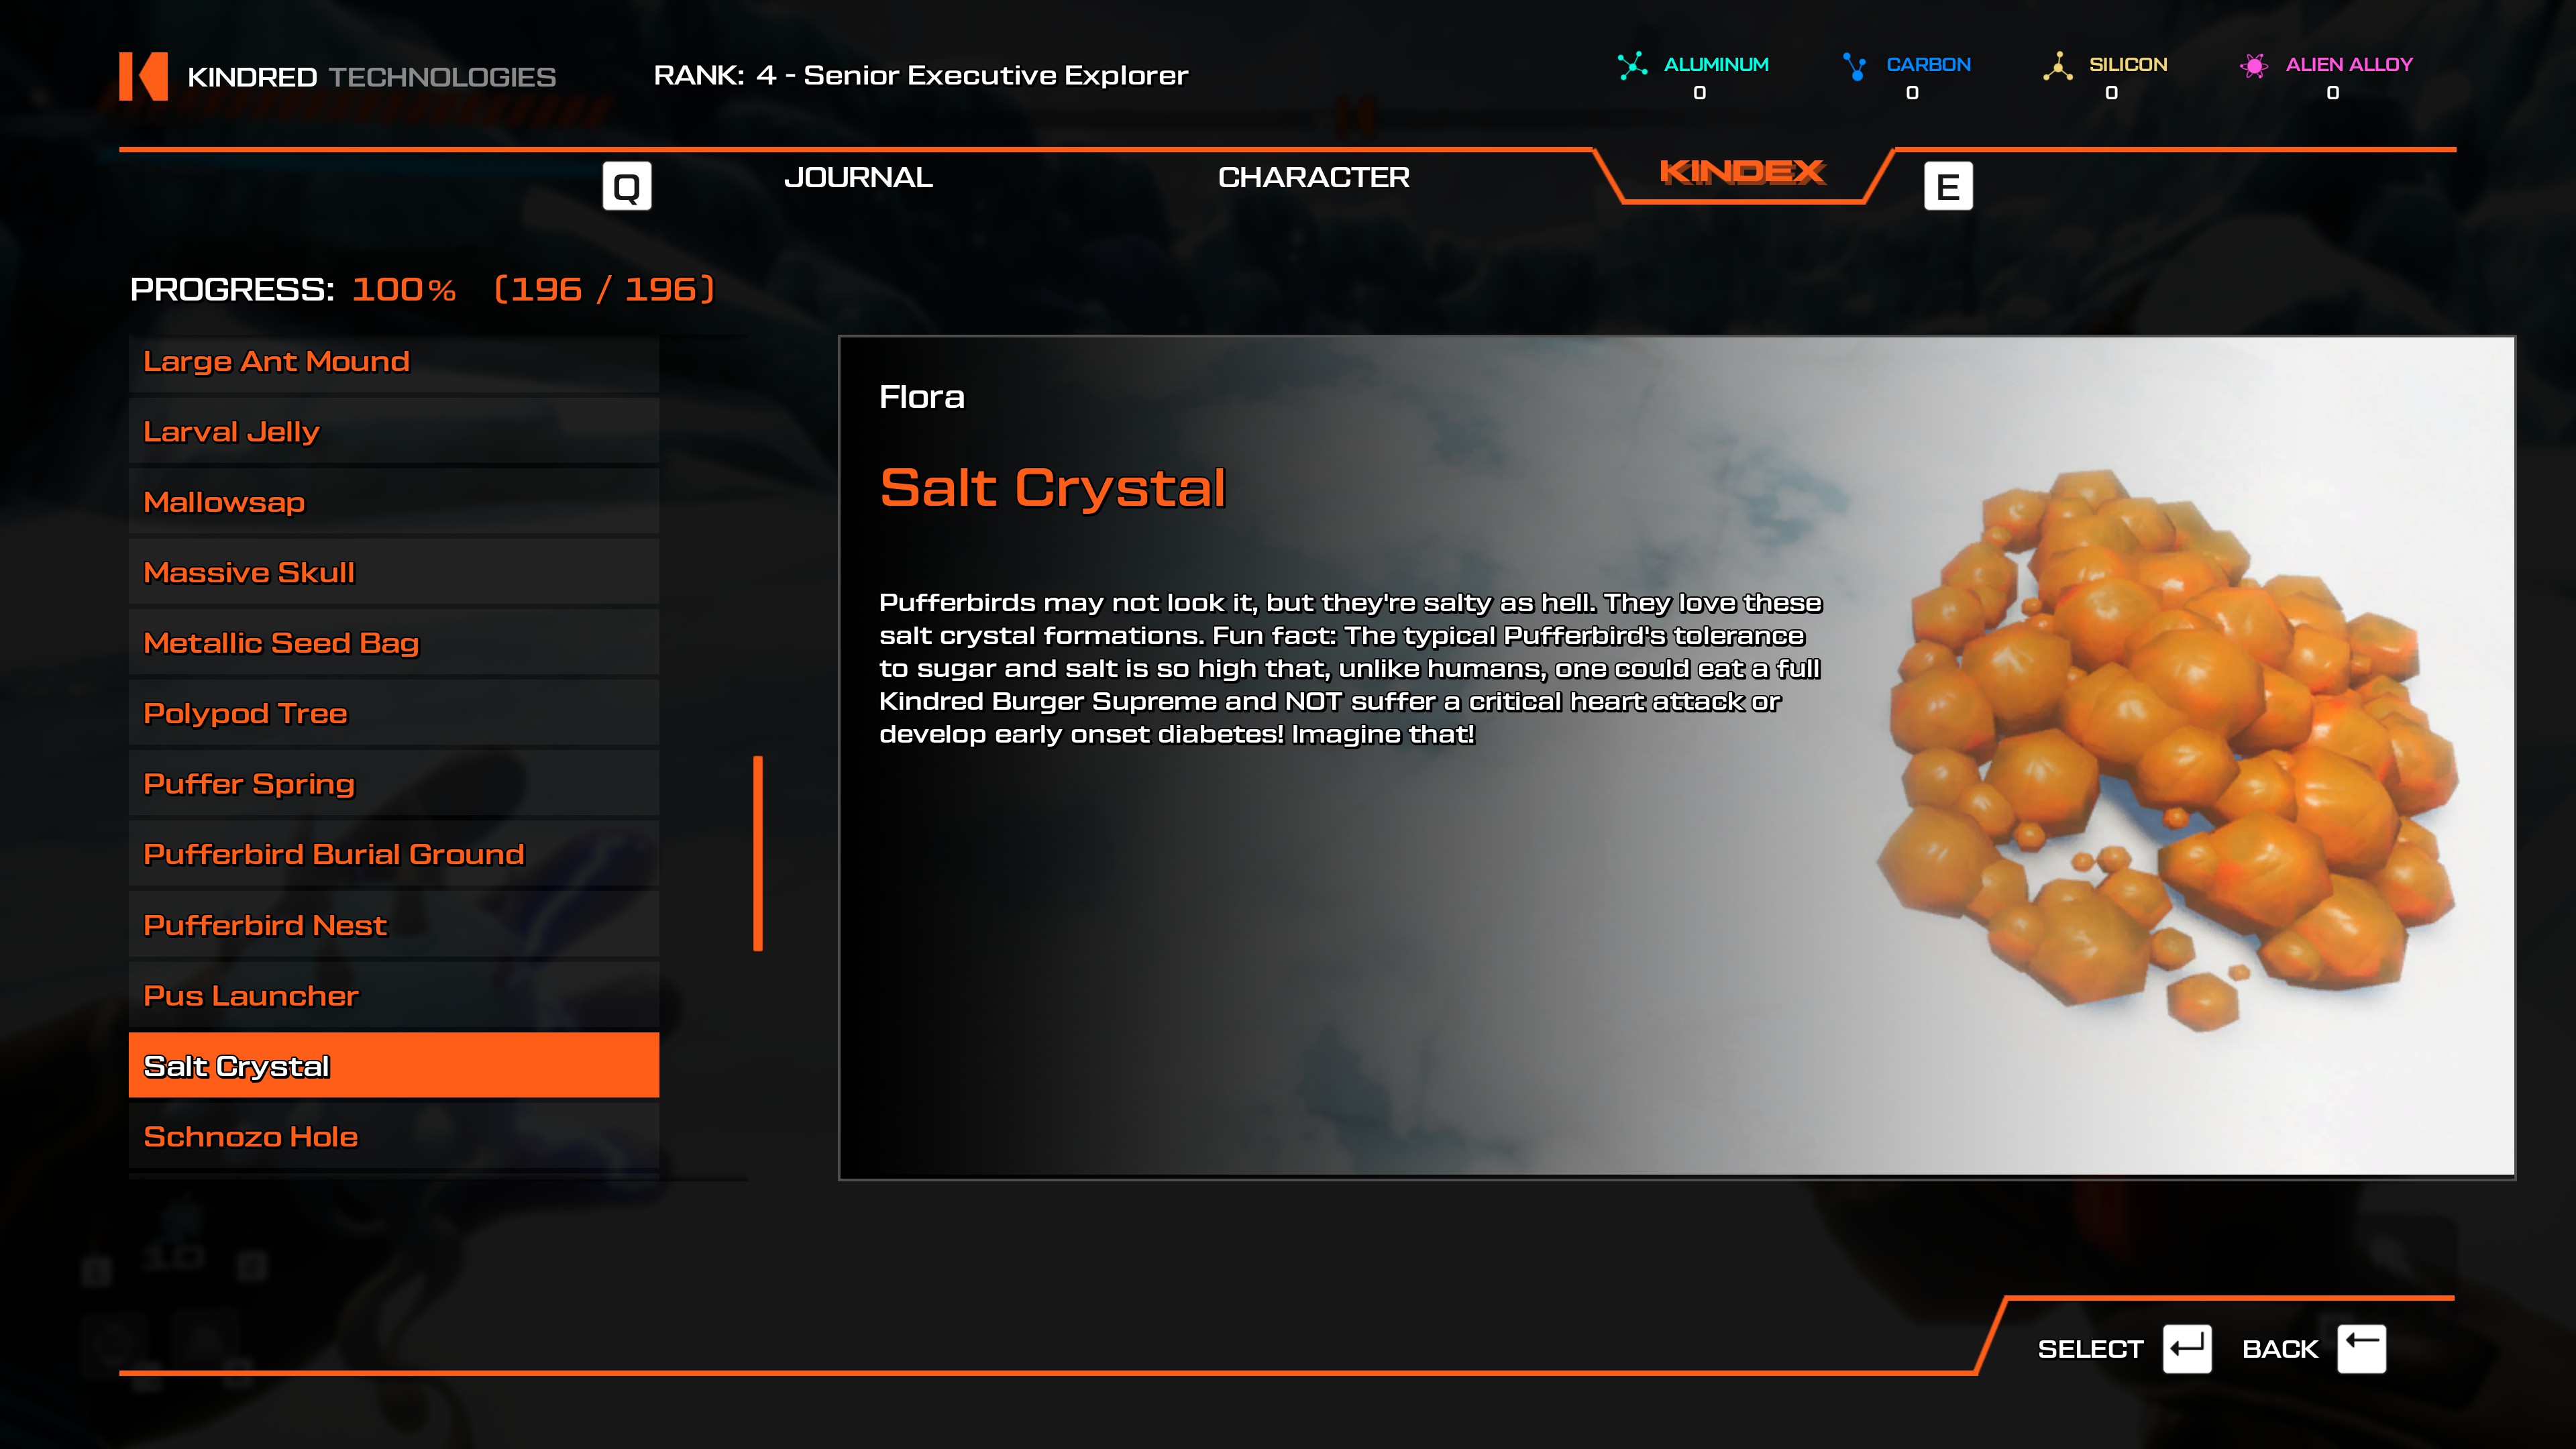
- Easily scannable from the Tears of T'bo teleporter.
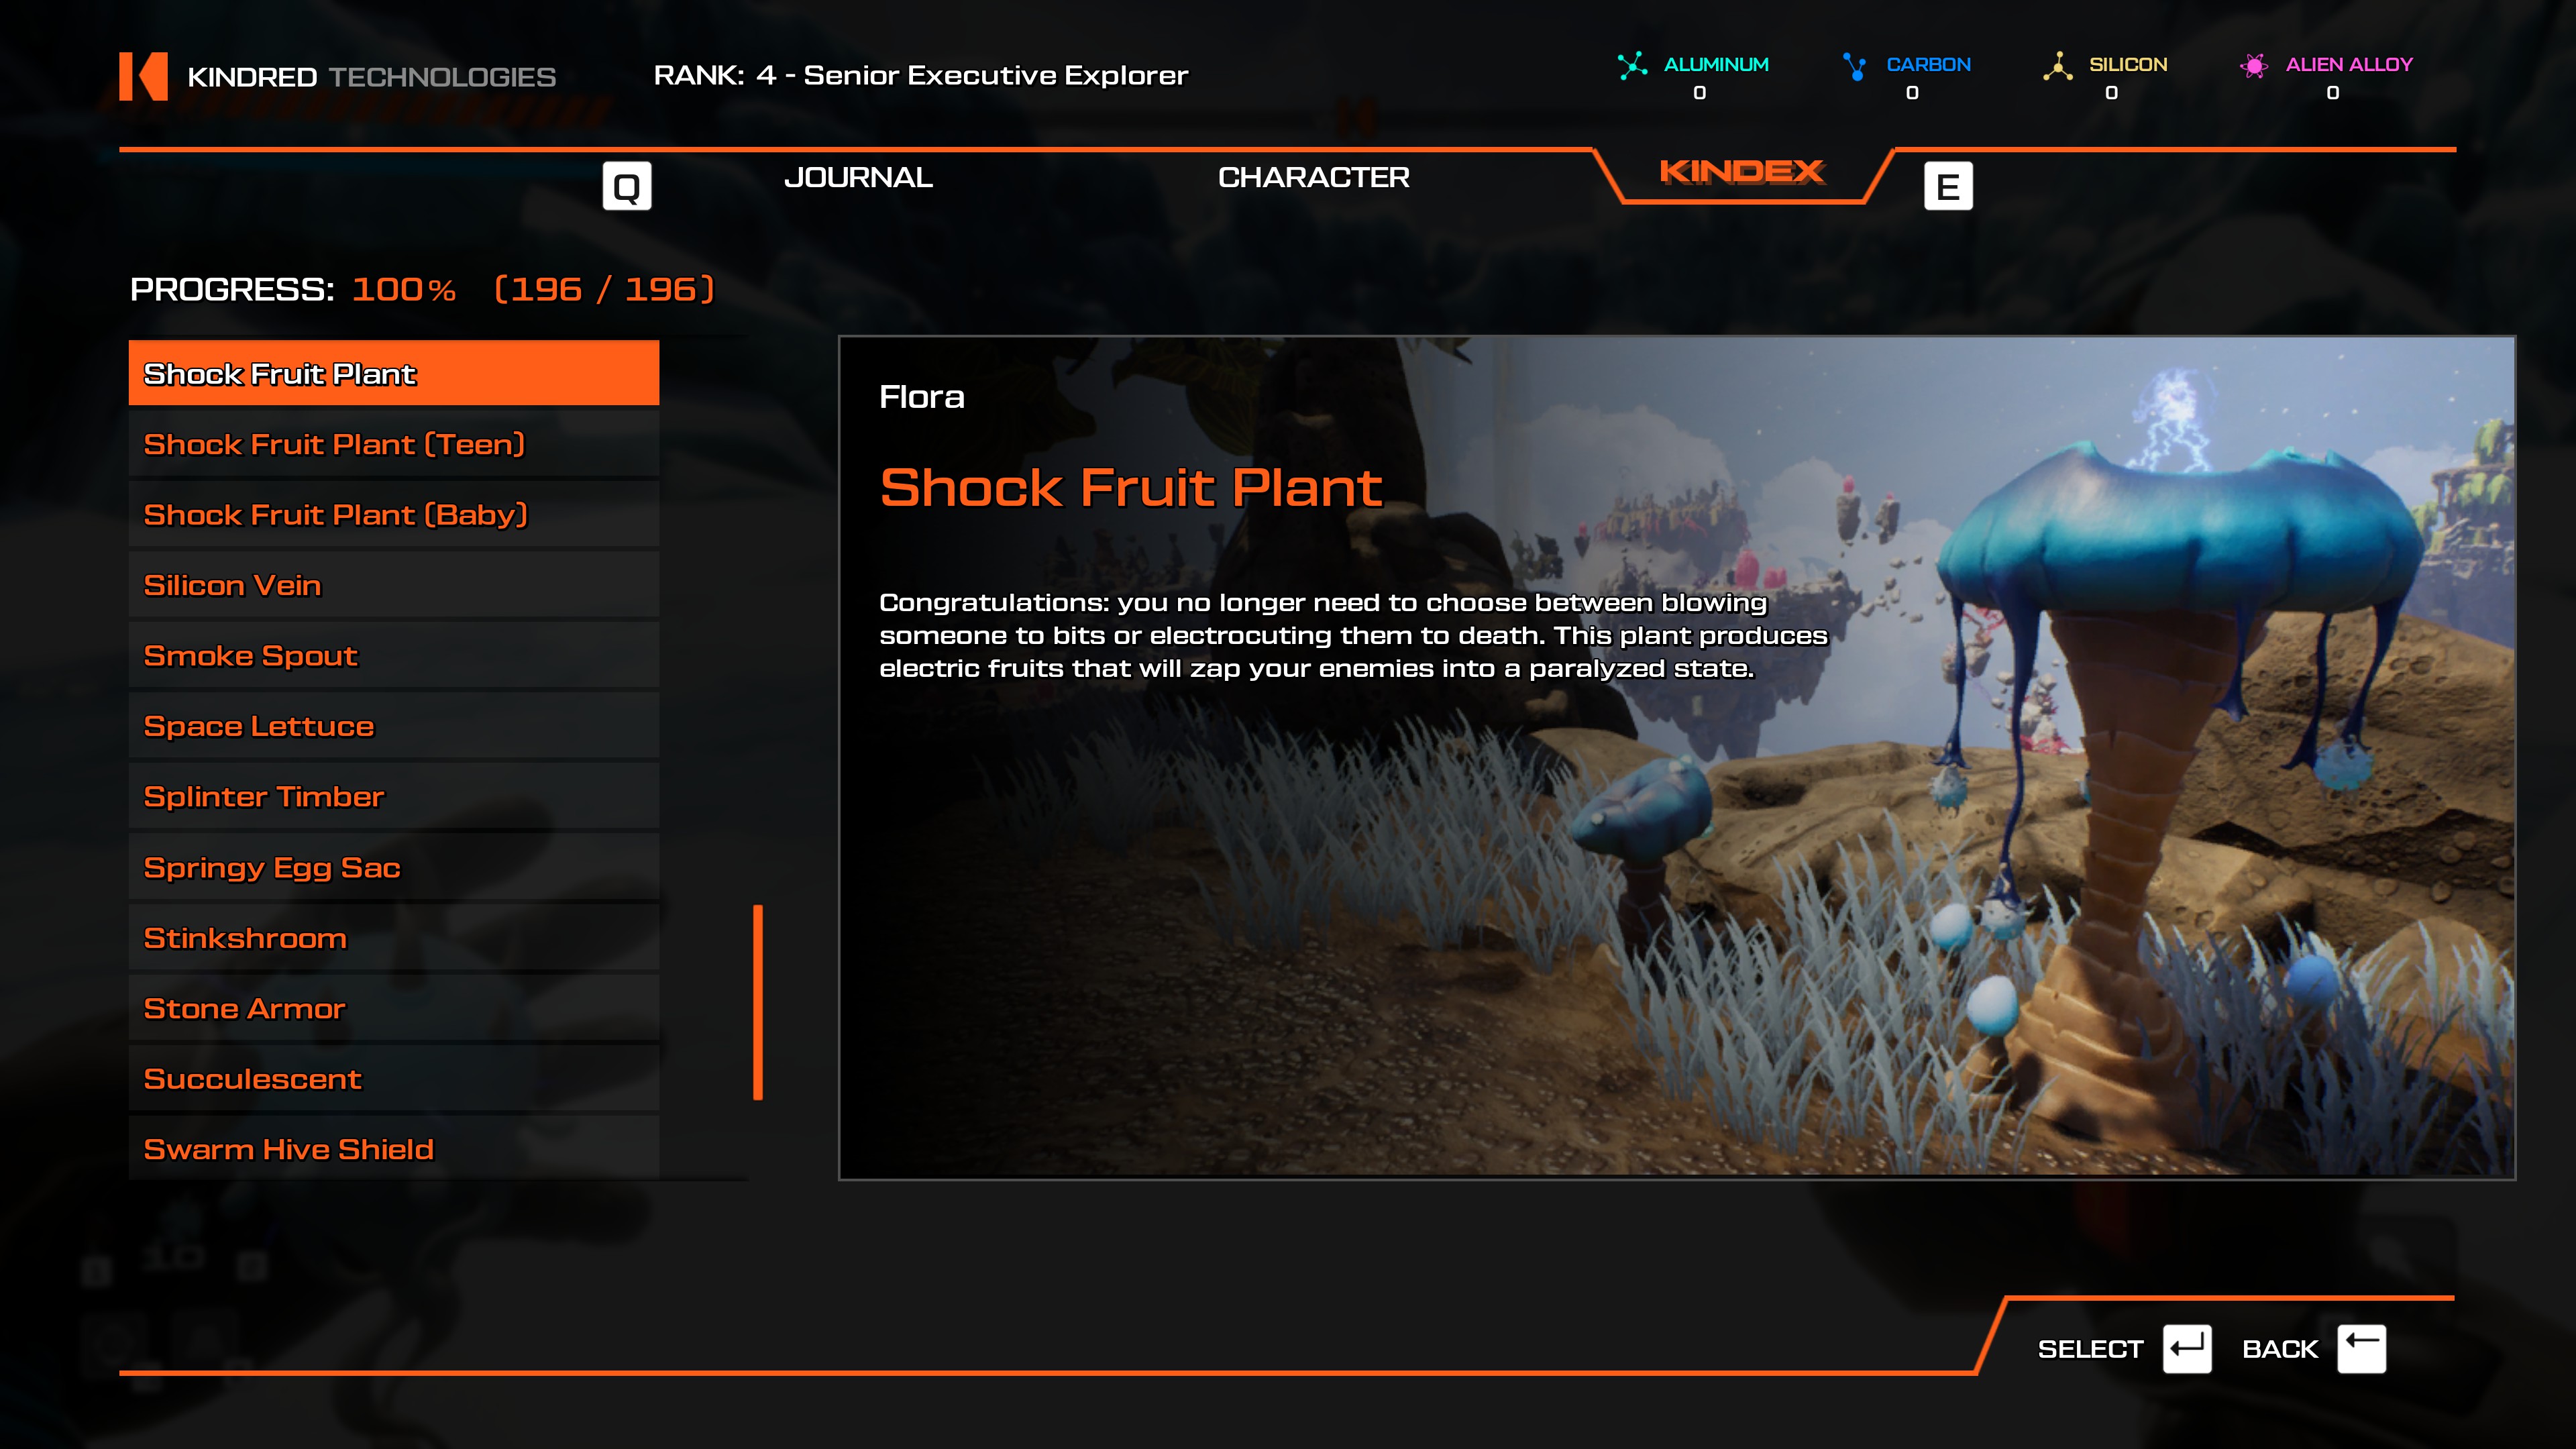
- Easily scannable from the Pillars of Xzorgana teleporter, or the Repaired Teleporter.
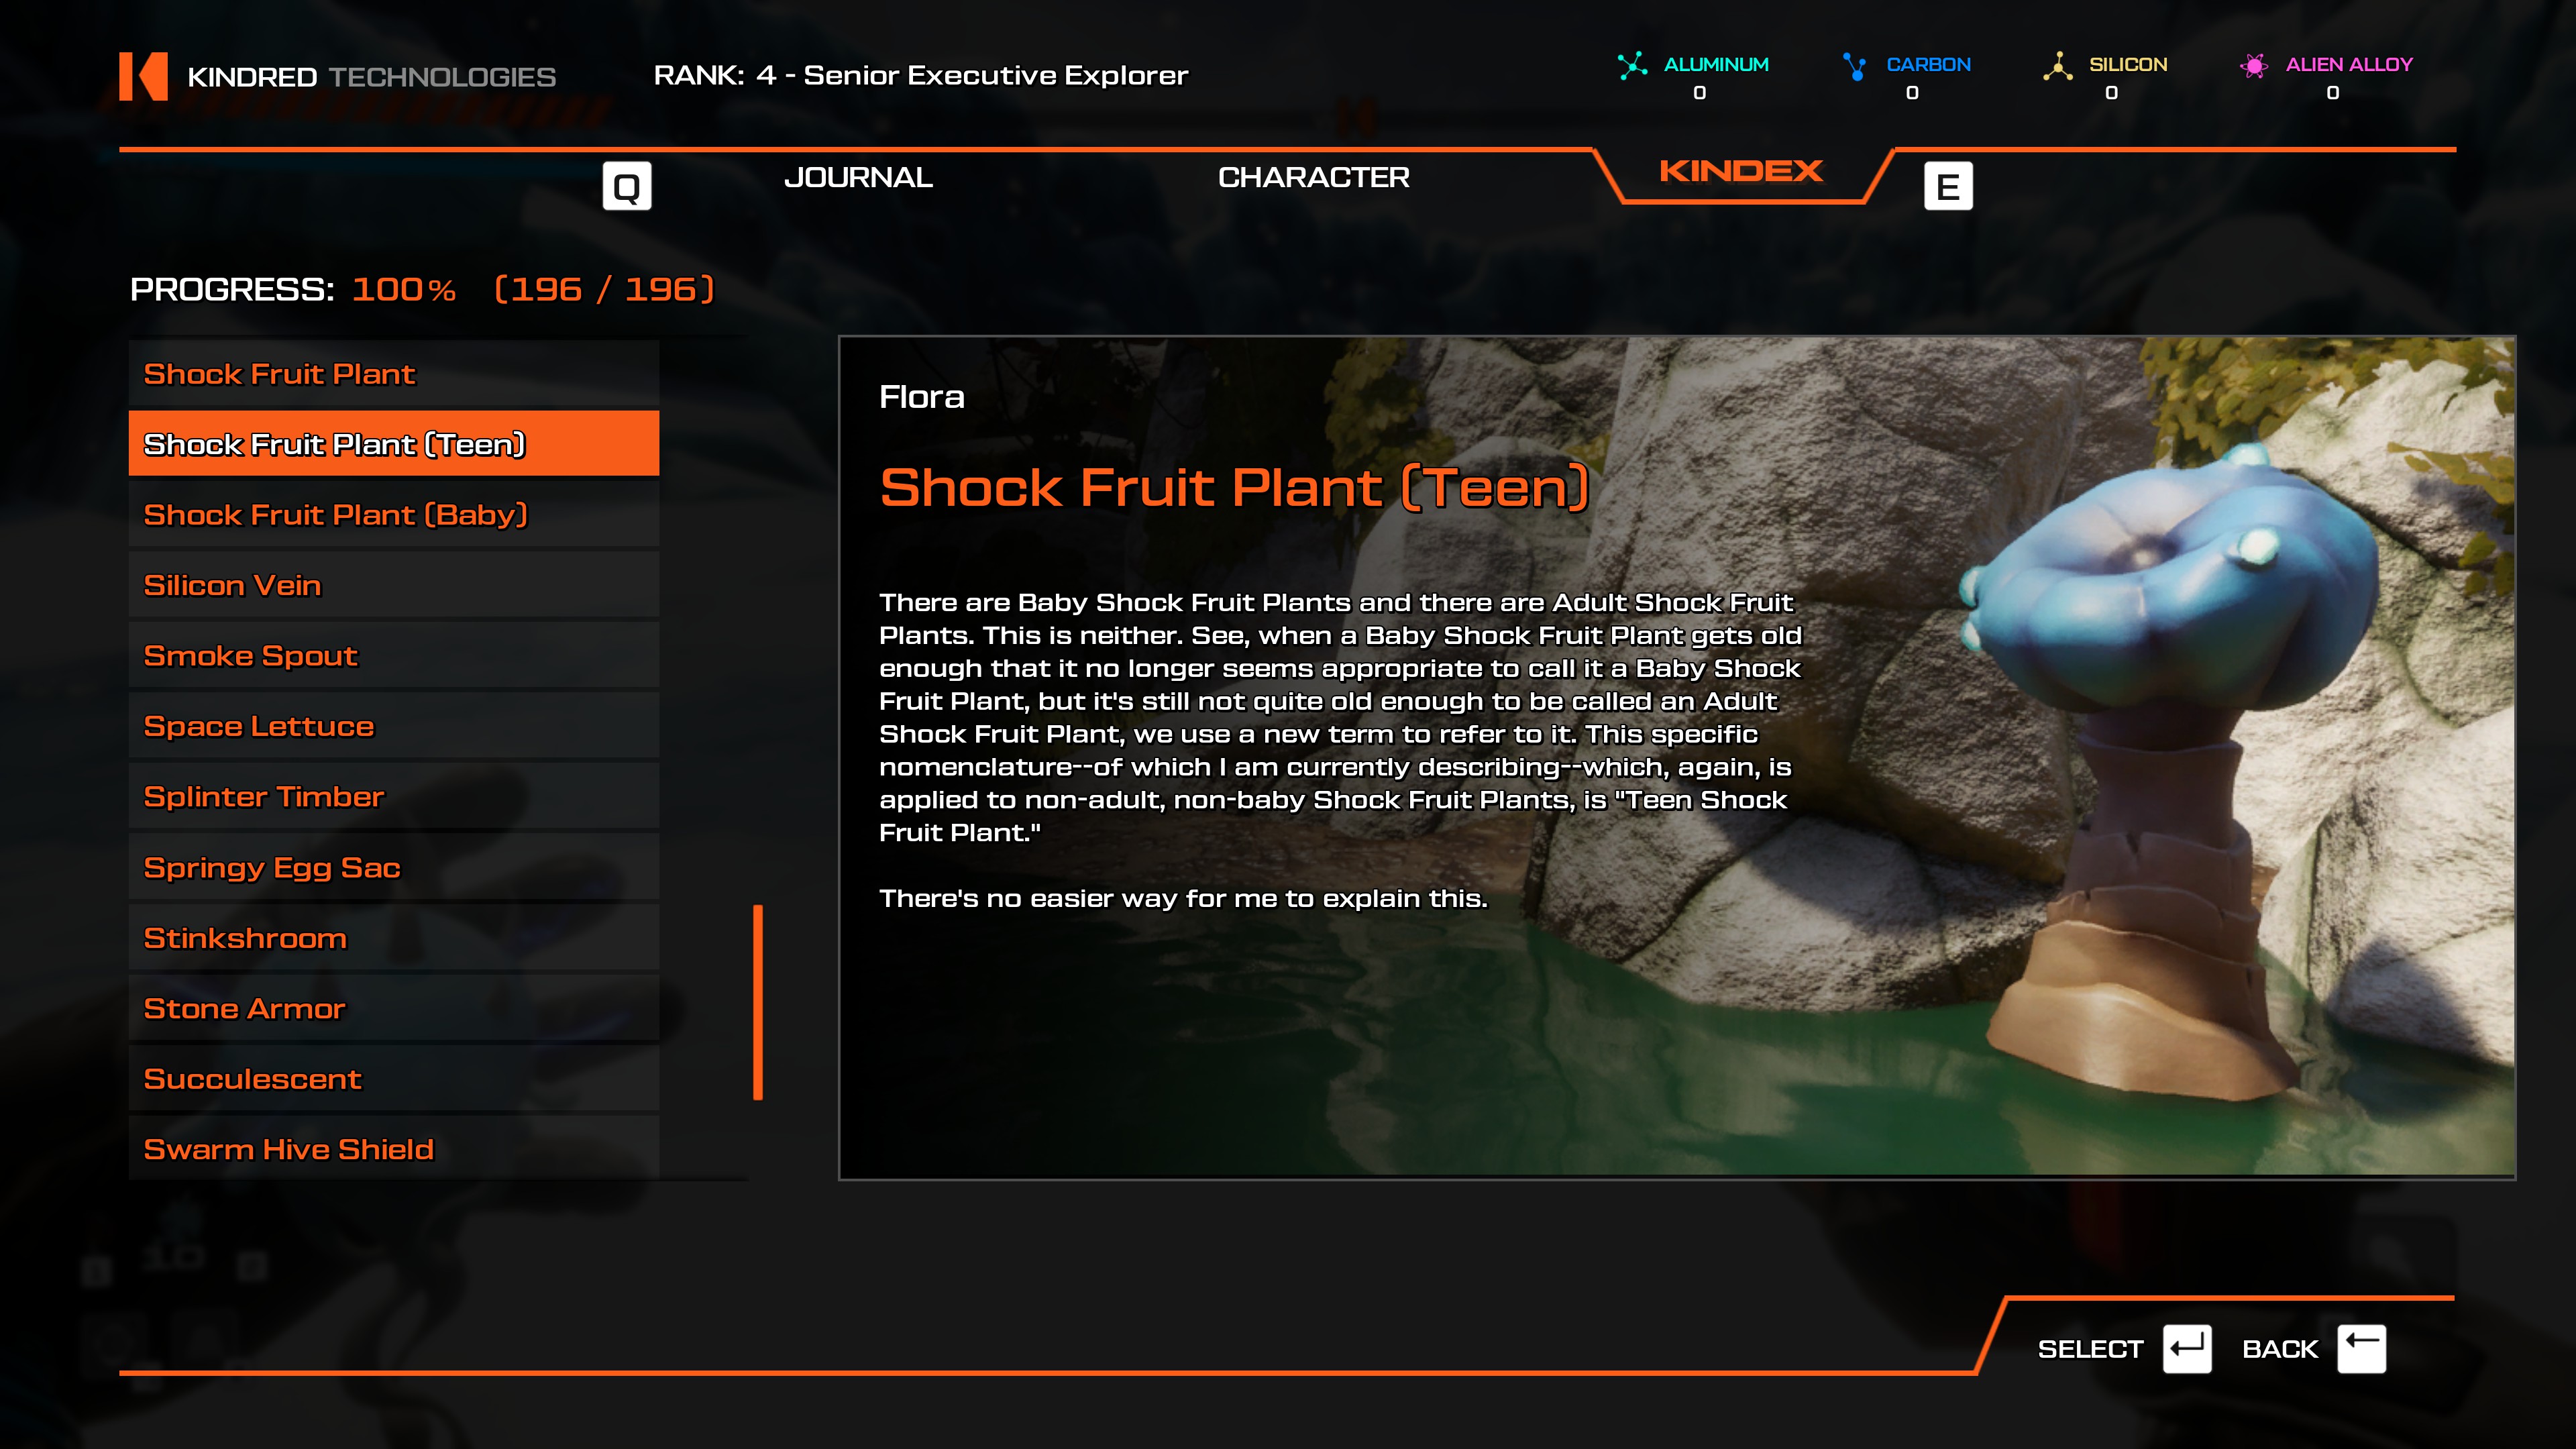
- Easily scannable from the Pillars of Xzorgana teleporter.
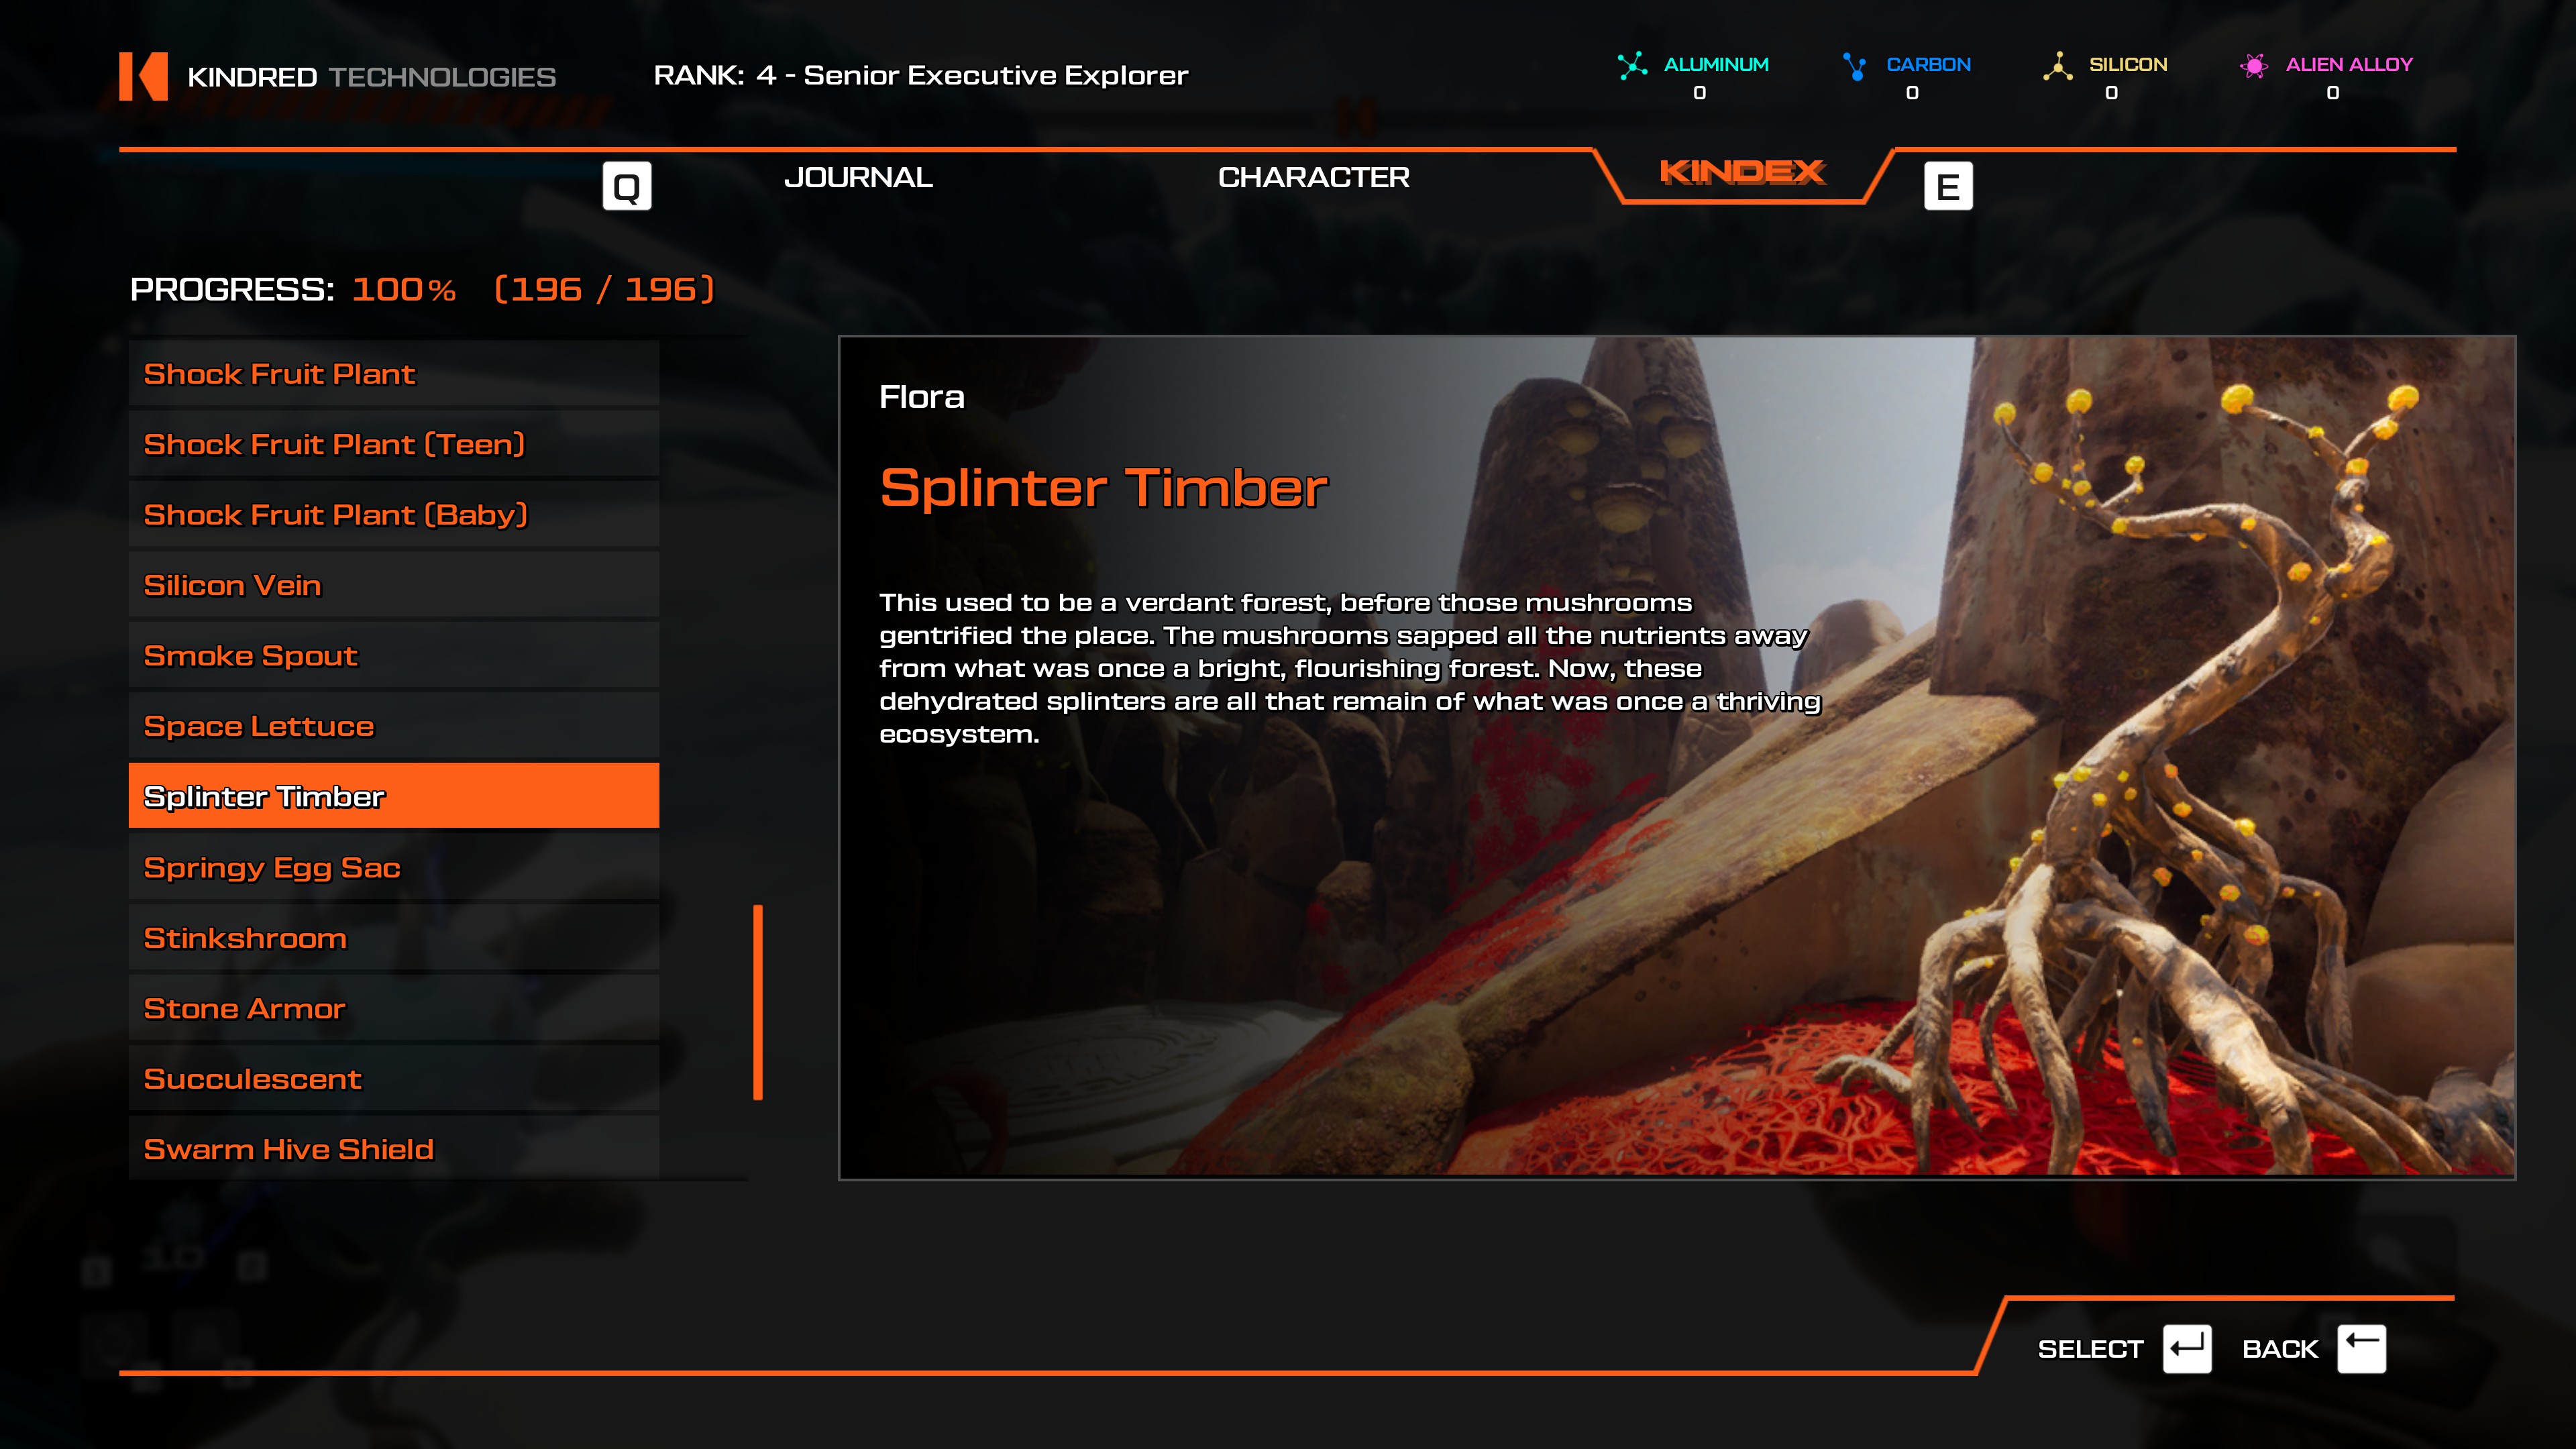
- From the Fungi of Si'ned VII teleporter, follow the path going west, and then go south when there's a fork in the road, approach the Domain of the Untamed Beast. Immediately to your left will be a Splinter Timber, scannable without needing to enter the arena at all. If you want to avoid combat, just scan it from the entrance.
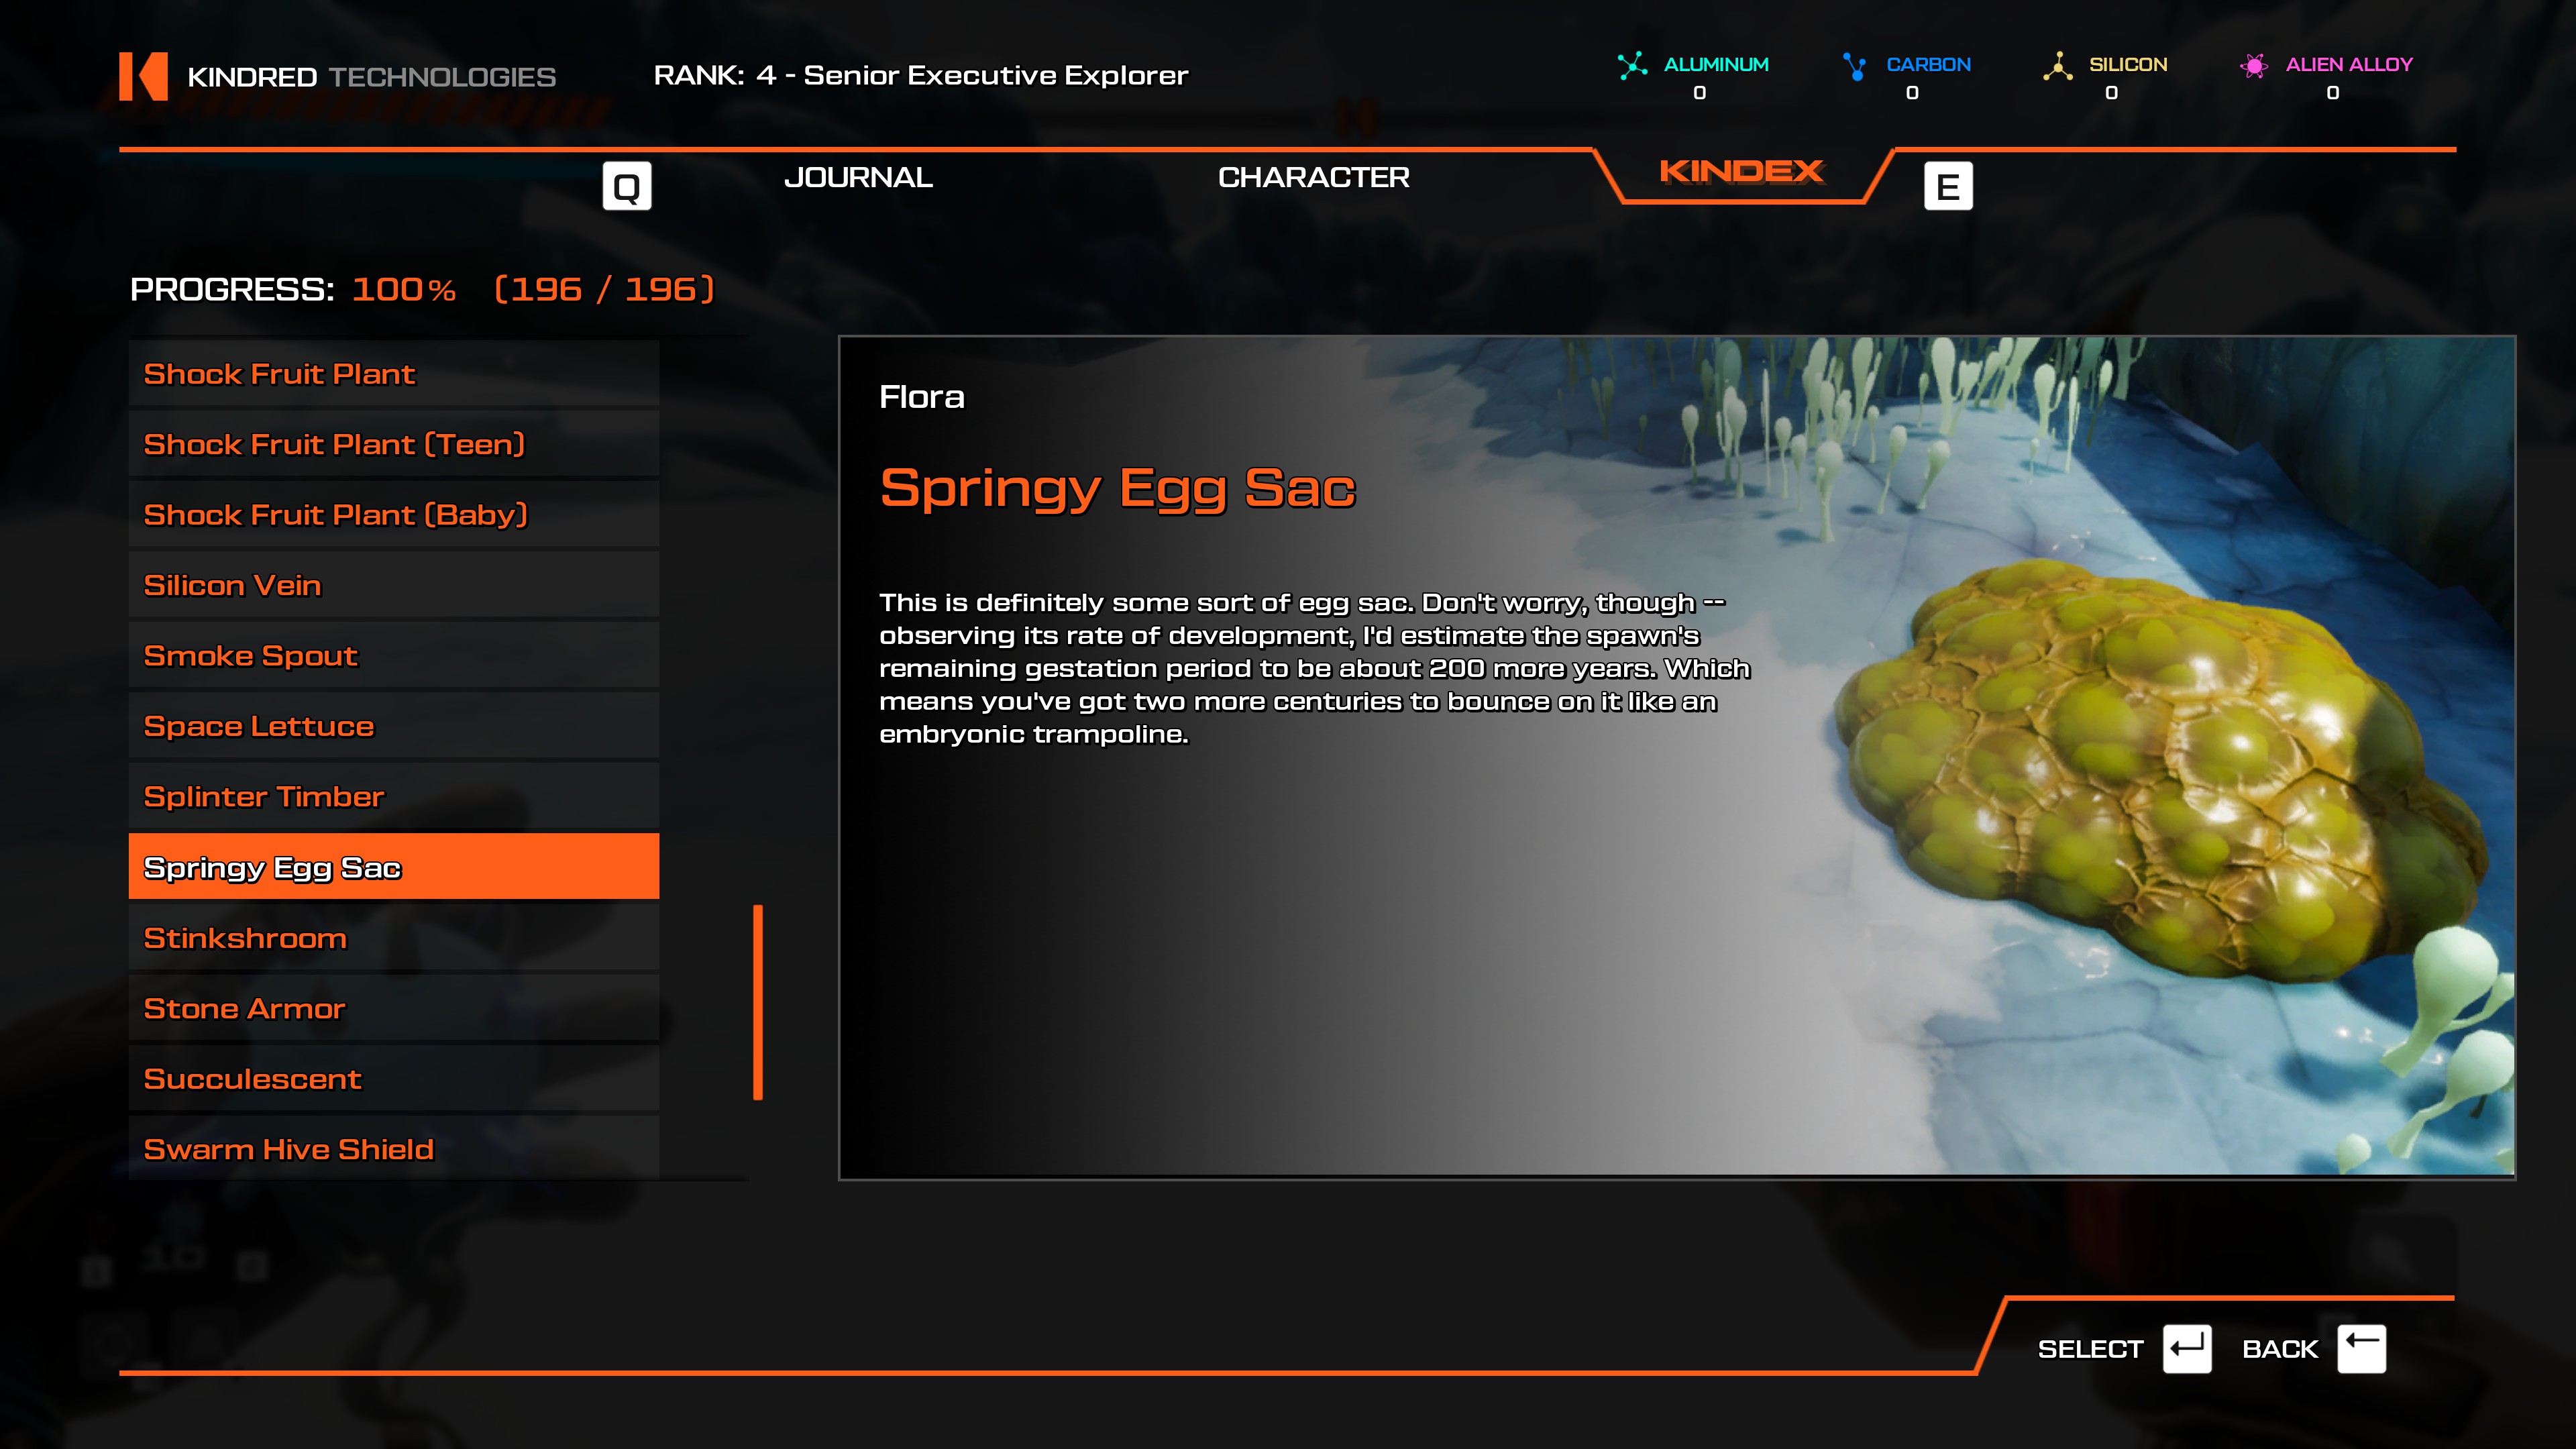
- Easily scannable from the Repaired Teleporter.
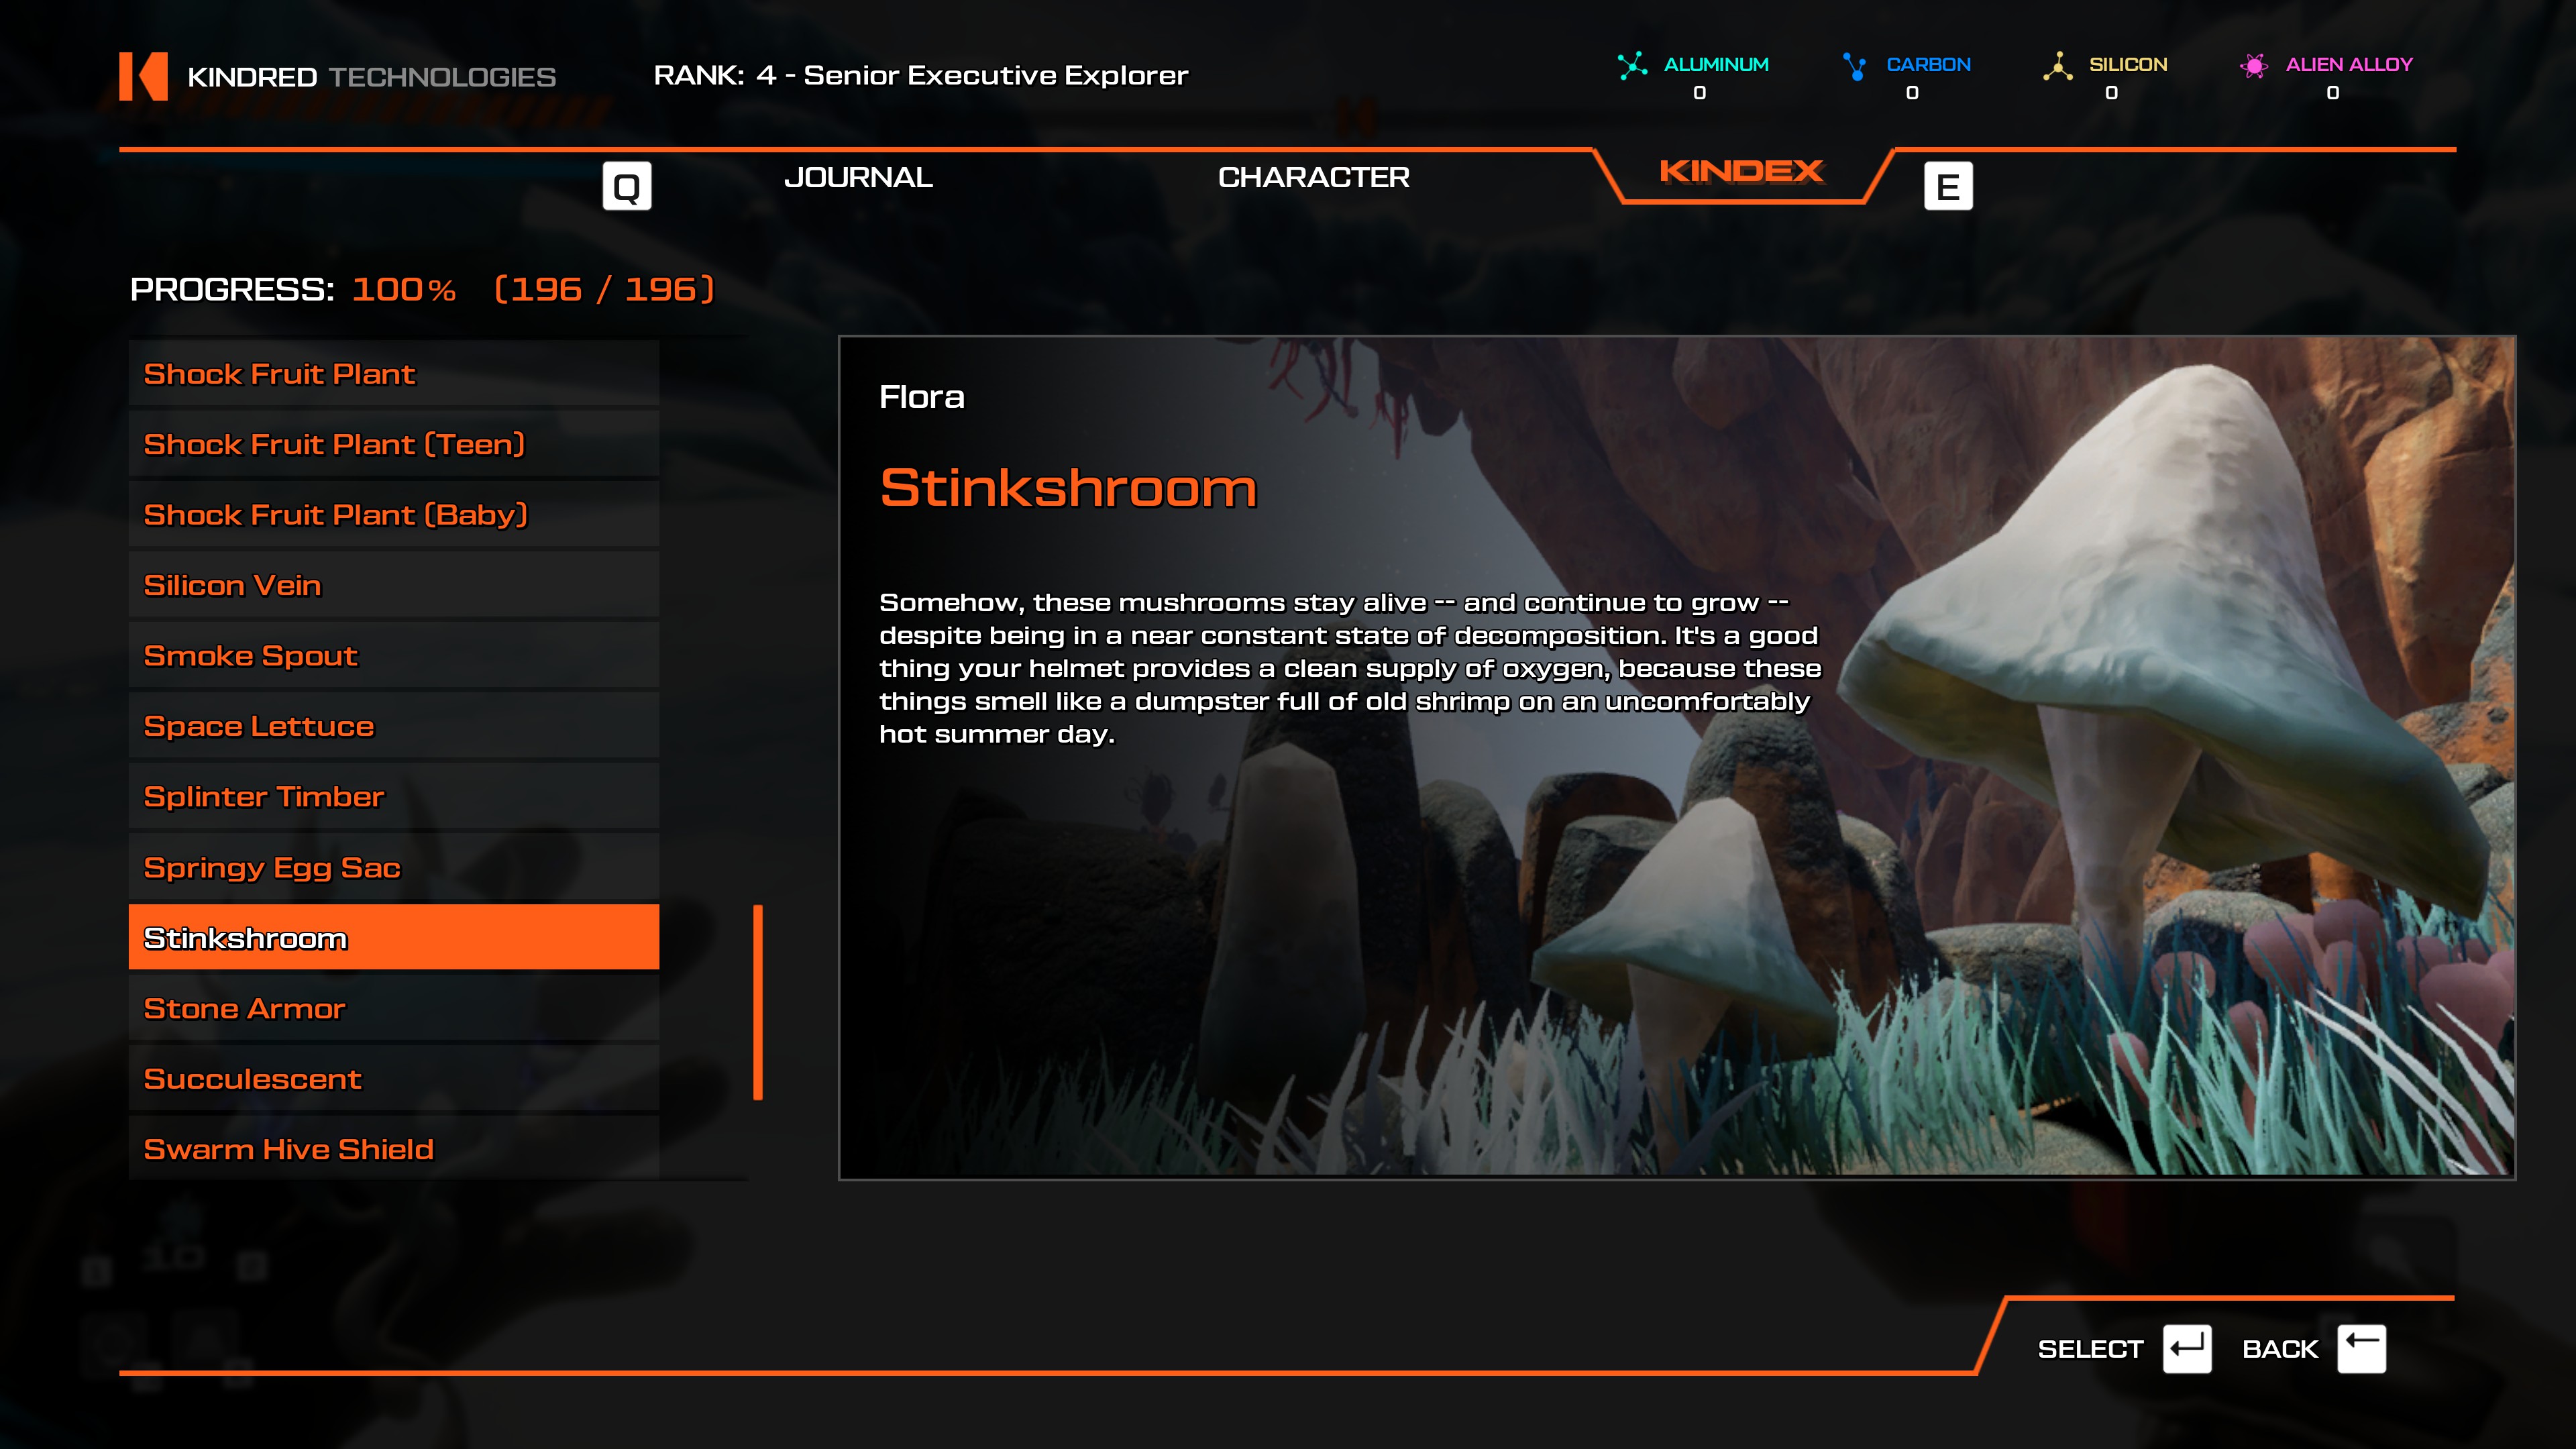
- Easily scannable from the Planetary Flotsam or Festering Chasm teleporter.
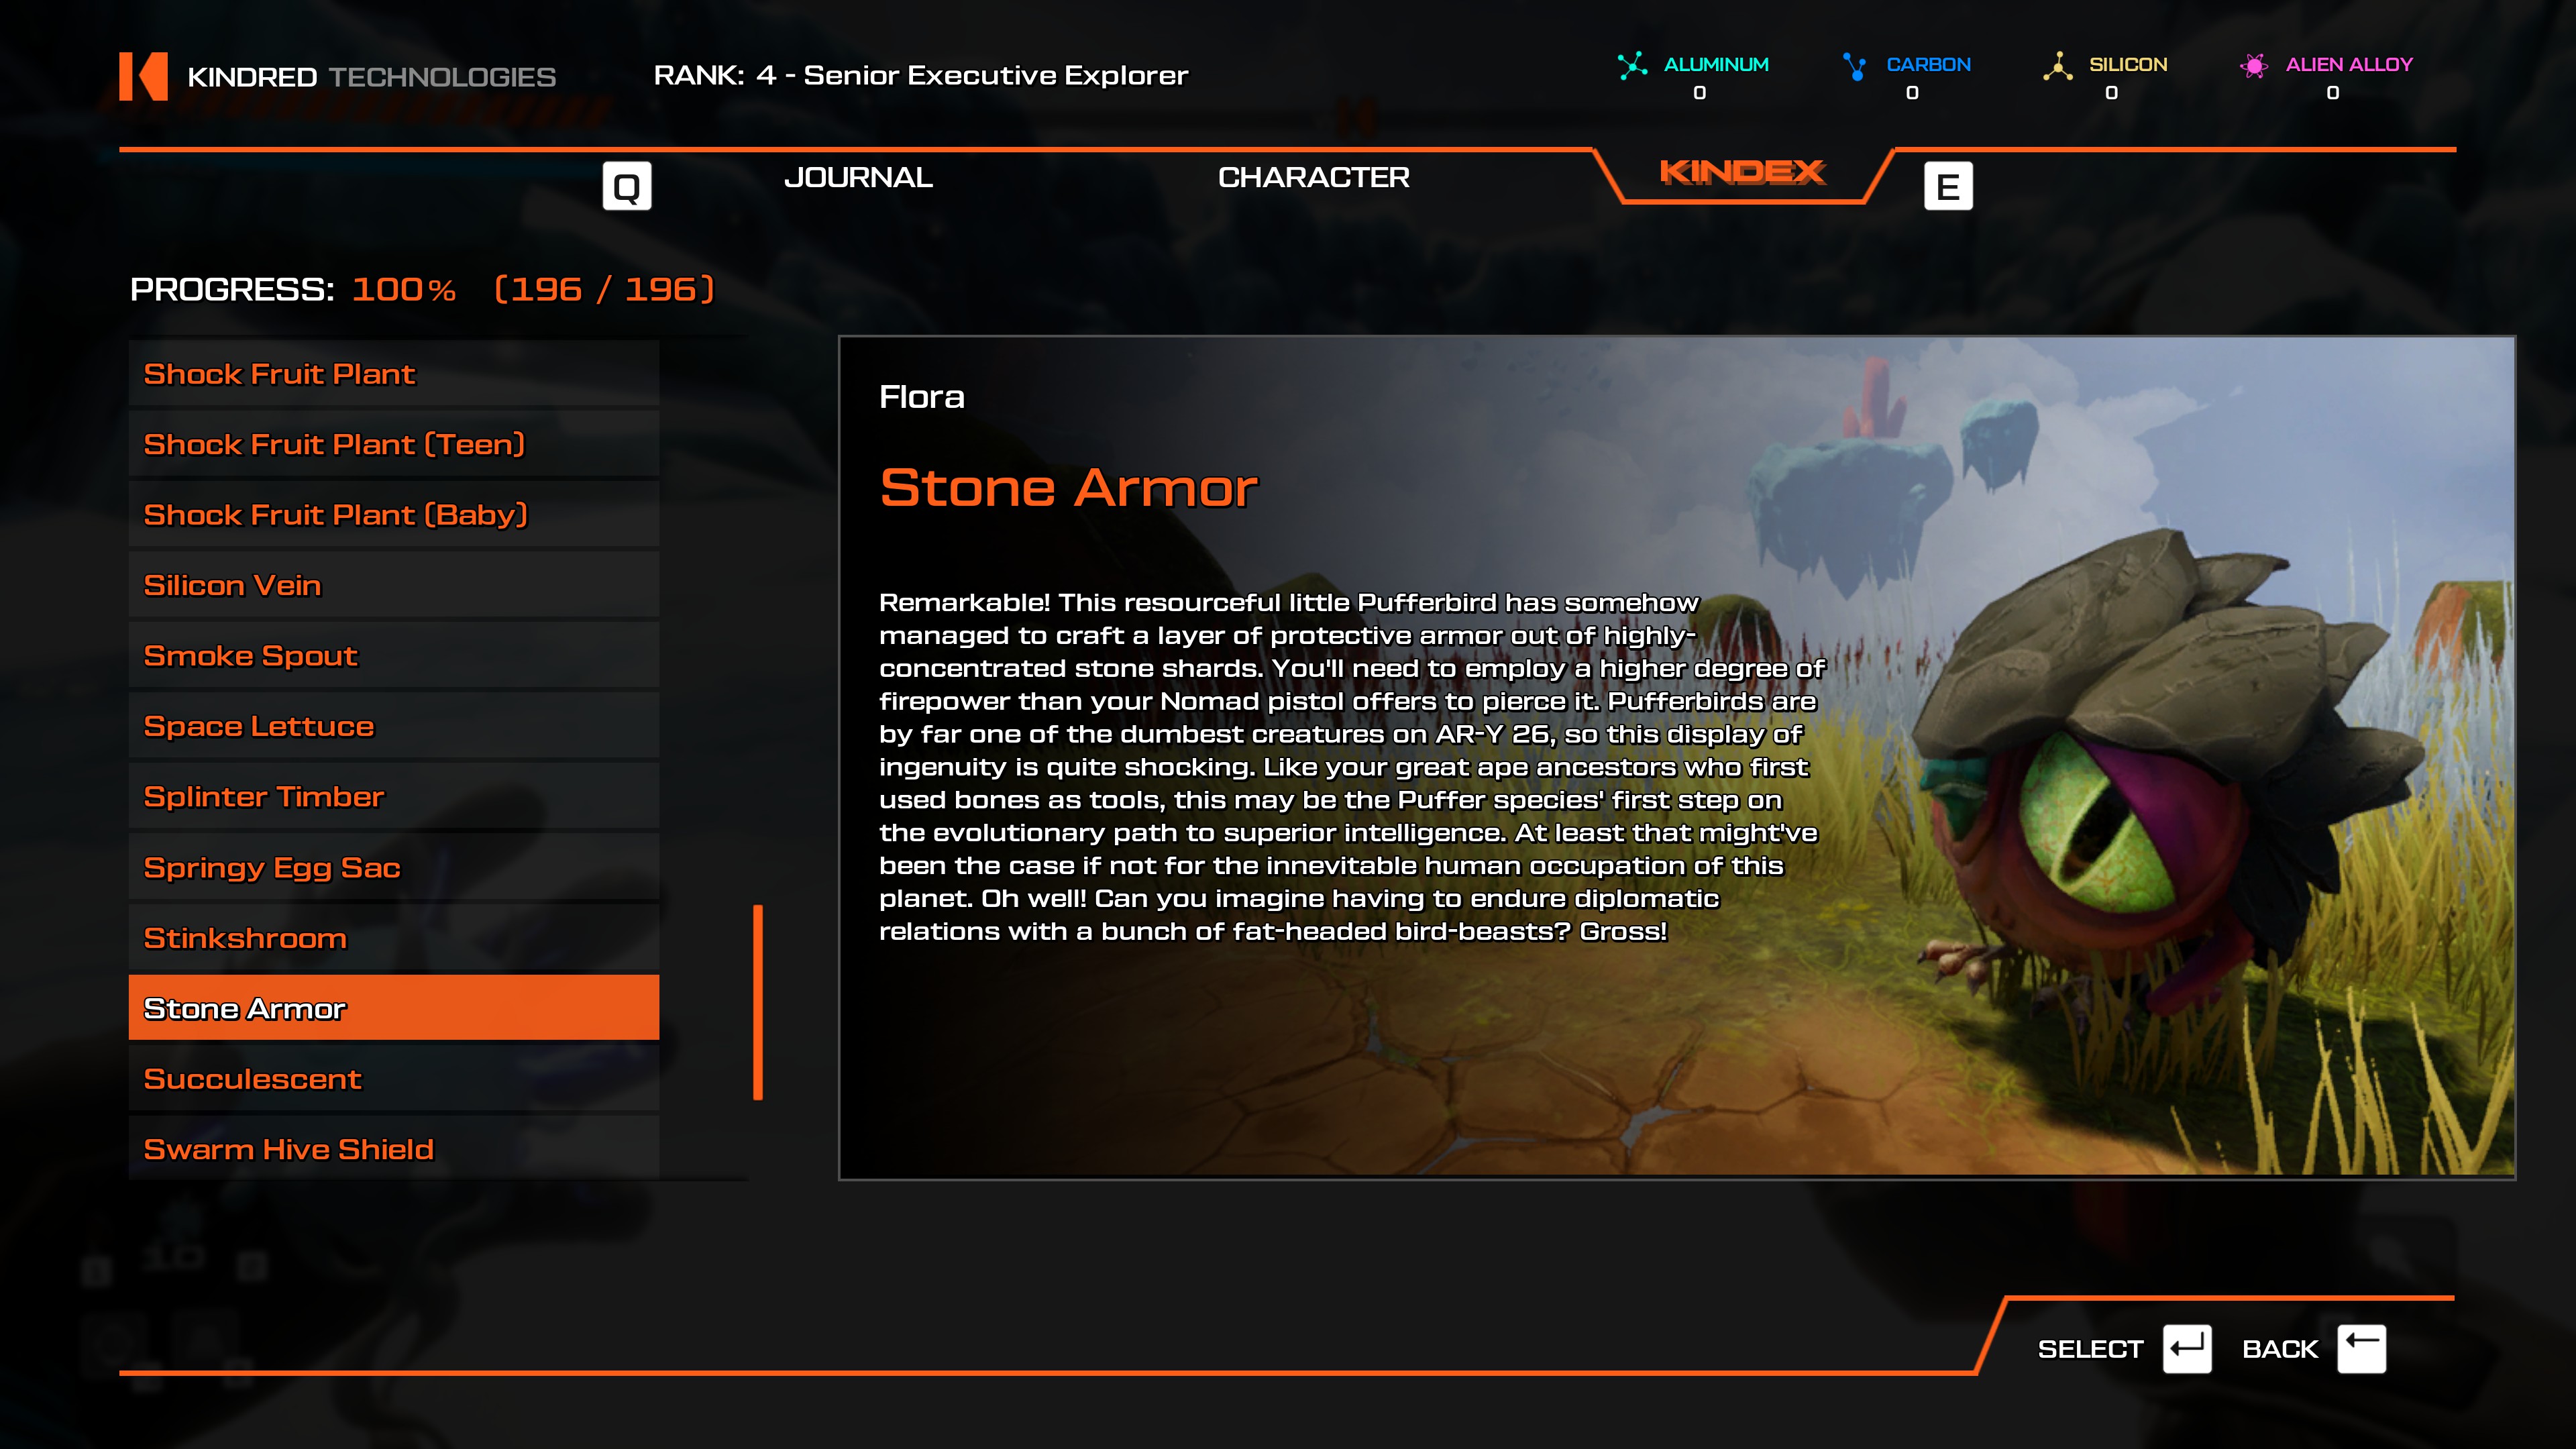
- Use the Cliffs of Mt. Gzarfyn teleporter, there's a bunch of Pufferbirds in Stone Armor outside.
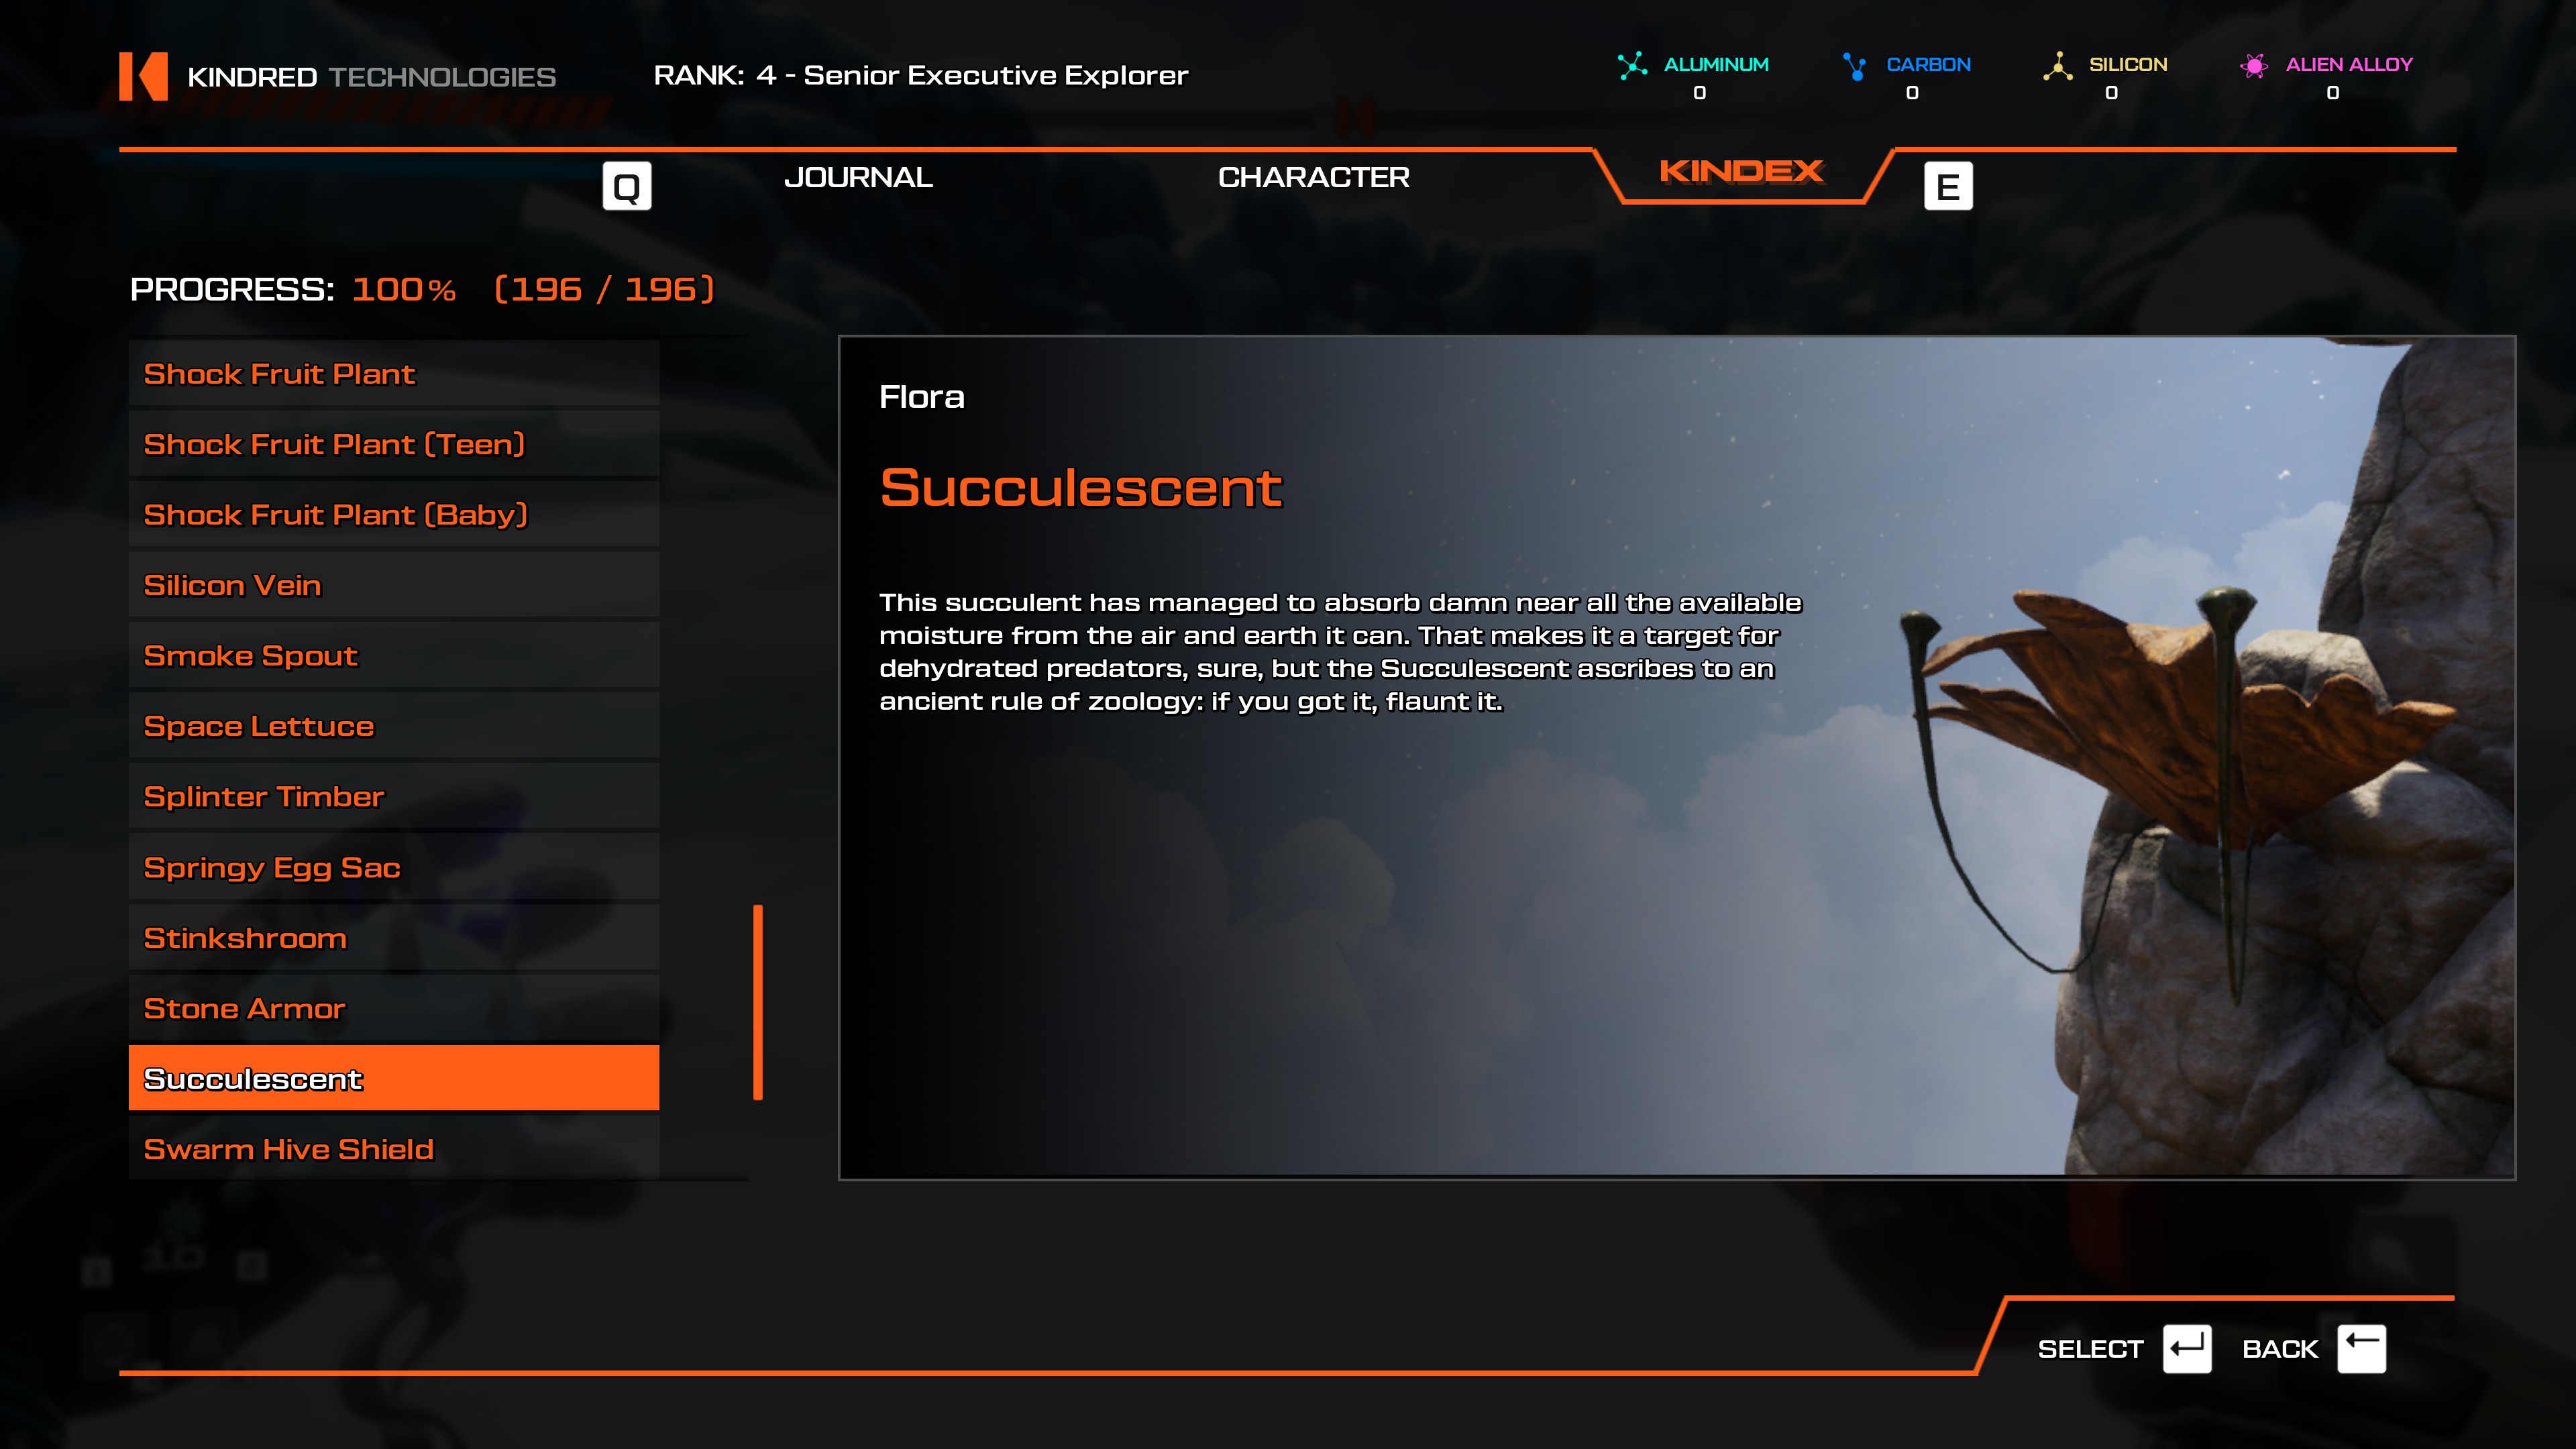
- Use the Fungi of Si'ned VII teleporter and head northwest, to the Advanced Proton Tether Shrine. If you stand directly in front of it, you can actually see a Swarm Hive and Shield on a nearby shroom.
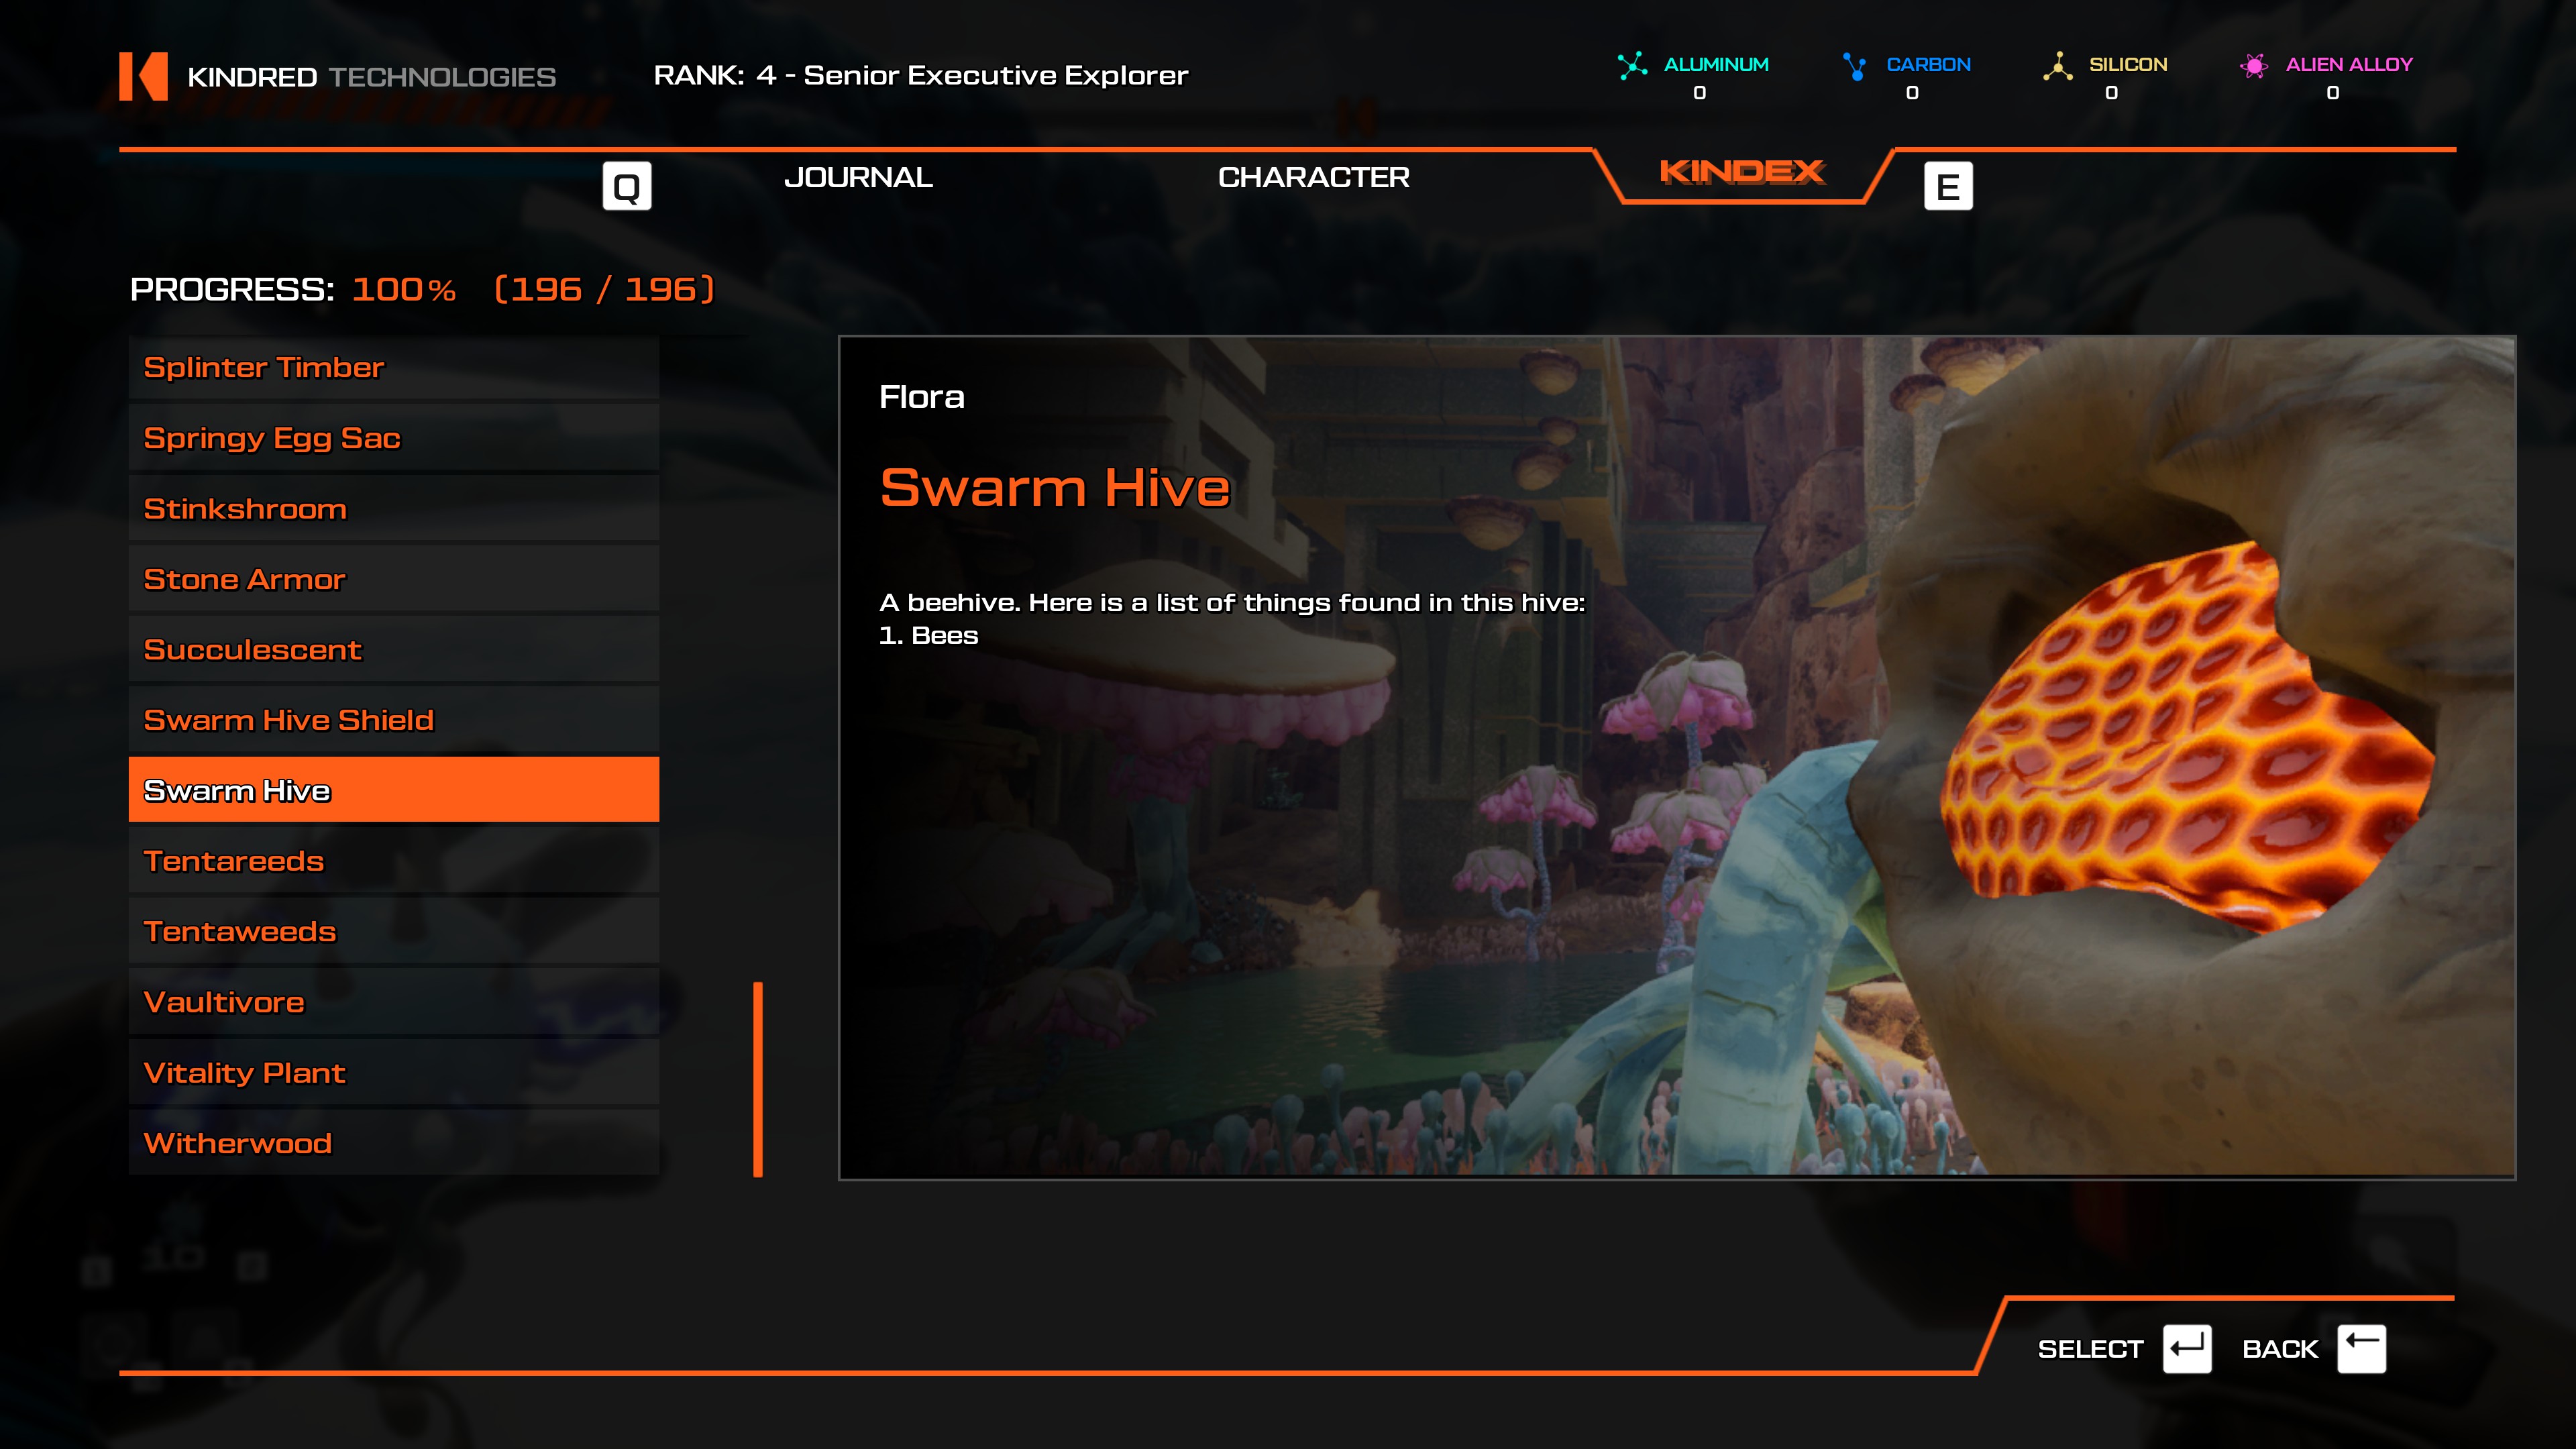
- Easily scannable from the Crackling Pedestal teleporter.
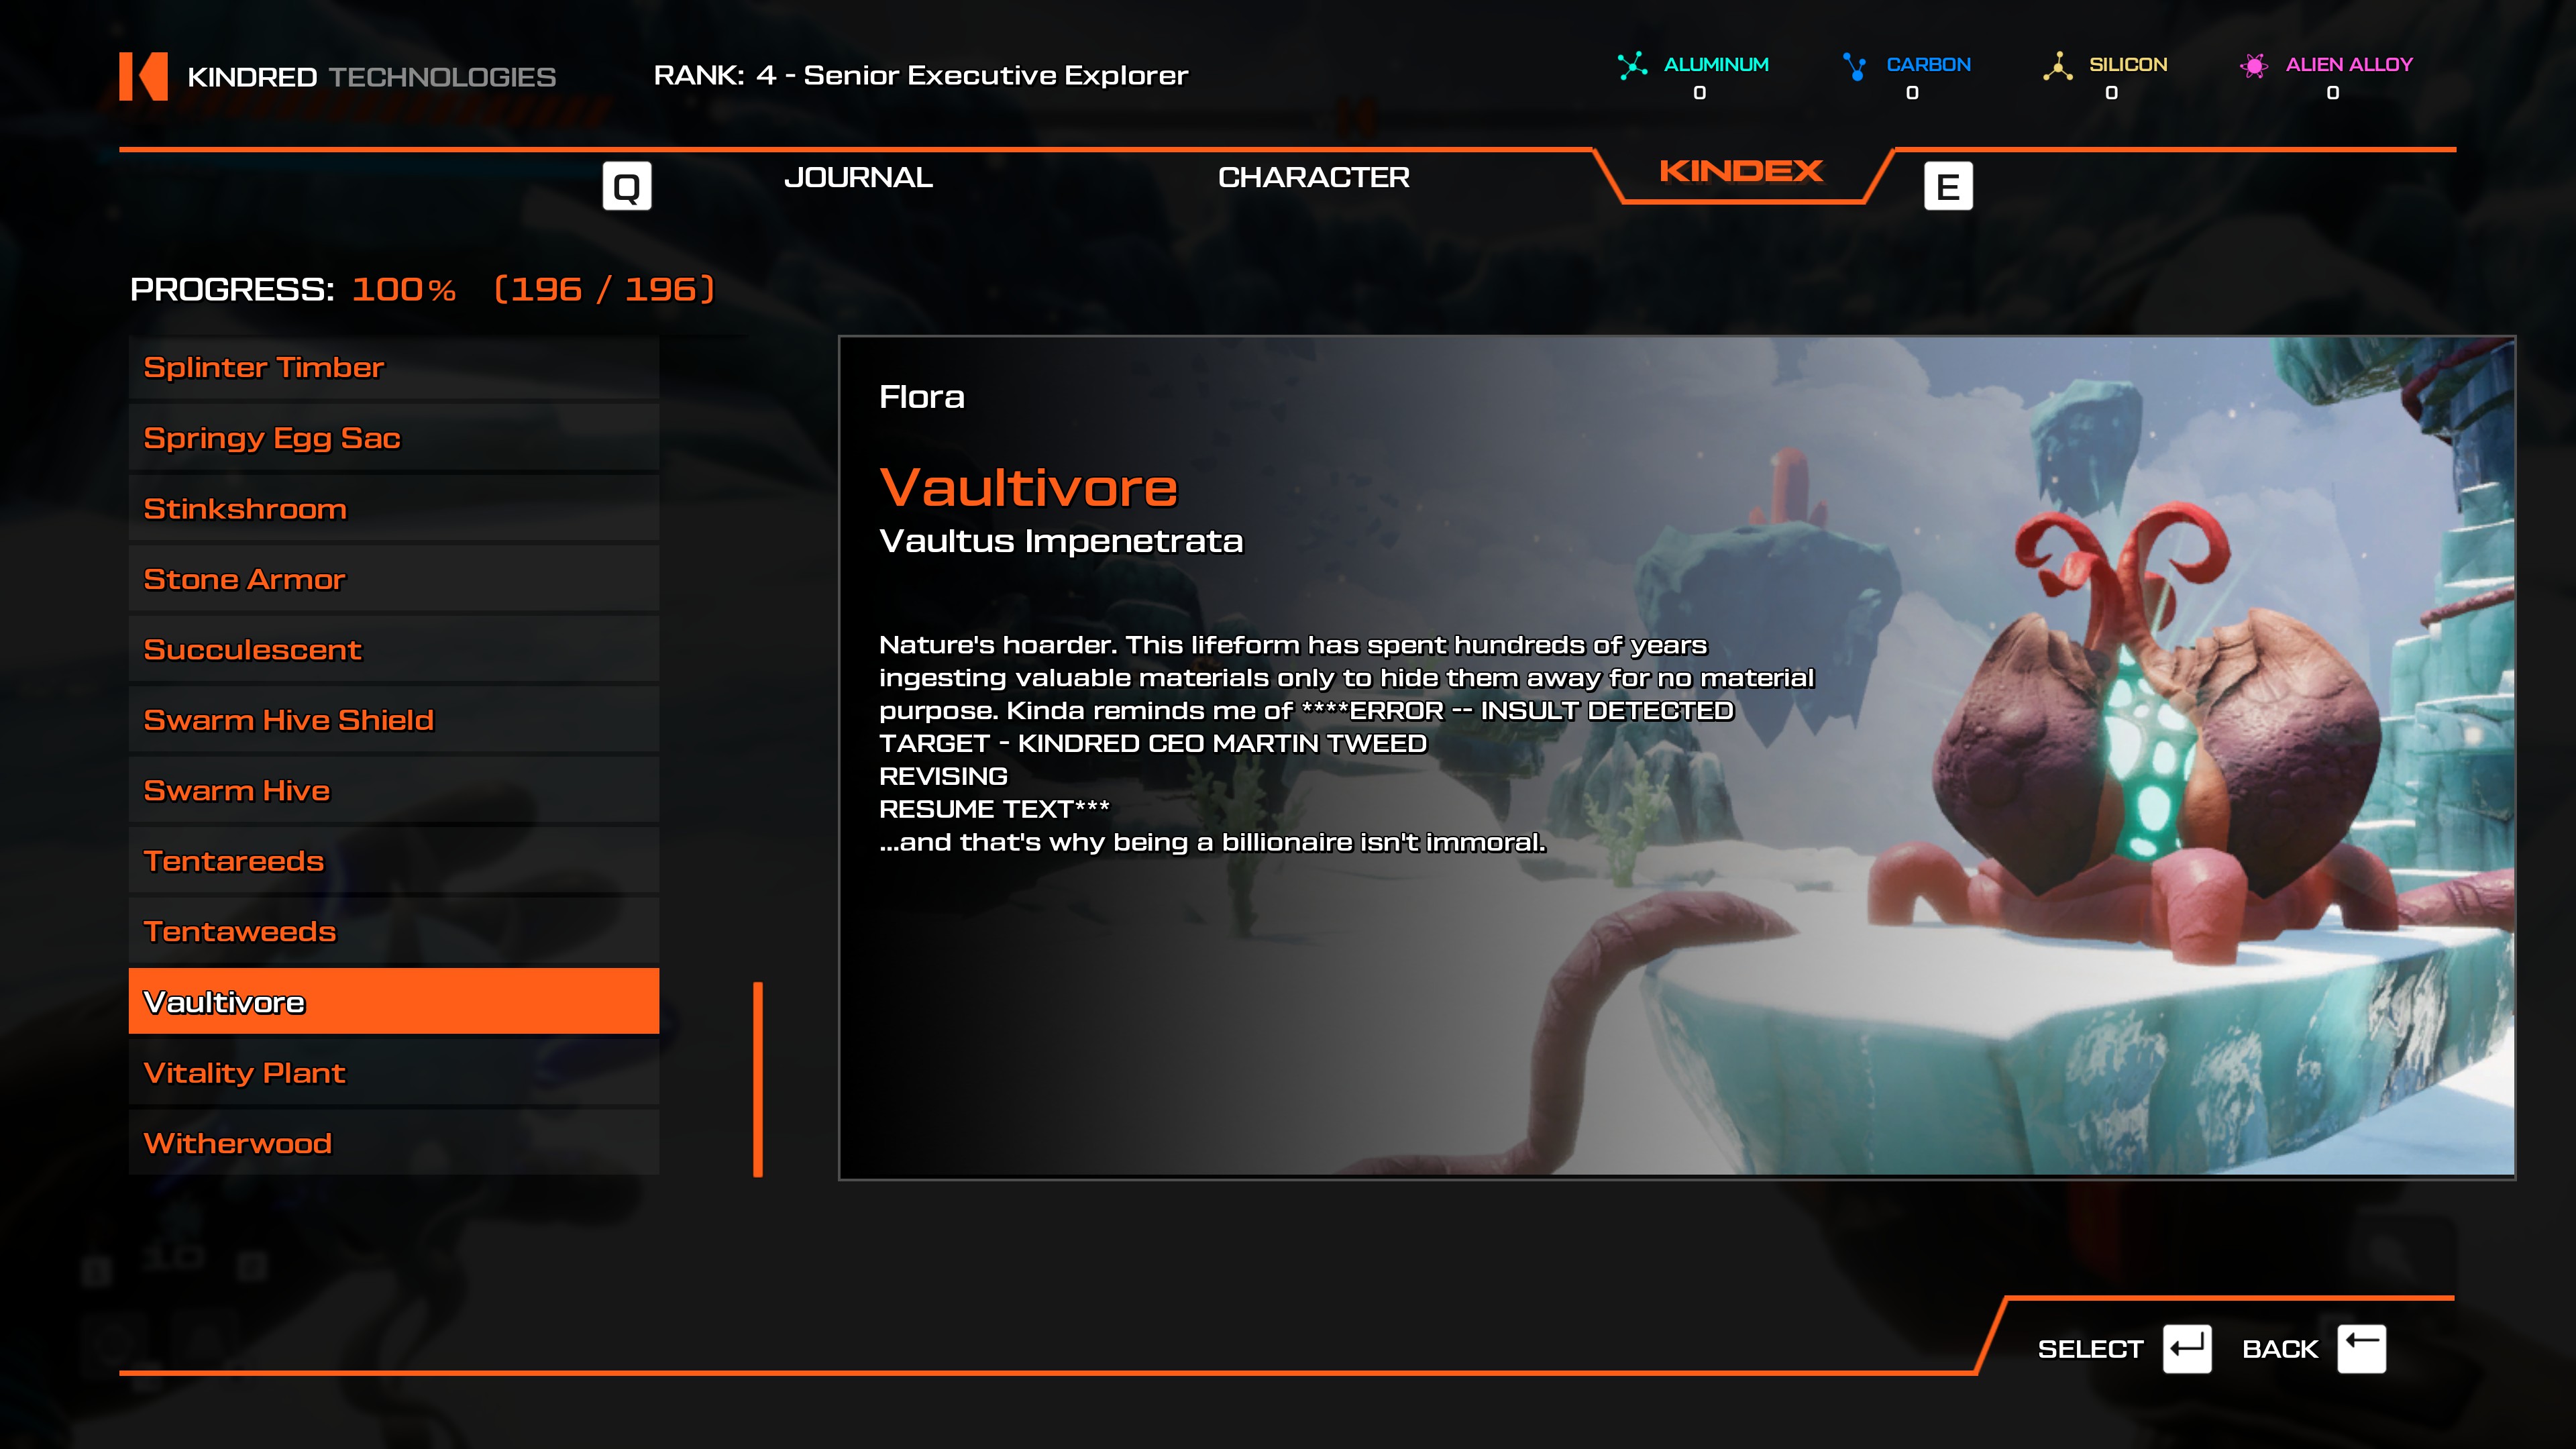
- Easily scannable from the Festering Chasm or Crackling Pedestal teleporter.
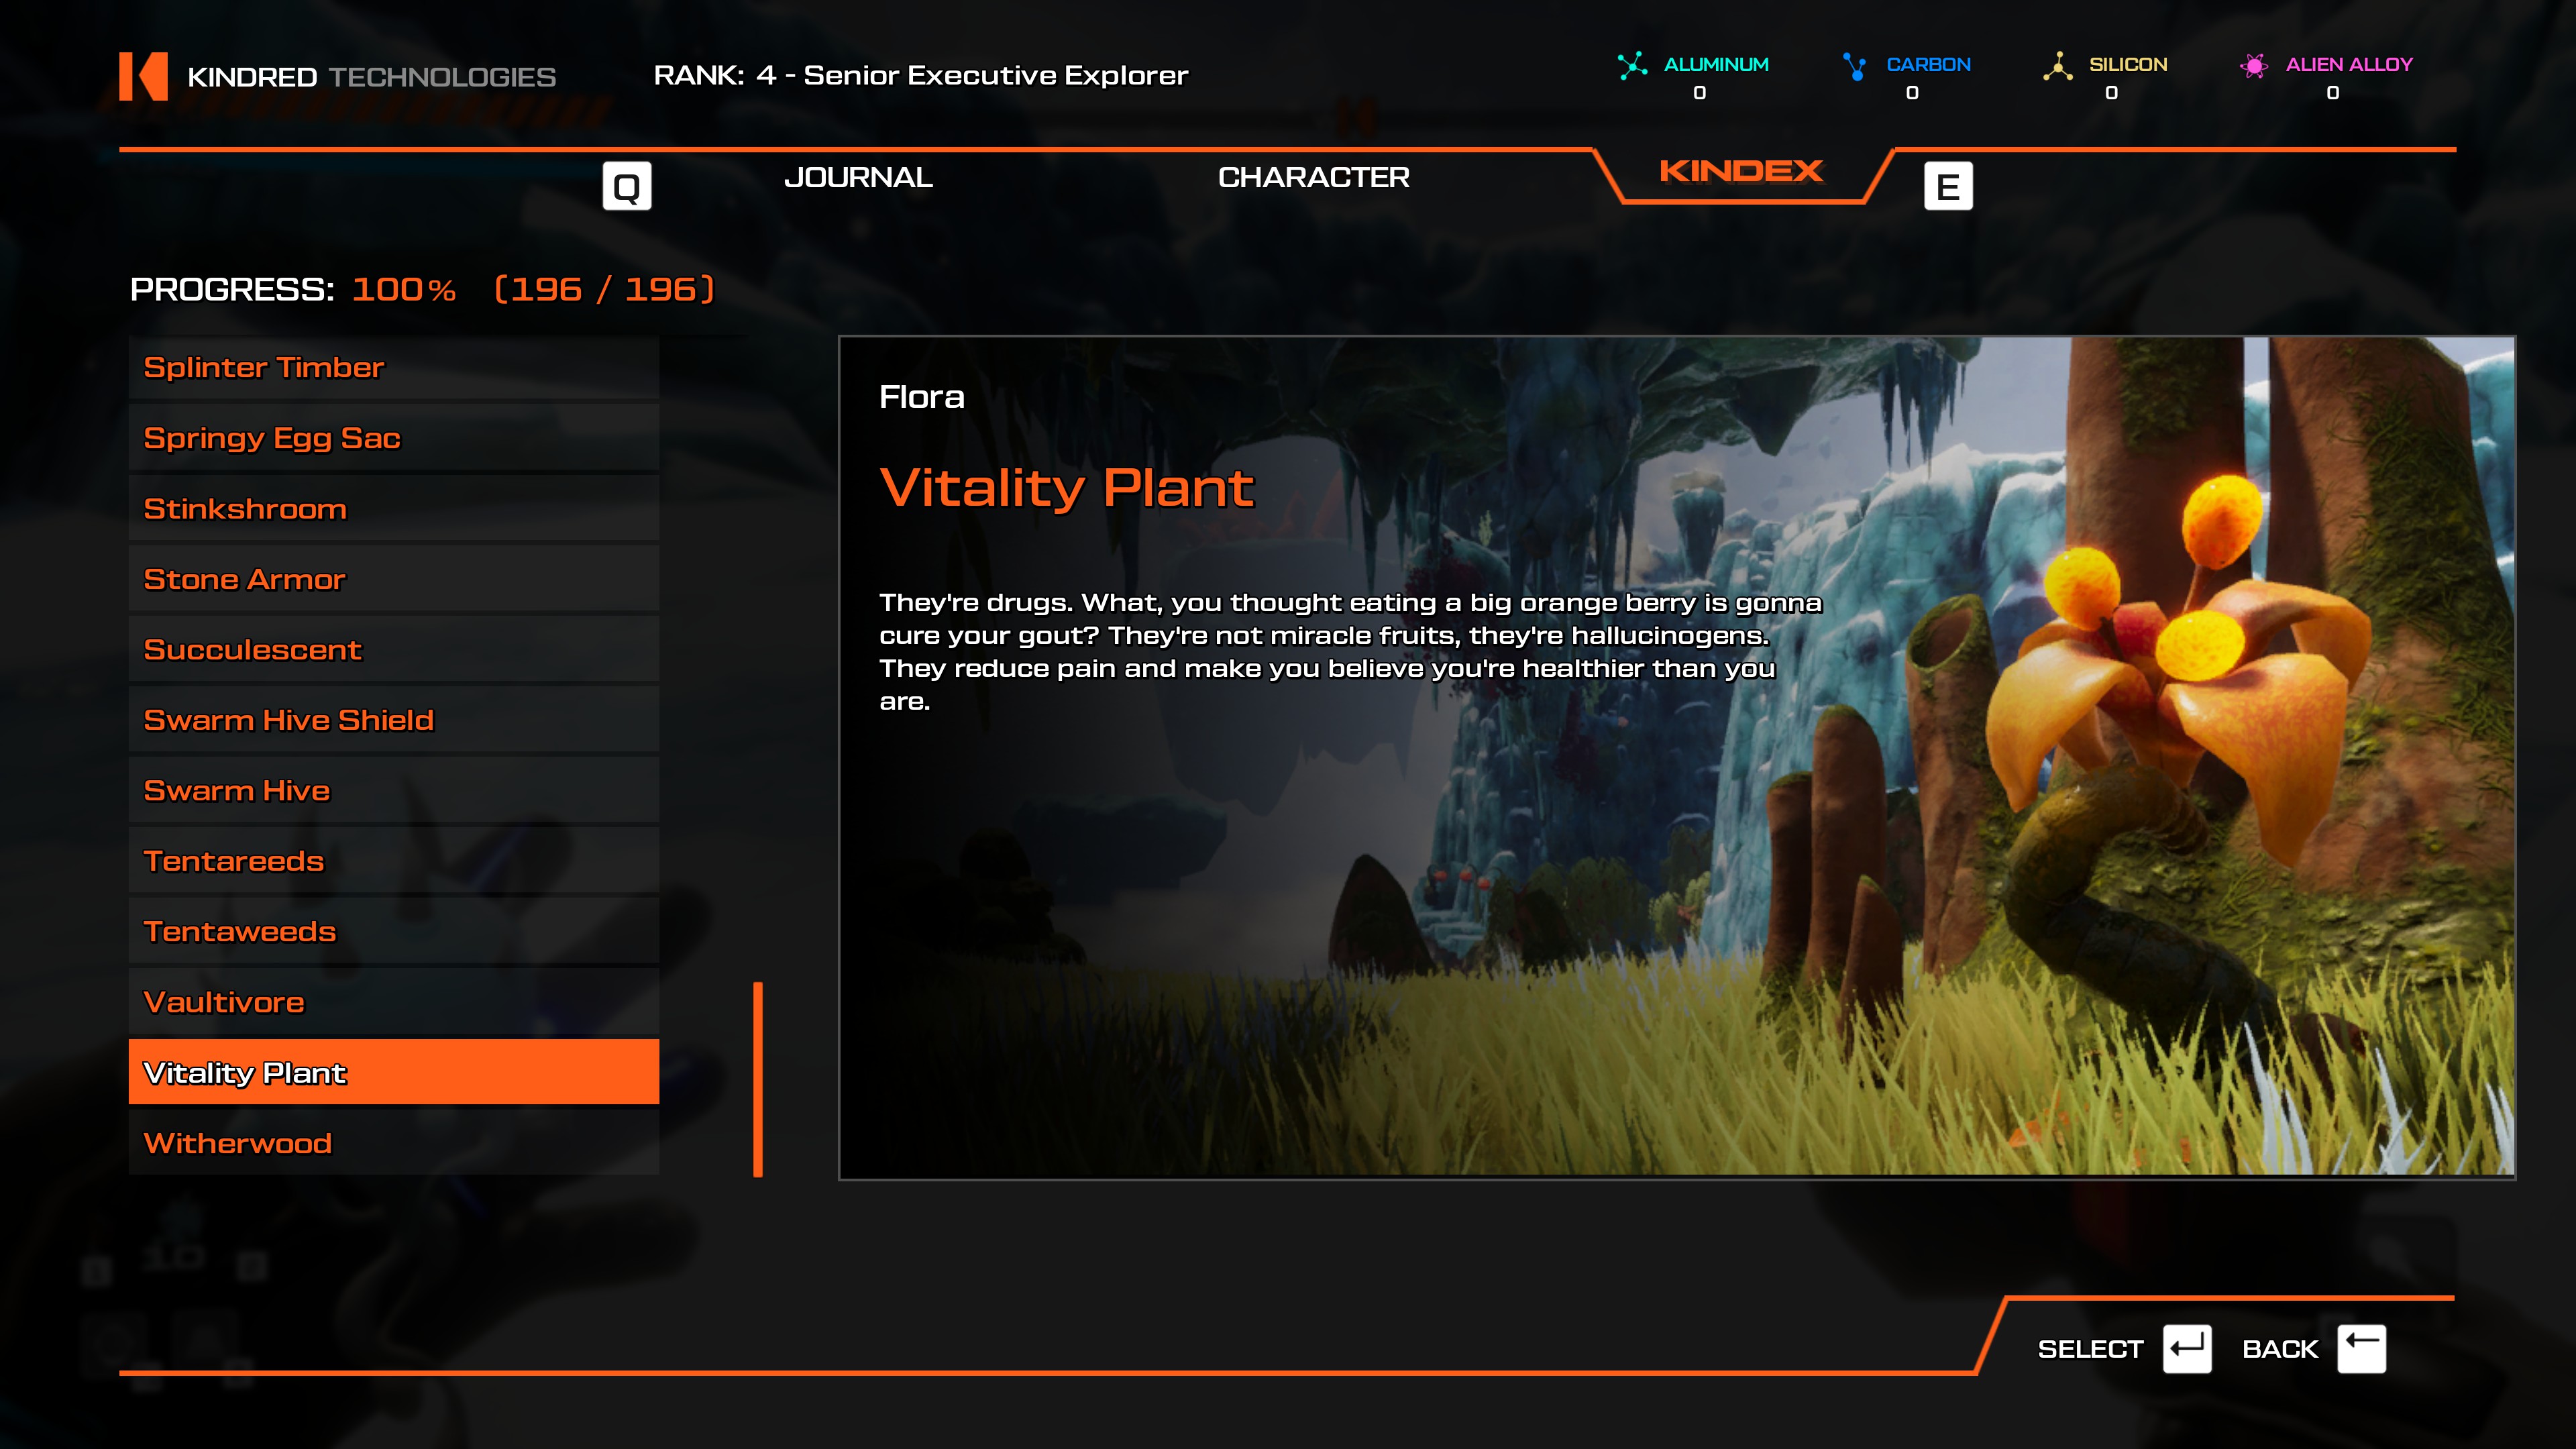
- All locations.
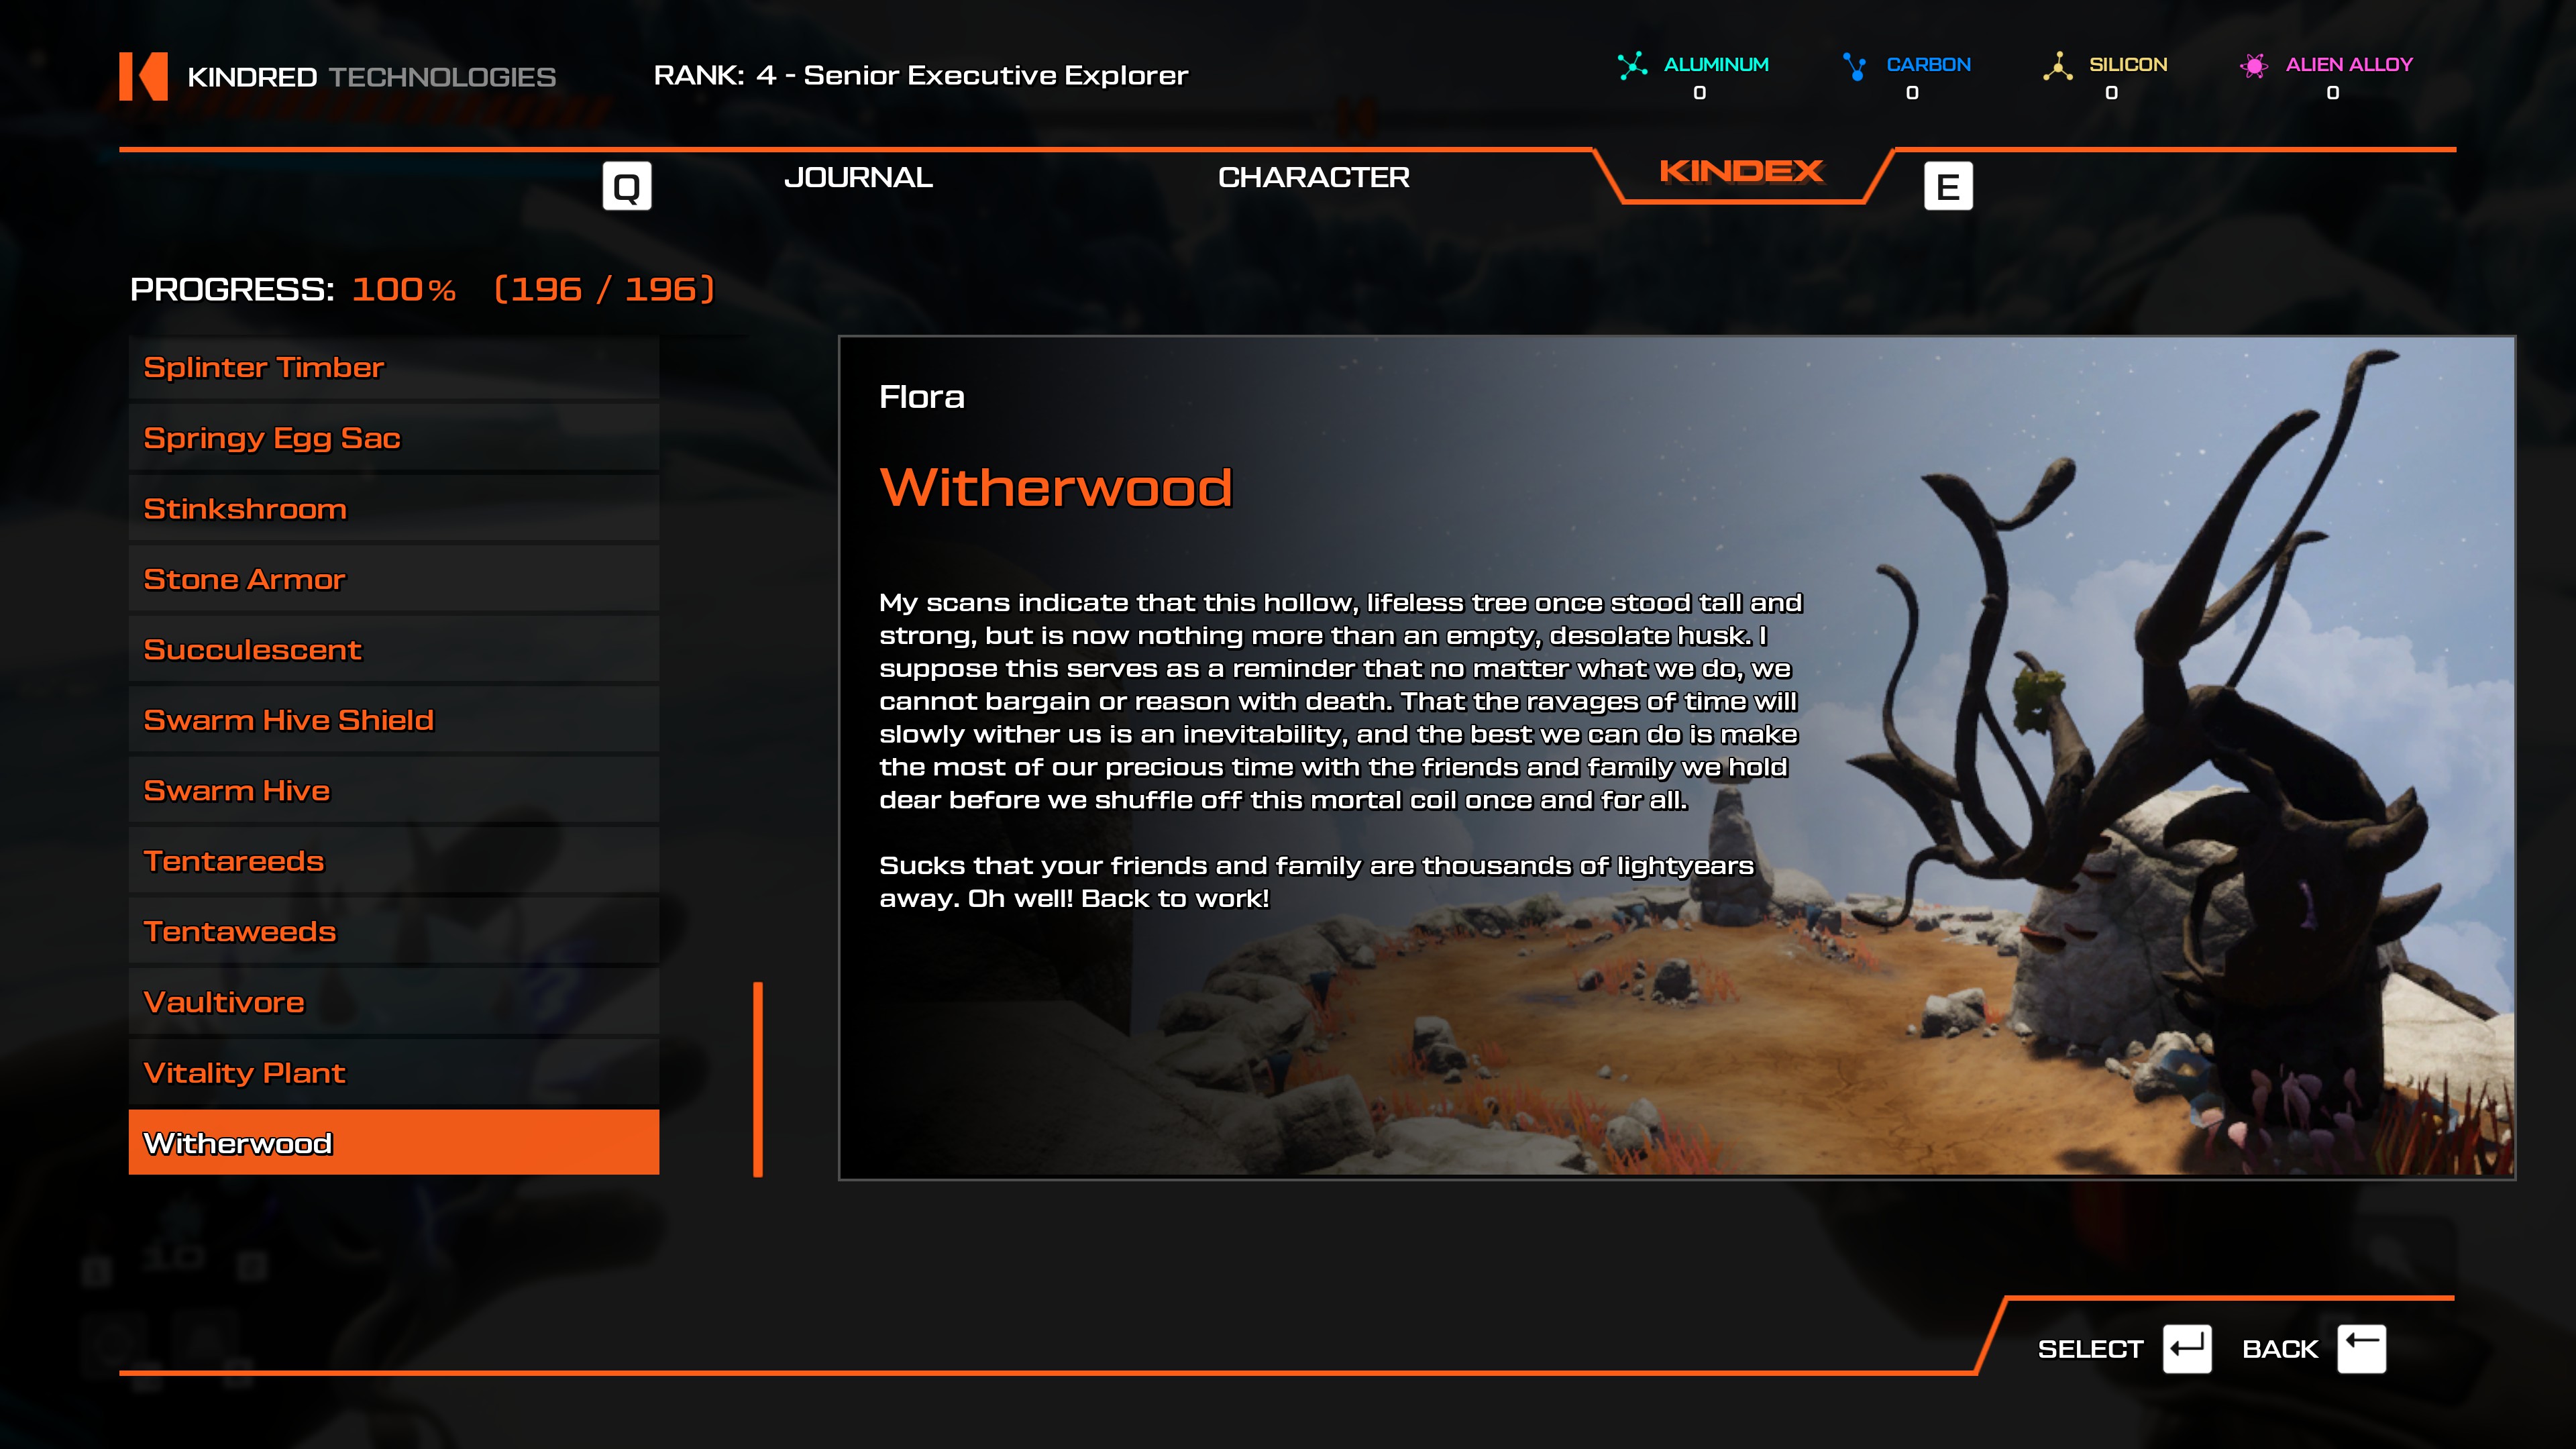
- The Future Site of Boomerdale: From the teleporter, look directly south. There's a large rock column with Amber on a ledge, and you need a Blight Bomb to melt it. The way I got up there is I jumped on the sign, and then air-jumped my way onto the ledge.
- The Future Site of Boomerdale: Facing the cave that held Postcard #1, head to your left and around the giant rock column. There are rocks just above water level here, the Postcard is tucked away here.
- The Future Site of Boomerdale: This Postcard is located almost exactly north from the teleporter, along the rock wall on the beach. On the farthest end of the beach you'll see a cluster of Tentareeds hiding the card.
- The Future Site of Boomerdale: From the teleporter, head northwest and follow the large rock wall to the right until you come across a group of Pufferbirds with a Meat Vortex nearby. It's protecting a Postcard, and murder should come easy in this game when achievements are on the line.
- The Future Site of Boomerdale: Look north, you'll see a Postcard out on one of the rocks that's just above water level. It's pretty out in the open.
- The Future Site of Boomerdale: This Postcard should be visible from the underwater location where you find Postcard #9. Follow the instructions for #9, keep the wall to your right, and head deeper underwater. The card is under an arch.
- The Future Site of Boomerdale: From the teleporter, head to the far end of the beach, and go on the rocks out on the water that have Chumcumbers on them. Jump off the last one, off the edge that's farthest from the beach sand and look around, the card is close by. This card was a MASSIVE PAIN to find, I went all around the map until I finally found it. It's just far enough out that you need to actually be out on the rocks or in the water when looking for it.
- The Future Site of Boomerdale: From Postcard #2, keep heading in the same direction following the wall until you reach the water. The card is underwater, near here.
- The Future Site of Boomerdale: From spawn, look east. There are rocks just above water level with Chumcumbers on them. Go to them, and jump into the water to the left of them. The Postcard is close by, right against the rocks you jumped off.
- The Future Site of Boomerdale: This Postcard is in the water, located in between the Boomerdale Sign and the rocks where Postcard #5 was.
- Xipyar's Fathomless Cenote: This Postcard is located under the waterfall that is directly north of the teleporter, on the dark side of the rock wall. It's close by.
- Xipyar's Fathomless Cenote: You need Bombegranates to reach this one. From the waterfall that held Postcard #11, stand at the very edge of the water at that level. Look down and to your left, there's a Fuel Vapor that's at the level of the next card, which is hidden behind a breakable wall.
- Gorgeous Gork's Gorge: Next to the teleporter that sits near the center of the area, there's a tall pillar. The Postcard is at the very top, probably best reached from the Ravine of Supreme Agony teleporter (the one on the cliff next to it).
- Gorgeous Gork's Gorge: From Postcard #13's location, look at the highest level of land where the water flows from in the area. It's pretty easy to spot and reach.
- Gorgeous Gork's Gorge: From the Ravine of Supreme Agony teleporter, look at the closest line of Fuel Vapor rings. Jump into them and immediately after the second one, make a right. You'll see a small cliffside on the wall with an Amber on it. Blight Bomb it and get your Postcard.
- The Hissing Quagmire of Zyp: Find the first puzzle in the area, the Vyper Digi-Vault. If you look in the direction of the closest rock wall, you'll find fragile crystals hiding the Postcard.
- The Hissing Quagmire of Zyp: It's right next to the teleporter.
- The Embers of Mt. Krung: From the Kronus' Dominion teleporter, look down at the quagmire, and to the left. There are fragile crystals hiding the Postcard.
- The Embers of Mt. Krung: From the Kronus' Dominion teleporter, look out at the large arch with purple vegetation on it, the Postcard is on top.
- The Embers of Mt. Krung: From the Kronus' Dominion teleporter, look toward the lava pits. You'll see fragile crystals hiding the Postcard.
- The Embers of Mt. Krung: From the Kronus' Dominion teleporter, look down at the quagmire, and you'll see more fragile crystals hiding the Postcard.
- The Future Site of Boomerdale: Amidst the palm trees along the beach, you'll see tall and thin free-standing rock formations. Atop the tallest free-standing one is Postcard #22. You can easily reach this area when you first arrive, provided you have Quadruple Thrusters and Grapple Seeds.
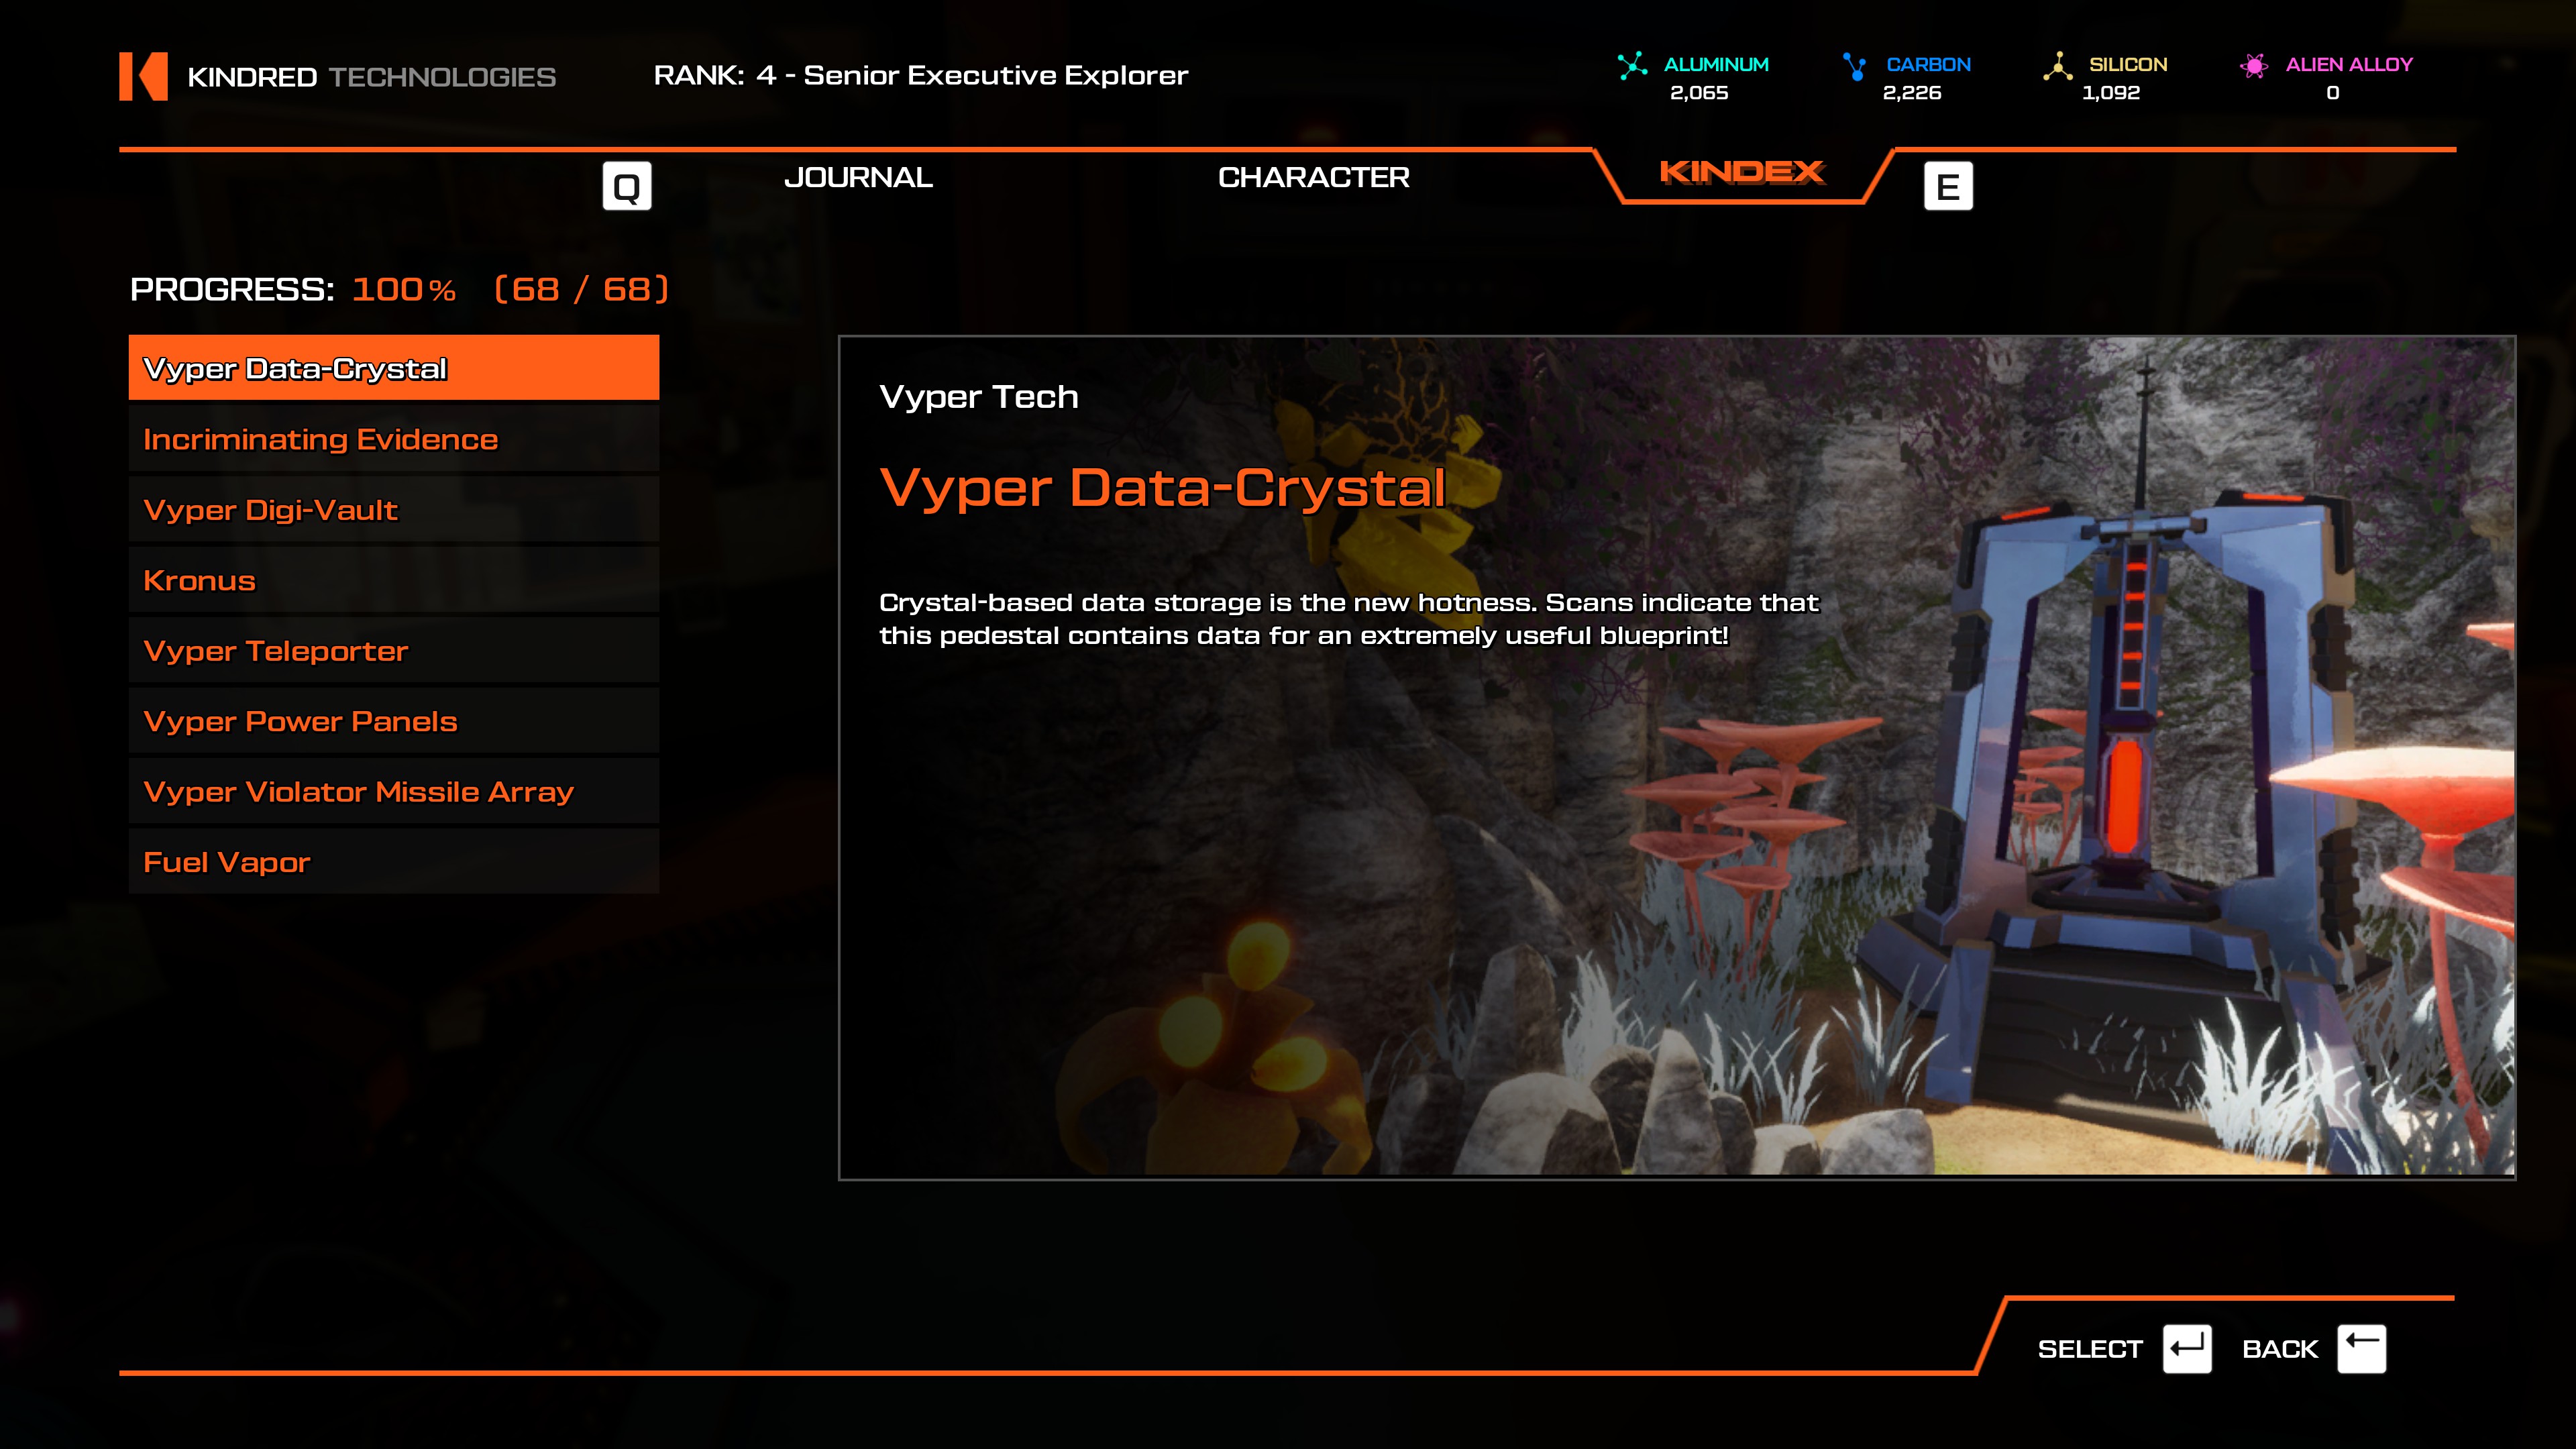
- The Ravine of Supreme Agony
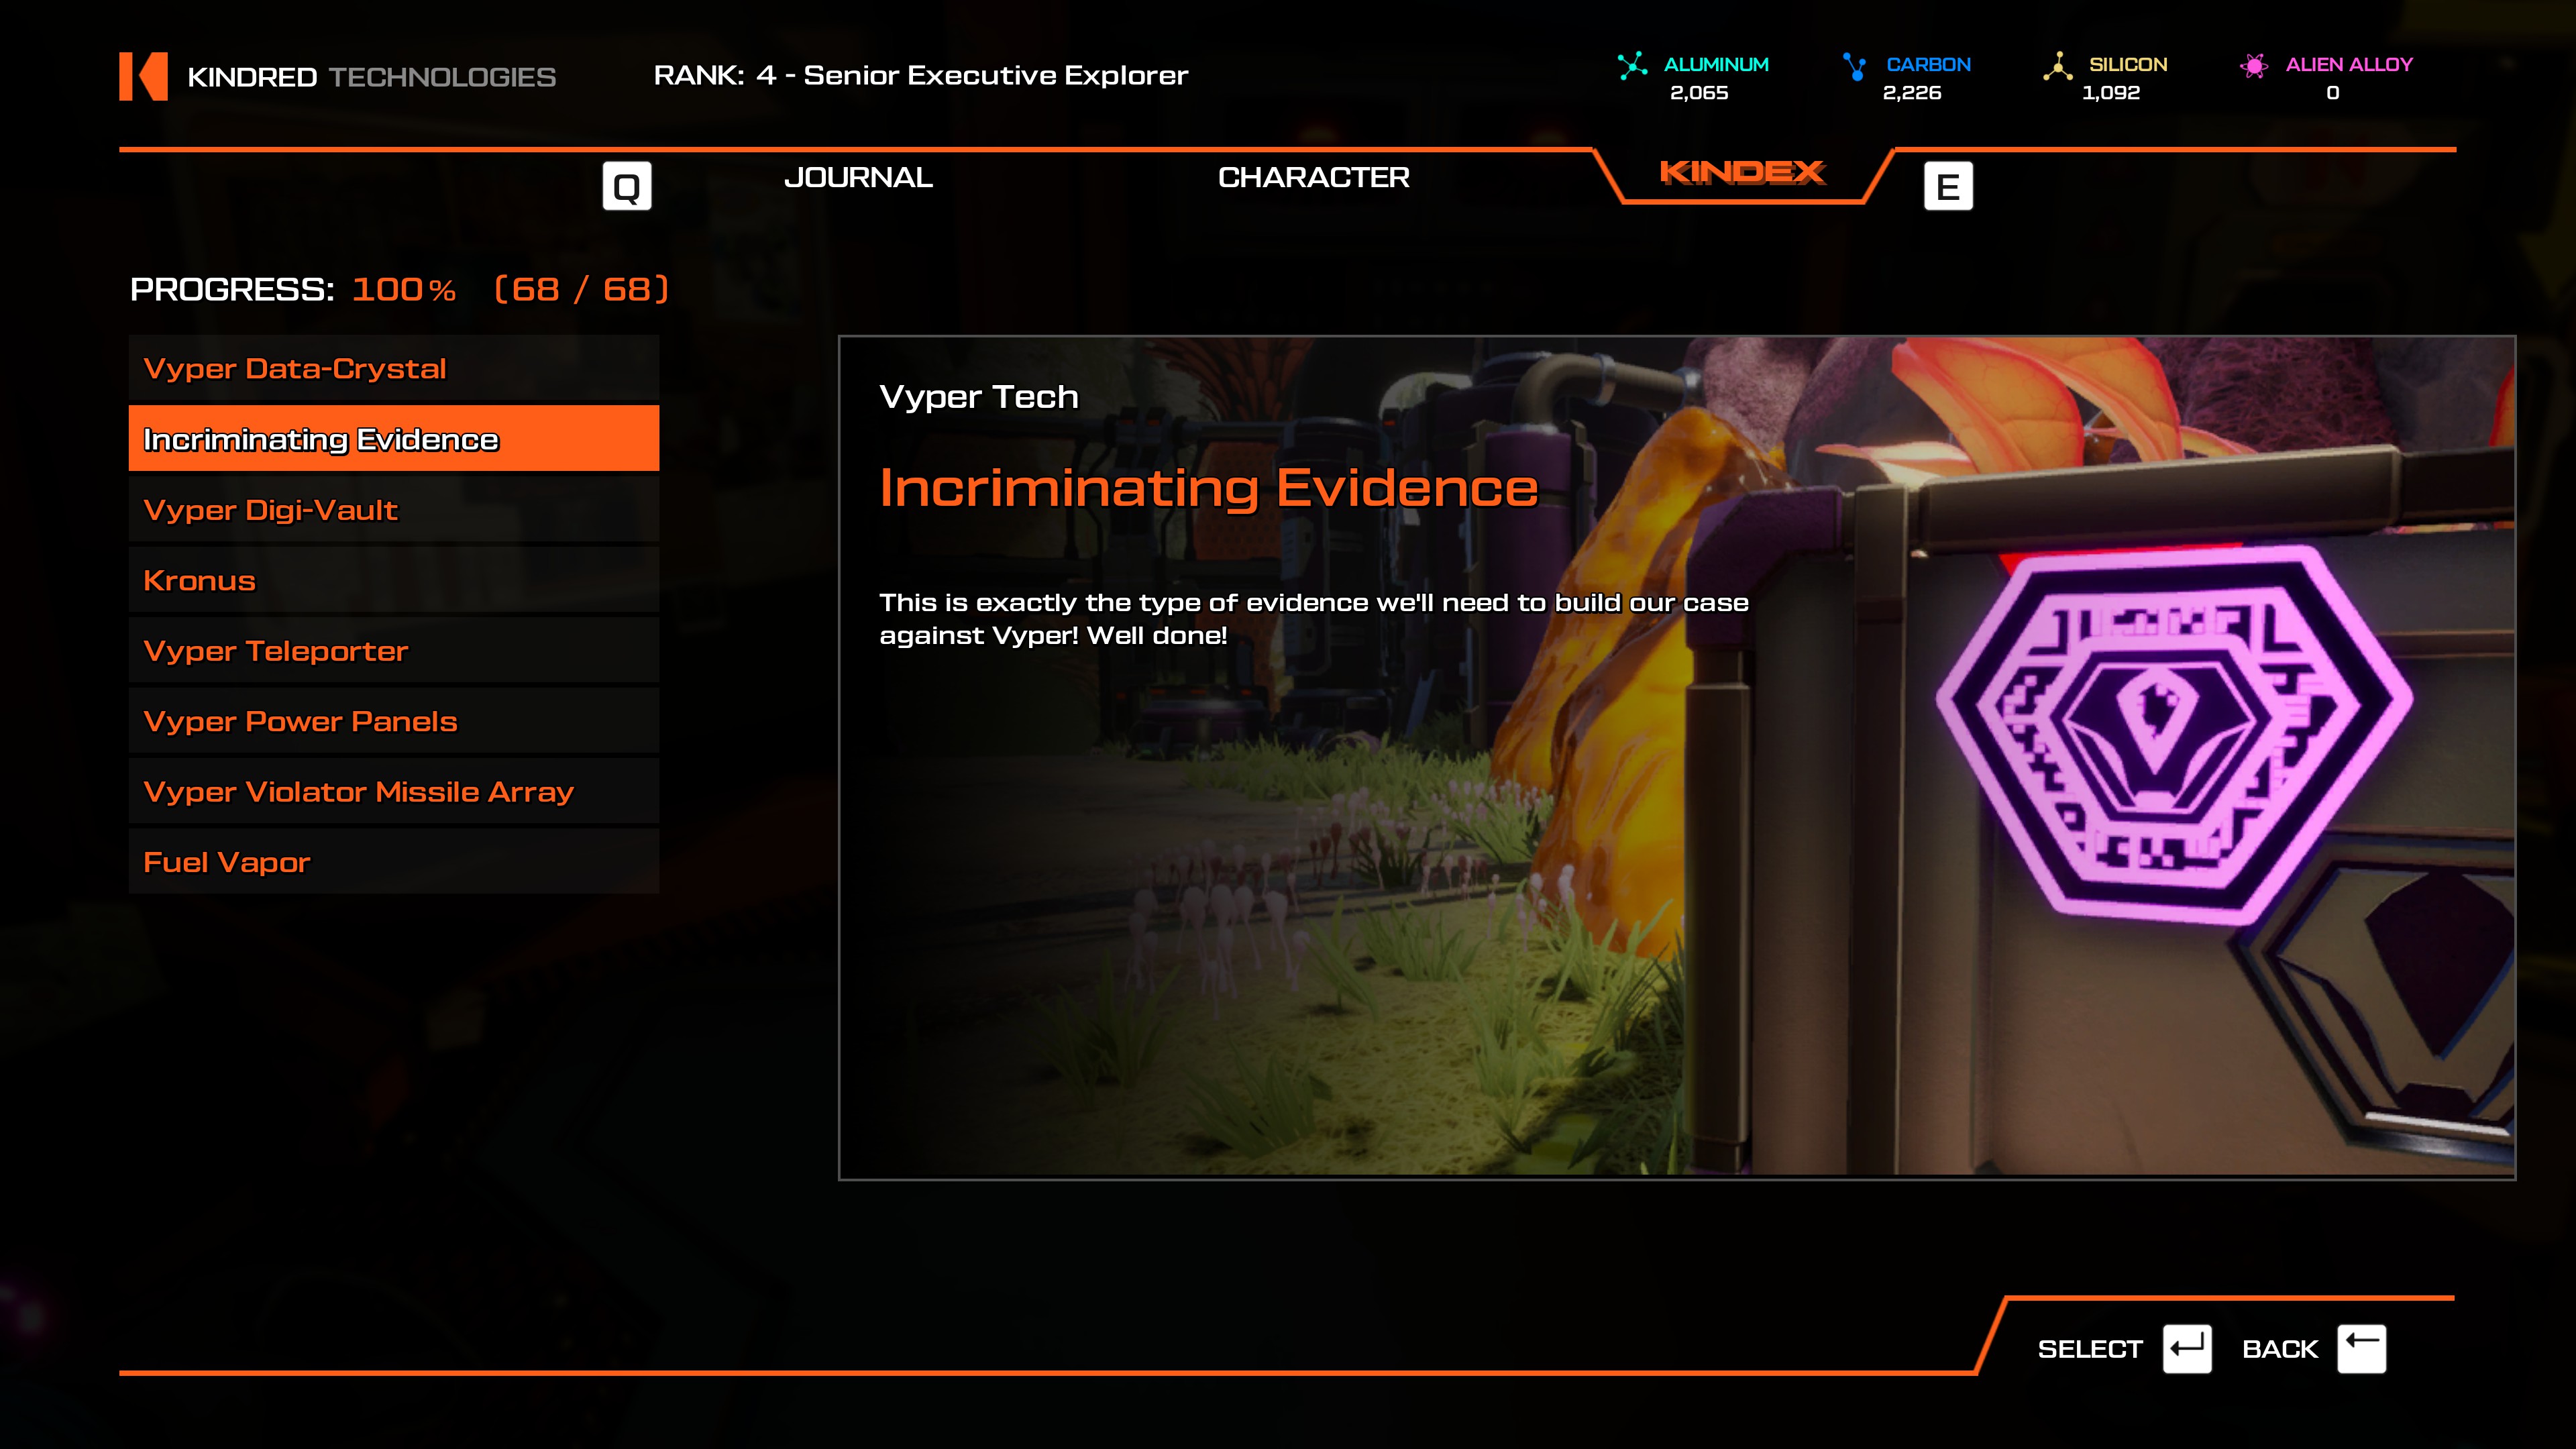
- All Vyper bases except in Kronus' Dominion.
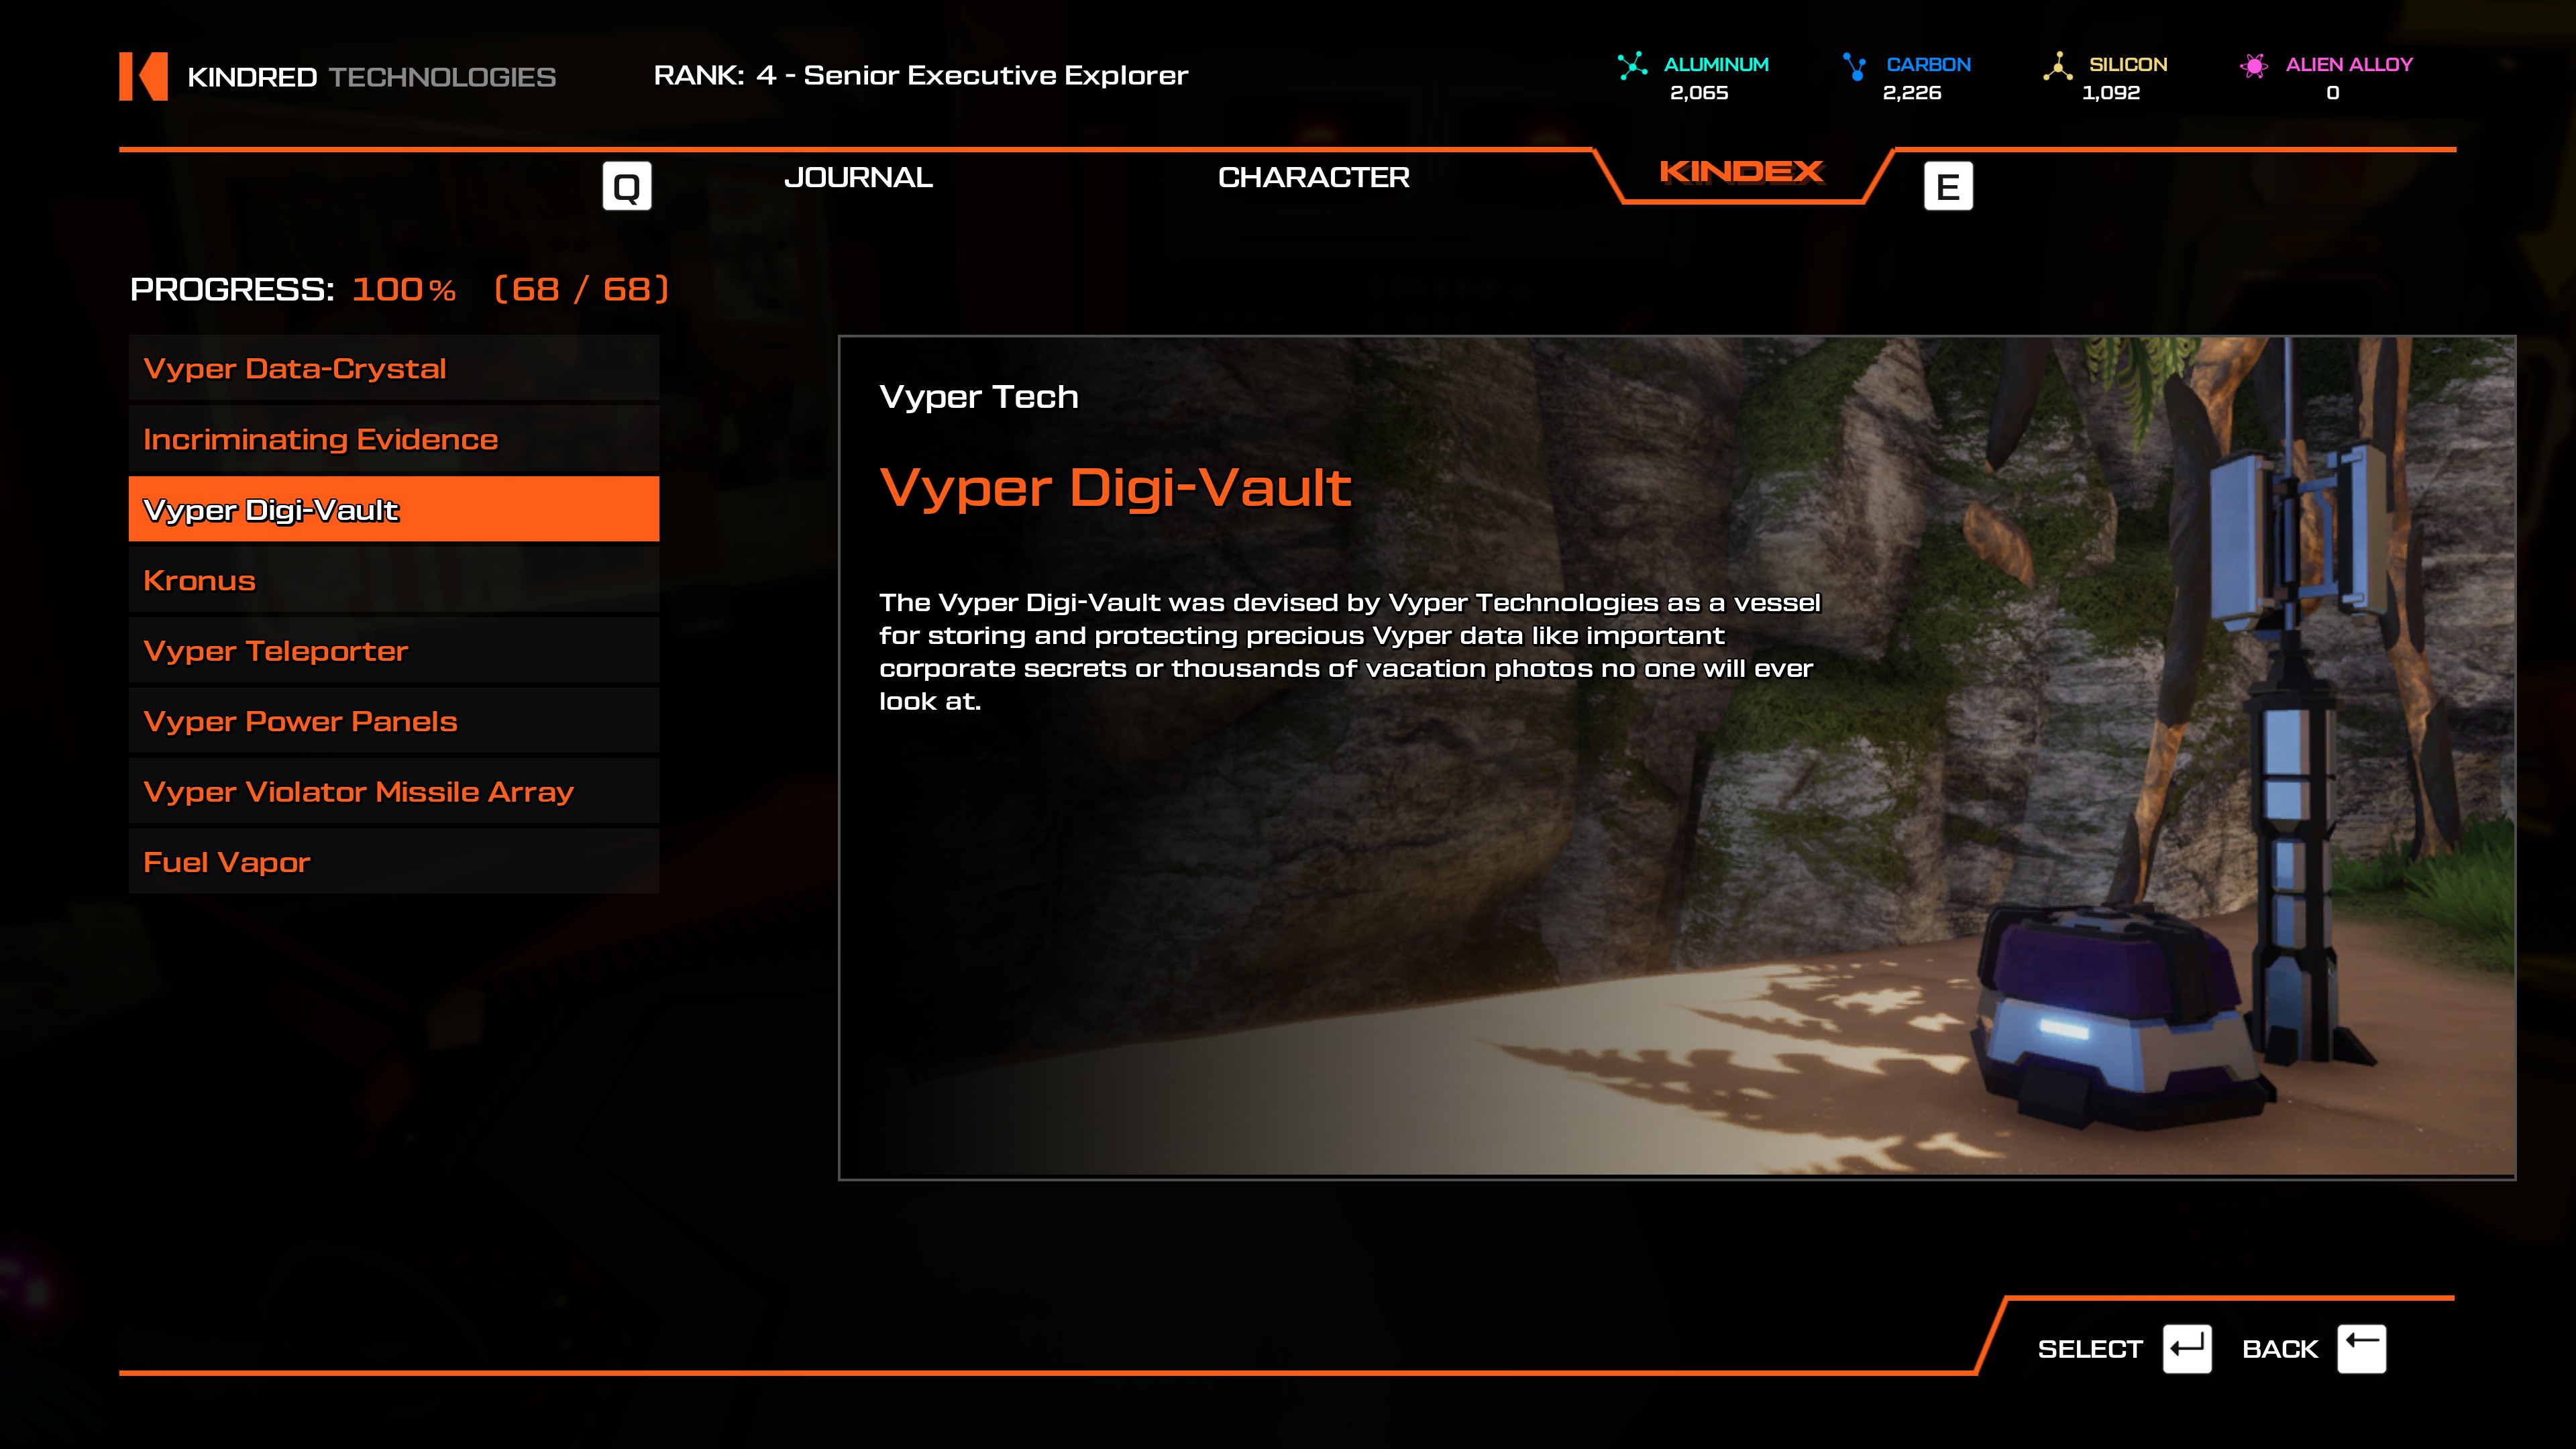
- All Vyper bases.
- Boomerdale Beach
- Xipyar's Fathomless Cenote
- Gorgeous Gork's Gorge
- The Hissing Quagmire of Zyp
- The Embers of Mt. Krung
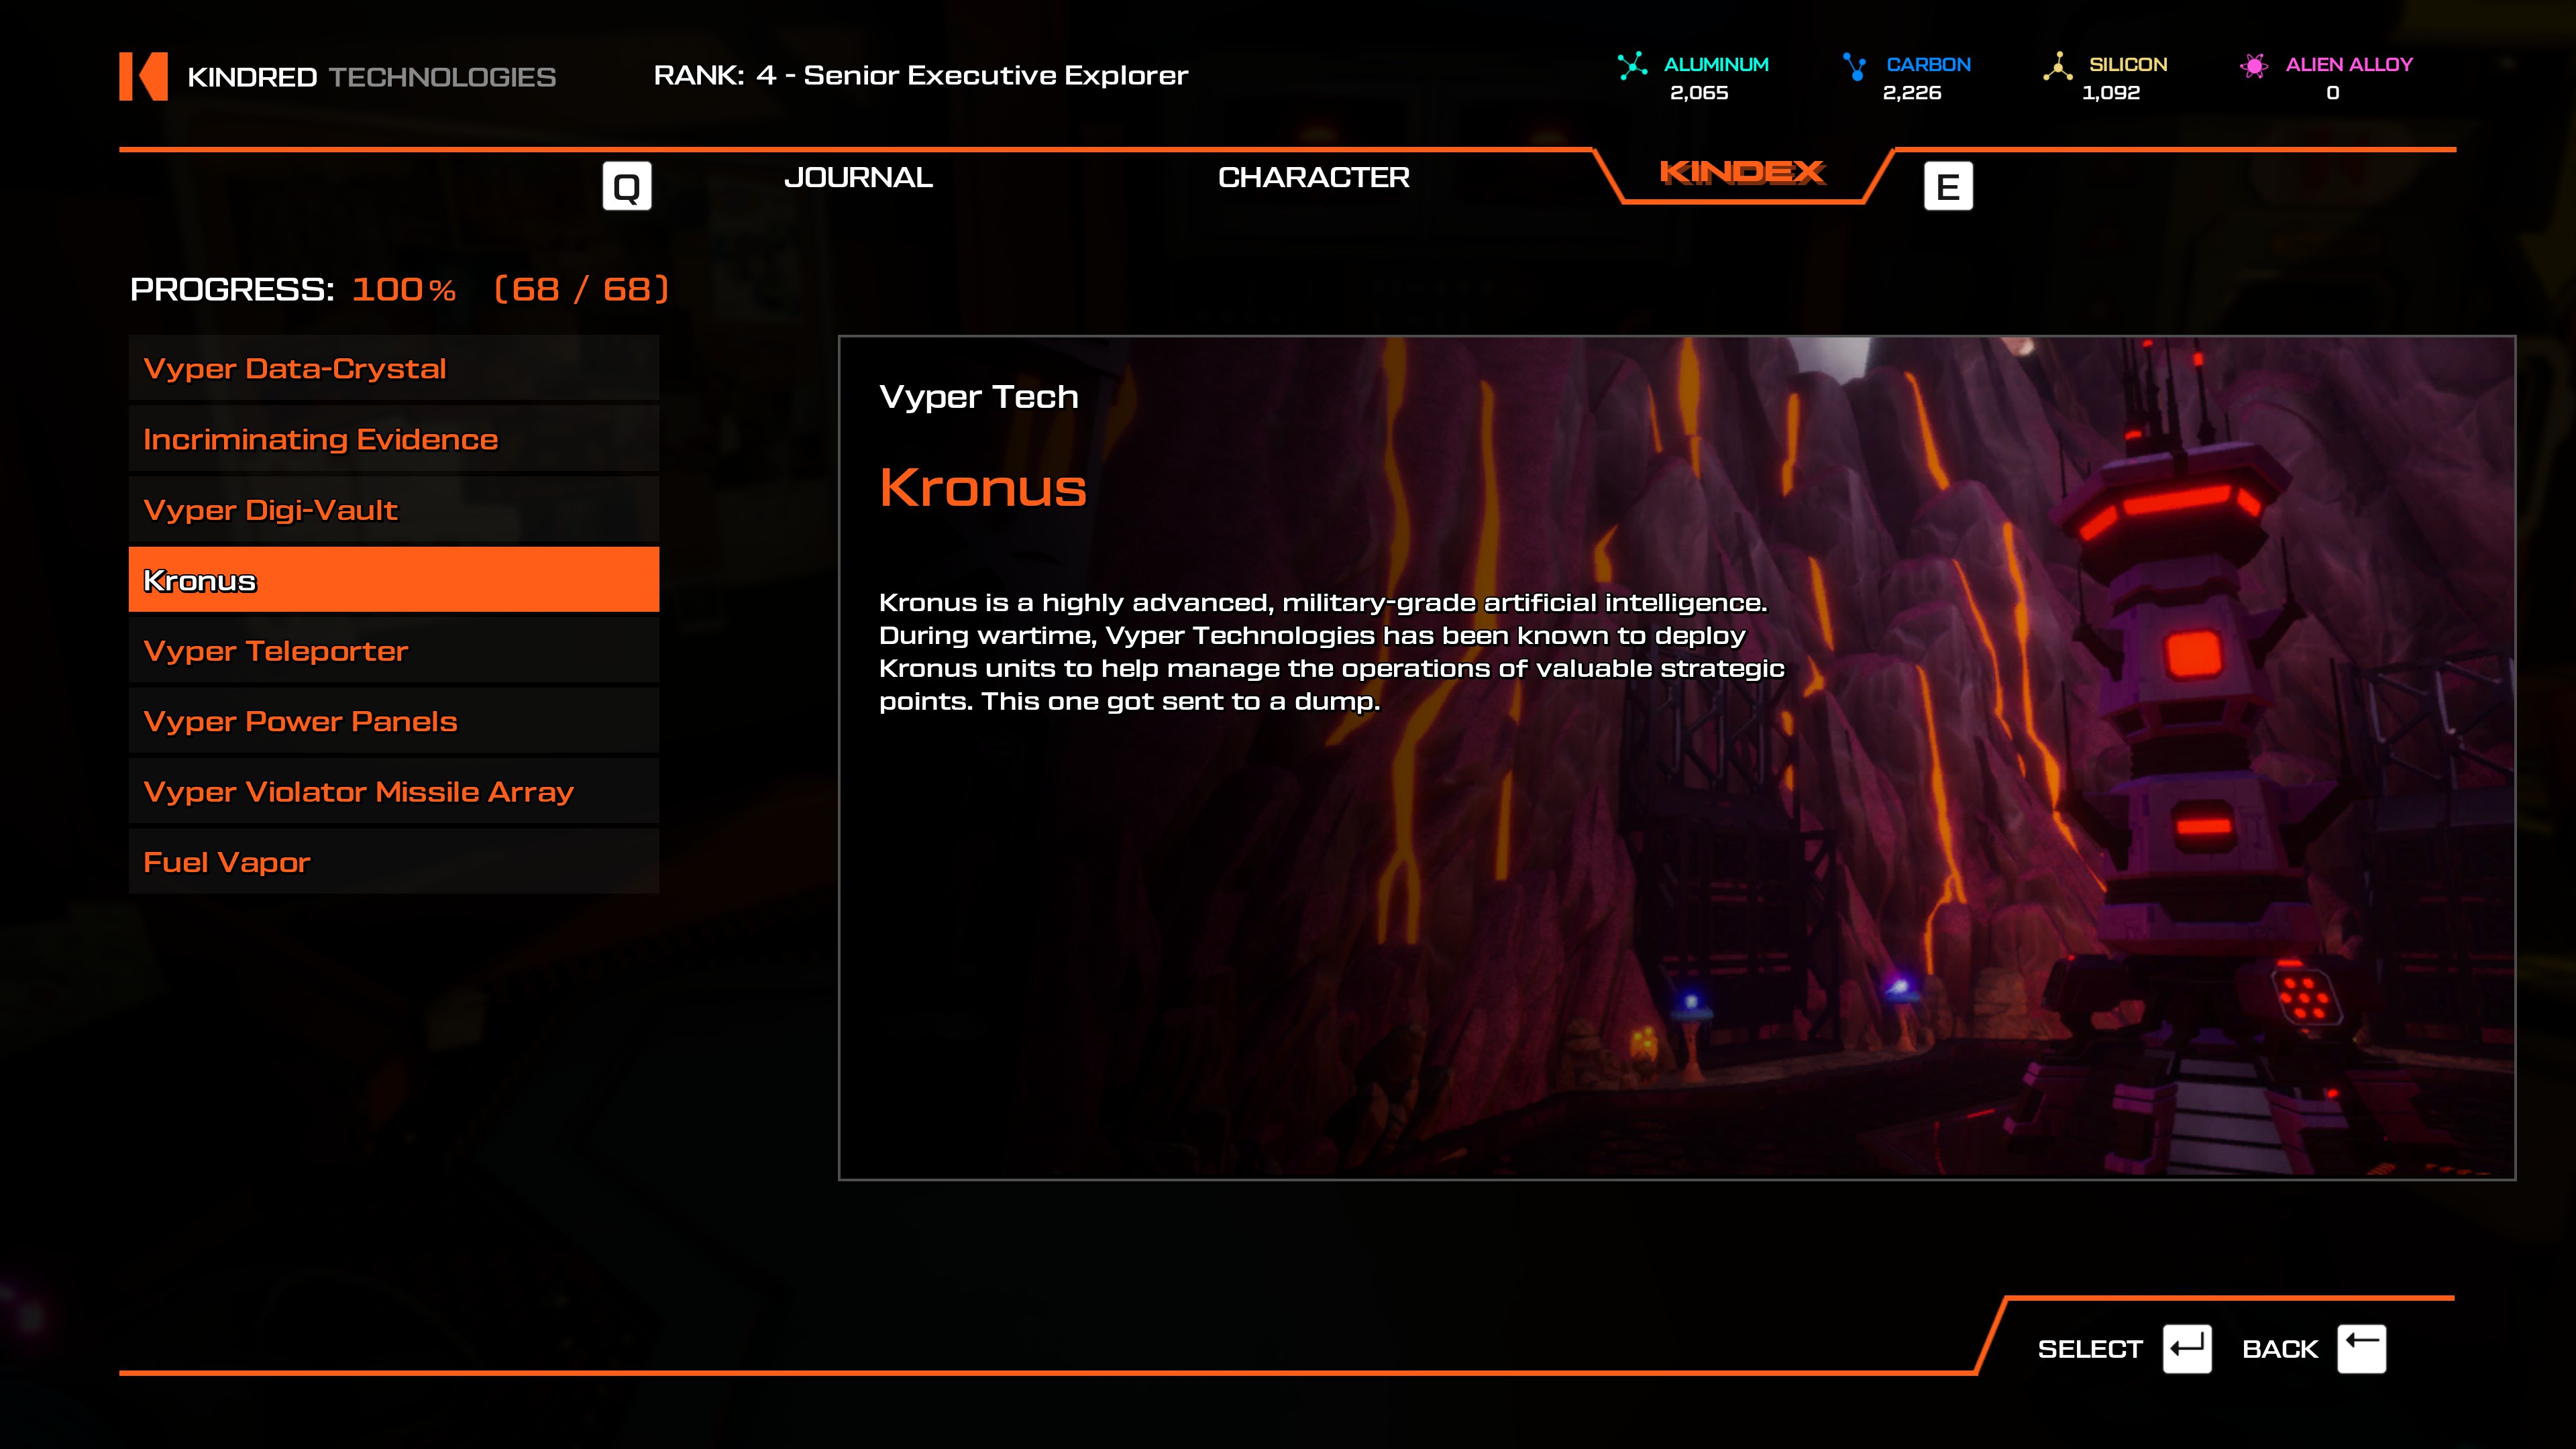
- Kronus' Dominion
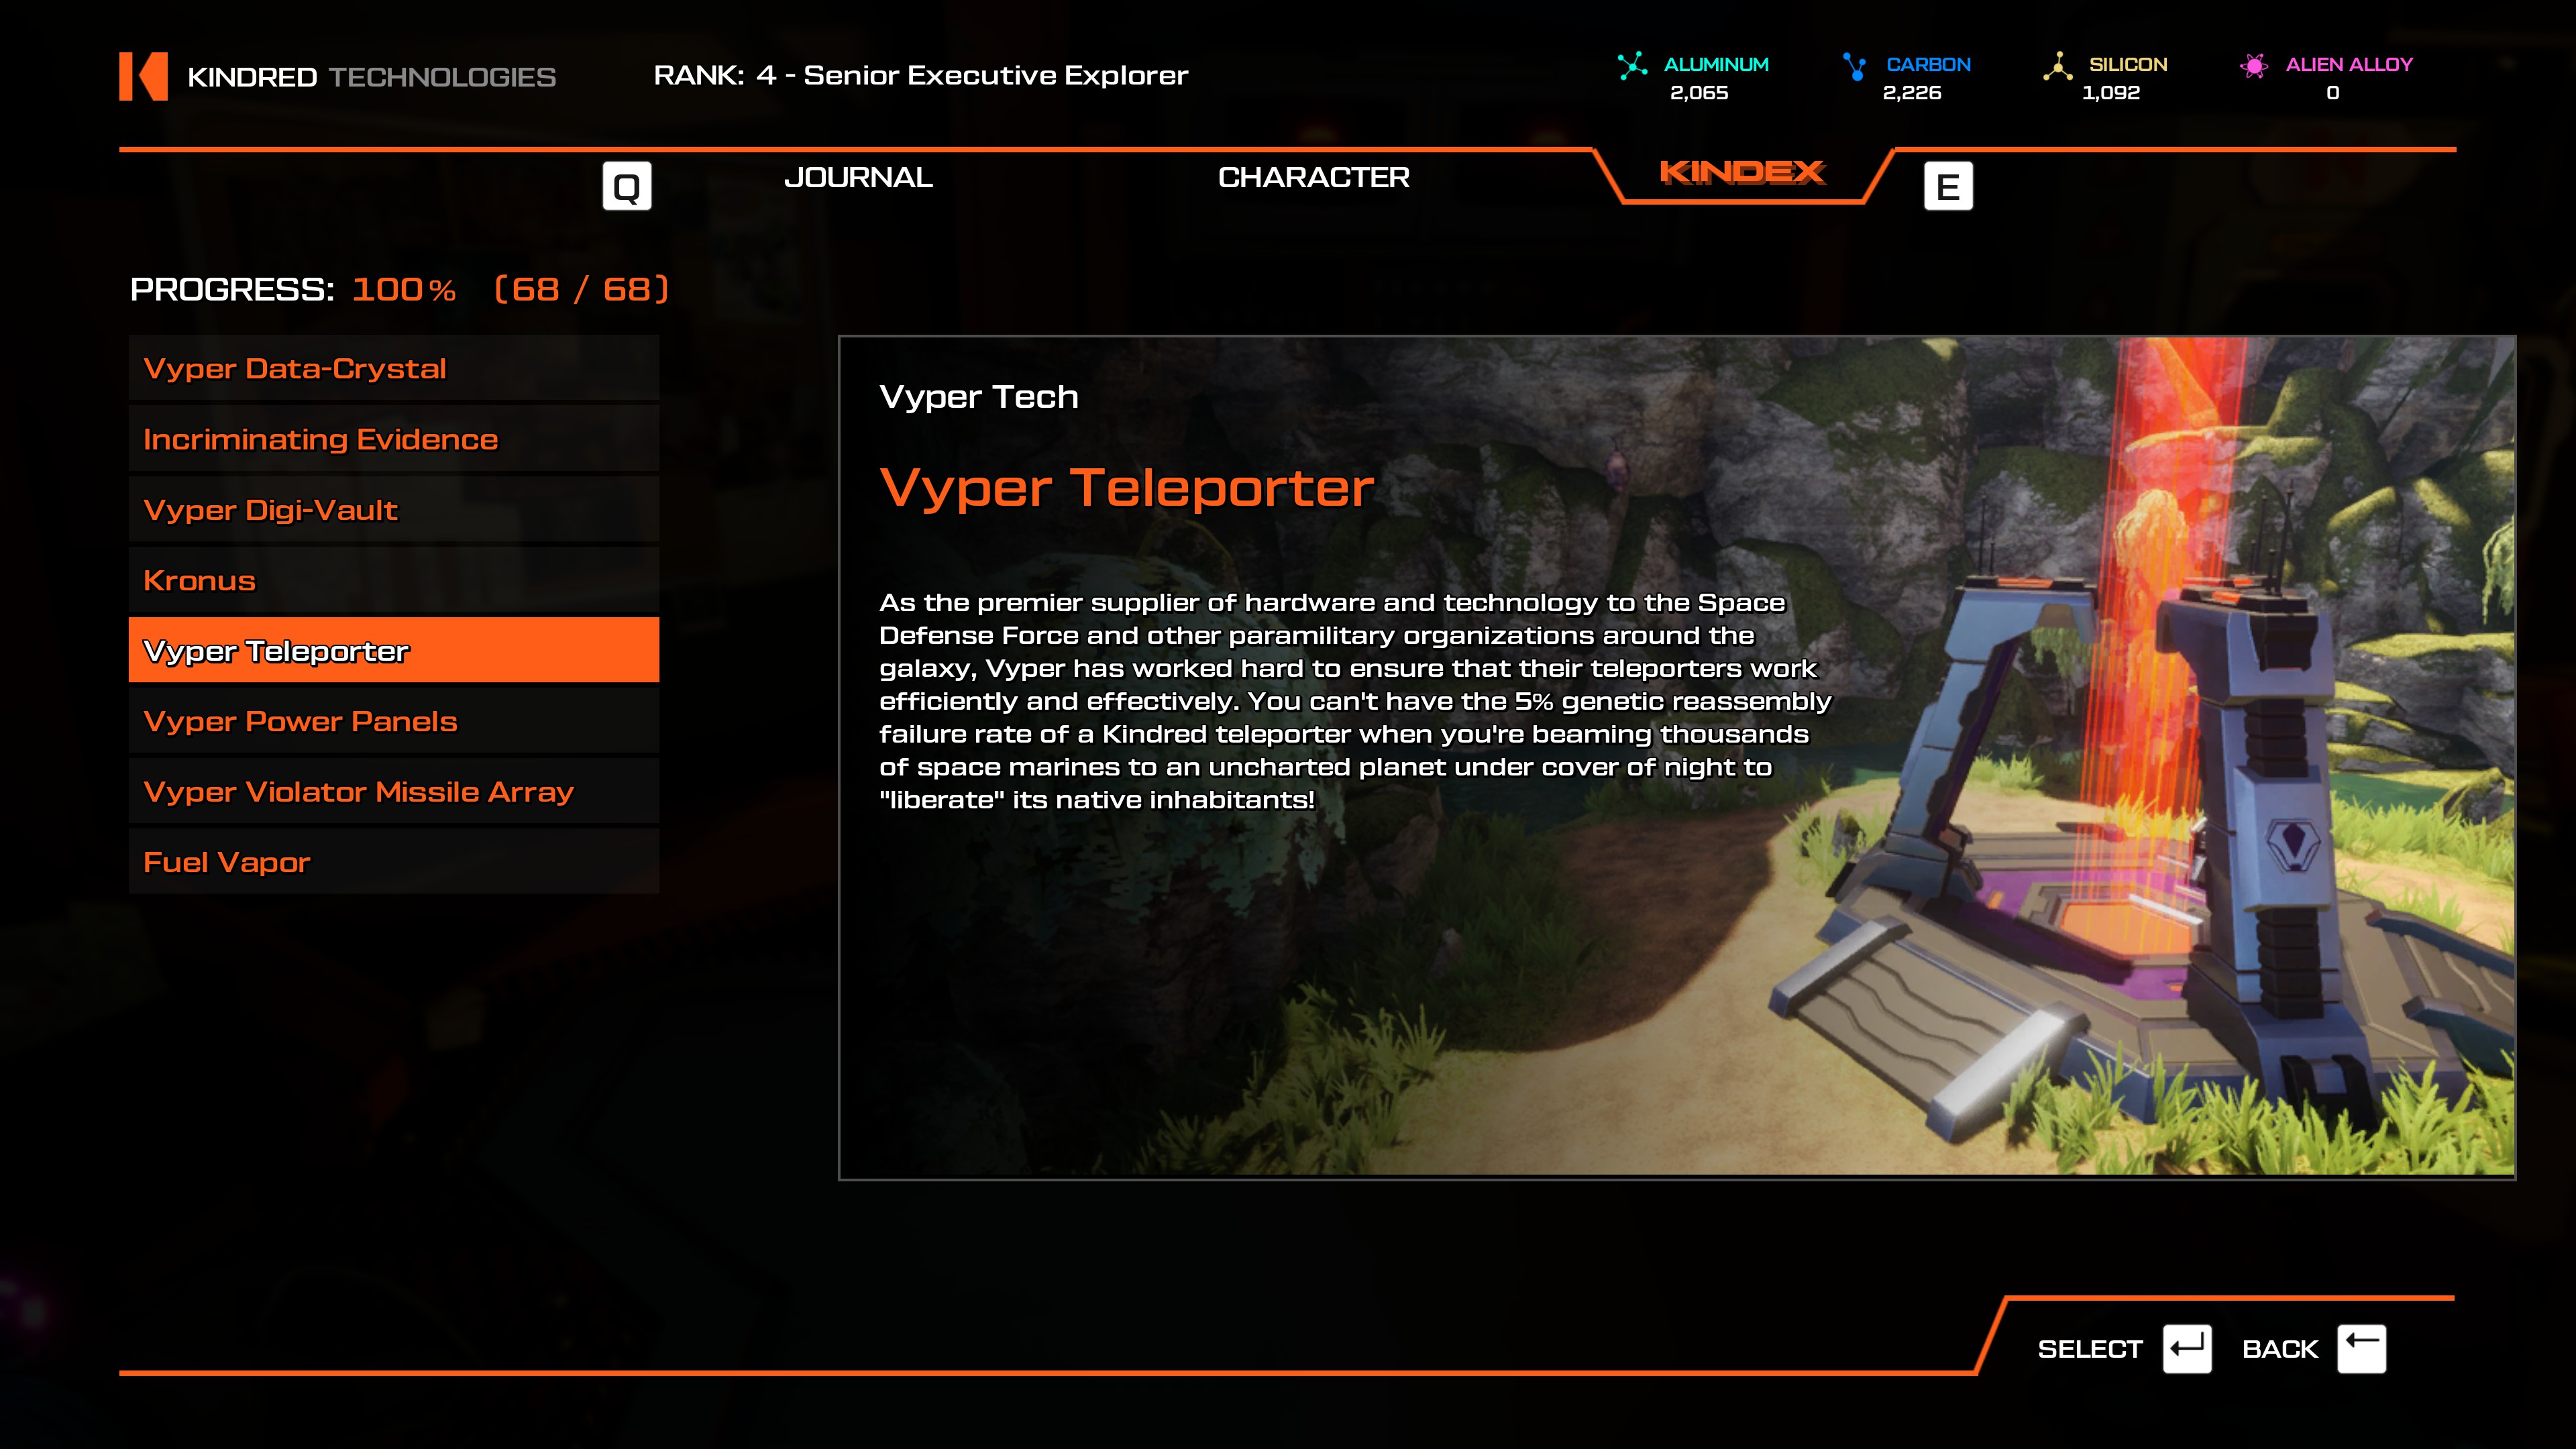
- Obtained by crafting after completing The Toxic Revenger .
- The Future Site of Boomerdale
- The Future Site of Boomerdale (Underwater)
- Kronus' Dominion (Vyper Base)
- The Vyper base between the beach and Gork's Gorge.
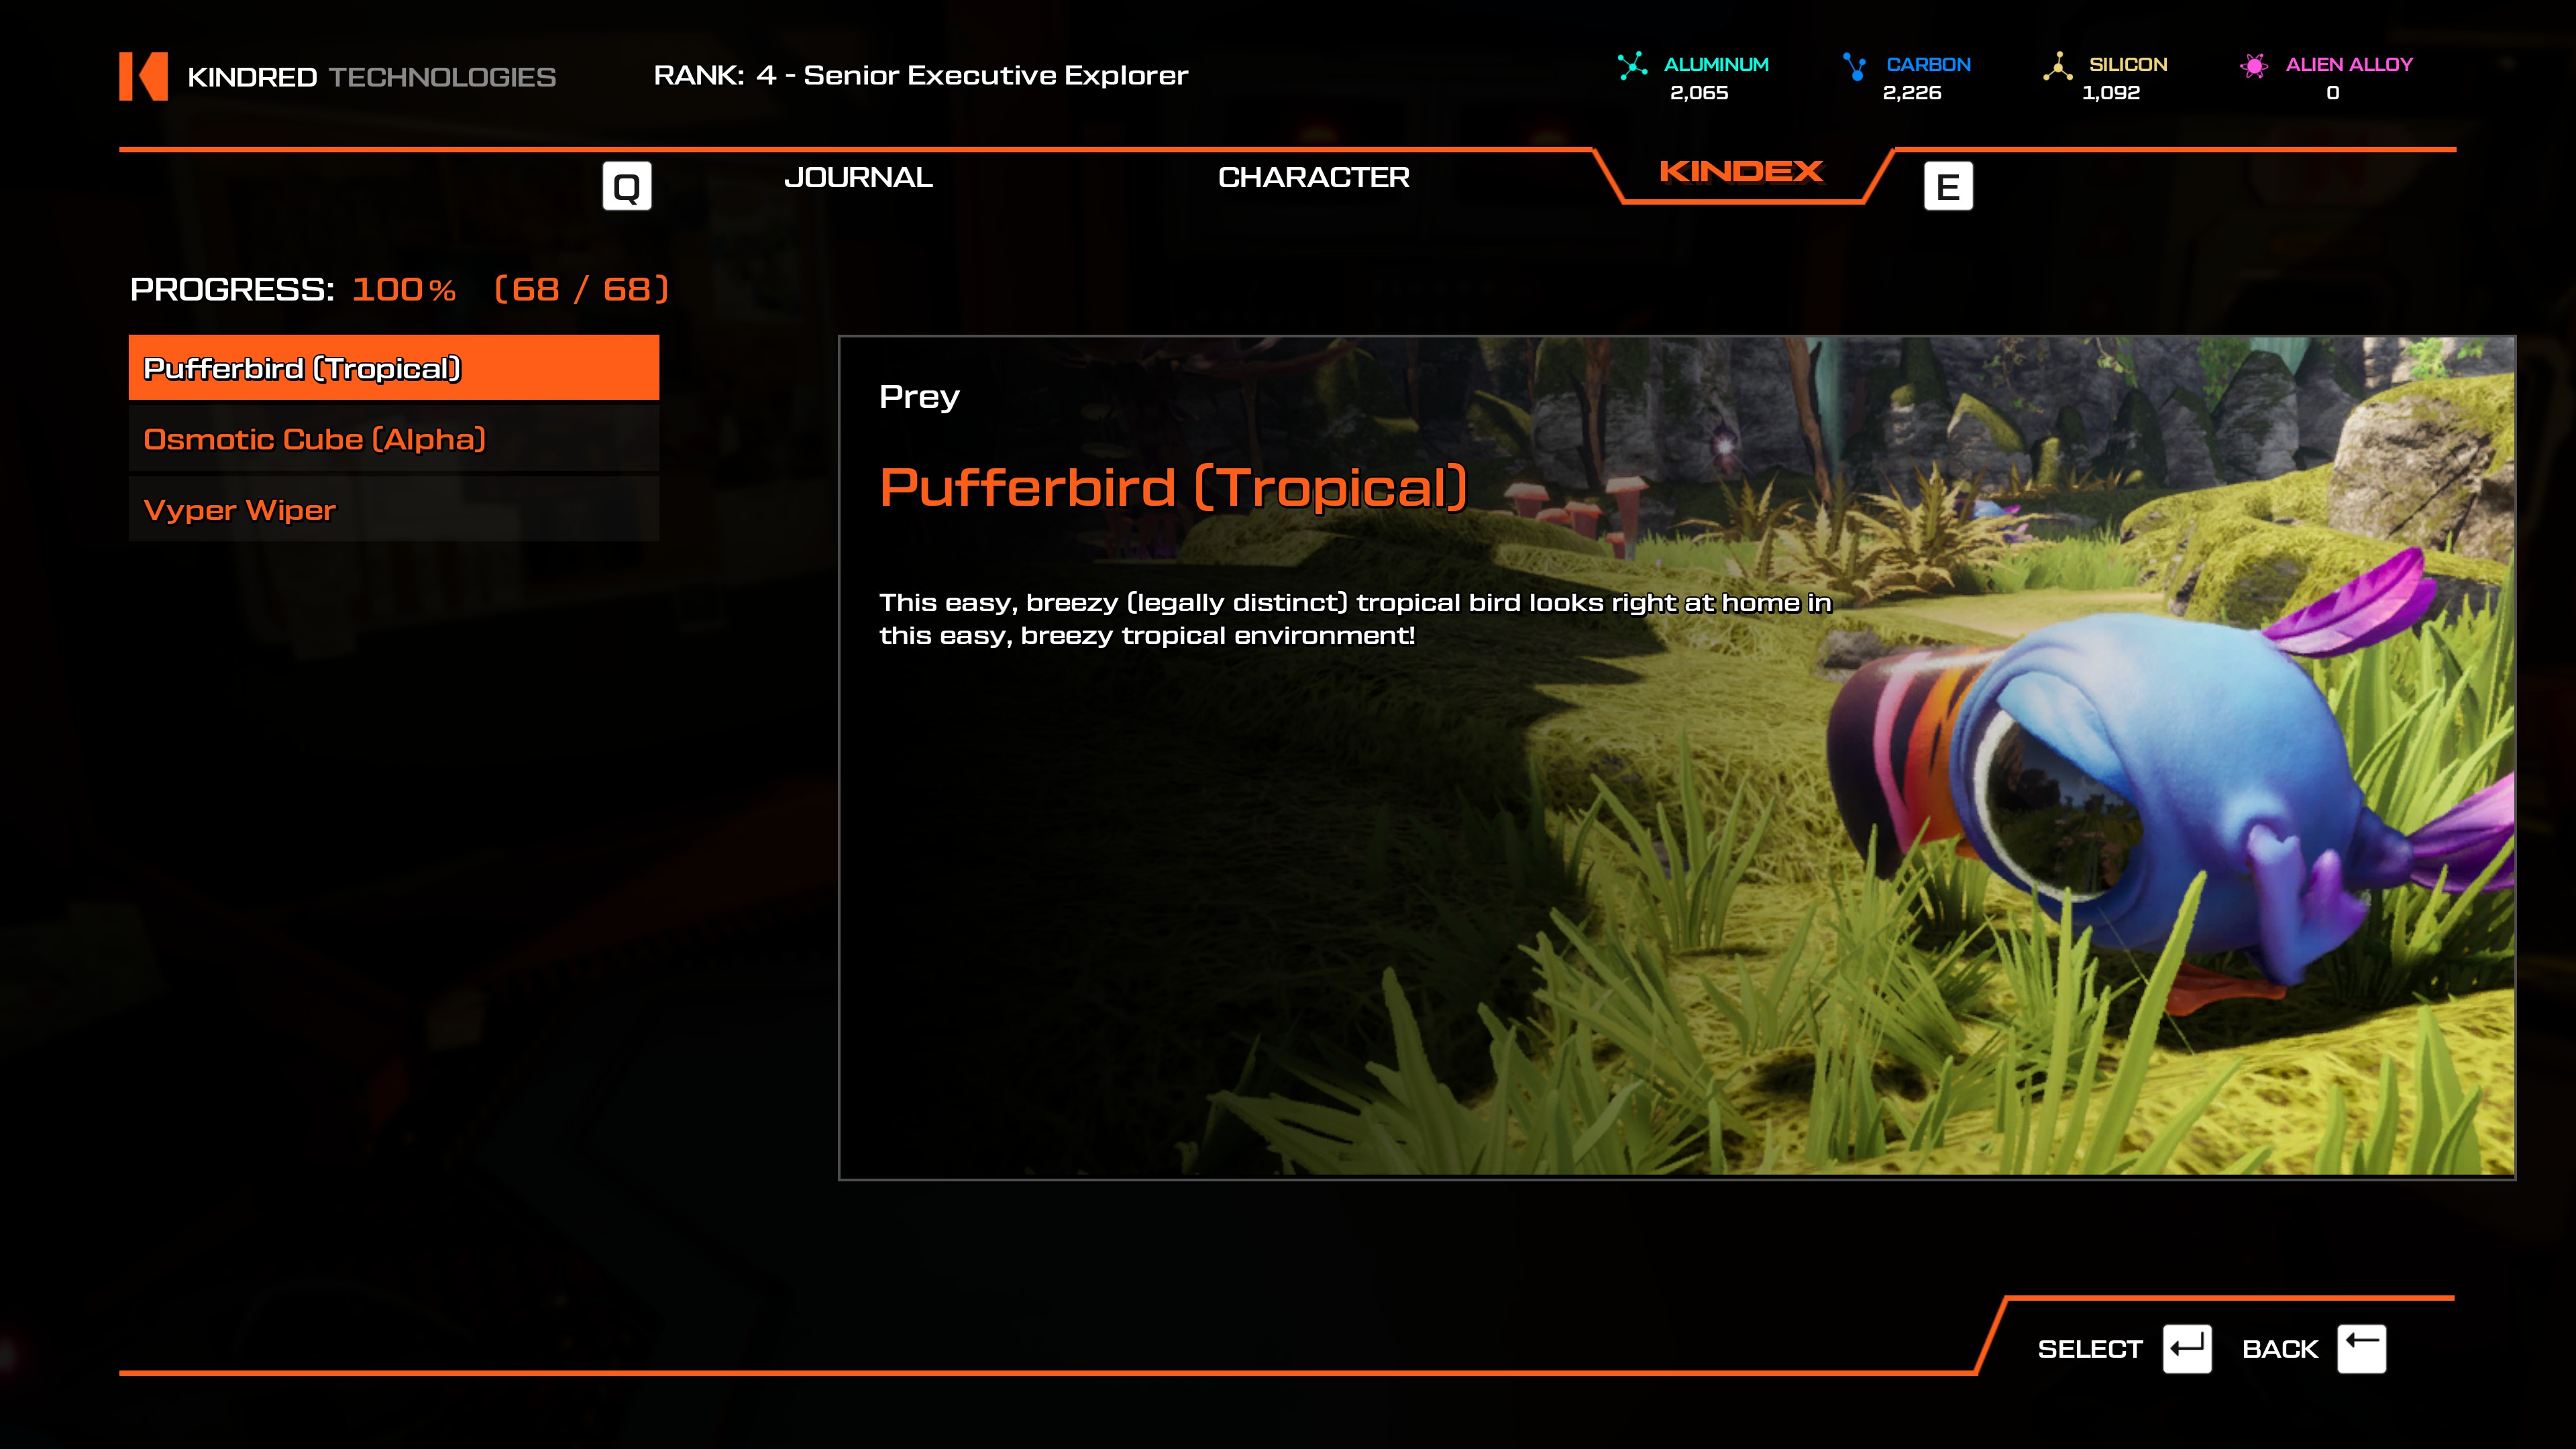
- Vyper base between Gorgeous Gork's Gorge and The Hissing Quagmire of Zyp. It's required for a puzzle, it's hiding in a cluster of Tentareeds. Don't worry if you kill it before scanning it, it'll respawn later.

- Changed Aluminum and Kapyena (Battle) images to the proper ones.
- Swapped Flootsnoot Matriarch and Insectoid Swarm images.
- Added locations for Glow Shrub and Splinter Timber.
- Added note to Gossamer Wood entry (Thank you Soultaker).
- Removed several other errors, unused lists, etc.
- Fixed a description. Thanks, Phaota!
- Various small grammar fixes.
- Changed up the wording in a few places and added some more info in others.
- Spruced up the format a bit. Now you have pretty achievement icons to look at while you read!

How To Unlock Grapple In Journey to the Savage Planet – Proton Tether
Reach more highest
Proton Tether is the gadget that will allow you to use Grapple and cover longer distances and reach heights. And it will get unlocked after a short while as you start playing Journey to the Savage Planet. Here is a step by step instructions on how to unlock Proton Tether in Journey to the Savage Planet.
How to unlock Proton Tether in Journey to the Savage Planet
Proton Tether blueprint will be unlocked soon after you complete the mission Fix Upper and find the Alien Alloy to repair the Javelin. Proton Tether will be unlocked during the mission to Investigate the Tower. Use the Fast Travel point to go to Meteor Crater.
Look on the right for pink crystals and a plant spitting out some orange liquid and walk to the right end corner towards the cave. There is another alien creature, a flower type that releases lasers from its eye. Walk-behind the creature and poke in the eye. The cave is filled with molten lava and you have to walk quietly to make your way to the other side. Things that will annoy are bat-like creatures called Boomerang-Hermit that will crash into you.
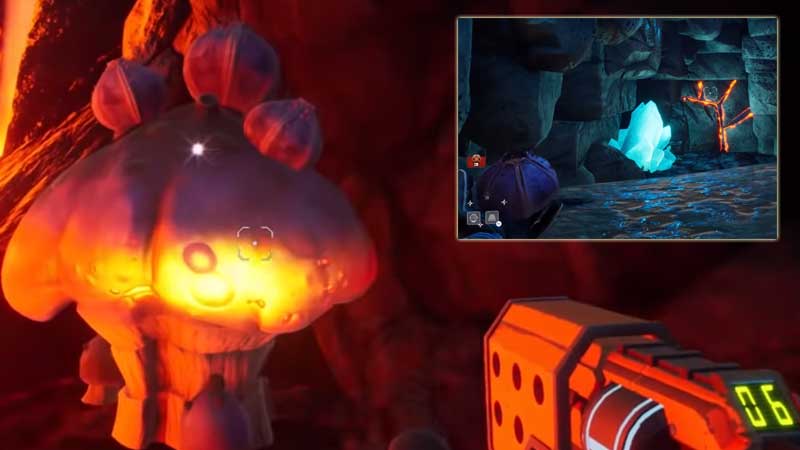
Breaking the wall will reveal Chamber of Intrigue, the shrine from where you can pull out the sample that will help you to craft Proton Tether. Return back to the Javelin and use the 3D printer to craft the gear. This is how you unlock grapple in Journey to the Savage Planet. There are grapple points, you can scan and find out over walls of mountains. The Proton Tether generates energy allowing you to pull yourself higher easily and cover bigger distances. You will also need 150 Silicon to craft the Grapple, which can be easily collected on your way towards the shrine. Using grapple is simple on PS4 hold L1 to aim to the grapple point.
How to use Grapple Seeds in Journey to the Savage Planet?
After unlocking the Grapple Gear (Proton Tether) you can now use Grapple seeds. Shoot the hanging sacks and grab some seeds. These seeds are widely available and you just have to shoot them to grab the seeds. You can then place them on the mountain walls to climb. But throwing Grapple seeds anywhere will not work. There are certain specific locations where you can grapple.
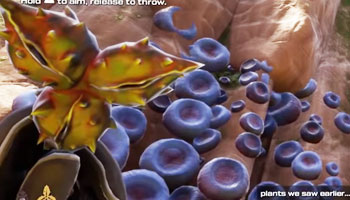
After getting the seeds to look for the following purple items on the mountain walls. This is the only place where you can throw the grapple seeds. If you throw it on the rocky wall the grapple point will not grow. So if you want to climb up spot the purple circle type plants on the wall and throw seeds on it. Aim high and after a few seconds, the grapple point will appear.
After placing the seed you can climb and stay in that position, do not worry you will not fall. You can plant multiple seeds one after the another and easily climb on top of mountains in Journey to the Savage Planet.
The next upgrade is Advance Proton Tether that will allow you to get yourself magnetically attached to a rail and cover longer distances. To unlock the Grapple Upgrade the game you will have to complete 4Th Best Detective Mission .
My journey as a gaming content writer began as a hobby, where I can eagerly jot down my thoughts and impressions of the latest releases, break down complex gaming concepts into digestible pieces, accessible to both seasoned players and newcomers alike.
- GT Originals
- AC Valhalla
- Genshin Impact
- Honkai Star Rail
- Street Fighter 6
- Project Slayers
How To Grapple In Journey To The Savage Planet

The majority of the progress in Journey to the Savage Planet is locked behind quests and tasks. Once you unlock a specific quest, the game does a pretty good job of walking you through the required objectives needed to meet your goal. Unlocking the ability to grapple is one such quest.
As you explore the initial areas you will eventually come across shining pods in obvious grapple locations. However, at first, you are unable to interact with these platforms. You need to scan it first using your visor scanner. Press Up on the d-pad to activate the scanner and then press R1/RB to scan the object. Objects you can scan are shown in a different color to the rest of the terrain.
This will then start the quest “A Higher Calling”. Once you complete this quest you unlock the Proton Tether, a futuristic take on the grapple hook. Follow the objective marker and it will lead you to a jump you cannot make, which starts the Jump! Jump! quest. Follow that to the Glimmering Cave of Wonder. At the end of the cave you will get the required material to construct the upgrade. Upgrade your thrusters and then continue with the A Higher Calling quest.
Blaine Smith
Leave a reply cancel reply.
Your email address will not be published. Required fields are marked *
- Skip to main content
- Skip to header right navigation
- Skip to site footer

Video Game News, Lists & Guides
Journey To The Savage Planet: How To Get Double-Jump & Grappling Hook Upgrades
Need help finding the double-jump and grappling hook? Here's how to get both of these early essential abilities.
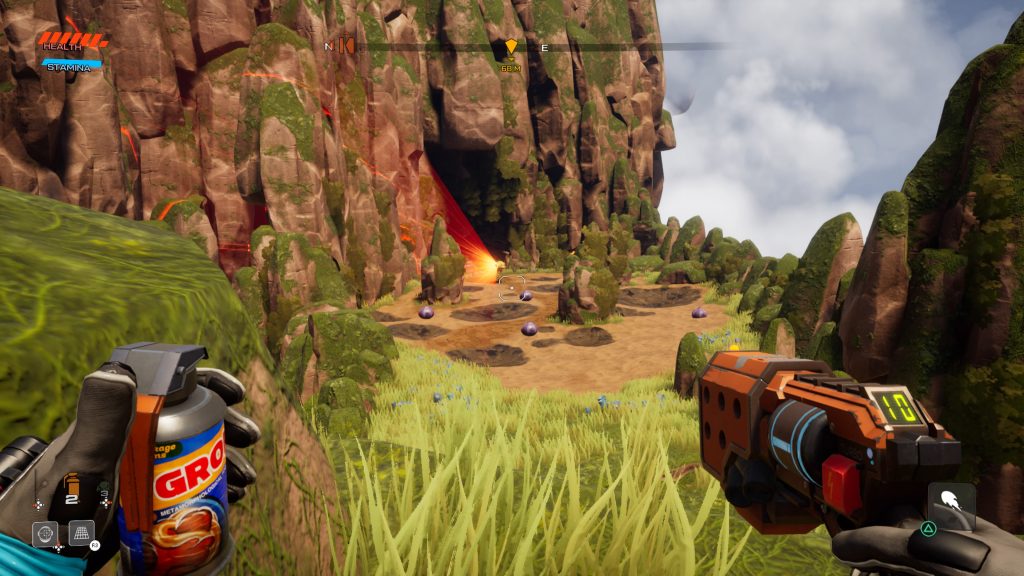
At the start of your Journey To The Savage Planet , you’re woefully ill-equipped for the adventure ahead. Unlocking the Nomad Pistol is easy enough, but grabbing the Jump Thruster (double jump) and the Proton Tether (grappling hook) is a whole lot harder. These two upgrades are essential, and you won’t be able to move around much at all until you get them.
I’m going to explain how to acquire these two important traversal powers. If you’re new to adventure games that don’t explain where to go or what to do, this can be a pretty challenging task. You won’t even get quests with helpful hints unless you go to a specific spot. There’s a lot to see and do in the early hours of the game, and if you just want to know exactly where to go, here’s a quick guide with all the info.
More Journey To The Savage Planet guides:
How To Complete The ‘Fixer Upper’ Quest | Alien Alloy Location | How To Get The Bombegranate Stabilizer | Cragdaw Boss Guide | How To Reach Rank 2 Field Explorer | ‘For Science!’ Guide | How To Get The Launch Thruster & Advanced Proton Tether Upgrades
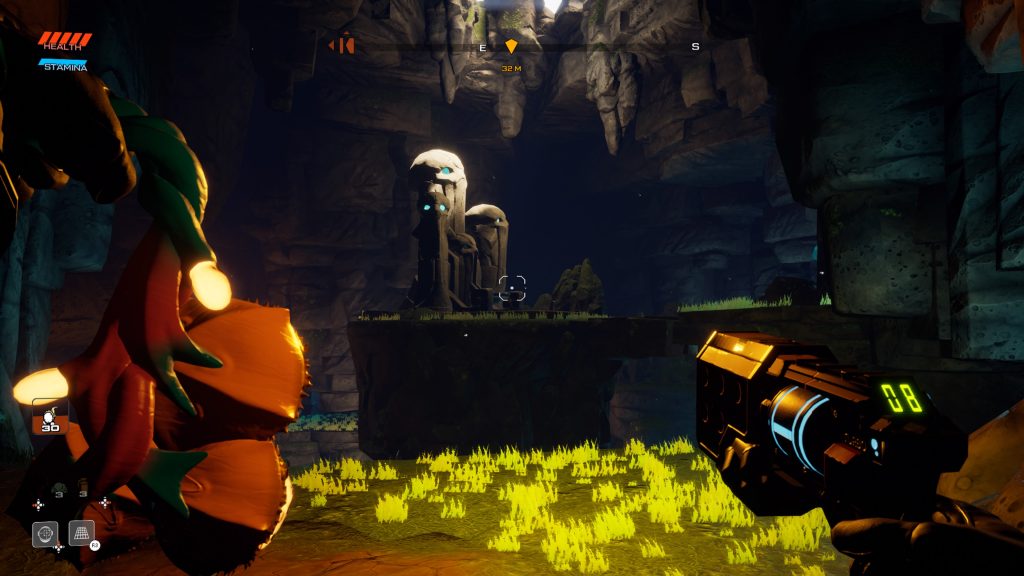
How To Get Jump Thruster (Double-Jump)
Once you reach the Verdan Wilds of Zyl, travel to the back-right and use your scanner to spot a huge statue across a small jump. Go near the statue, and you’ll unlock the ‘Jump! Jump!’ quest.
Follow it to the left side of the Verdant Wilds of Zyl. Behind the pink trees, you’ll find the Glimmering Cave of Wonder. Go inside, and crawl through the passage to the right. Ahead, grab a light from the glowing plant, and follow the path up to the Precarious Shrine.
Climb the cliffs up and around to the shrine, then extract the valuable weird goo. It costs 100 Carbon to construct at your 3D Printer.
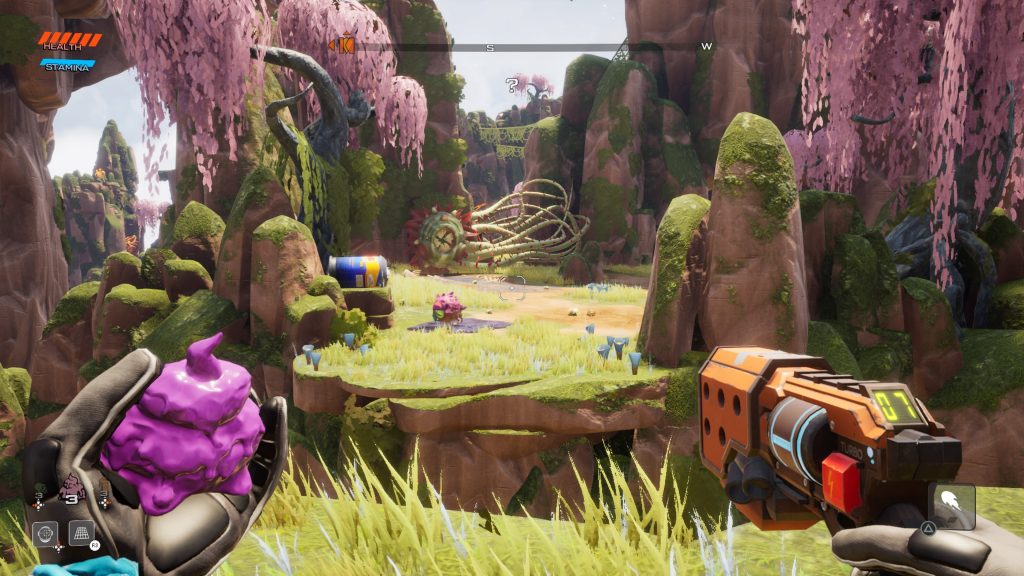
How To Get The Proton Tether (Grappling Hook)
In the Verdant Wilds of Zyl, look on the cliffs to the right — scan the anchor points to reveal grappling hook spots. You’ll find these in Shangtar’s Frigid Embrace too. That will unlock the quest ‘A Higher Calling’ — complete the quest ‘Jump, Jump’ to access the further reaches of the Verdant Wilds of Zyl area.
Return to the towering alien sculpture and use the Jump Thruster to reach an alien plant blocking your path. Kick (or use bait) to knock one of the Pufferbirds into the plant’s mouth.
This leads into the Tranquil Crevasse of Tranquility. Immediately drop down and go right, then kick another Pufferbird into a second Meat Vortex blocking your path to a ramp leading up. Do it again for a third, and you’ll reach an area with easy access to a teleporter.
Watch out for the Porcupods! Wait for them to pop open, then shoot the core to defeat them.
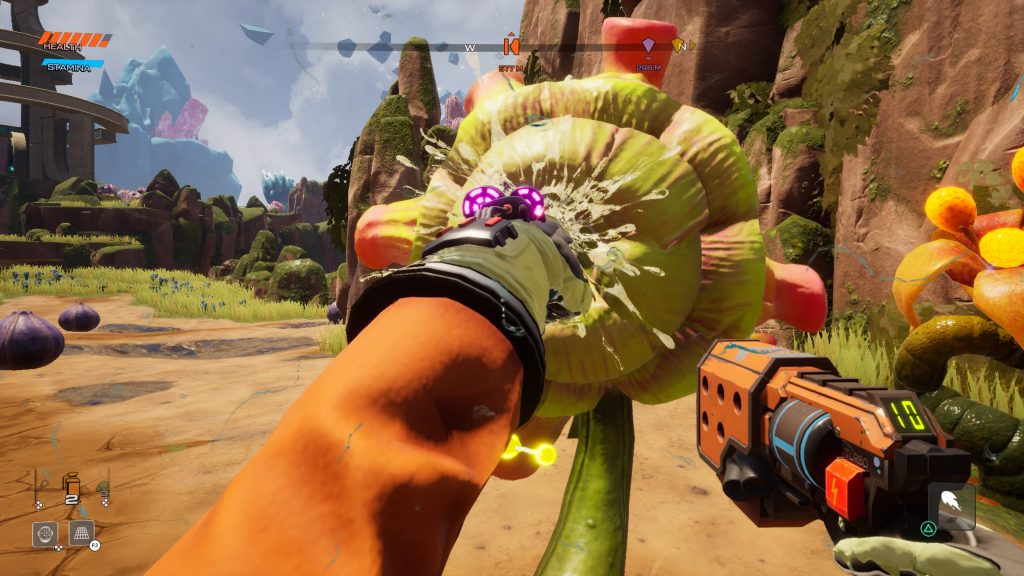
You’ll need to reach the Smoldering Abyss. From the teleporter, go right and look for a path guarded by a plant called a Sproutlook. It’s easy to spot — the entire area is bathed in red light. Avoid the red light and sneak behind it to defeat the plant and enter the abyss.
Inside, you’ll encounter Boomerbangs — annoying monkeys. To defeat them, unlock the charged shot upgrade for your Nomad Pistol. Only charged shots will destroy these guys.
To get through the cracked wall ahead, grab a Bombegranate from the large purple plants. It’ll burn you, so throw it quick! Continue into the massive lava chamber ahead, jumping across the platforms that sink into the magma, and grab another Bombegranate to blast through the exit cracked wall.
It leads you to the Chamber of Intrigue, where you’ll find the mysterious alien component required to craft the Proton Tether grappling hook. Return to the ship, and you can craft the Proton Tether with 150 silicon.
About Kevin Thielenhaus
- Patch Notes
- Hardware and Tech
- PC Invasion Staff
Journey to the Savage Planet guide: All Alien Tablet locations
There are 10 Alien Tablets in Journey to the Savage Planet . Scanning them will unlock some extra videos that you can watch in the Javelin, and you’ll complete the “Alien Cinema” sidequest as well. This guide lets you know all their locations.
Note: Some locations may be unreachable unless you have fully upgraded your gadgets (ie. Quadruple Thrusters). If you need help with upgrades, we’ve got you covered with our Science Experiments and Explorer Rank mini-guide .
Journey to the Savage Planet: Alien Tablets guide
(1) The Landing Site – Outside the Javelin
Make your way past the frozen caverns and, once you reach the wide-open area, look to your left. You’ll spot the carcass of a giant mammoth.
Head inside the cave and you’ll see a doorway. Use your Shock Fruit to keep it open.
The Alien Tablet is inside.
(2) The Itching Fields – Planetary Flotsam
This will likely be the first Alien Tablet that you’ll come across in Journey to the Savage Planet .
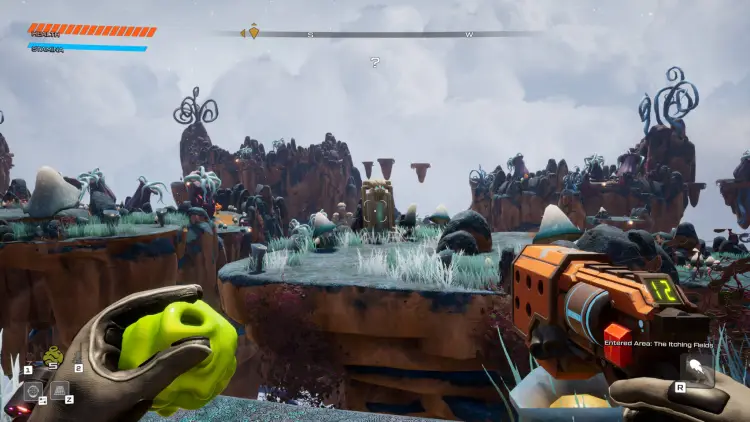
It’s right in front of the fast travel spot. You can’t miss it.
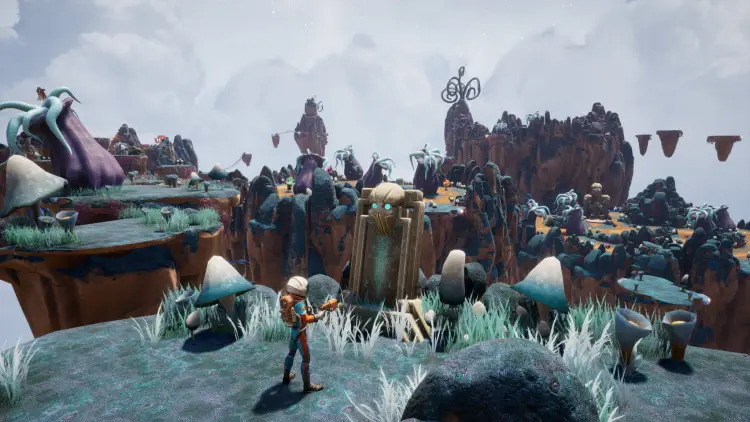
(3) The Itching Fields – Festering Chasm
From the fast travel point, make your way a bit to the north until you spot a cluster of giant mushrooms. Look to the west and you’ll see several grapple nodes.
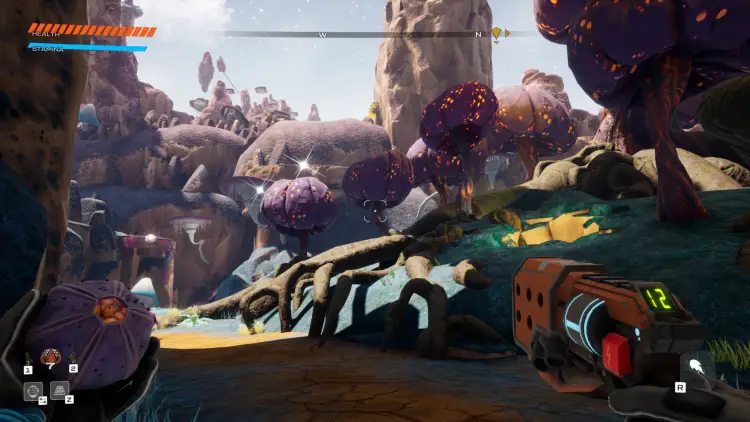
Keep moving towards that direction and you’ll spot an opening.
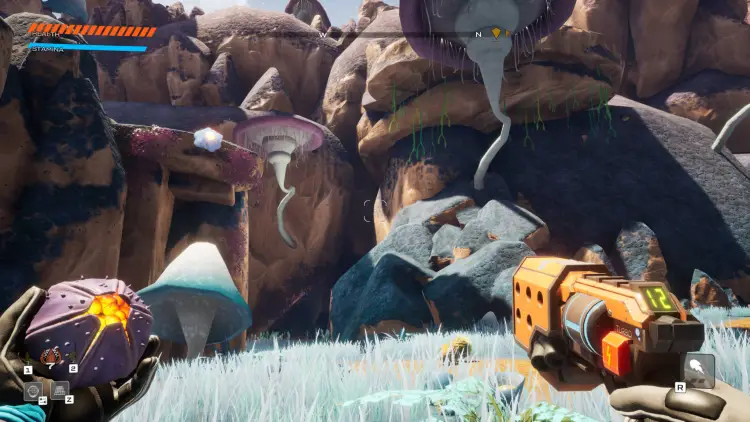
Use Grapple Seeds on the barnacles.
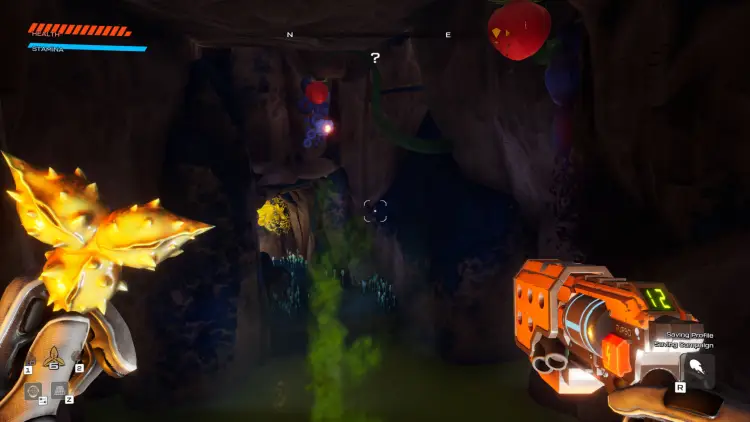
The Alien Tablet is at the end of the cavern.
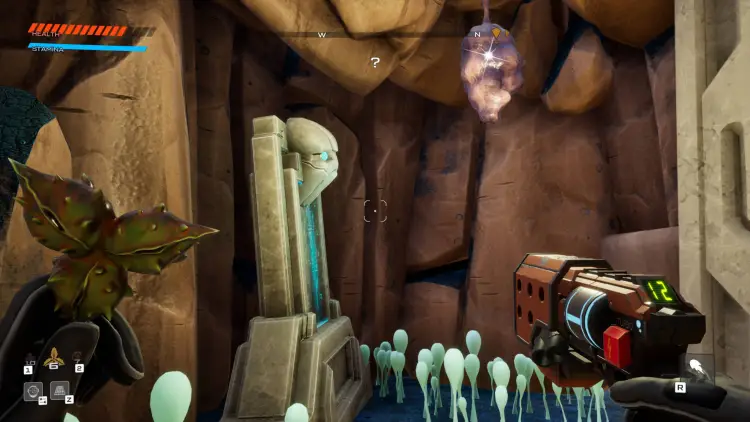
(4) The Itching Fields – Fungi of Si’ned VII
From the fast travel point, head north past the alien altar. Once you reach a pond, you’ll see a giant mushroom and a structure that you can climb on top of.
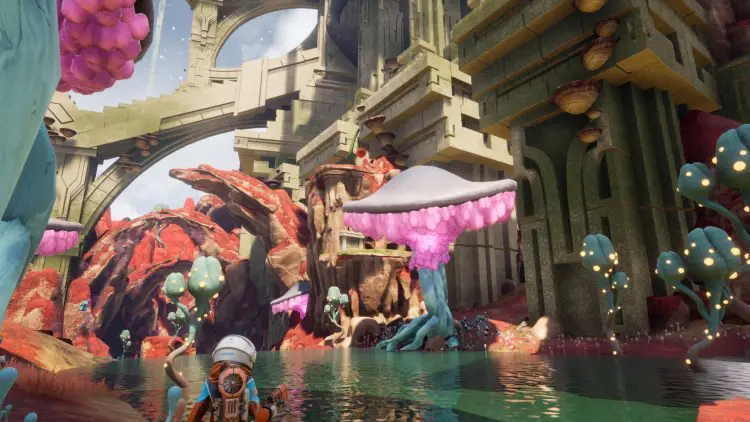
Use your jump thrusters to climb up.
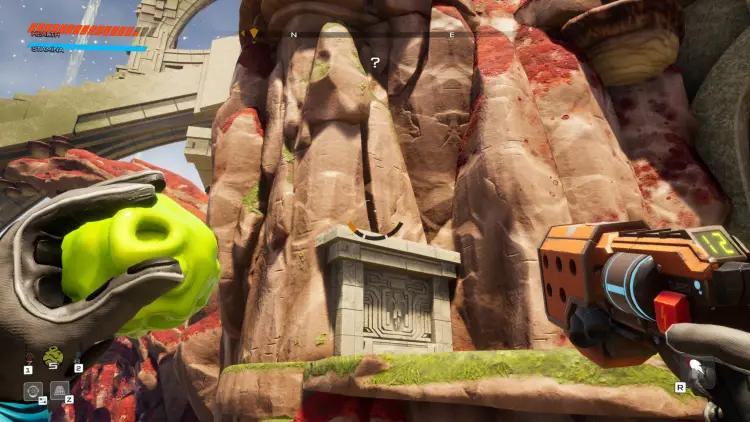
You’ll spot a small hole below the Bombodoro fruit.
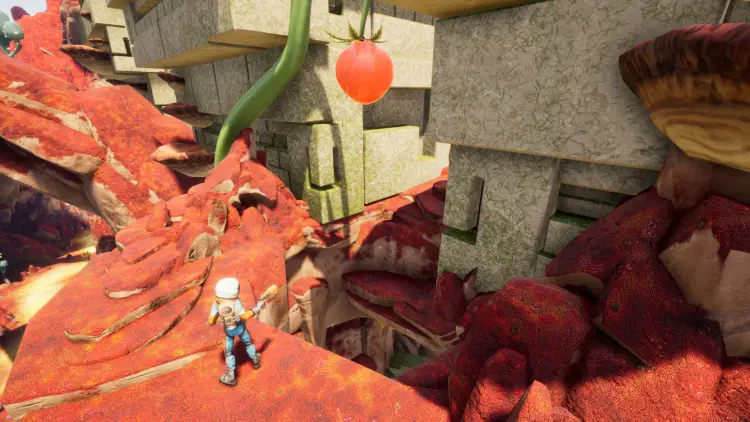
Down there is another Alien Tablet.
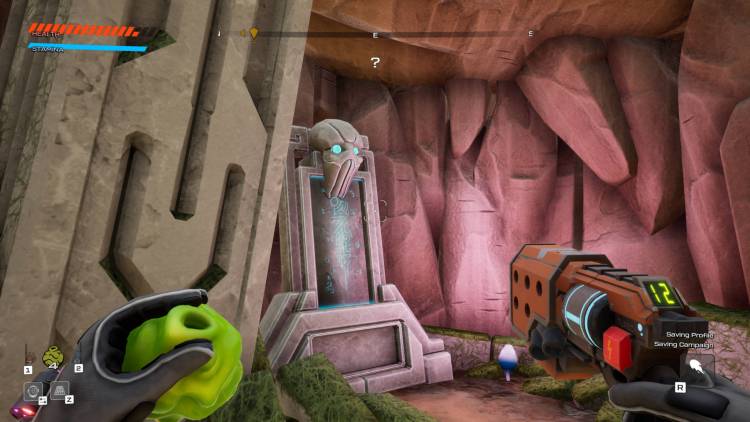
(5) The Elevated Realm – Xerophilous Landing
From the fast travel point, make your way to the northeast. Take a look at the edge of the cliff and you’ll see a grappling node.
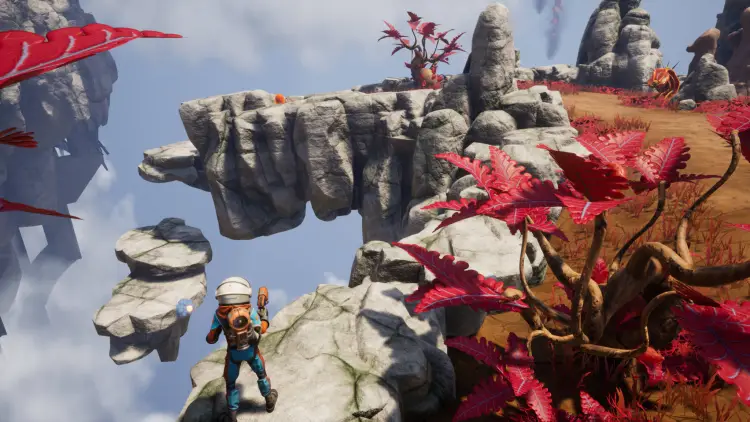
Once you drop off, you’ll spot a hidden cavern. Use your Shock Fruit to keep the doorway open and break the floor with your stomp.
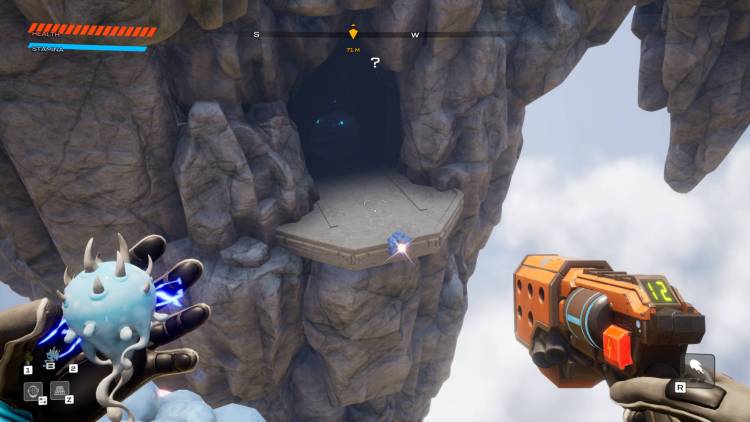
This area is called Plork’s Sizzling Gauntlet, and you’ll notice that countless lasers have been activated. The goal is to make it all the way to the end. Hop, quad jump, and slide if you can.
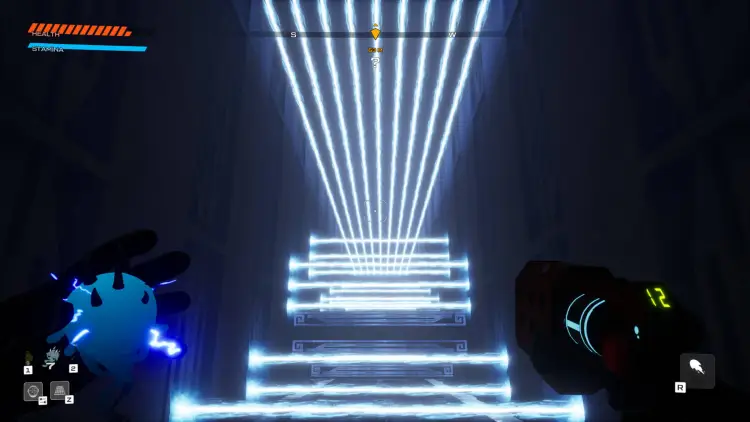
In case you die, there’s an easier way of doing this. Before dropping down, just use up all your jumps to get further ahead before you touch the floor. You should be close to the end once the laser trap gets activated.
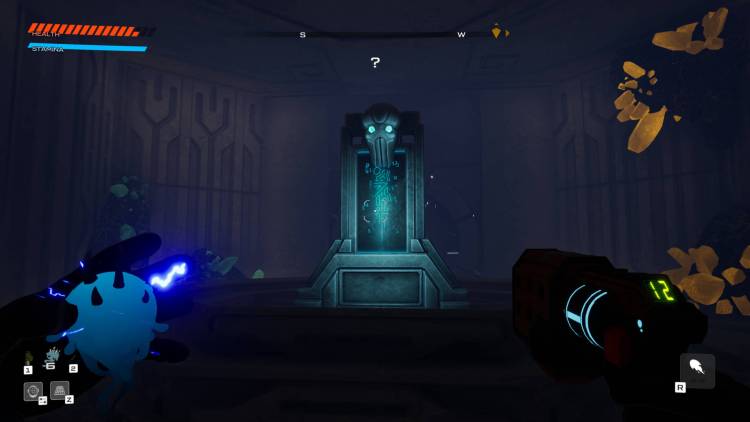
(6) The Elevated Realm – Repaired Teleporter
Go east past the Cacnut plants and Shnozos.
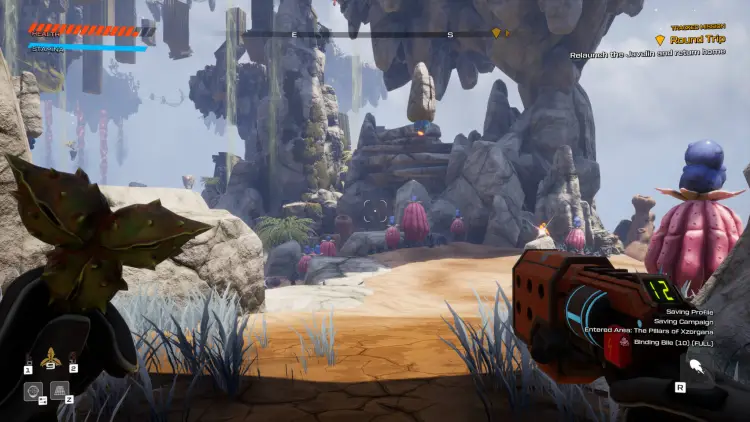
You’ll eventually see a barnacle-covered pillar that’s jutting out.
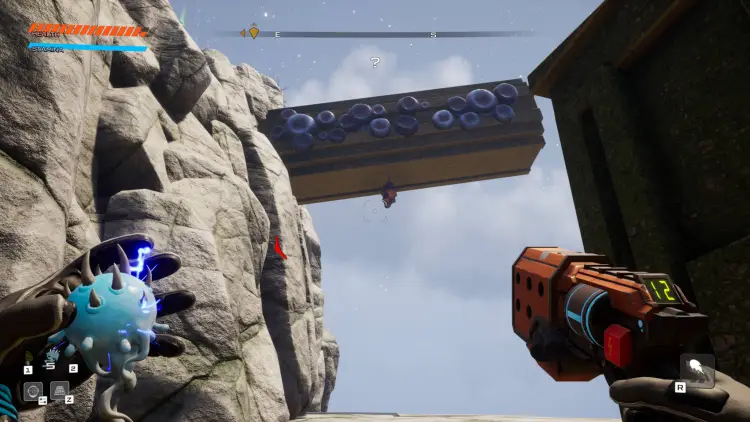
Right below are some purple crystals that you can shoot which will reveal a secret passageway.
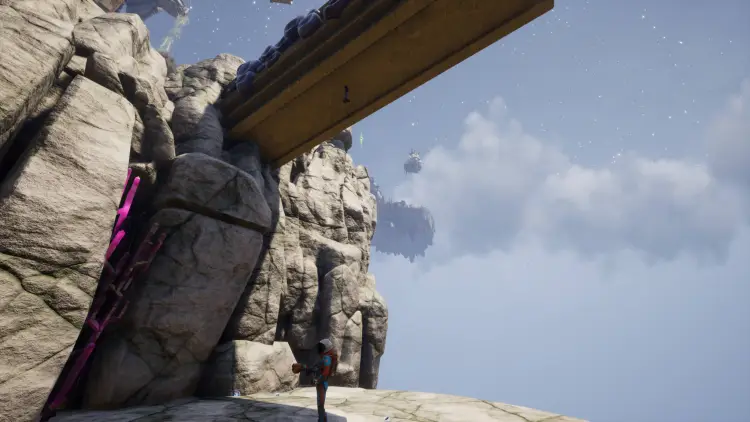
Use Grapple Seeds on the barnacles here.
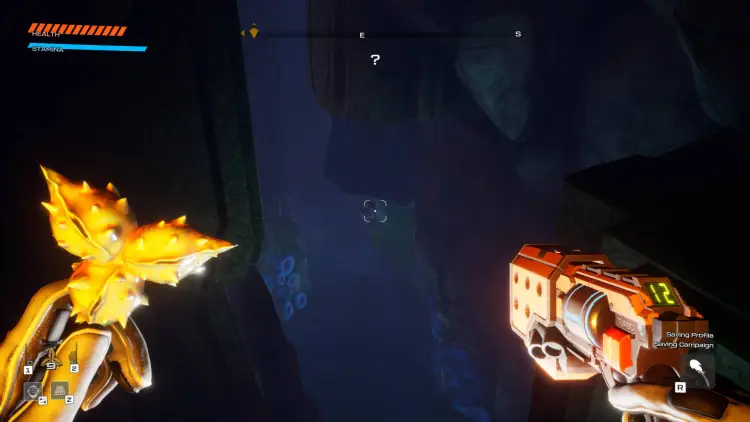
At the end of the cavern is another Alien Tablet.
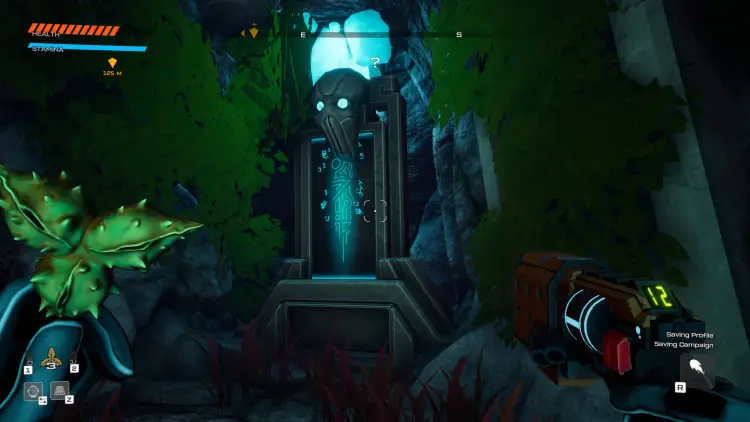
(7) The Elevated Realm – Tears of T’bo
You’ll see a pond with a small waterfall nearby.
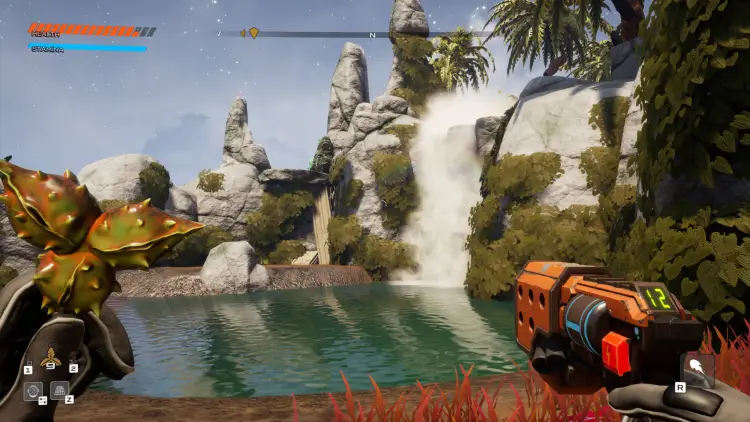
Jump above this area and make your way across the platforms. Use your Grapple Seed on the barnacles in the distance.
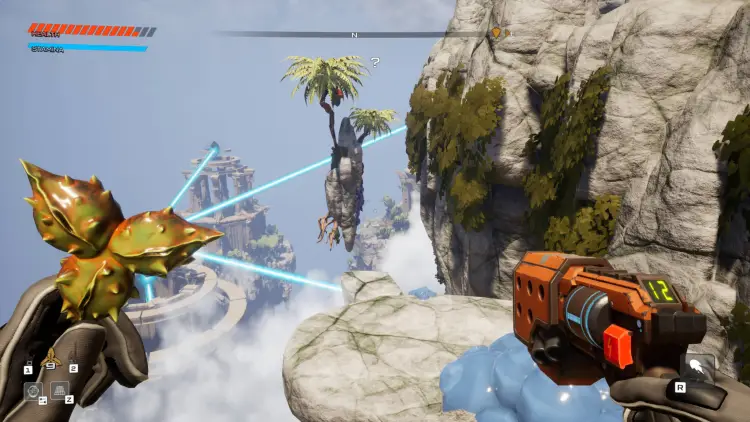
You should be able to scan the Alien Tablet while clinging to your grapple.
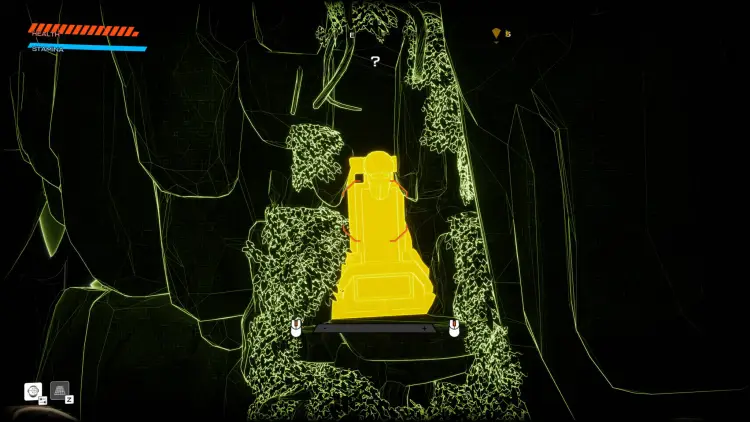
(8) Within the Spire – Moist Vestibule
Make your way to the pit’s first level. Just make sure you don’t end up falling straight to where you fought Teratomo.
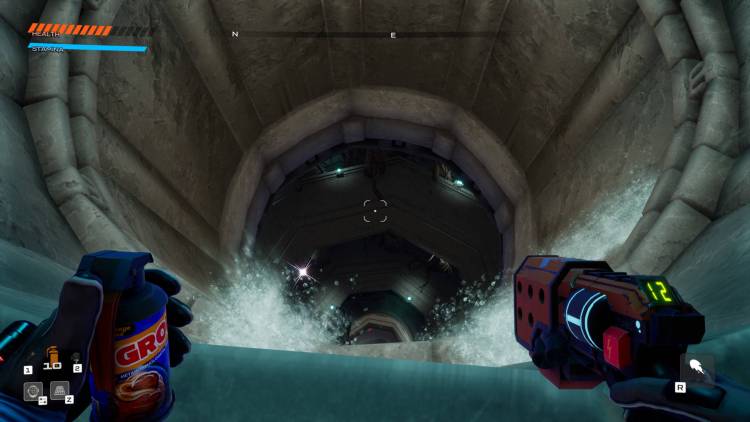
At the first level, you’ll see giant roots.
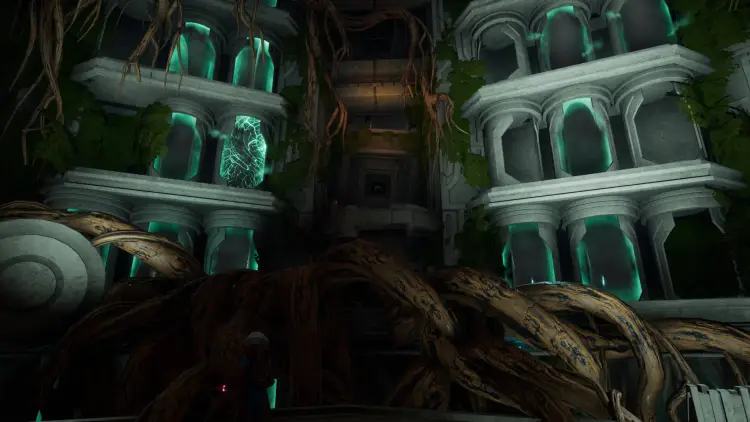
Make your way to the top of that and you should be able to crawl through an opening that leads to a room with an Alien Tablet.
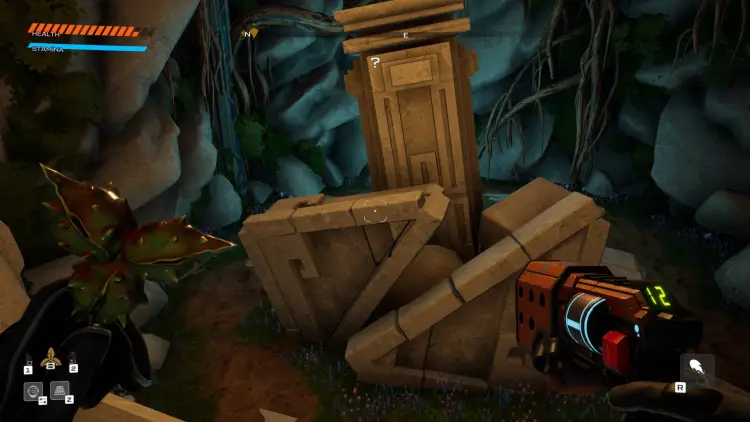
(9) Within the Spire – Moist Vestibule
From your current location, make your way down one more level. This is the part with molten lava falling on the floor.
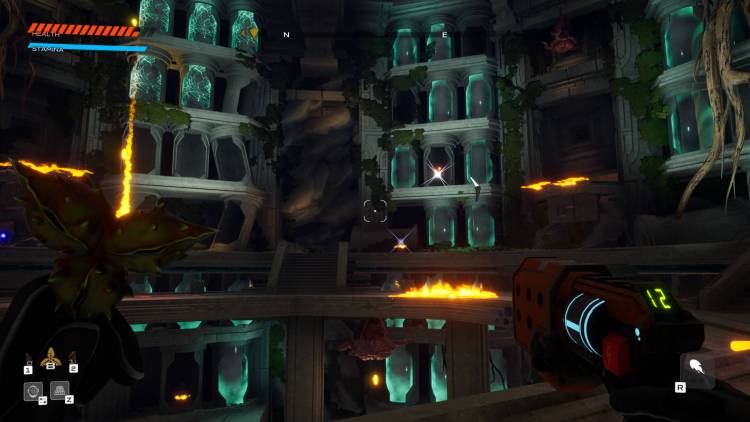
One of the sections has a pool of molten lava and a crawlspace. Make your way there and crawl past the burning liquid until you reach a secret room which has the tablet.
(10) Within the Spire – Moist Vestibule
Make your way down to the third and final level (the one before the Teratomo boss fight). You should see a circular pillar that’s fallen on its side. You’ll also spot the final Alien Tablet high above that inside one of the vats.
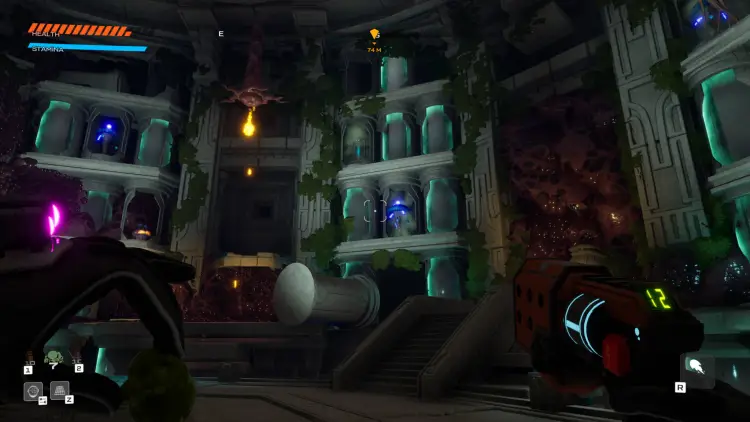
Use your fully-boosted charged thruster jump to reach the landing. You should be able to scan the Alien Tablet.
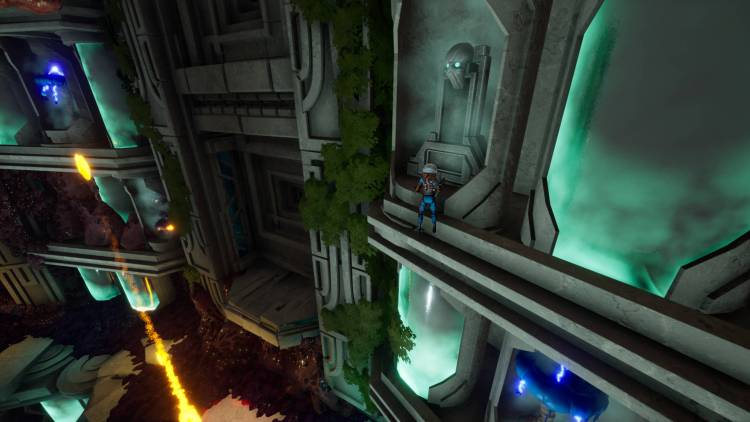
Congratulations! You’ve found all the Alien Tablets in Journey to the Savage Planet . You also completed the “Alien Cinema” side objective. Go ahead and watch the short cinematics back in the Javelin.
Journey to the Savage Planet is available now via the Epic Games Store . You can head over to our guides and features hub for more info.

How to beat Rawiri in Temtem
Tips on how to vanquish the second Dojo Leader in Temtem, Rawiri.


How to use the live sampler in Journey to the Savage Planet
Learn how to use the live sampler to catalogue the creatures of the wild, wild world you inhabit in Journey to the Savage Planet.
How to grapple in Journey to the Savage Planet
Learn what Grapple Seeds do and how to grapple by unlocking the Proton Tether in Journey to the Savage Planet.
There’s so much weird and wacky stuff around in Journey to the Savage Planet that it’s easy to become destracted and lose sight of your goals. You were sent to this planet to catalogue the flora and fauna that inhabit it, and that means using your handy Live Sampler. You’ll need to use this device to level up your researcher rating, but you might be having trouble actually getting any readings from it. Not to worry, we’ll help you earn that research degree by teaching you how to use the live sampler in Journey to the Savage Planet.

If you’re anything like us, you spent a good deal of time after earning the live sampler just running around jabbing each and every creature and thing you could with its pointy end. Unfortunately, this isn’t a device designed for that purpose. To use the live sampler in Journey to the Savage Planet, you have to jab it at the specific creatures requested in your quest log.
Start by opening up the Journal quest menu (middle button on your controller on PS4), then check the Live Samples quest under the Science Experiments tab to see which aliens you’re after. One of the first missions will ask you to sample a pufferbird and two other creatures, anything else will cause a red hand symbol to pop up, showing you its incorrect. This means you need to scan the aliens you meet to learn if they’re the one you’re after.
Once you find one, select the live sampler from your utility menu with left and right on the D-pad. With it equipped you must run or sneak up to the creature and hit R1 on PS4 or RT on Xbox One to stick it in them. Pull it off successfully and you’ll get a green thumbs up notification from the live sampler. Once you collect all the animals requested, you’ll complete the mission and be given a new set of creatures to sample from your Javelin.
Remember, the item is called a live sampler, with an emphasis on live. If the creature you’ve been asked to sample is aggressive, you can’t kill it before sampling. You have to either sneak up on it or charge up fearlessly and give it a stab. Don’t worry, death isn’t much of a setback in Journey to the Savage Planet, so you won’t suffer much if you fail!
Now that you know how to use the live sampler in Journey to the Savage Planet, you can become the researcher you were always meant to be! Just don’t blame us if the local wildlife doesn’t take your intrusive methods too kindly. We have more guides for the game available to get you going, so why not read up on how to grapple in Journey to the Savage Planet as well!

Henry Stenhouse serves an eternal punishment as the Associate Editor of AllGamers. He spent his younger life studying the laws of physics, even going so far as to complete a PhD in the subject before video games stole his soul. Confess your love of Super Smash Bros. via email at [email protected] , or catch him on Twitter .
- Journey to the Savage Planet
Xbox Products
Don't skip a beat.
Join Our Newsletter and keep up to date on the latest from HyperX. We promise to handle your information in line with our privacy policy .
This site uses cookies to provide enhanced features and functionality. By using the site, you are consenting to this. Read more about our cookie policy.
Journey to the Savage Planet review
Ex ubi veterans take us on a tongue-in-cheek adventure., our verdict.
Funny, fresh, and full of surprises, Typhoon’s debut blends genres expertly. Co-op doesn’t add much, though.
PC Gamer's got your back Our experienced team dedicates many hours to every review, to really get to the heart of what matters most to you. Find out more about how we evaluate games and hardware.
What is it? A survival-metroidvania hybrid with jokes. Expect to pay $30/£24, Epic Games Store Developer Typhoon Studios Publisher Epic Games Reviewed on i7 9700K, RTX 2080 TI, 16GB RAM Multiplayer 2-player co-op Link s avageplanetgame.com
Given that it looks so much like No Man’s Sky at a glance and it’s made by former Assassin’s Creed III and Far Cry 4 director Alex Hutchinson’s new studio, perhaps it’s best to start with which games Journey to the Savage Planet is not like.
Although you and a co-op partner find yourself in a raucously colourful distant planet scanning its local life forms and scavenging raw materials for crafting, it isn’t anything like as non-linear or as vast as No Man’s Sky. And sure, there’s a gun occupying the bottom-right of the screen, but Far Cry In Space it is not. What Typhoon Studios have made with their debut title is something else.
Something that gives you a real sense of being stranded in a huge and uncharted alien environment, but carefully curates your path through it. That path takes you through platforming sequences, boss battles, mob fights and environmental puzzles and often calls upon you to double back and use a new bit of kit in an old area to access previously out of reach places. It does all this while regularly making me laugh along with its story beats, and making me care about its central mystery: if the planet’s supposedly bereft of intelligent life, what’s that enormous tower doing right in the middle of it?
It’s a comedy-metroidvania-survival-shooter-platformer, then, a kind of Subnautica among the stars with extra bells and whistles. As a Kindred Aerospace employee shot out into the farthest reaches of who-knows-where to chart the planet and see if there’s anything worth the company’s time, you find yourself in a pickle when - stop me if you’ve heard this one - your spacecraft’s damaged during landing. A voyage of discovery’s required to survive and source the parts needed to fuel your journey back home.
A simplistic enough setup which does the heavy lifting needed to contextualise your scrabbling for aluminium and feeding indeterminate nutritional paste to small birds in order to collect their carbon-rich poop. But it has real life breathed into it by the outright silliness of JTTSP’s writing.
Humour’s famously subjective, and perhaps your own experiences of the comedy here will be like watching a friend do karaoke while you’re mid-dental examination, but I doubt it. Pitch-perfect live action commercials for sci-fi gubbins punctuate your forays into the planet, aping the frothing sales pitches of ‘80s toy commercials and instructional videos, and I grew to actively look forward to Kindred CEO Martin Tweed’s next video communication with me. Even the behaviour of the loading bar on your vessel’s computer got me. Really. A funny loading bar.
The game might even be hoist on its own petard here because when it’s played in co-op, it’s easy to let your Discord bantz drown out the jokes, or to race ahead without stopping to appreciate the details. In fact, this may actually work better as a solo game all-round. So much of your progress is about making sense of the area’s topography and figuring out how to manipulate the flora and fauna so you can delve deeper into it, and if you’re lost alone you only have the problem of finding your way again. If two of you are lost in different locations, a lot of your time’s spent first trying to figure out exactly where each of you is lost, /then/ finding the critical path. I’m certainly not complaining that co-op’s available, but rather recommending a more antisocial approach if you feel knee-deep in the progress treacle with a friend.
It’s an interesting mix of aggressive wildlife, cutesy fauna and joyously weird scenery that entices you deeper once you’re outside the safety of your crashed ship, and JTTSP plays on this deviously. Pufferbirds, the first sentient beings you encounter, are at least 50% eyeball and their trusting coos are impossible not to find endearing. In a purely mechanical sense, they exist to produce carbon when you feed them Grob. Grob is a purple-ish canned food paste that tastes, according to its promotional materials, anywhere between beef, lamb spleen poutine and cucumber shitwater, but that’s by the by.
What’s more pertinent is that if you overfeed Pufferbirds in your quest for carbon, they simply pop. Maybe that doesn’t sound like a big deal to you, but I can’t tell you how wracked with guilt I felt upon that discovery. Worse, the only way I found to make it past a Meat Vortex (think organic waste disposal) was to lure those wide-eyed, innocent Pufferbirds into vortex-sucking range and continue along the path while they were being eviscerated. You beastly devils, Typhoon Studios.
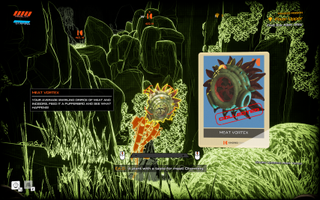
Very little of the plants and creatures around you is there just to fill the space, and there’s a mild puzzle element to almost everything with a pulse. The bee-like critters who plague your progress at the base of the tower can all be killed in one fell swoop by shooting their hive, while the amber shields on some enemies can be corroded by the acidic fruit of Blight Bomb plants.
There’s always a reason to pay attention to your surroundings here, one that goes beyond the game just looking nice. Although let’s take a second to appreciate that yes, it does look very nice. Remember when indies looked generations behind triple-A releases? Or, you know, gave some indication that they weren’t made by a team of 1000 people with millions of dollars to spend? The detail on small items and variety of idle animations to its fauna is matched by its knack for pulling together a gorgeous vista with a painter’s eye for framing in just about any direction.
The irony is that the closer you come to fuelling your ship and starting the journey back home, the more bewitching your current climate becomes. The simple rules of each biome - use Grapple seeds to scale the Cliffs of Mt. Gzarfyn, double-jump between the mushroom pads of the Fungi of Si’ned VII, lob Blight Bombs in the Matriarch’s Lair - become a kind of second nature that roots you to the place and turns a once totally alien landscape into something fondly familiar. It’s not doing something radical in its own right, but the blend of established genres and mechanics at the heart of Journey to the Savage Planet are still expertly chosen and blended together like a muso’s mixtape.

Phil 'the face' Iwaniuk used to work in magazines. Now he wanders the earth, stopping passers-by to tell them about PC games he remembers from 1998 until their polite smiles turn cold. He also makes ads. Veteran hardware smasher and game botherer of PC Format, Official PlayStation Magazine, PCGamesN, Guardian, Eurogamer, IGN, VG247, and What Gramophone? He won an award once, but he doesn't like to go on about it.
You can get rid of 'the face' bit if you like.
No -Ed.
Move over Blackwell: Nvidia's next-next gen GPU is reportedly codenamed Rubin, with a debut scheduled for late 2025
AMD continues to chip away at Intel's CPU market dominance, though the laptop market is still a tough market to crack
Five new Steam games you probably missed (May 13, 2024)
Most Popular
- Journey to the Savage Planet Achievements
- Your Friendly Neighbourhood... achievement
Journey to the Savage Planet
Sign in or sign up to start making your own lists.
- Create a list
- 38 want to boost

Your Friendly Neighbourhood... achievement in Journey to the Savage Planet
Execute 10 consecutive grapples without touching the ground. You're like some kind of arachnid-man.
How to unlock the Your Friendly Neighbourhood... achievement

Guide not helping? View 3 more guides for this achievement .
Have you got any tips or tricks to unlock this achievement? Add a guide to share them with the community.

Grapple flower
- Edit source
- View history
Grapple Flower (usable)
The Grapple flower is one of the useful flowers. When you've unlocked the Proton Tether you can use it to pull you up.
Graphics [ ]
The Grapple Flower has two different types. Normally it has only one shining sphere. When you go to it, so that you can use it, a semi-transparent sphere appears.
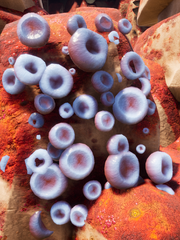
Grapple barnacles
Grapple Flowers can be planted on grapple barnacles. To plant them you have to throw a grapple seed on it.
Gallery [ ]
See also [ ]
Grapple Rail

COMMENTS
Go to the 3D printer and, provided you have the right resources, you can get the Proton Tether and will now be able to grapple. To grapple in Journey to the Savage Planet, simply find a grapple point and look at it while reasonably close. You'll see a small grapple icon pop up and can press L1 on PS4 or LB on Xbox One to swing up to the ledge.
Journey to Savage Planet Where to Get More Grappling Seeds Lava Area Mt Gzafyn. To climb the area to get to the monster, need the grappling seeds so the hero...
A place to discuss everything related to Typhoon Studios' Journey to the Savage Planet. ... pls help . Might be silly and we could just honestly be blind and dumb but my friend and I can't find any grapple seeds. We need them to progress but anywhere I looked couldn't find any or anything on them.. please help Locked post. New comments ...
Journey to Savage Planet Where to Use Grapple Seed. On the climb up to the base of the tower, the hero will get to a point where he is unable to climb any fu...
We Finally have the Grapple upgrade so now it is time to Finally Climb that Mountain and Figure out what the Grapple Seed does as well. SPOILERS the Grapple ...
Festering Chasm: (Grapple Seeds required) From the teleporter, head north until you reach the Virulent Tree. Once you reach it, head west and you'll find a cave. If you have Grapple Seeds, you can figure out the rest. The Elevated Realm (3) Tears of T'bo: (Either Grapple Seeds or Triple Thrusters required) See image above.
Use the Grapple seeds on the barnacle growth above you for an easy access to the next area Here there will be a ton of broken pillars with several different areas of barnacle grapple growth on them.
Find a Path to the Base of the Tower. Start your climb up the tower under you reach a platform with barnacle looking growth on the walls above you. These are used to throw grapple seeds at and ...
The Proton Tether generates energy allowing you to pull yourself higher easily and cover bigger distances. You will also need 150 Silicon to craft the Grapple, which can be easily collected on your way towards the shrine. Using grapple is simple on PS4 hold L1 to aim to the grapple point. How to use Grapple Seeds in Journey to the Savage Planet?
Nab the Alien Alloy [12/32] from within. At the far southern end of the platform you will also find an Orange Goo [43/100] hidden by some rocks. There are also a couple of Silicon Veins in this ...
Check out the northwest corner of the platform. If you look over the edge of the cliff, you'll see a hanging grapple point in the distance. Sprint and jump to reach this and grapple across to the ...
Shoot the metal seed pod hanging above you at the exit to the cave. It will drop some grapple seeds that you will need for the next section. Continue up the exit of the cave until you reach the ...
Press Up on the d-pad to activate the scanner and then press R1/RB to scan the object. Objects you can scan are shown in a different color to the rest of the terrain. This will then start the quest "A Higher Calling". Once you complete this quest you unlock the Proton Tether, a futuristic take on the grapple hook.
To continue, we need to head for the small cave with a blue glow at ground level opposite the entry point. When you arrive, you will find a fire-cracked wall. Grab a Bombegranate from the plant ...
If you are having trouble finding them go to locations that have the walls of grapple plant rings. The metallic sacs in those locations usually drop them. Thanks! I play on xbox can any one help with the big nuts under the tree how do melt the sap thanks. You need to be able to hold acid bombs on you.
0. How To Get The Proton Tether (Grappling Hook) In the Verdant Wilds of Zyl, look on the cliffs to the right — scan the anchor points to reveal grappling hook spots. You'll find these in ...
Thanks for checking out the video! Make sure to show love to the content you like!Feel free to follow me on my other platformsInstagram: https://www.instagra...
Journey to the Savage Planet ... Use your Grapple Seeds on the Grapple Barnacles and make your way over to the floating island. Here you will find a cracked wall. Behind this is an Orange Goo.
Science Experiments and Explorer Rank mini-guide. Epic Games Store guides and features hub. Journey To The Savage Planet. Typhoon Studios. Learn more. There are 10 Alien Tablets to find in Journey ...
To use the live sampler in Journey to the Savage Planet, you have to jab it at the specific creatures requested in your quest log. Start by opening up the Journal quest menu (middle button on your controller on PS4), then check the Live Samples quest under the Science Experiments tab to see which aliens you're after.
The Verdict. 84. Read our review policy. Journey to the Savage Planet. Funny, fresh, and full of surprises, Typhoon's debut blends genres expertly. Co-op doesn't add much, though. Phil Iwaniuk ...
Hey All, This achievement can be obtained in the elevated realm, it requires you to grapple 10 different grapple plants/vines. See video guide for a good location: See video guide for a good location:
The Grapple flower is one of the useful flowers. When you've unlocked the Proton Tether you can use it to pull you up. The Grapple Flower has two different types. Normally it has only one shining sphere. When you go to it, so that you can use it, a semi-transparent sphere appears. Grapple Flowers can be planted on grapple barnacles. To plant them you have to throw a grapple seed on it. Grapple ...